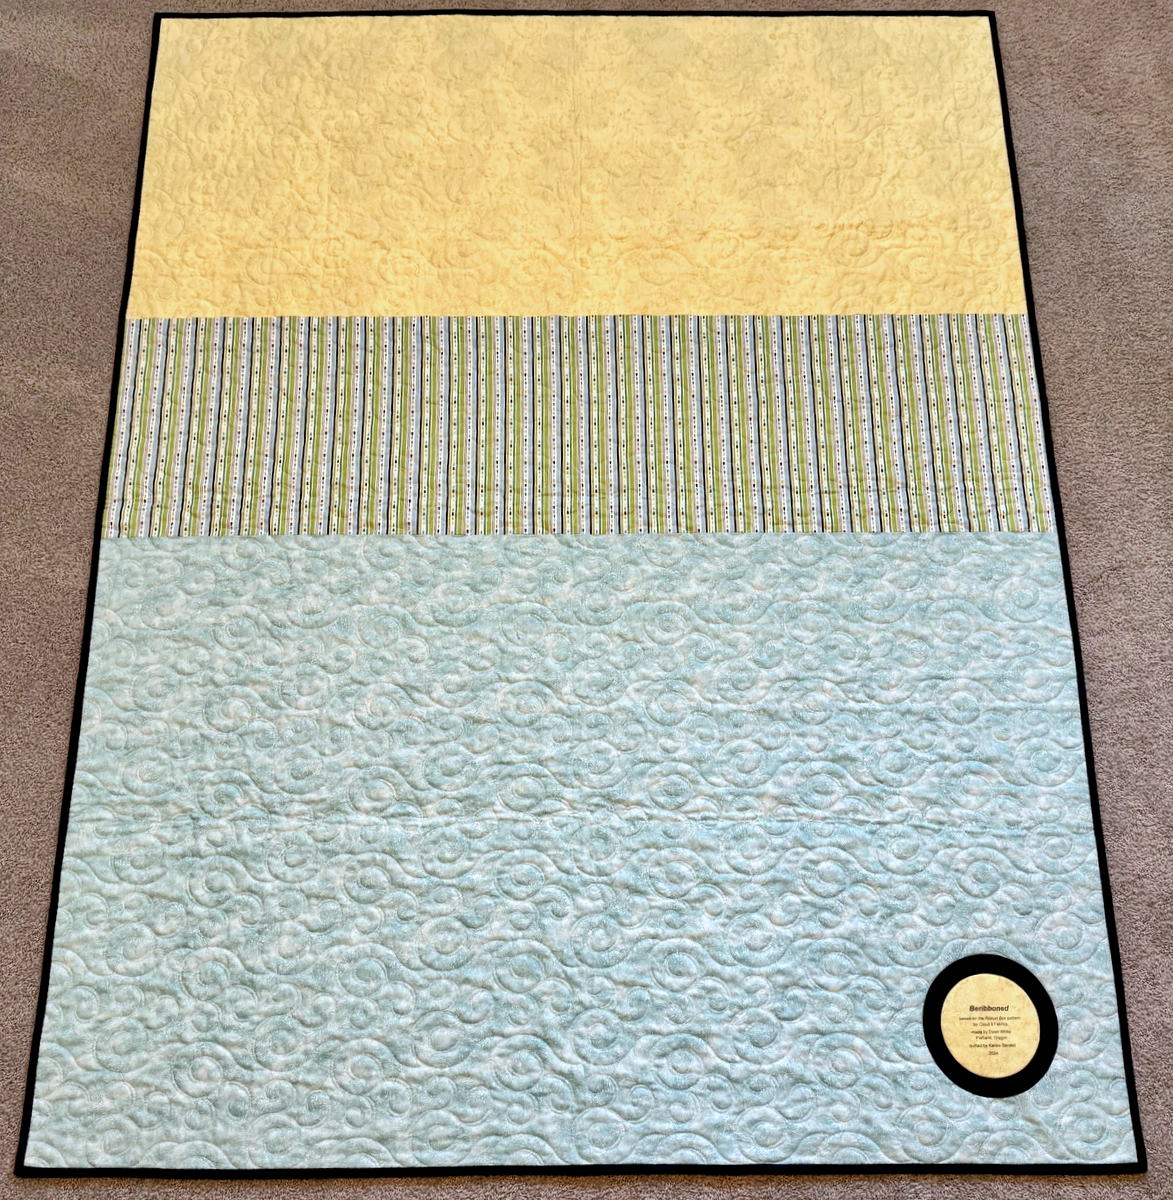
This post is a follow-up to my post of Sept. 23 titled — no surprise — “Thoughts on the Ribbon Box Quilt Pattern — Part 1.” I’ve been procrastinating in writing Part 2 because it involves being critical of the directions for cutting and sewing the quilt. There’s just no way around the criticism, though, which I hope will be regarded as constructive. My motivation in pointing out what I see as problematic and explaining what I did differently is meant to help quiltmakers who are as enamored of the design as I am and want to make their own versions. (It’s also a guide for me because I do see at least one more Ribbon Box quilt in my future!)
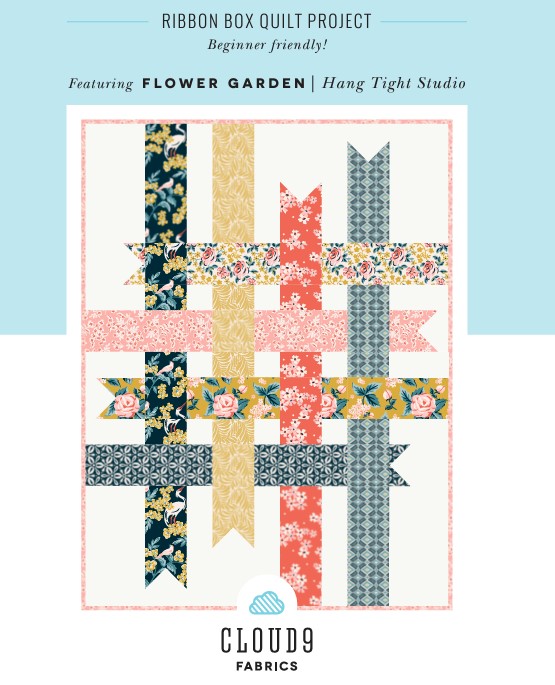
Let me remind you that Ribbon Box is a *free* pattern from Cloud 9 Fabrics. How wonderful is that? This link will take you to the website where you will see the quilt made up in four different versions featuring fabric lines by designers for Cloud 9. You can view and print a five-page pdf pattern of any of the four versions. For this post I’m referring to the version made with “Flower Garden” fabrics by Heather Dutton of Hang Tight Studio because the fabrics show up the best in the photos I’m taking to illustrate what I did.
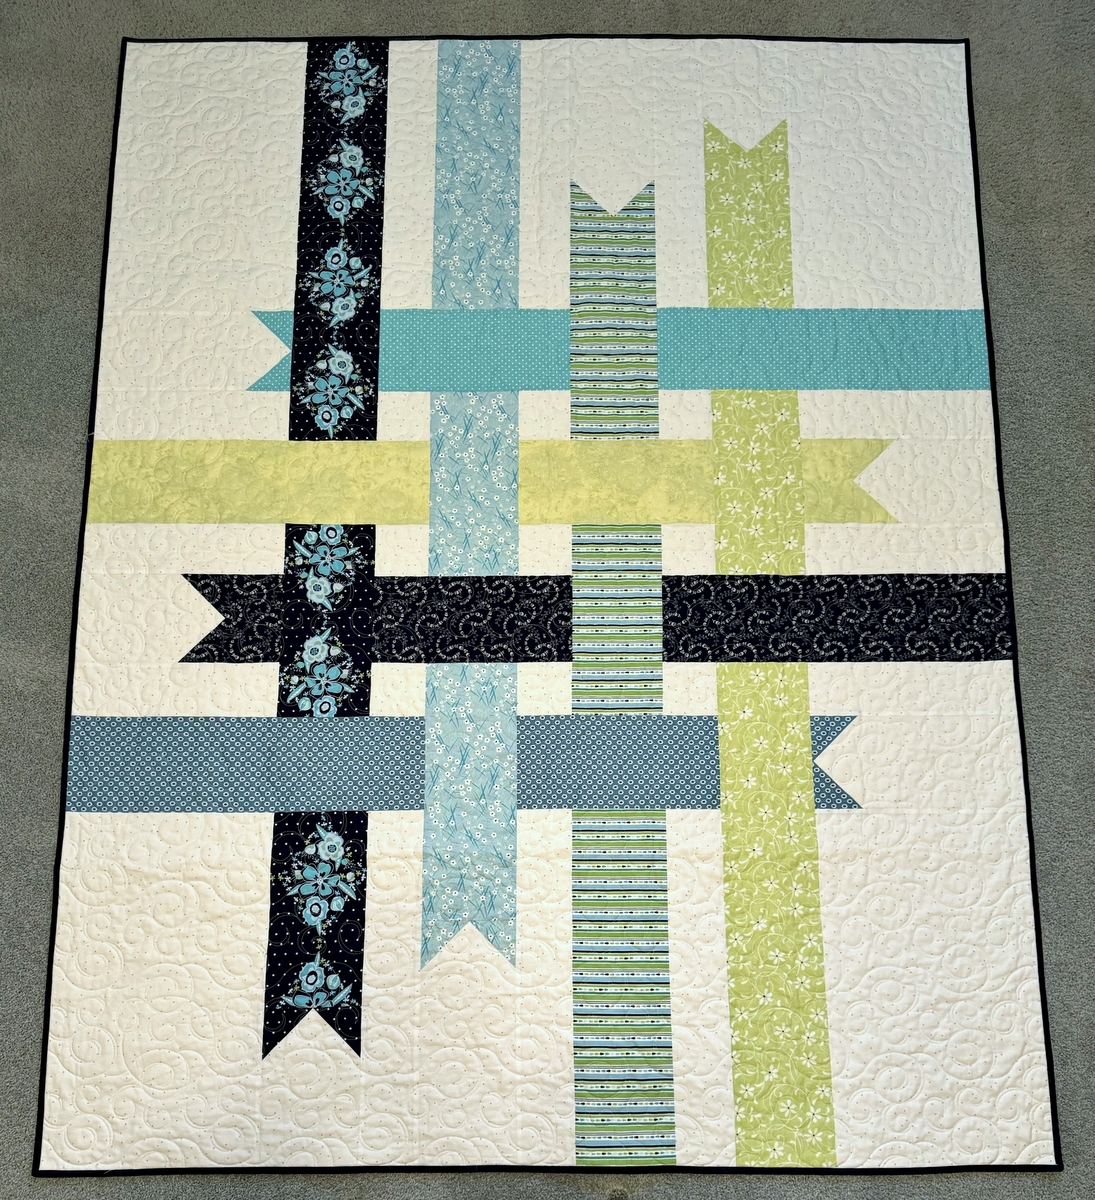
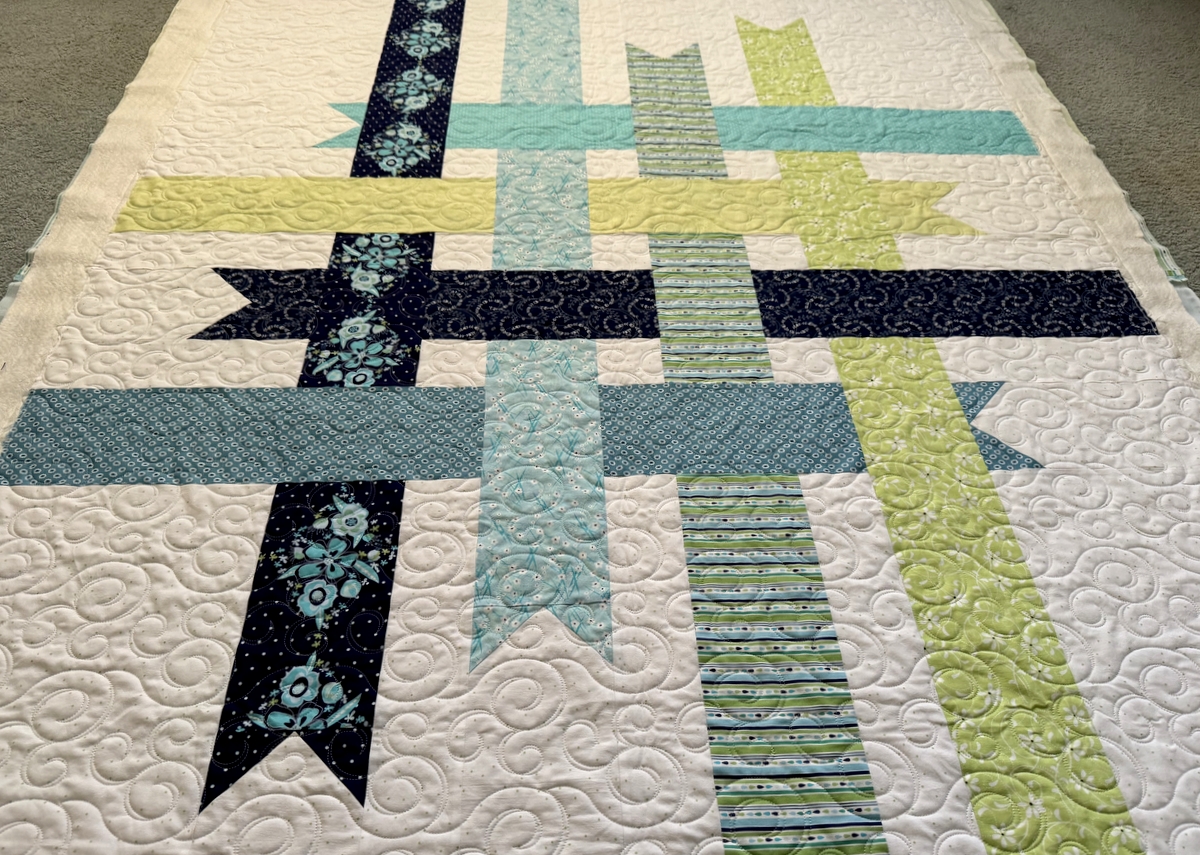
The first photo (page 1 of the pattern) shows you the finished quilt:
Note that each ribbon is presented in three sections because of the interweaving of the other ribbons.
The next photo (page 4 of the pattern) shows you how the quilt is constructed in nine horizontal rows:
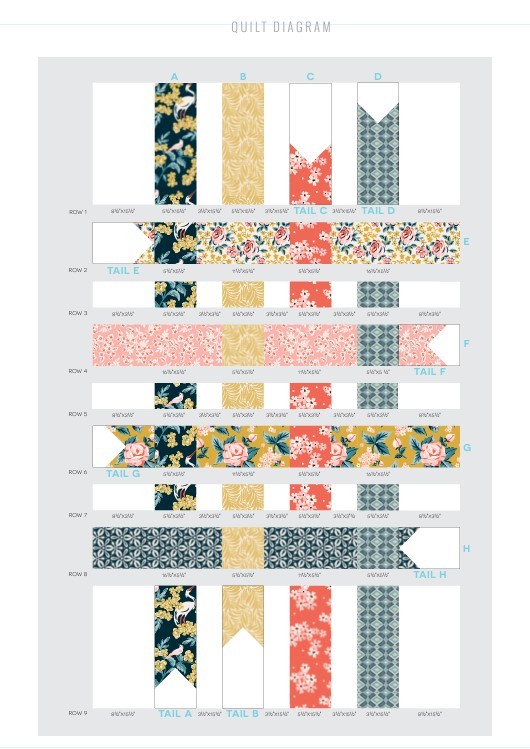 I did NOT construct my quilt this way! I realized while reviewing the directions that piecing the quilt in rows would create several seams where they didn’t necessarily need to be and I could see that these seams would disrupt the flow of the design printed on the fabrics if care weren’t taken to match the design. It’s important to note that this disruption happens only in the vertical rows — Rows A, B, C and D.
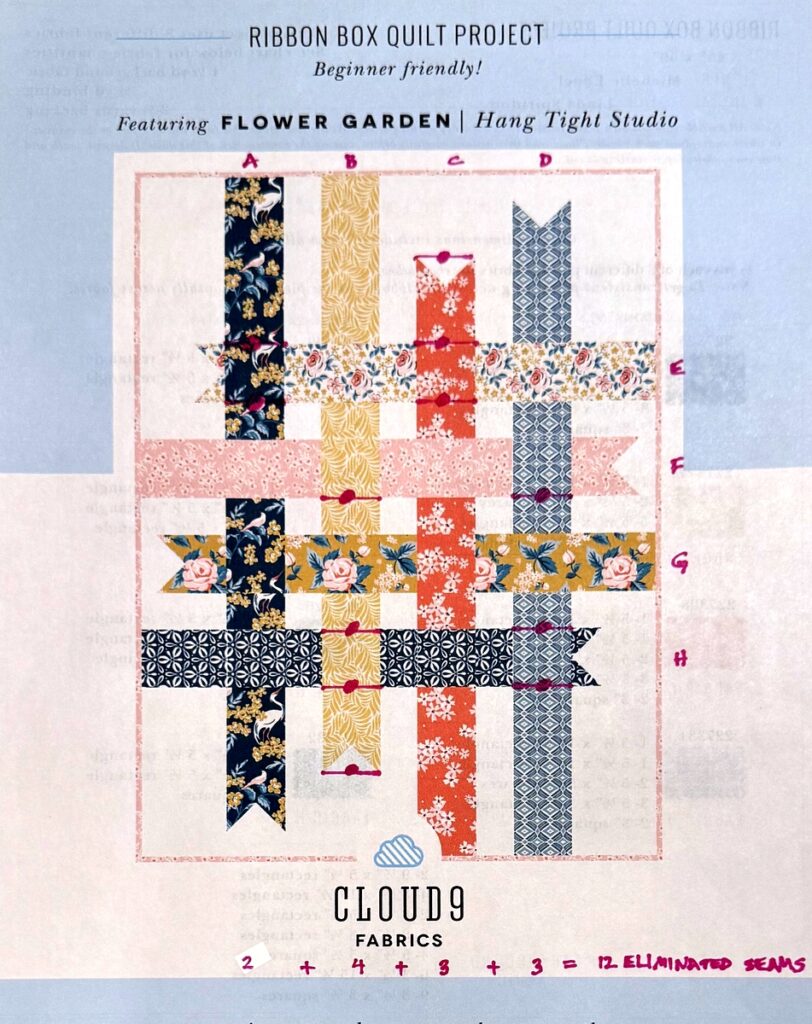
In the next photo look at the circles I’ve drawn with a pink Sharpie and you can see where I eliminated 12 seams: two in Row A, four in Row B, and three each in Rows C and D:
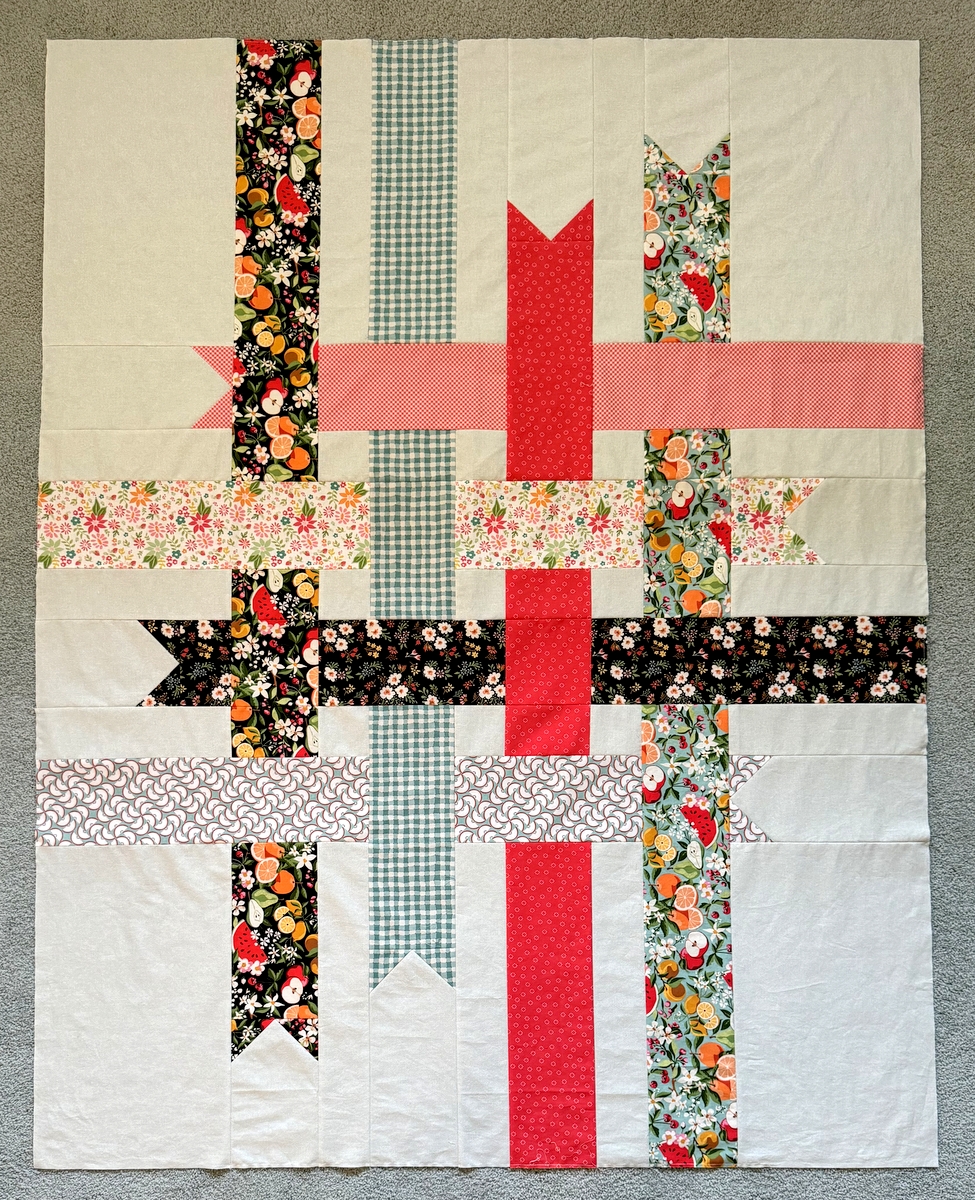
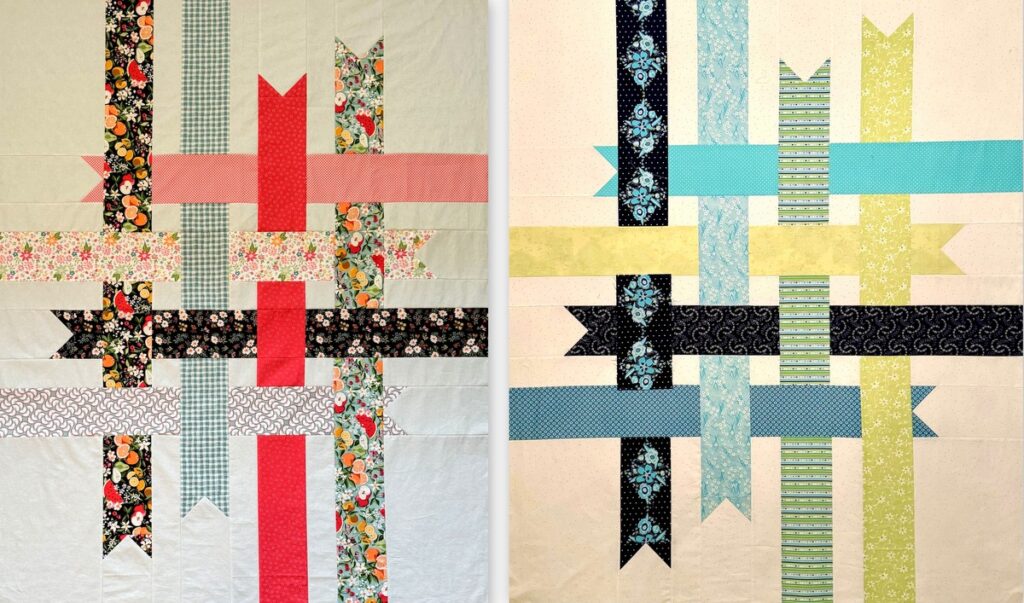
In the next photo I show how I constructed my first version (the Picnic Quilt) in three sections, rather than in nine rows (much more detail on this in a subsequent post!):
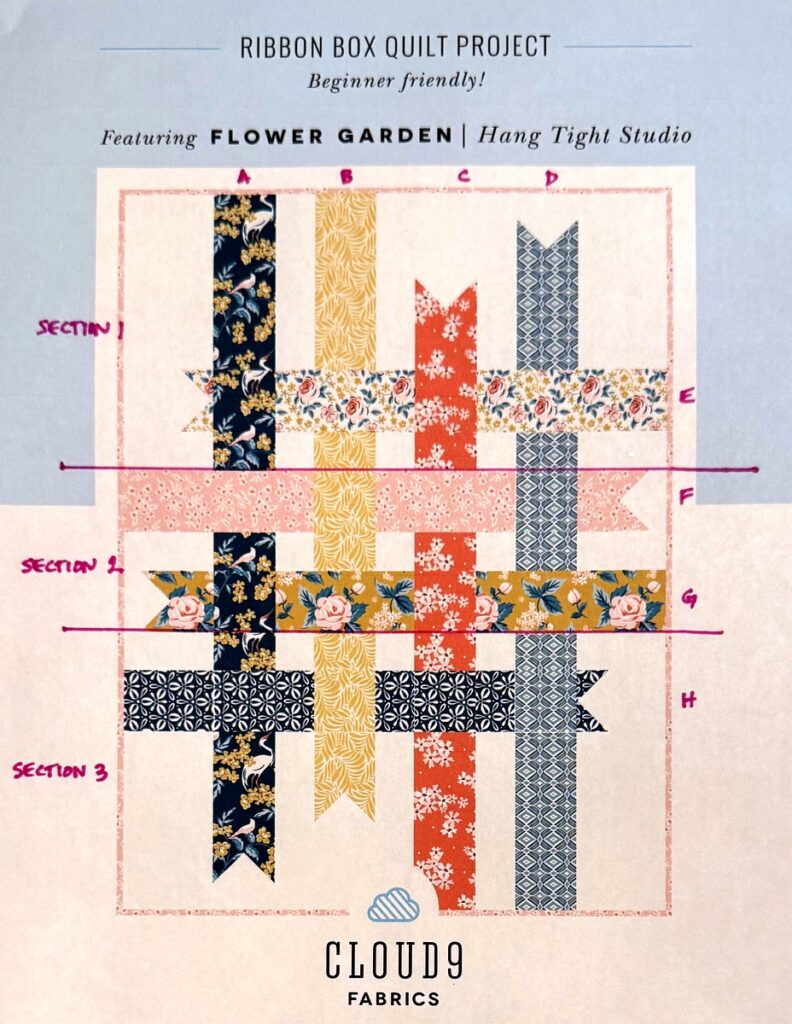
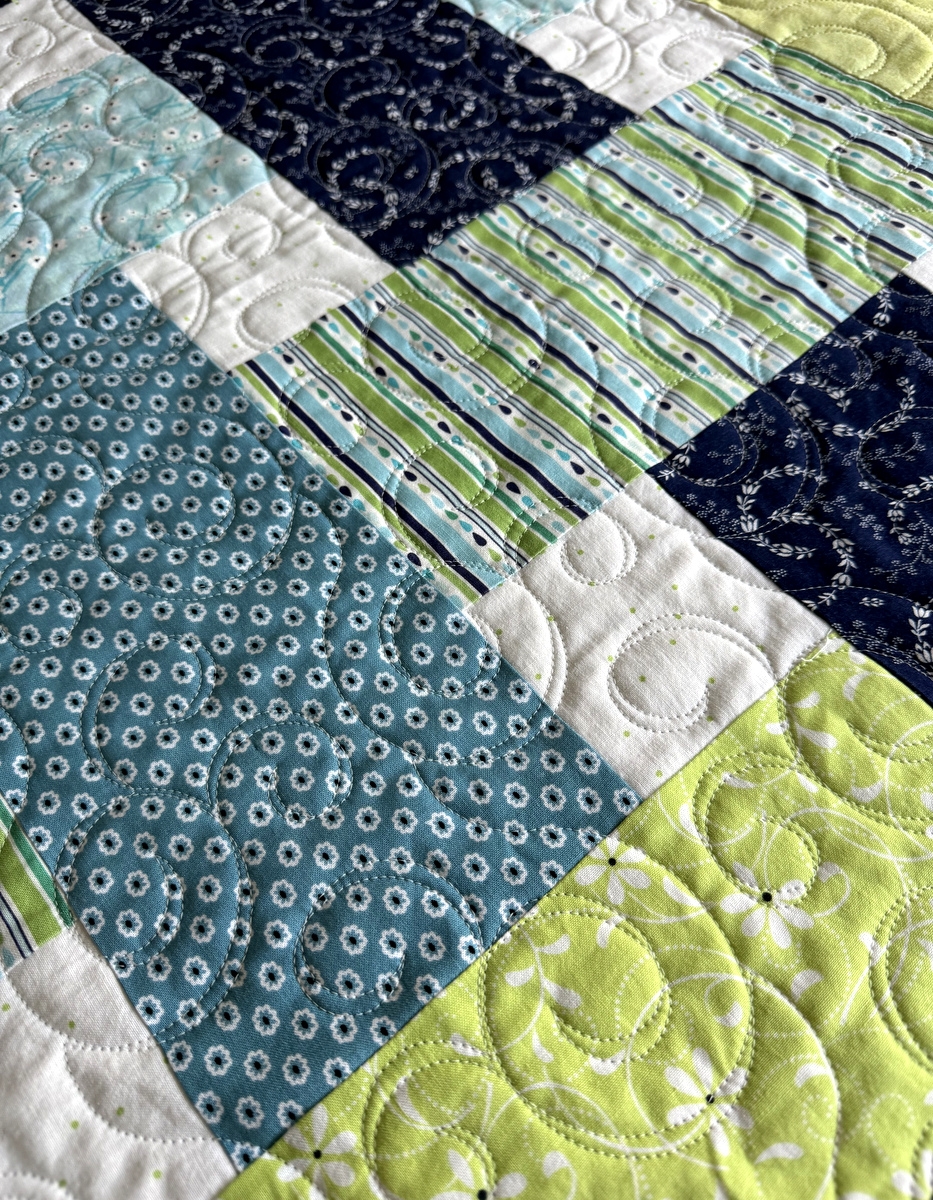
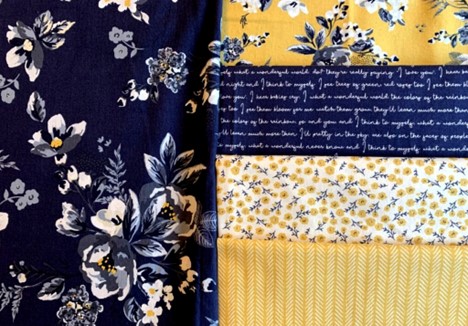
Now let’s think a bit about fabrics. If you were auditioning fabrics for a Ribbon Box quilt, it might seem smart to choose fabrics for the vertical rows (A,B,C,D) that are small scale random prints (i.e. non-geometrics, non-plaids, non-checks for which seamlines would not be immediately noticeable) or perhaps solids or blenders that read as solid. But maybe you have a medium to large-scale focus fabric that you want to highlight by putting in one of the two longest ribbons, vertical rows A and D. In that case, you want to eliminate as many seams as possible to preserve the design, right?
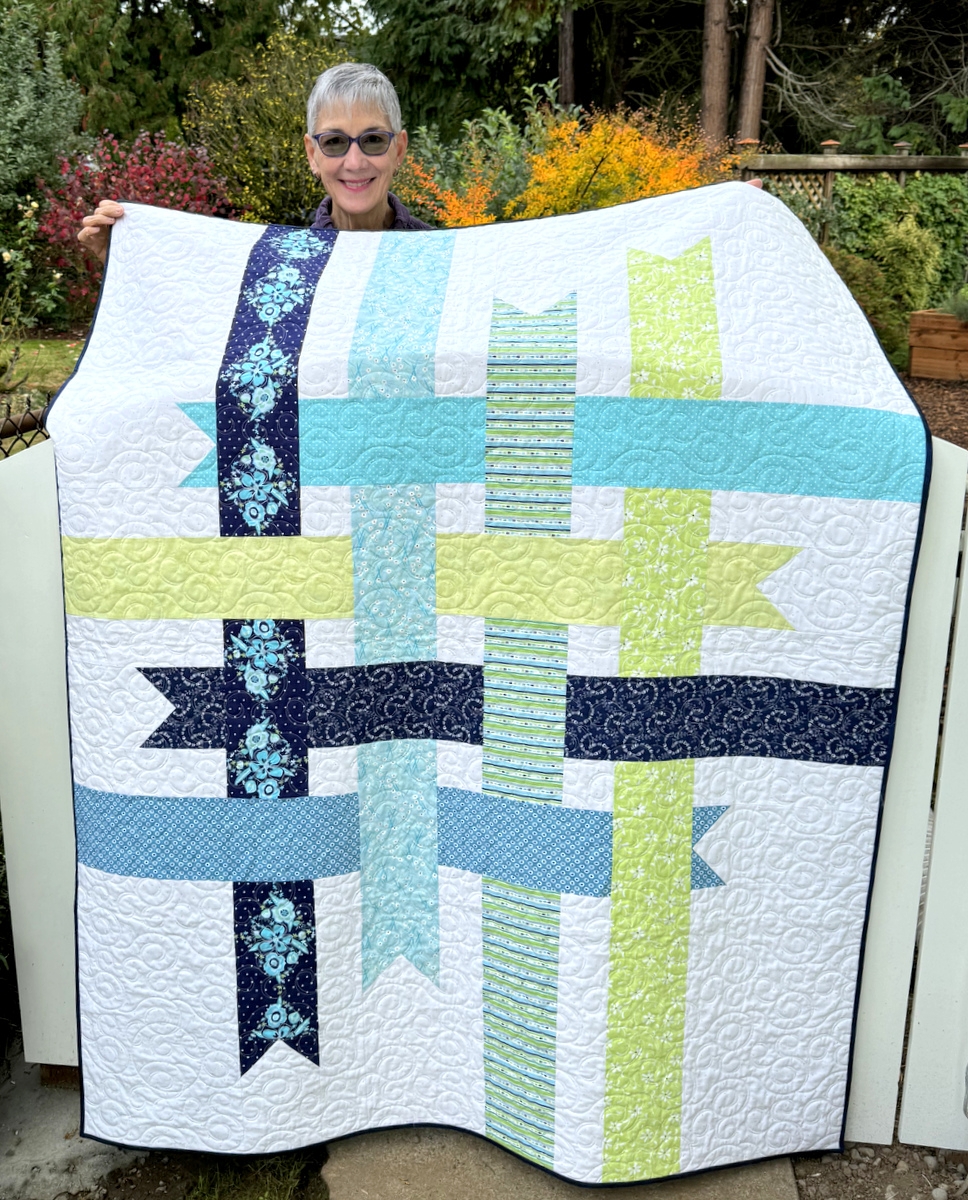
Years ago I took a design class in which the instructor said most people look at the upper left section of an image first and then their eyes follow a Z pattern ending in the lower right corner. Perhaps that’s why I tend to put my favorite block or my favorite print in the upper left corner of my quilts. In both of my Ribbon Box quilts I put my main focus fabric in vertical Row A:
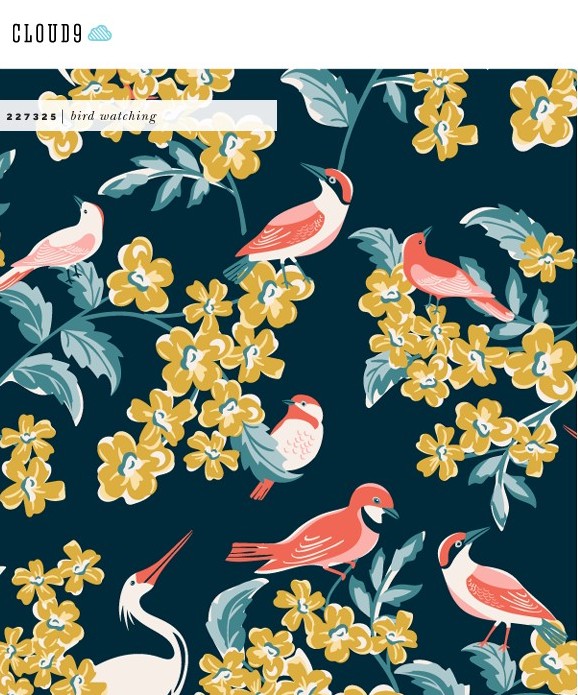
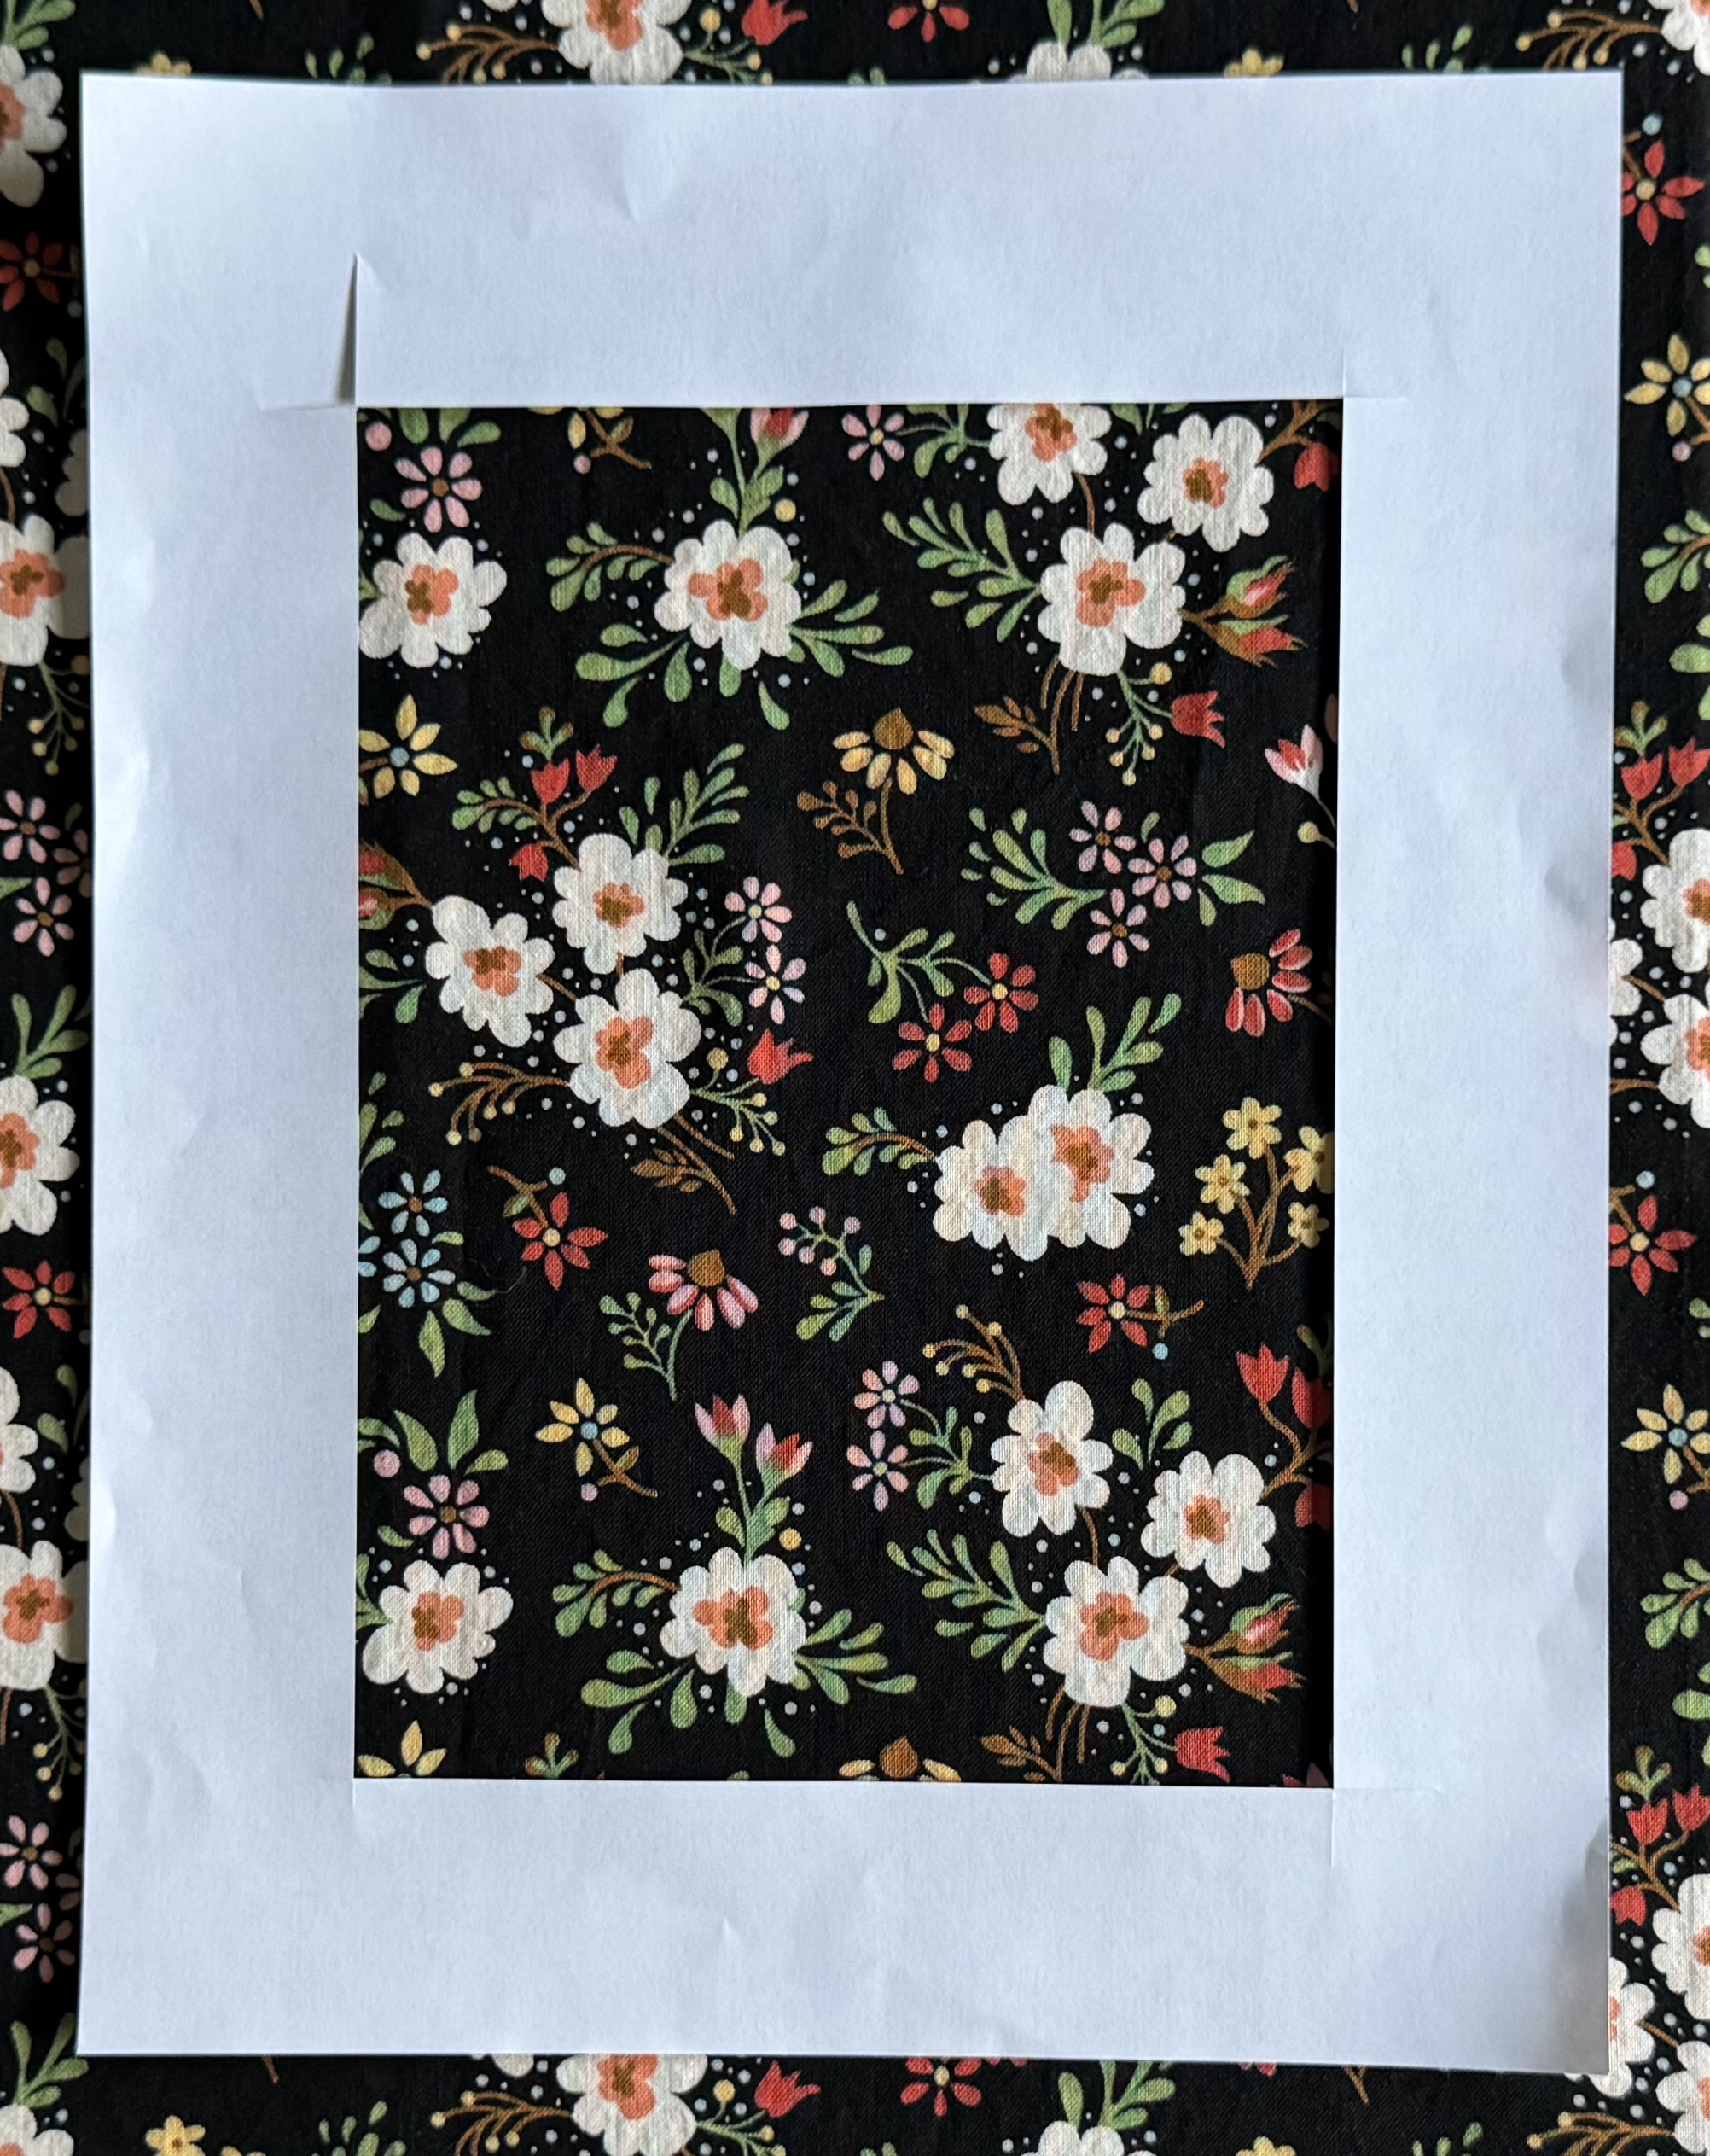
With this mind, let’s examine the ribbons in the Cloud 9 version featuring “Flower Garden” fabrics. First take a look at that gorgeous focus fabric in Row A (first vertical ribbon):
It features a large white crane and a small pink bird surrounded by foliage. At the top of Row A in the first section of the ribbon, the crane’s head has been cut off. In the second section of the ribbon the crane is missing the middle of its body. Only in the third section of the ribbon is the crane presented intact. Wouldn’t it have been better if the crane were intact in all three sections? And wouldn’t it have been more pleasing to the eye if the crane were in the center of the ribbon because it’s the largest element in the fabric?
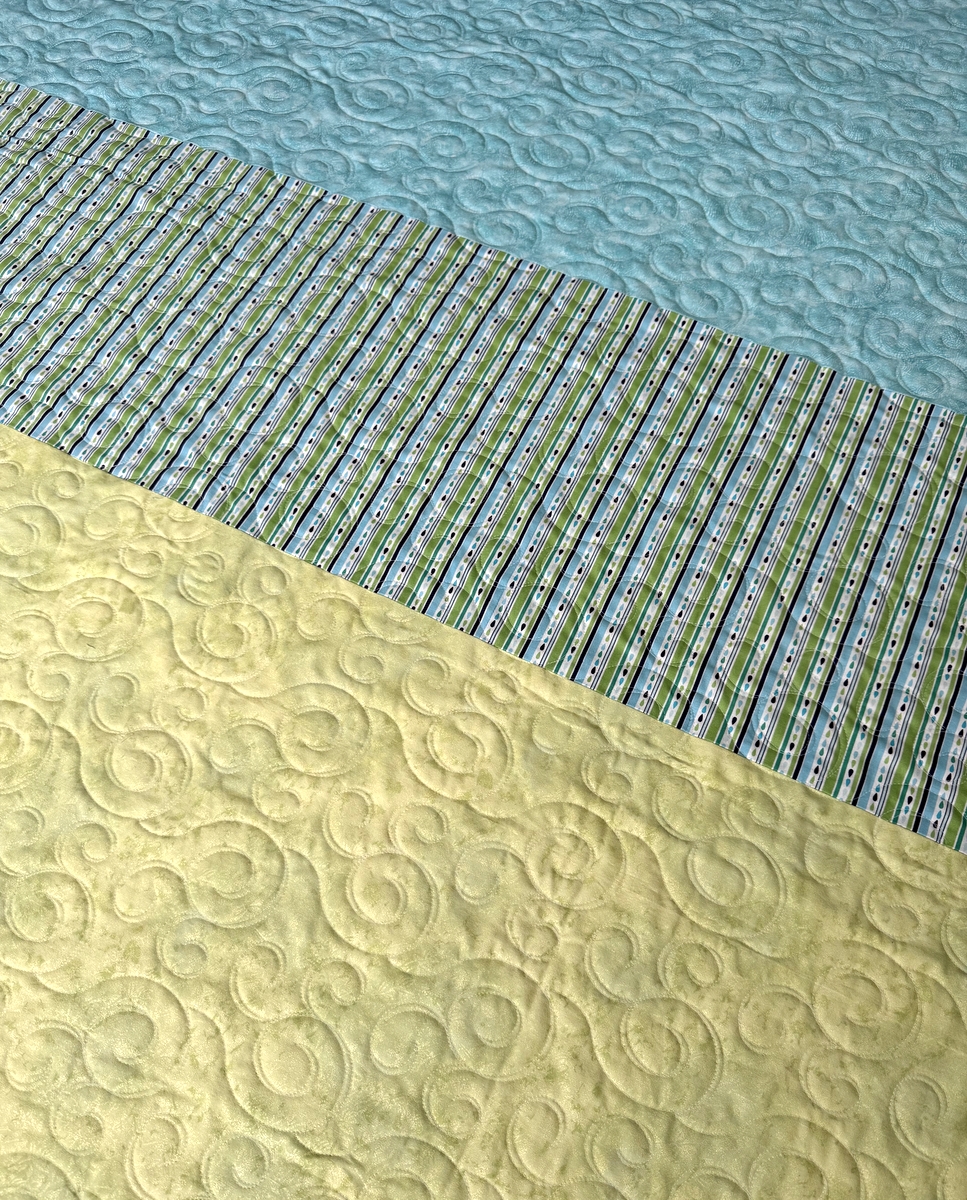
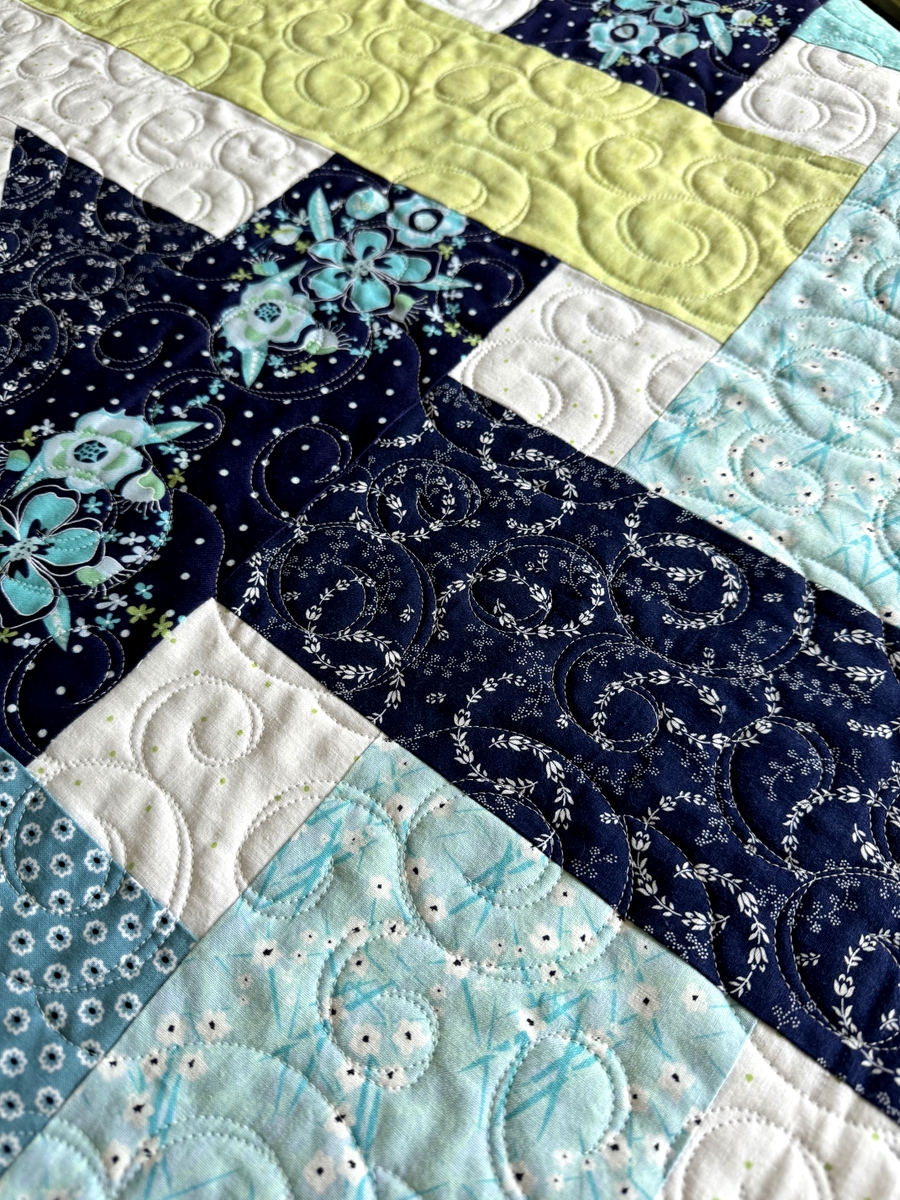
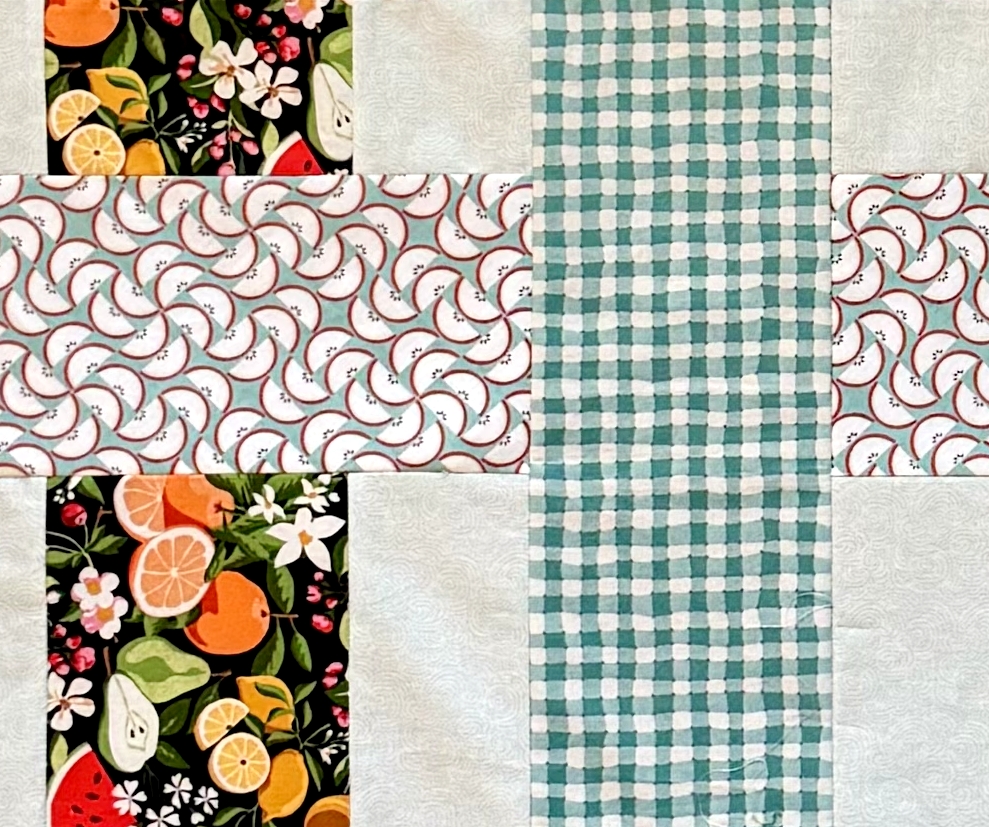
Now look at Rows B and C (second and third vertical ribbons). Row B is a small-scale random print in gold that isn’t much affected by seamlines. Row C is a medium-scale random floral on a coral background; it’s interrupted just a bit by seamlines but maybe not enough to try to change. Oh but Row D! It’s a geometric print and the interruption in the flow of the design by four seamlines is not only obvious but very distracting. I would have been able to eliminate three of the seams and would probably have matched the design in the other seam. In addition, I would have cut the strips for Row D in such a way that the elongated diamond was centered in the strip.
Now for the horizontal rows:
Notice how nicely balanced the medium-scale roses are in the first horizontal row (Row E). Row F (small print) and Row H (geometric) both look fine. As for Row G, I would have centered those lovely cabbage roses in the strip rather than having them ride along the bottom.
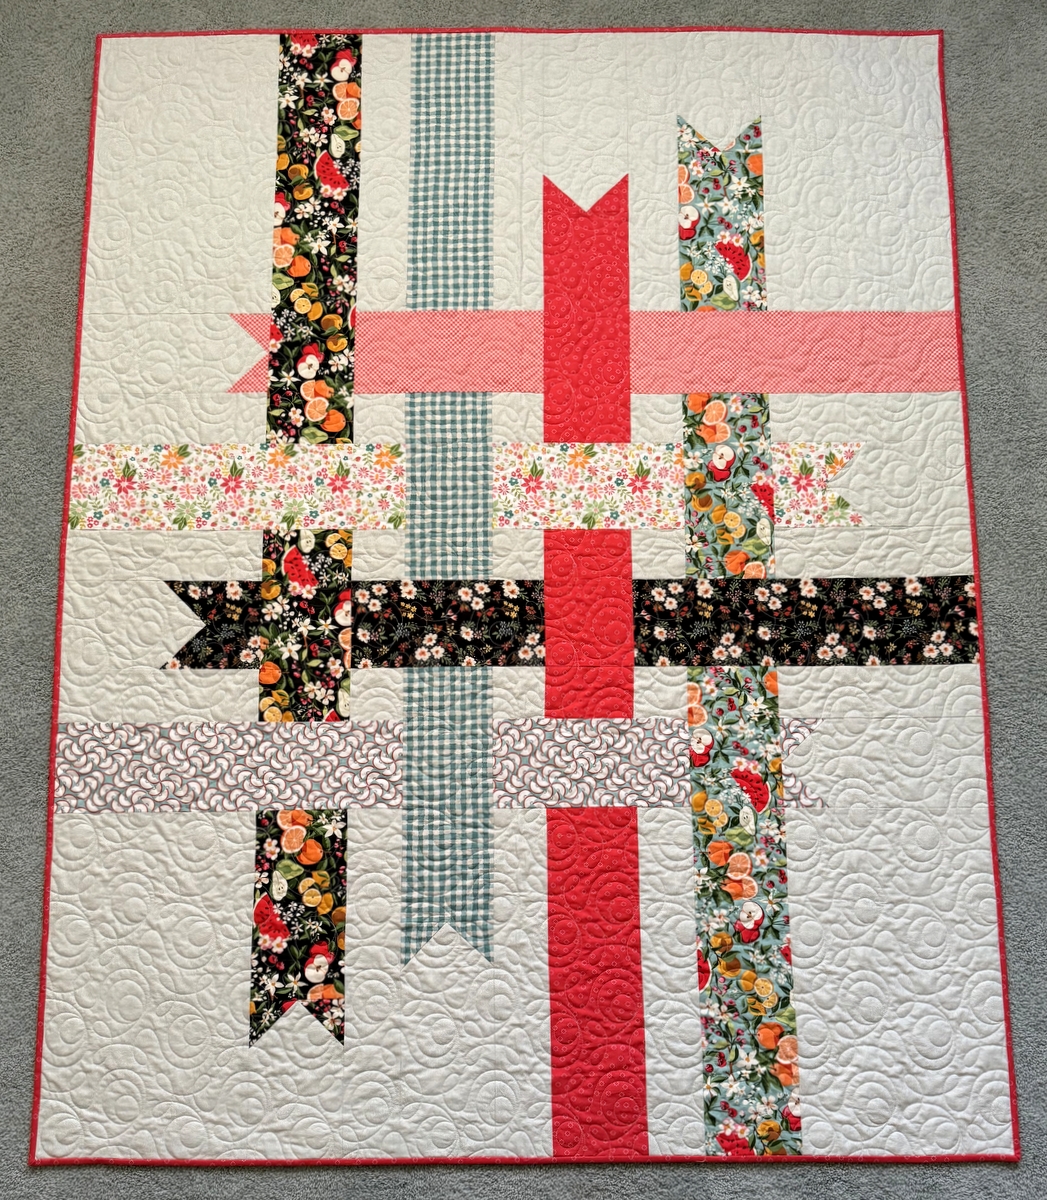
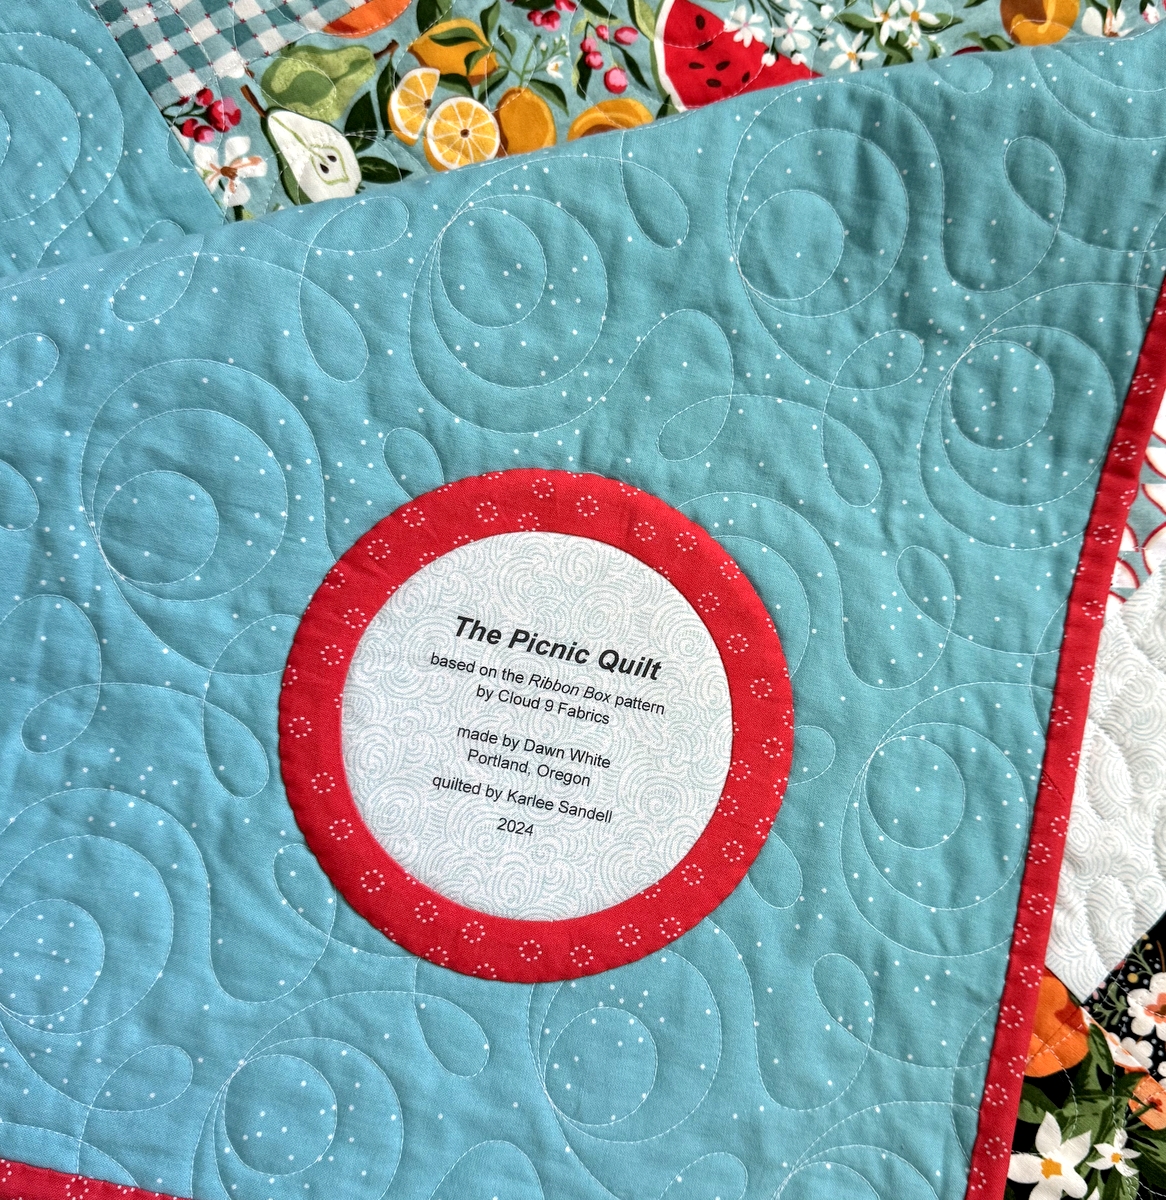
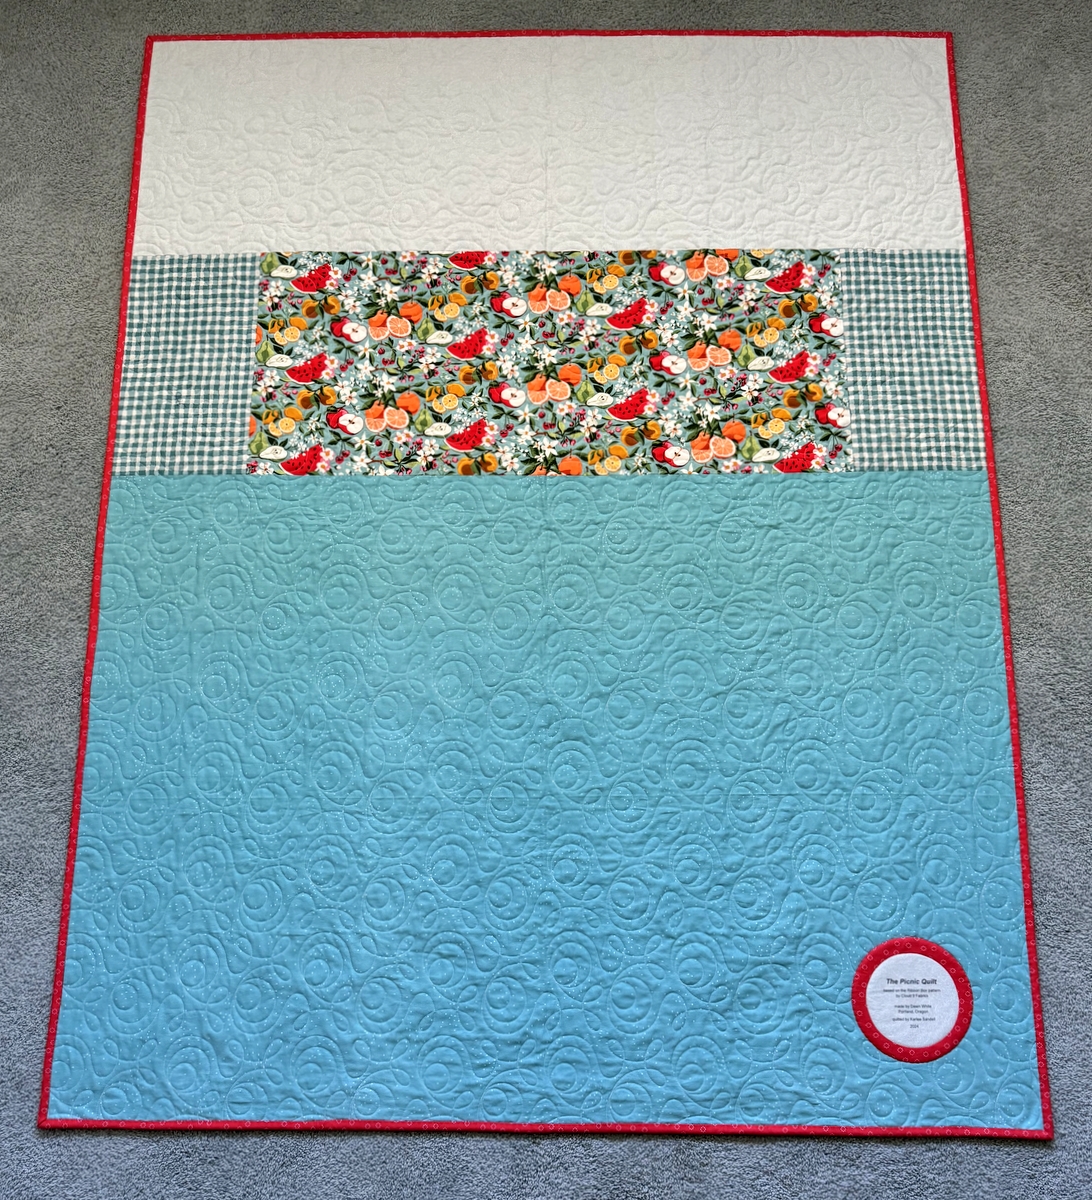
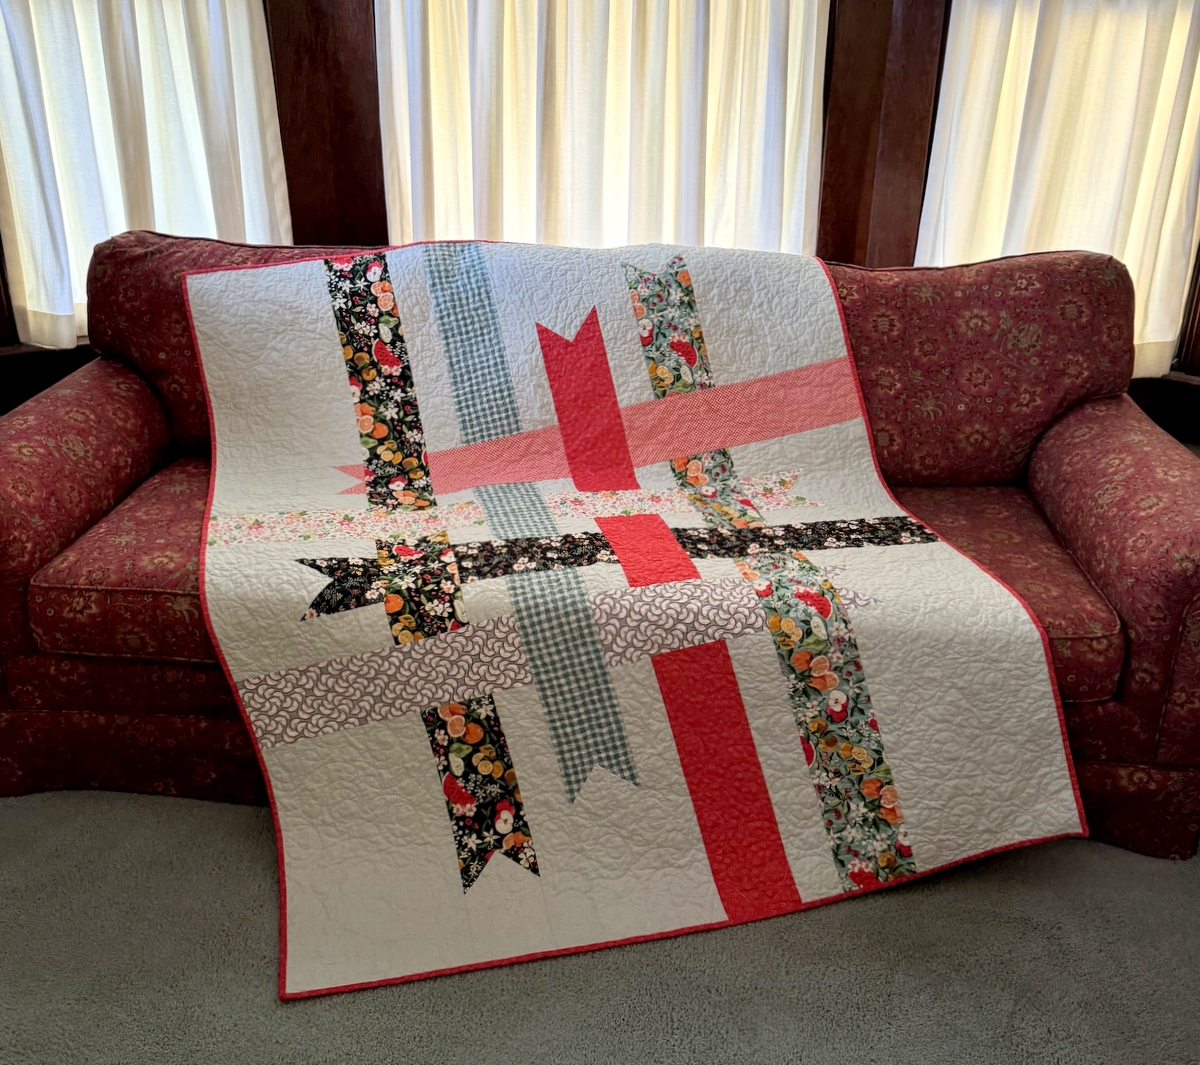
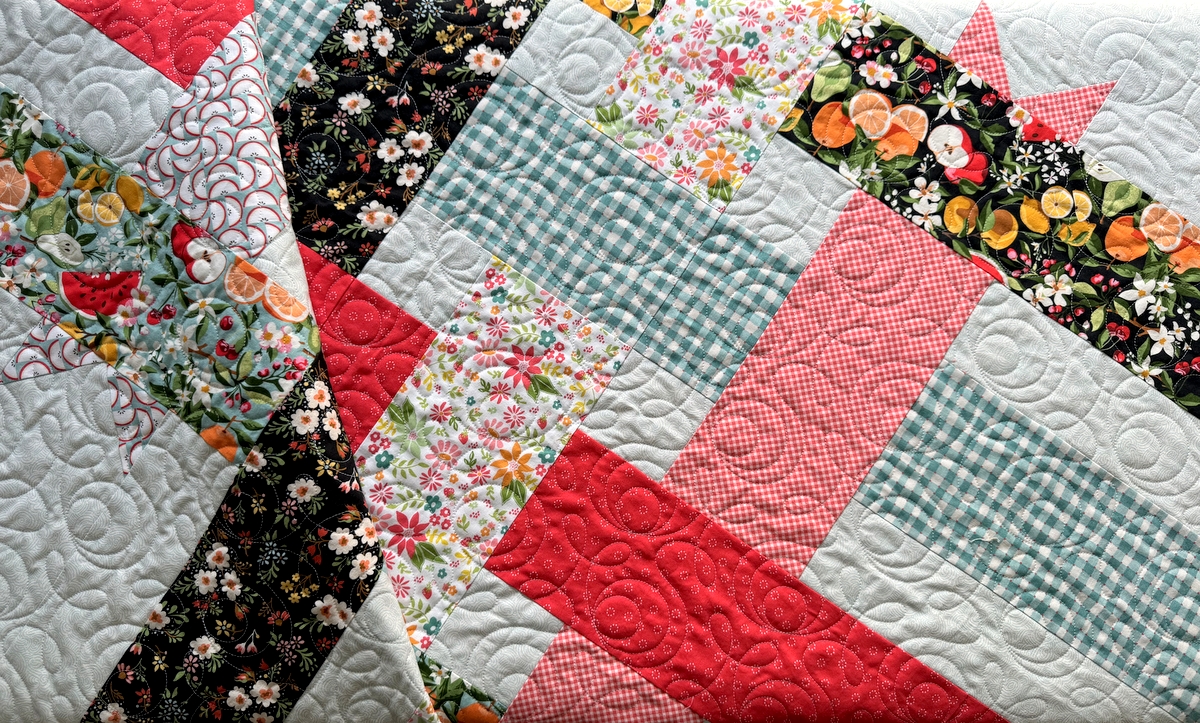
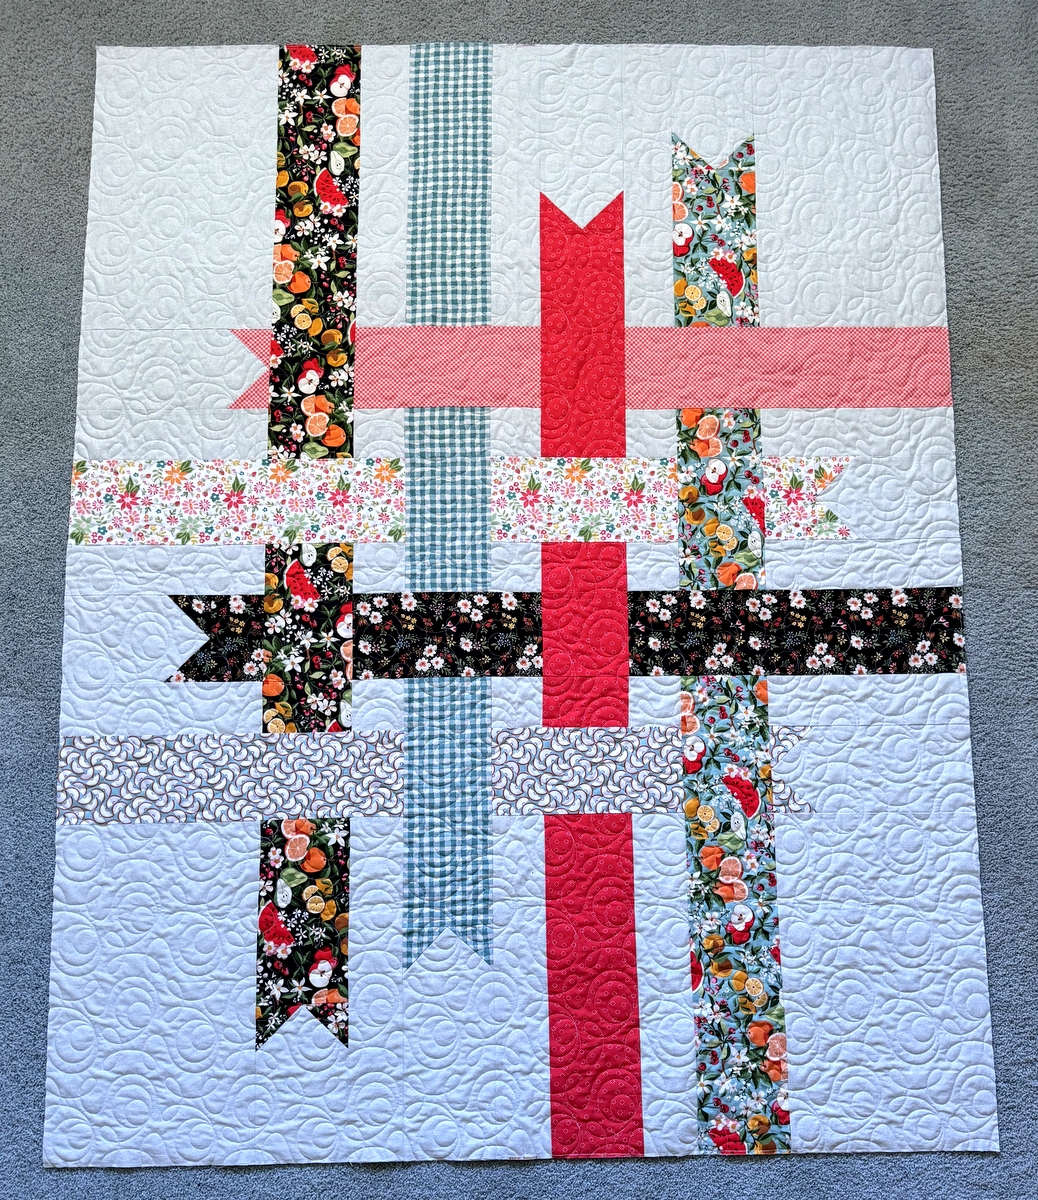
But honestly, these are not things I would have necessarily noticed had I not made my first version of Ribbon Box. Speaking of which, let’s take another look at that quilt, the one I call the Picnic Quilt:
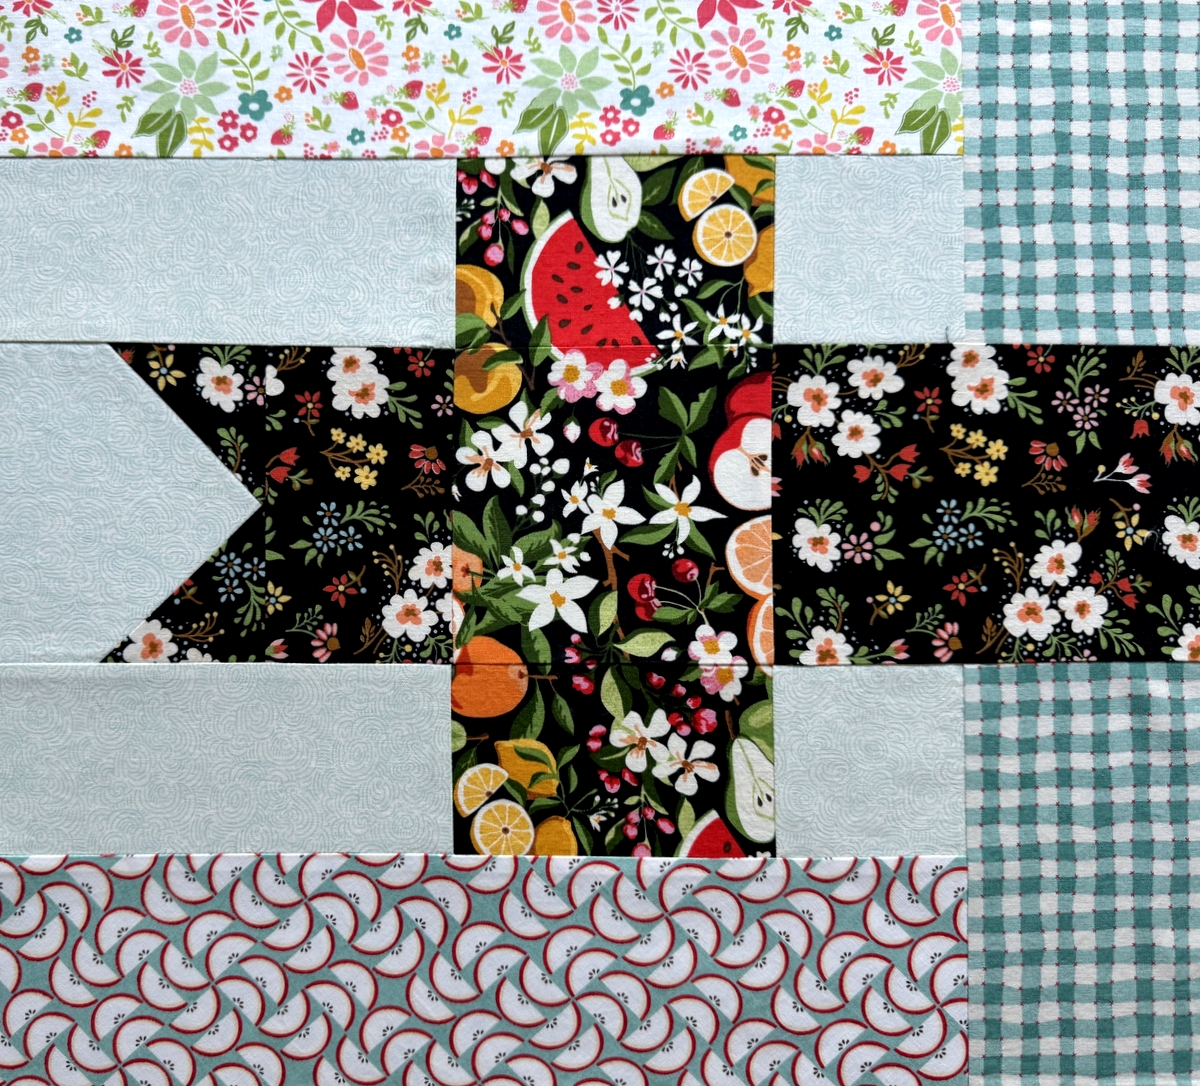
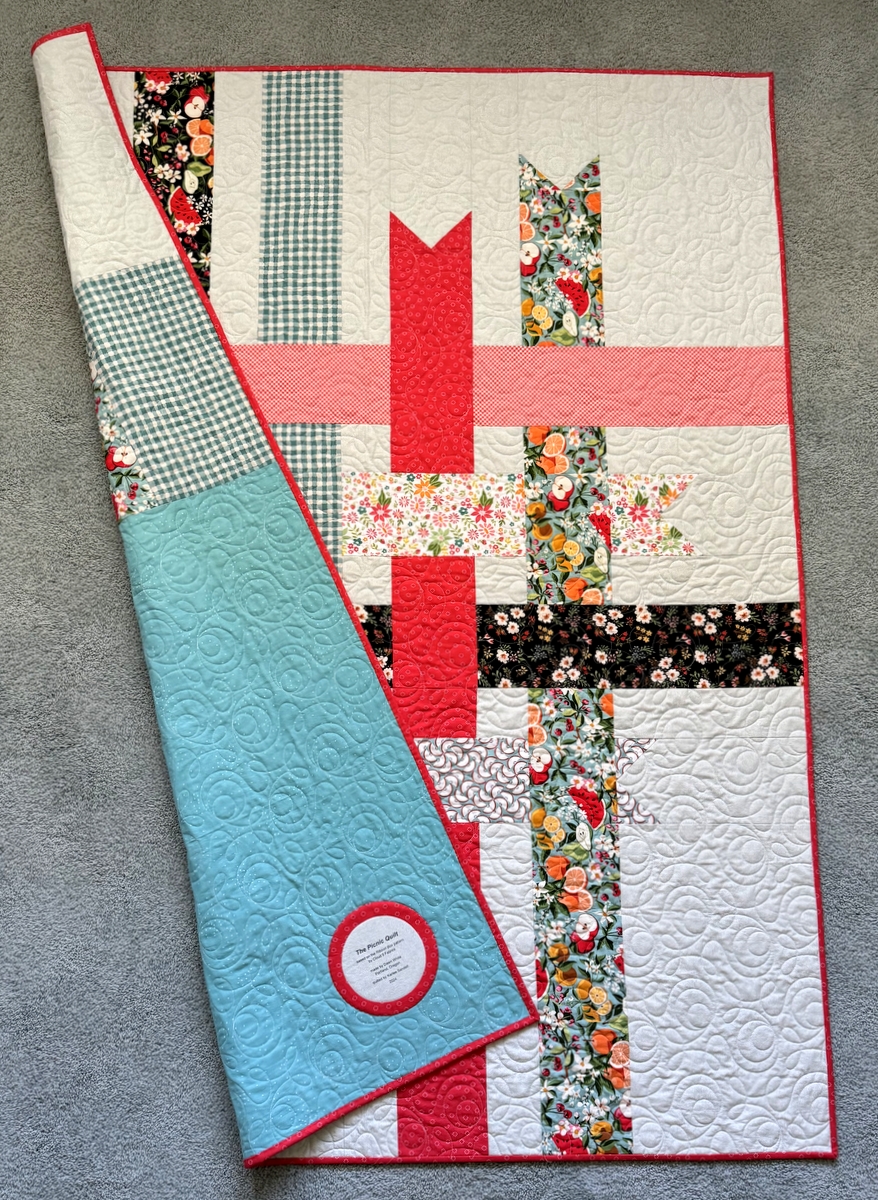
 As noted above, my favorite bold print is in the upper left section of the quilt (Row A) and its companion print in a different colorway is in the other long ribbon (Row D). In both Row A and D — the first and fourth vertical rows — the top and bottom sections on both rows were cut in one piece (not counting the pointed ends of the ribbons). In the middle section of Row A, I matched the design in the two rows. I showed this in Part 1 but here it is again:

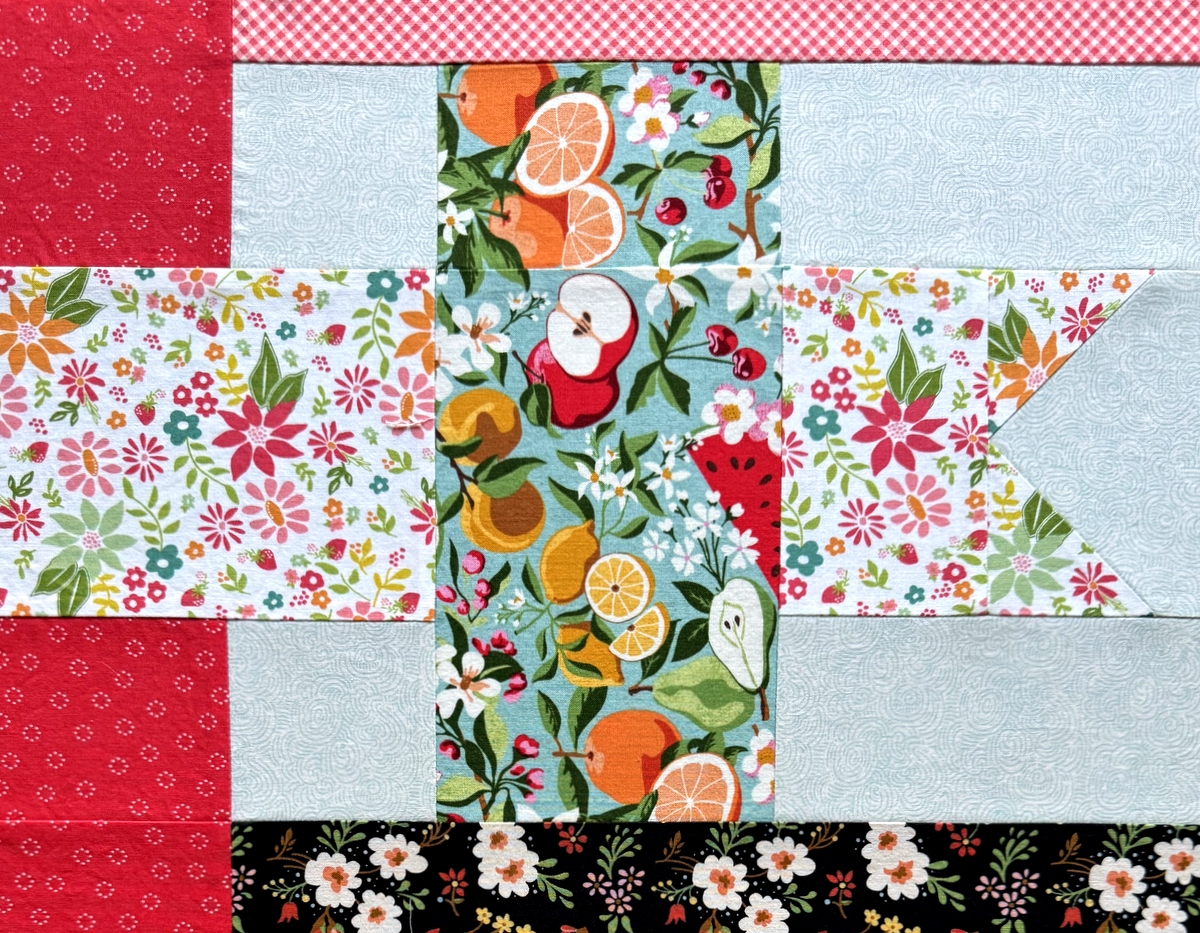
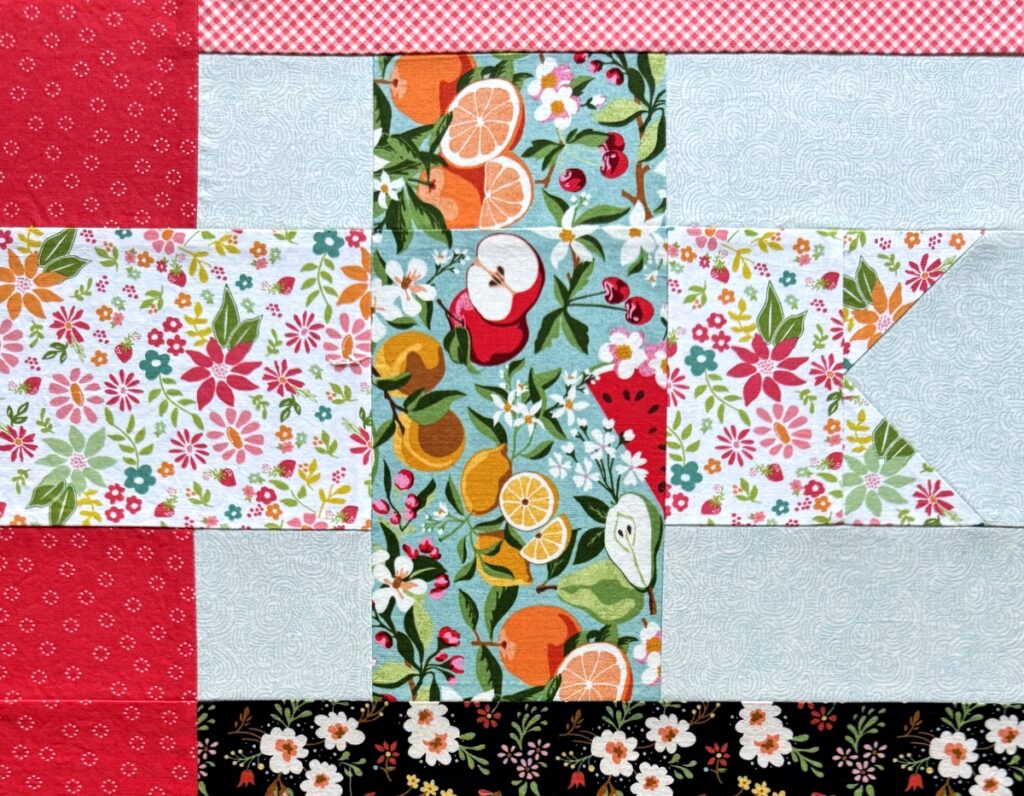
In Row D, I matched the design in one seam and was able to eliminate the remaining seam. Here it is again:
 Matching the designs was a pain, although it was worth it in my book. But I did come up with an alternative construction method in my second version, which I will get to in a subsequent post. You won’t want to miss that!
The point I want to make here is that the strips of fabric in my Picnic Quilt were cut mindfully in a way that showed the design of each fabric to its best advantage — at least in the mind of the quiltmaker (yours truly).
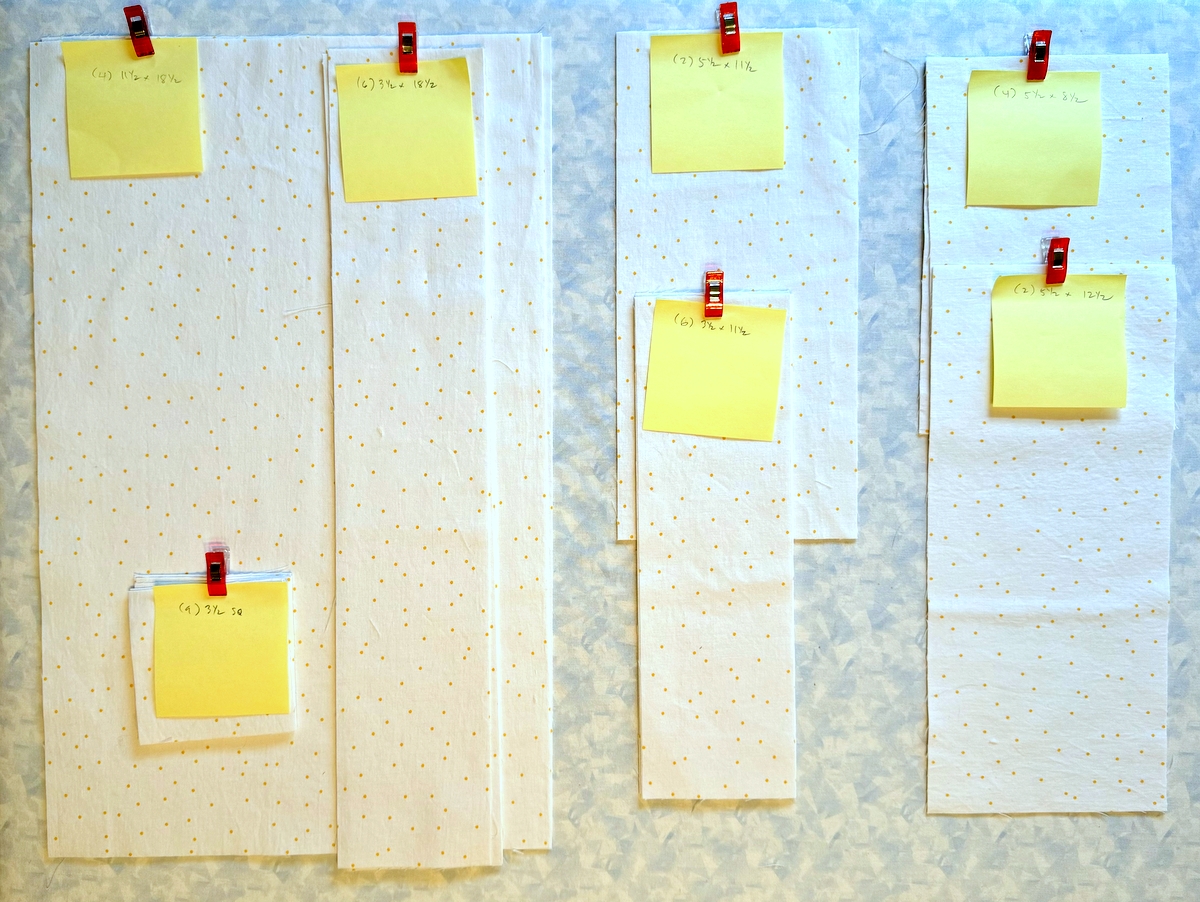
And here’s one more thing I wish I had mentioned in Part 1 about choosing fabric: If you are working with a directional print, you’ll have to decide before cutting whether the ribbon is going to be horizontal or vertical in your quilt because it will make a difference in whether you cut on the crosswise or lengthwise grain (which takes us back to the issue I have of starting with 1/3 yard cuts for every ribbon, which I wrote about in Part 1).
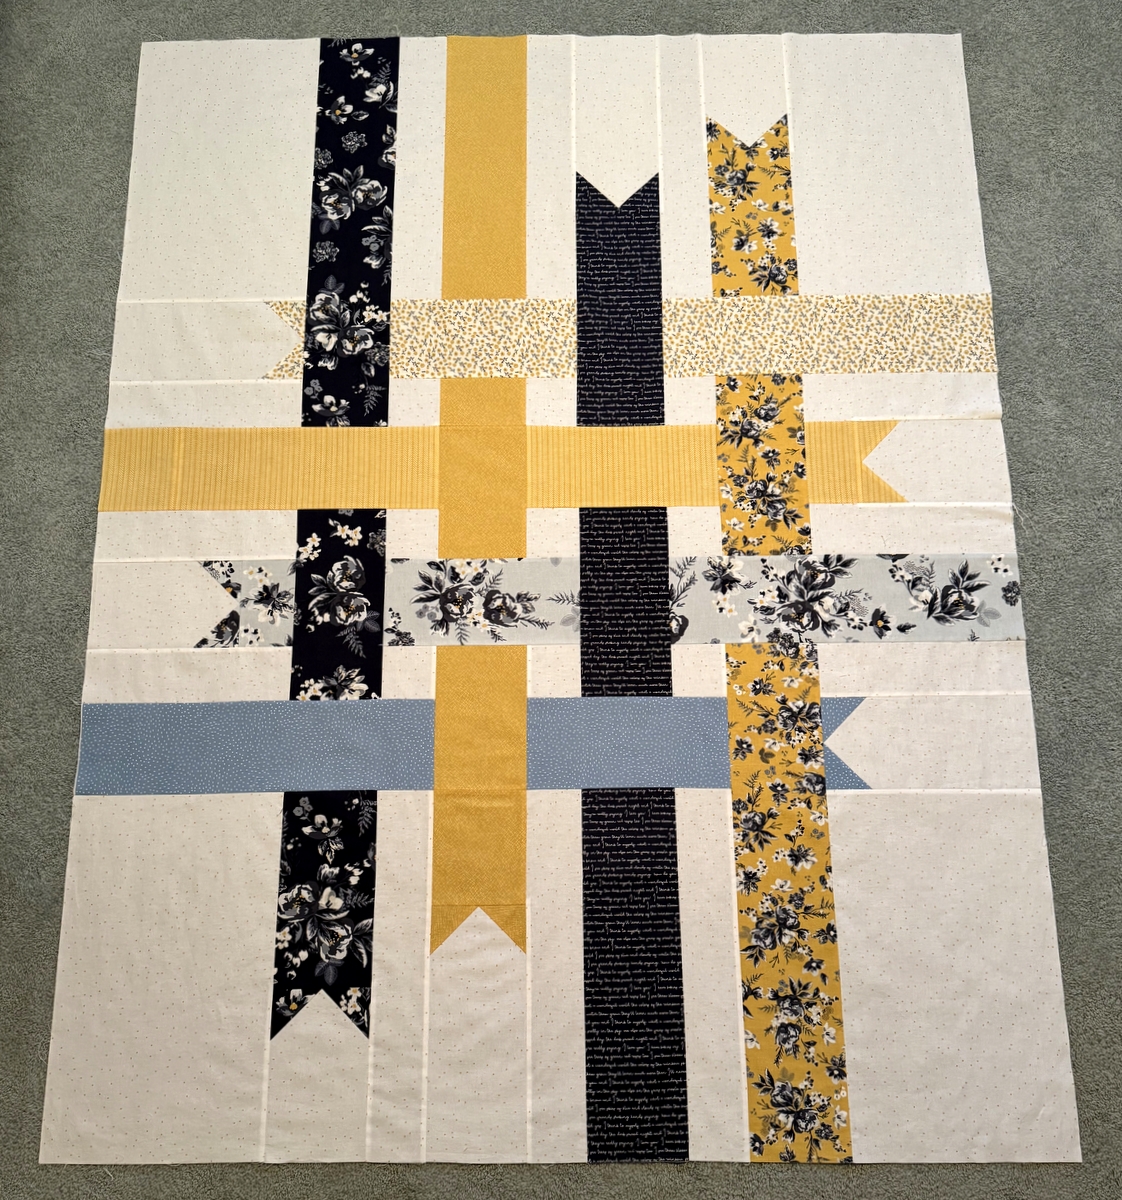
Are you still with me? I hope so! It means you are interested in making your own version of the Ribbon Box quilt and, like me, want to show your carefully curated fabrics in their best light. So please come back for Part 3 in which I show you how I sewed my second Ribbon Box quilt together and in so doing managed to eliminate a few more seams.

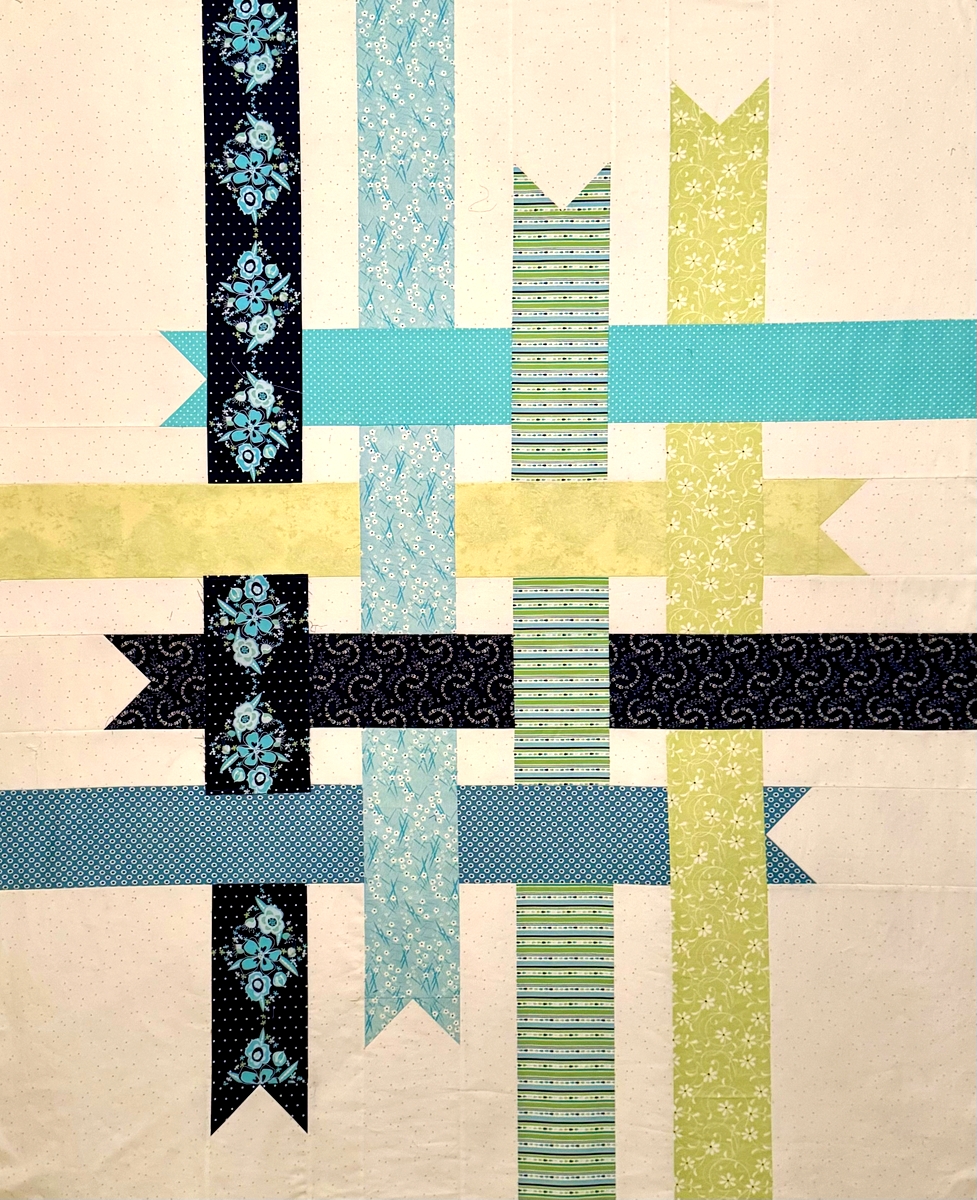
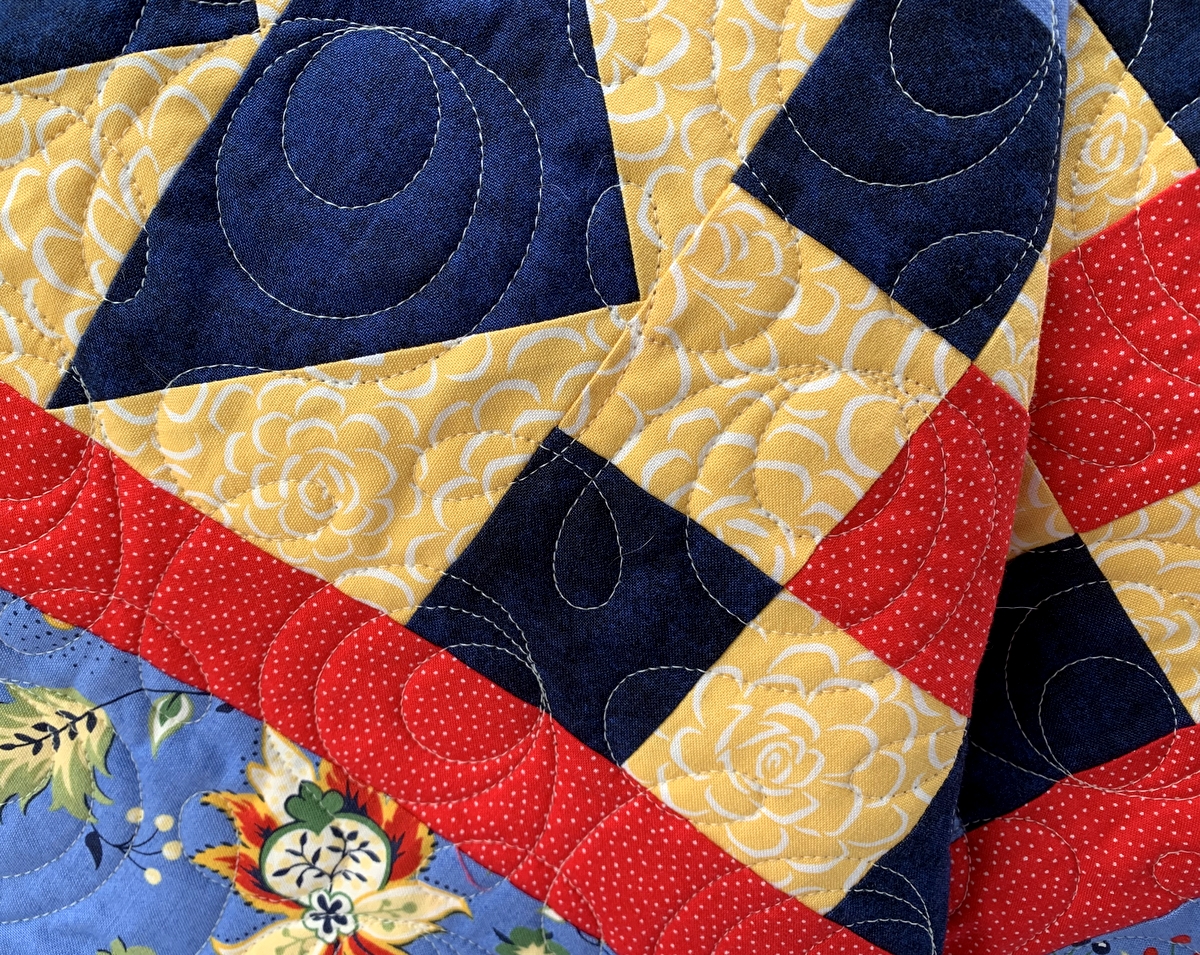
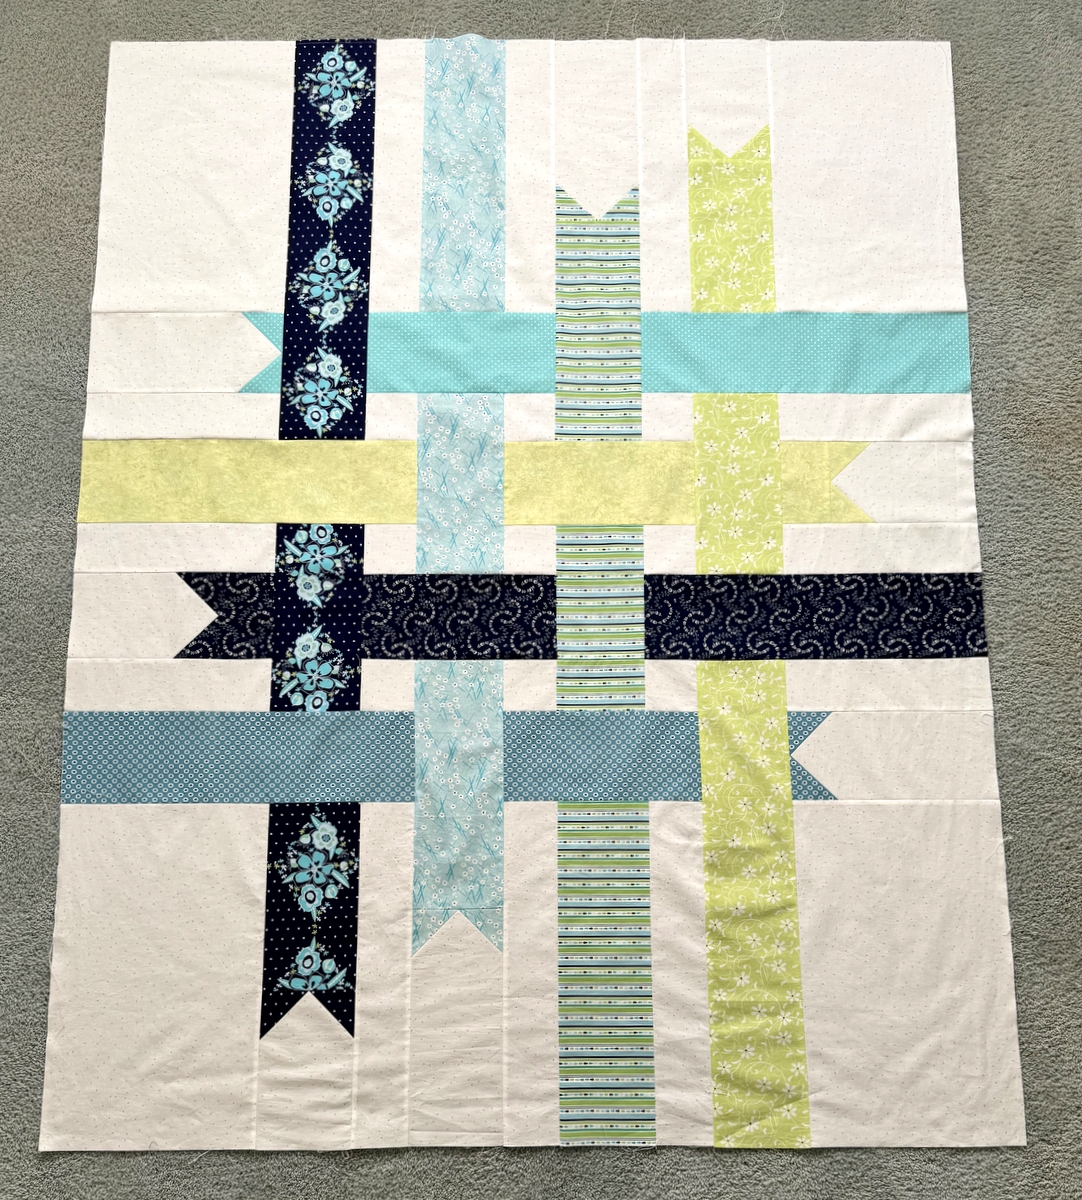
 Can it possibly be? A third version of the Ribbon Box quilt??
 After looking at that photo, I could see that the gold blender (fourth vertical strip) was much too strong so I rummaged around in my drawer of large scraps and found a softer shade of gold that seemed just right. Lo and behold, there was just enough of it to make a ribbon.
 This really helped in the assembly of the sections. Now take a look at the three sections, ready to be sewn together:
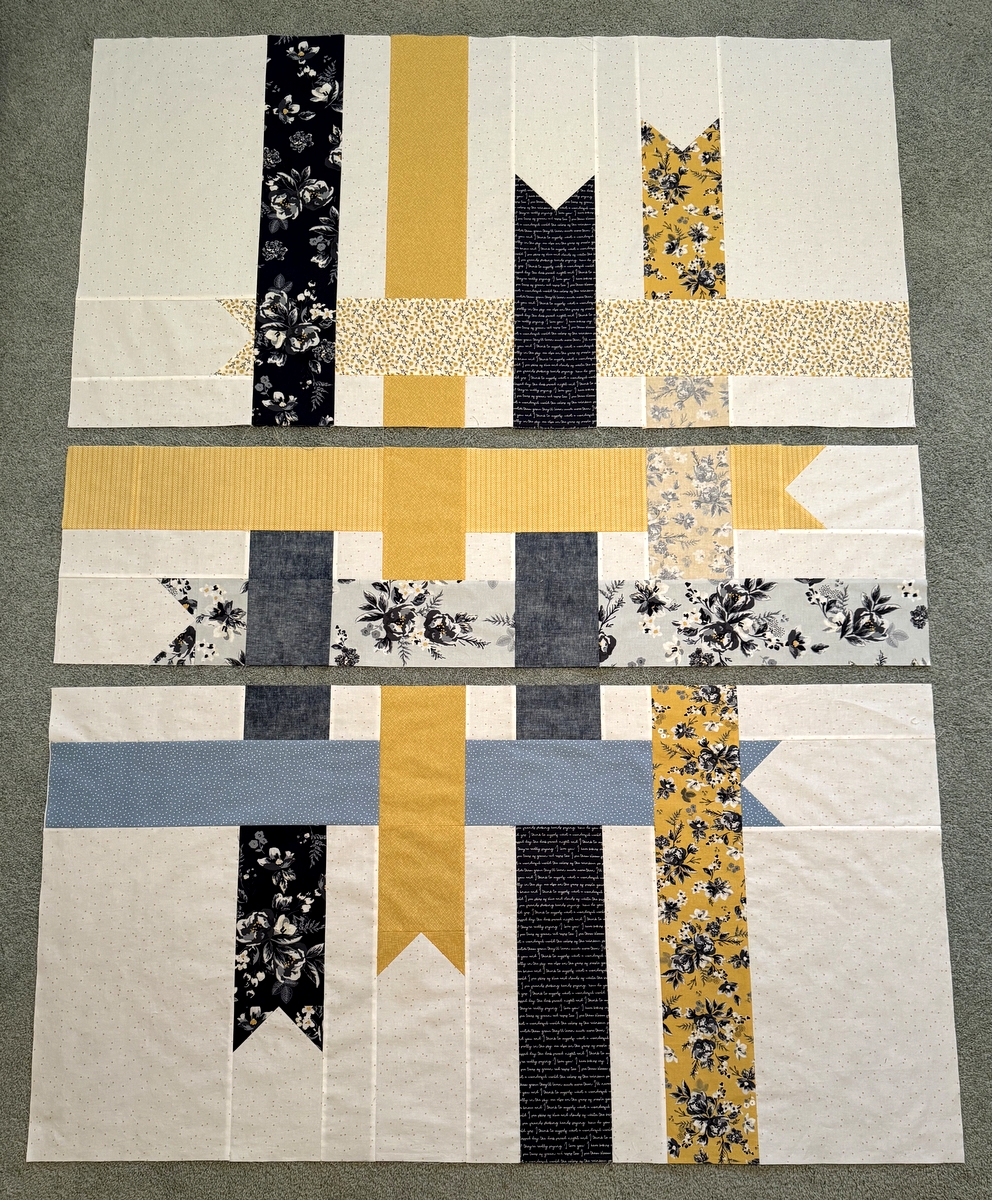 Notice anything unusual?