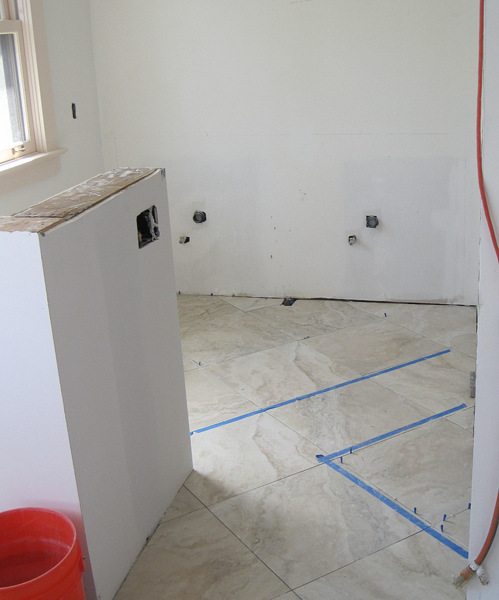
The tile is down on the bathroom floor. Here’s a view looking south . . .
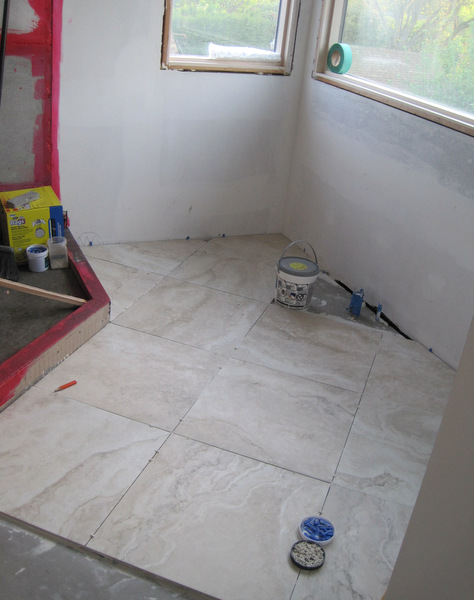
. . . and northeast:
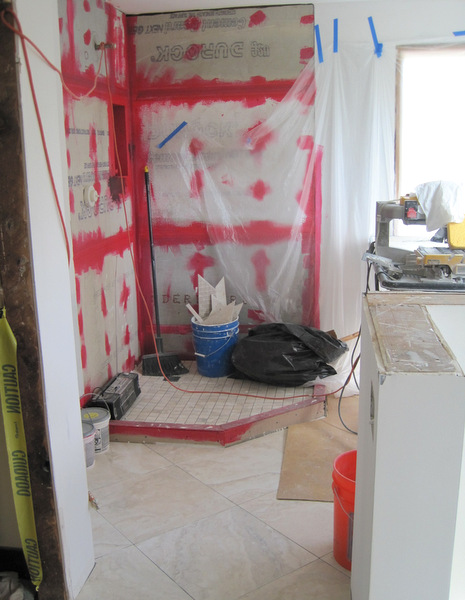
Setting the 20″ x 20″ floor tiles on the diagonal — on point, as we say in the quilting world — was an easy design choice. I use that setting in many of my quilts.
Here’s another view looking north:
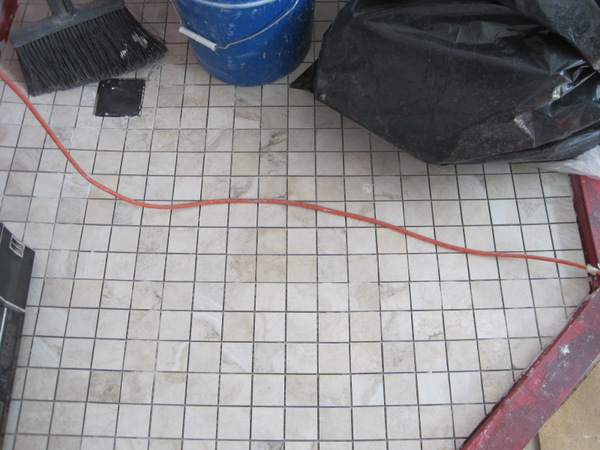
The 2″ x 2″ tiles on the shower floor are the same product (Century Darwin porcelain tile in the Floreana pattern):
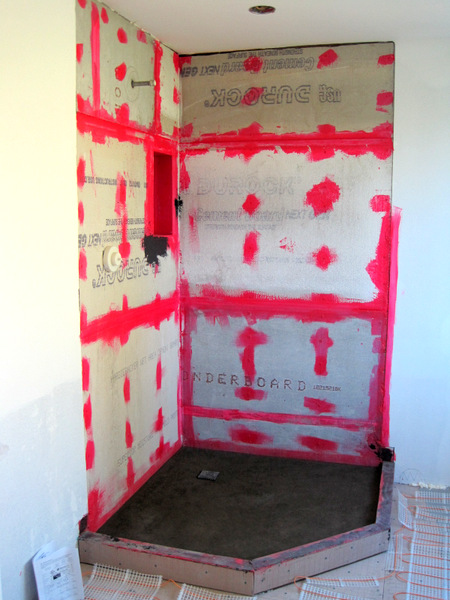
A few things had to be done before any tile could be laid. More prep work on the floor of the shower . . .
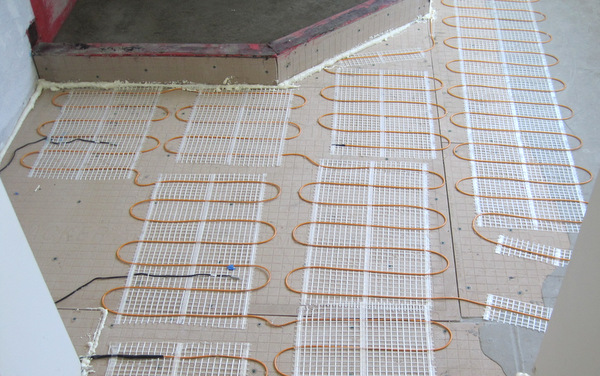
. . . and on the bathroom floor:
Do you know what those curly things are? You’re looking at one of the splurges in this remodel: an electric heat mat. I think the investment will be well worth it on a cold day!
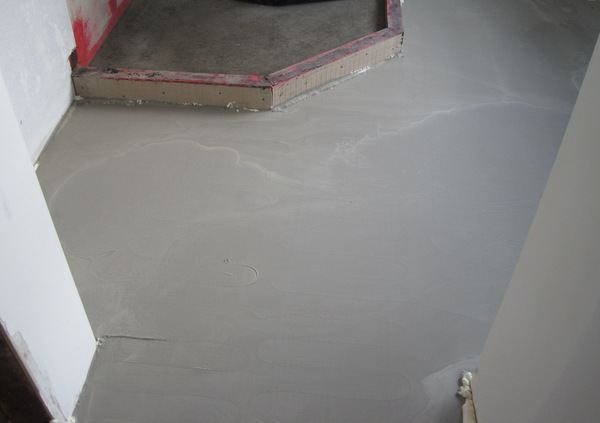
The heating mats were covered by some of that self-leveling compound:
Next up: white subway tile wainscoting on the shower/tub side of the bathroom.
If you’re a new reader, you can catch up on previous posts relating to the remodel by clicking on the links below:
March 16: Happy Birthday, House!
March 27: The Bathroom Remodel Begins
March 31: Bathroom Reno, Week 1
April 8: Bathroom Reno, Week 2
April 15: Bathroom Reno, Week 3
April 21: Bathroom Reno, Week 4
Thanks for stopping by!

It’s looking beautiful!! Love the tile. Won’t be long now!