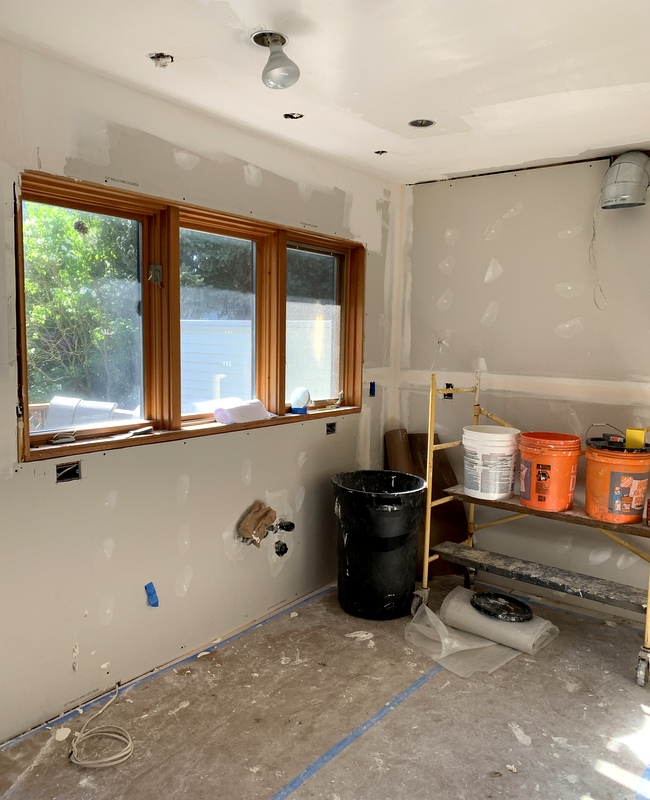
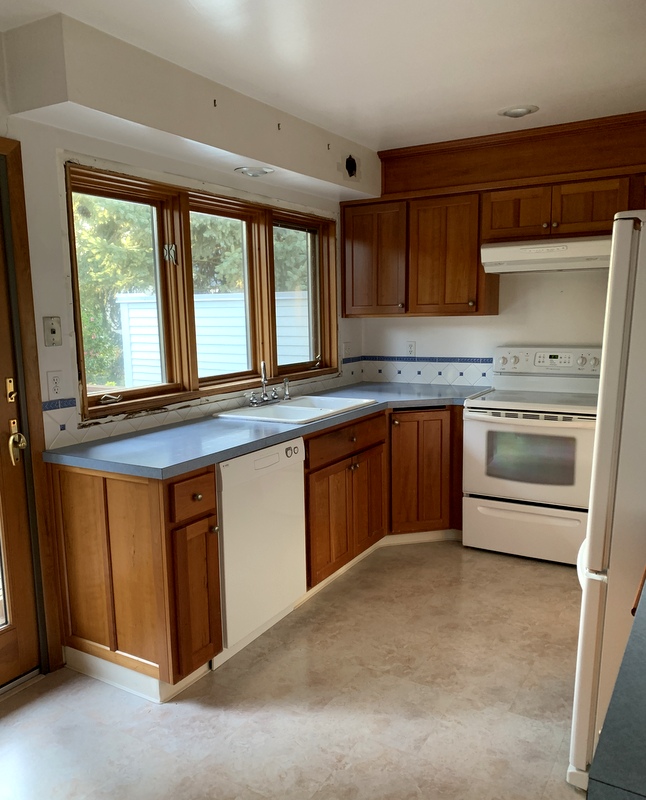
We have new windows in the kitchen! Take a look:
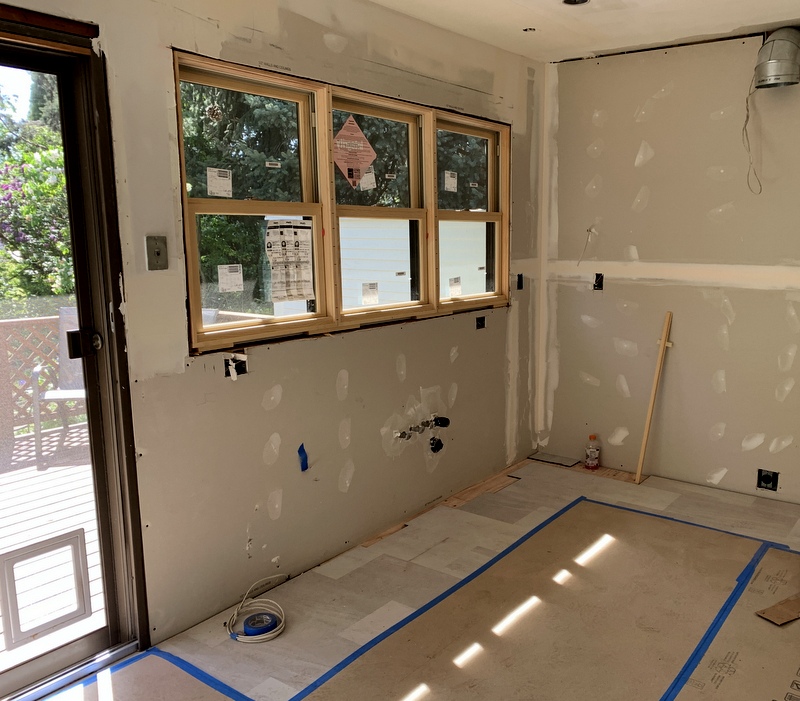
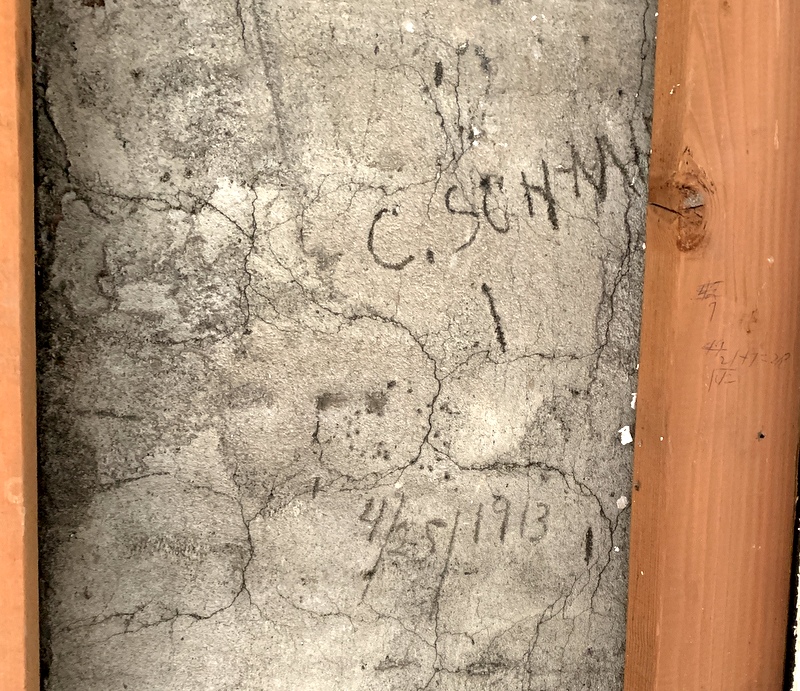
The windows are traditional double-hung windows made by Marvin, replacing three casement windows we installed in 1985. This time around I chose windows that match the rest of our 1913 Craftsman house; the trim around the new windows will match the rest of the windows as well.
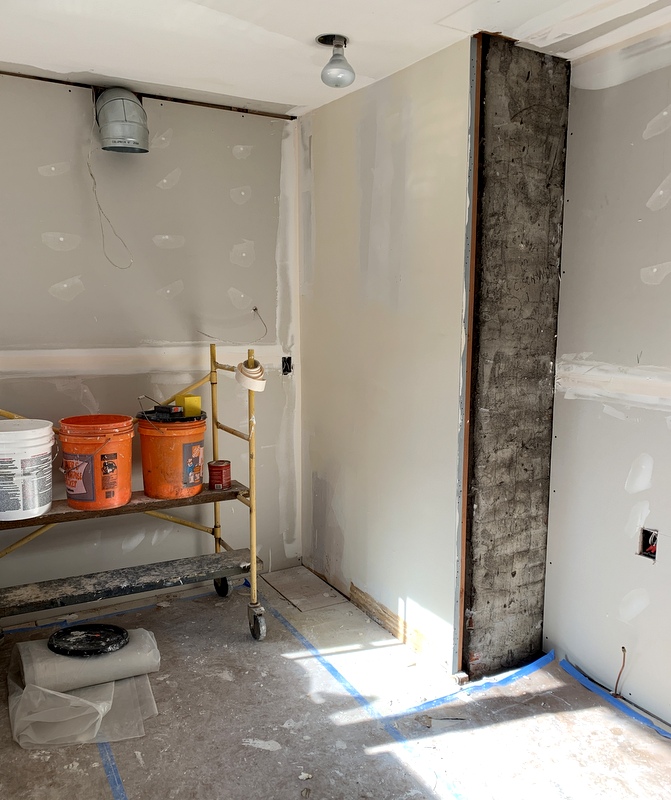
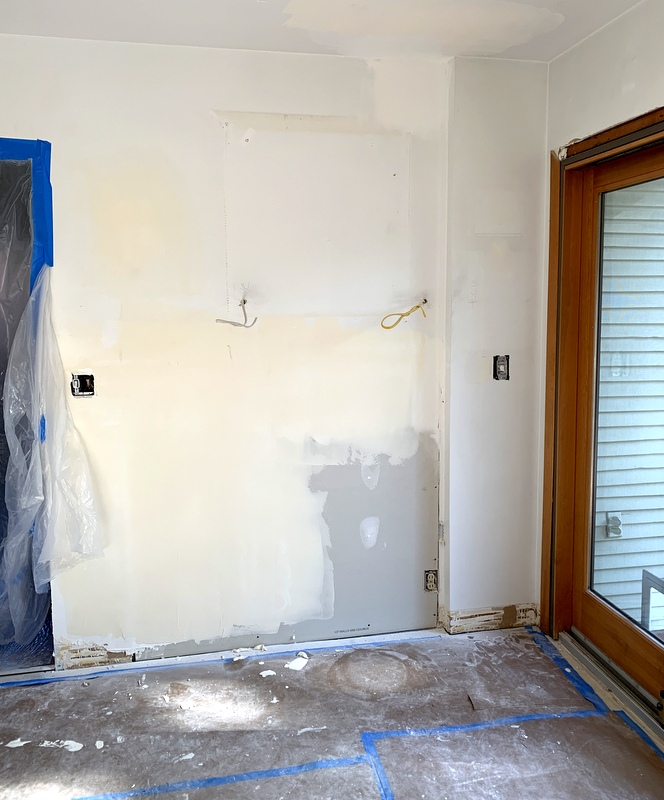
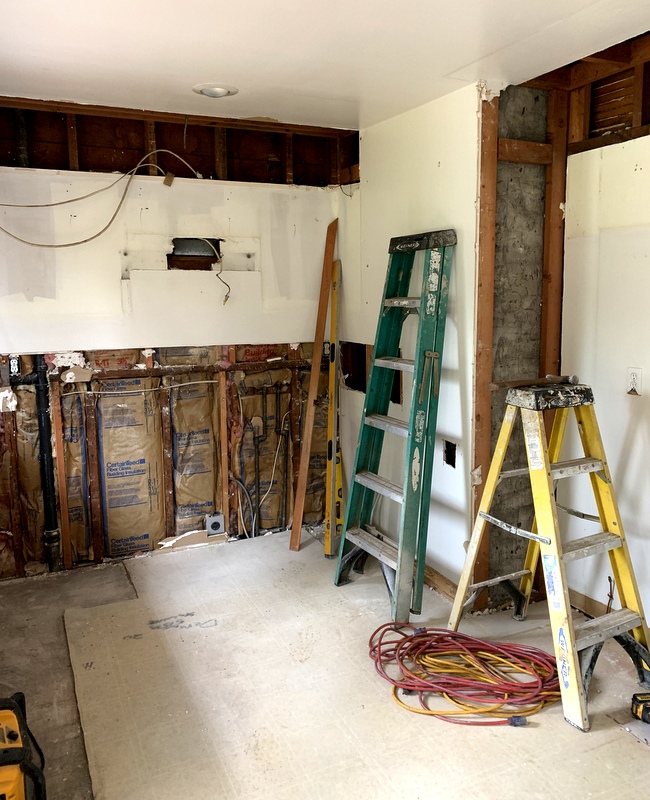
The floor also went in last week. I snapped a picture when it was partially in:
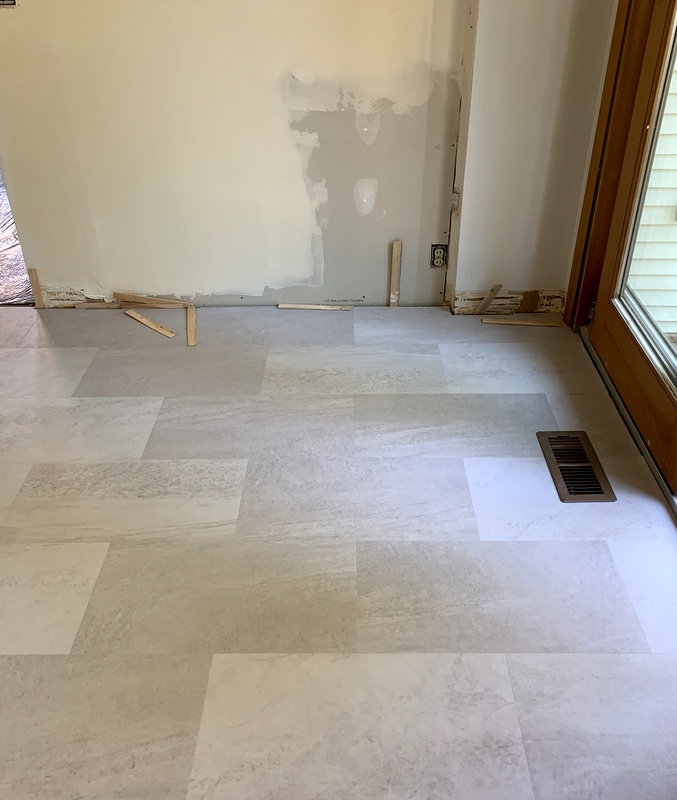
Before I could get a photo of the entire room, the workers covered the floor with butcher paper in preparation for the walls being painted.
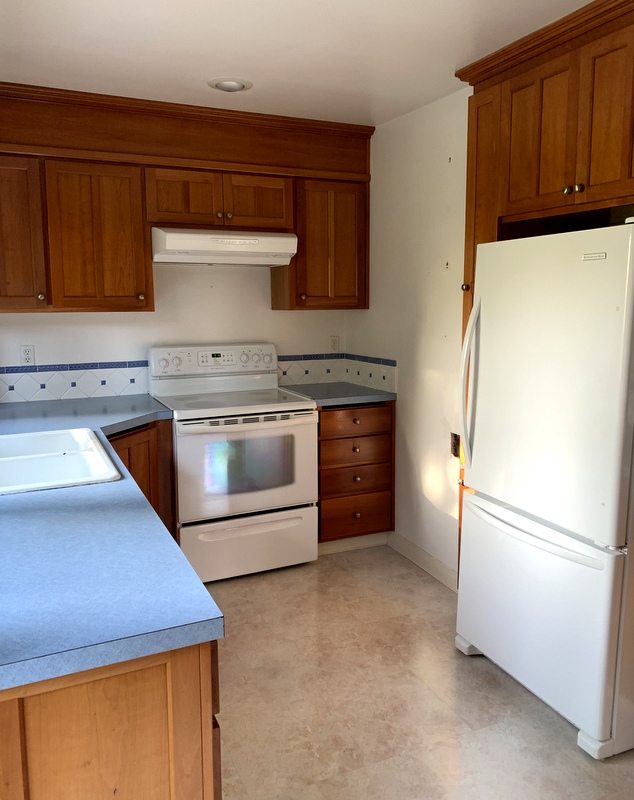
The floor looks like porcelain tile, doesn’t it? Surprise! It’s actually luxury vinyl tile — LVT for short. You practically have to get down on your hands and knees to see that it’s not real tile. LVT was an extremely practical choice for the Dear Husband and me. He and I both like to cook — he makes breakfast every morning and I do dinner. I don’t want to say we’re sloppy cooks but . . . we spill stuff. LVT is easy to clean and maintain plus it’s softer underfoot than tile. And definitely warmer. (We put porcelain tile in the master bath when we remodeled in 2013; my big splurge on that project was a heated floor).
I had these tiles (each measuring 12″ x 24″) installed across the width of the kitchen rather than the length. Since the kitchen is just a little over 9′ wide, I think the placement of the tiles will make the kitchen seem larger.
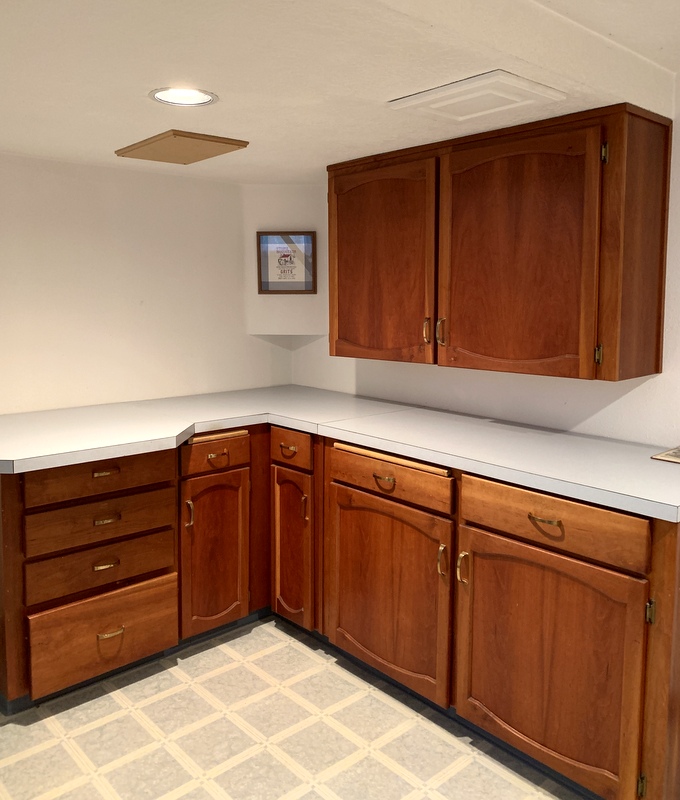
Now that you’ve seen the floor, take a look at my countertop and backsplash choices:
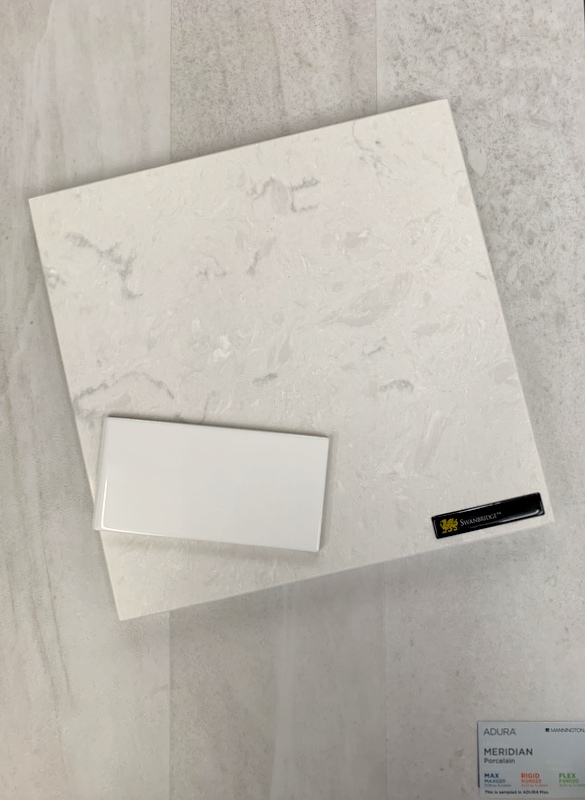
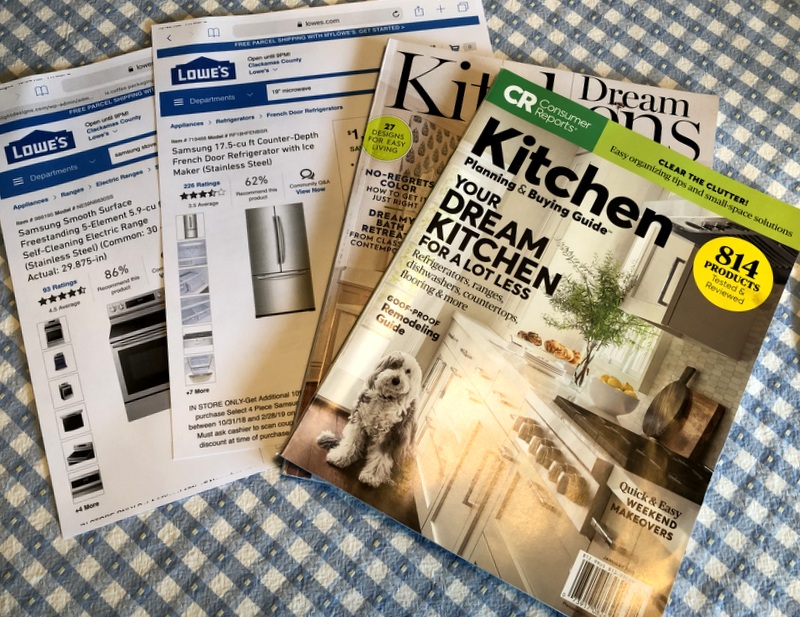
The countertops will be quartz. I chose the pattern “Swanbridge” from Cambria’s Marble Collection. I had to laugh when I read the manufacturer’s description of the design:
“A marbled background with grays and pinpoints of charcoal summon up images of the stony beach along Sully Island where pirates walked within sight of the Welsh hamlet of Swanbridge in the Vale of Glamorgan.”
Some copywriter sure got carried away. I prefer this description I saw on houzz.com: “a mix of very light grey, silvery grey veining and small dabs of creamy white.”
The backsplash will be 3″ x 6″ subway tile by Daltile in Arctic White. I looked at a lot of beautiful tile patterns but in the end I kept coming back to this simple classic look.
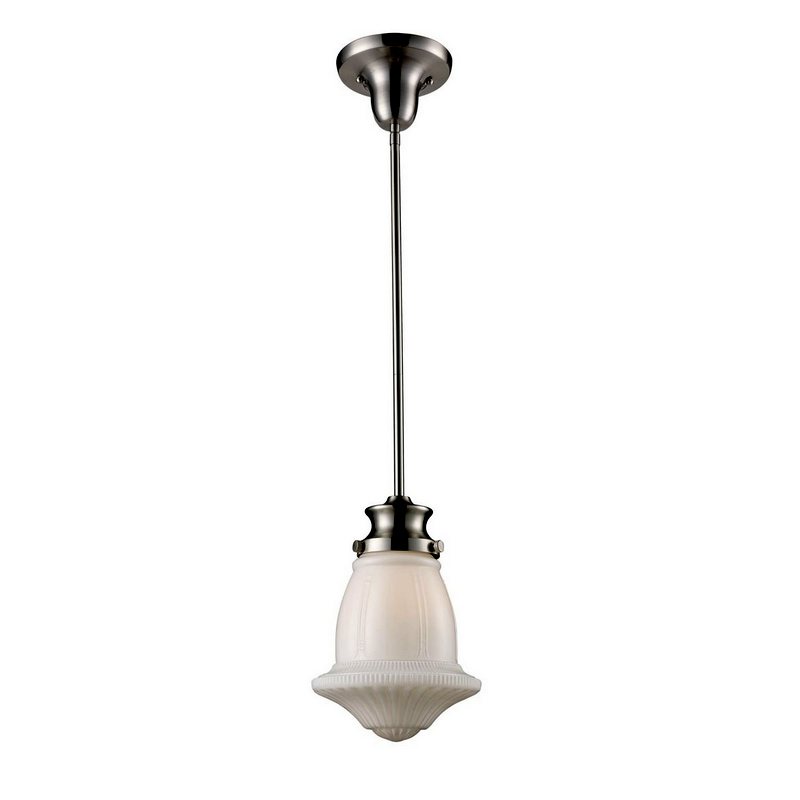
Remember the pendant lights I showed you in my Week 2 post? They turned out to be waaay too big. I returned them and found a more suitable size:
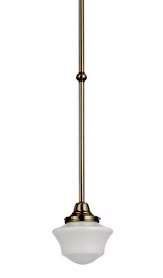 These globes are 6″ wide and 4½” tall — much more suitable for the space. And they were much less expensive than my initial choice.
What’s coming up in Week 4? Paint! And on Friday we expect the cabinets to be delivered. I can hardly wait!