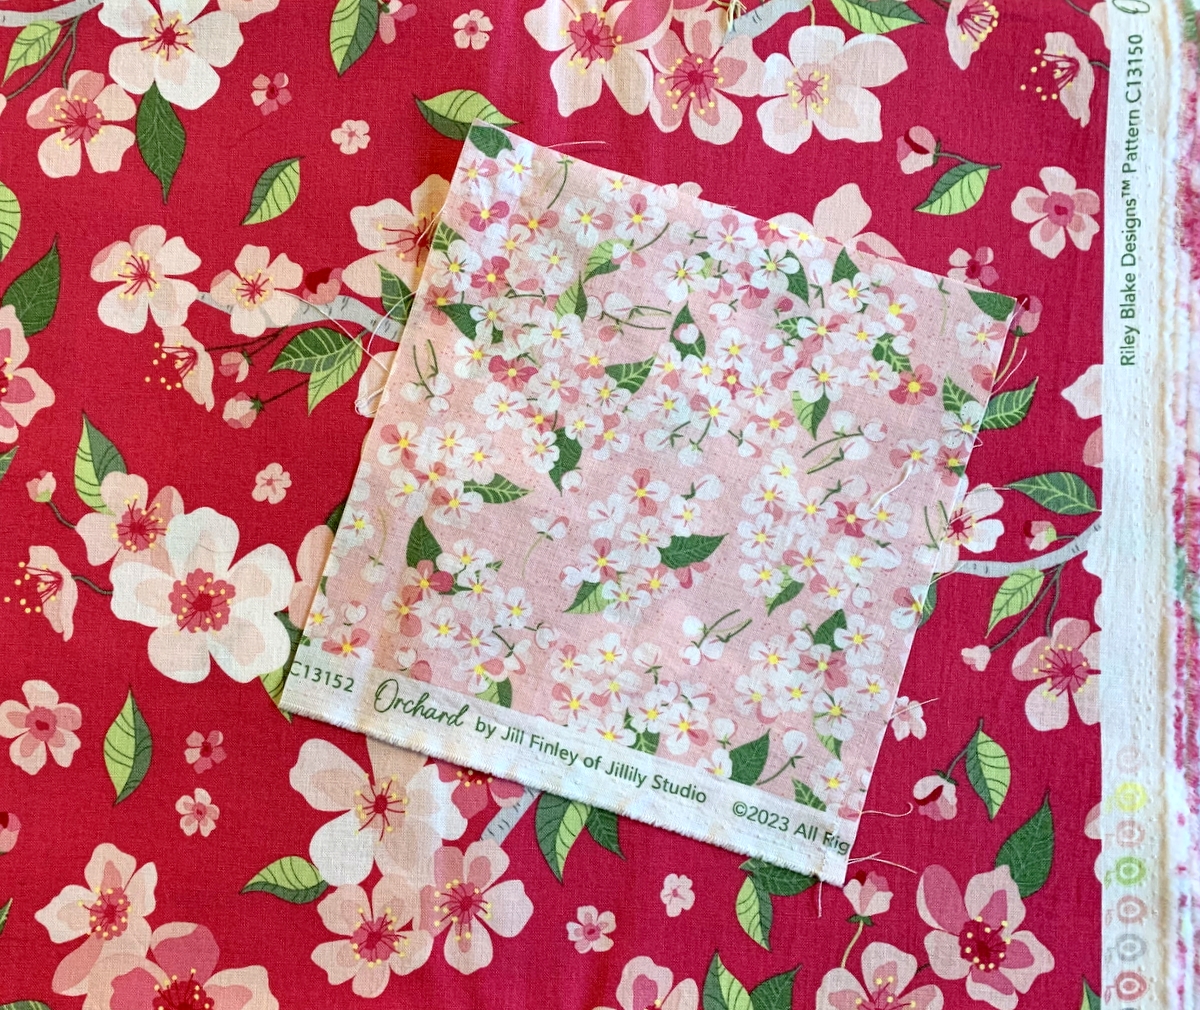
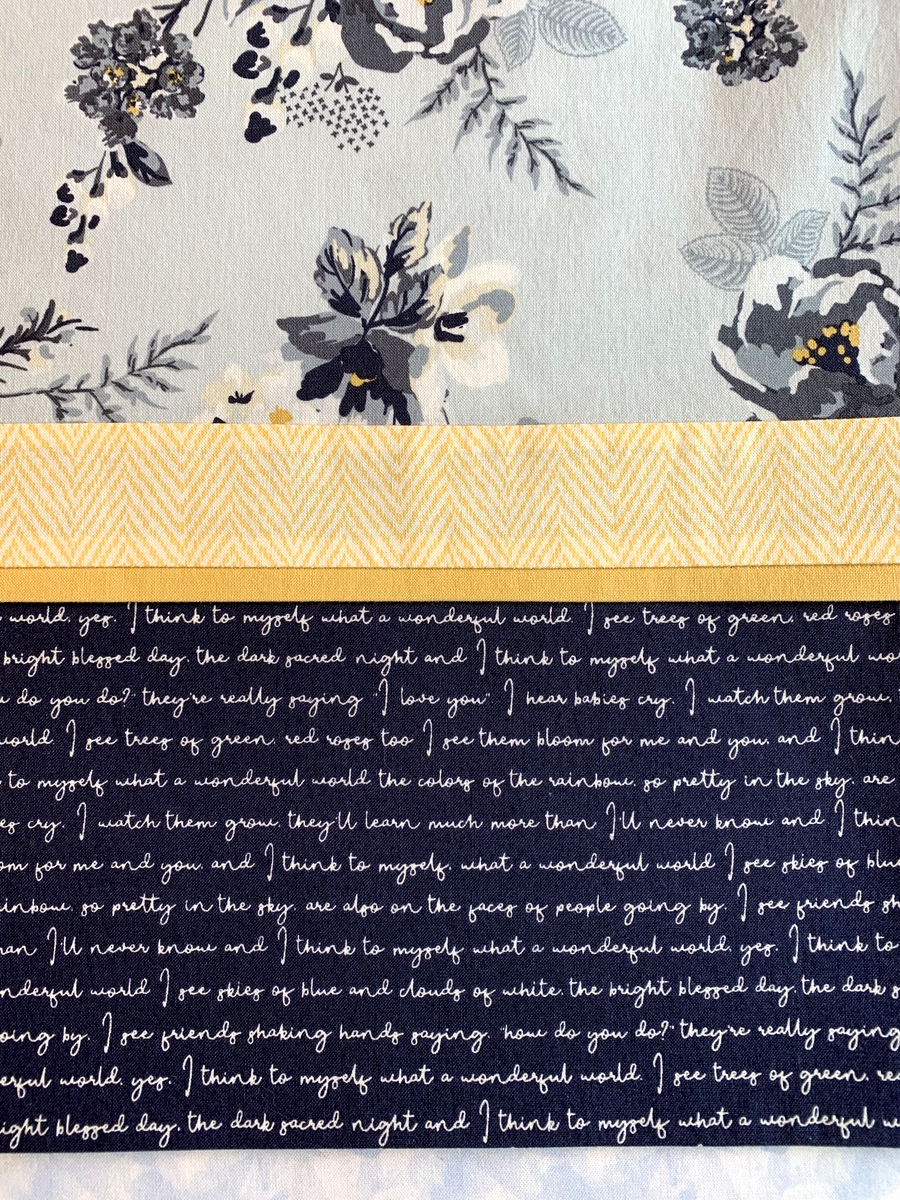
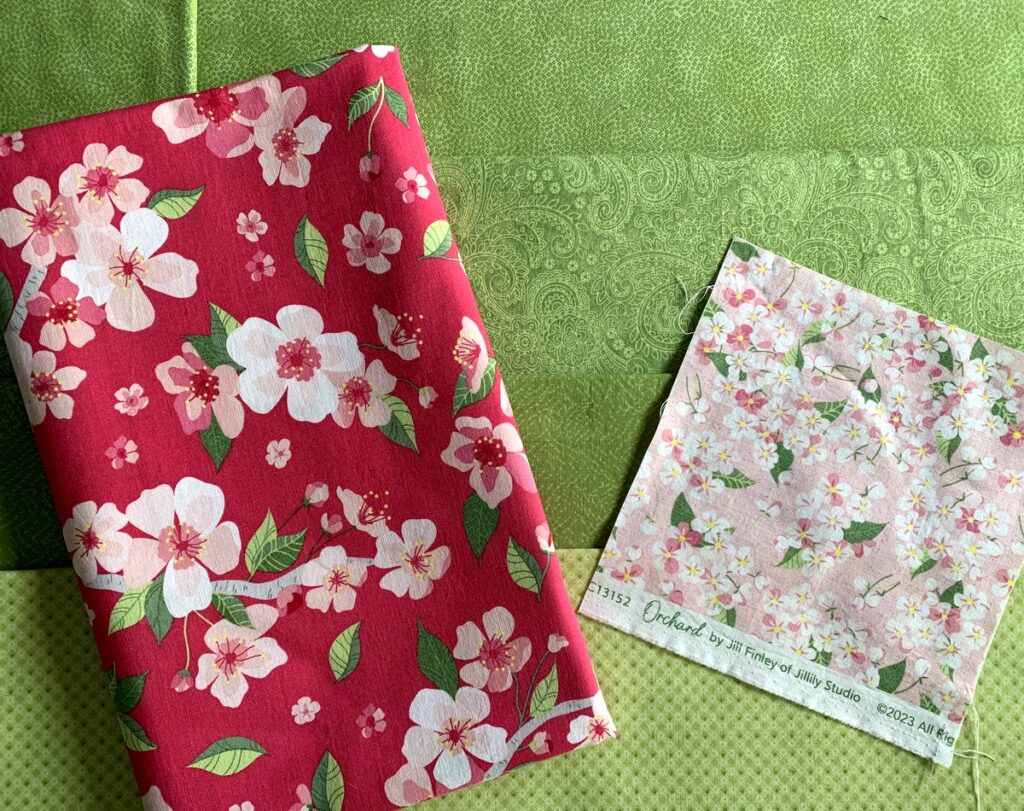
The plan was to make a fast quilt top last weekend. My starting point was this luscious pair of fabrics from the “Orchard” line by Jill Finley for Riley Blake Designs:
 (I ran off in high spirits last year and bought several pieces from the line, not knowing what I would do with the fabrics, just knowing that I had to have them.)
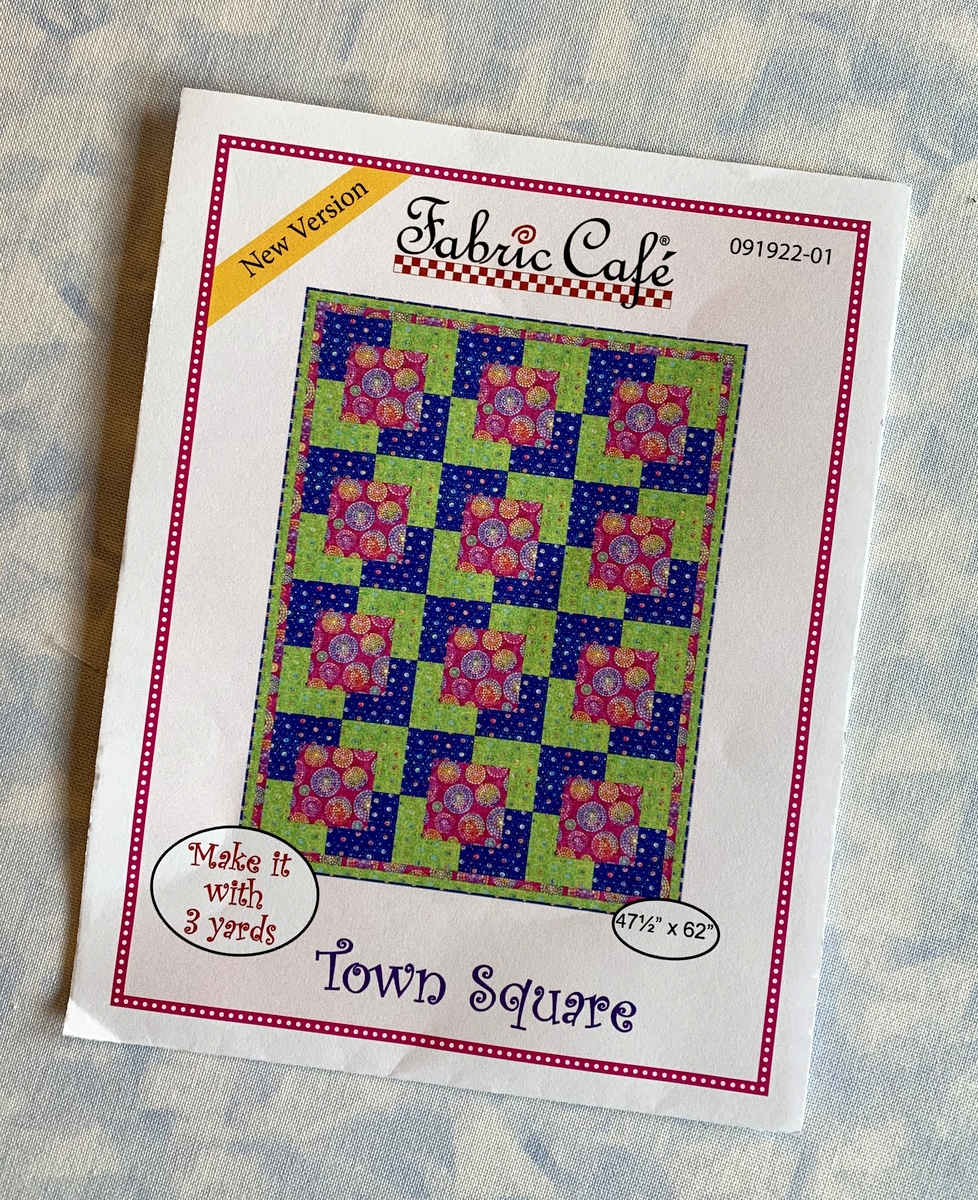
I picked this pattern . . .
 . . . because it called for just three fabrics and I could tell it would be fast and fun to make, just the ticket because I’ve been in a bit of a sewing slump.
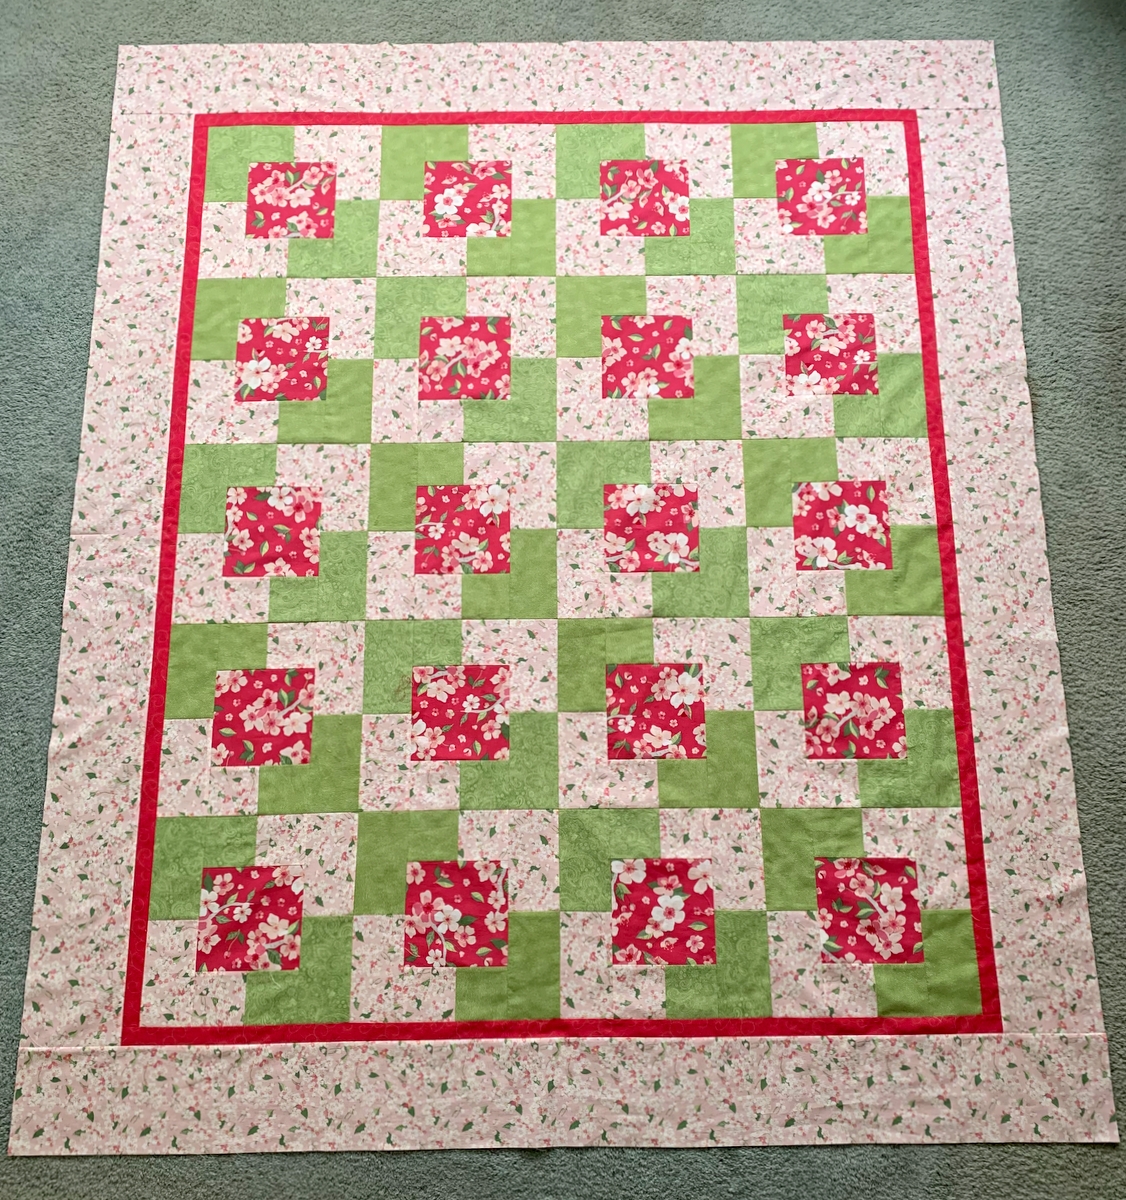
The pattern calls for one yard each of three fabrics and is made of 12 blocks that finish at 15″. Two slender borders complete the quilt. I immediately decided to make a larger quilt. I downsized the block to 12″ and chose a 4 x 5 layout, which would yield a top measuring 48″ x 60″ before borders. The outer border will definitely be wider than the one in the pattern; my plan is to create a top that measures 60″ x 72″ or thereabouts, a good size for a throw or lap quilt.
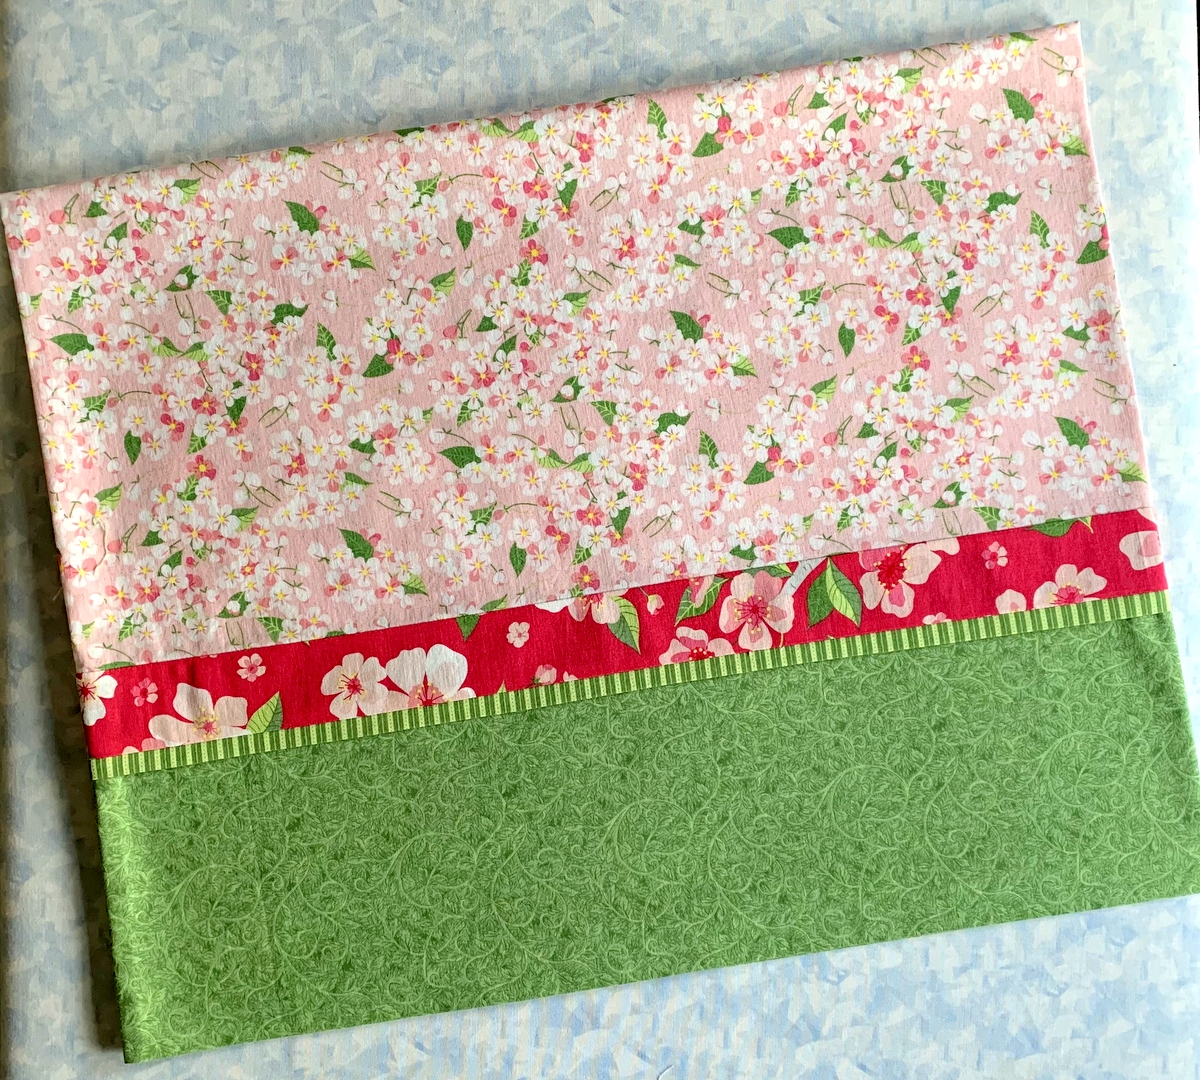
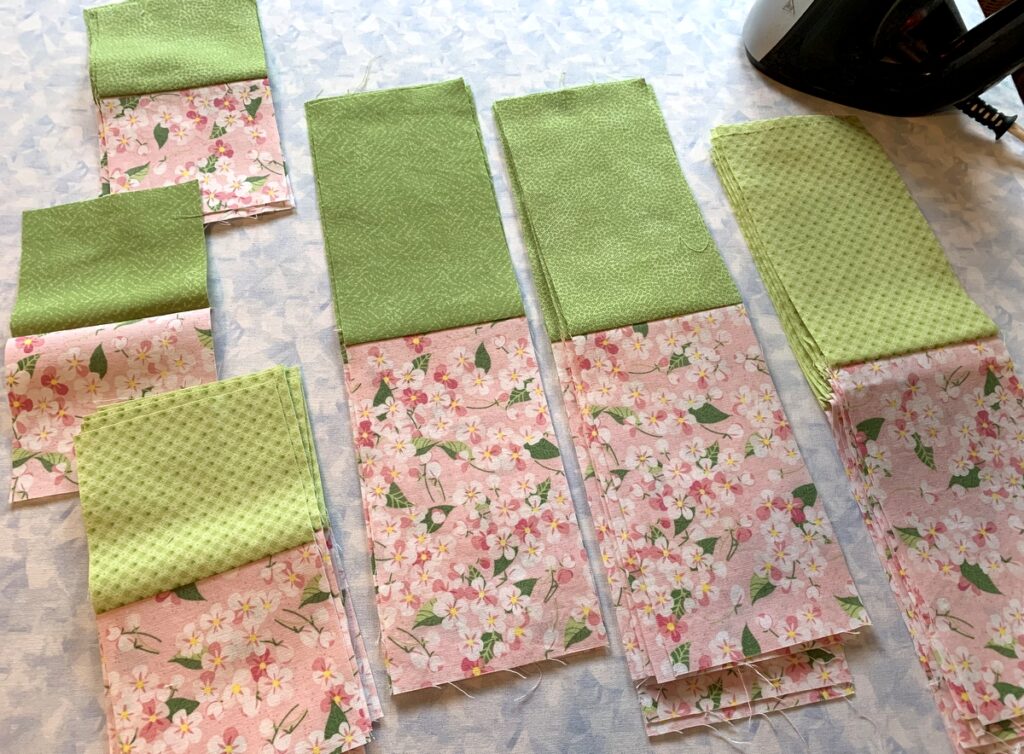
I also decided to make the quilt a wee bit scrappy by choosing four green fabrics that are very similar in color and value. Here they are with the focus fabrics:
 I was so sure of my fabric choices that I didn’t make a test block before cutting my strip sets from the four greens and the smaller floral print. Uh-oh. Big mistake. I was definitely not loving the first four scrappy blocks:

My favorite green was the tone-on-tone paisley so the plan was to proceed with that one. I was preparing to take the stacks with the remaining greens apart so I could salvage the pink floral . . .
. . . when I thought, “What about using a second green?” I retrieved one of the sets above and made four test blocks with it and the paisley:
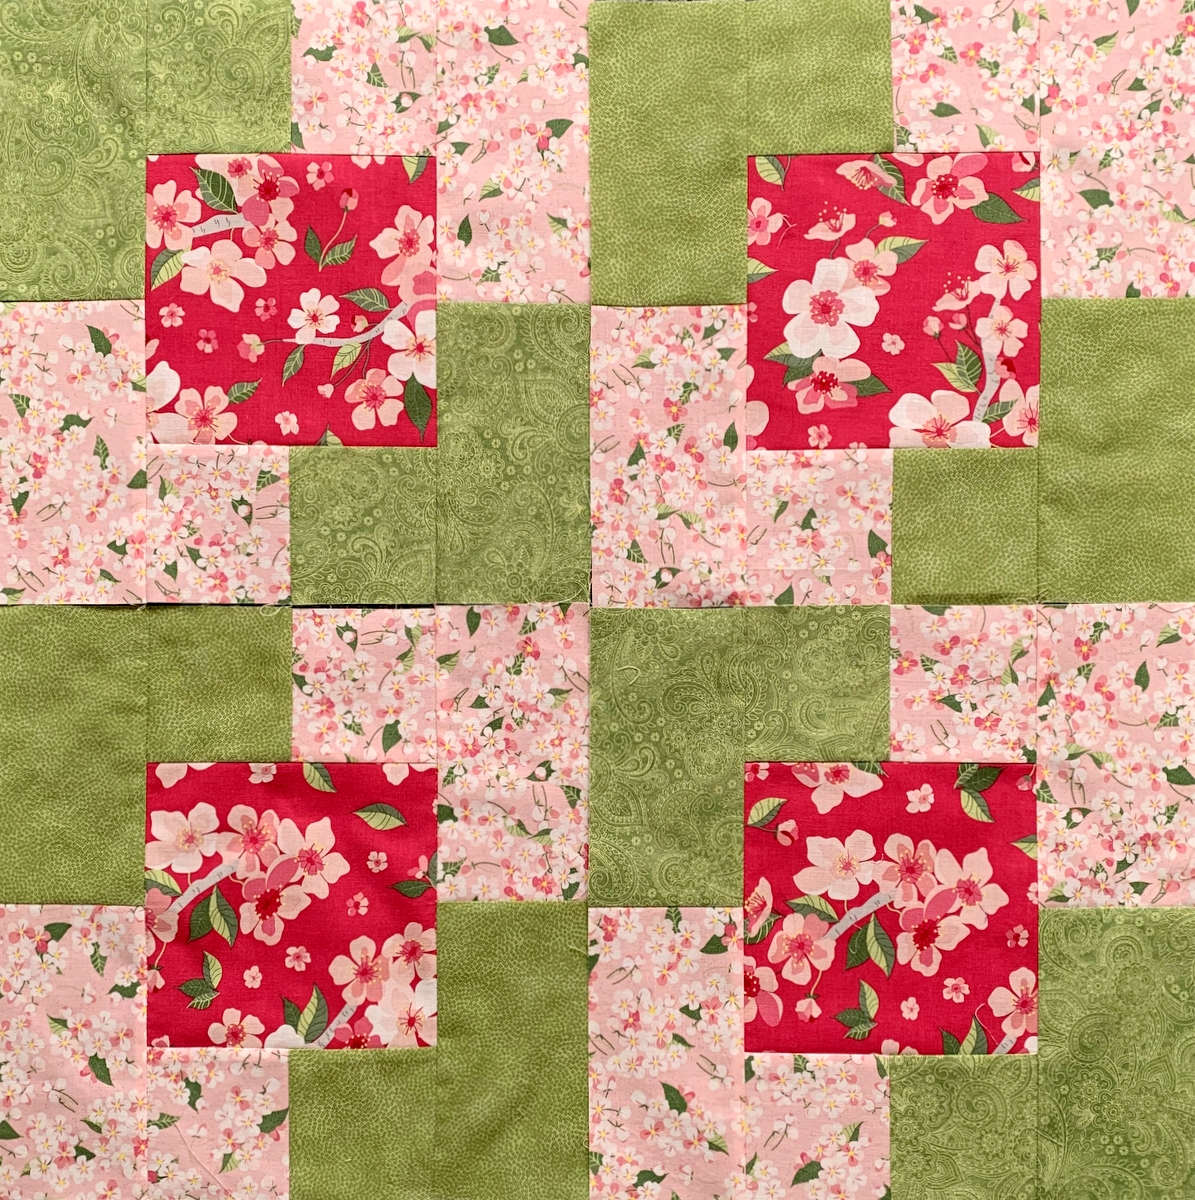
 I’m liking this much better. I could have gone with one green and I almost did, realizing that part of the charm of this design is its utter simplicity. But I really like the way the two greens play with the florals as well as with each other, and the second green does add a bit more visual interest.
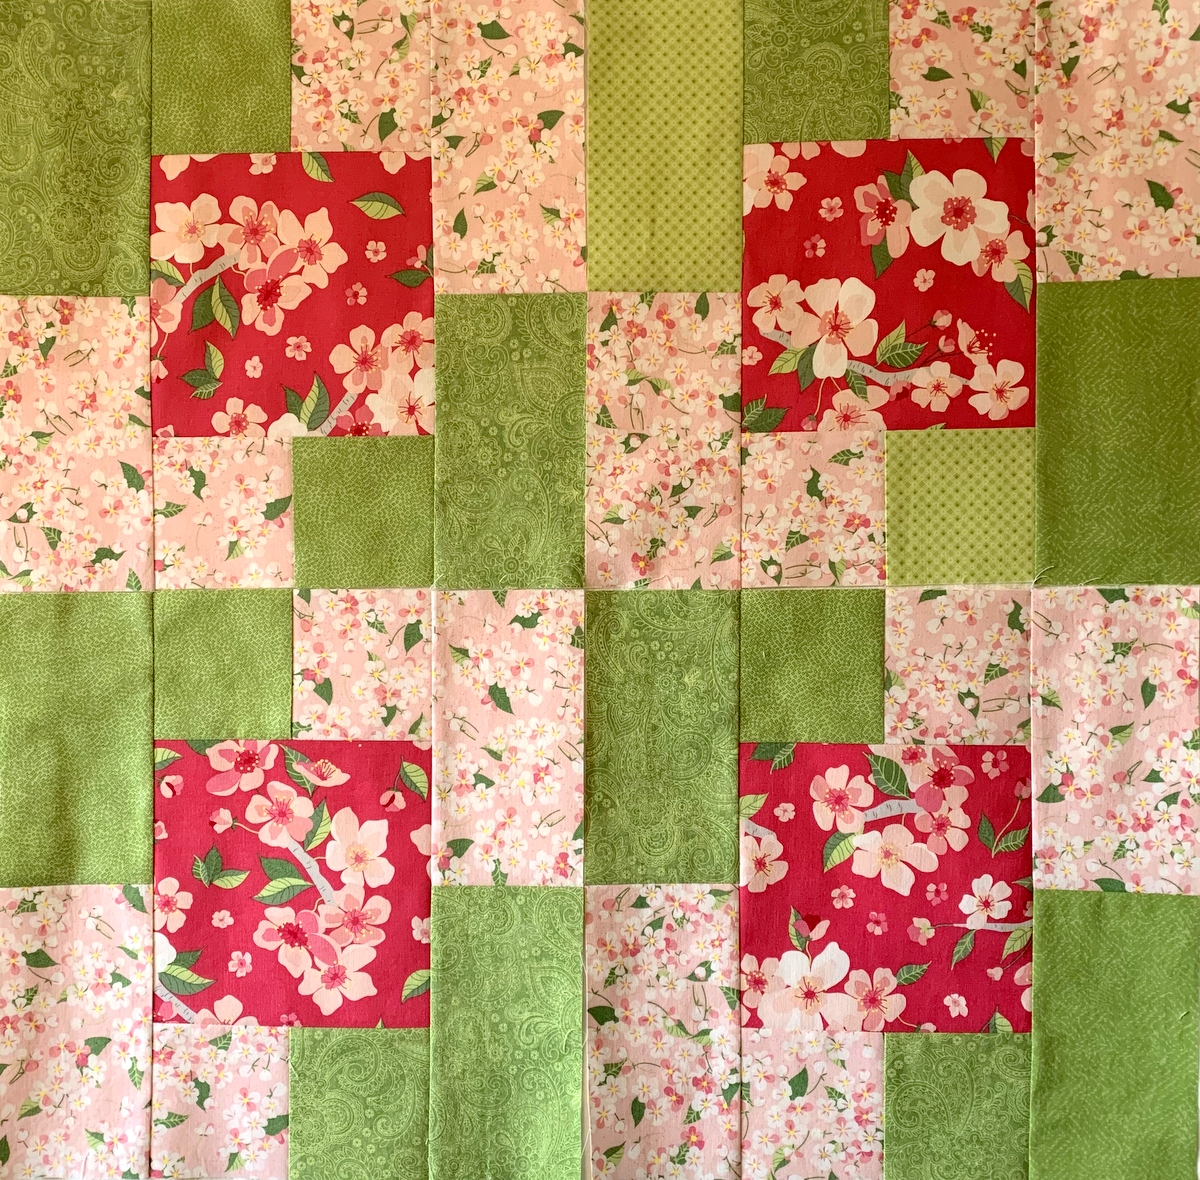
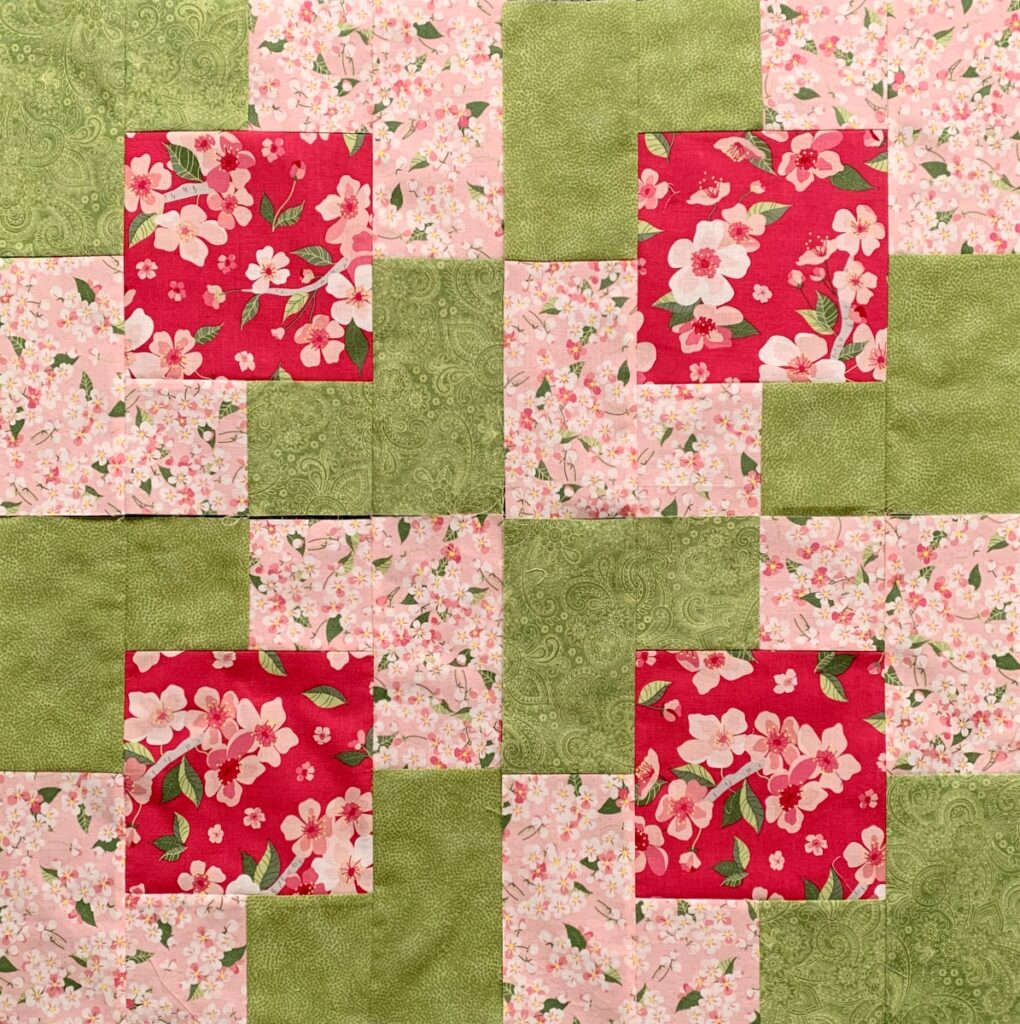
The blocks went together very quickly once I had the pink floral pieces attached to the greens. This is what I have to show for it:
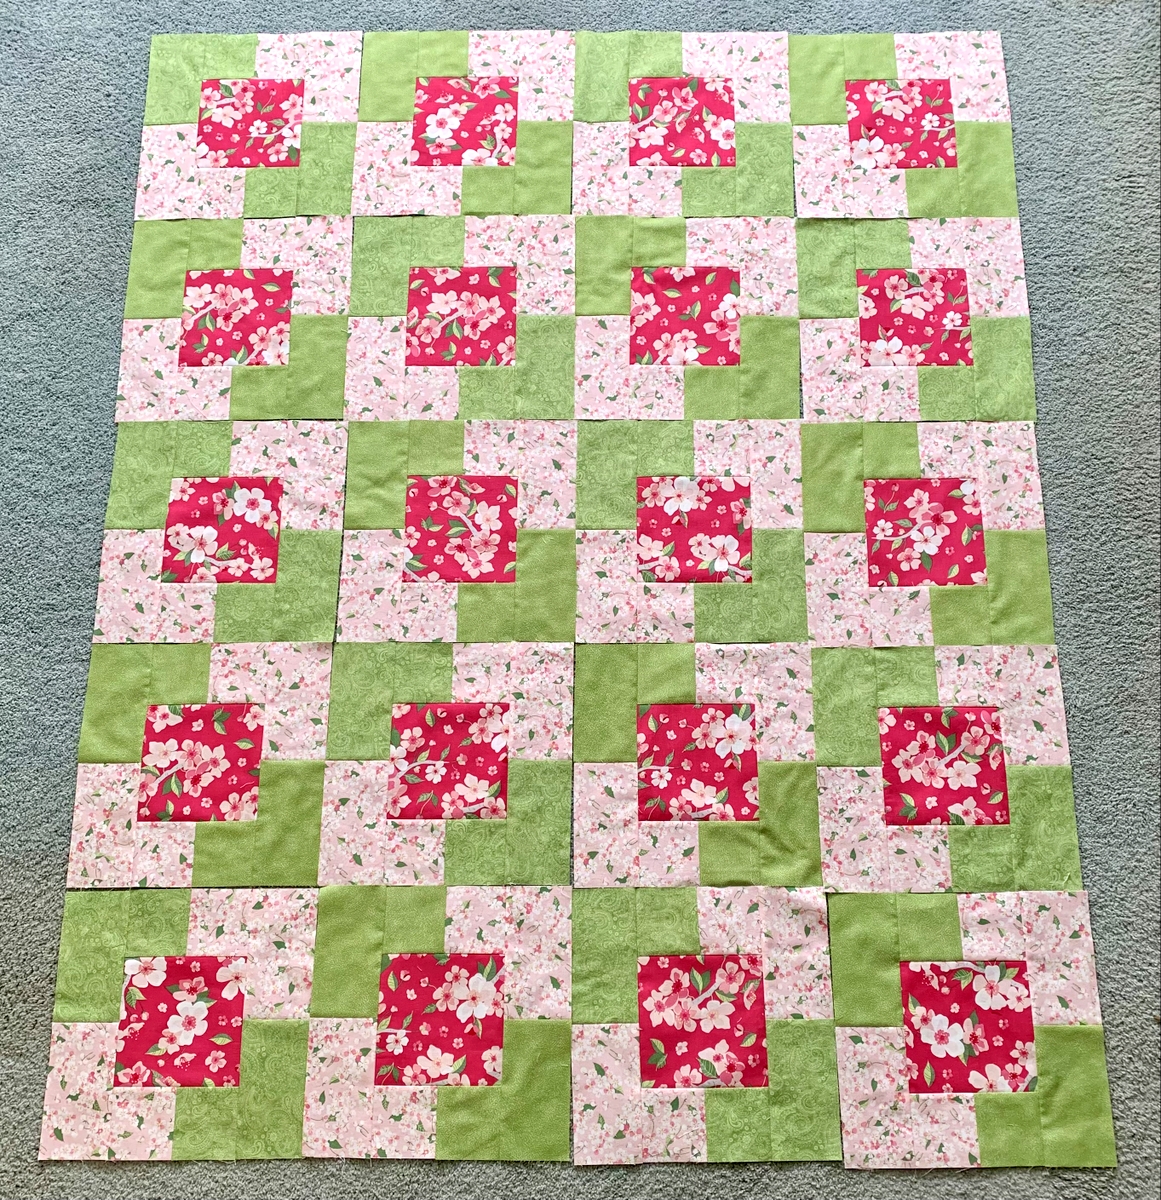
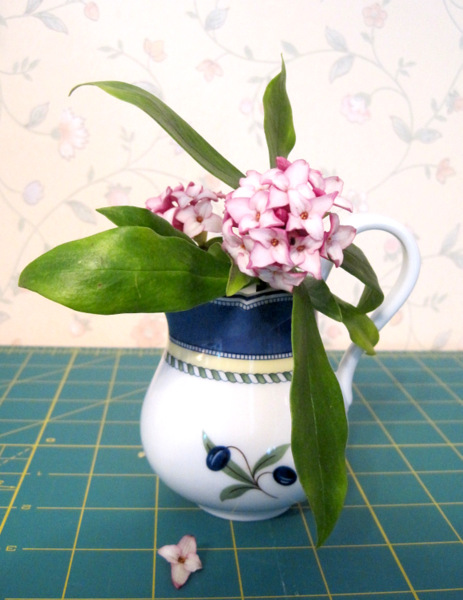
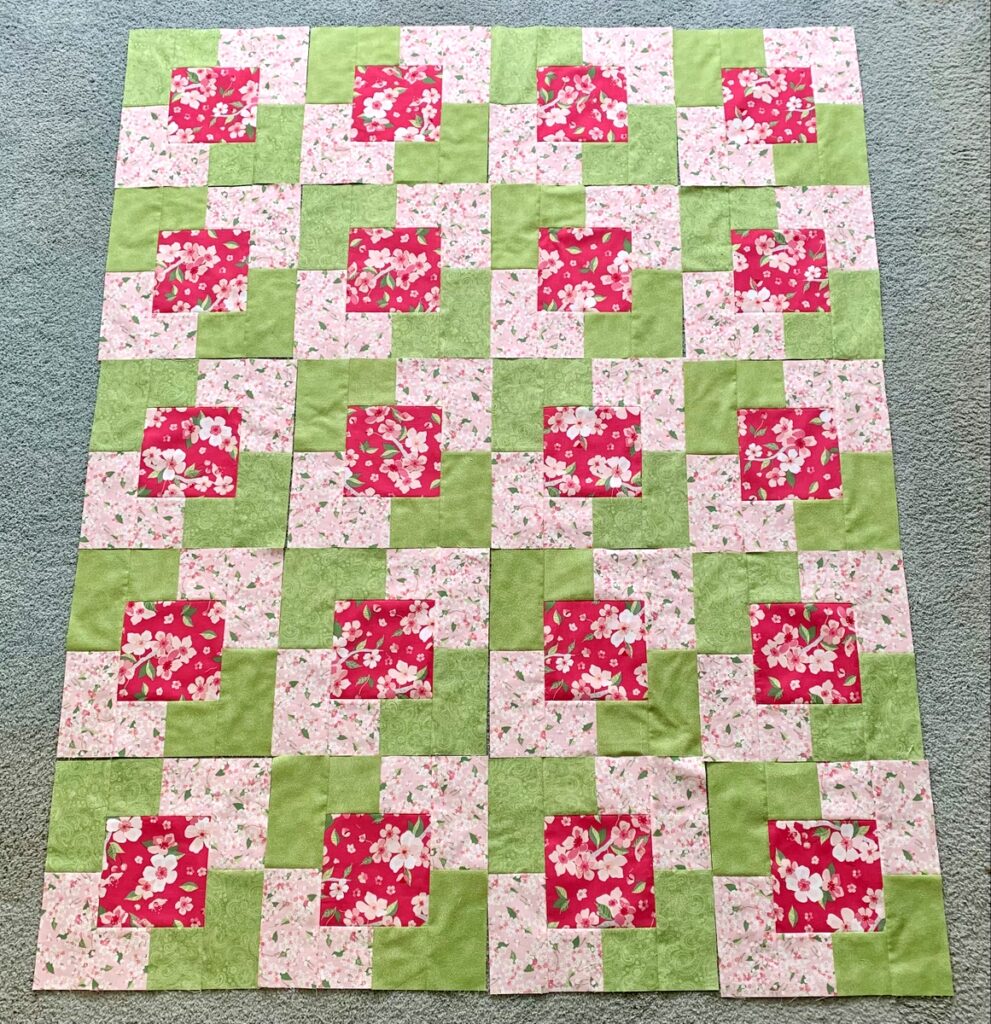 Isn’t that refreshing? I love pink and green together. The colors are so reminiscent of daphne, that harbinger of spring . . .
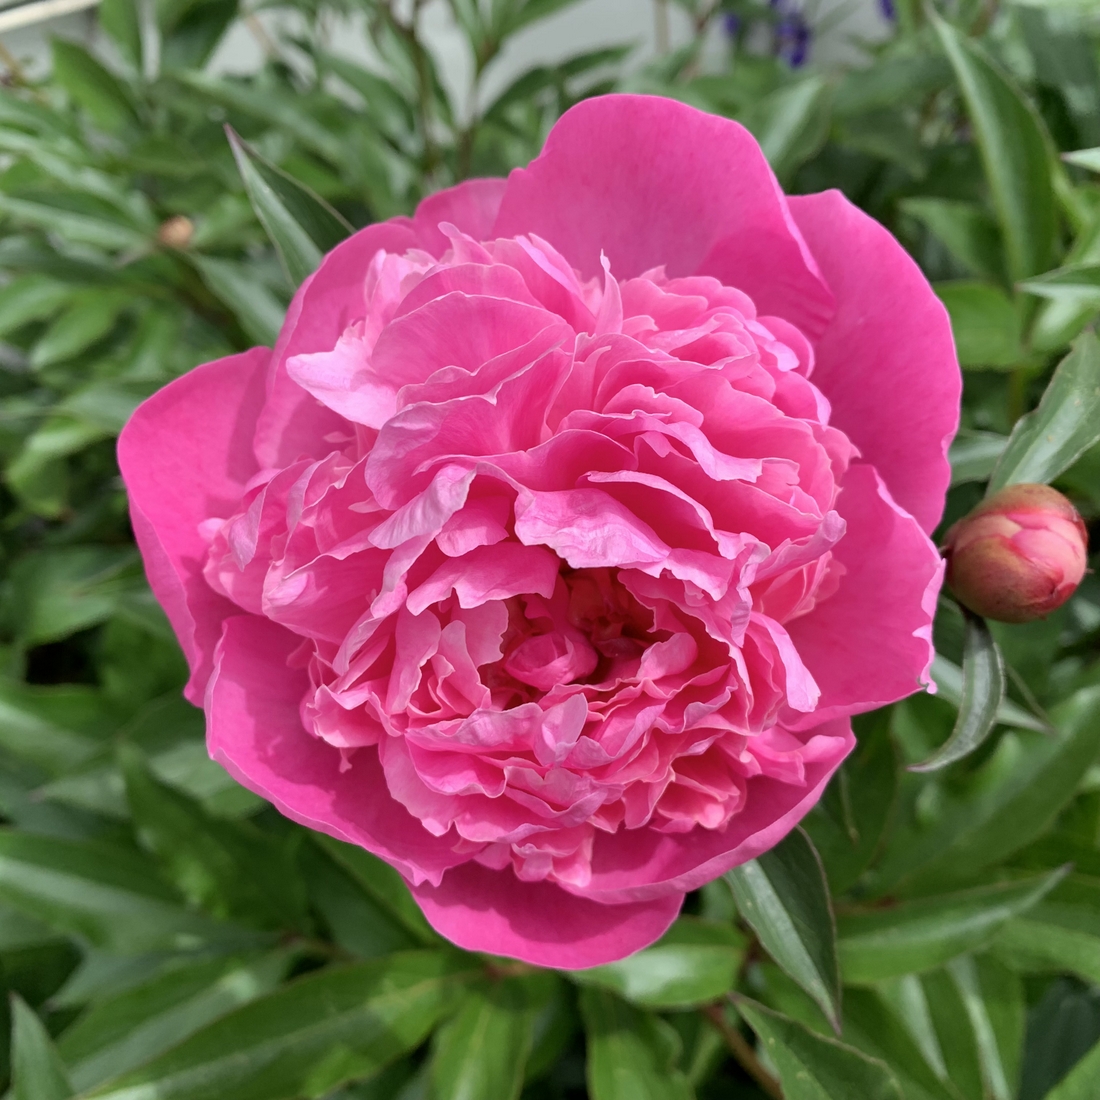
 . . . and the peonies in our yard that bring me joy every year . . .
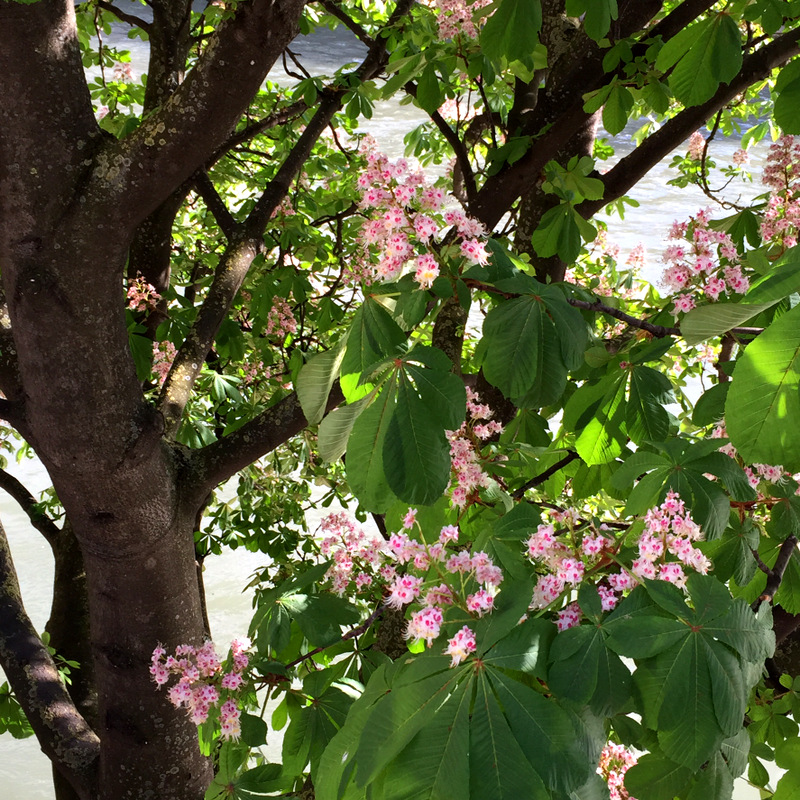
 . . . and even this photo of chestnuts in blossom that I took in April 2015 when the Dear Husband and I were lucky enough to spend three weeks in Paris:
Since today just happens to be National Quilting Day, it’s fitting that I was able to spend a good part of it in my sewing room. Even though this project got off to a very slow start, I am eagerly looking forward to sewing my blocks together and adding borders.
Something else to look forward to: spring begins this coming Tuesday!

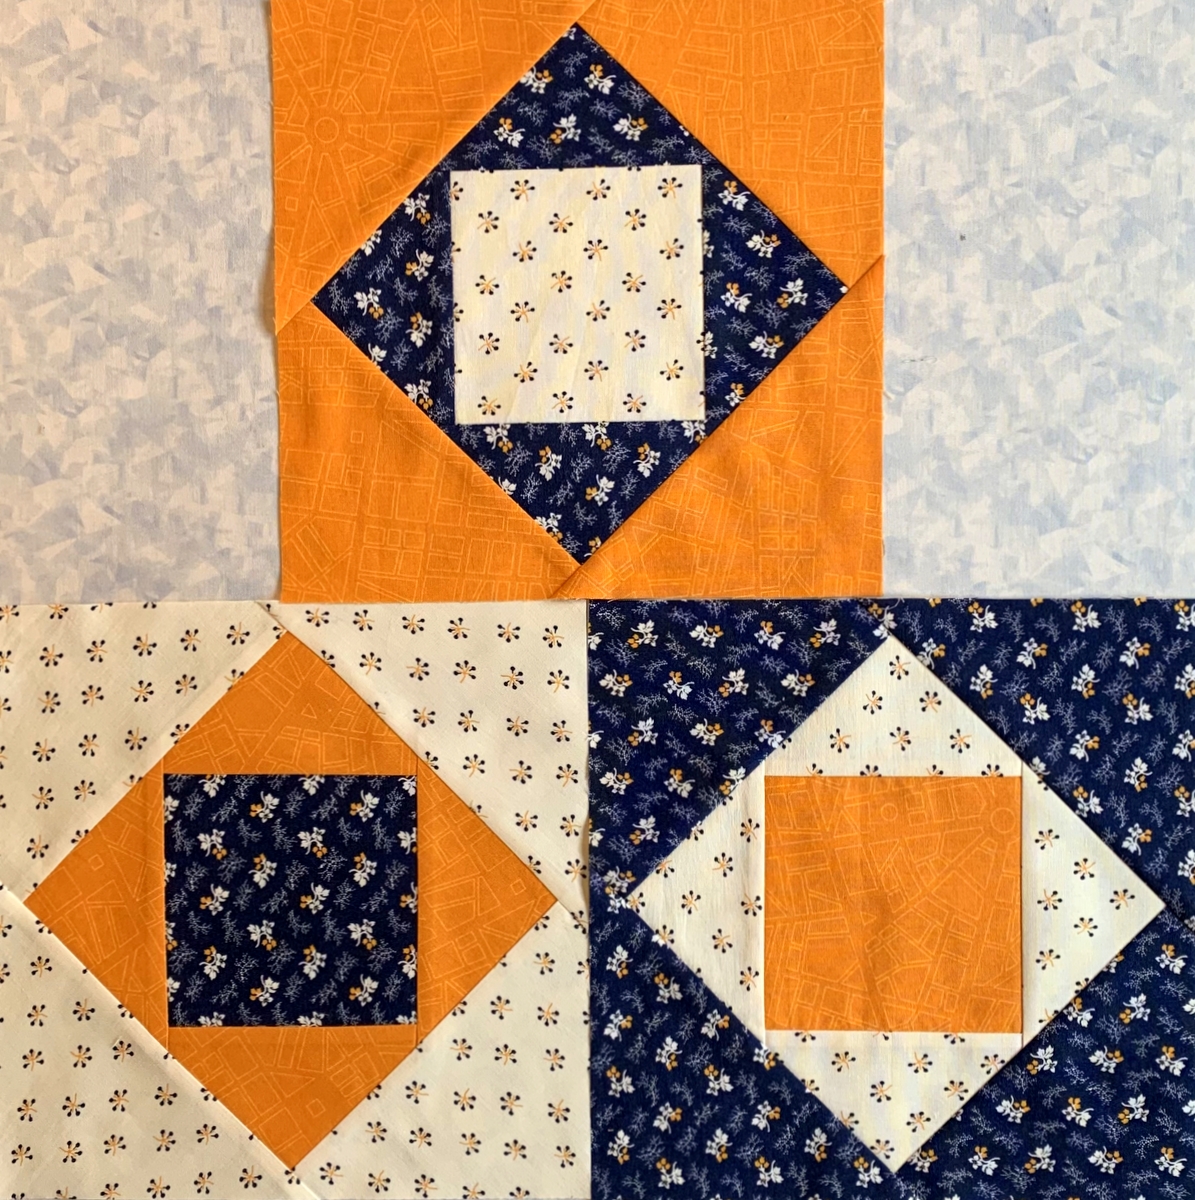
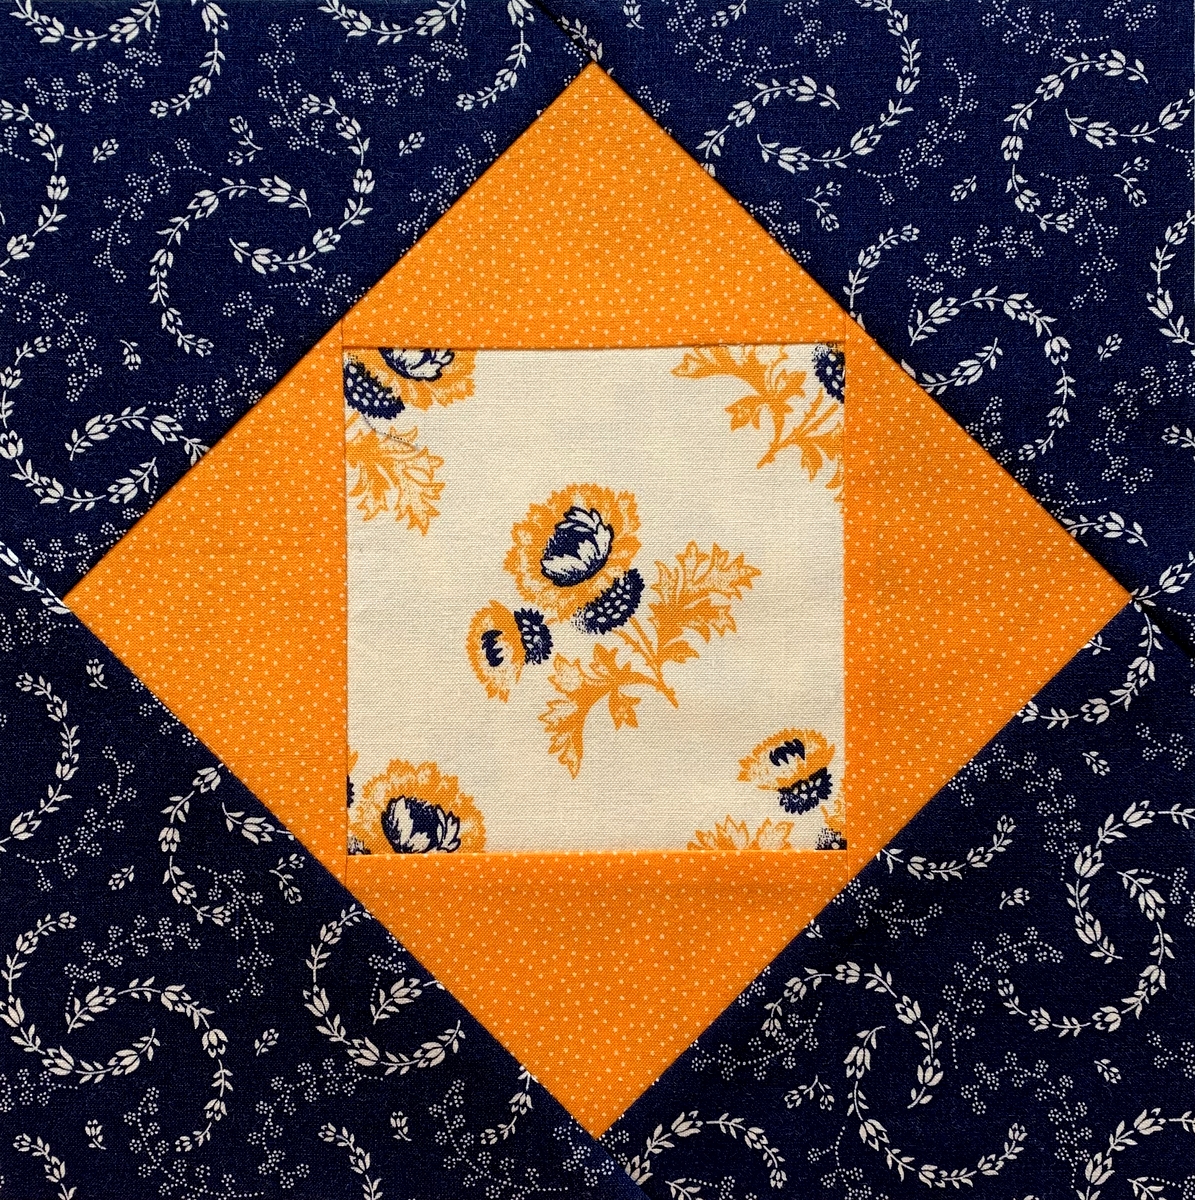
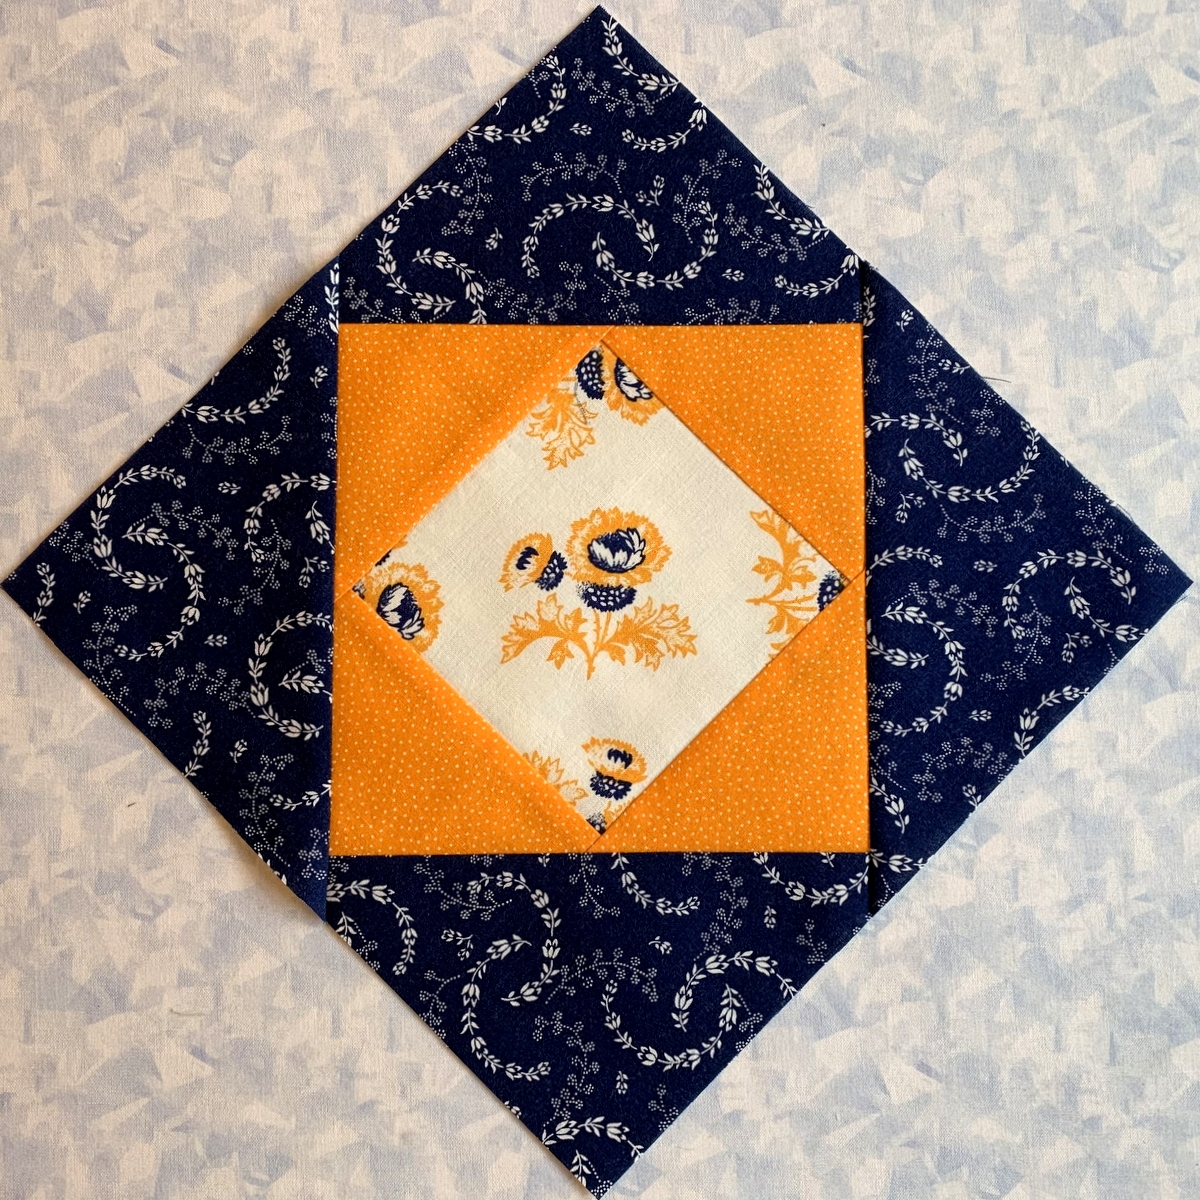
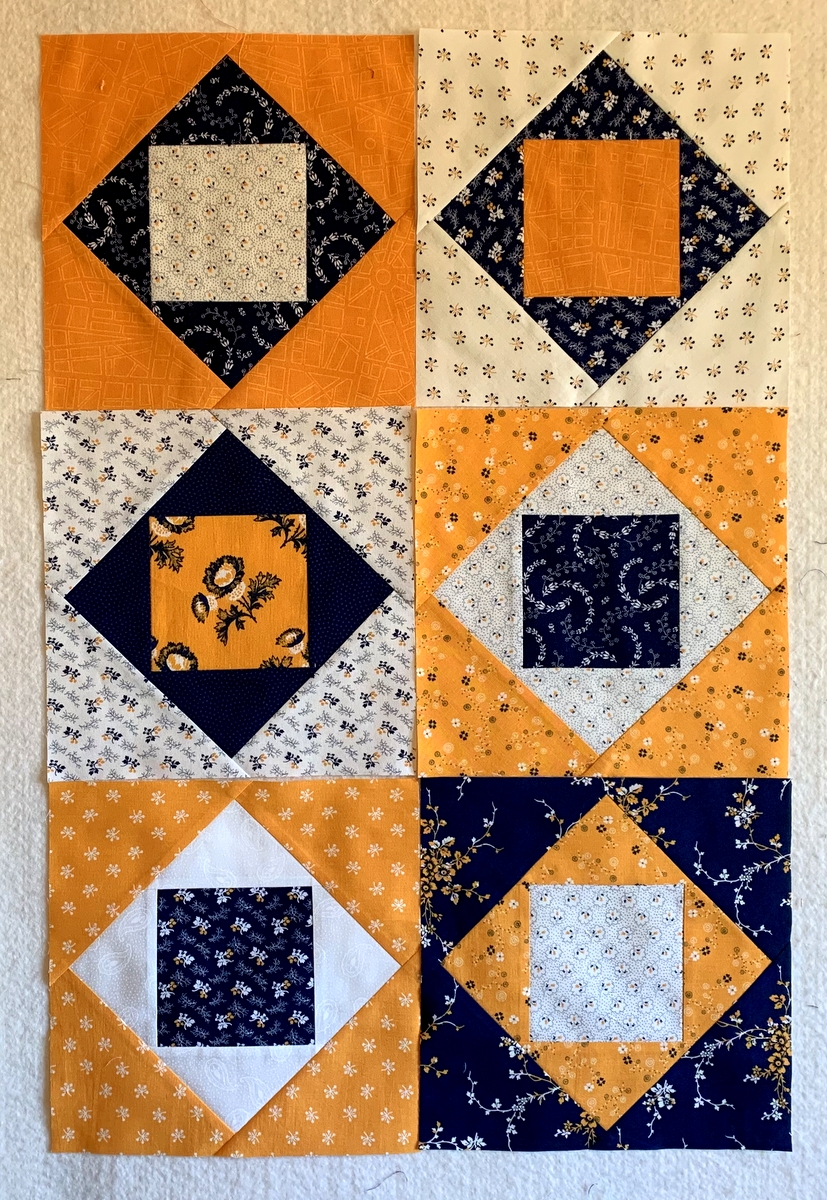 Here are all 20 blocks, arranged to spread the cheddar, indigo, and cream fabrics more or less evenly across the surface of the quilt:
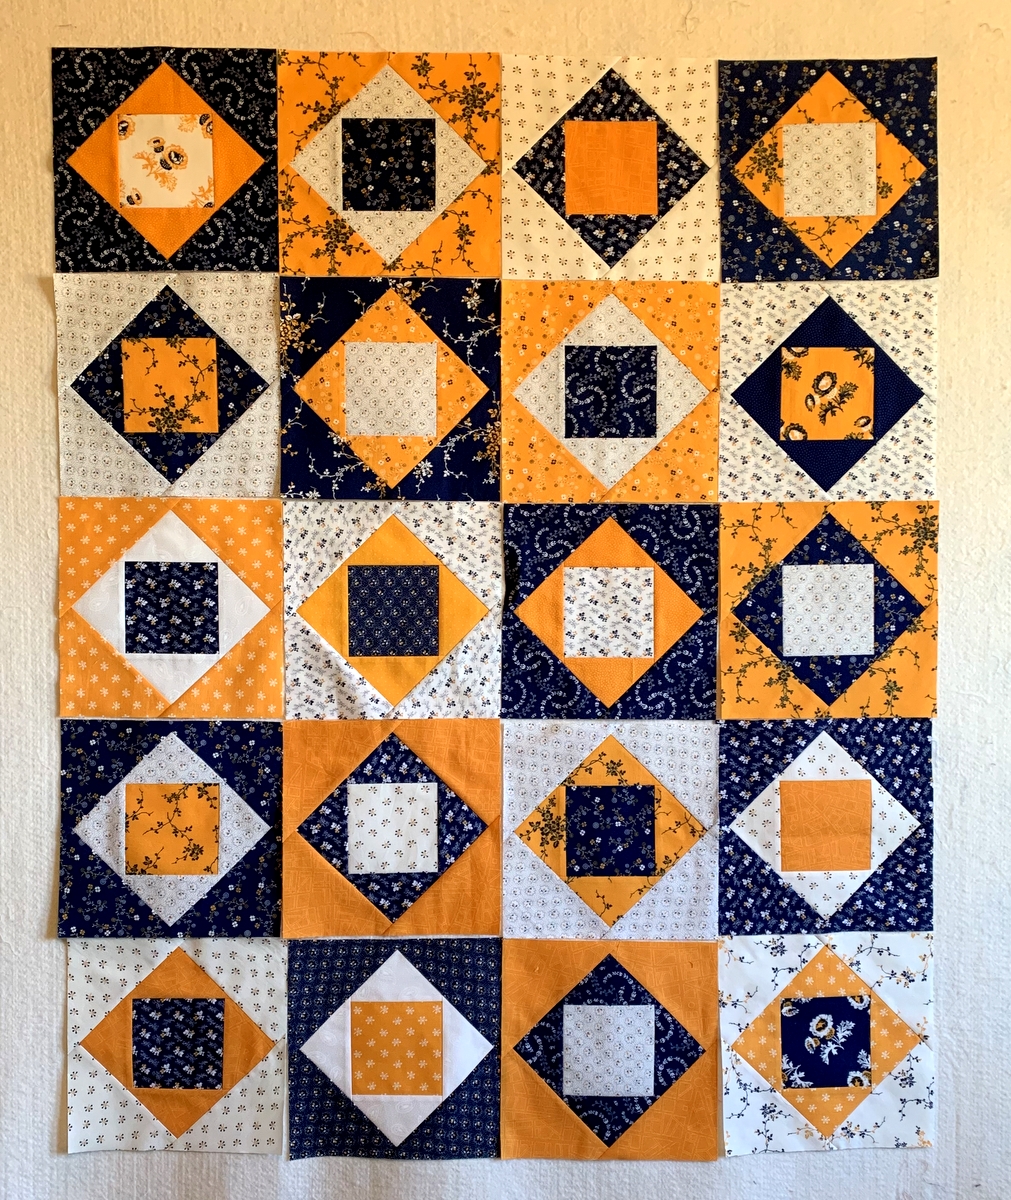 I’ve decided to make 10 more blocks for a 5 x 6 layout. I’ll have to be very careful in selecting the remaining fabric combos. Four blocks will have cheddar in the outer triangles and the remaining six blocks will be divided between indigo and cream outer triangles. My goal is to get a mix of prints in such a way that neighboring blocks will not share fabrics. My problem is that I have a plethora of cheddar prints and several indigos but only two cream prints remaining from the 2015 “Cheddar and Indigo” line by Penny Rose Studio for Riley Blake Designs.