Category Archives: New Big Leaf

Addendum: Hanging Quilts with 3M Command Strips

After seeing my last post on using 3M Command Strips to hang quilts, one of my readers asked an excellent question: “Can you successfully remove the strip from the back of the quilt?”

The answer is “yes” — but there’s a surprise involved. When you take a quilt off the wall that was hung with Command Strips, the strips stay on the wall — not the quilt! And there is no residue whatsoever on the back of the quilt.

I discovered something else quite by accident: if you’re planning to take one quilt down and put up another one of the same or slightly wider width, you can reuse the strips that are already attached to the wall. Serendipity!

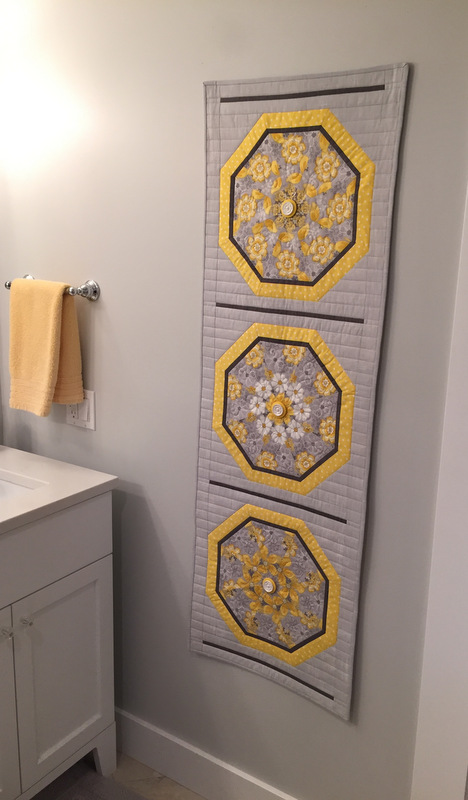
On one wall in our main floor bath I took down Uptown Funk (now on loan to a quilt guild for an upcoming workshop) . . .
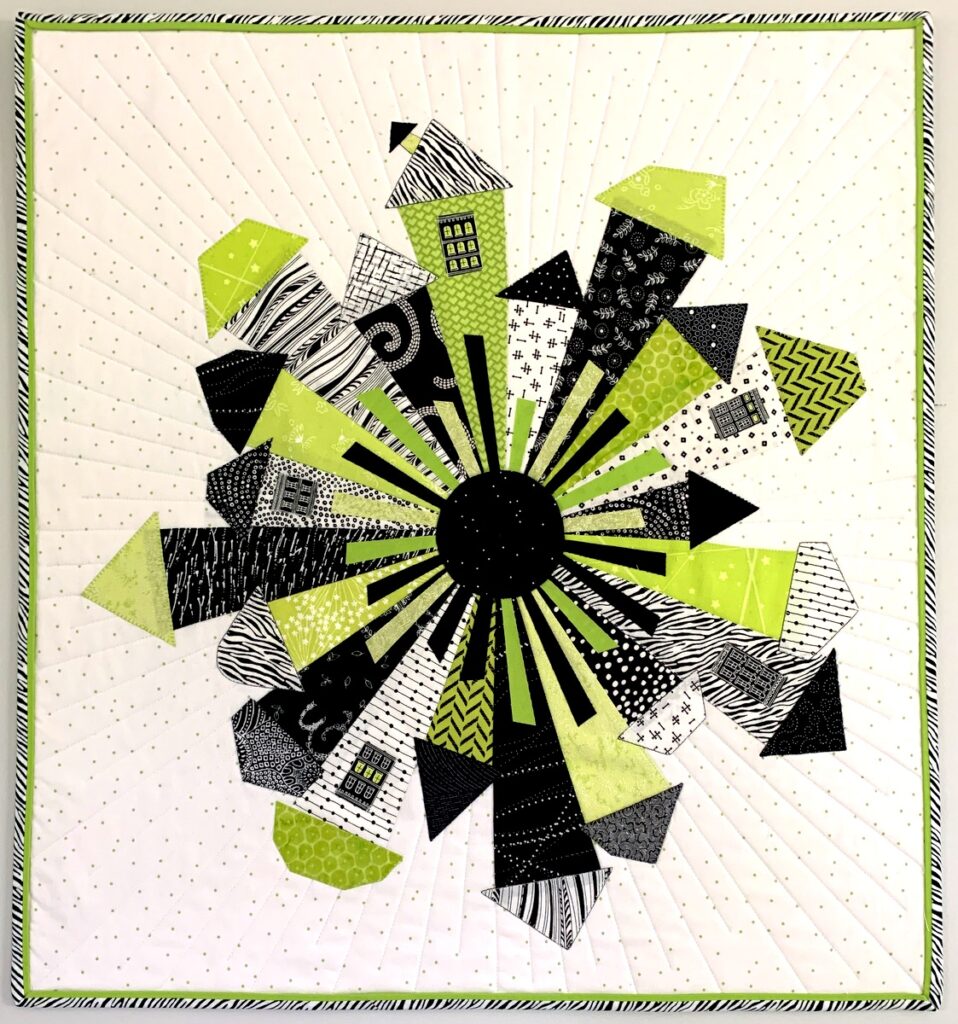
Uptown Funk, 24″ x 26″ (2020)

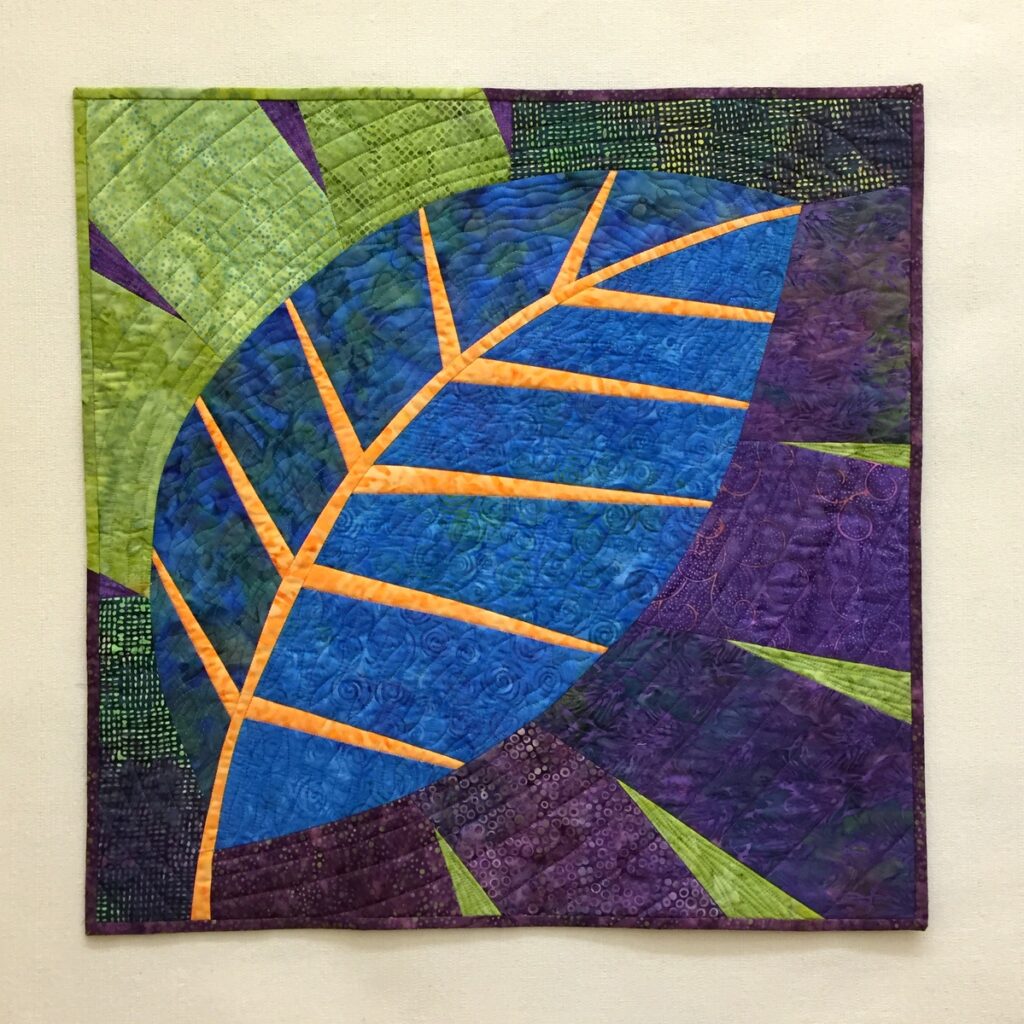
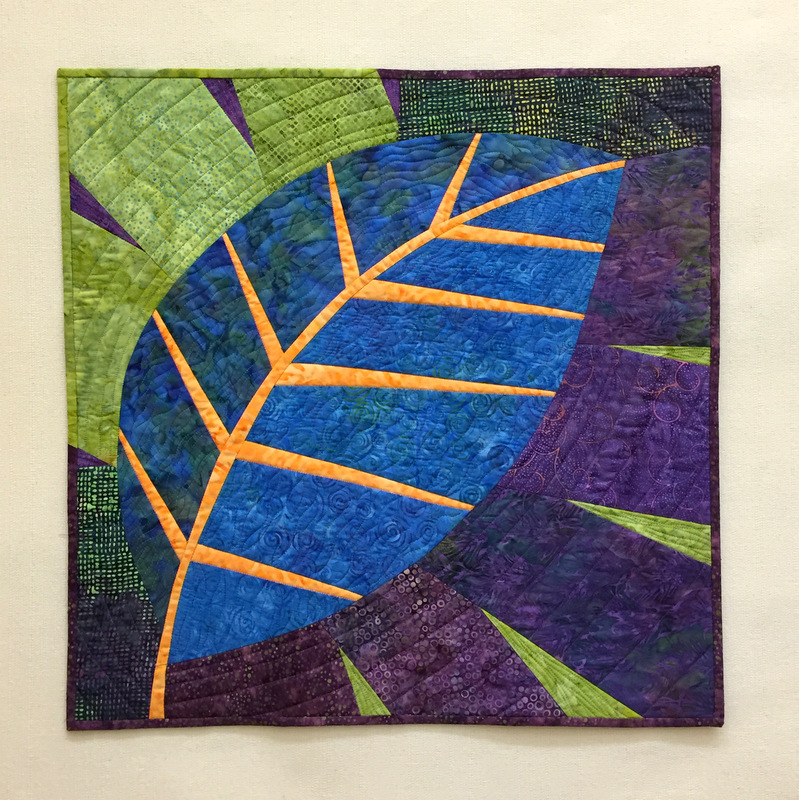
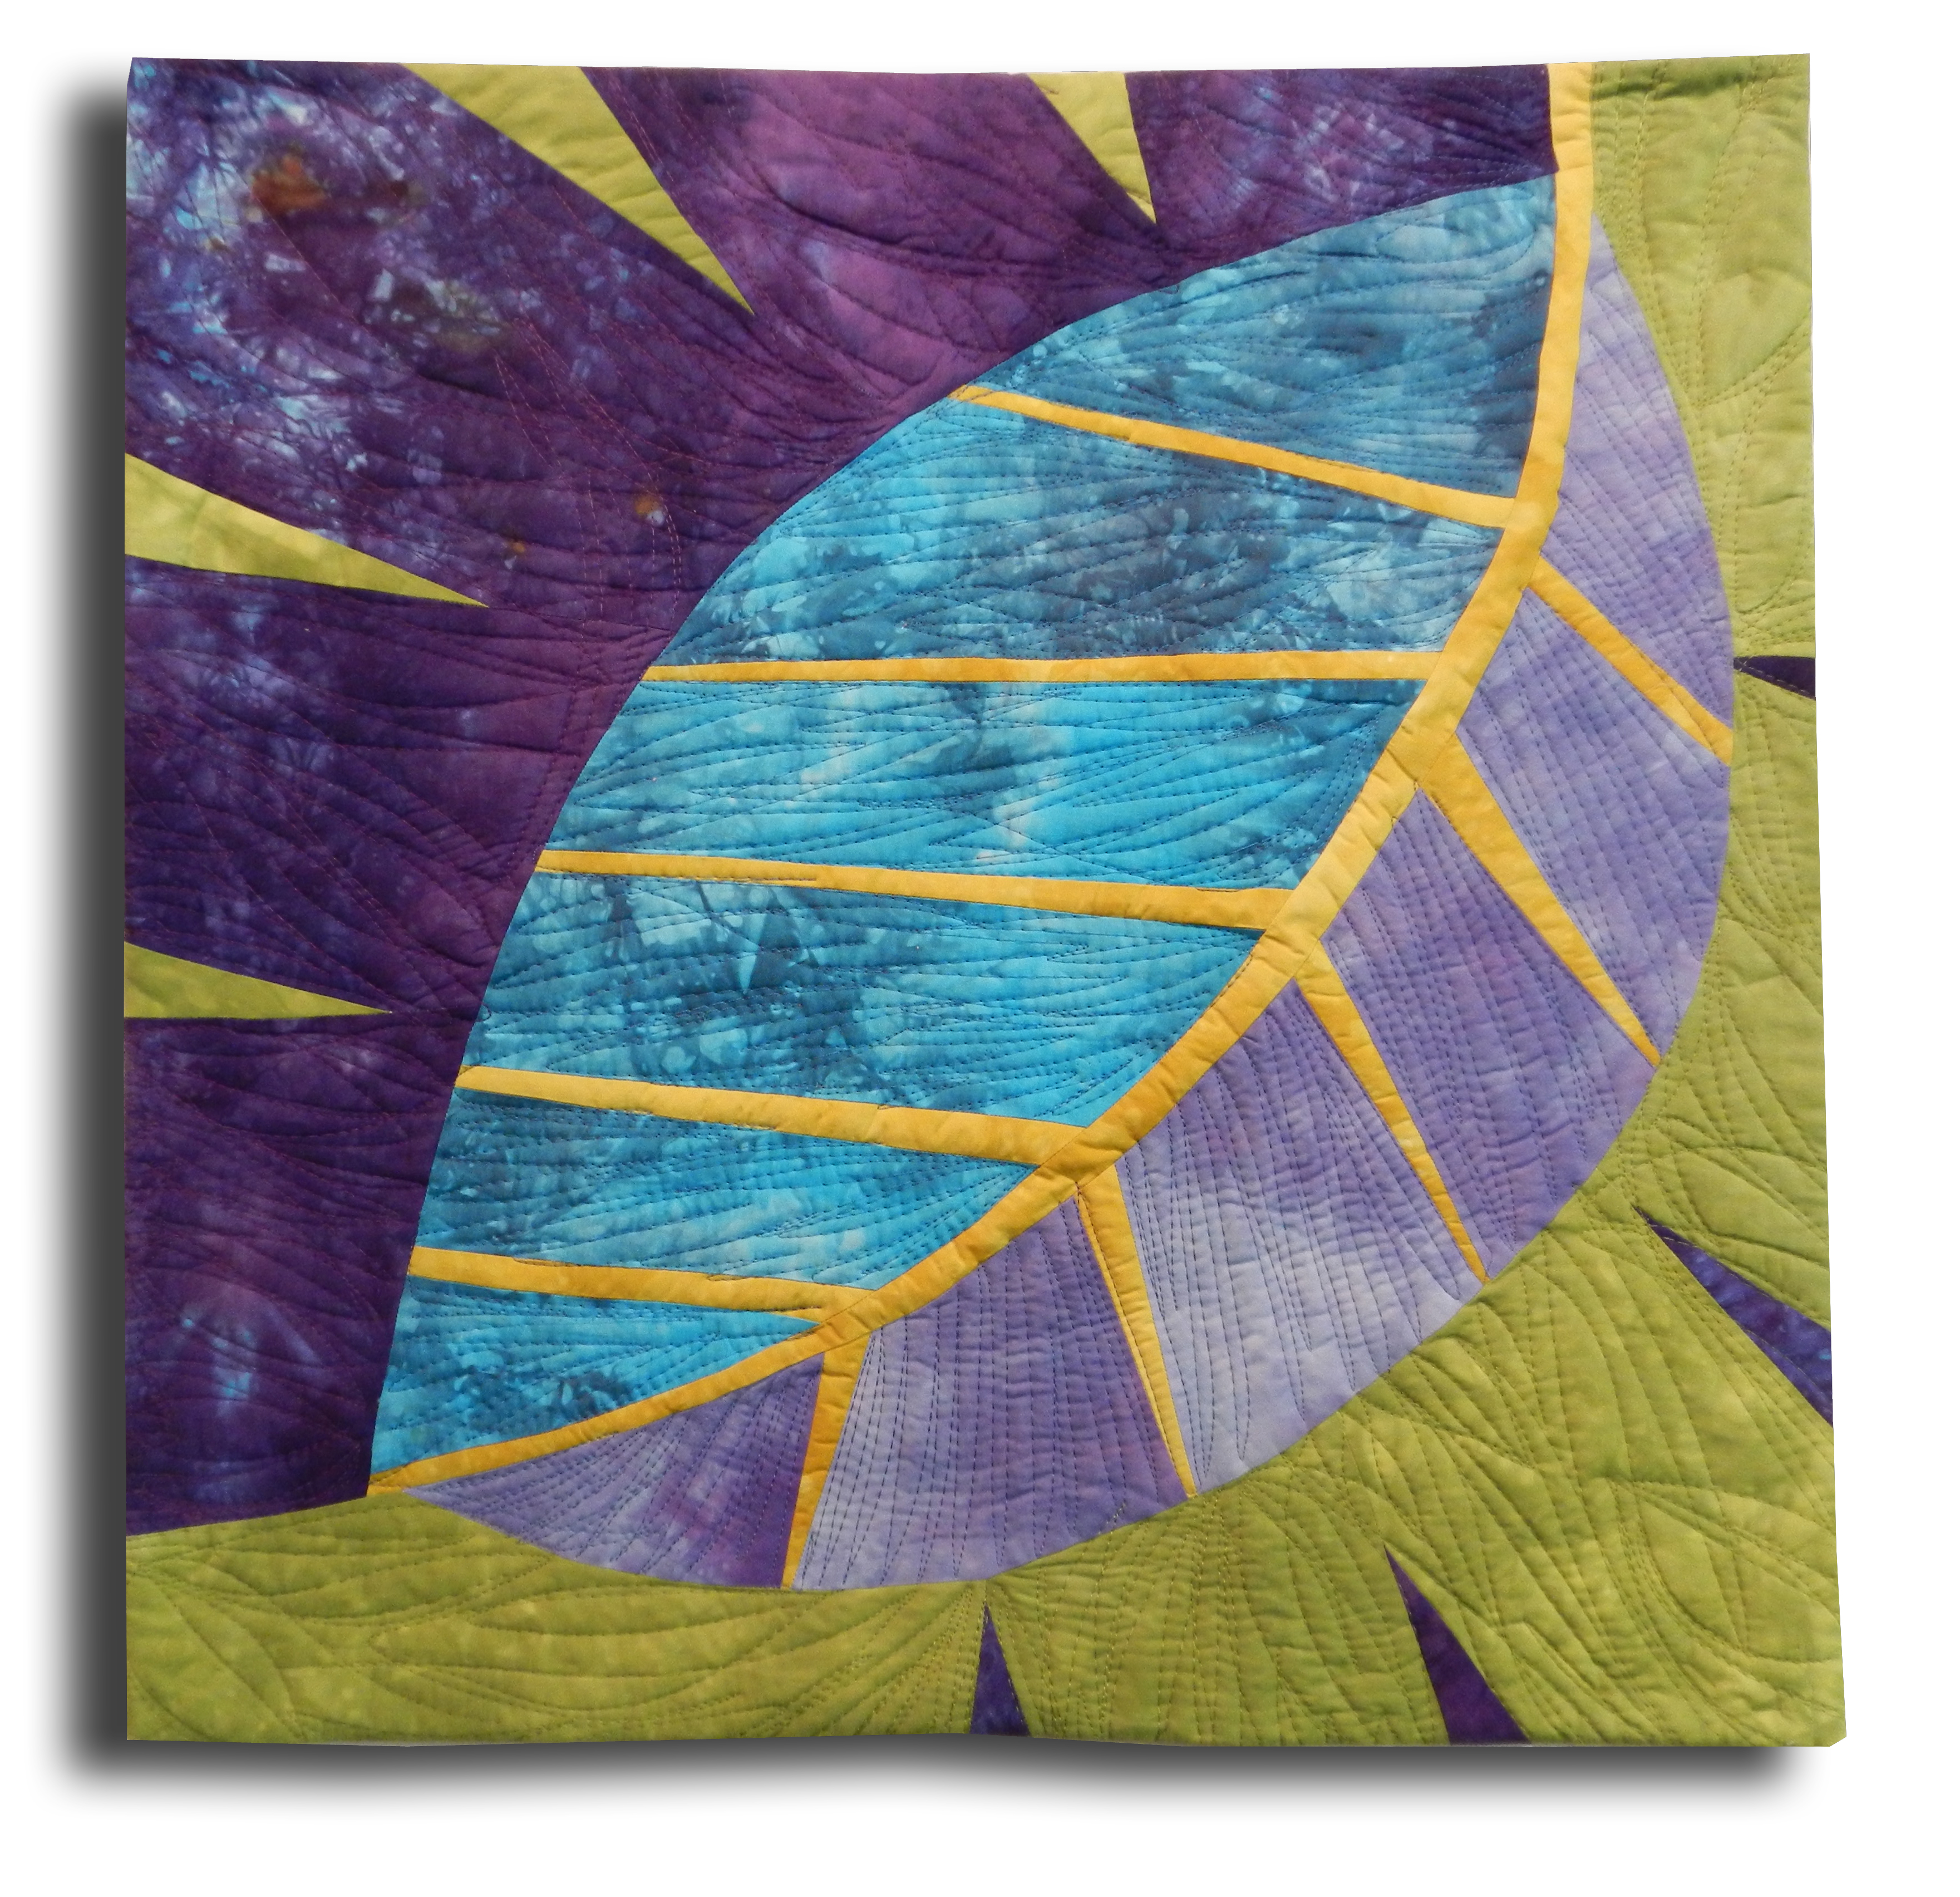
. . . in order to hang Loose Leaf:

Loose Leaf, 24 1/2″ square (2015)

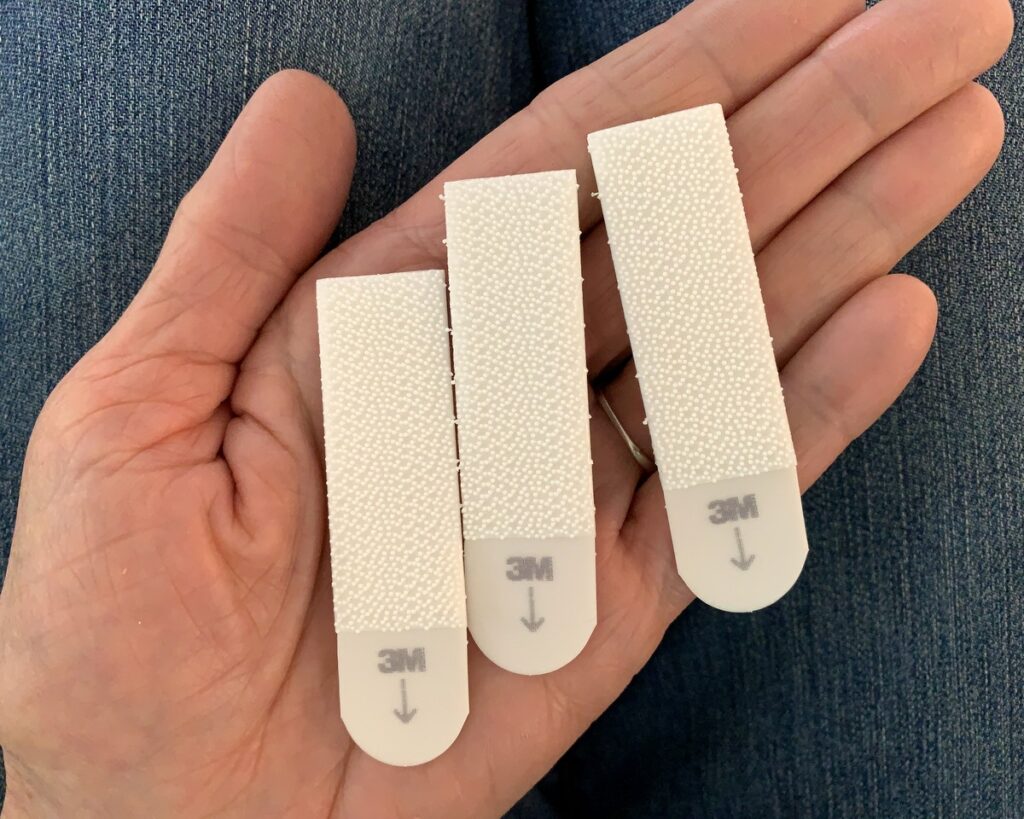
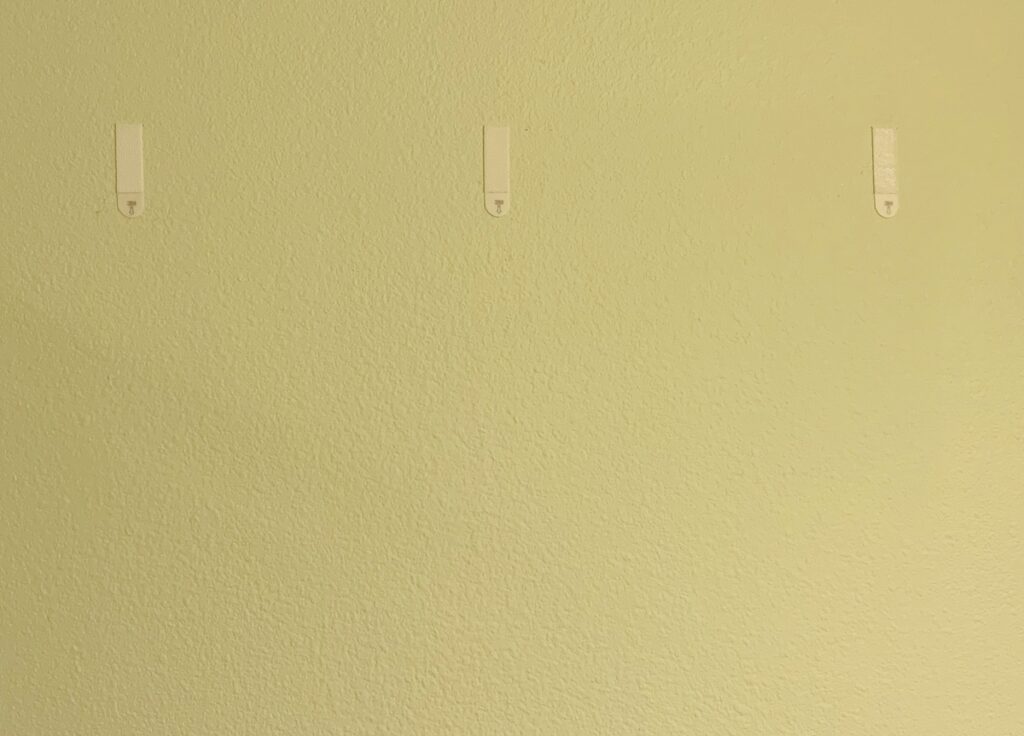
I saw that I had hung Uptown Funk using Medium-size Command Strips, which measure ¾” x 2¾”. All I had to do was separate the top strip from the bottom strip of each pair on the wall. You will remember from my previous post that the strips work in pairs, with the Velcro-like textured sides coming together with an audible click. It’s quite easy to separate them, leaving one half of the pair on the wall with the Velcro-like side exposed:

I took three new strips from the package (each strip is half of a pair) . . .

. . . and pressed each Velcro-like side to its mate on the wall. Then I peeled off the paper backing to expose the adhesive and pressed Loose Leaf into place. Easy as pie! It took less than two minutes.

If you’re the least bit apprehensive about attaching adhesive strips to either your wall or your quilt, I have a suggestion. Start with one pair of Command Strips. Remove the paper backing from one strip and attach it to the back of one of your quilts. Remove the paper backing from the other strip and attach it to a wall in an inconspicuous place — perhaps behind a door or a piece of furniture. Leave both strips in place for a week or two. Then remove the strips, remembering to pull straight down and very slowly on the rounded tab . . .
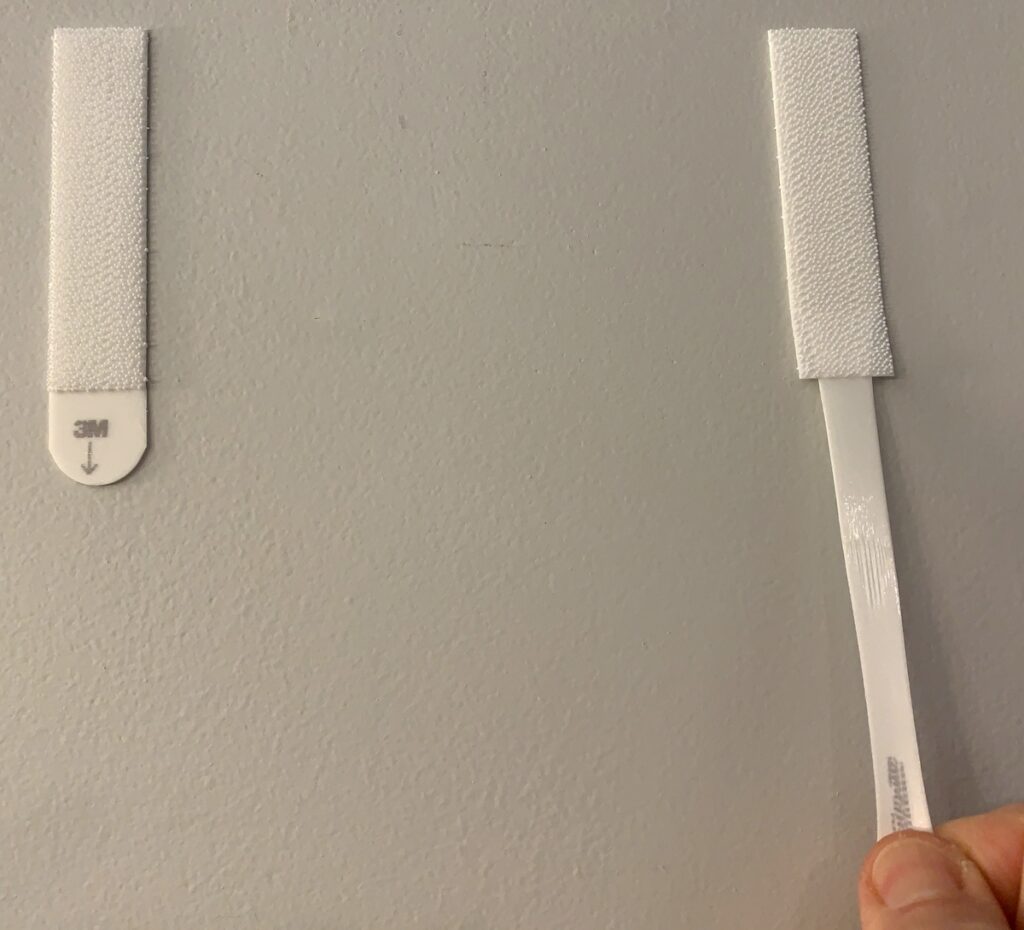
. . . until the strips completely separate from the fabric and the wall.

Pulling slowly and straight down on the tab is what loosens the bond between the adhesive and whatever it is attached to (fabric or wall). If you pull the tab out from the wall instead of straight down, you run the risk of pulling part of the wall or paper off with the tab. (This has never happened to me, by the way). If you pull too fast, the strip will snap you like a rubber band when it comes off. (This has happened to me but it won’t ever again, I assure you.)

I predict that trying this experiment will give you the confidence to hang your own quilts with Command Strips.



Posted in home dec, New Big Leaf, tutorial, update, wall hanging, wonky Dresden neighborhood | 2 Comments

A New Day, A New Year

The first day of 2016 is here! It’s a time for looking ahead but also a time for looking back. Specifically, looking back at what I accomplished in my sewing room in 2015. I never accomplish as much as I think I will, especially when it comes to finished quilts, but I have to remember that I made a variety of small pieces and craft items last year in addition to quilts. It will be fun to revisit them as well.

First up, the quilts.

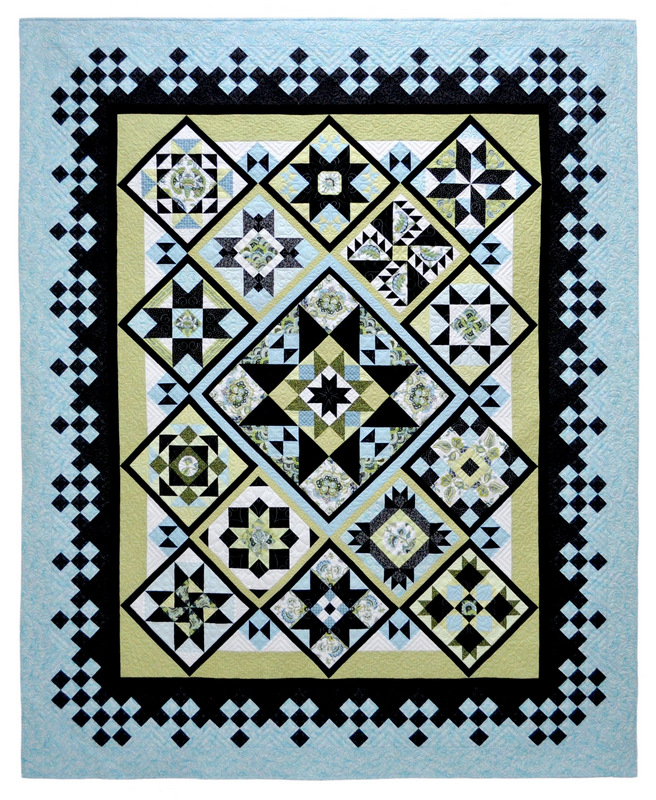
My first finish of 2015 was Catch a Falling Star, based on Terri Krysan’s star sampler, Reach for the Stars:

Catch a Falling Star (2015)

Catch a Falling Star (84″ x 105″) was quilted by Loretta Orsborn of Orsborn Specialty Quilting.

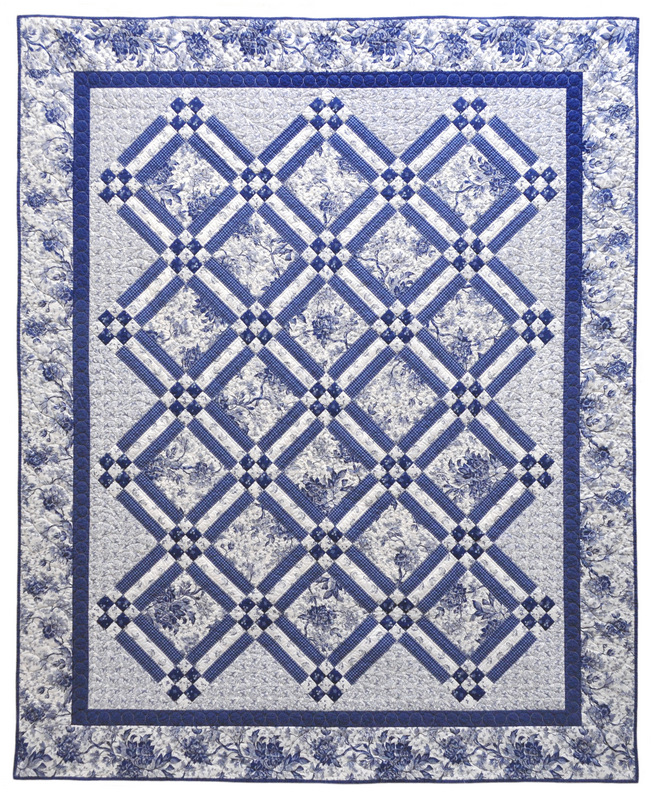
Then came Toile Story (73″ x 89″), started in 2009 but not finished till 2015. Designed by Alex Anderson and featuring fabrics she designed as well, Toile Story was quilted by Debbie Scroggy of All Quilted LLC:

Toile Story bv photo 800
Next: Olivia Twist, a 31″ x 76″ bed runner made using my own 4-Patch Wonder with a Twist pattern. It was quilted by Jolene Knight of Good Knight Quilts:

Olivia Twist bv 2

Using leftover fabric from Olivia Twist, I made Billie’s Star (56″ x 55″), an original design inspired by my favorite quilt teacher Billie Mahorney, who taught me a lot about drafting and sewing star blocks:

2015-4, Billie's Star, 55x54 (2)
Billie’s Star was quilted by Nancy Stovall of Just Quilting.

Next came Simply Dashing (58″ x 74″), a simple design that combines 4-Patch Wonder blocks (my name for four-patch kaleidoscope blocks) and Churn Dash blocks set on point. Simply Dashing was featured on the cover of the Pine Needle Quilt Shop’s fall 2015 catalog. Quilted by Debbie Scroggy of All Quilted LLC.

Simply Dashing 58 x 74
Pieced in 2014, I finished Sun Flowers, a wall hanging based on my Season to Taste pattern. It’s #9 in my series of kaleidoscope quilts and the third of four quilts I’m making to reflect the seasons of the year. It measures 18½” x 55½”:

Sun Flowers (2)


My final quilt finish of 2015 was Loose Leaf, begun in a workshop with fiber artist Pat Pauly. Made from her New Big Leaf design, it finishes at 24½” square:

big leaf, nov 2015
I quilted the last two pieces myself but was happy to have the larger quilts go out to some extremely talented longarm quilters.

In my next post I’ll show you the array of Pretty Little Things I made in 2015.


Posted in 4-Patch Wonder, bed runners, faux-kaleido quilts, free motion quilting, kaleidoscope quilts, New Big Leaf, Reach for the Stars sampler quilt, update | 3 Comments

A Fast Finish

big leaf, nov 2015
Dawn’s New Big Leaf, 24½” Square (2015)

Under two weeks, from start to finish. That must be a record for me, as I am more like the hare than the rabbit. Granted, my New Big Leaf is a small project — but hey, every finish counts, right?

I started this on Oct. 28 in a workshop with Pat Pauly, a renowned fiber artist from New York who came to Portland to teach her “New Big Leaf” design using freezer paper templates. A week later my top was pieced. Now on to the quilting.

This is the point at which my projects usually get tucked away. Like so many other quiltmakers, the actual quilting is my least favorite part. It is oh so easy to procrastinate. This time I vowed not to do that. I geared up to tackle not only this new project but also the table runner of my own design that I had put aside eight months ago. (I quilted that one first and wrote about it in my last post.)

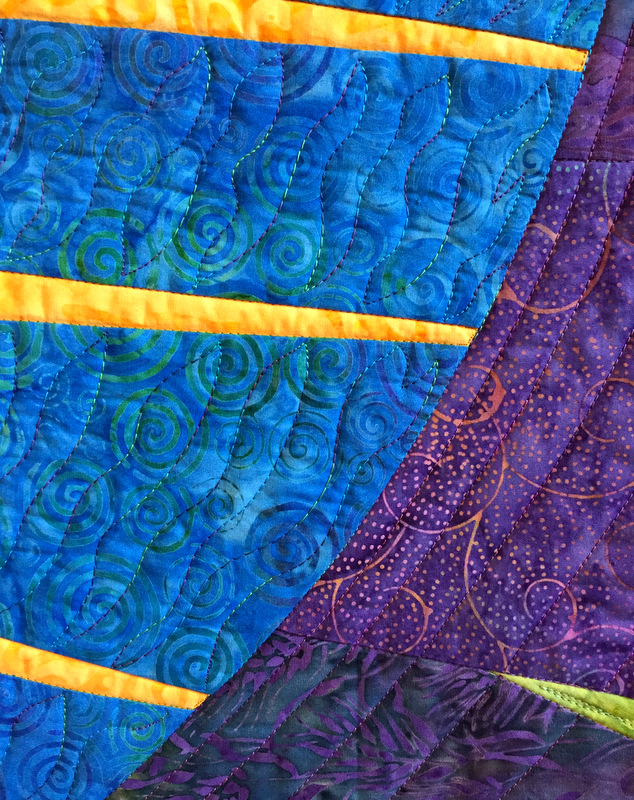
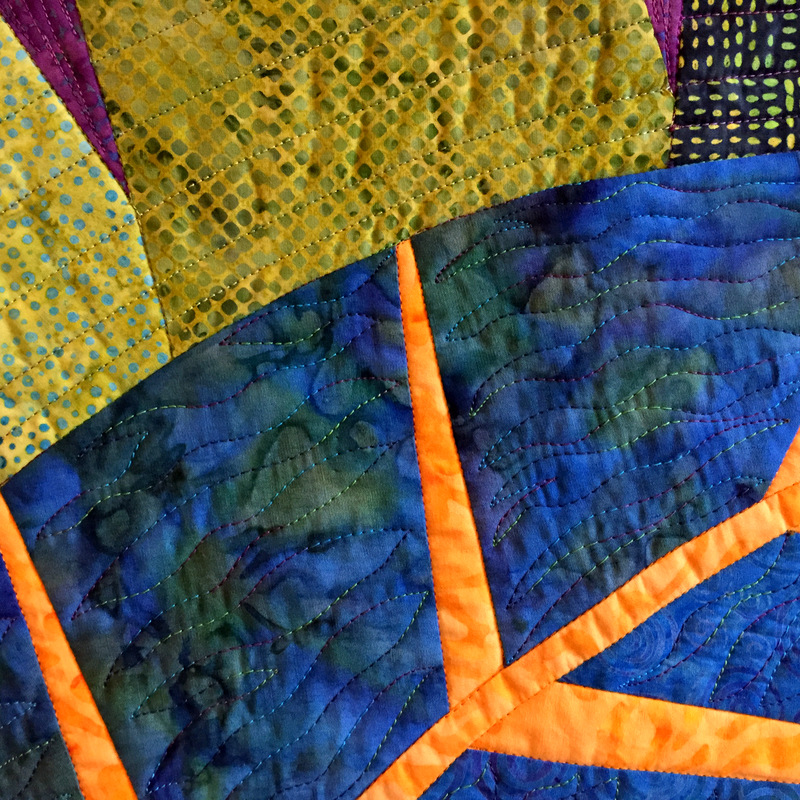
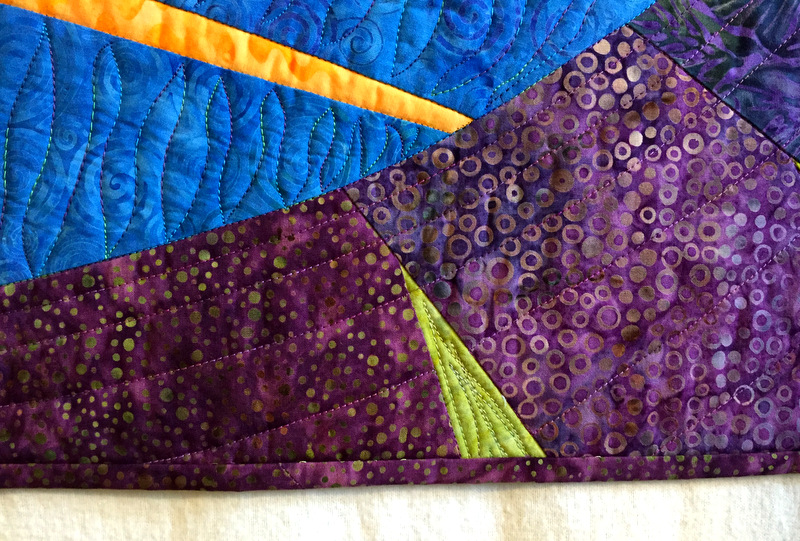
After pin pasting my New Big Leaf, I stitched in all the ditches. That enabled me to remove the safety pins for the rest of the quilting: free motion quilting in the blue parts of the leaf and gentle curves around the leaf using my walking foot. A few close-ups:

big leaf, quilting detail 1

big leaf, quilting detail 3 
big leaf, quilting detail 2
I used variegated threads that blend with the background, the goal being to add texture without adding color.

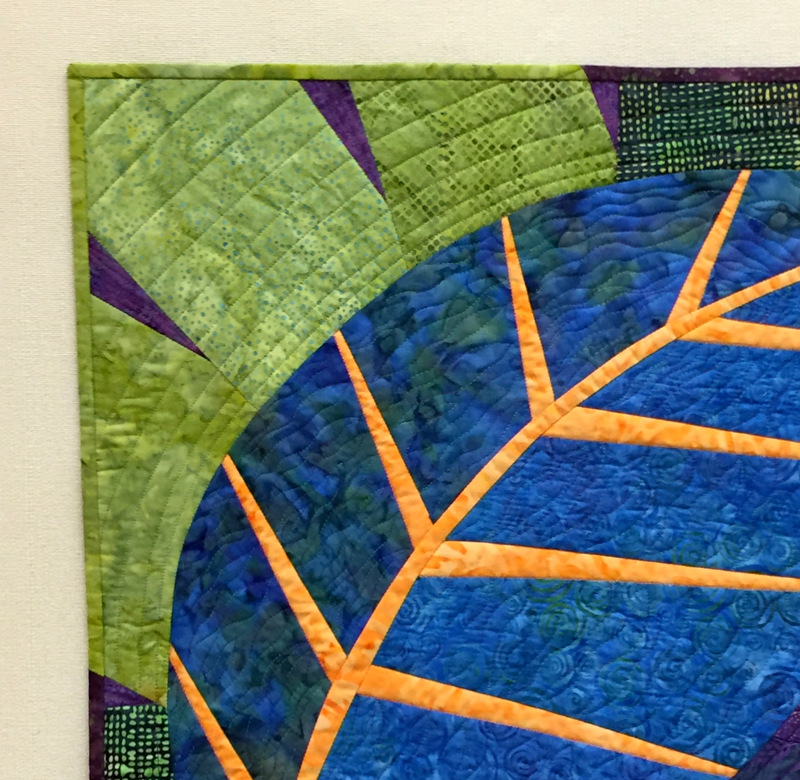
When it came to the binding, I didn’t want it to provide a frame around the leaf. I wanted the greens and purples to flow right into the binding. The solution: two fabrics in the binding. Here you can see where the green binding changes to purple on both sides of the upper left corner:

big leaf upper left corner

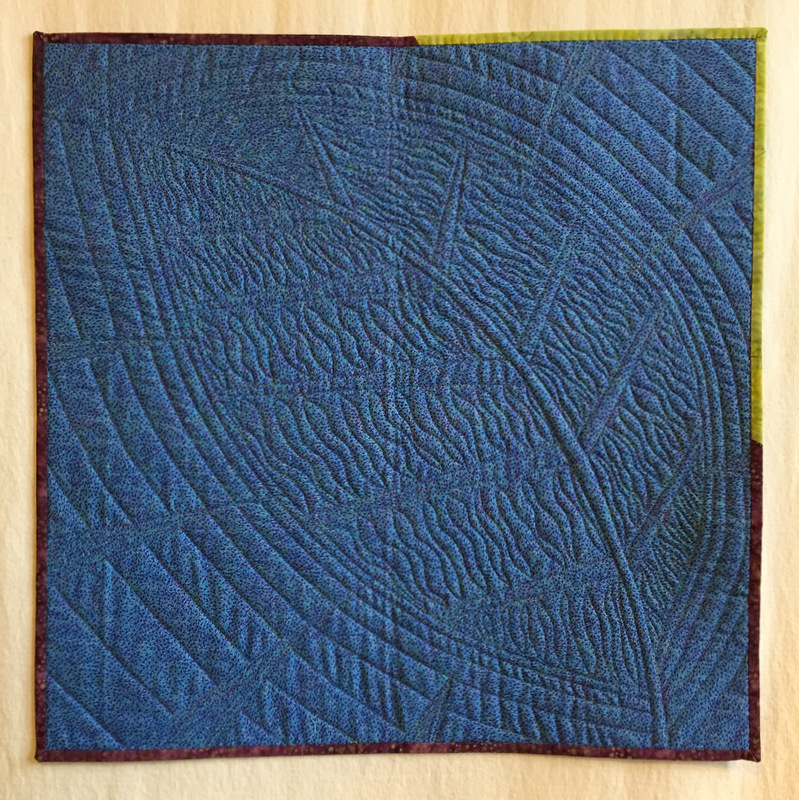
The back of the quilt is one piece of fabric (a departure for me). Although I used four different threads on the front of the quilt, I used the same purply-blue variegated thread in the bobbin so there’s just one thread on the back. The plan was for the thread to blend in completely on the backing fabric. That it did, but it also provided an outline of the leaf that both surprised and pleased me:

back of new big leaf
I finished hand stitching the binding Tuesday morning, 13 days from the day of Pat Pauly’s workshop. What a triumph!

Oops, not so fast. Now comes the confession: my project is not truly finished. Did you notice? No label on the back yet. And no name, for that matter. I was so eager to show it to you that I fudged a bit on my pronouncement that it was done.

I am still musing on a name. As for the label, I’m thinking about making one in the shape of a leaf, using the freezer paper technique I learned from Pat. Wouldn’t that be a fun touch?


Posted in free motion quilting, New Big Leaf, update | 6 Comments

A Spot of Sunshine

2014-12, Sun FlowersIt hardly seems possible but eight months have passed since I last worked on Sun Flowers, pictured above. It’s the third of four kaleidoscope wall hangings I’m making of my Season to Taste pattern — one version for each season of the year. This is the summer version, made from a lively floral print from Camelot Cottons.

I had quilted straight lines in the grey background and free-motion quilted a swirly design in one of the kaleidoscope blocks. That was as far as I got back in March. I quilted the last two blocks on Friday and finished binding the piece today. Here it is quilted, bound — and buttoned:

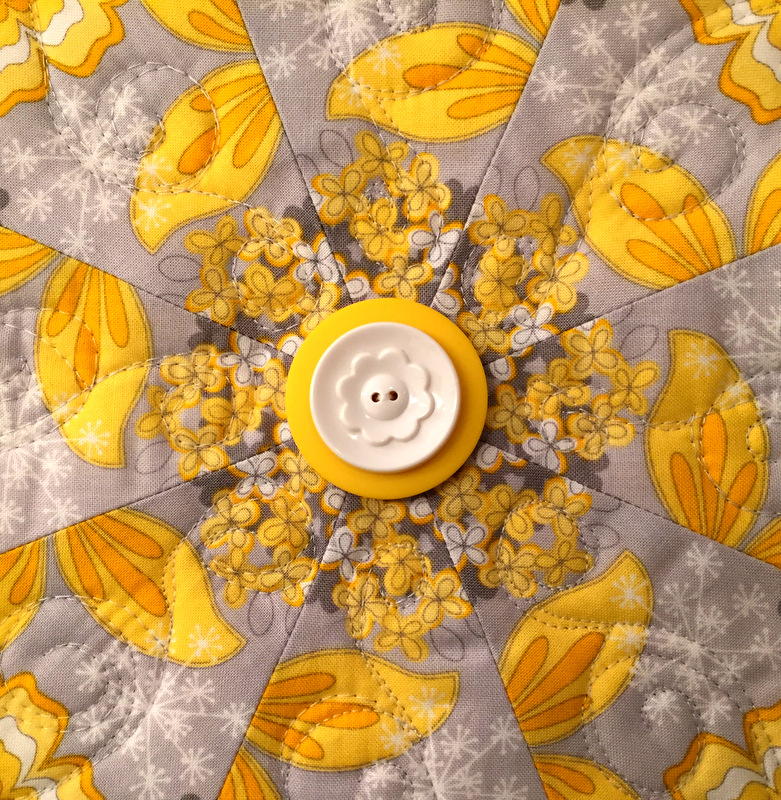
Sun Flowers (2)Yes, buttoned. In the center of each block are two layered buttons, adding a bit of whimsy:

Sun Flower, buttons

The back is pieced of leftovers and includes a sizeable piece of the original focus fabric:

Sun Flowers (back)I love to feature the focus fabric on the backs of my quilts, especially when I’ve used it to make kaleidoscope blocks.

Sun Flowers (18″ x 55″) is now hanging in the master bath:

Sun Flowers in situ

It’s a cheerful and colorful addition to the Portland White House. On the greyest of days in Portland — and we have many of those in fall and winter — it will be a spot of sunshine.


Posted in free motion quilting, kaleidoscope quilts, New Big Leaf, update | 8 Comments

My New Big Leaf

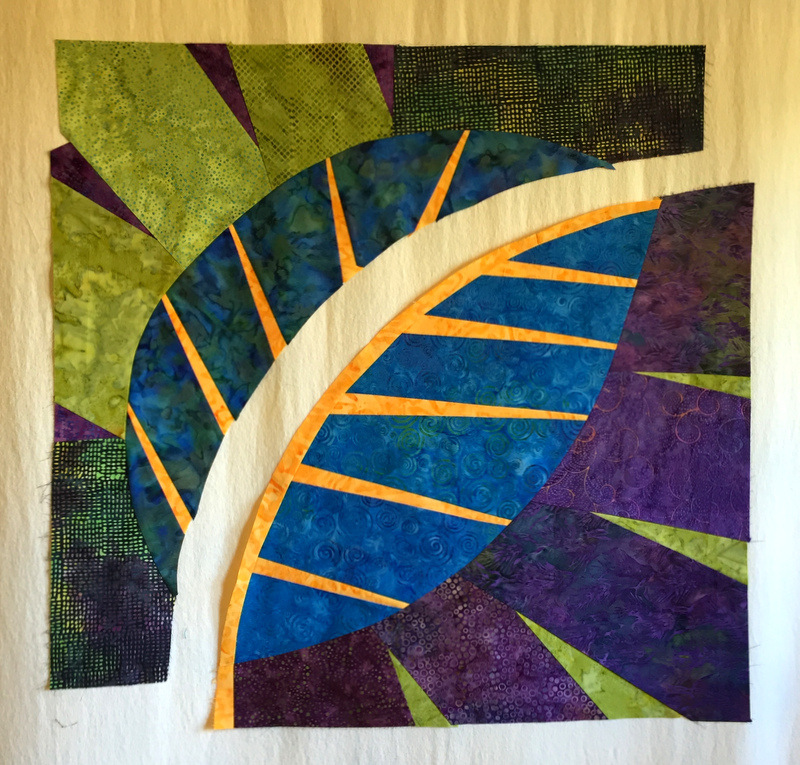
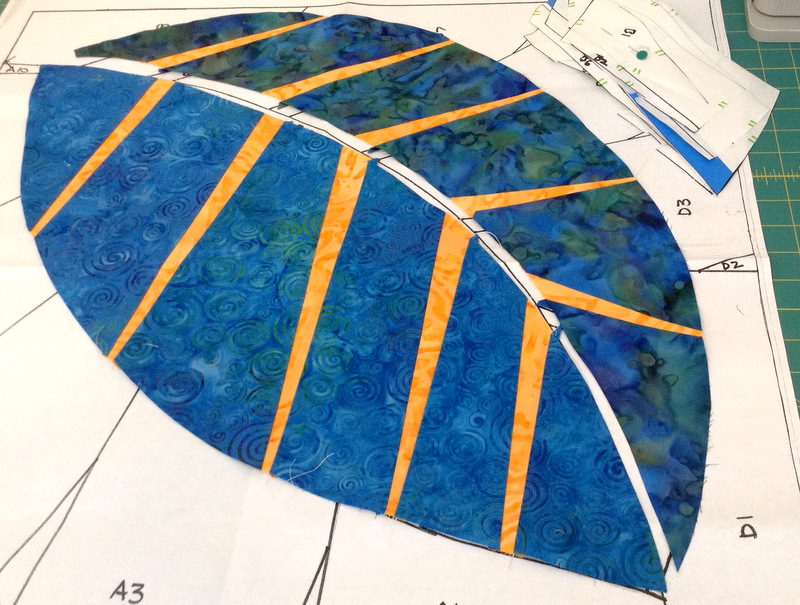
The “new big leaf” I started last week in a workshop with Pat Pauly is almost done. The leaf is created using freezer paper templates. Today I sewed the leaf half-sections to their backgrounds and added the vein that runs down the middle of the leaf:

big leaf in  halves 800
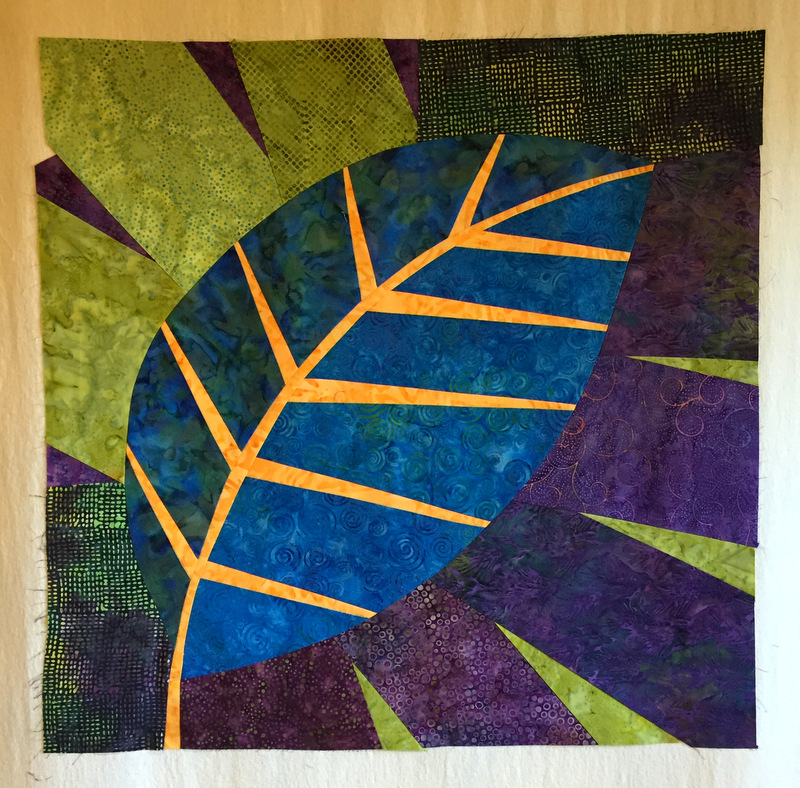
The only thing left was to join the two halves. And lo! the twain did meet:

big leaf joined 800

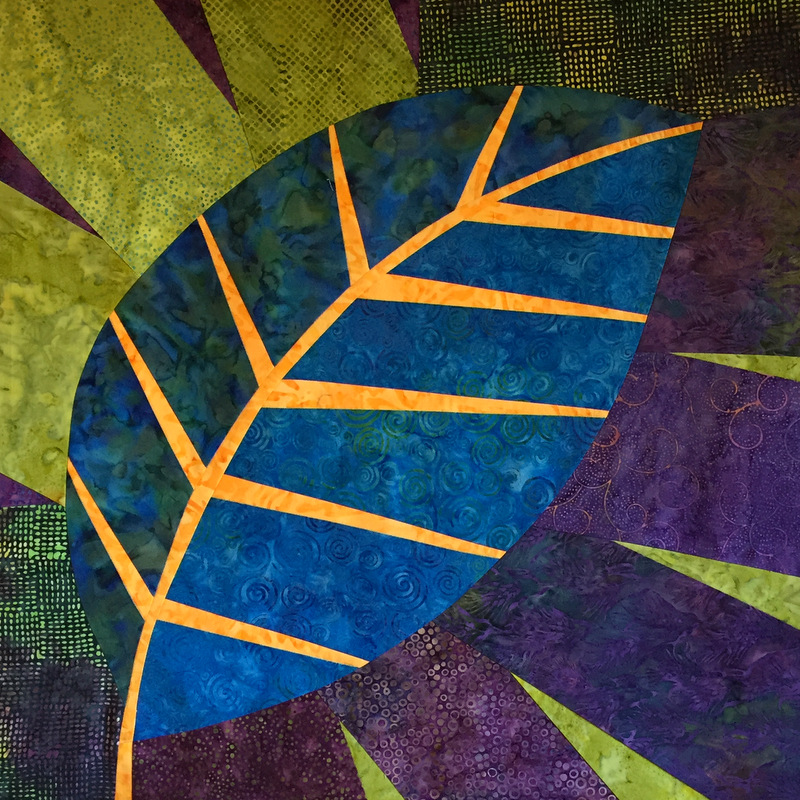
Right now my leaf measures about 27½” square. Once quilted, it will be trimmed to 24″ square. Here it is cropped (the photo, not the leaf!) to give you a better idea of what the leaf will look like finished:

big leaf cropped 800

I’m so pleased with it!

I did make one change from my original vision of it. When I started working on this project, the tip of the leaf was oriented toward the lower right hand corner:

big leaf with darts
Today I decided I like my composition better with the tip of the leaf in the upper right hand corner. (You might say I turned over a new leaf . . .)

The next decision is whether to add a binding or face the edges. I’ll wait till it’s quilted and then let the quilt “tell me” what it needs.


Posted in New Big Leaf, update | 7 Comments

“Go Big or Go Home”

That’s Pat Pauly’s motto. Pat is an award-winning art quilter and fiber artist from Rochester, New York. She’s known for making contemporary quilts with strong graphic compositions, many of them mixed media pieces on a large scale (hence the motto). She was in Portland this week to speak to the Metropolitan Patchwork Society (MPS) and lead a workshop on her “New Big Leaf” design, which employs freezer paper templates.

After seeing samples of Pat’s New Big Leaf and visiting her website, I signed up for her workshop. I’m interested in working more with freezer paper templates and wanted to learn about her methods and techniques. Her lecture for MPS, in which she zipped through 400 slides to illustrate her talk on “The New Face of Art Quilts,” was a wonderful precursor to her workshop the following day.

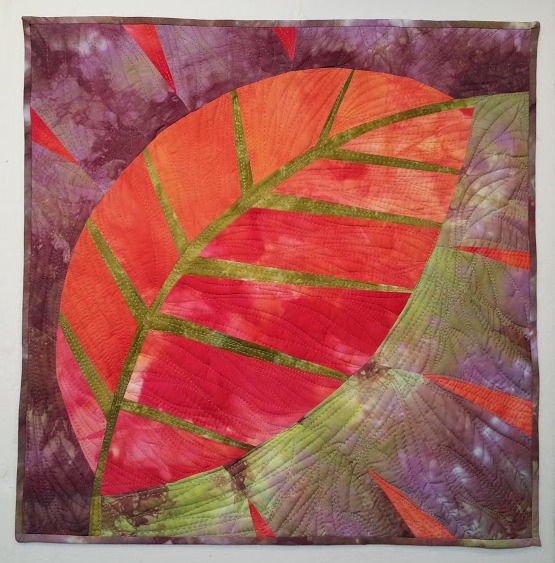
Here are two samples of Pat’s “New Big Leaf”:

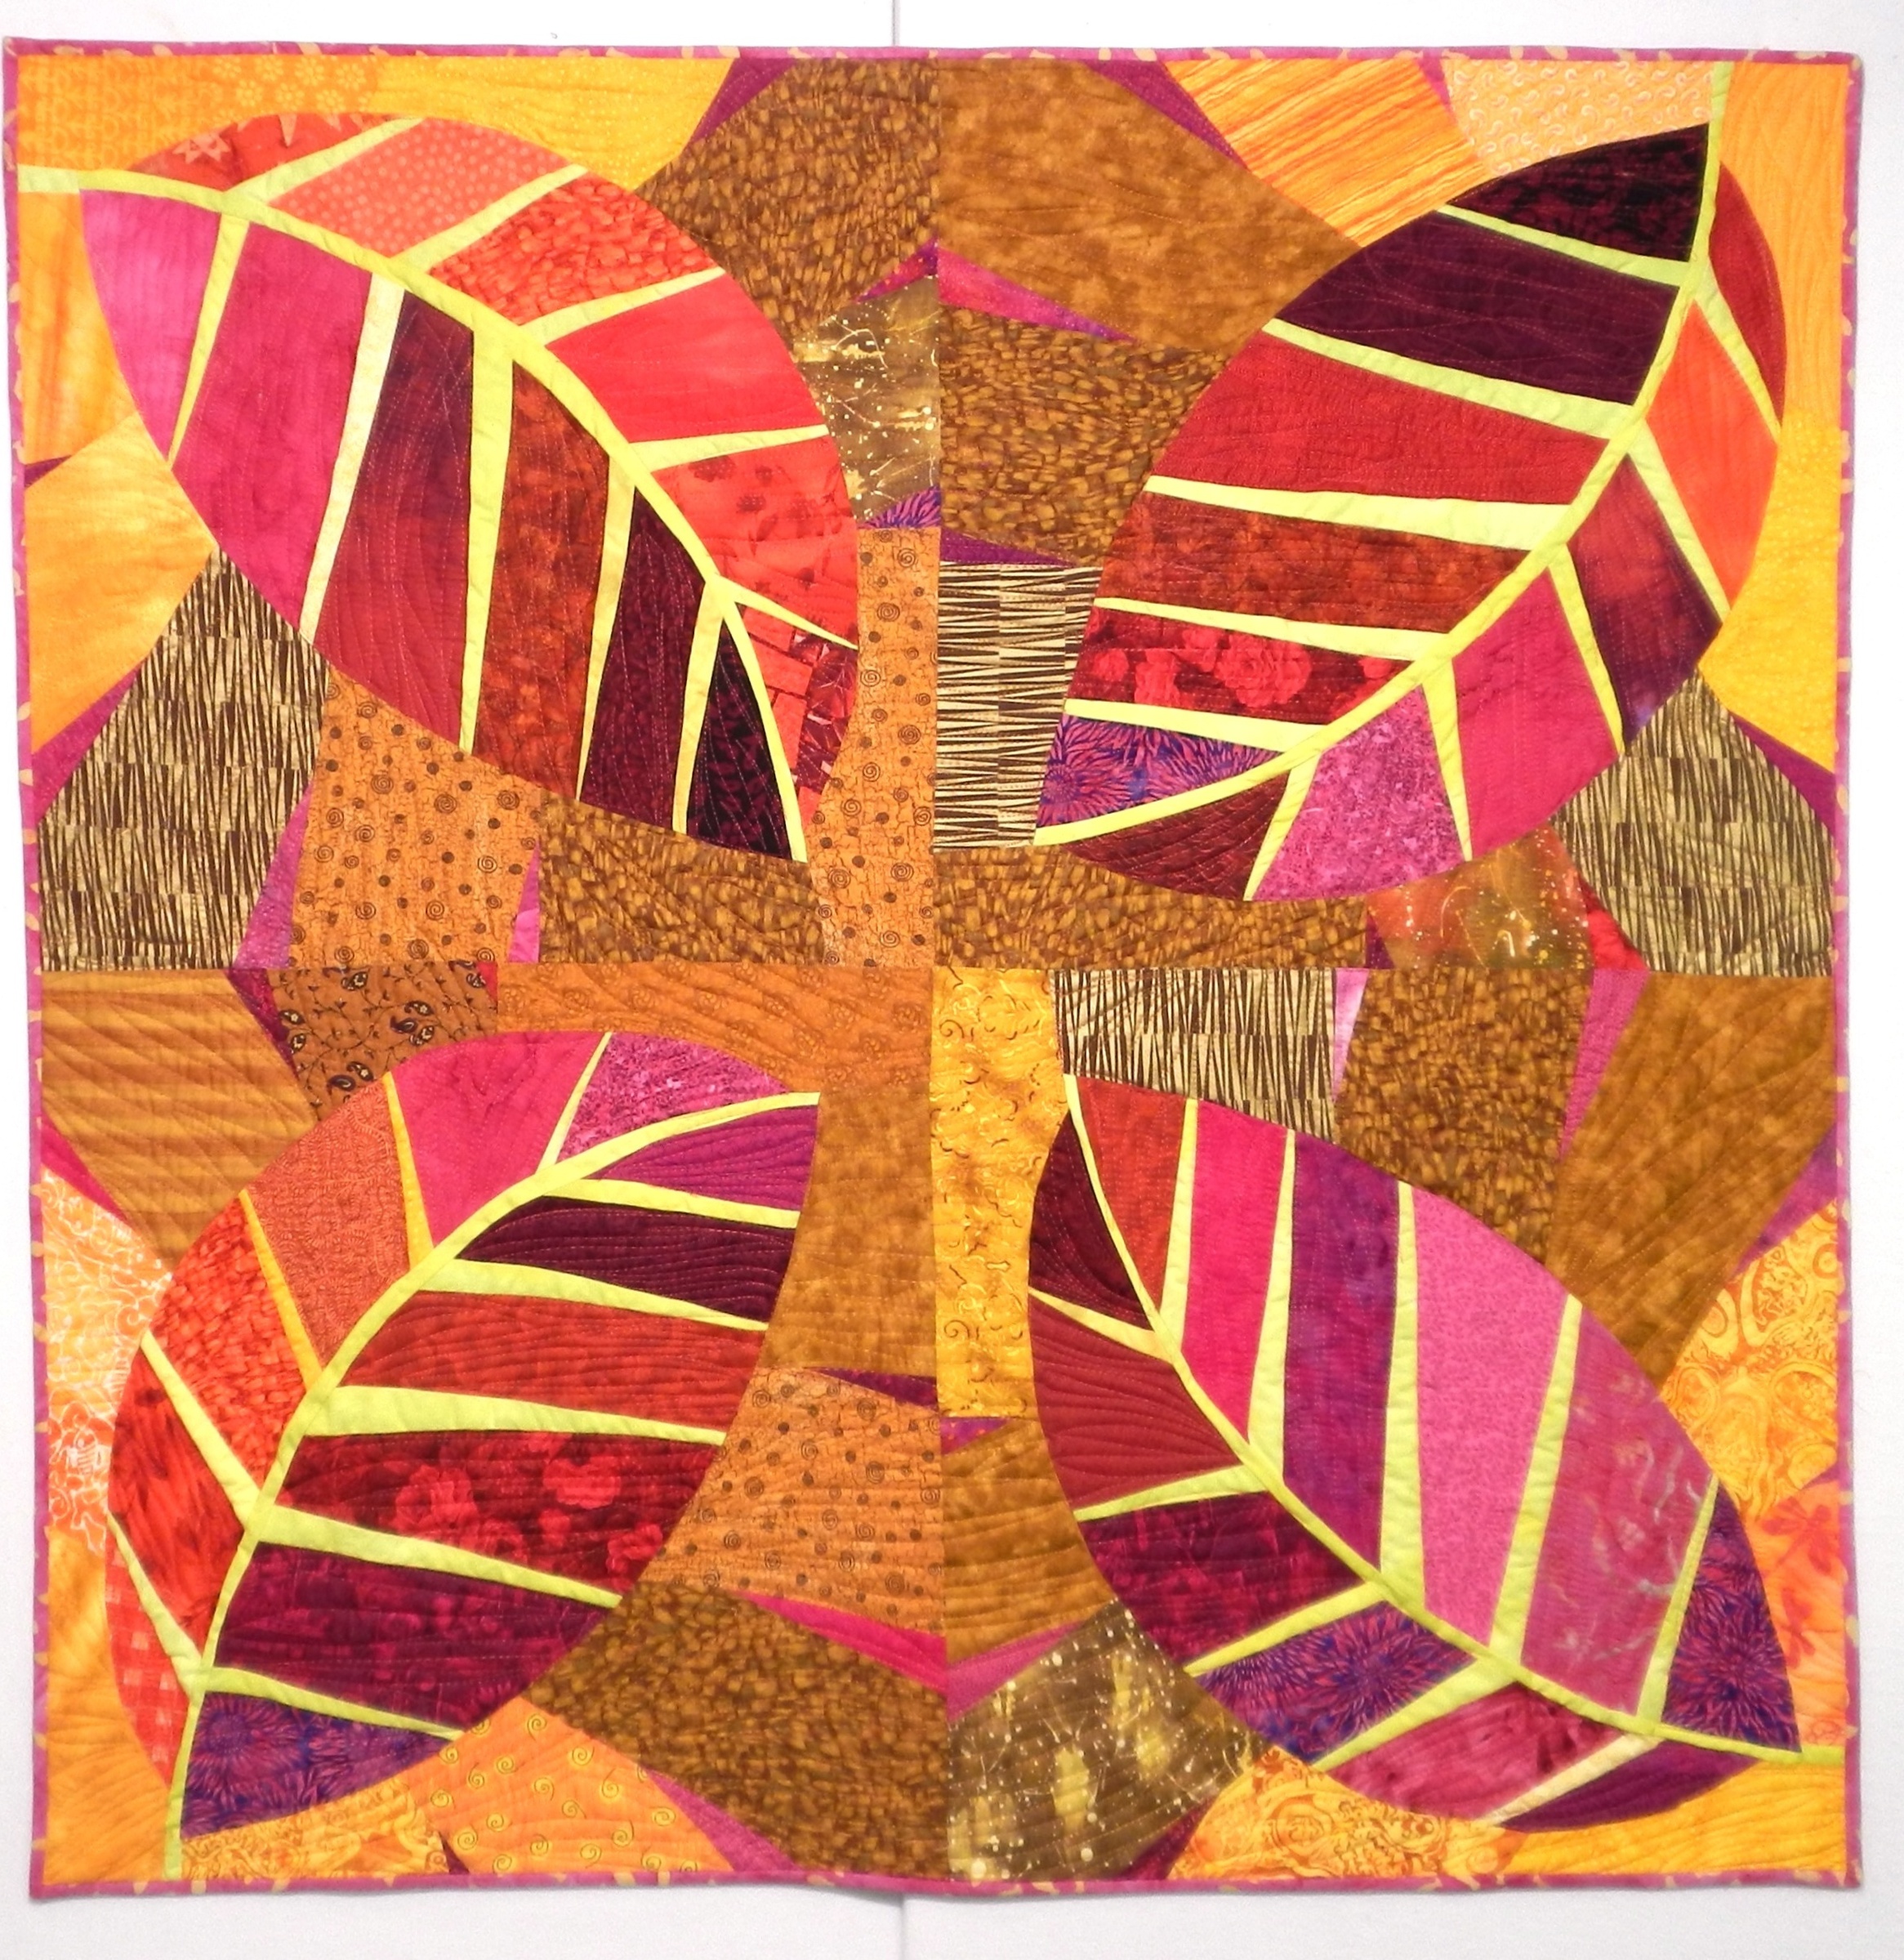
Designed and made by Pat Pauly. 24″ square.
NewBigLeafFourPatchPauly15
Designed and made by Pat Pauly. 48″ square.


Pat brought to the workshop two other examples of her “New Big Leaf.” Here is the one-block version made with some of her own hand-dyed fabrics . . .

FiveNewBigLeaf
Designed and Made by Pat Pauly. 24″ square

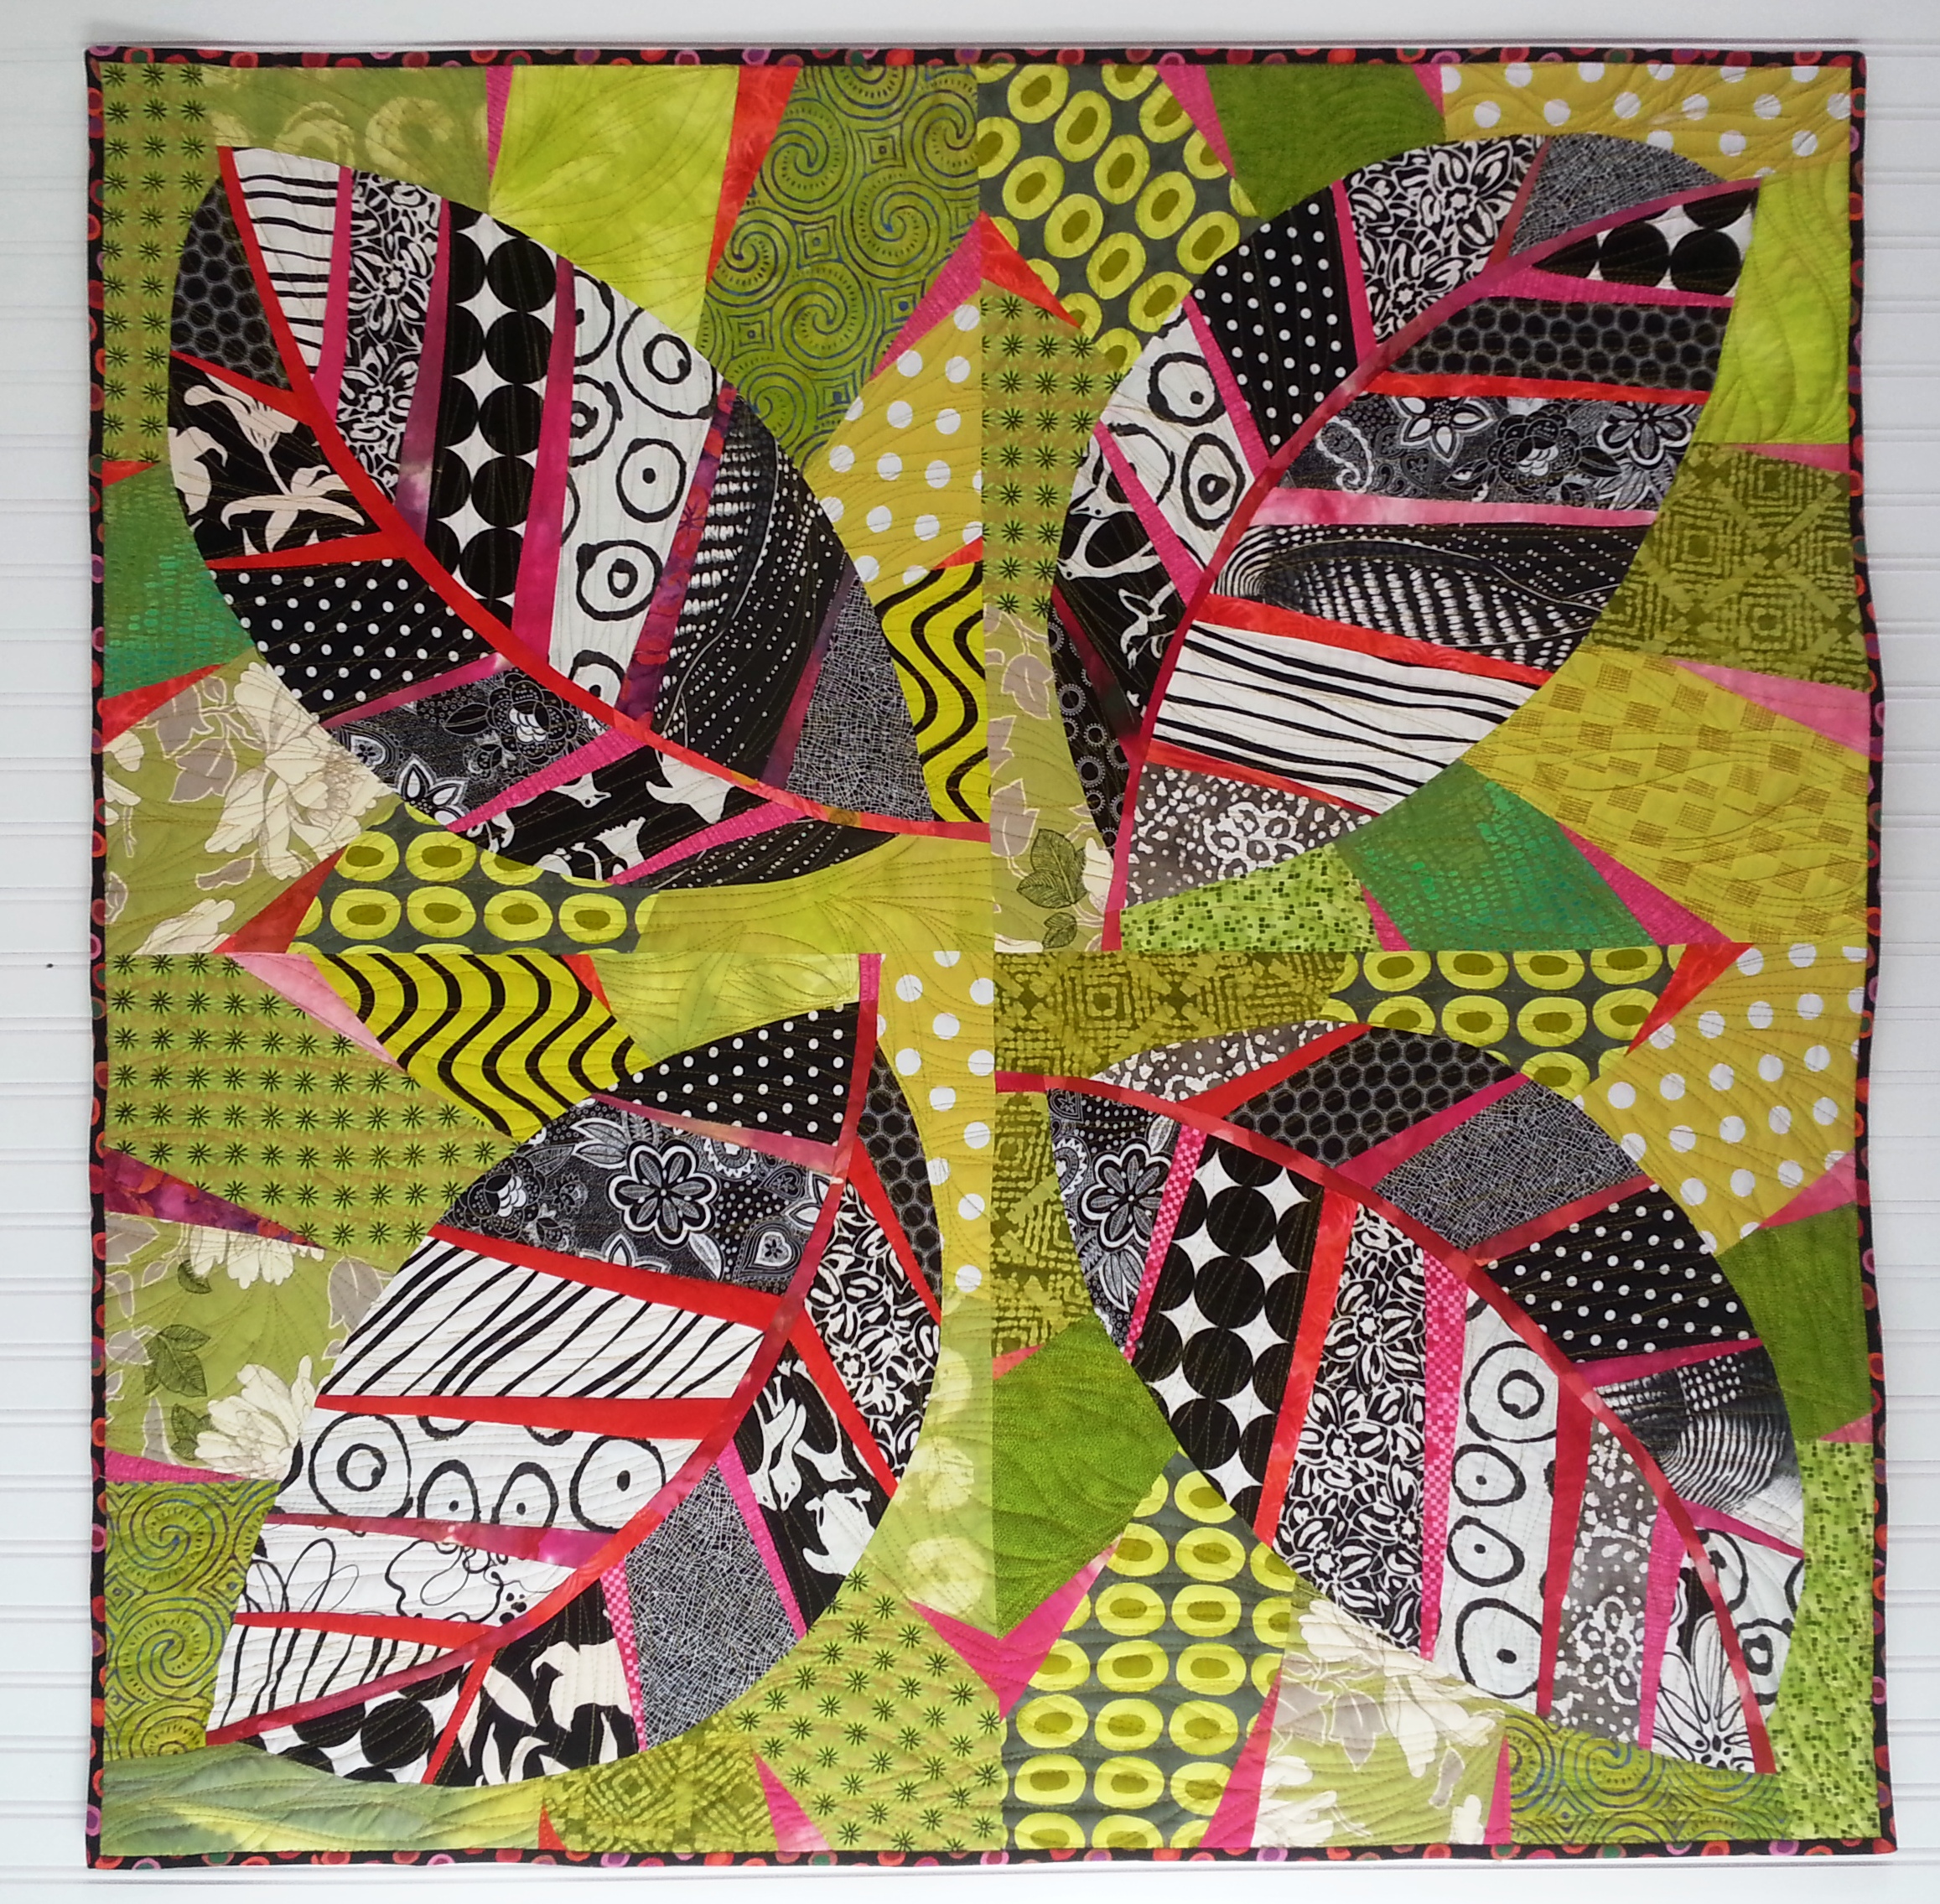
. . . and a four-block version in commercial fabrics:

New Big Leaf
Designed and made by Pat Pauly. 48″ square.


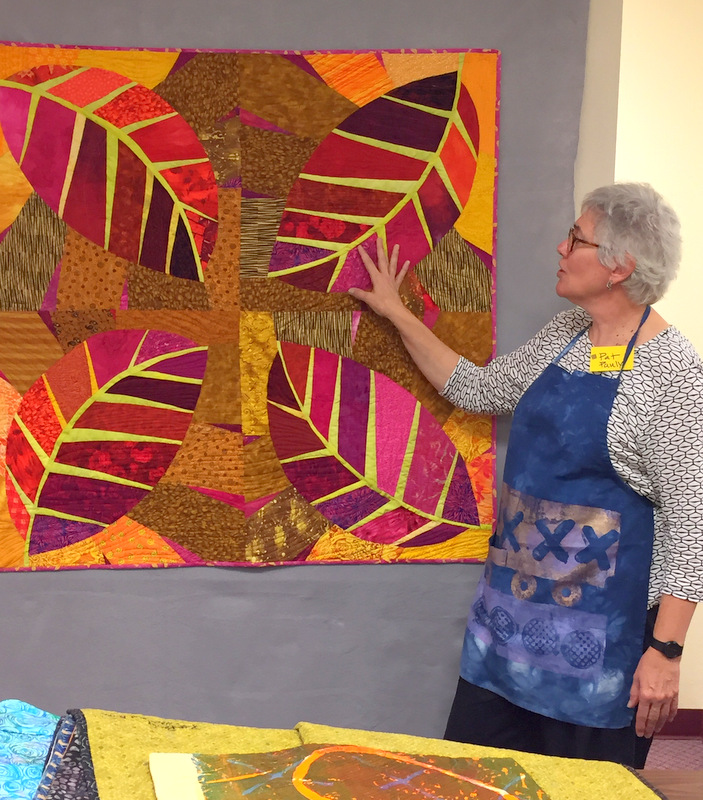
Here’s Pat during the workshop talking about her quilt:

Pat Pauly with New Big Leaf
Pat Pauly with her New Big Leaf


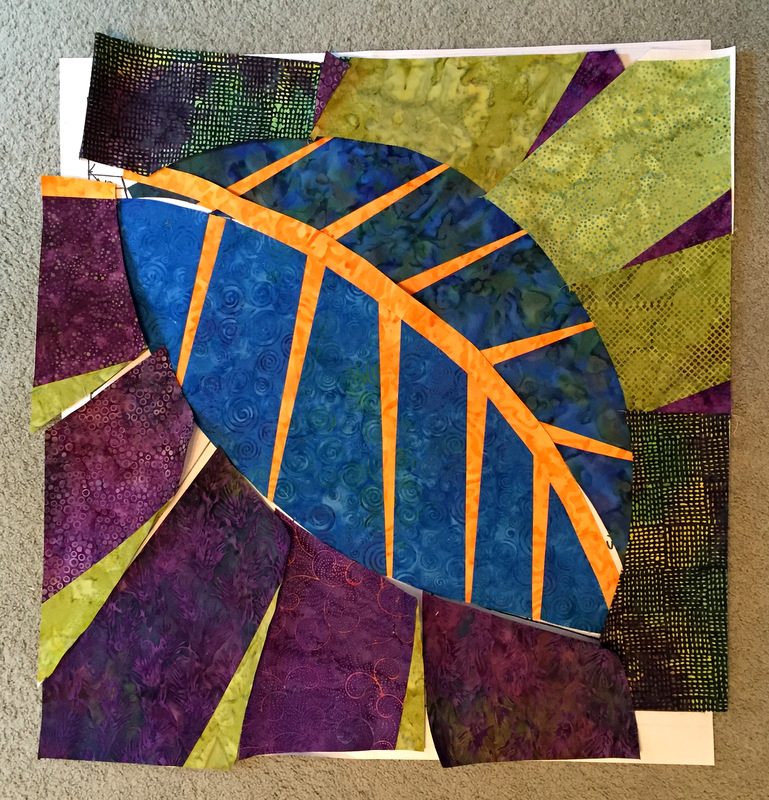
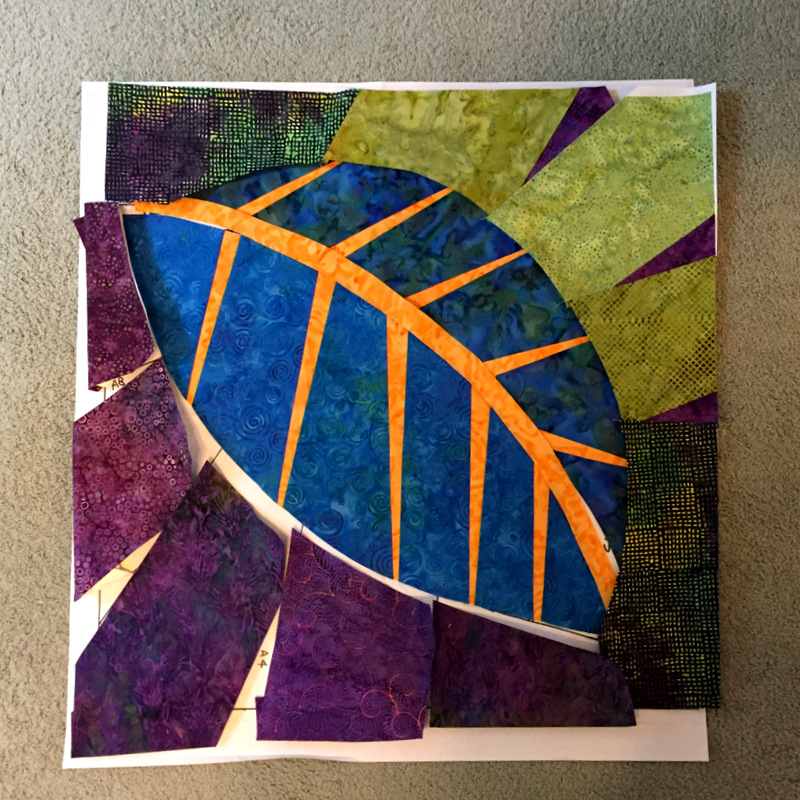
After studying her samples in advance, I decided to make a single block using batiks from my stash. I brought a stack of batiks to the workshop and got to work. Here is my leaf in process:

new big leaf in progress


The orange batik I brought for the veins of the leaf turned out to look a bit faded. My friend and fellow MPS guildmate Vickie generously gave me some of her own brighter orange batik to jazz up my leaf. Thanks, Vickie!

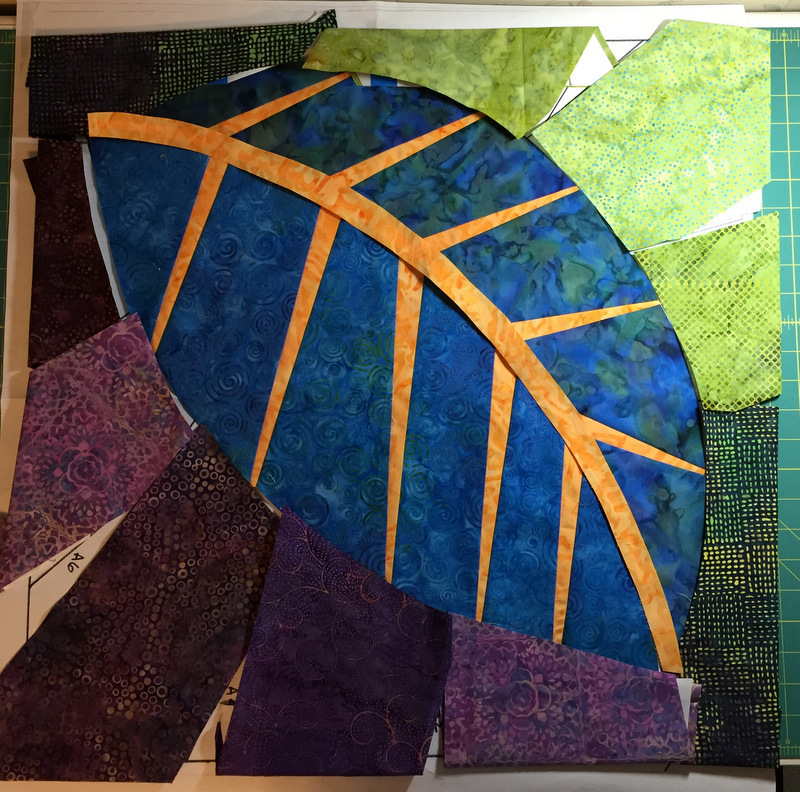
At the workshop I auditioned several purples and greens to fill the areas around the leaf. When I got home I started to second guess my choices:

big leaf with initial choices

I’m going to replace those two lighter purple pieces with ones that are a bit darker. I want the outer pieces to blend more so that the leaf remains the focus of attention.

Yes, I’m liking this better:

big leaf in progress

I’m liking it even more with the little wedges of color in the outer pieces:

big leaf with darts

Slowly but surely, my “new big leaf” is coming together.


Posted in Metropolitan Patchwork Society, New Big Leaf, update | 5 Comments