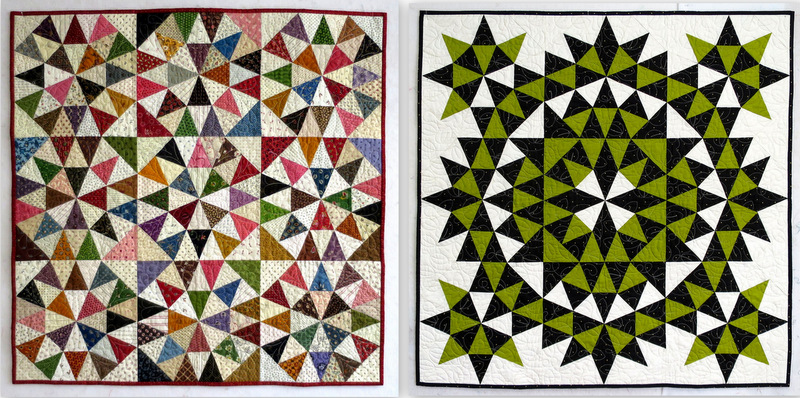
Grandma’s Surprise, Revisited
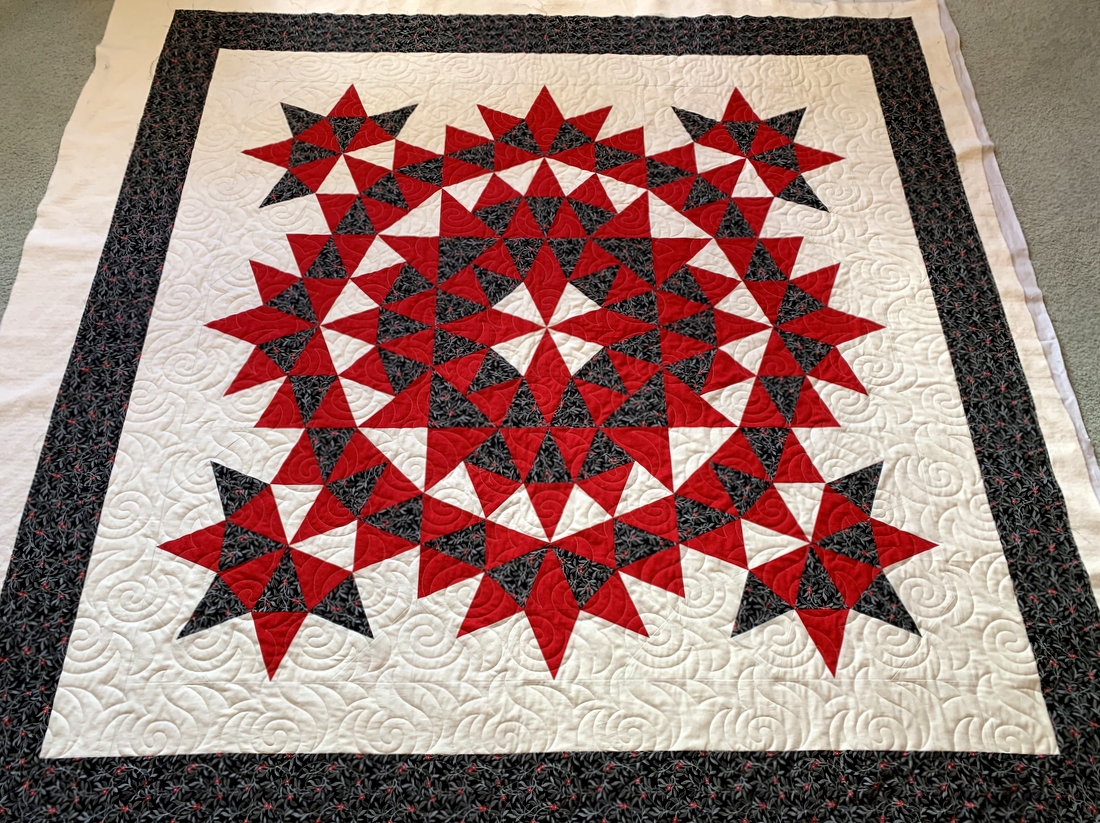
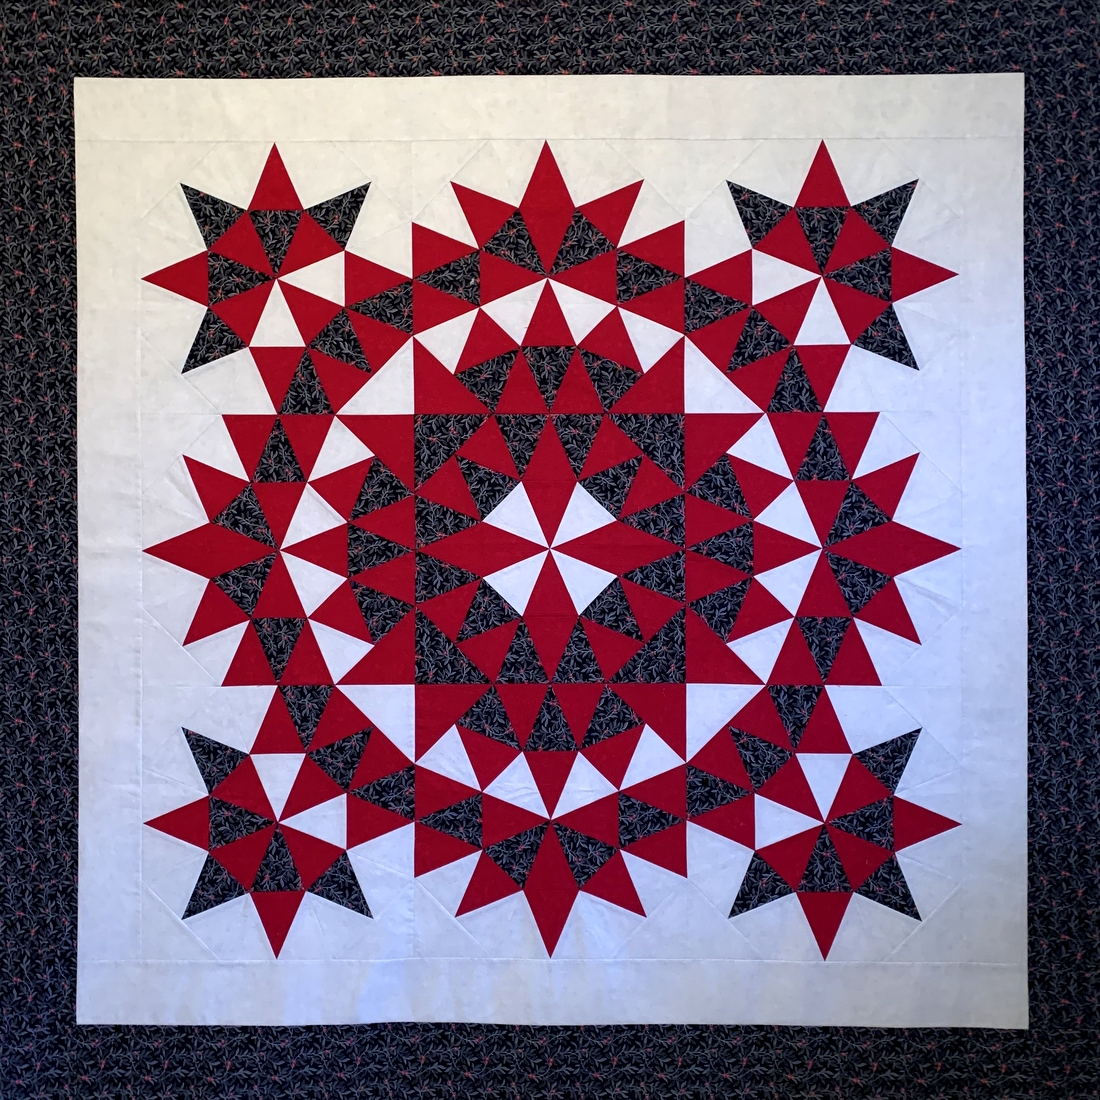 It’s been two months since I worked on my kaleidoscope quilt based on the pattern Grandma’s Surprise. The quilt top was finished in 2015 but not quilted until this May. When I got it back from the quilter, I decided to add a narrow red flange to the outer border before binding the quilt. My thought was to add a wider than usual binding using the outer border fabric so the red flange would float.
Trouble was, I didn’t have enough of the red fabric left, a paisley tone-on-tone print from P&B Textiles. The search was on for a few extra inches of that print. In my last post about this project I was eagerly awaiting the delivery by USPS of the very fabric I needed, offered by a very kind quilter in Pennsylvania named Nancy. The coveted piece of fabric arrived quickly. Alas! Although it was a red paisley tone-on-tone print from P&B textiles, it wasn’t the correct shade of red.
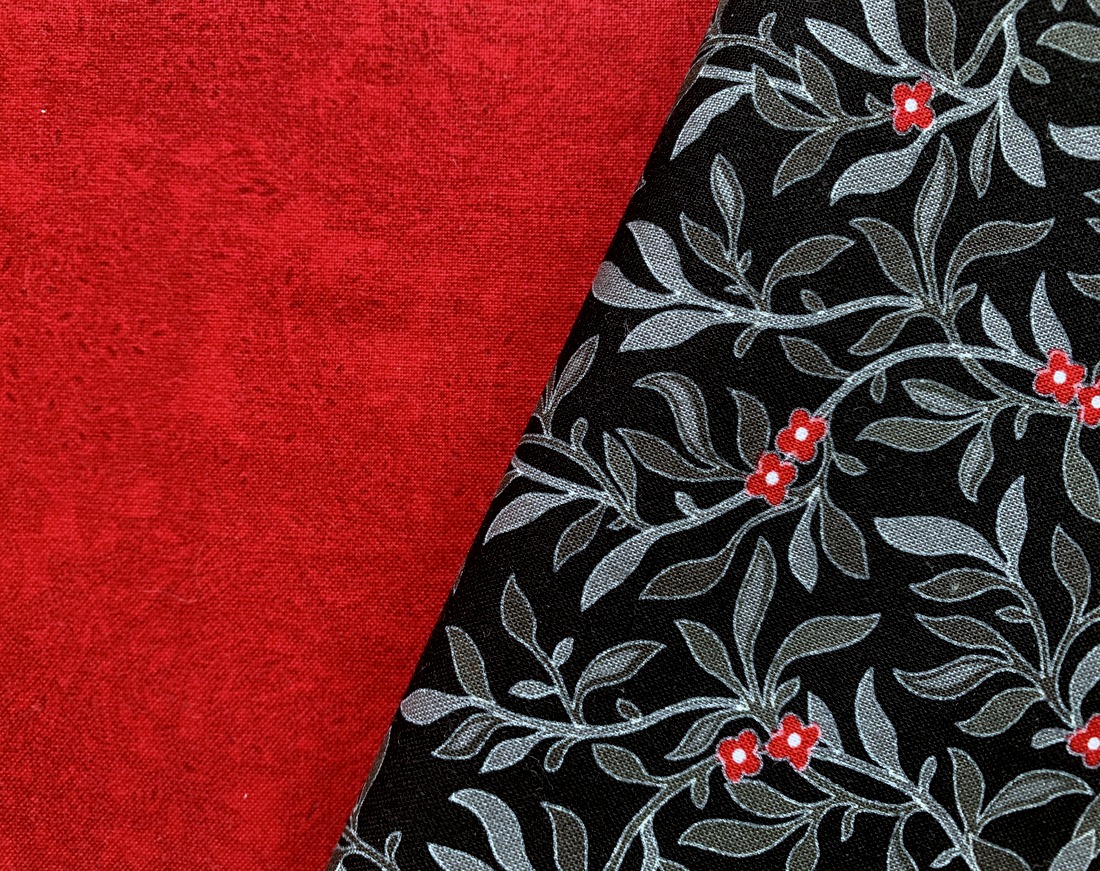
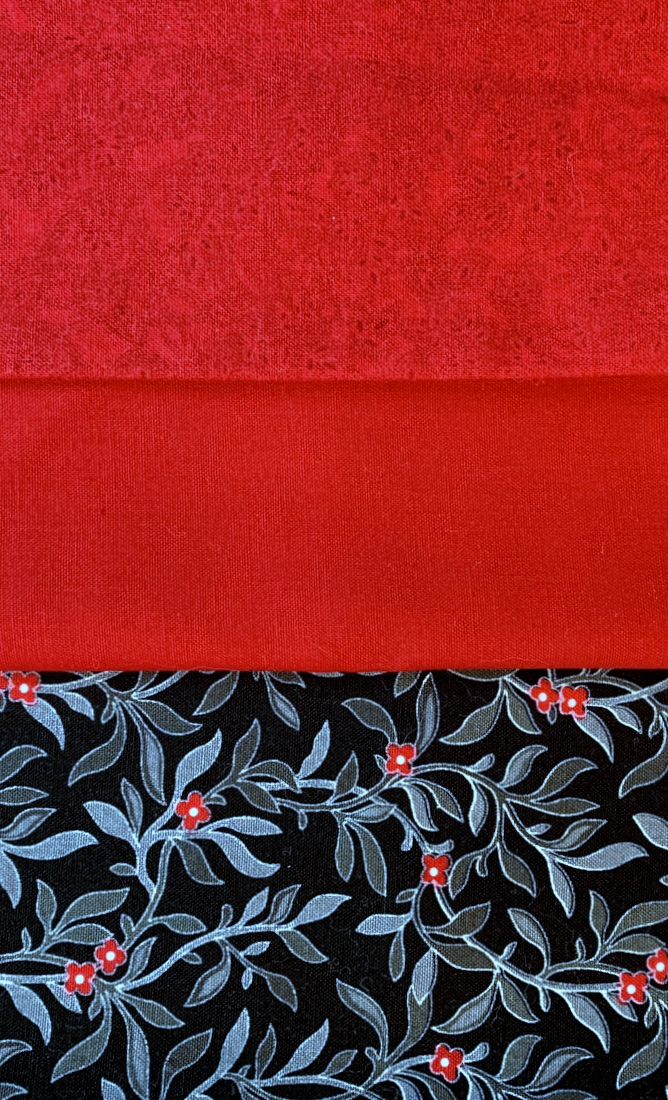
So near yet so far . . . Nancy and I were both philosophical about it. As she wrote, “The story made us smile for a few days so it was well worth it.” The only choice left was to find a solid red that was a good match. Happily, I found it a few days later at Montavilla Sewing Center in Lake Oswego: “Scarlet” from the ColorWorks Premium Solid 9000 line by Northcott Studios. In the shot below you can see how close the solid red is to the red paisley and how well it goes with the border fabric:
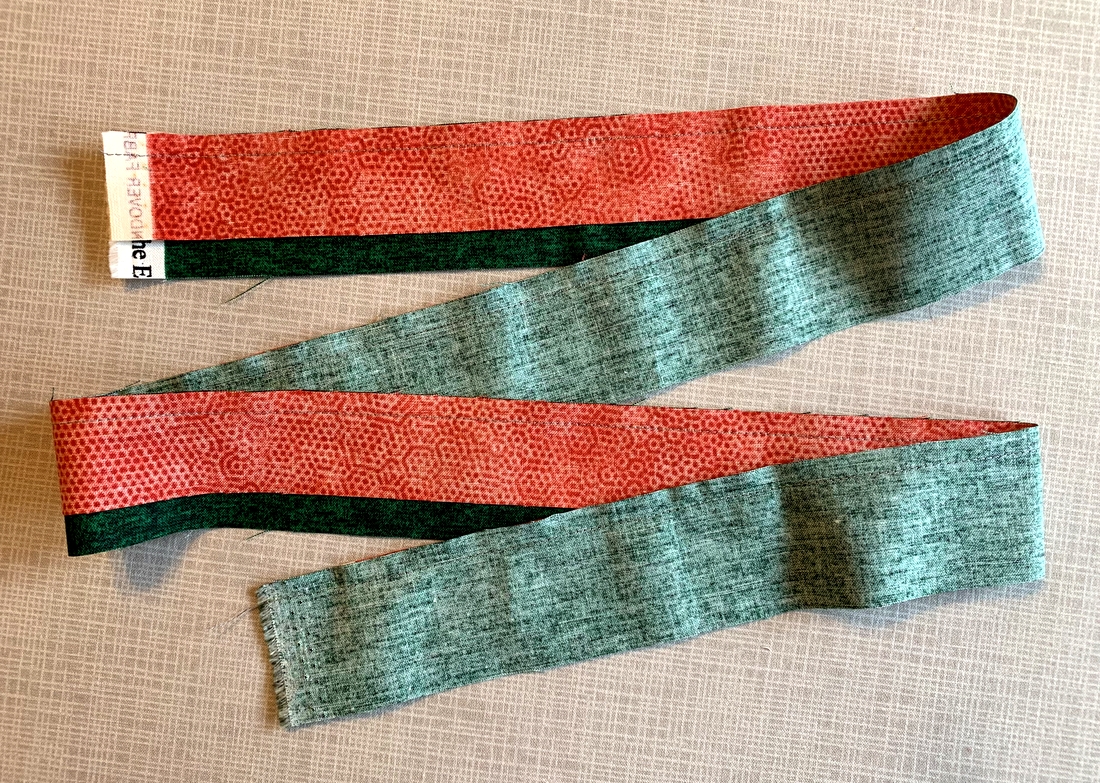
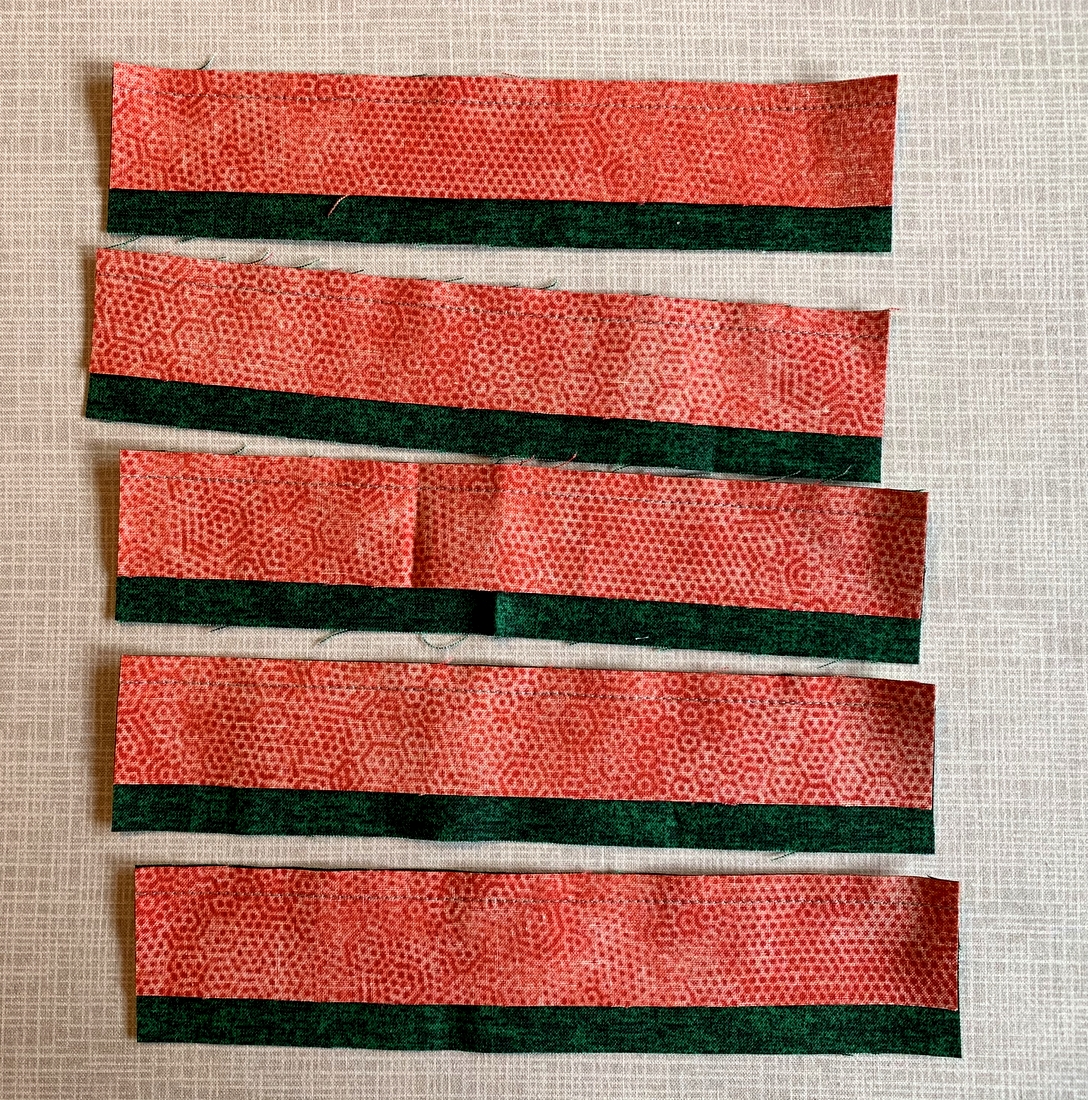
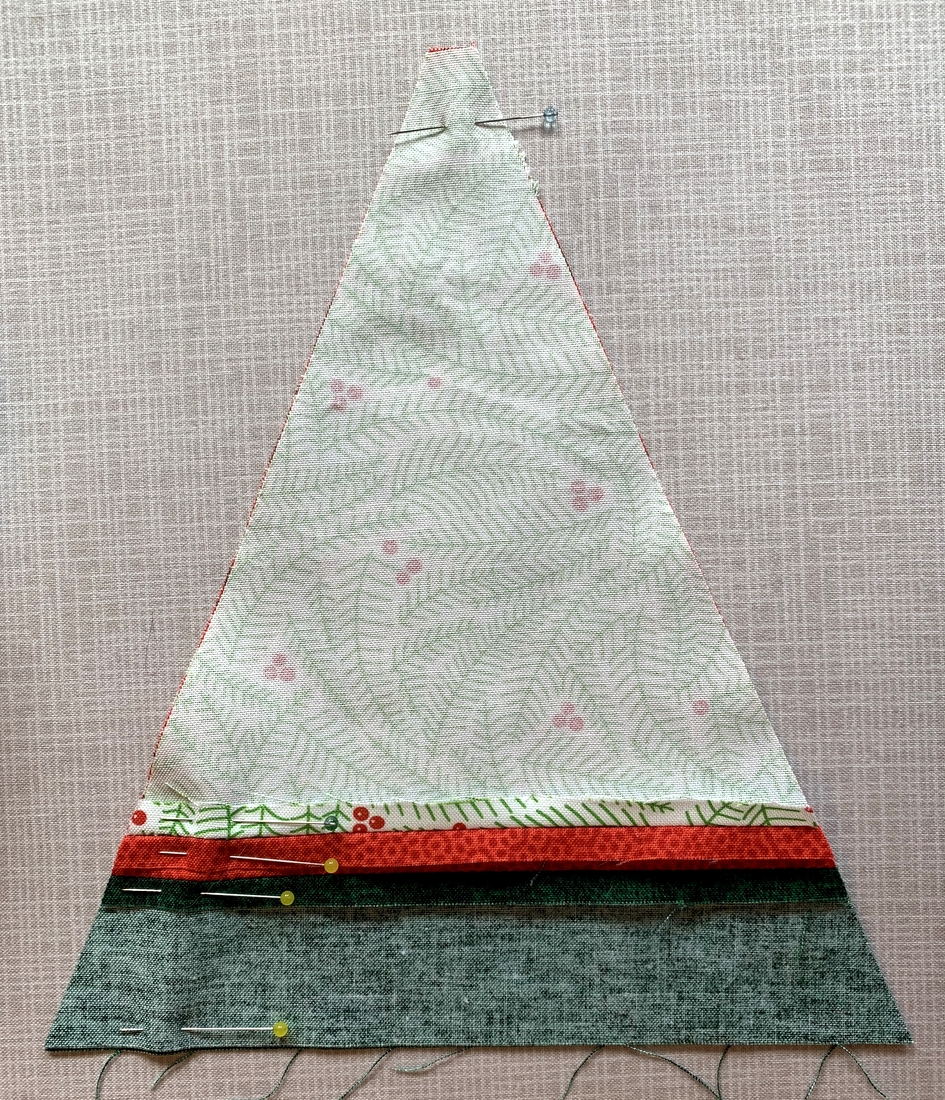
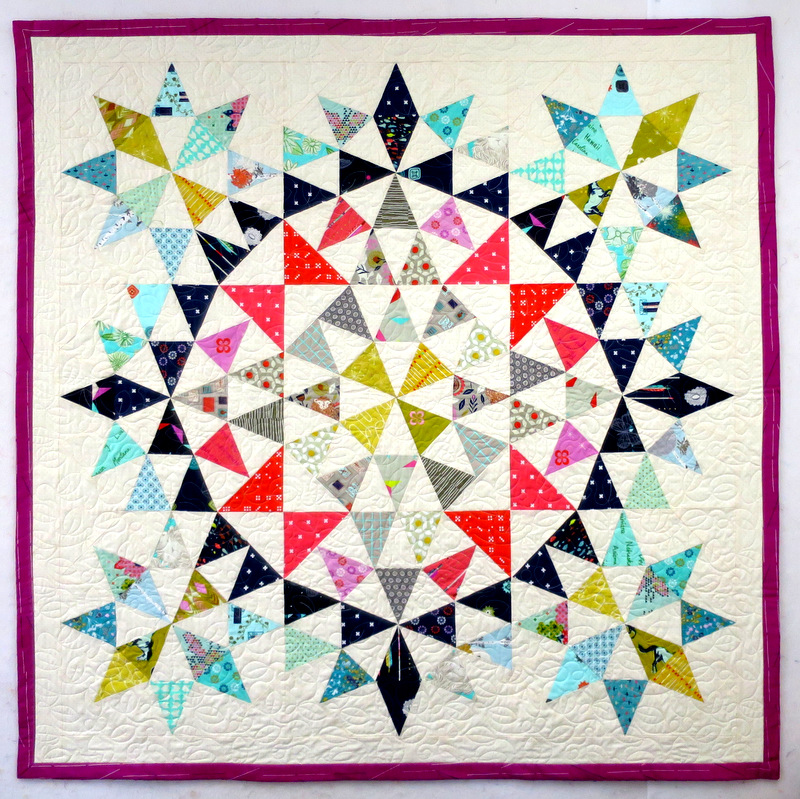
Instead of getting right to work on the flange and binding, I put the project on the back burner while working on other things. Now I’m back at it, eager for a finish. Here’s a shot of the flange strips attached to the quilt:

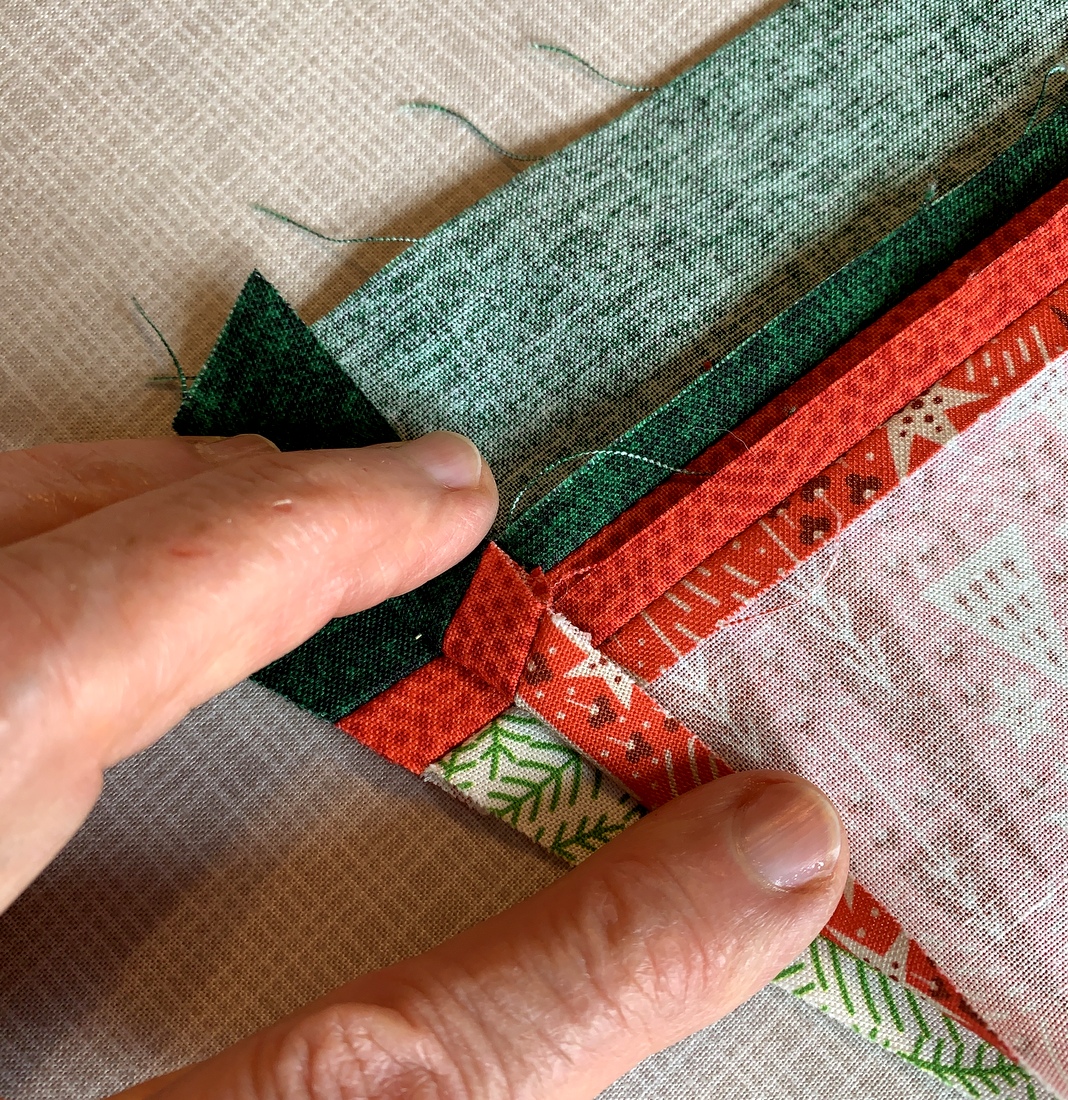
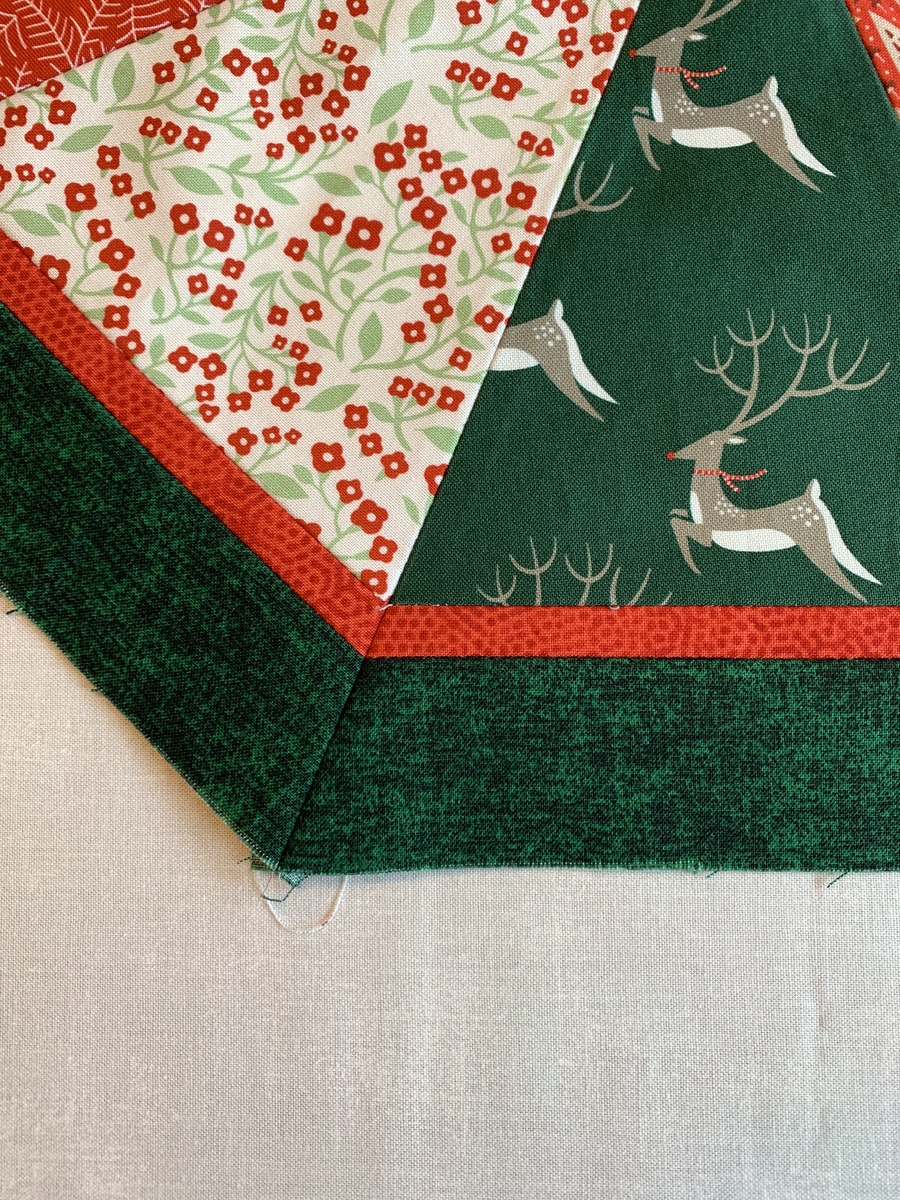
The flanges will finish at ⅜” so the strips were cut 1¼” wide. When I trimmed the quilt I allowed for a ¾” finished binding. After attaching the flanges I decided to go with single-fold binding (rather than the more traditional double-fold or French binding) to reduce bulk at the corners. I’m in the process of tacking the binding now. Here’s a sneak peek at the first corner:
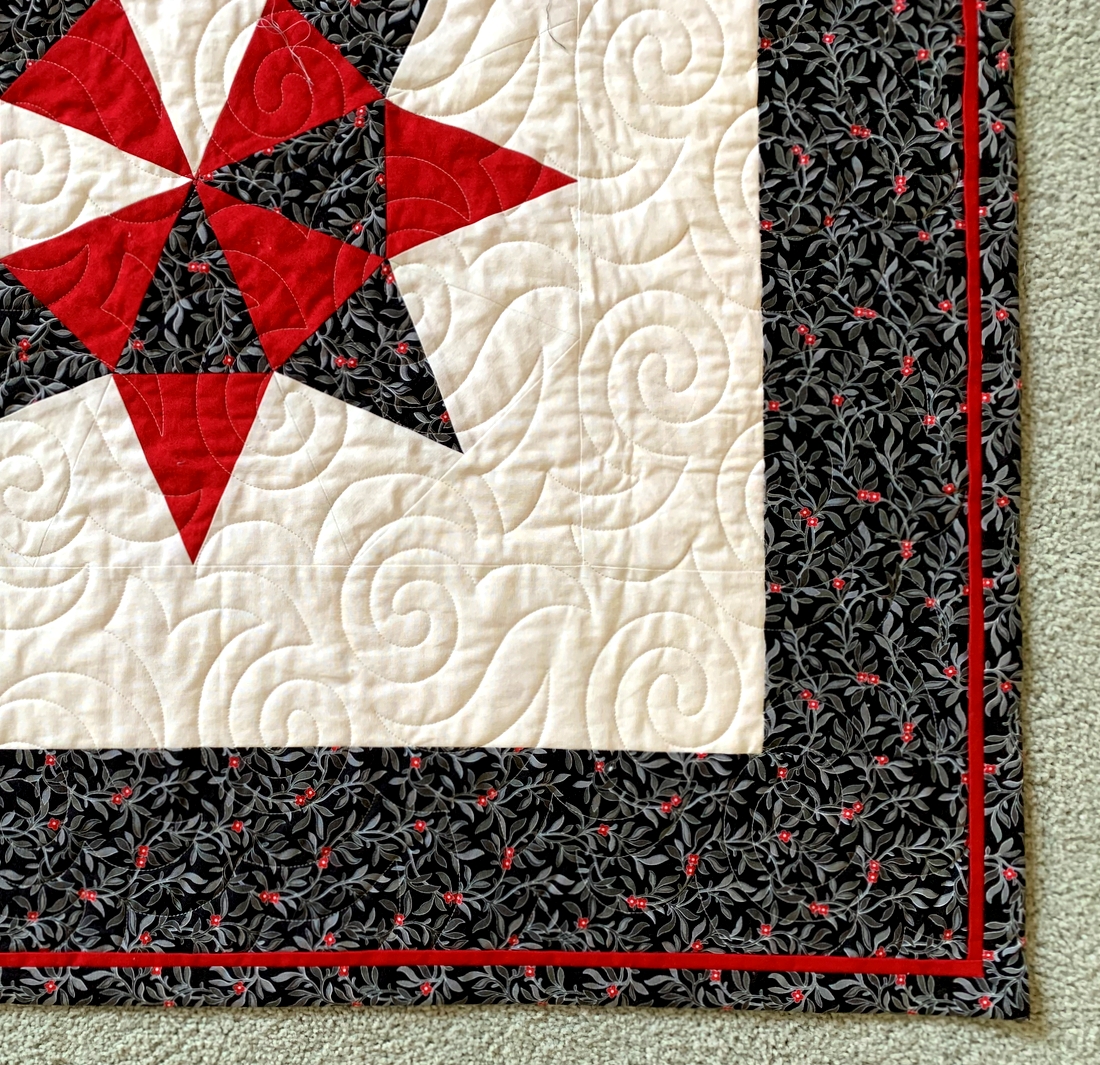 Just as I envisioned!