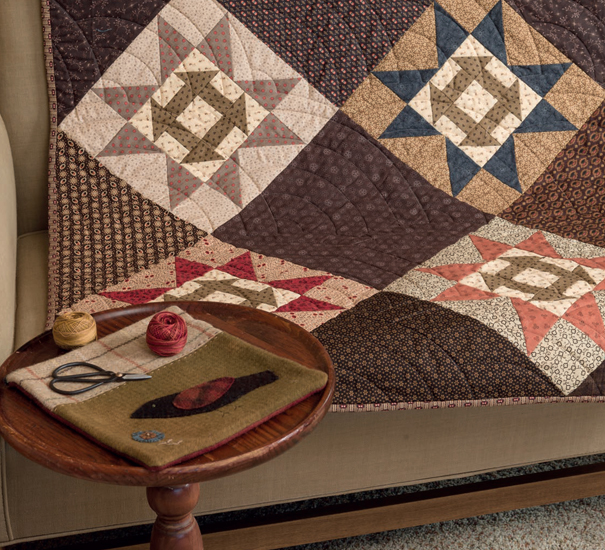
Do you ever start a quilt without having a firm plan in mind? It’s a tendency of mine. It seems I am always making test blocks and then deciding to proceed with a quilt without knowing what the finished product will look like. I just start making more blocks willy-nilly until a plan emerges.
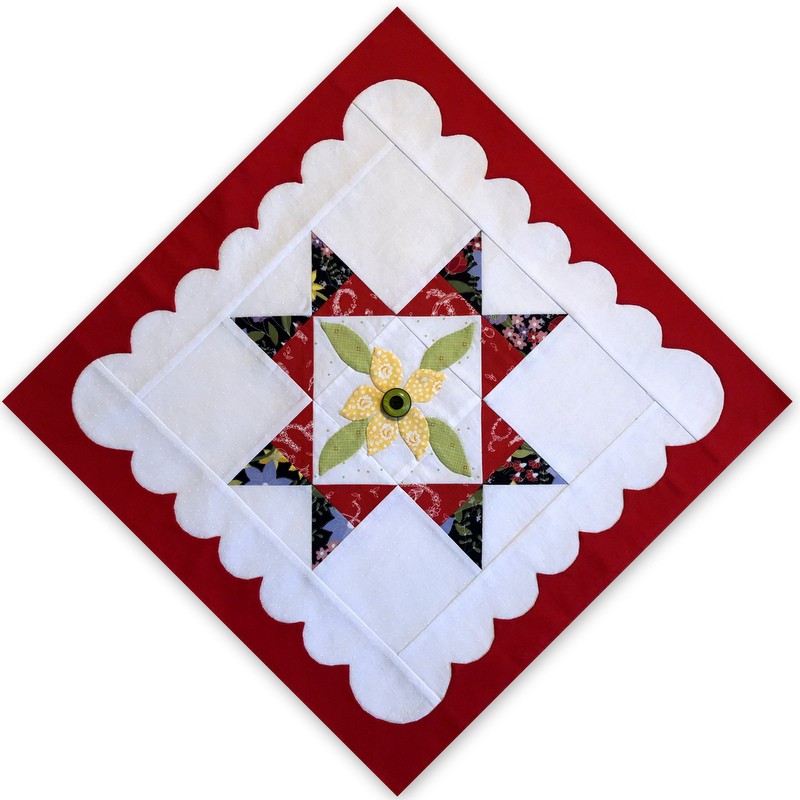
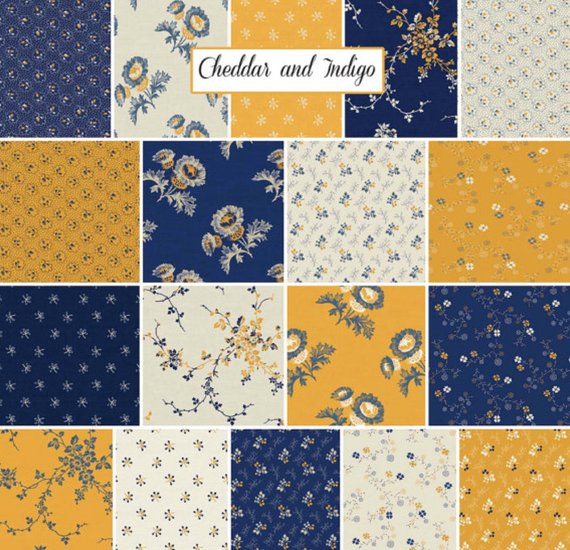
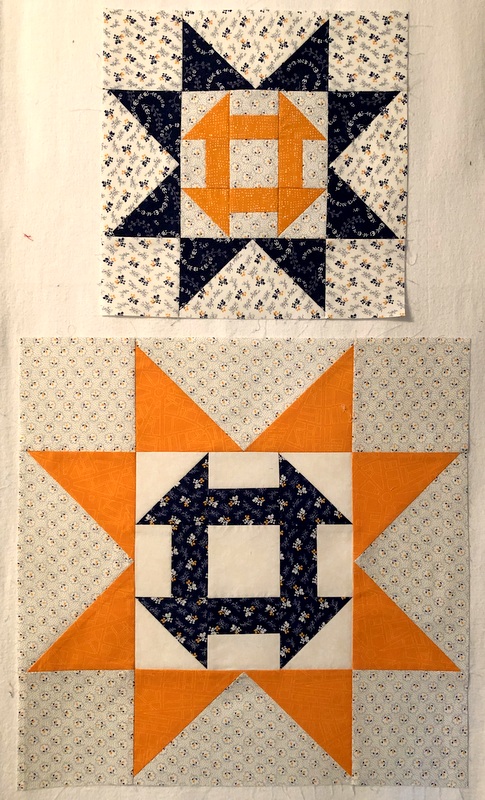
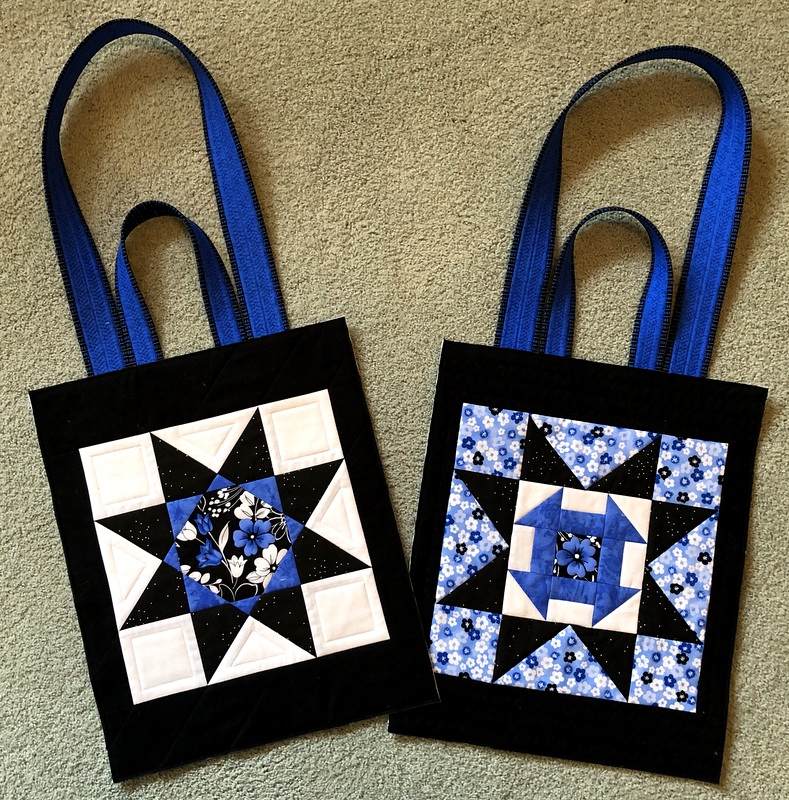
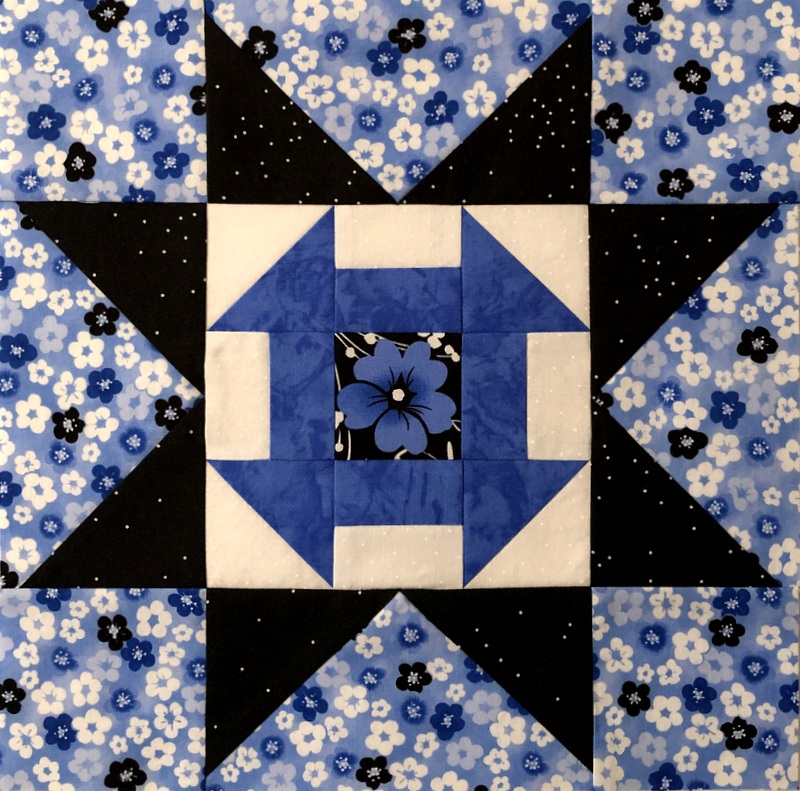
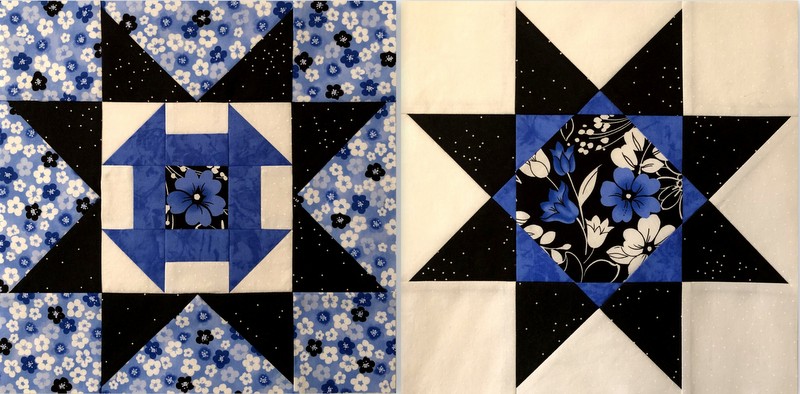
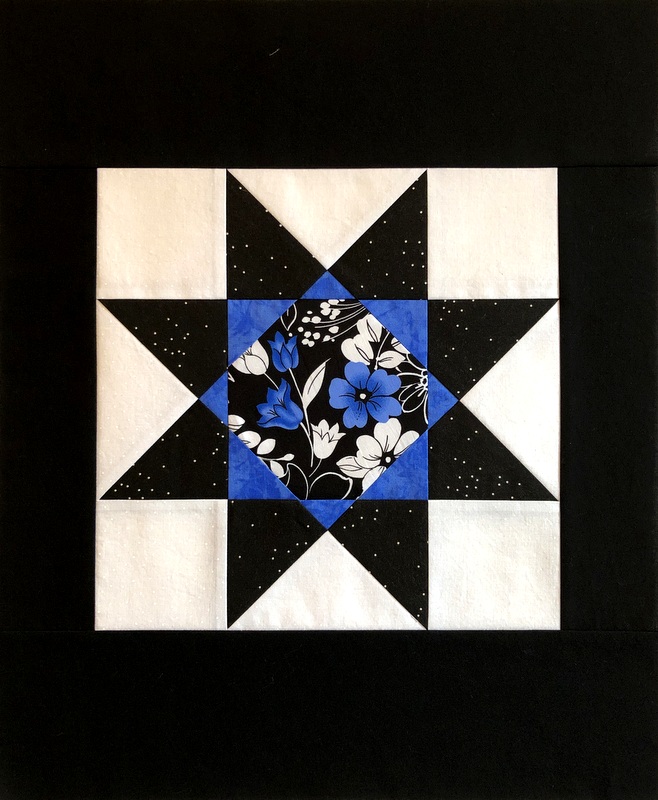
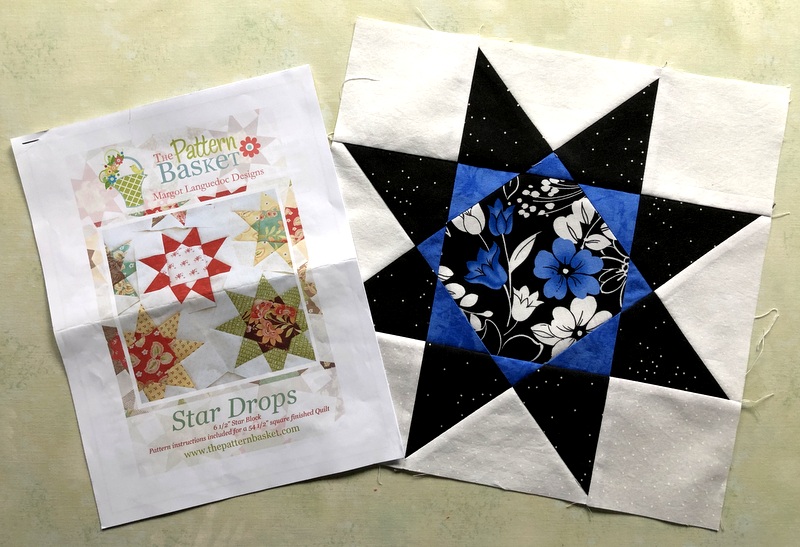
Such is the case with my newest WIP (that’s Work-in-Progress for you non-quilters). Starting with my stash of cheddar and indigo prints from Penny Rose Fabrics and the Churn-Dash-inside-a-Sawtooth-Star block that Jenifer Gaston created for her Churning Stars quilt, I made 12″ and 18″ test blocks, subject of my last post. Where to go from there? Should I add some 9″ and/or 6″ blocks to the mix? Might be fun to play around with that.
When the bundle of fat quarters I found online arrived the other day, I got busy cutting 12″ squares from the cheddar and indigo prints:
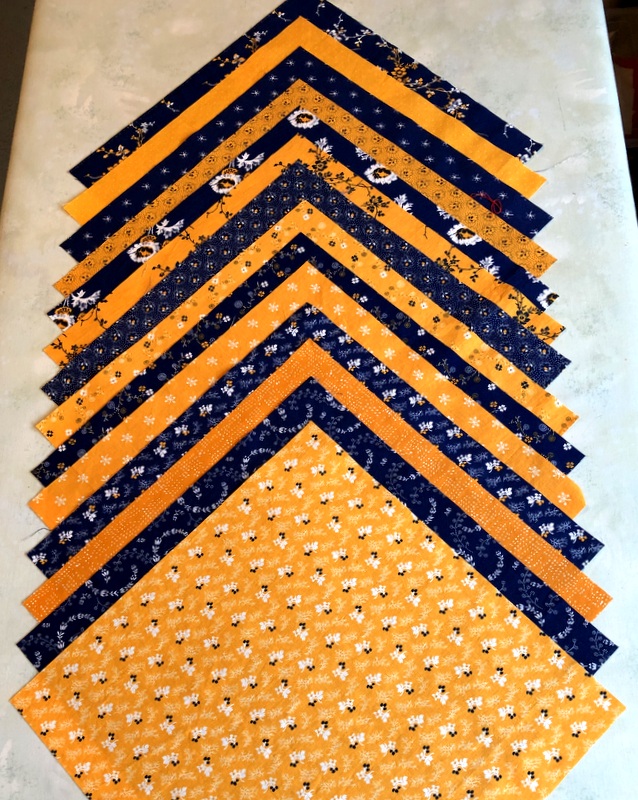
Why 12″ squares? For the star points in the Sawtooth Stars, I’m making Flying Geese units using the method that calls for two different size squares and yields four Flying Geese units. A 12″ square is needed for the 18″ blocks and it’s also the largest to be cut from a fat quarter so I figured I’d better cut them first. After I had cut all the squares you see above, it dawned on me that I probably don’t want that many 18″ blocks. Oops.
That’s what happens when you don’t have a plan. Well, all is not lost. I can cut those squares into smaller pieces to use in smaller blocks. And I have enough fabric for two quilts anyway. One of the benefits of having an ample stash, right?
You probably know from my previous post that I’m going for a “controlled scrappy” look with my cheddars and indigos. Because of that I decided to make a bunch of Churn Dash blocks and a bunch of Flying Geese units for the Sawtooth Stars but wait to combine them into blocks until I can play around with the components on my design wall. That’s my current plan. If you can call it that.
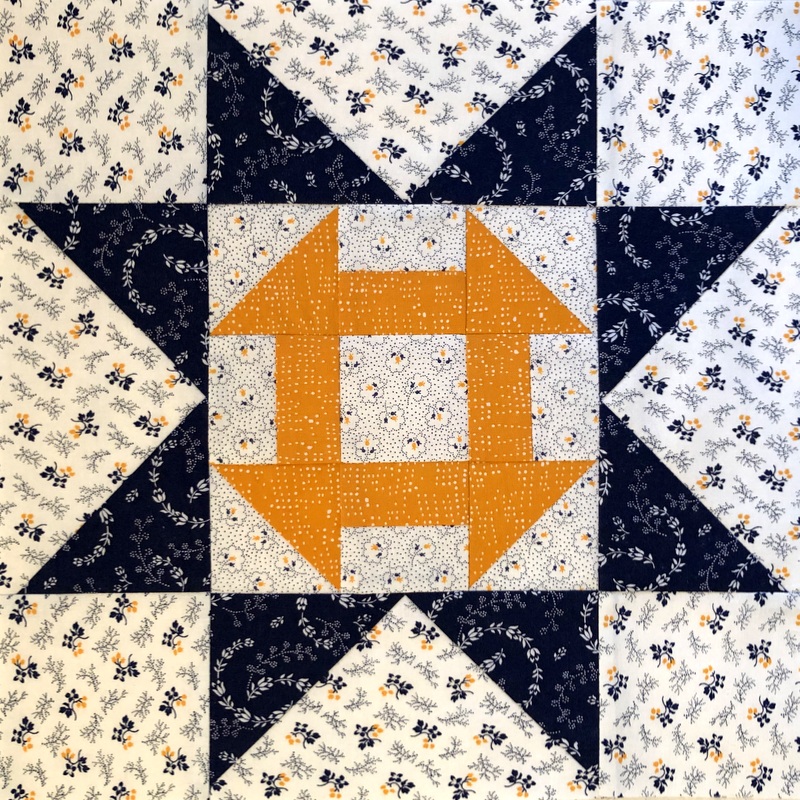
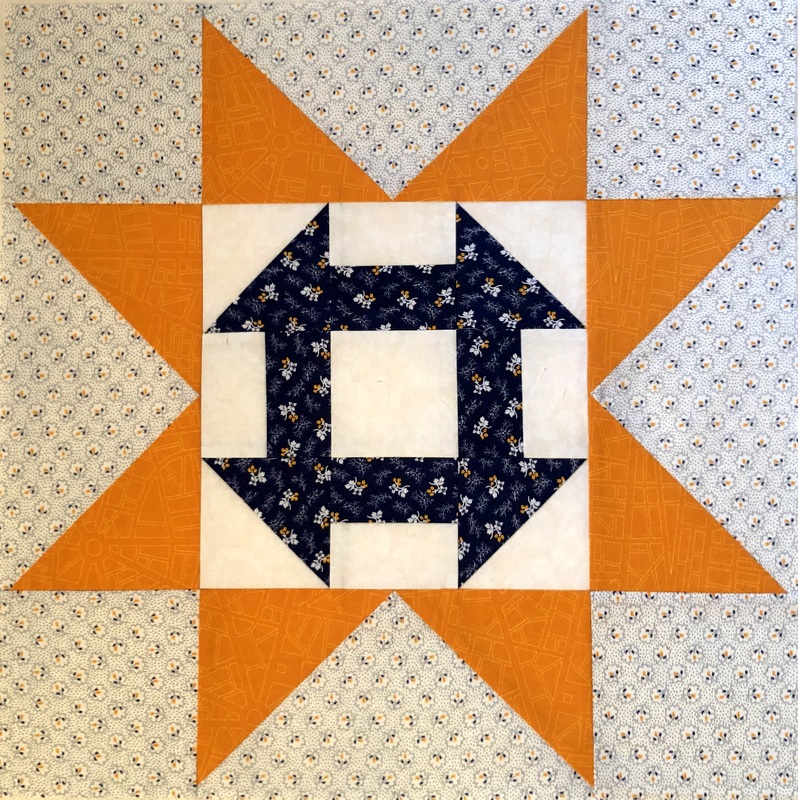
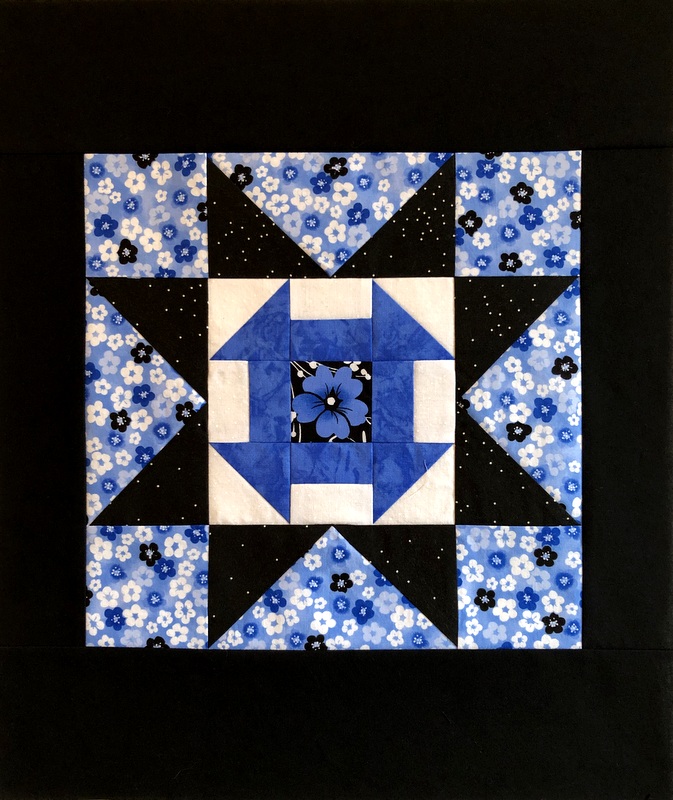
For now I’ve made a couple Churn Dash blocks and Flying Geese sets in two sizes. The Churn Dash blocks measure 6½” and 9½” square, as they will go in the center of blocks that finish at 12″ and 18″ square:

The Flying Geese units below are half sets (i.e. there are actually four units in each set, not two) as I wanted to combine parts of four sets in one photo. The large units measure 4½” x 9″ and the smaller ones 3½” x 6½”:
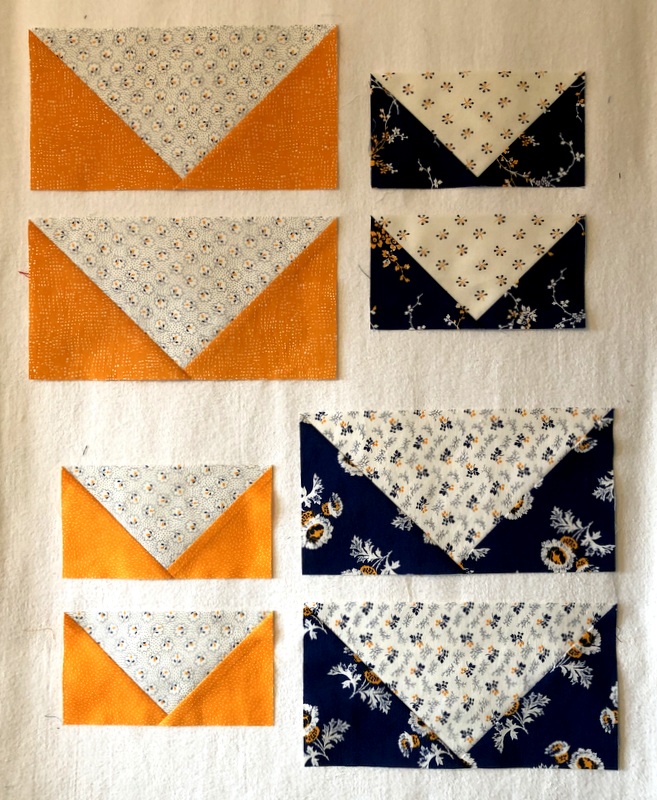 The cheddars in this photo are not from the original fabric line but rather fabrics from my stash that I want to include in the quilt.
This WIP is destined to become a WISP (Work in Slow Progress, an acronym I learned just the other day) as I really must turn my attention to some other projects. Because these Churn Dash blocks and Flying Geese units go together quickly — and are fun to make — I’m going to make a few whenever opportunity and inclination coincide.