![]()
Did you know that March is National Craft Month? Not only that, March 18 is National Quilting Day.
 But wait — there’s more!
March 18 is also Worldwide Quilting Day — a day to celebrate the art and craft of quilting with like-minded friends around the globe:
![]()
I follow quite a few quilters in other countries through Instagram (are you on Instagram too? You can find me here) so I am delighted to know quilters around the world are celebrating the same day we are.
National Quilting Day is always celebrated on the third Saturday of March, coinciding this year with two quilt shows in the Portland, Oregon metropolitan area.
The 23rd annual “Airing of the Quilts” is this Friday and Saturday, March 17-18, at the Milwaukie Center, 5440 SE Kellogg Creek Drive in Milwaukie, Oregon. It’s a non-juried community quilt show exhibiting old and new quilts, traditional and non-traditional. Show hours are 9:00 am to 4:00 pm both days. For more information, visit www.MilwaukieCenterQuiltShow.org.
“Every Quilt Tells a Story” is the theme of the Metropolitan Patchwork Society’s one-day show Saturday, March 18, at the Beaverton Public Library, 12375 SW Fifth St., Beaverton, Oregon. Hours of the show are 11:00 am to 4:00 pm. This show is also non-juried and features quilts made primarily by MPS members.
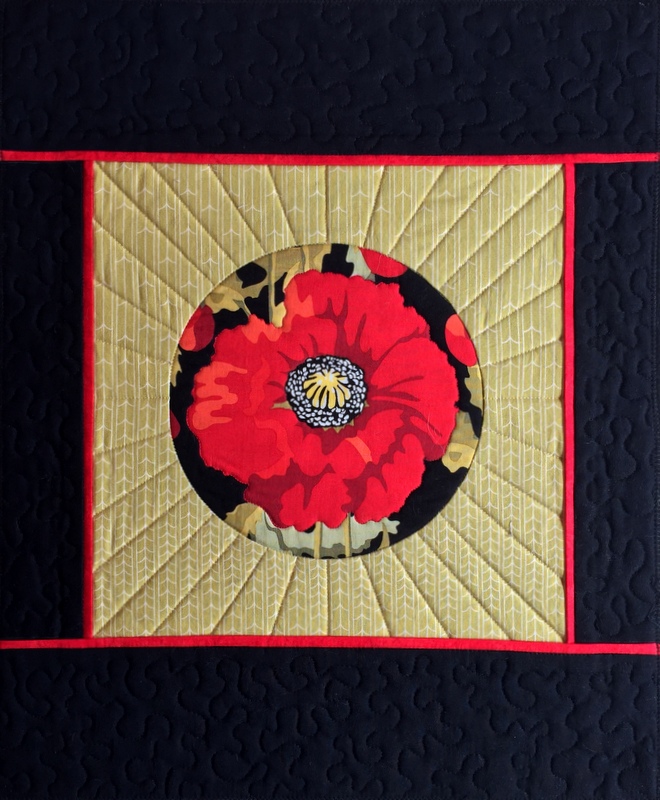
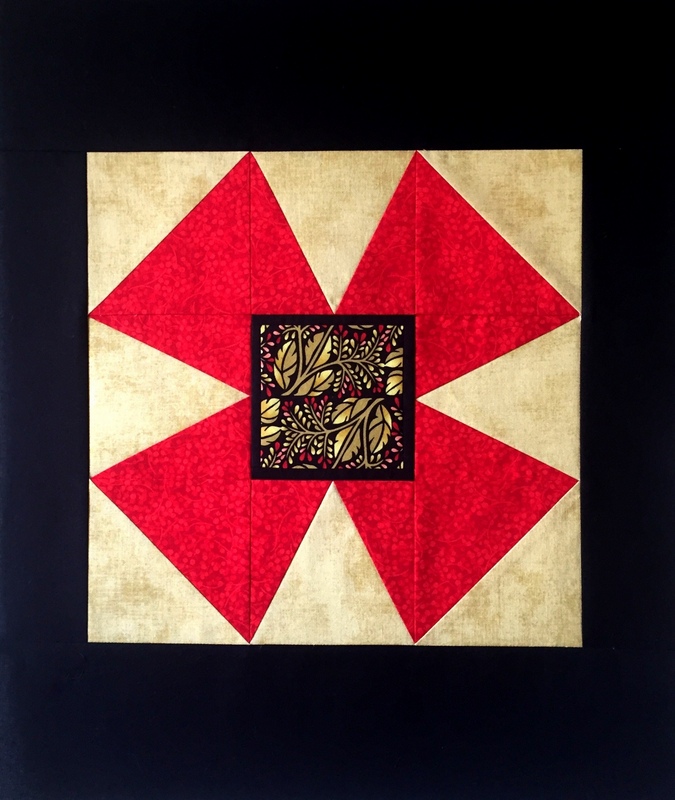
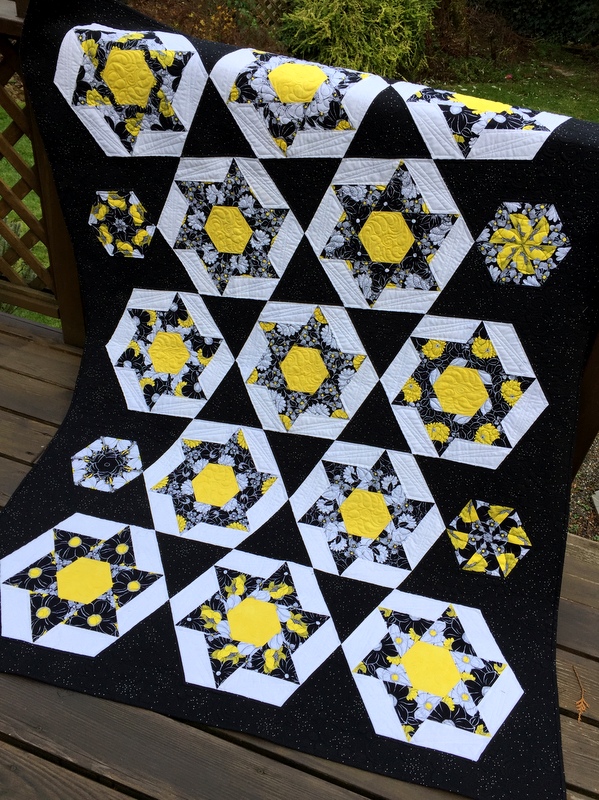
I’m a member and have submitted two quilts I completed last year: Stella by Starlight . . .
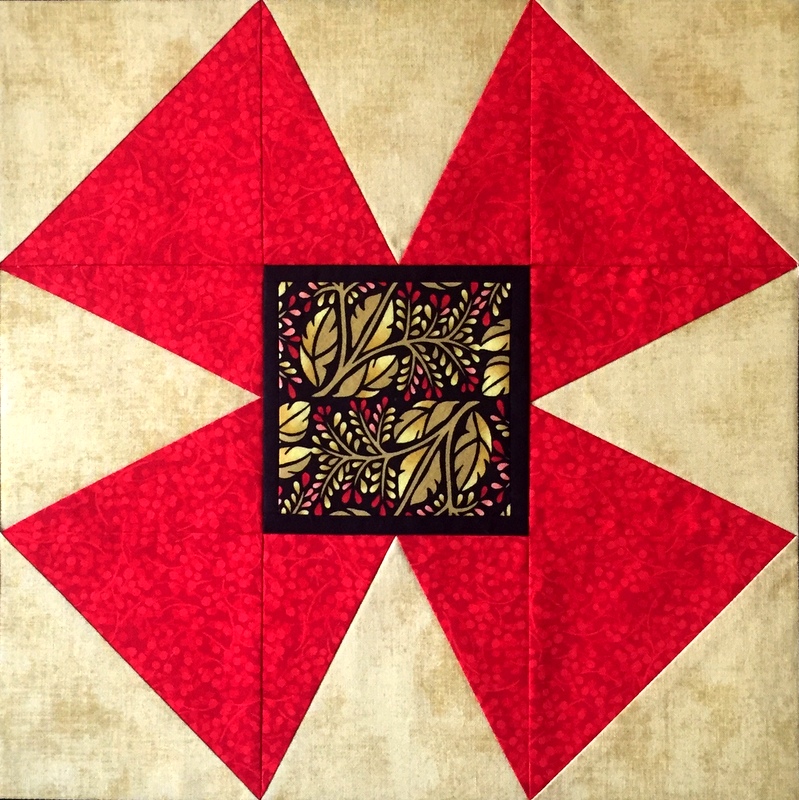
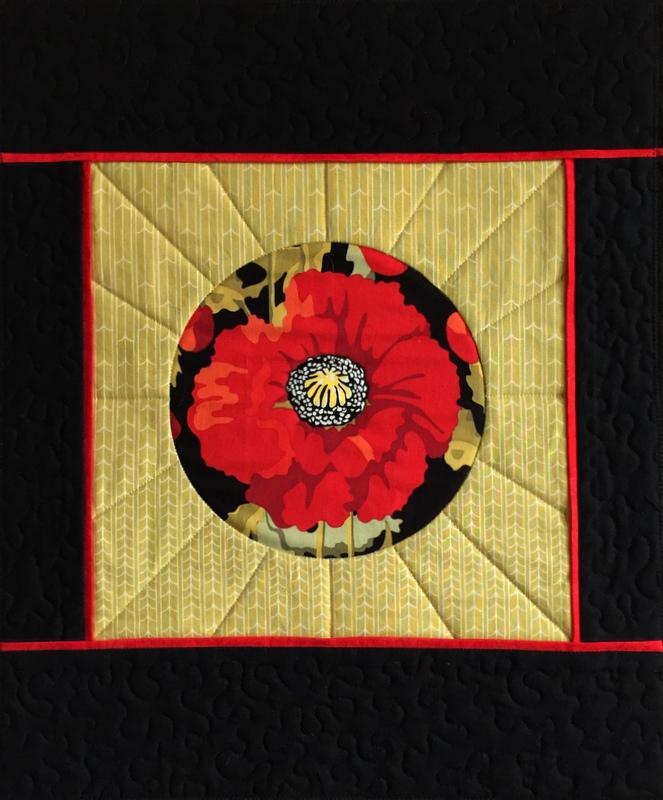
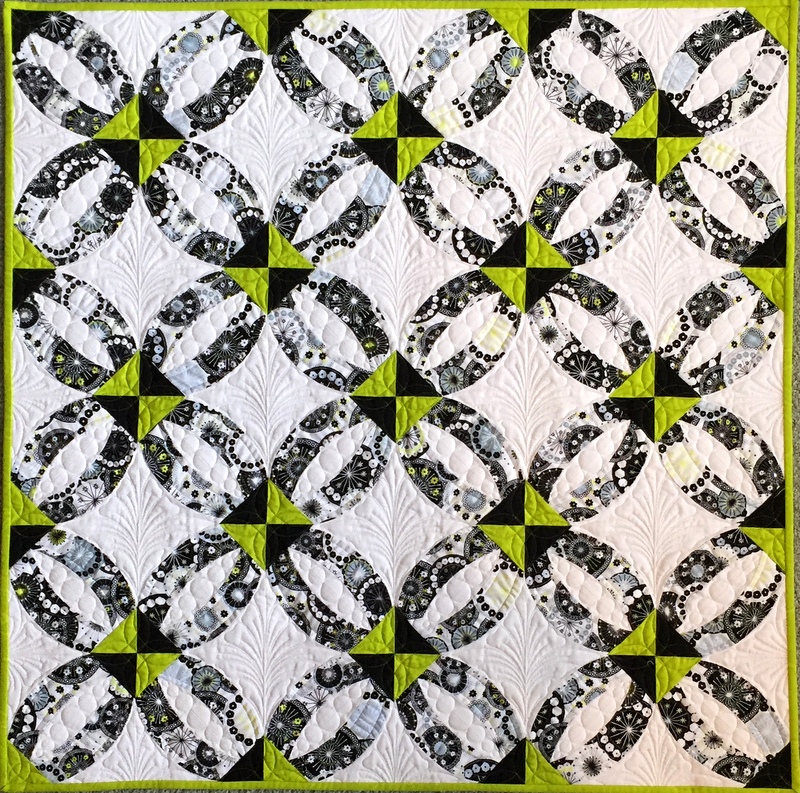
. . . and Ring Toss:
If you’re in the area, I hope you’ll visit one or both of these quilt shows.
Quiltmakers are always being exhorted to support their local quilt shops. In the spirit of National Quilting Day and Worldwide Quilting Day, consider this a call to support your local quilt guilds as well.
See you at the show!
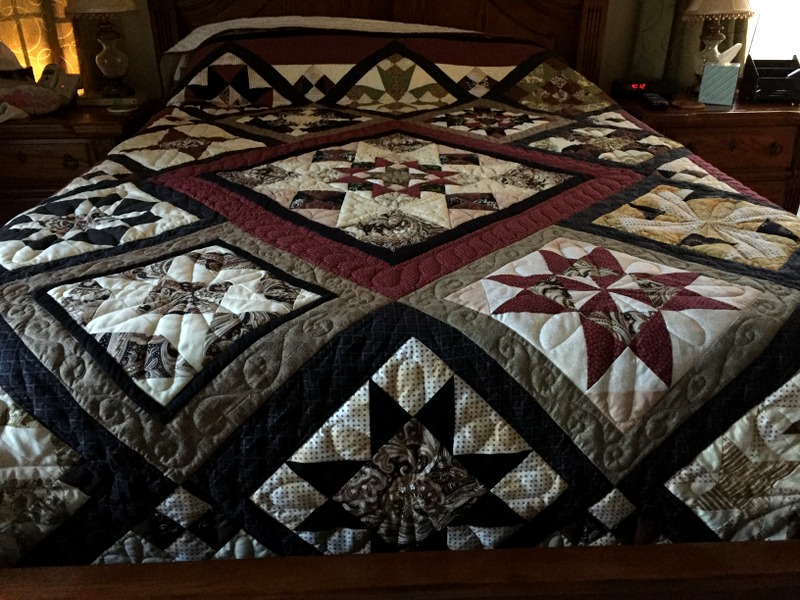
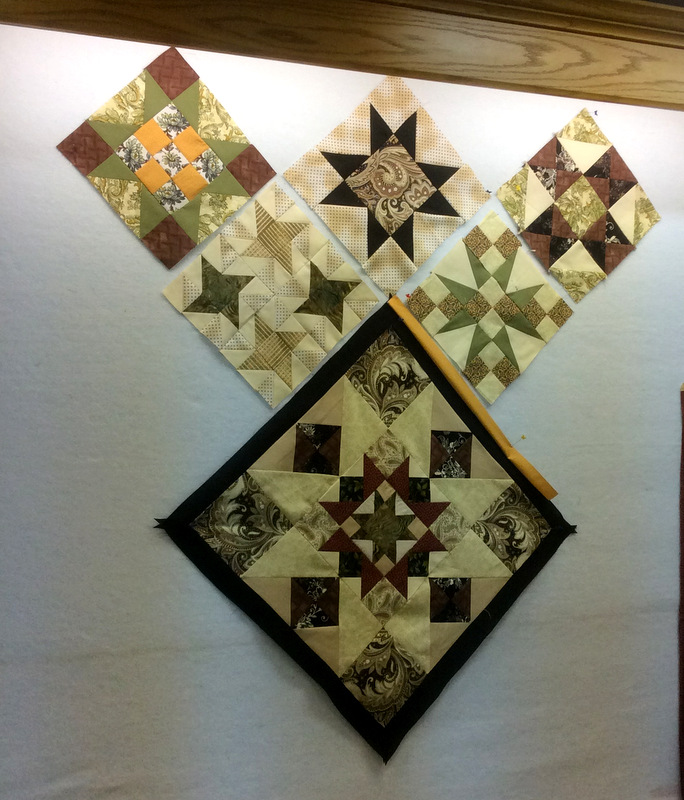 You’re looking at the center medallion and first five blocks of Annette Holder’s Reach for the Stars quilt. Annette lives in Jonesboro, Arkansas. We met online as part of a community of quilters making the dazzling sampler quilt designed by Terri Krysan that was featured as a series quilt in Quilter’s Newsletter magazine during 2013 and 2014.