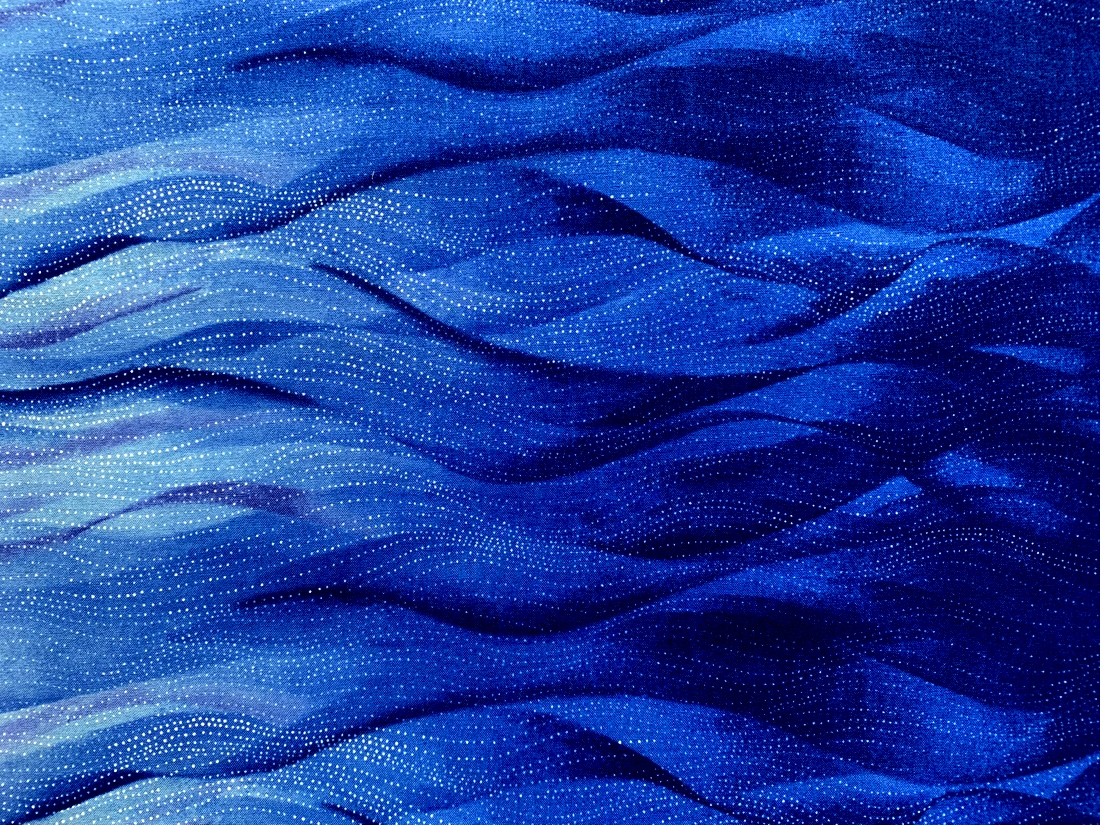
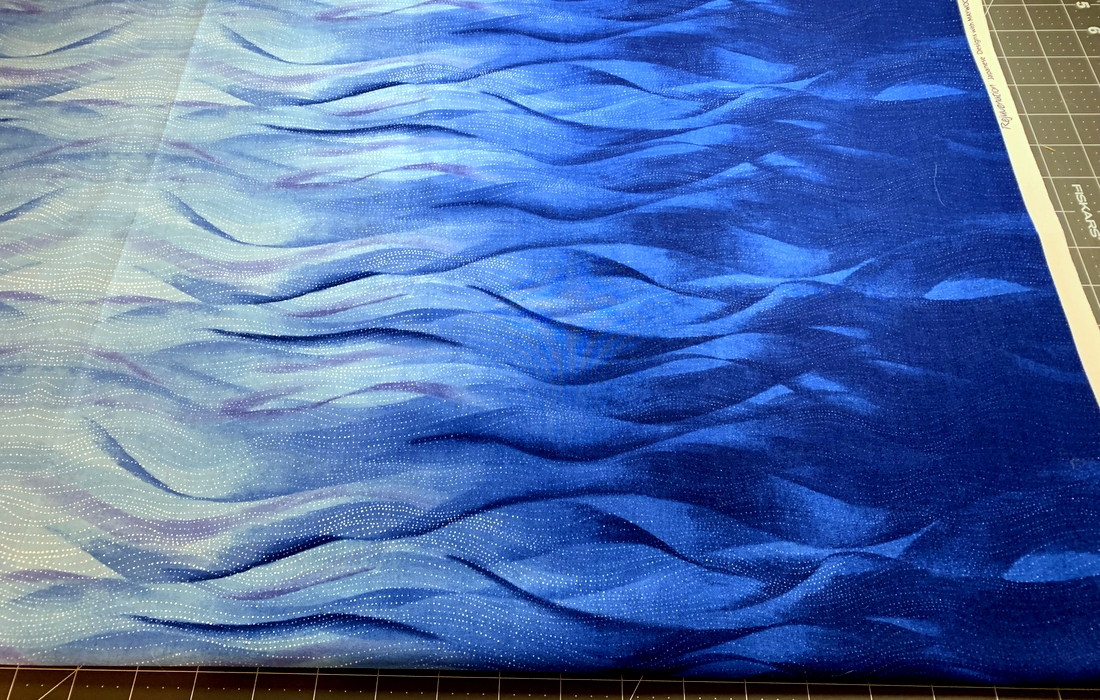
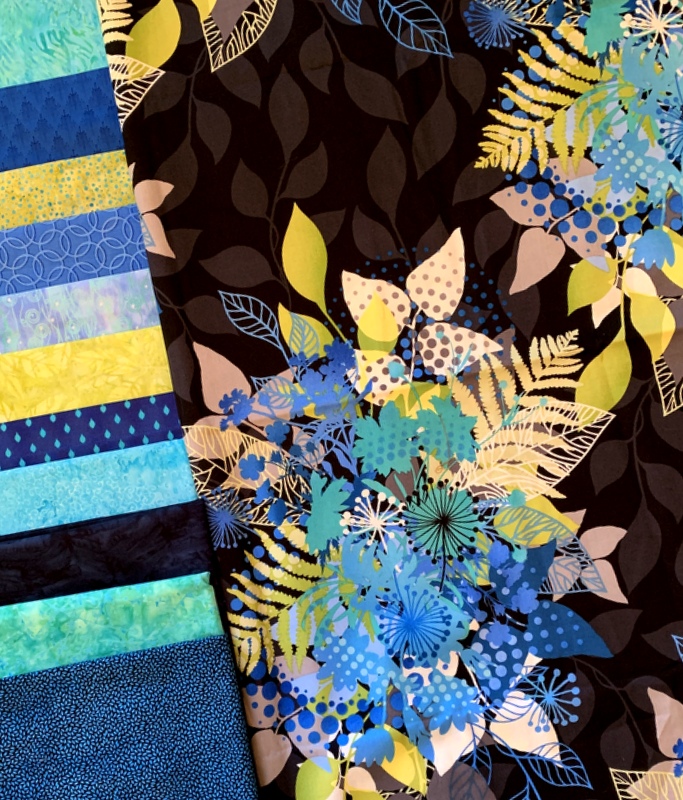
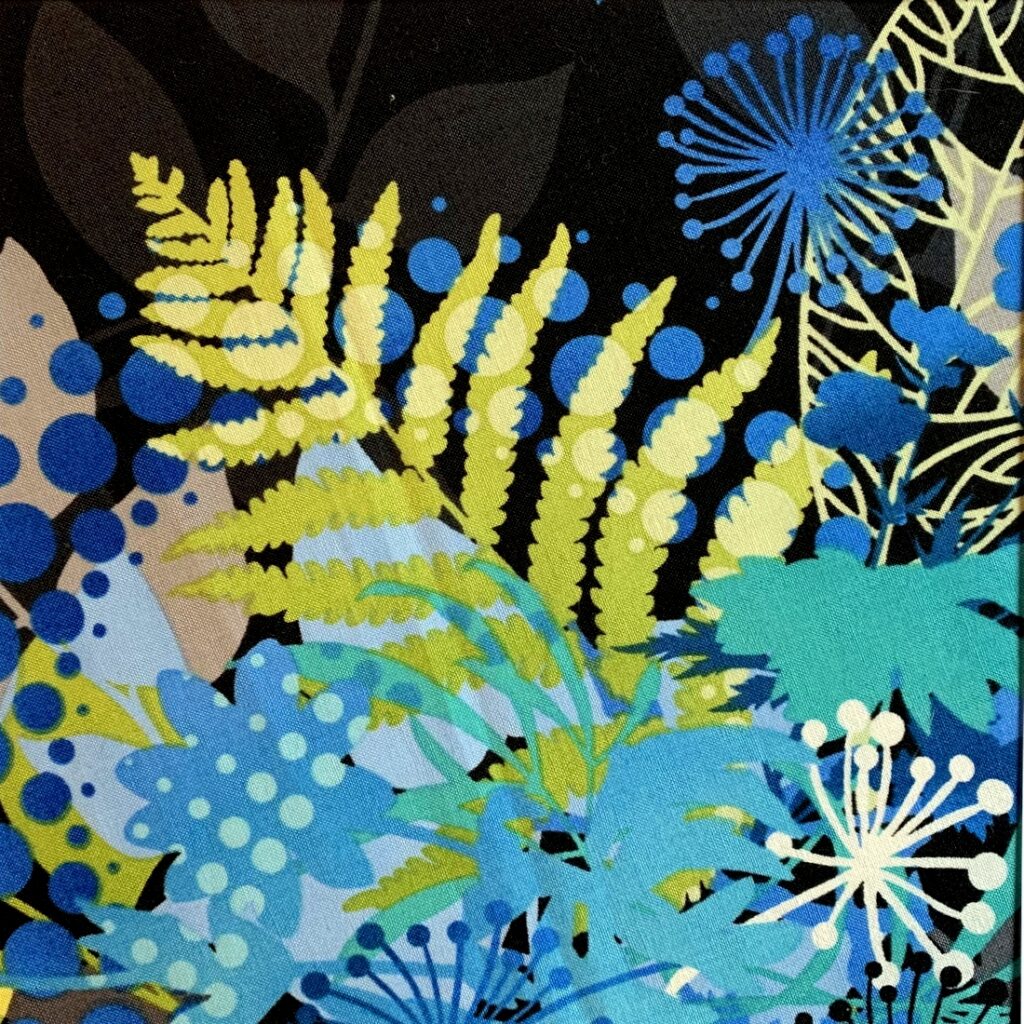
I made another 12″ block in my ongoing Sea Sampler project today. Before I show you the finished block, take a look at the fabric I used for the star points:

Is that not swoonworthy? It’s an ombre from Maywood (from a few years ago) that I pulled from my stash when I noticed how much the print looks like phosphorescent waves. While I was checking the proper spelling of “phosphorescence,” I came across another word for it: “bioluminescence.” Water bioluminescence resembles a sea of stars suspended in the waves. Yes, that’s exactly what I see in this fabric!
The block came together in an odd way. Normally I decide what will go in the center of the block and work outward. This time, I started from the outside in, making the star points first:
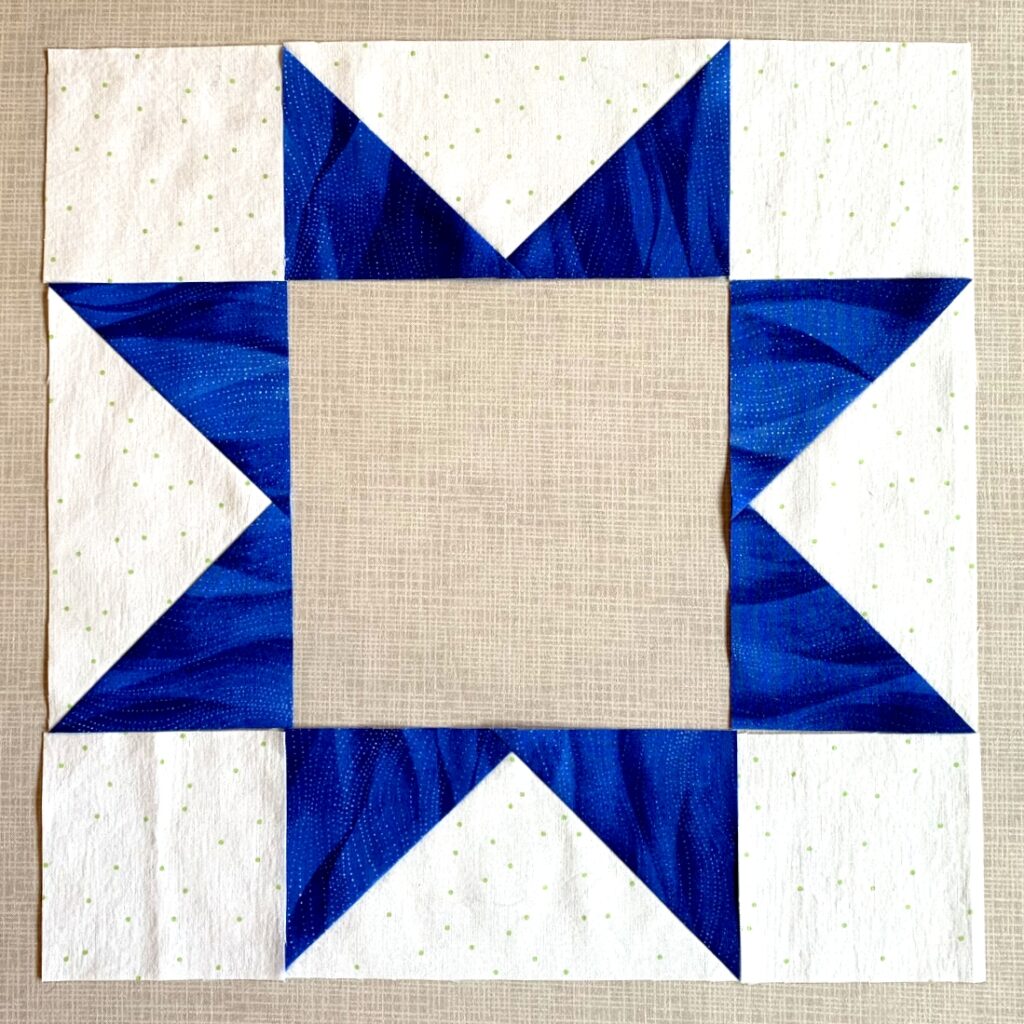
I used the darker value of the ombre fabric, which is darkest on the selvedge ends, moving to lightest in the center. You can see what I mean here, where the fold line marking the middle of the fabric width is very visible:

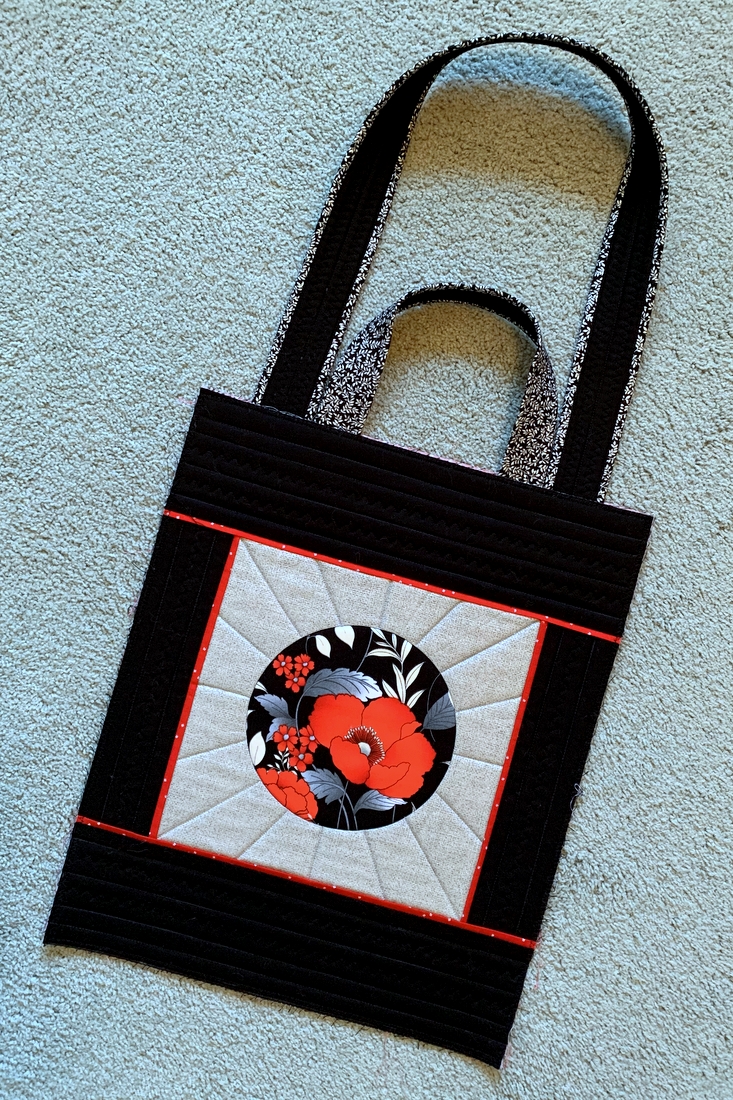
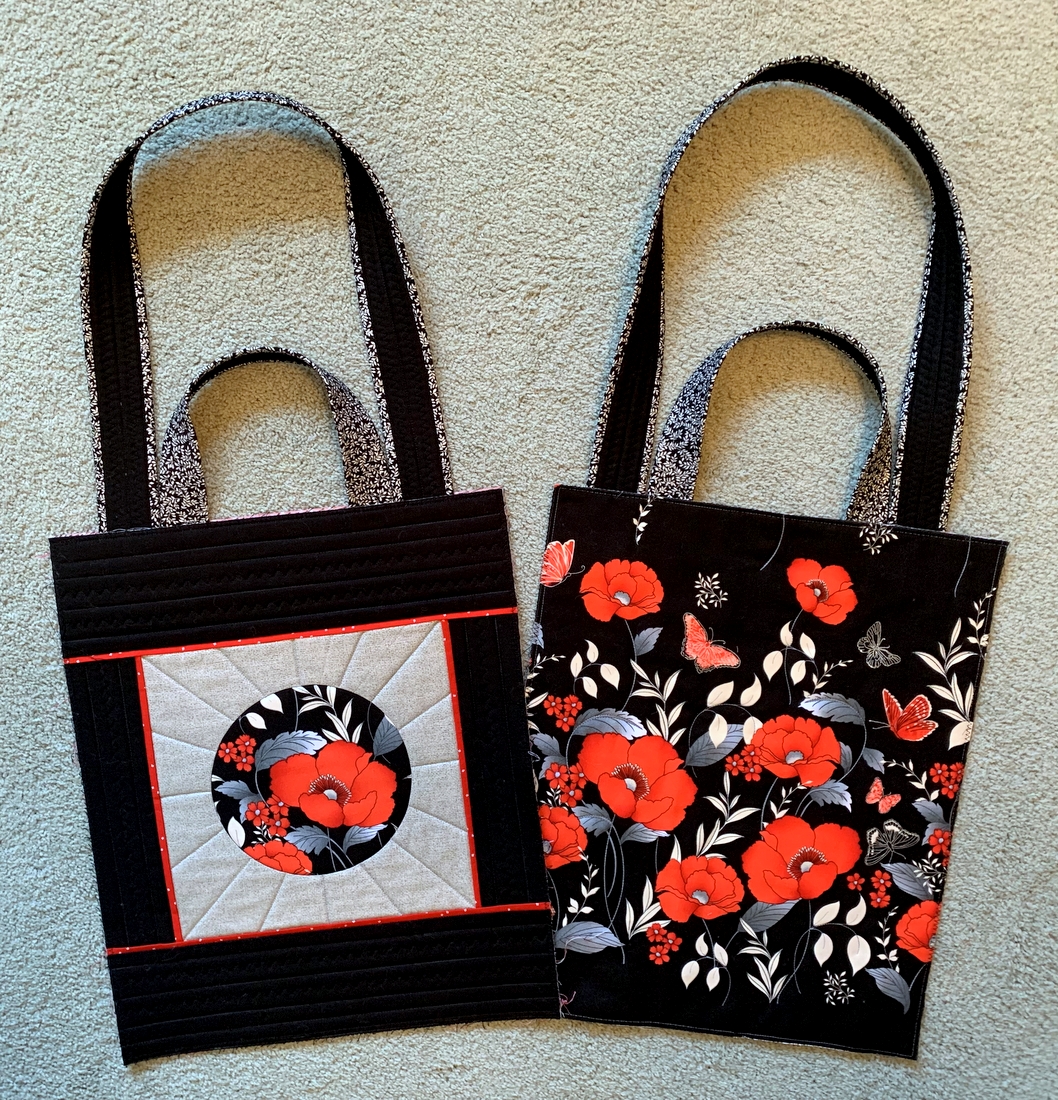
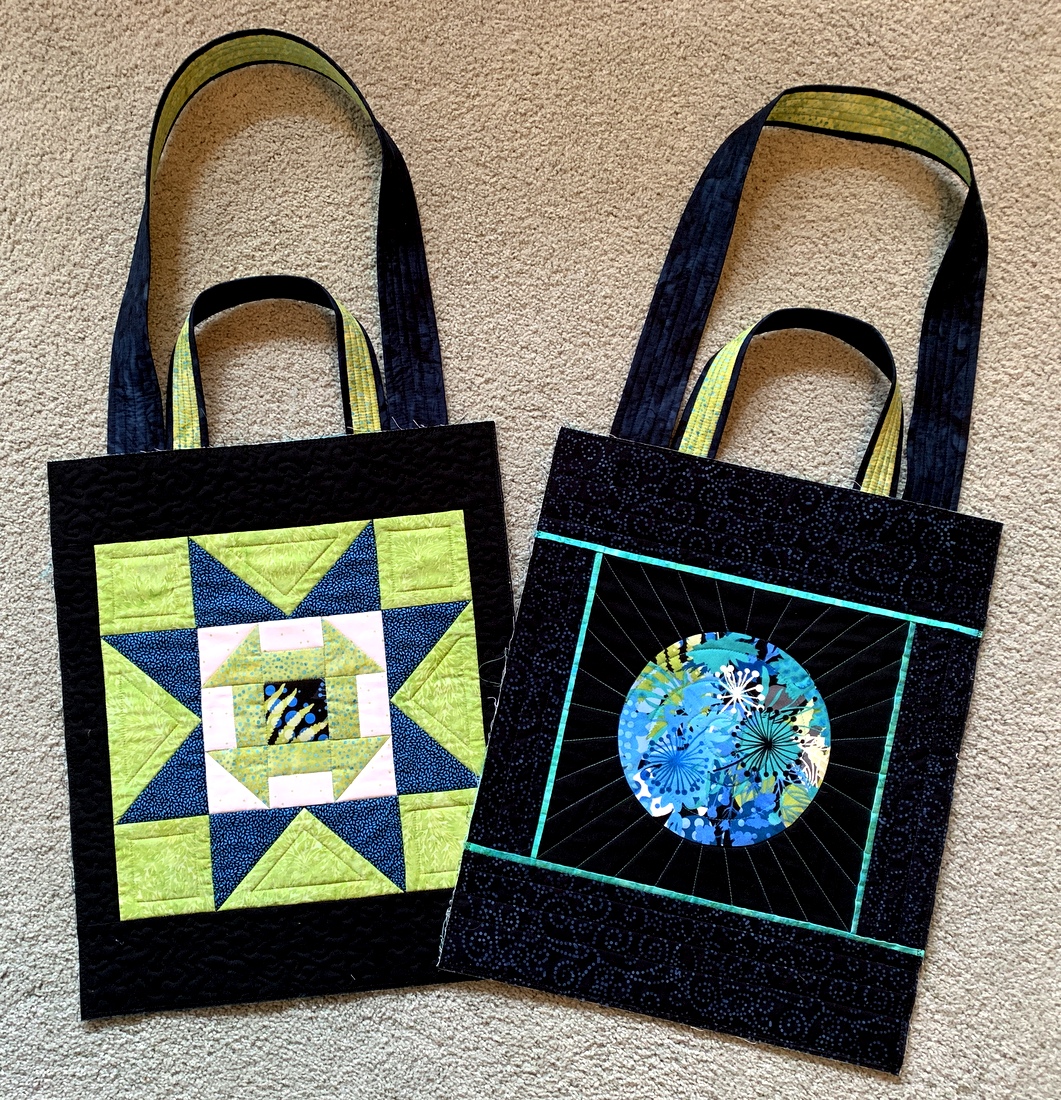
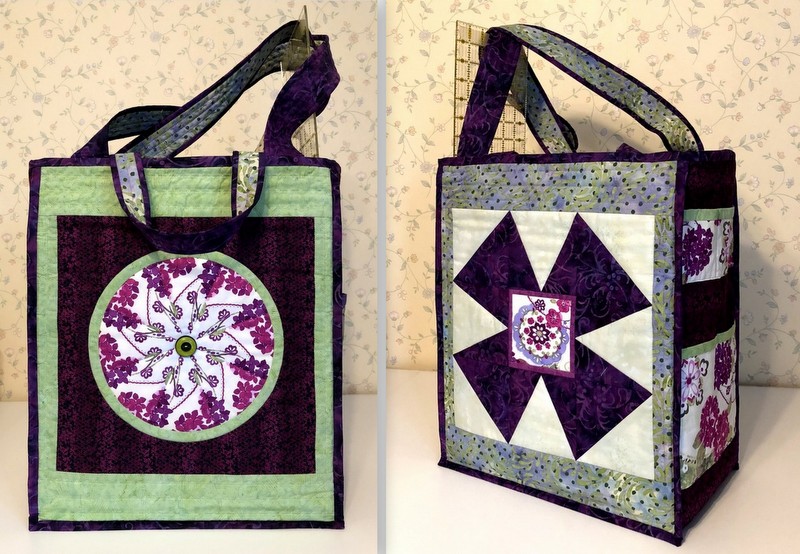
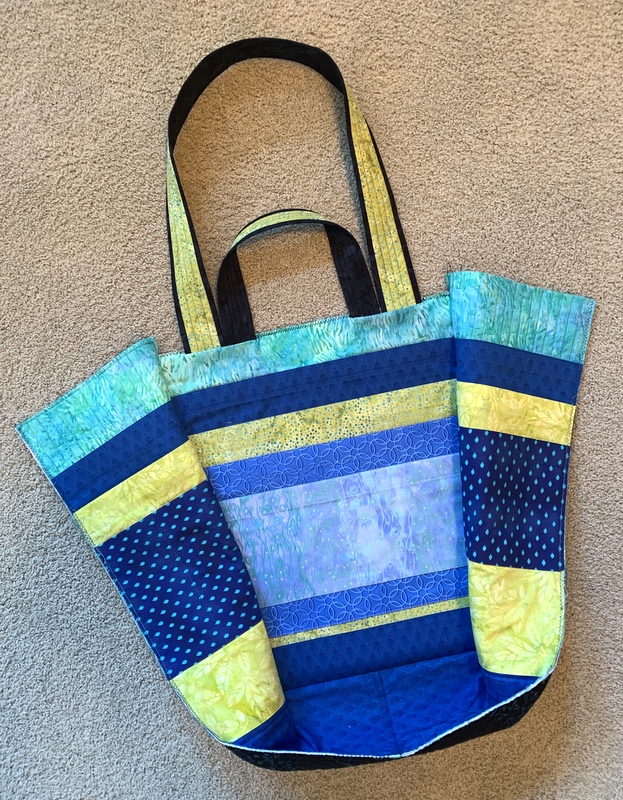
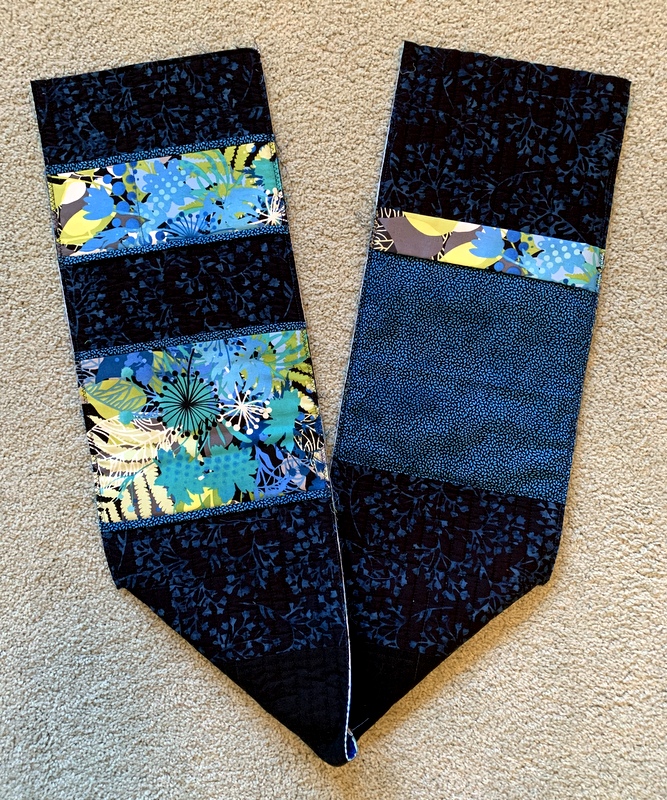
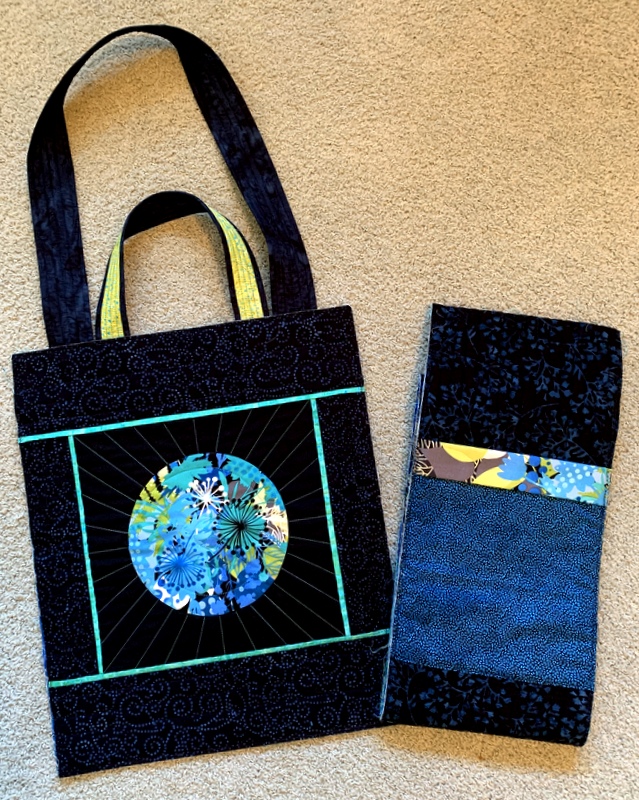
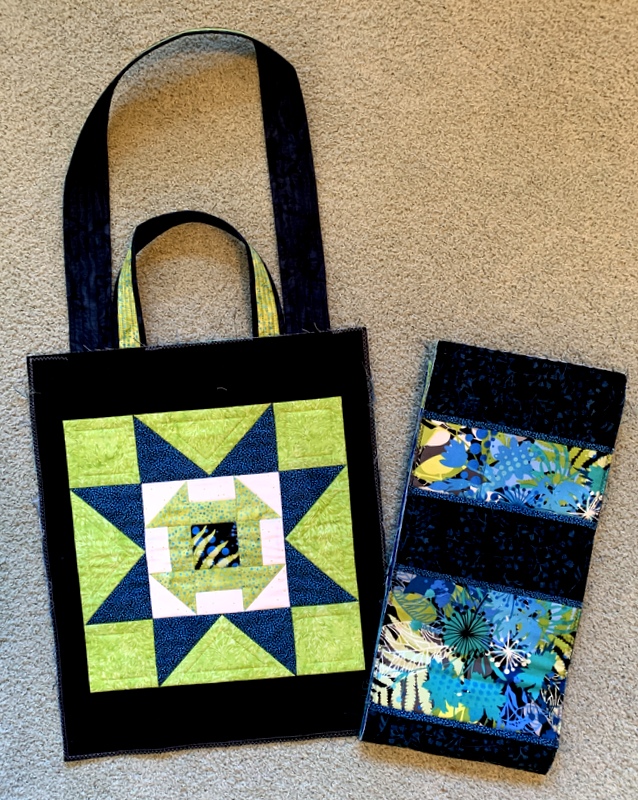
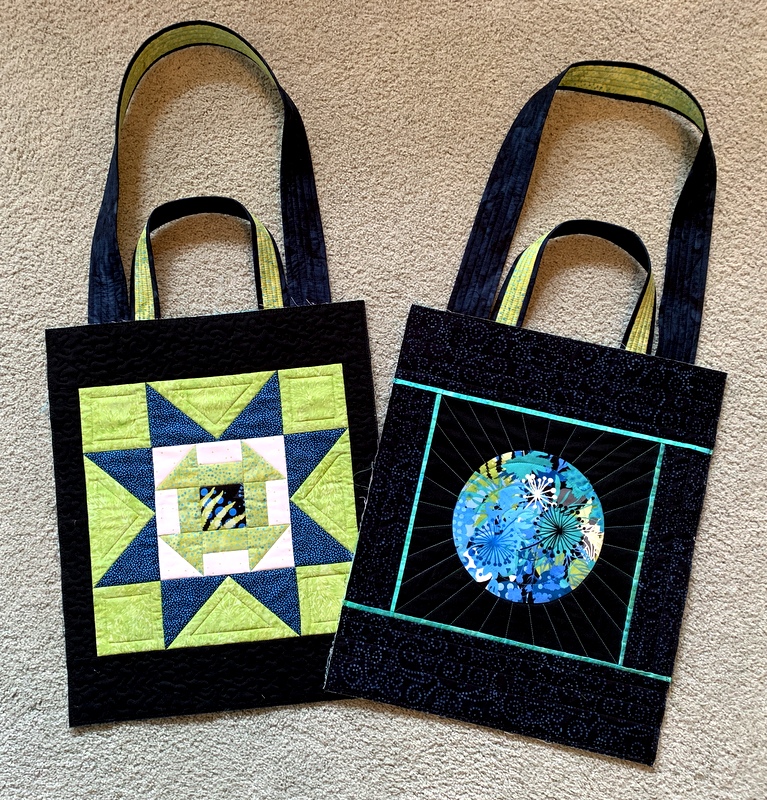
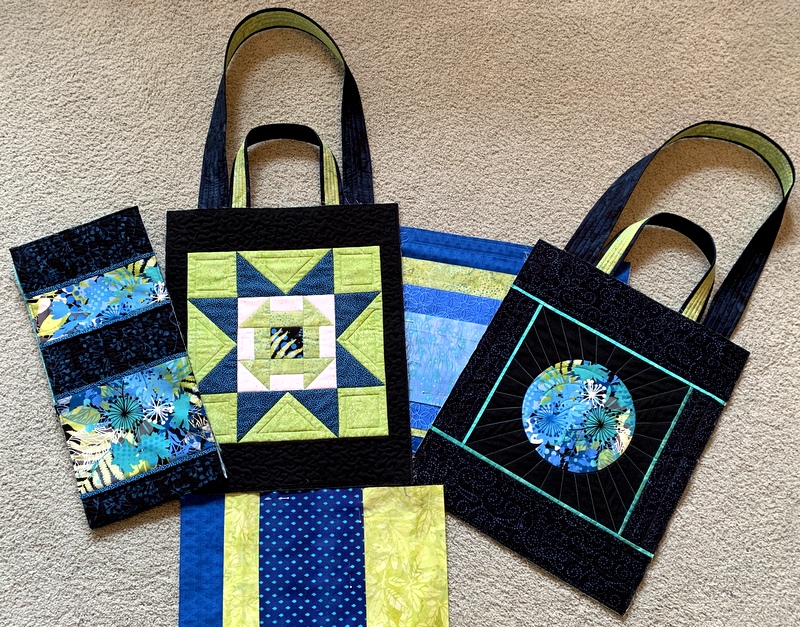
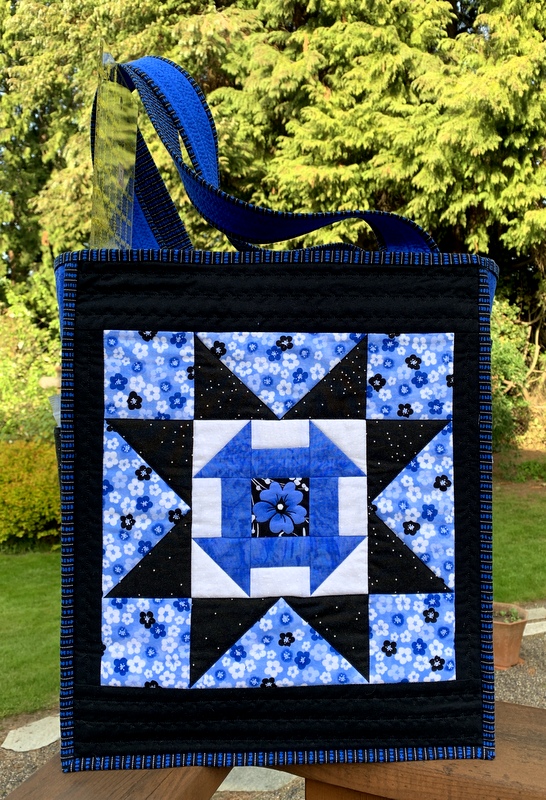
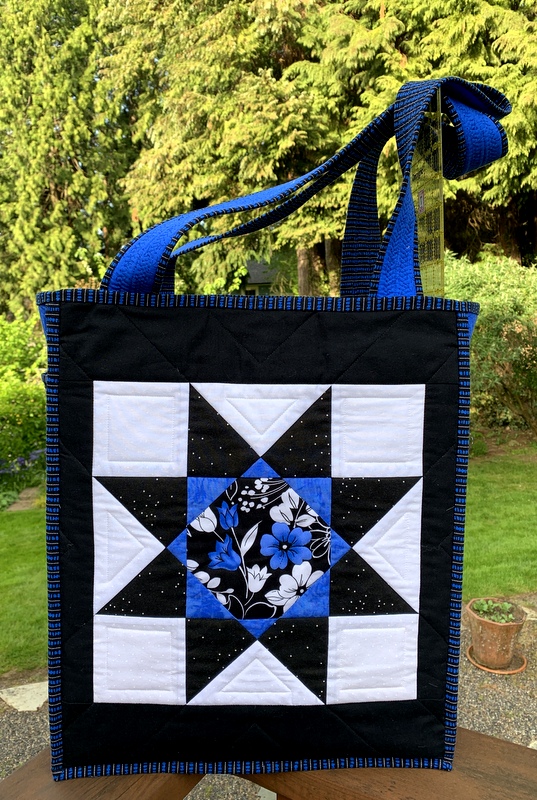
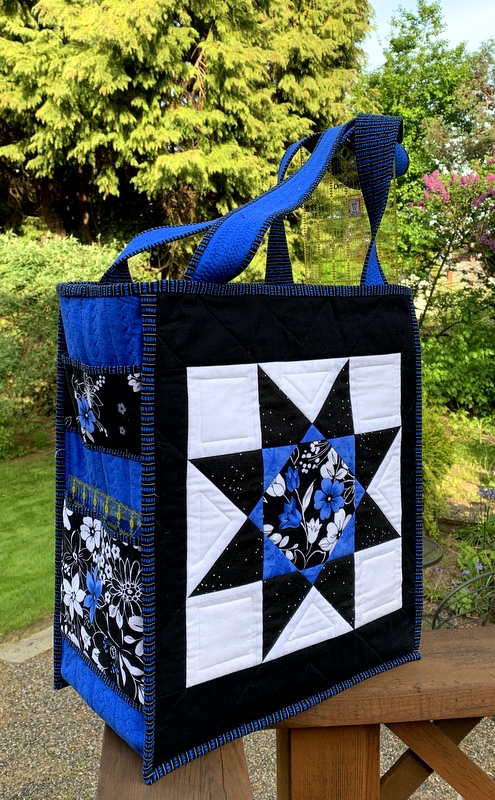
While I was pondering what to put in the center, my eyes fell on my current Junior Billie Bag, which sits by the door to my sewing room. As it turns out, both sides of the bag served as inspiration for the center. Here are the two sides during construction so you can see both at once:
 The one on the left features a Churn Dash block inside a Sawtooth Star. I was thinking about making a Churn Dash block when it dawned on me that the fabric in the center of this particular Churn Dash has ferns that look like they’re under water. That small square — 2″ finished — is from the same piece of fabric as the circle on the right side.
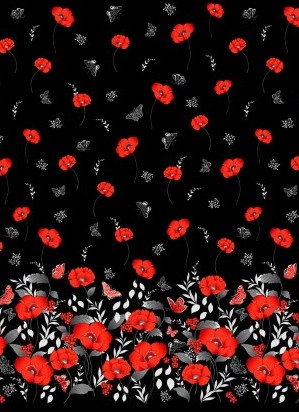
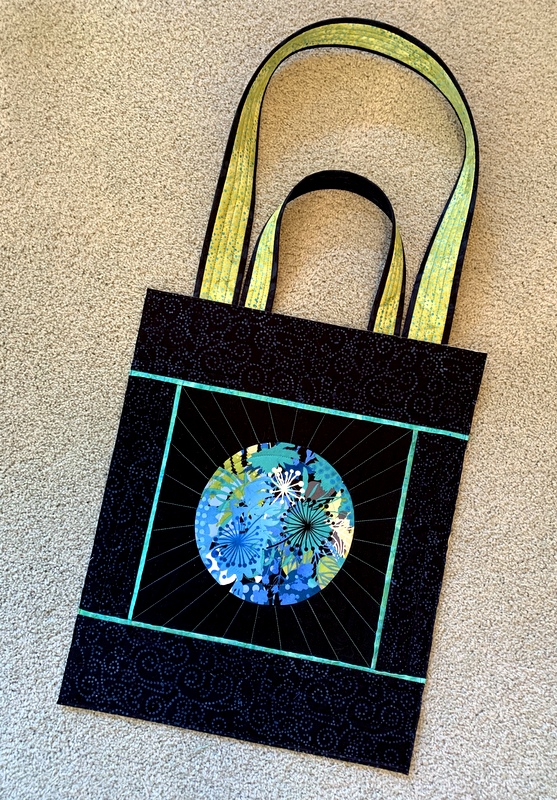
I had actually auditioned that fabric when I was going through my stash for the Sea Sampler project and had rejected it because it didn’t look watery. But when I pulled out a piece and got a better look at the fern fronds, I saw an image that reminded me of an underwater garden. Even better, the image would fit really nicely in the 6″ x 6″ space I needed to fill.
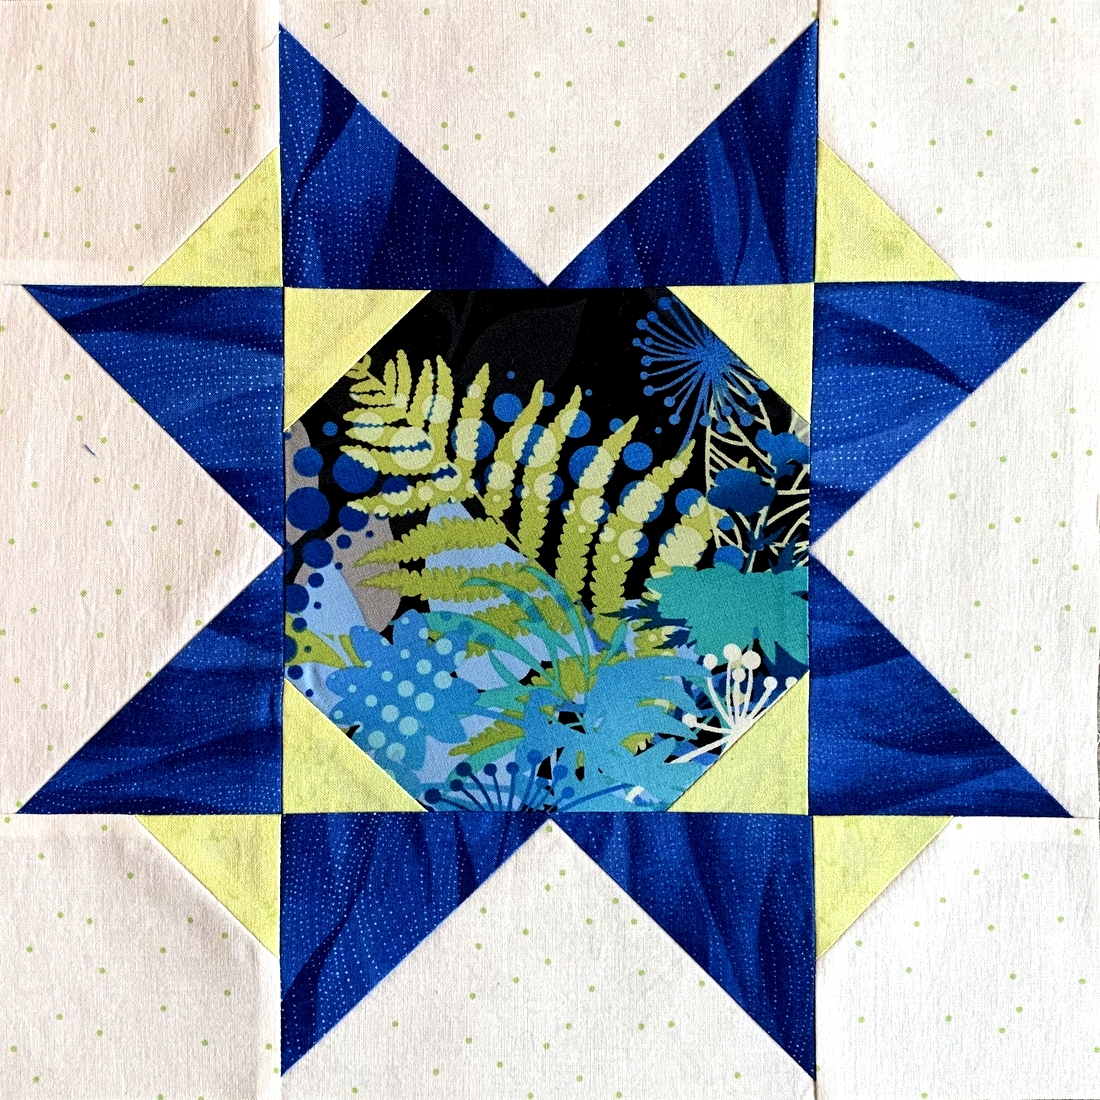
I fussycut a piece slightly on the bias so the ferns would point toward a corner, as if it were gently undulating under water. This is the result:
See the bubbles?
Behold my finished block:
 As you can see, I added small triangles to the corners of the center block as well as the inside corners of the four outer squares. Why? Because I wanted more green in the block and I wanted to add some visual interest to the basic block design. I love how the green triangles form little hourglasses on the diagonal.
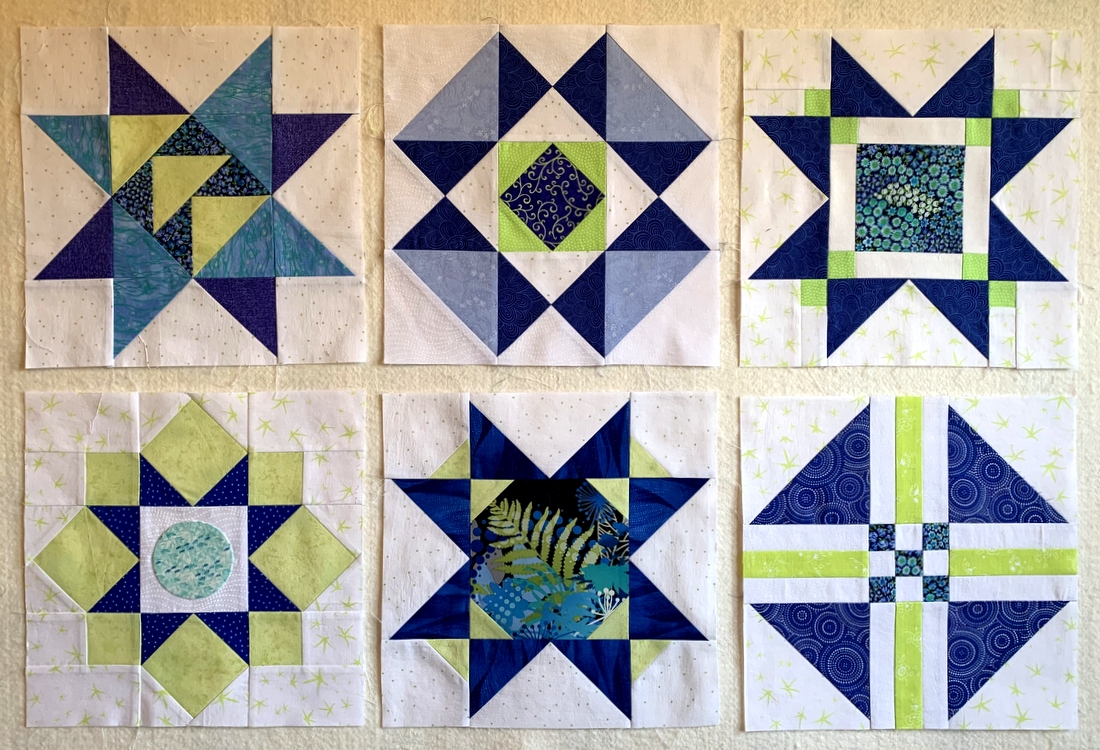
Here is the new block (second row, center) with the other five 12″ blocks made thus far:

They join three 18″ blocks, which you can see here, and a smattering of 6″ blocks. This quilt is evolving slowly but surely. My sewing time is somewhat limited these days so I’m just coasting along, making a block here and there. But I do have what I think is a great idea for a layout.

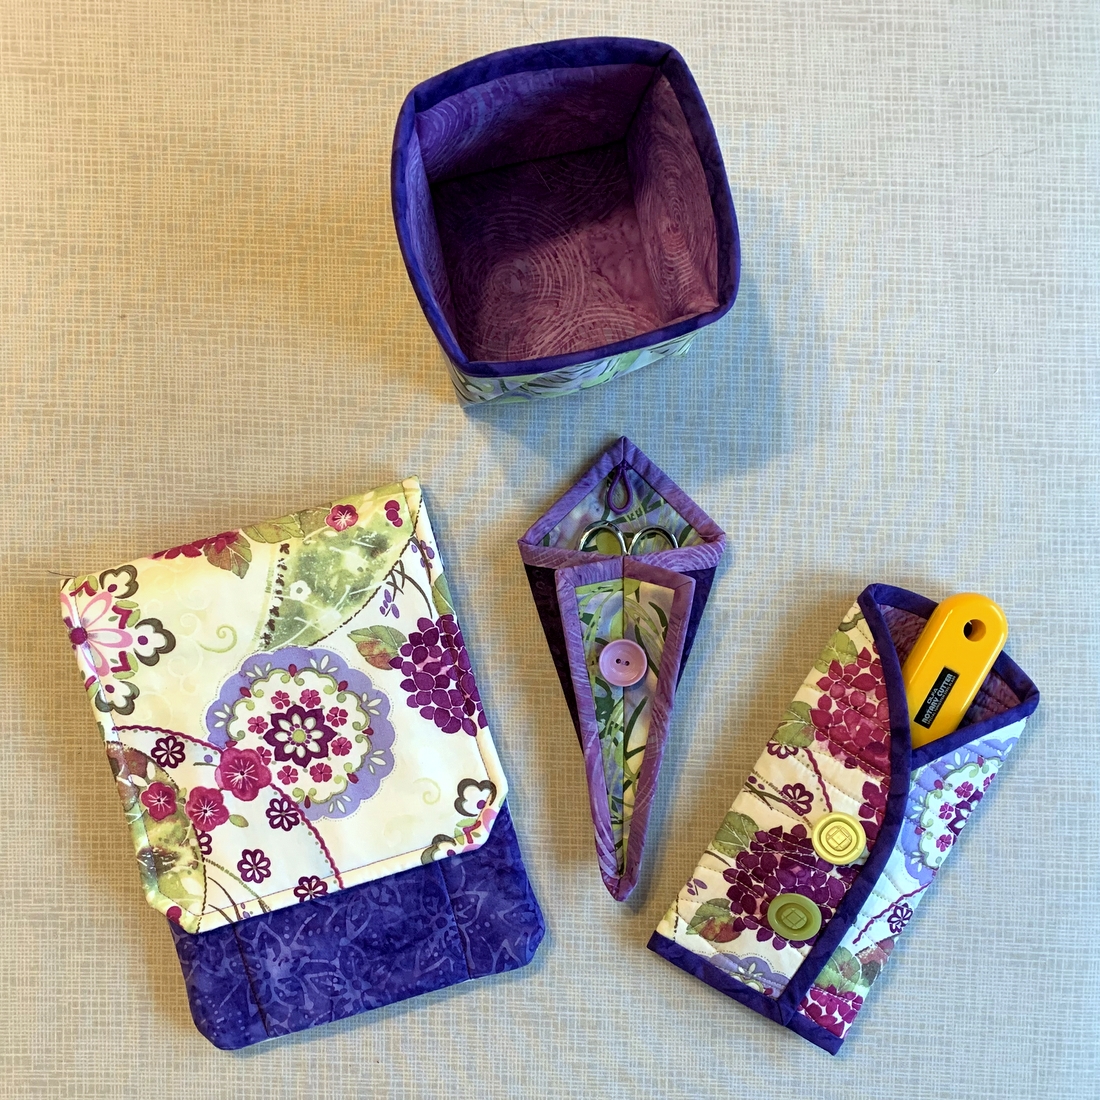
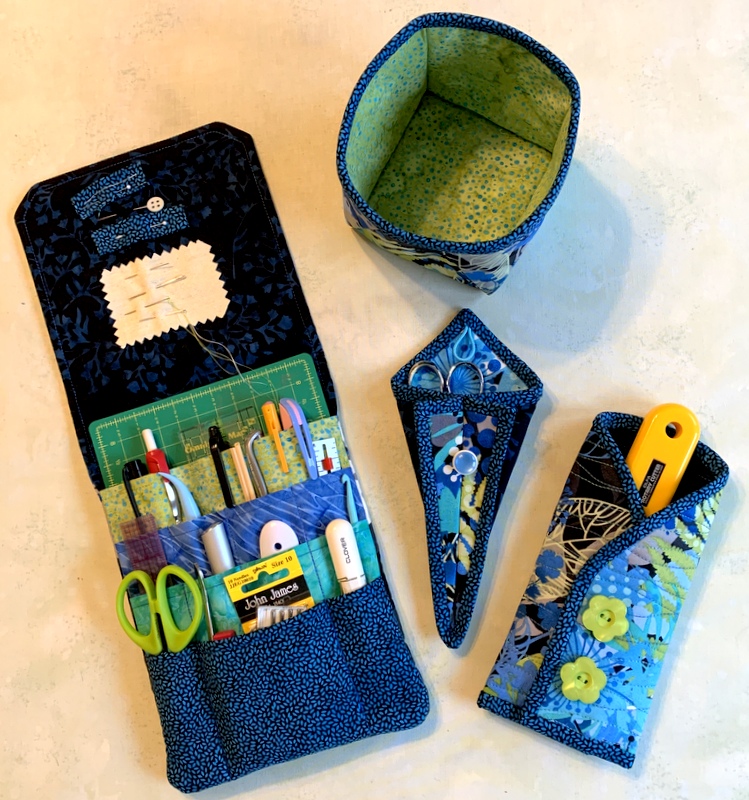
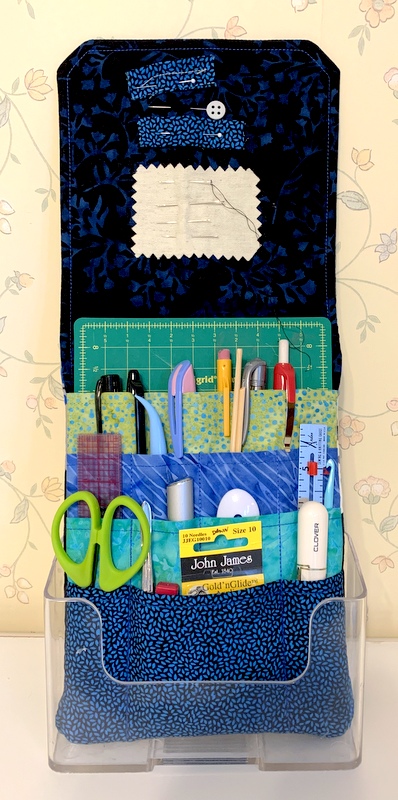
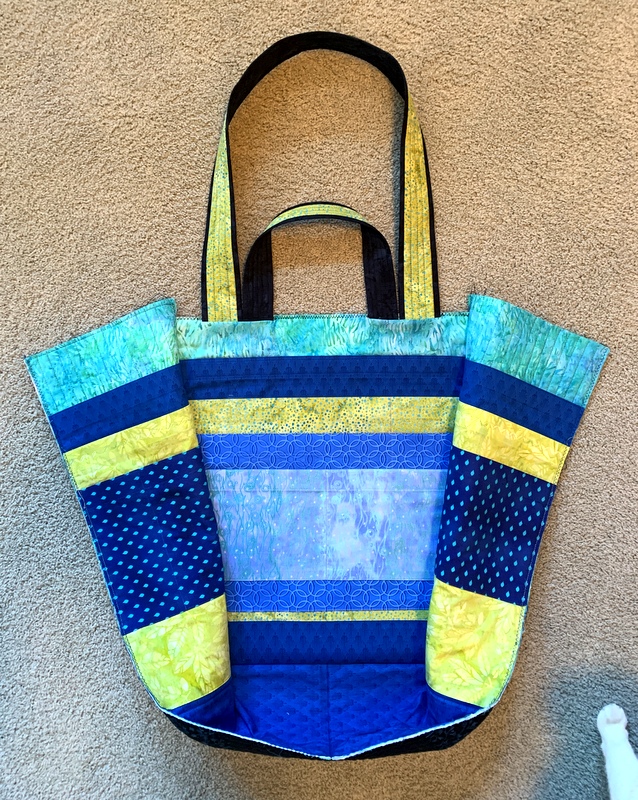
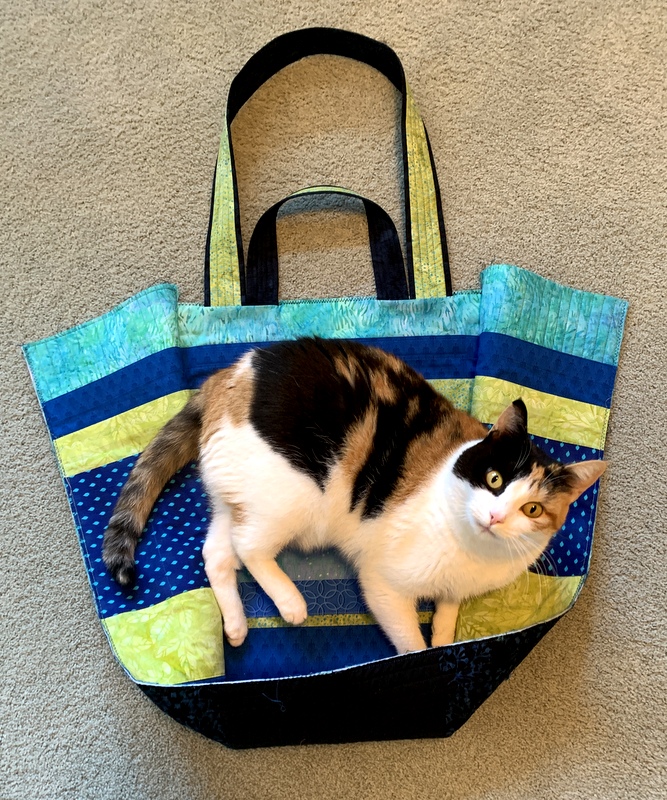
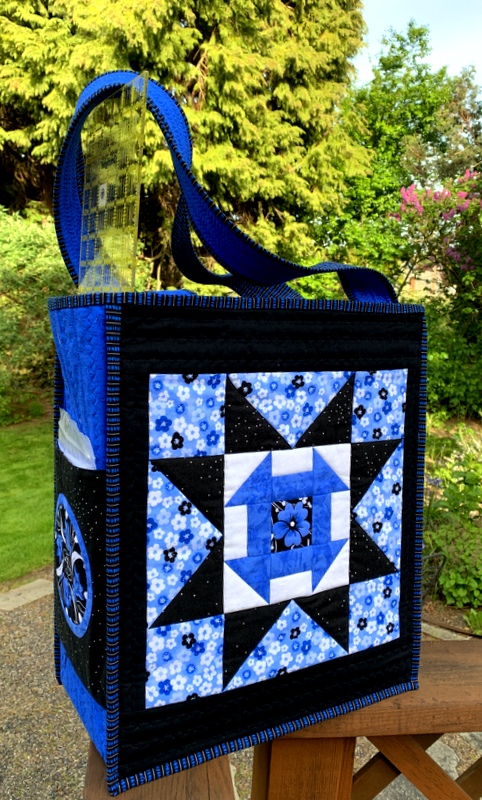
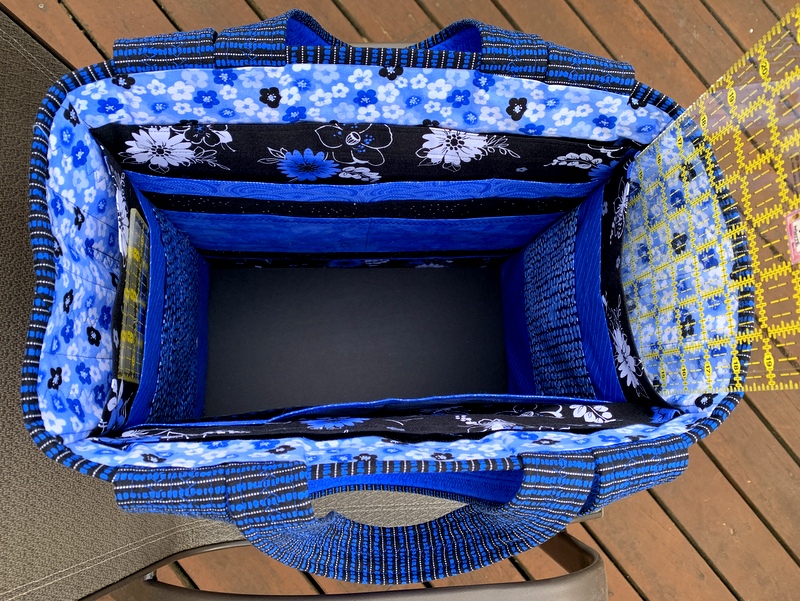
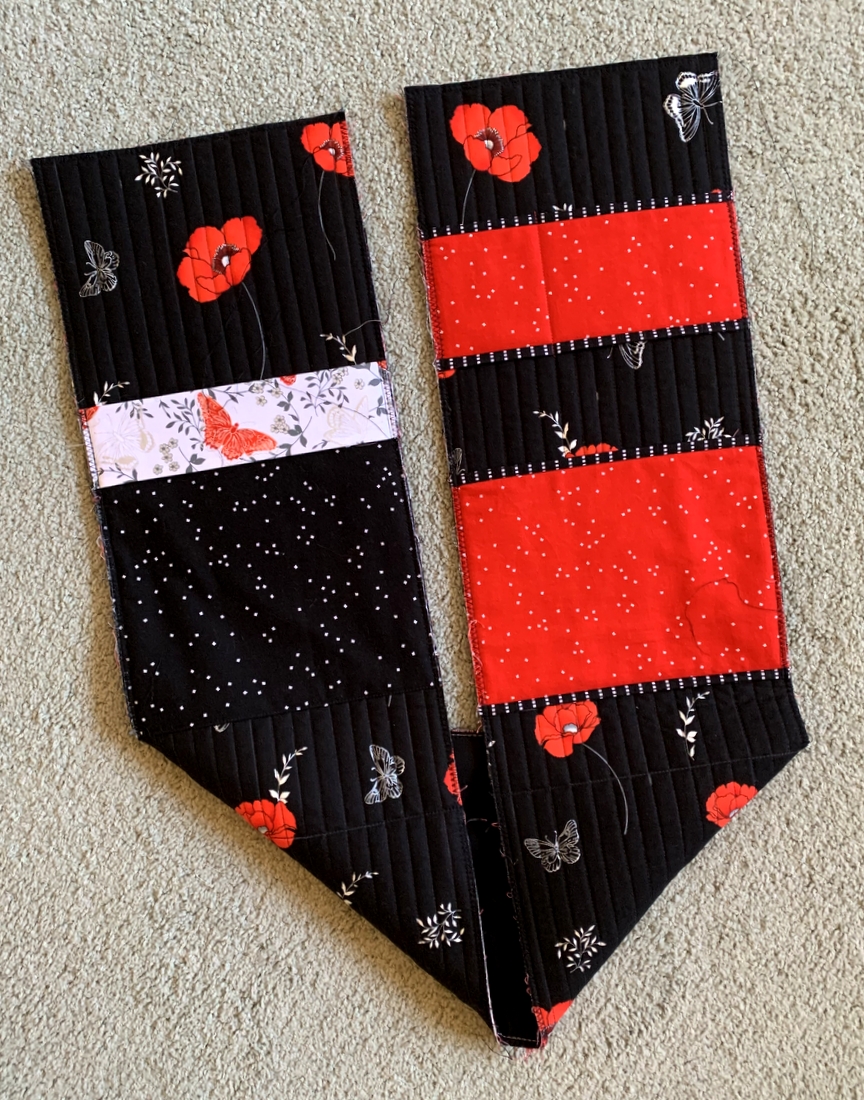
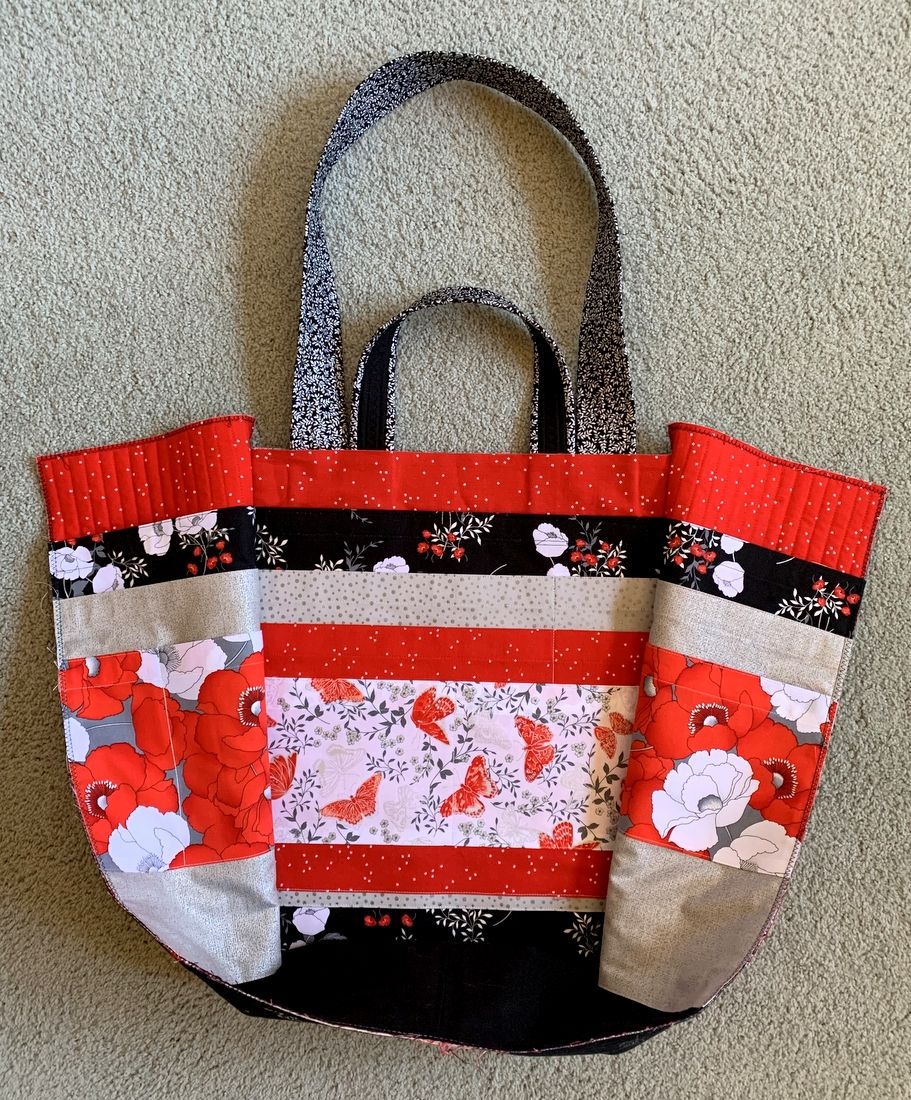 It makes all the work that goes into a JBB totally worth it! You’re looking at the inside of my current Junior Billie Bag-in-progress. You can’t see them all but there are 14 pockets in the three sides in the photo above. The other front/back panel has four pockets, bringing the number of inside pockets to 18.
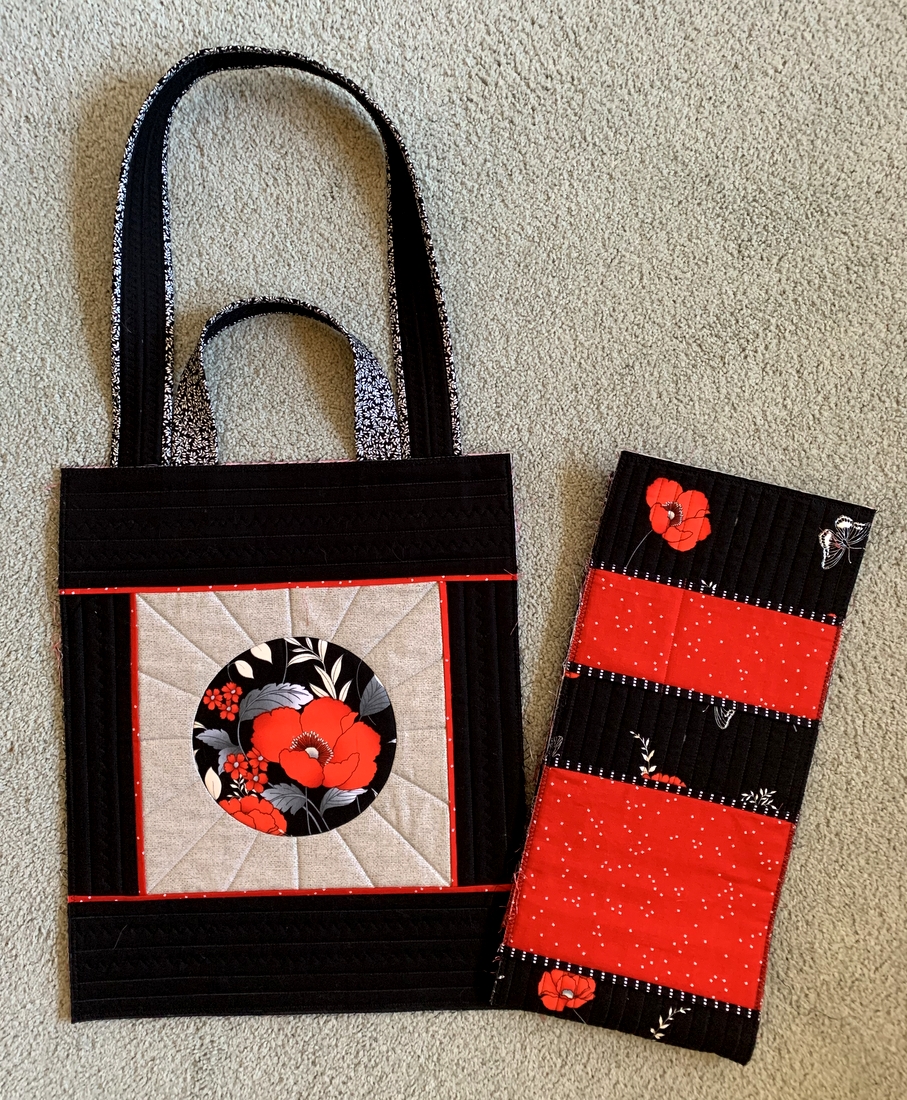 . . . and one more in this next photo, bringing the total number of pockets to 22:
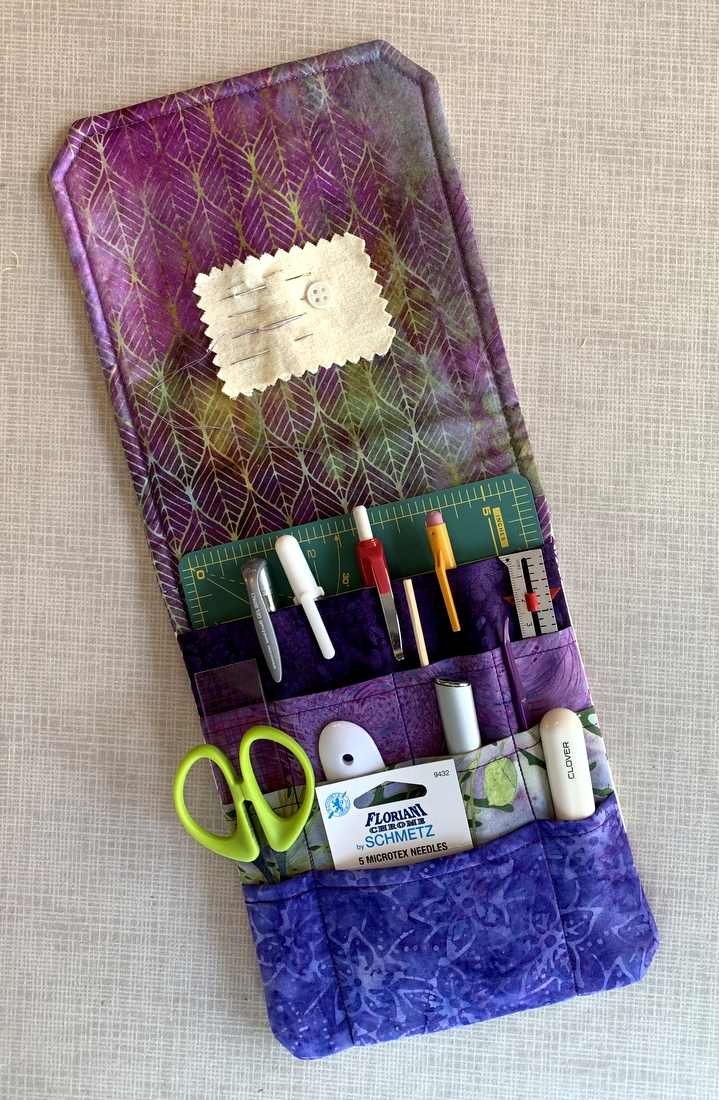
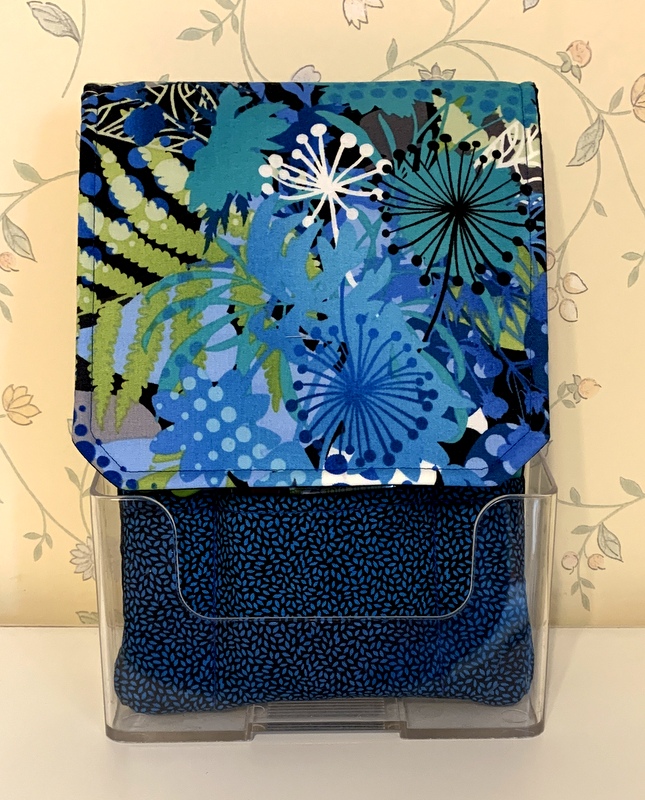
 . . . and on the inside:
 I’m absolutely loving the bold poppy prints, all of which have touches of silver. I also used two other silver metallic fabrics in other parts of the bag. I’ve loved every single Junior Billie Bag I’ve made, all of which have been bright and colorful, but this one — #11 — is probably the most elegant.