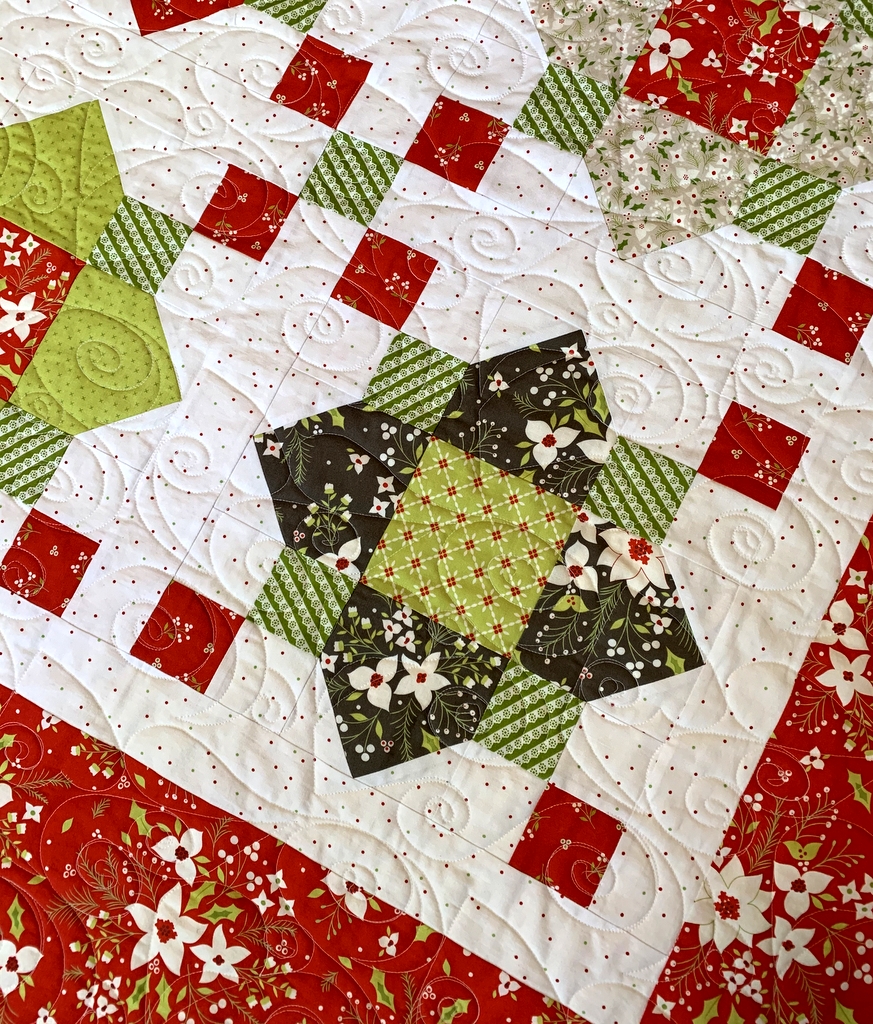
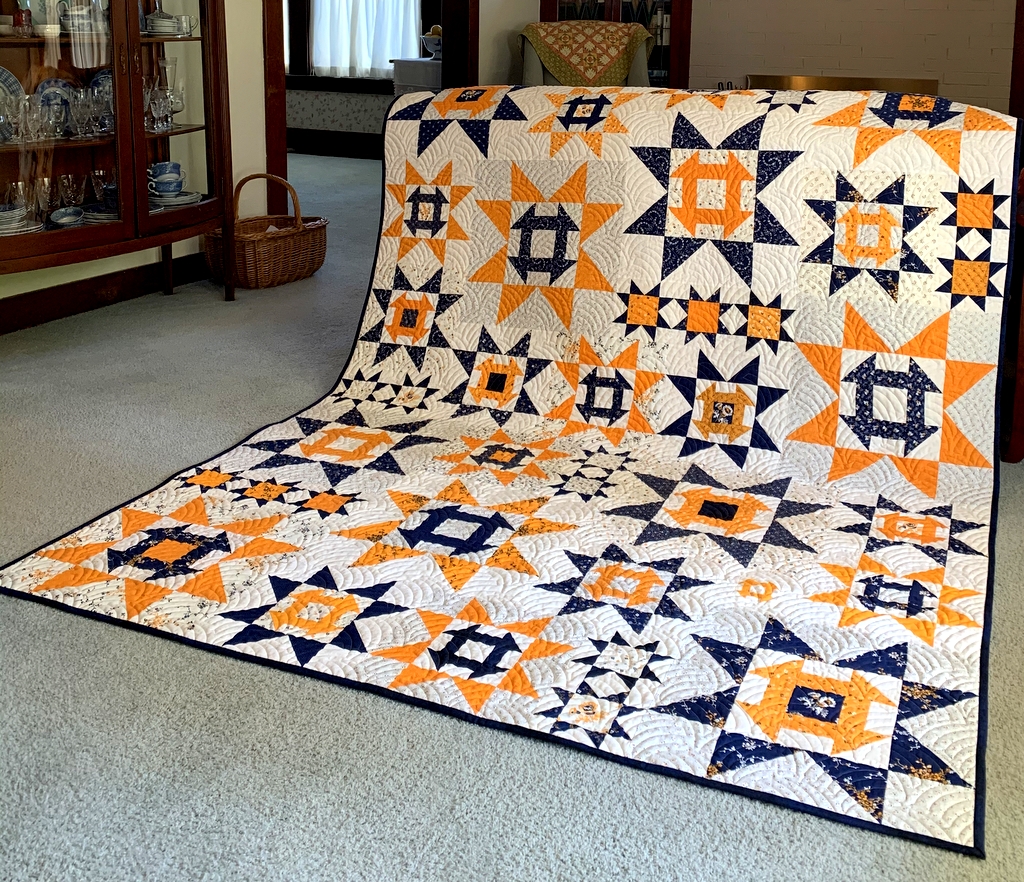
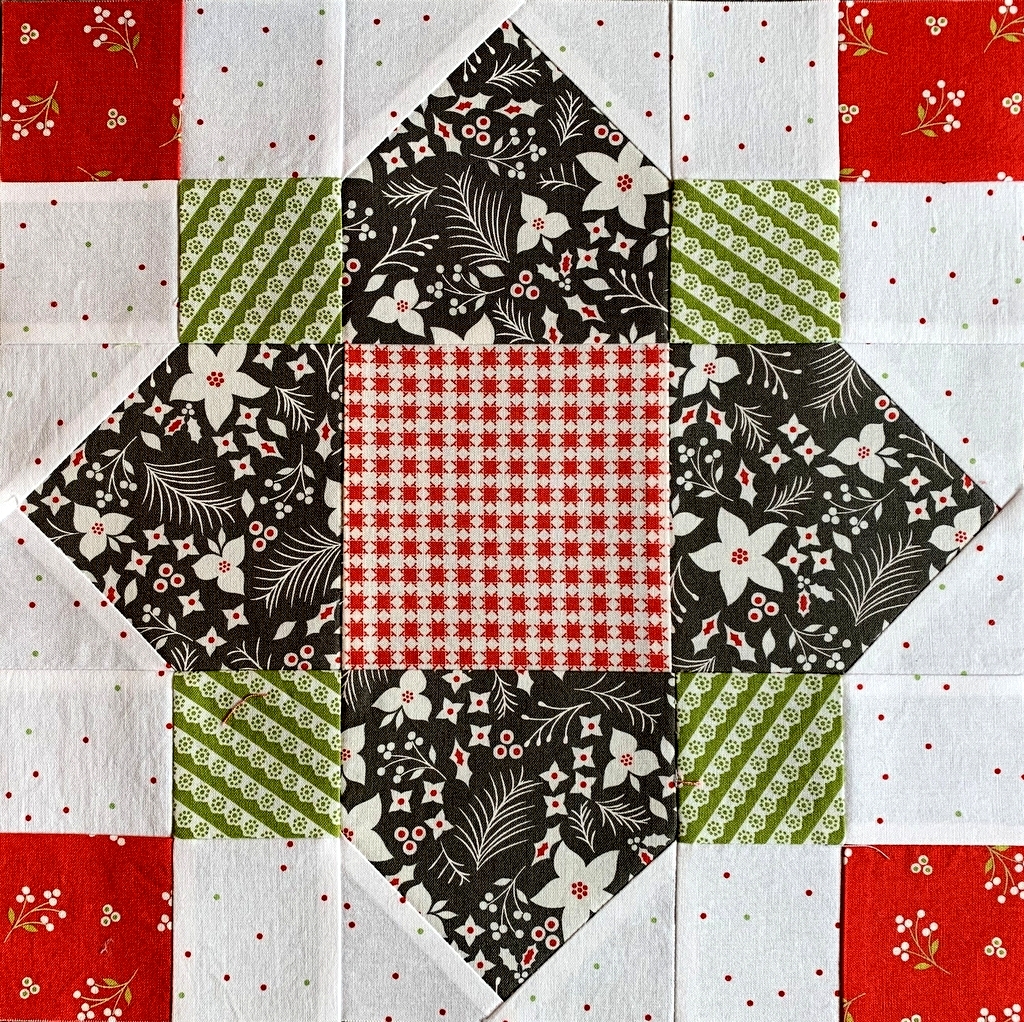
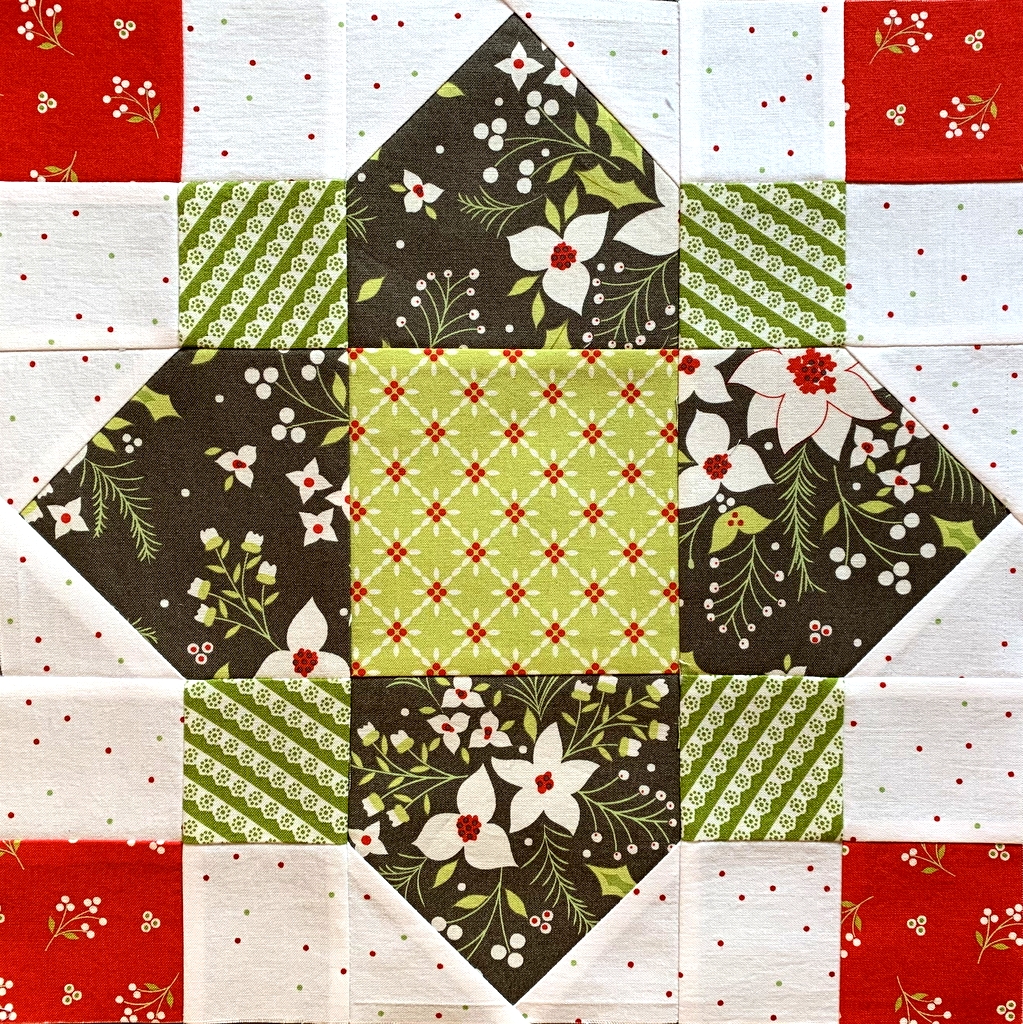
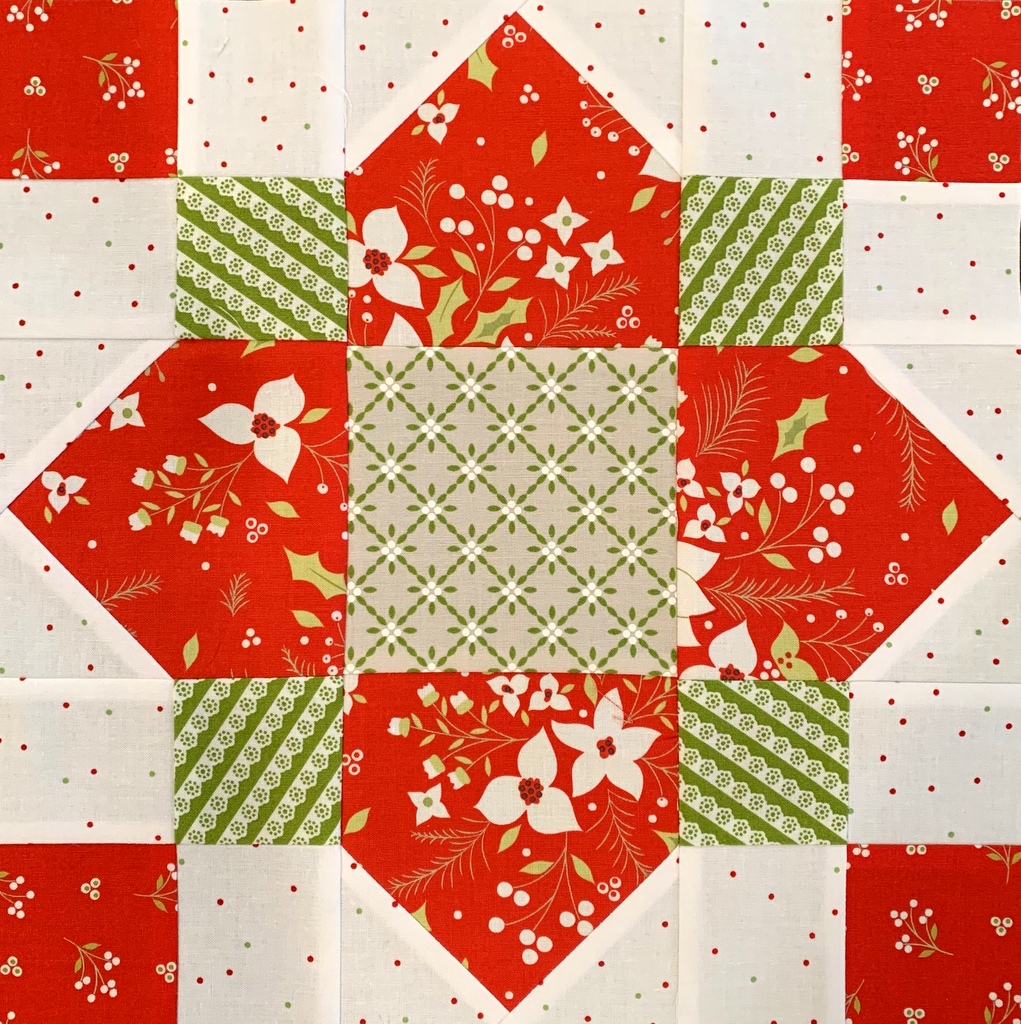
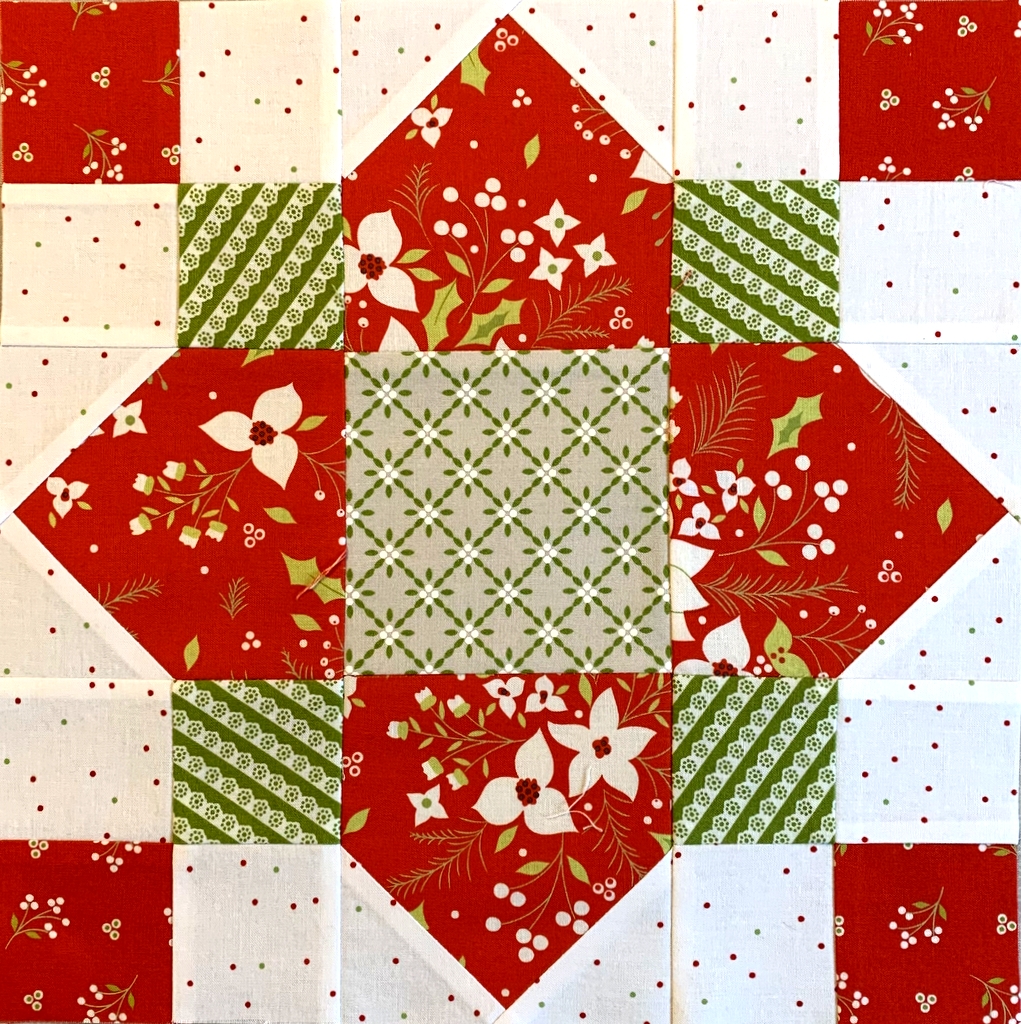
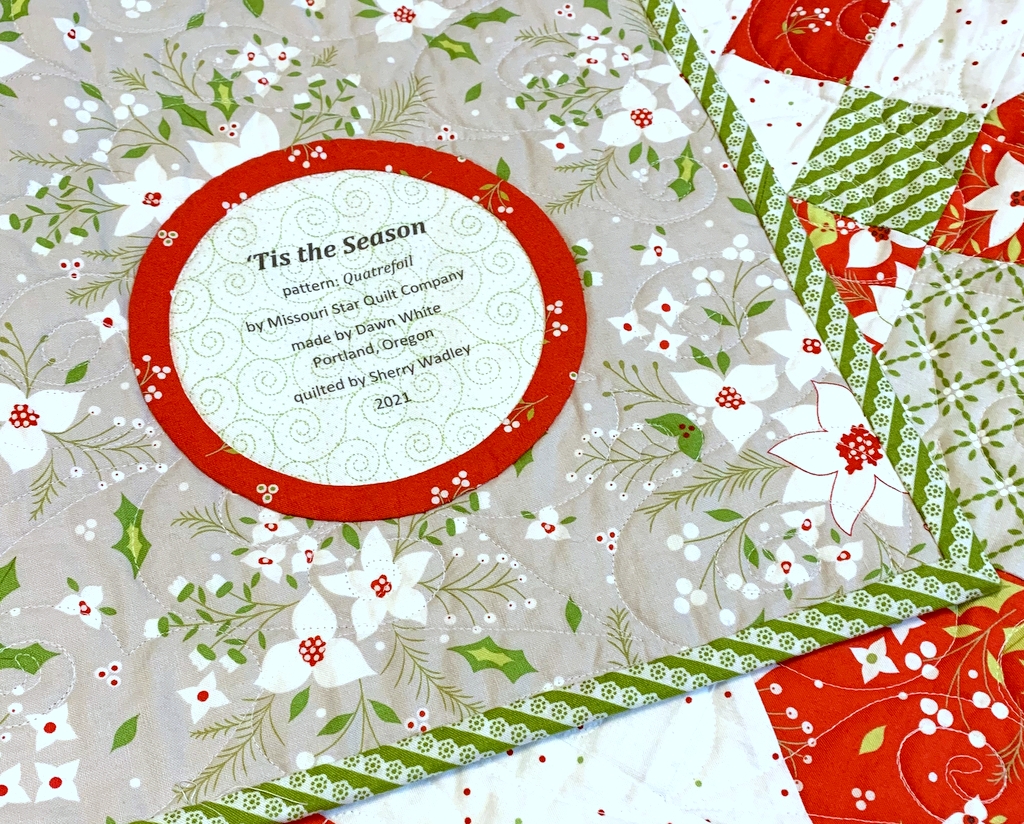
 Oh, I know I am going to enjoy working on this new project! This is Test Block #1 of a quilt I’ve started with a festive line of holiday fabric called “Holliberry” designed by Corey Yoder for Moda Fabrics. The block is called Quatrefoil, which means “four leaves” in French.
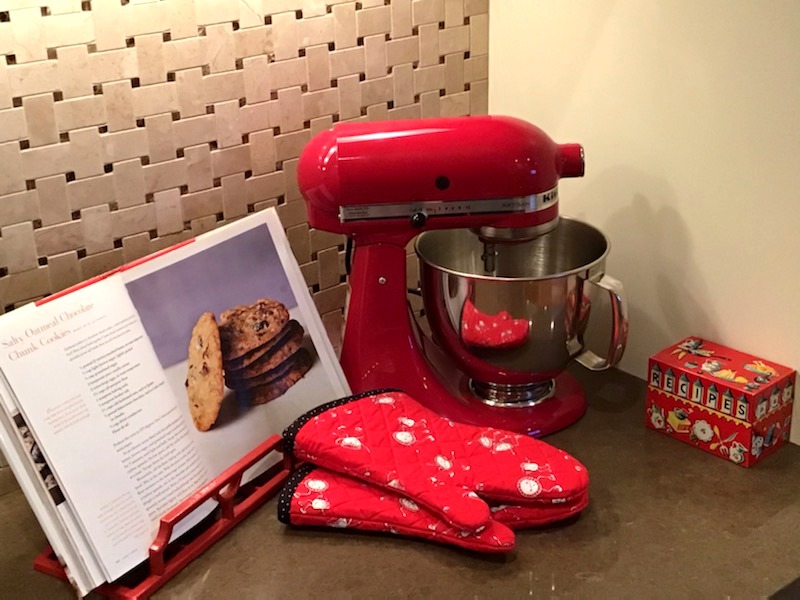
When I first learned about “Holliberry” a few months ago, I knew I wanted to make something with it. Not knowing what to make, I decided to buy a Layer Cake (a package of 10″ squares featuring the entire line) and a few pieces of yardage. I already had my background fabric: a polkadot print from another designer, Lori Holt of A Bee in My Bonnet. I love how the green and red dots are scattered randomly over the white fabric.
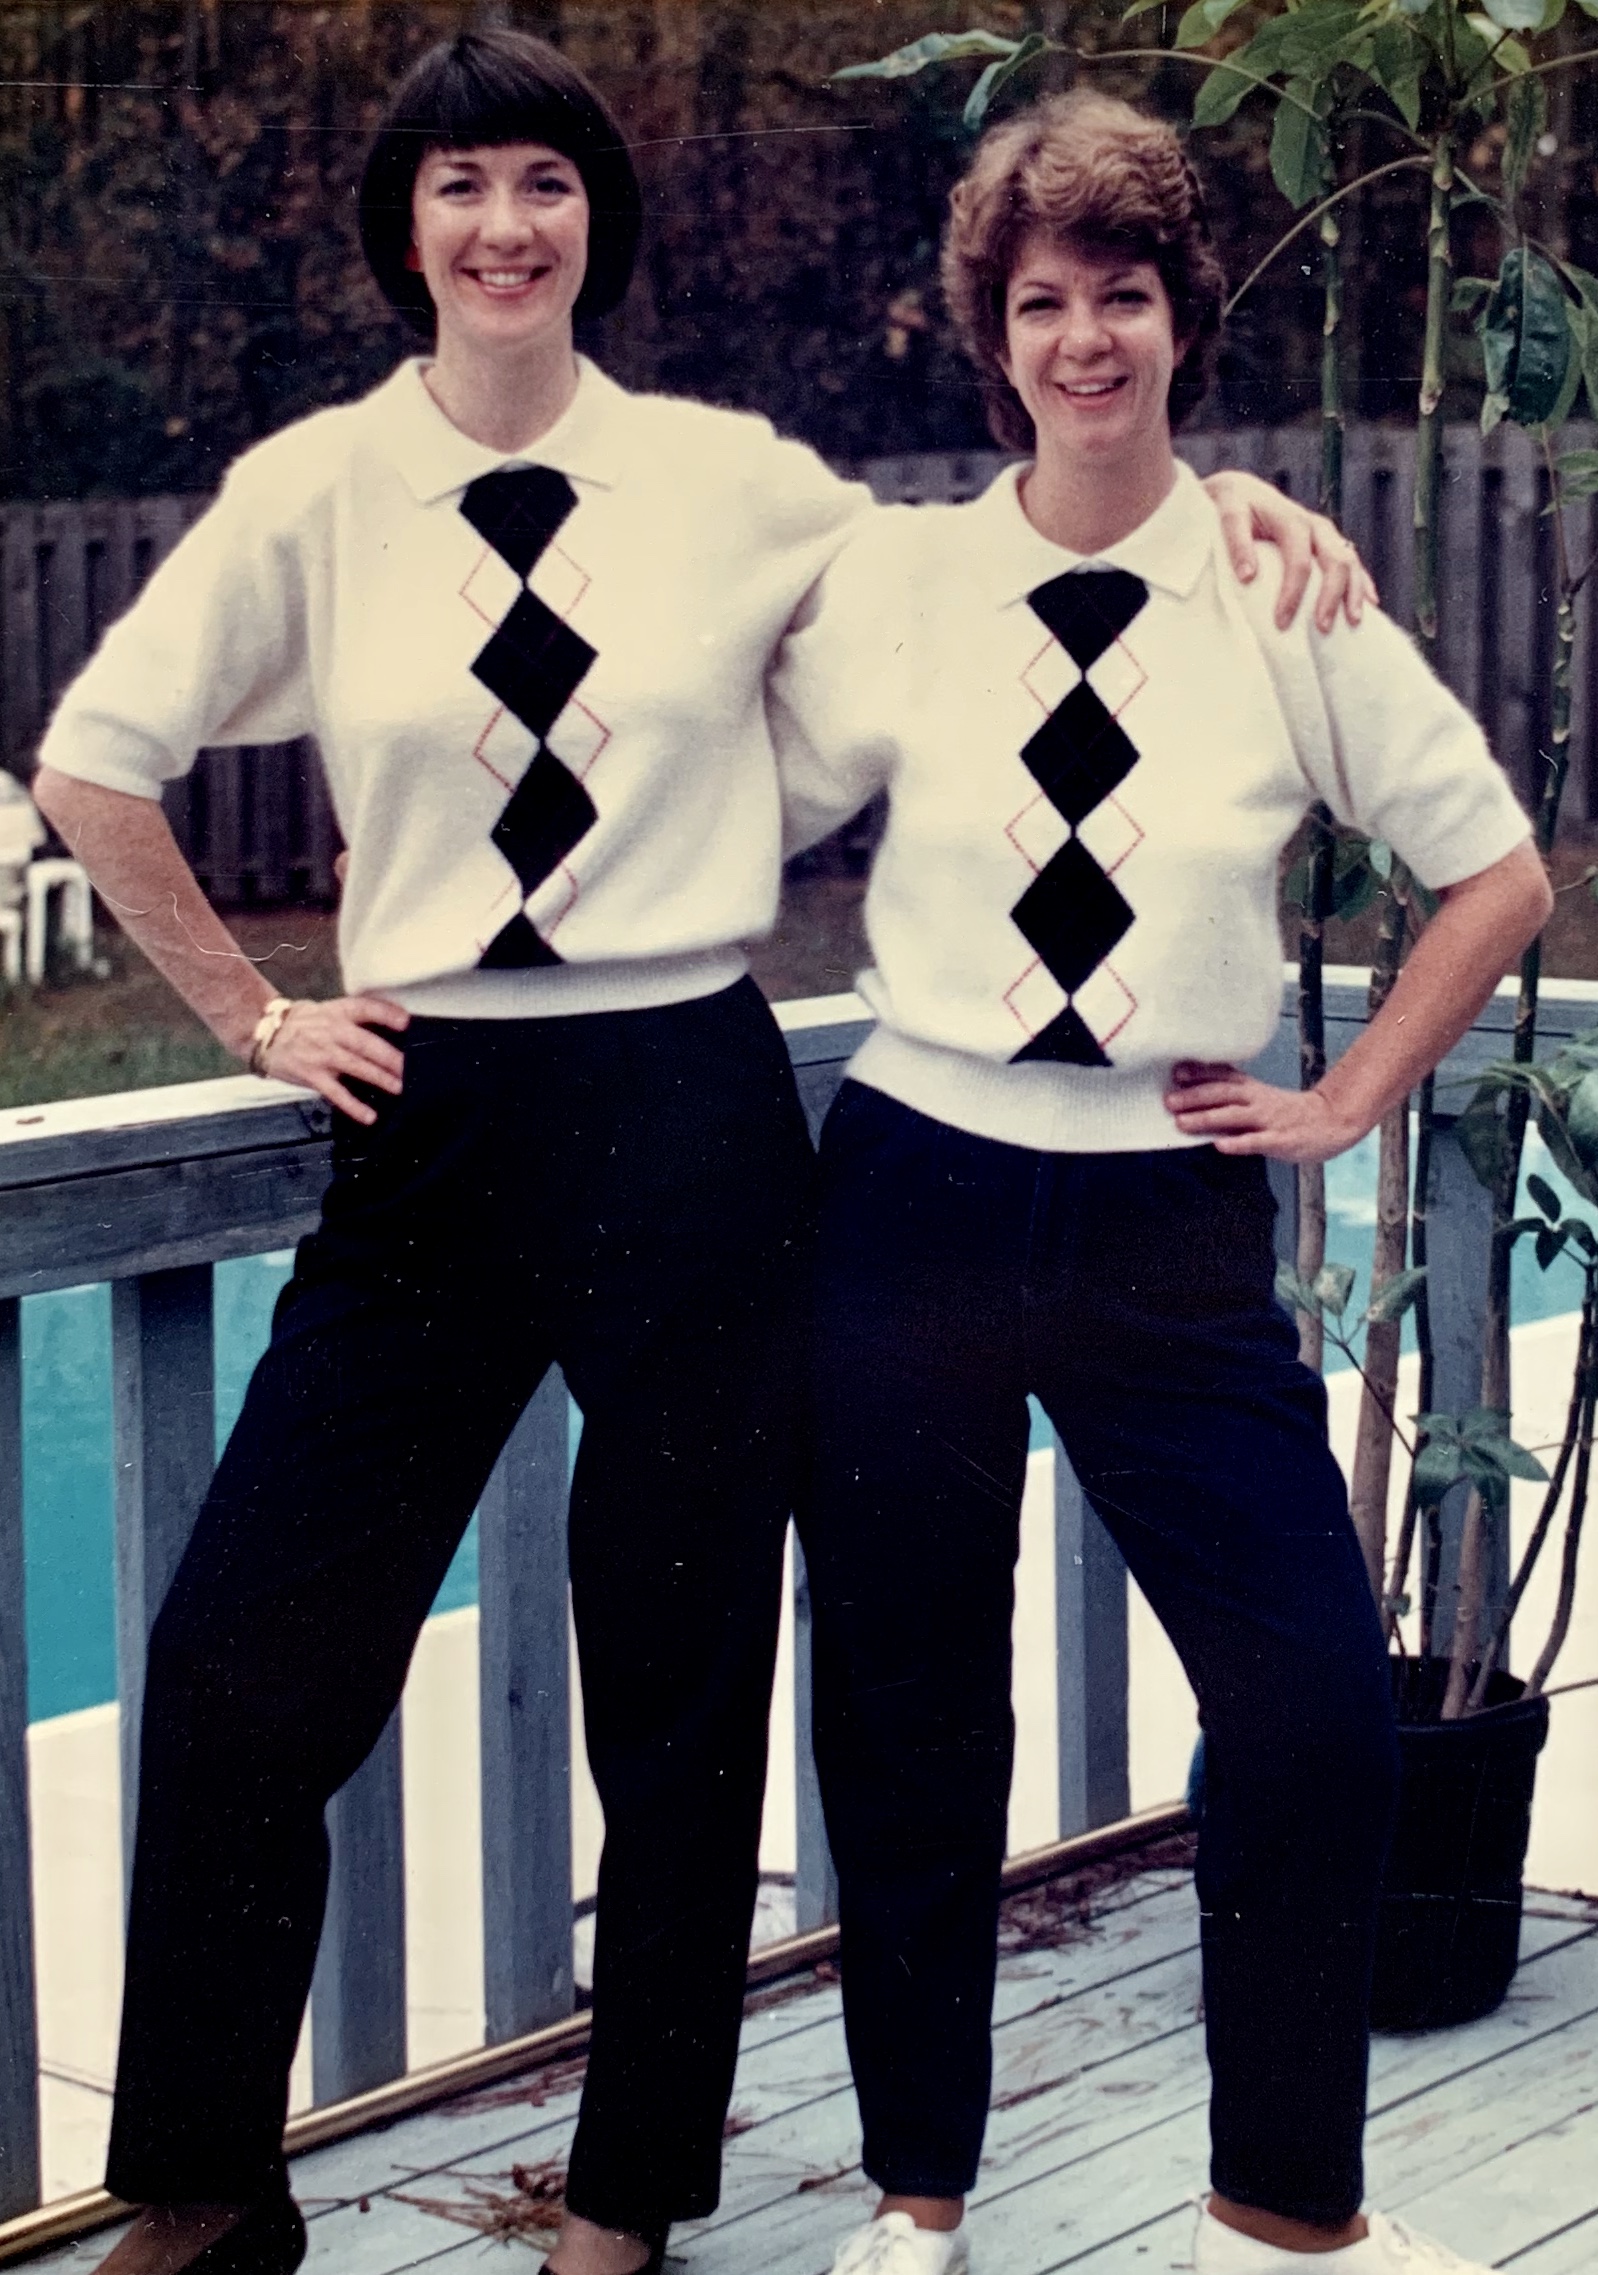
The fabrics got packed up last month and hauled to Atlanta so I could work on the quilt while visiting my twin sister Diane over Thanksgiving. I keep a sewing machine there, along with a complete set of accessories, because I always do some sewing while I am at her home.
This year my sewing experience was especially enjoyable because Diane had her handyman make a “Big Board” that sits on top of her ironing board to increase the ironing surface. This Big Board is BIG! Check it out:
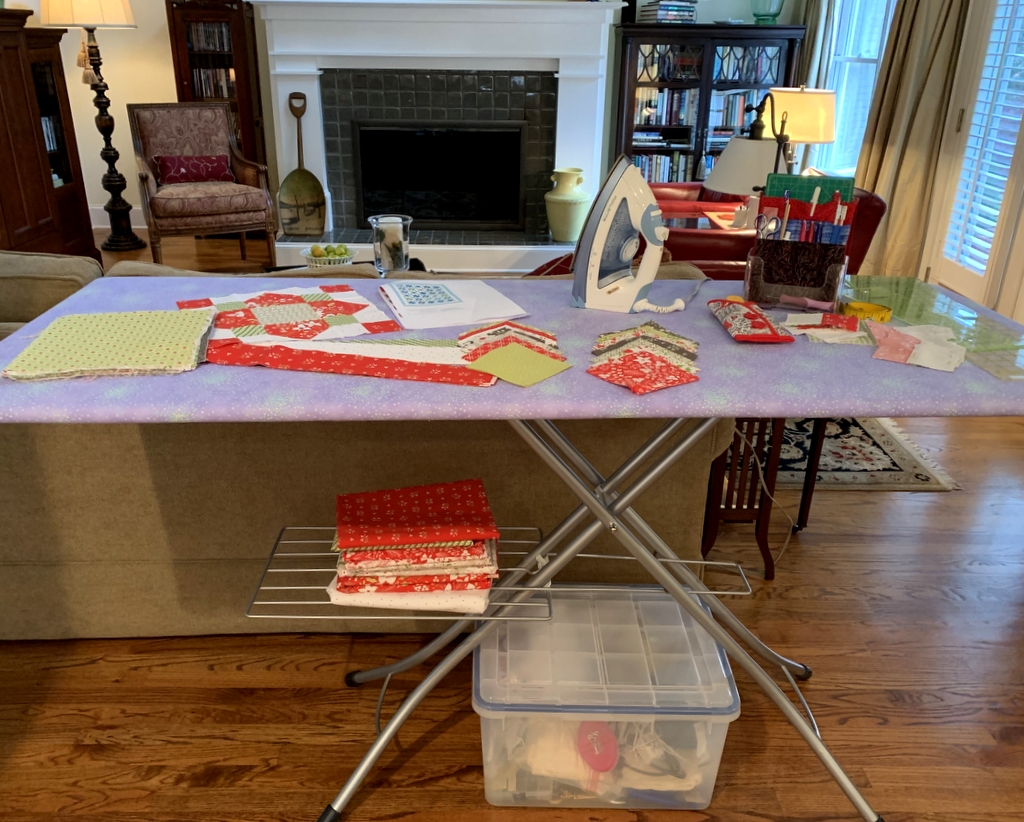
My own Big Board is 22″ x 60″, which suits me (and my small-ish sewing room) just fine. Diane’s Big Board measures 26″ x 68″. I had sent her a king-size cotton batt, unbleached muslin, and fabric for the cover beforehand. She and her handyman wrapped three layers of batting and one layer of muslin around the frame and stapled them in place. Then they stretched the top layer of fabric over the surface and held it in place underneath with large 2″ T-pins I had ordered from a wig shop. Because the top layer is pinned rather than stapled in place, it will be easy to take it off for laundering or replace it when the time comes.
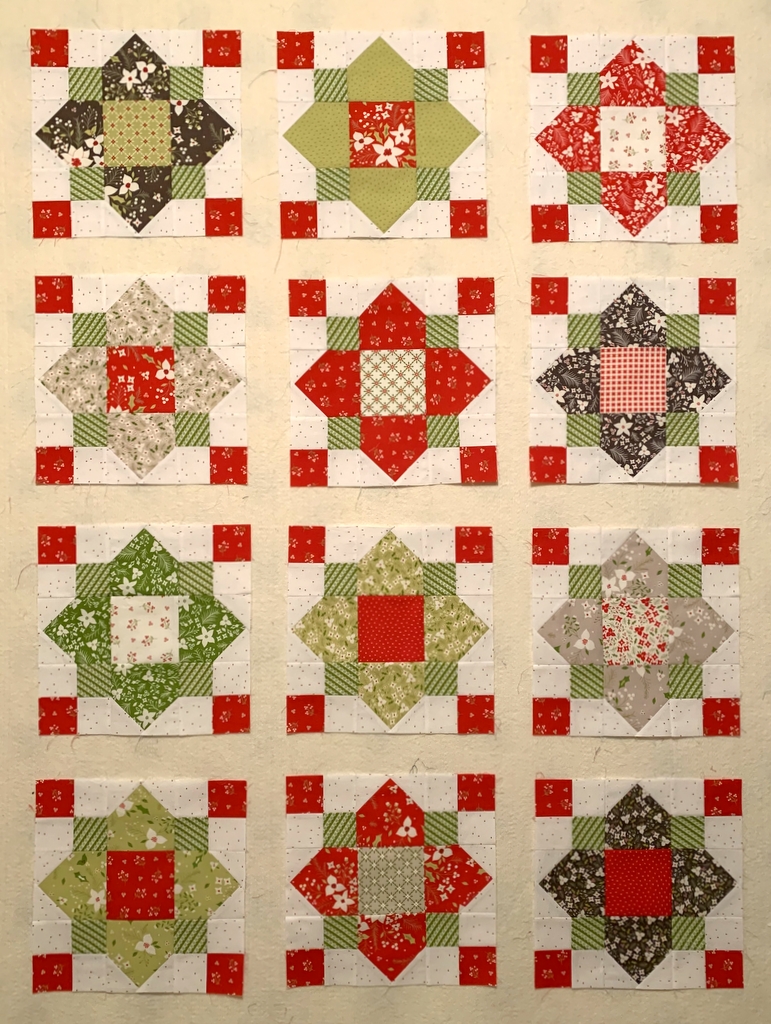
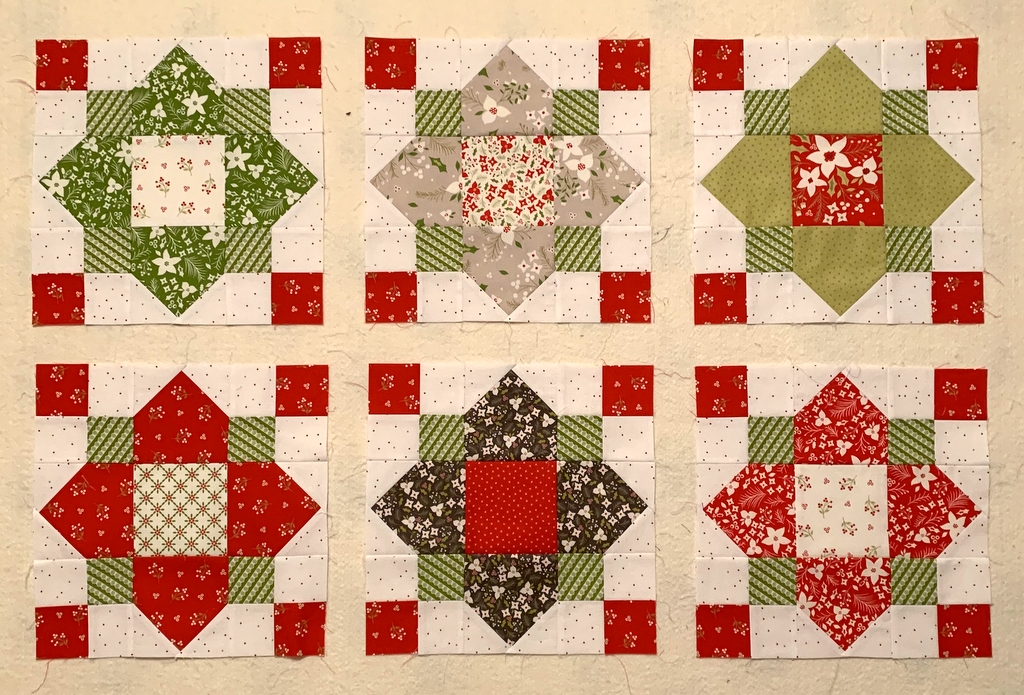
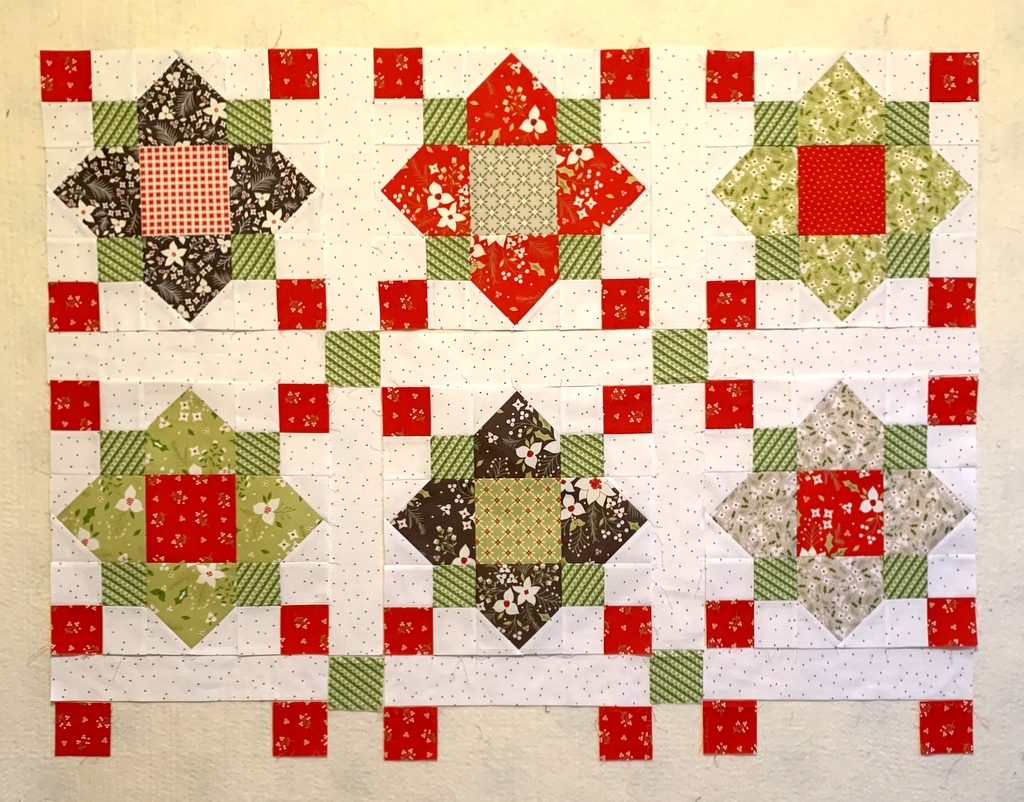
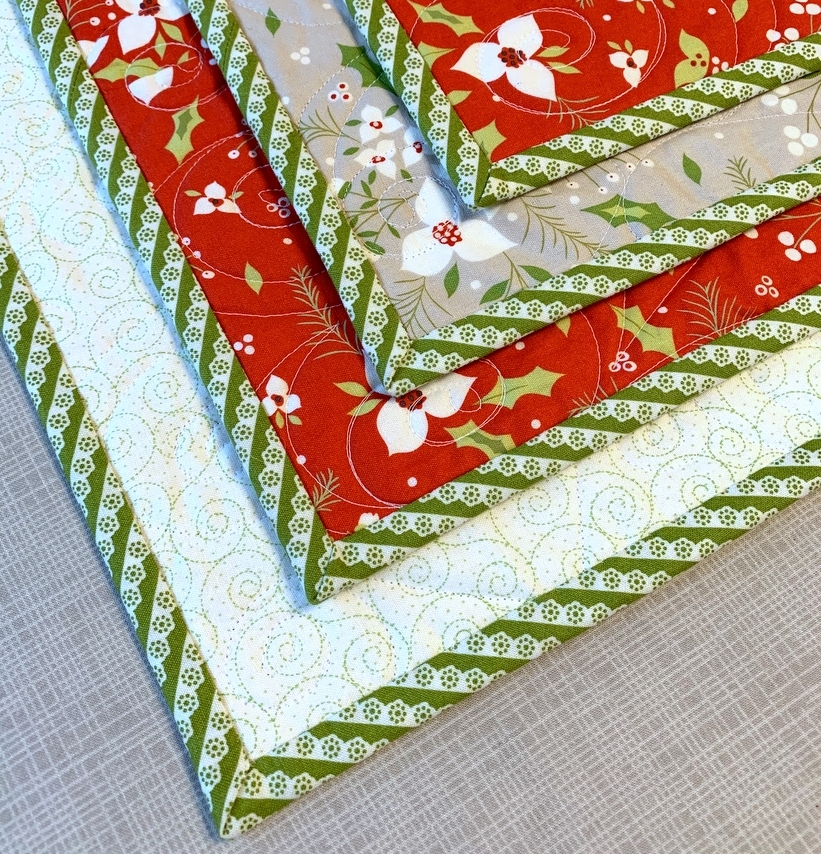
My Christmas Quatrefoil quilt will be what I call “controlled scrappy.” I’ll be using different combinations of prints from the “Holliberry” line:
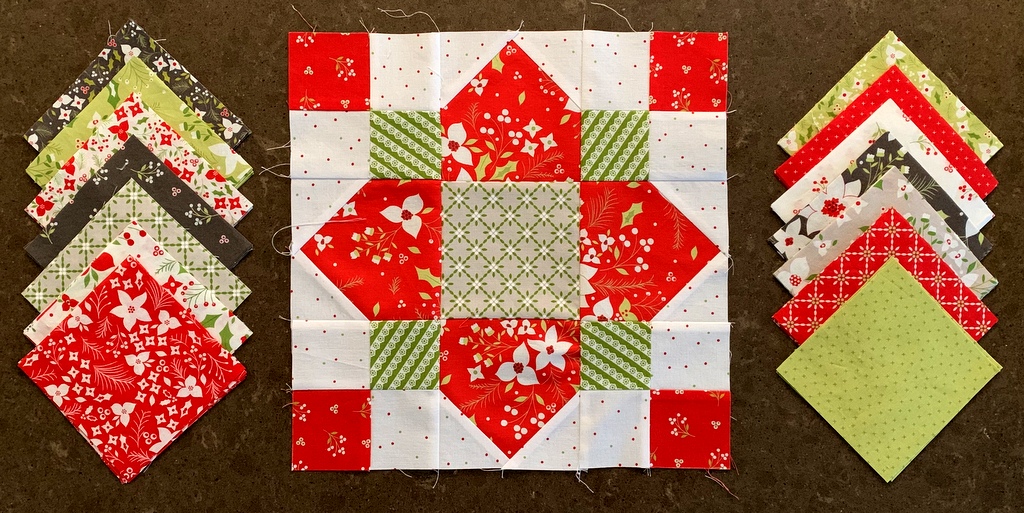
The stacks of squares on either side of the block can either be the four leaves of the quatrefoil or the centers of four blocks.
Despite the wonderful addition of Diane’s Big Board, the block you see at the top of the post was the only one I made on this visit. Diane and I were too busy celebrating a big birthday — our 70th! — and let’s just say that it’s not a good idea to drink champagne and sew at the same time.
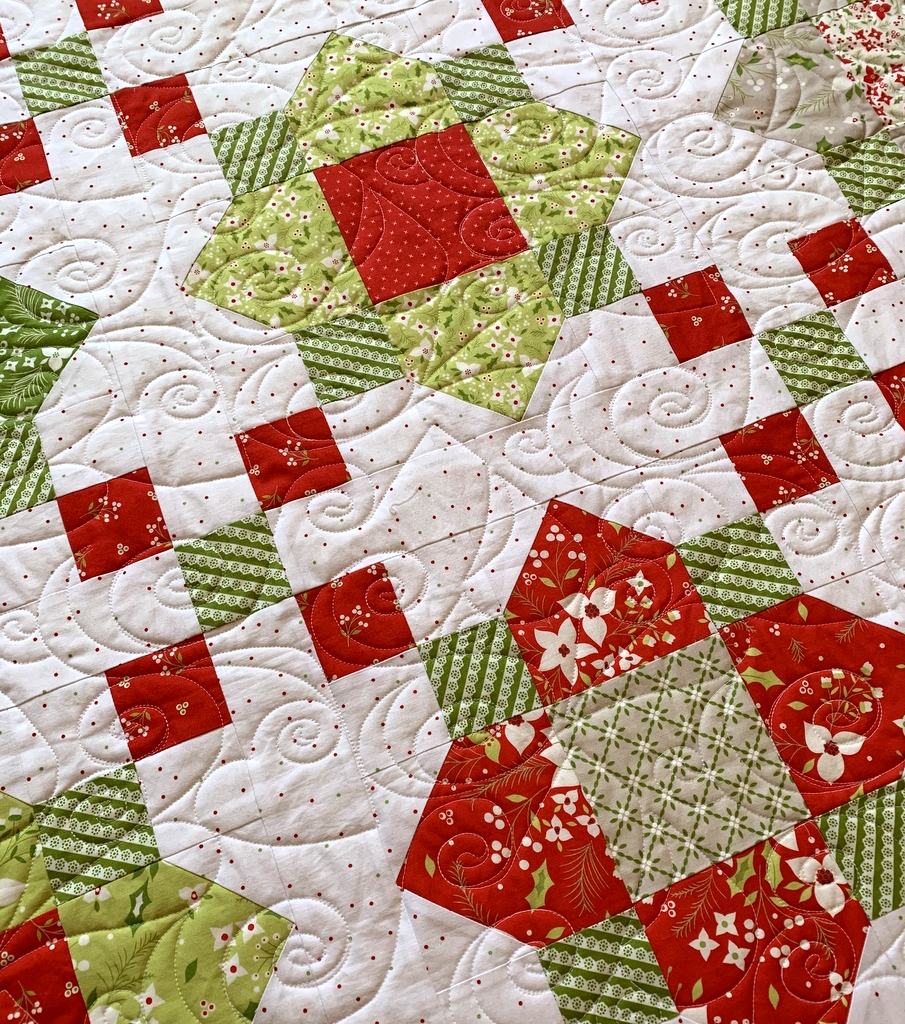
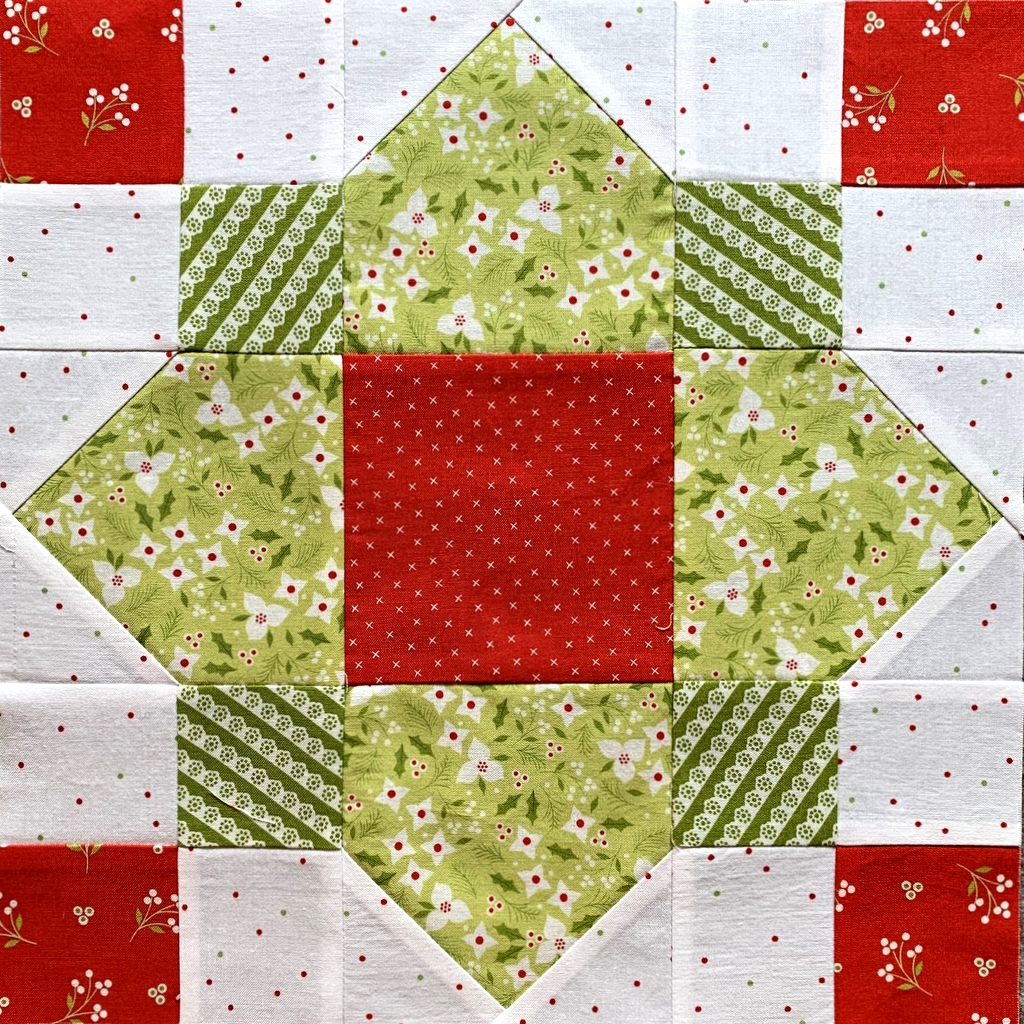
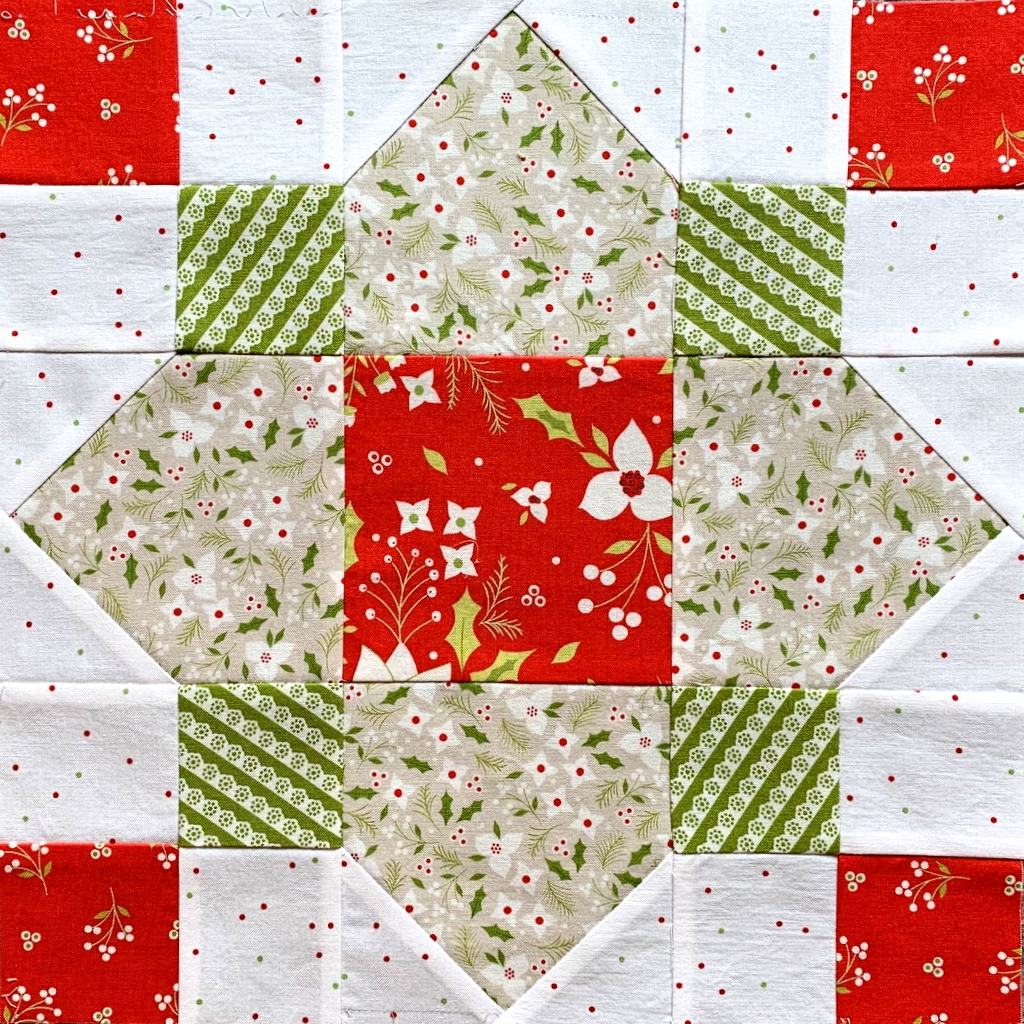
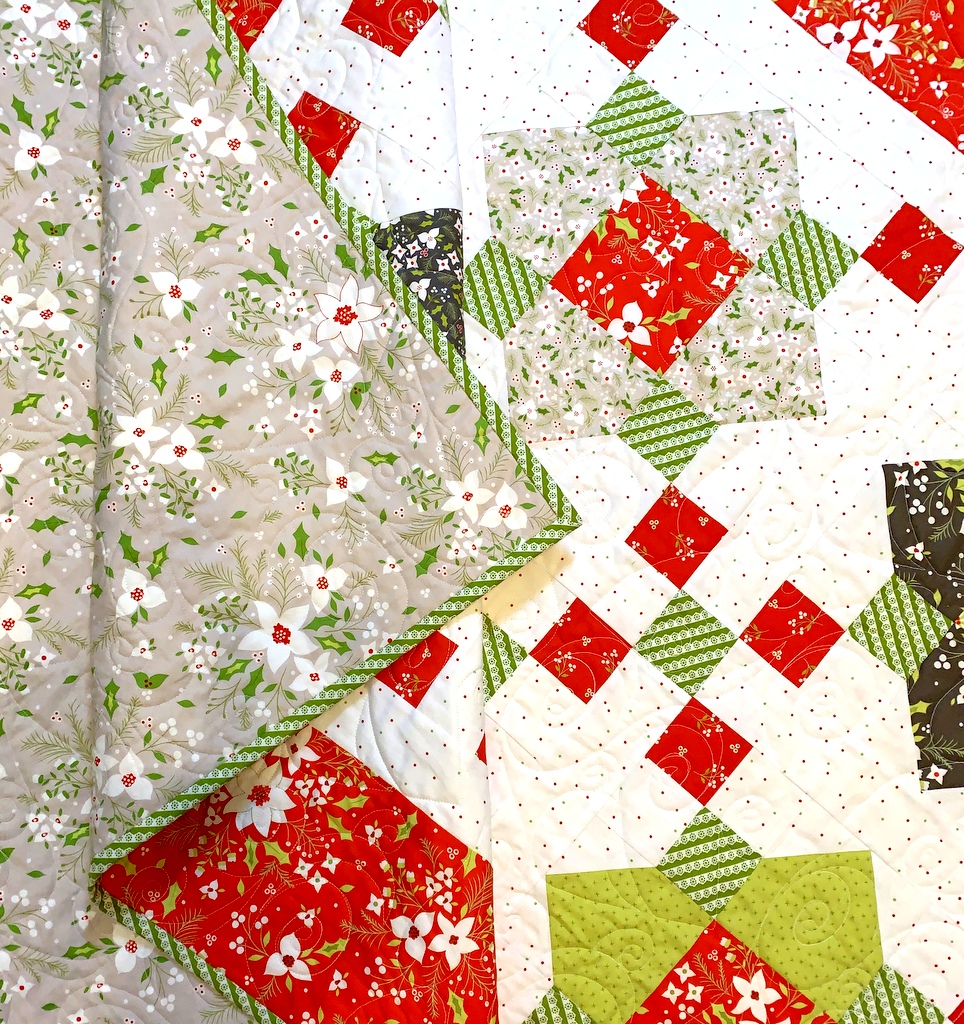
After making Test Block #1, I determined I needed to make one change but I didn’t get to it until after returning home earlier this week. Here is Test Block #2:
Can you see the difference?
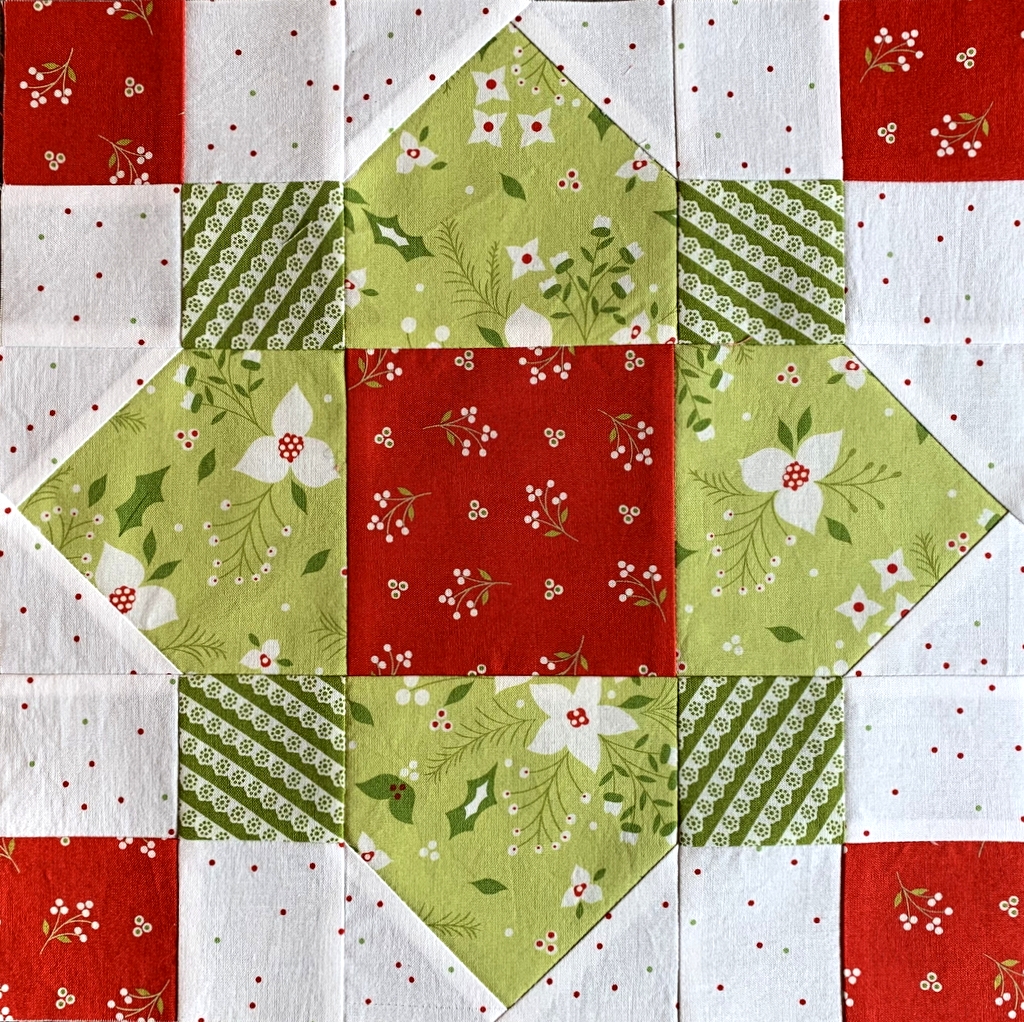
I’ll give you a hint: look at the four small green blocks with the diagonal print.
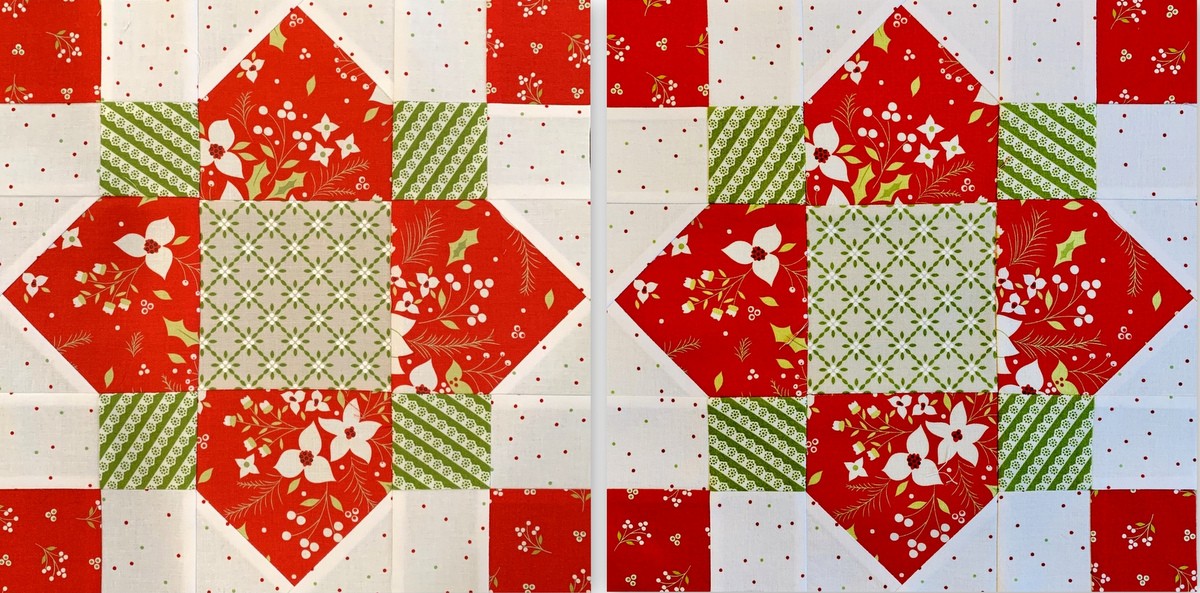
Here are the blocks side by side (I wish the colors were the same but the photos were taken at different times of day in different light):
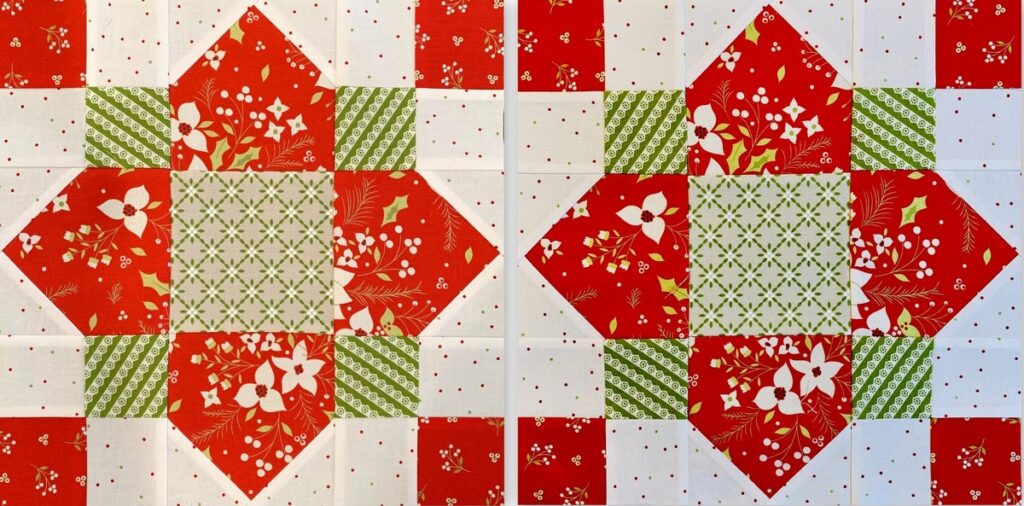
I replaced the four-patch units in each corner so I could change the orientation of the diagonal green lines. The green lines on the right block form a diamond shape that echoes the diamond shape of the red print. The change might not be noticeable to some but I find the revised block much more pleasing to the eye.
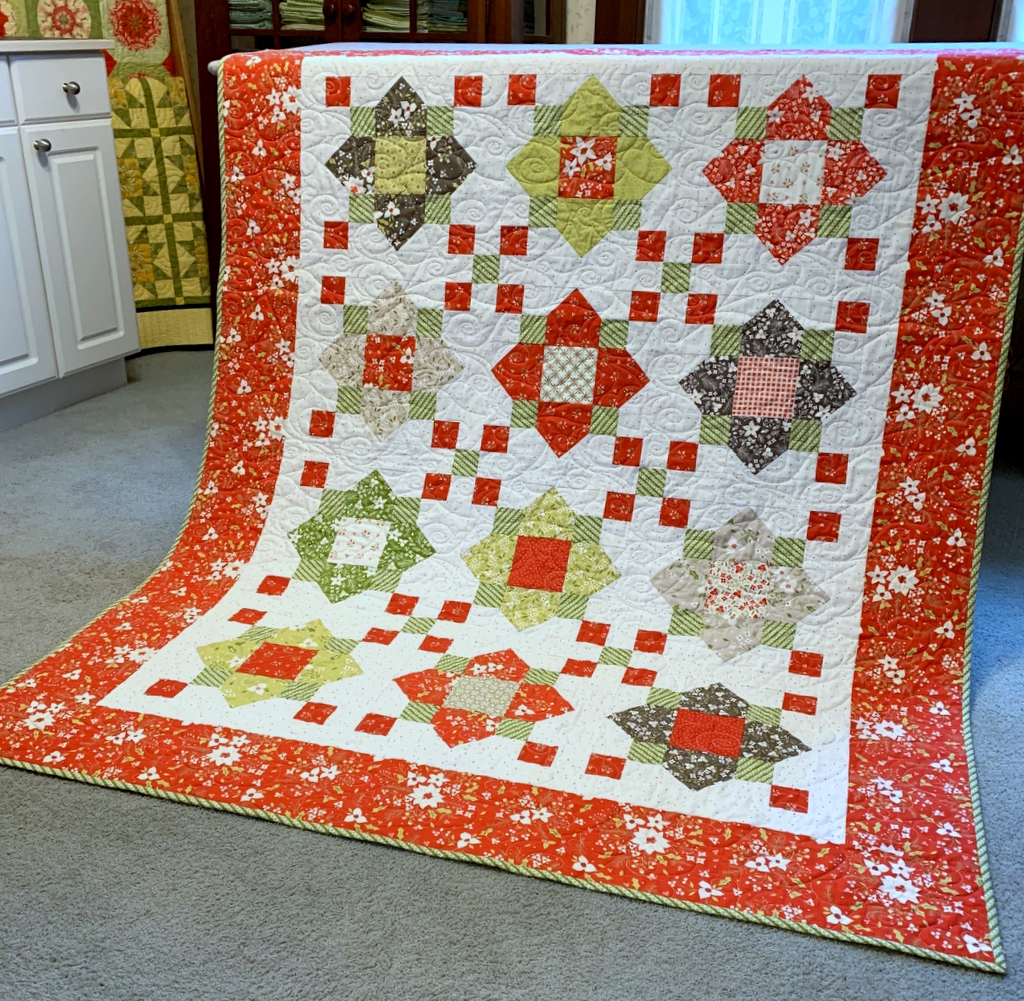
Now that I’ve finished the first block, I can hardly wait to make some more!

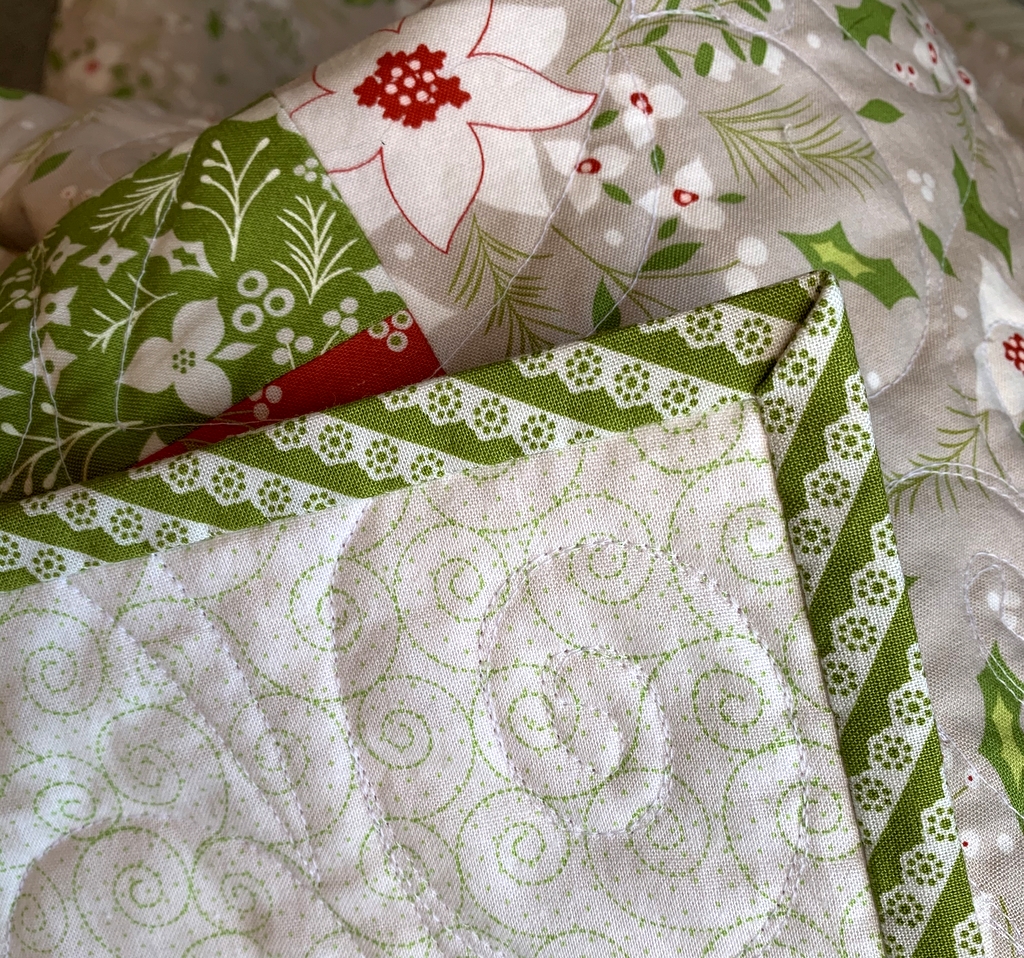
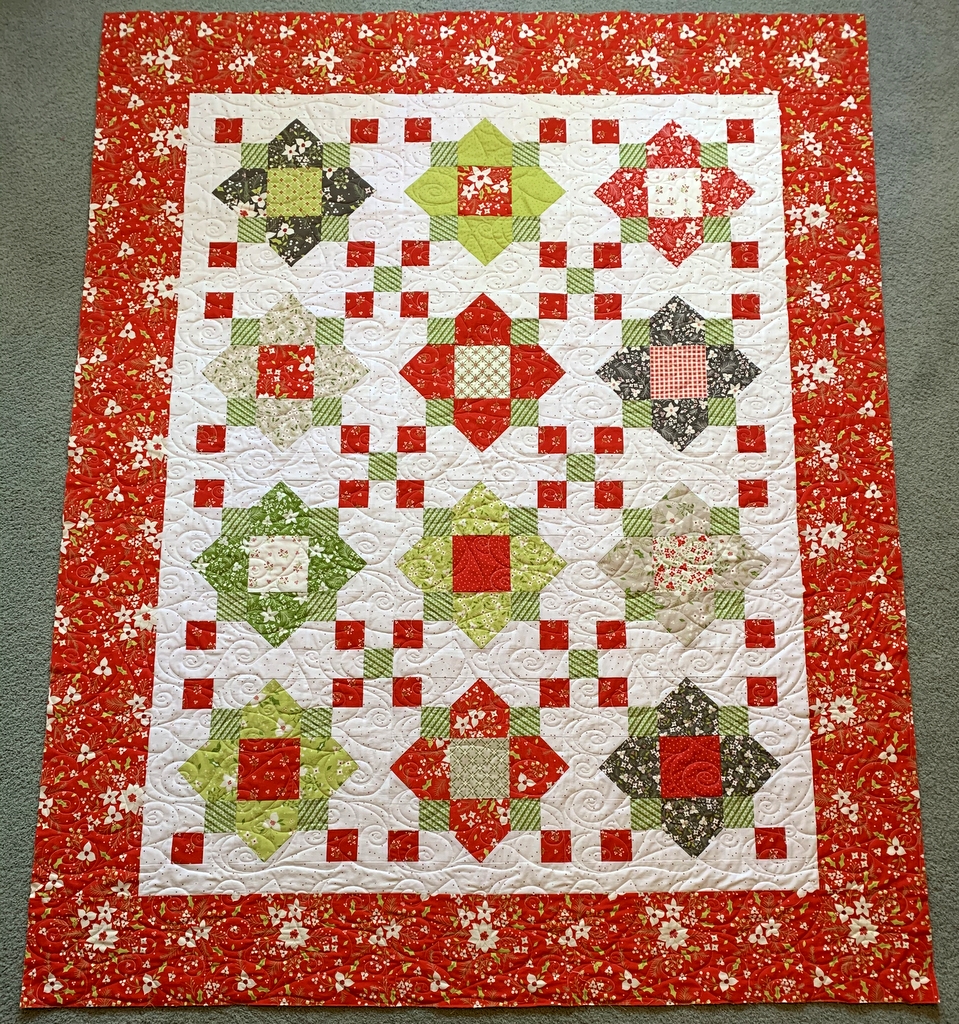
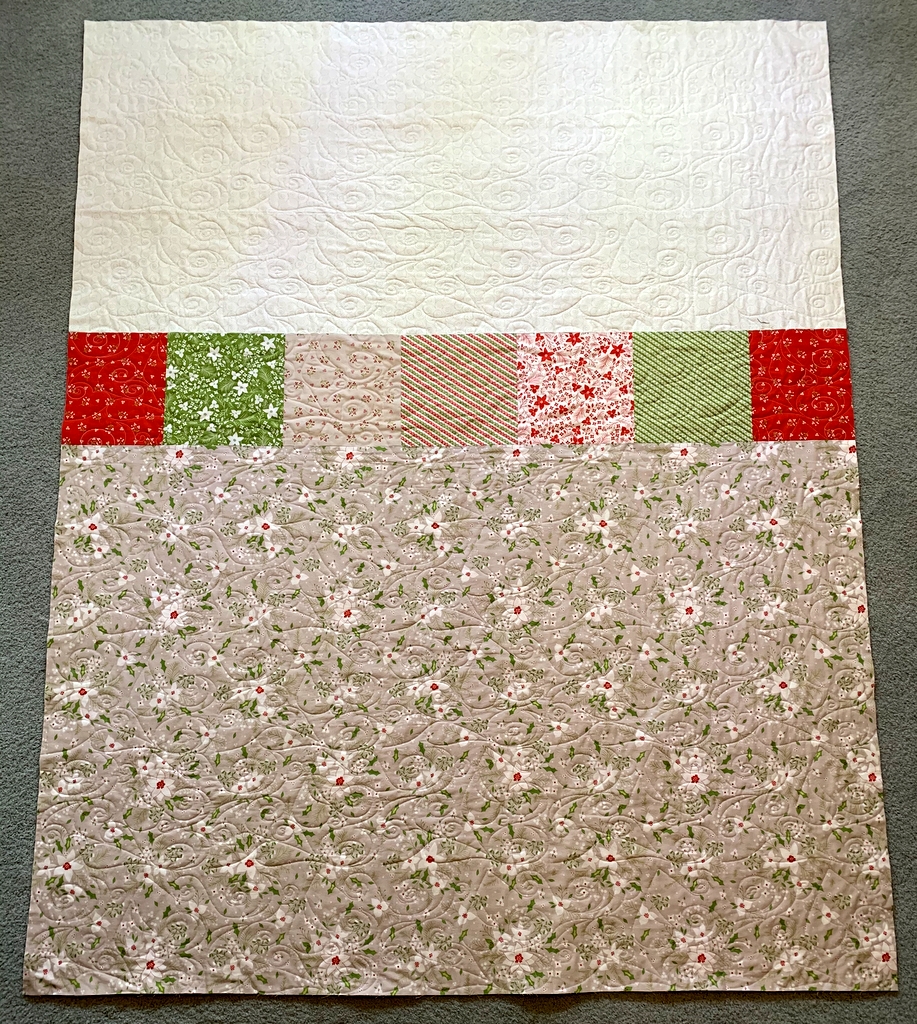
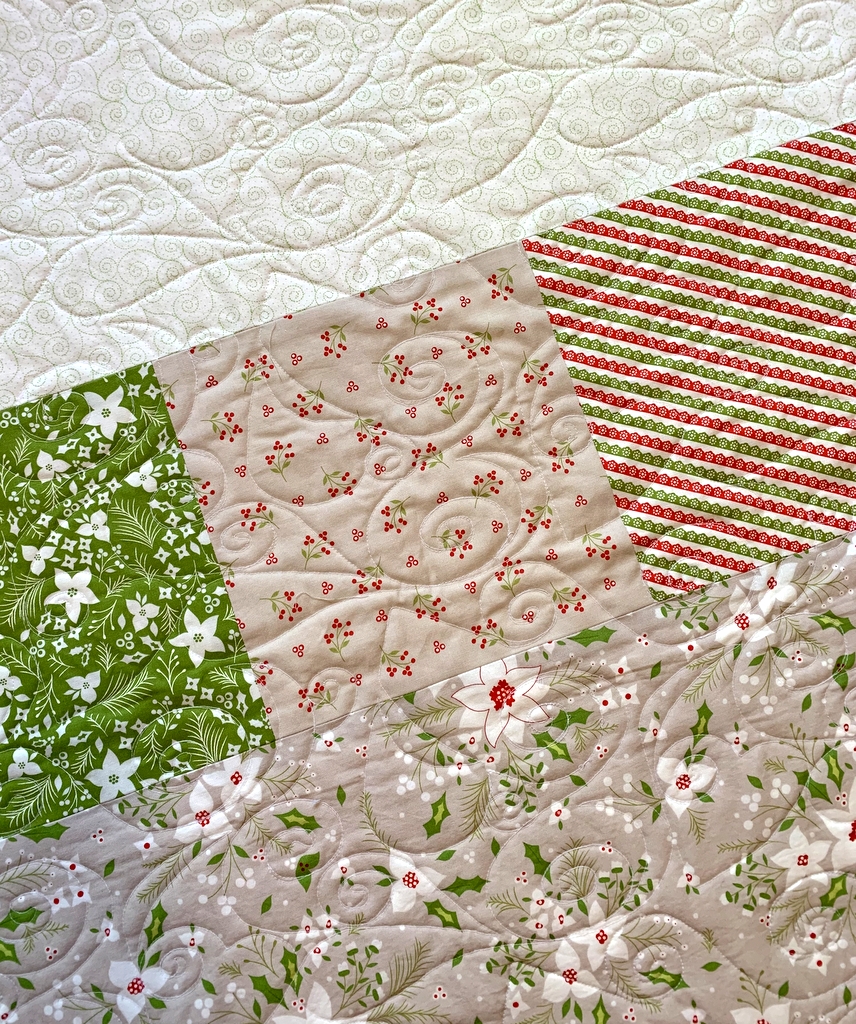
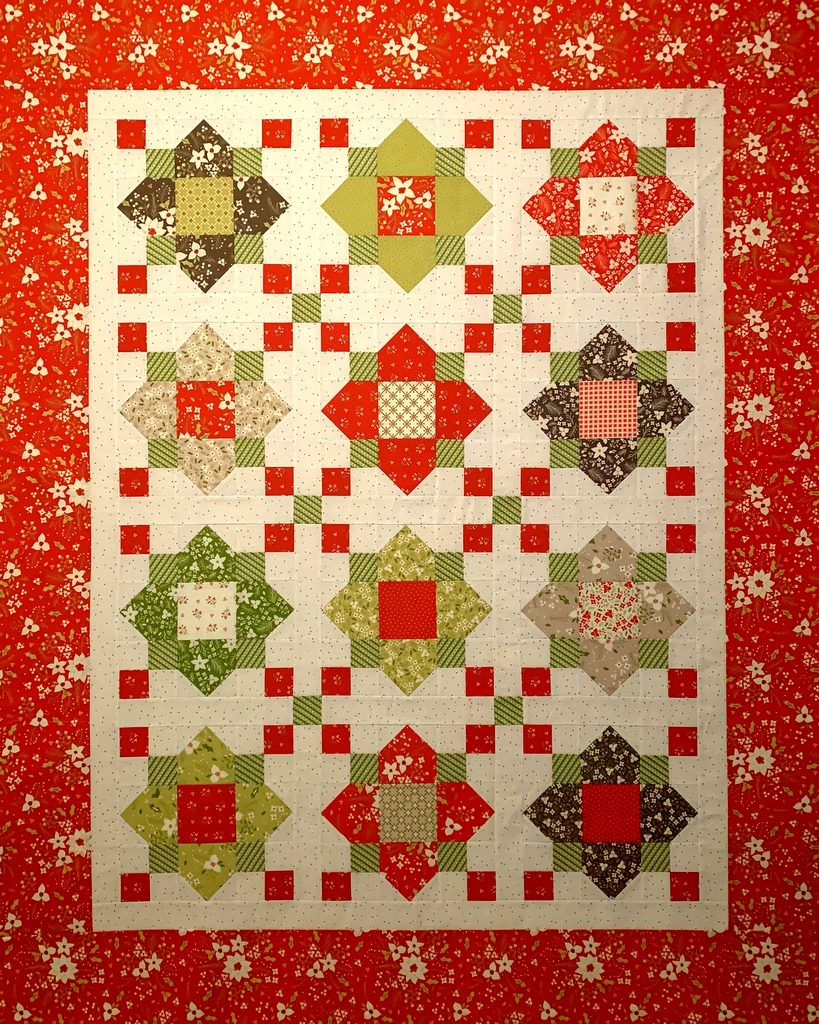
 Here’s a look at the back of the quilt:
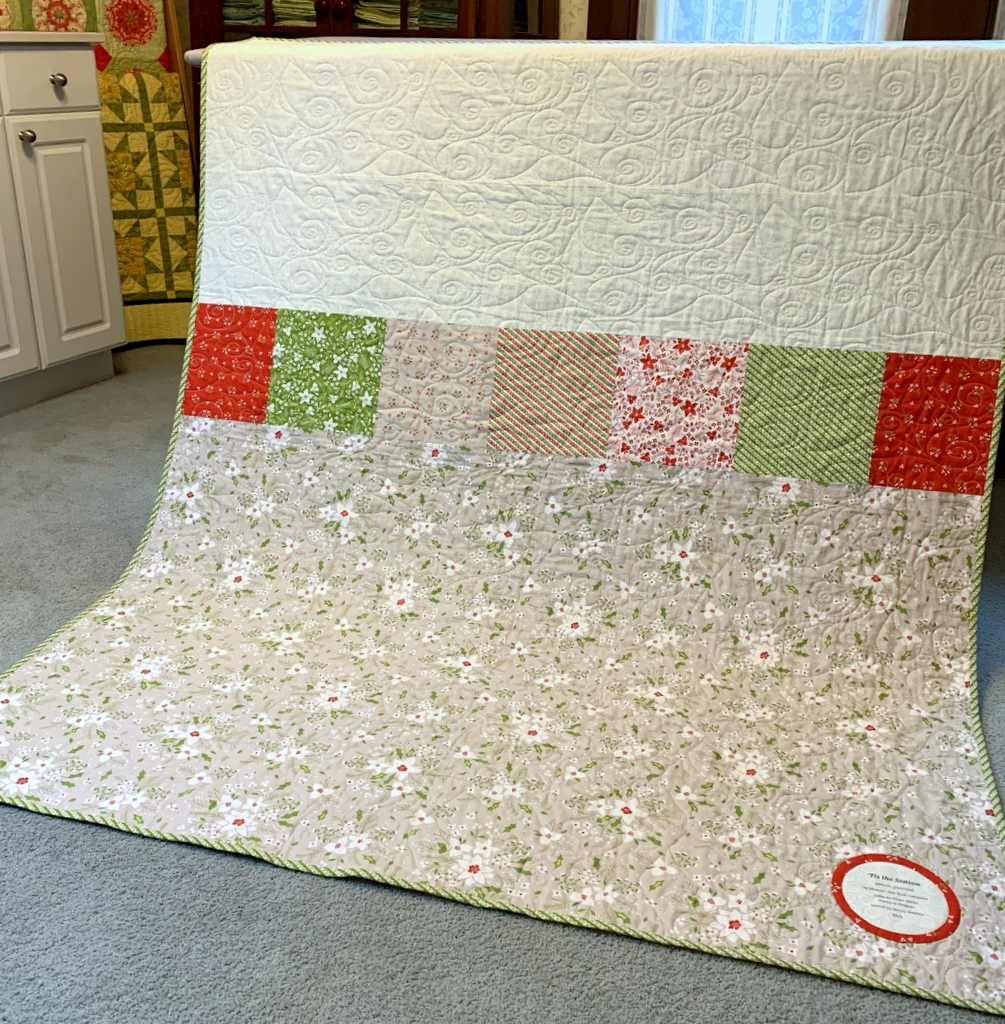
 ‘Tis still the season as far as I’m concerned!