Me? Cranky? Yes, because until yesterday I hadn’t sat down at my sewing machine for 10 days. Ten days! That must be a record for me. It seems there are just too many other things going on right now. Such is the life of a busy retiree — but this retiree isn’t happy unless she gets to spend some quality time in her sewing room on a regular basis.
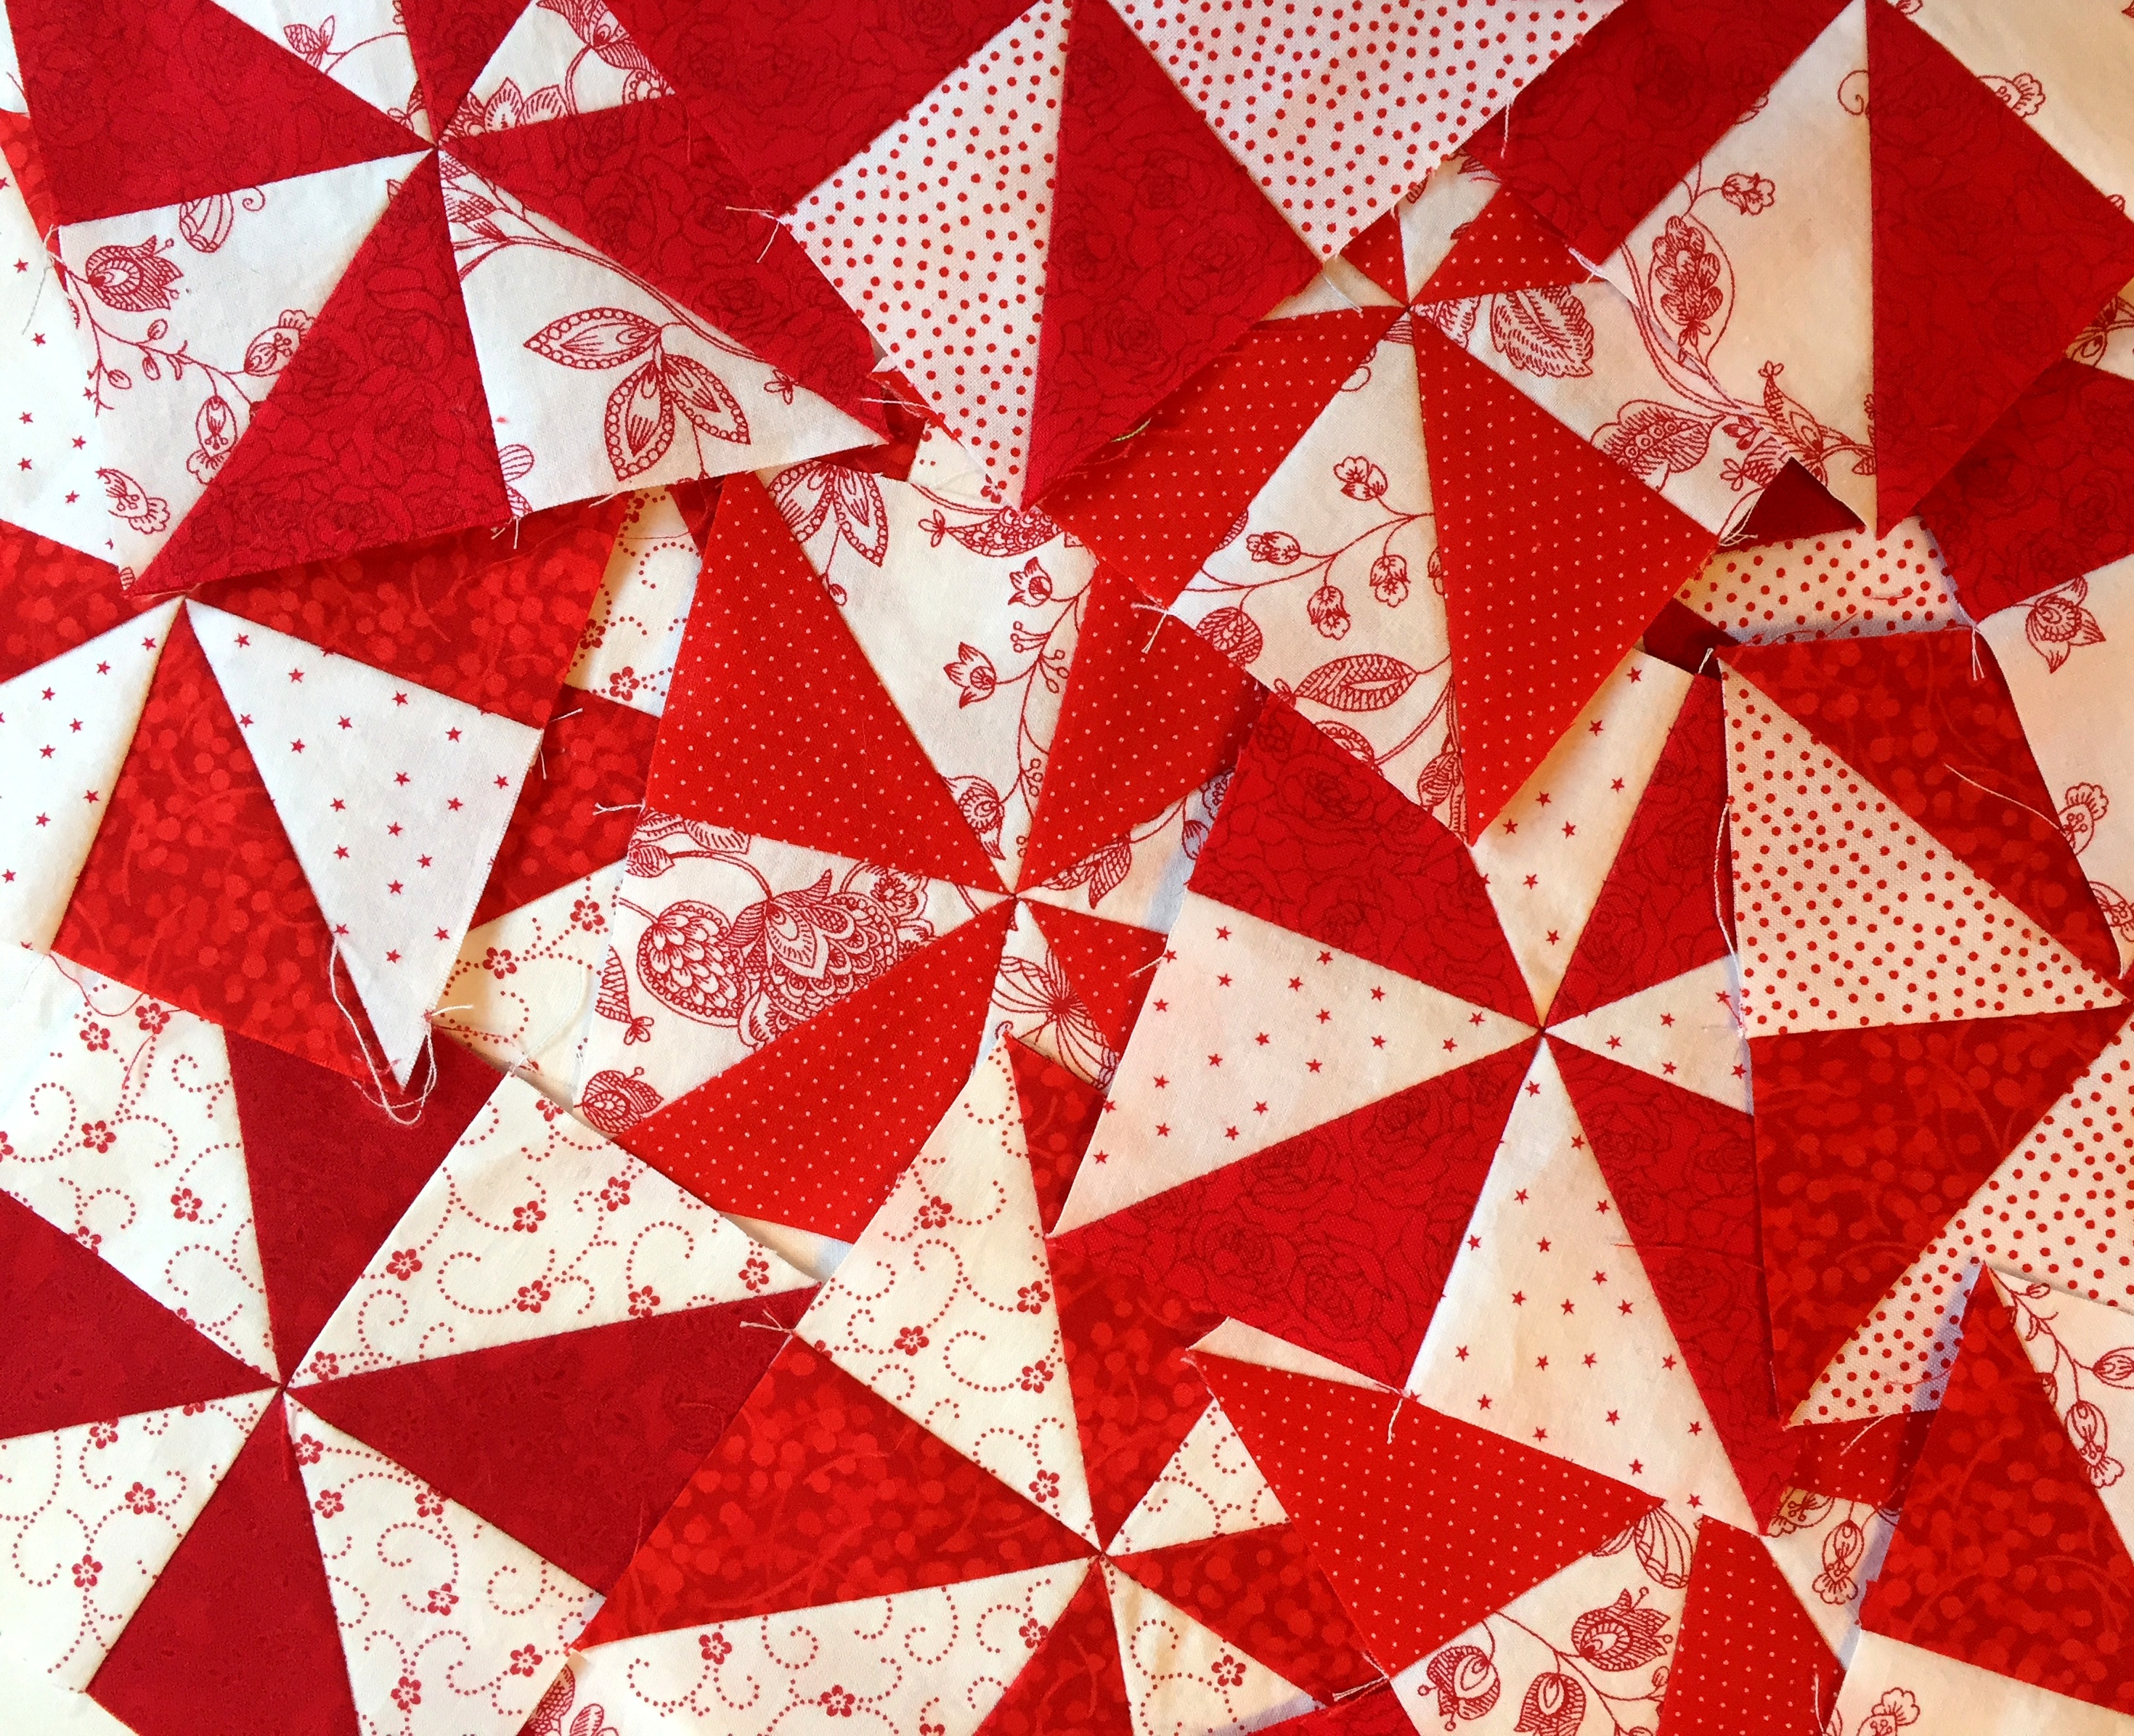
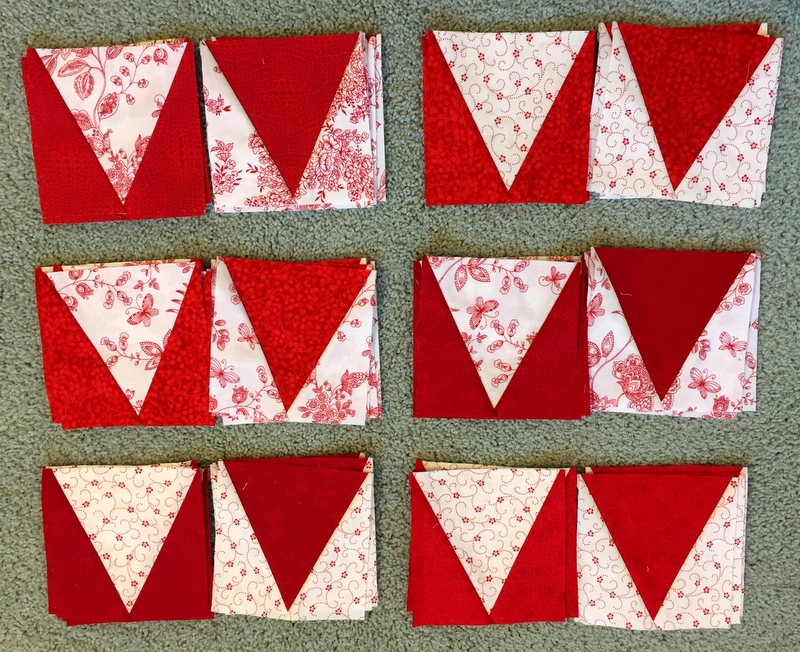
What I needed was a little red and white color therapy, and happily I got some:
What you see here is a jumble of pinwheels. These blocks will go into the windmill quilt I started last month.
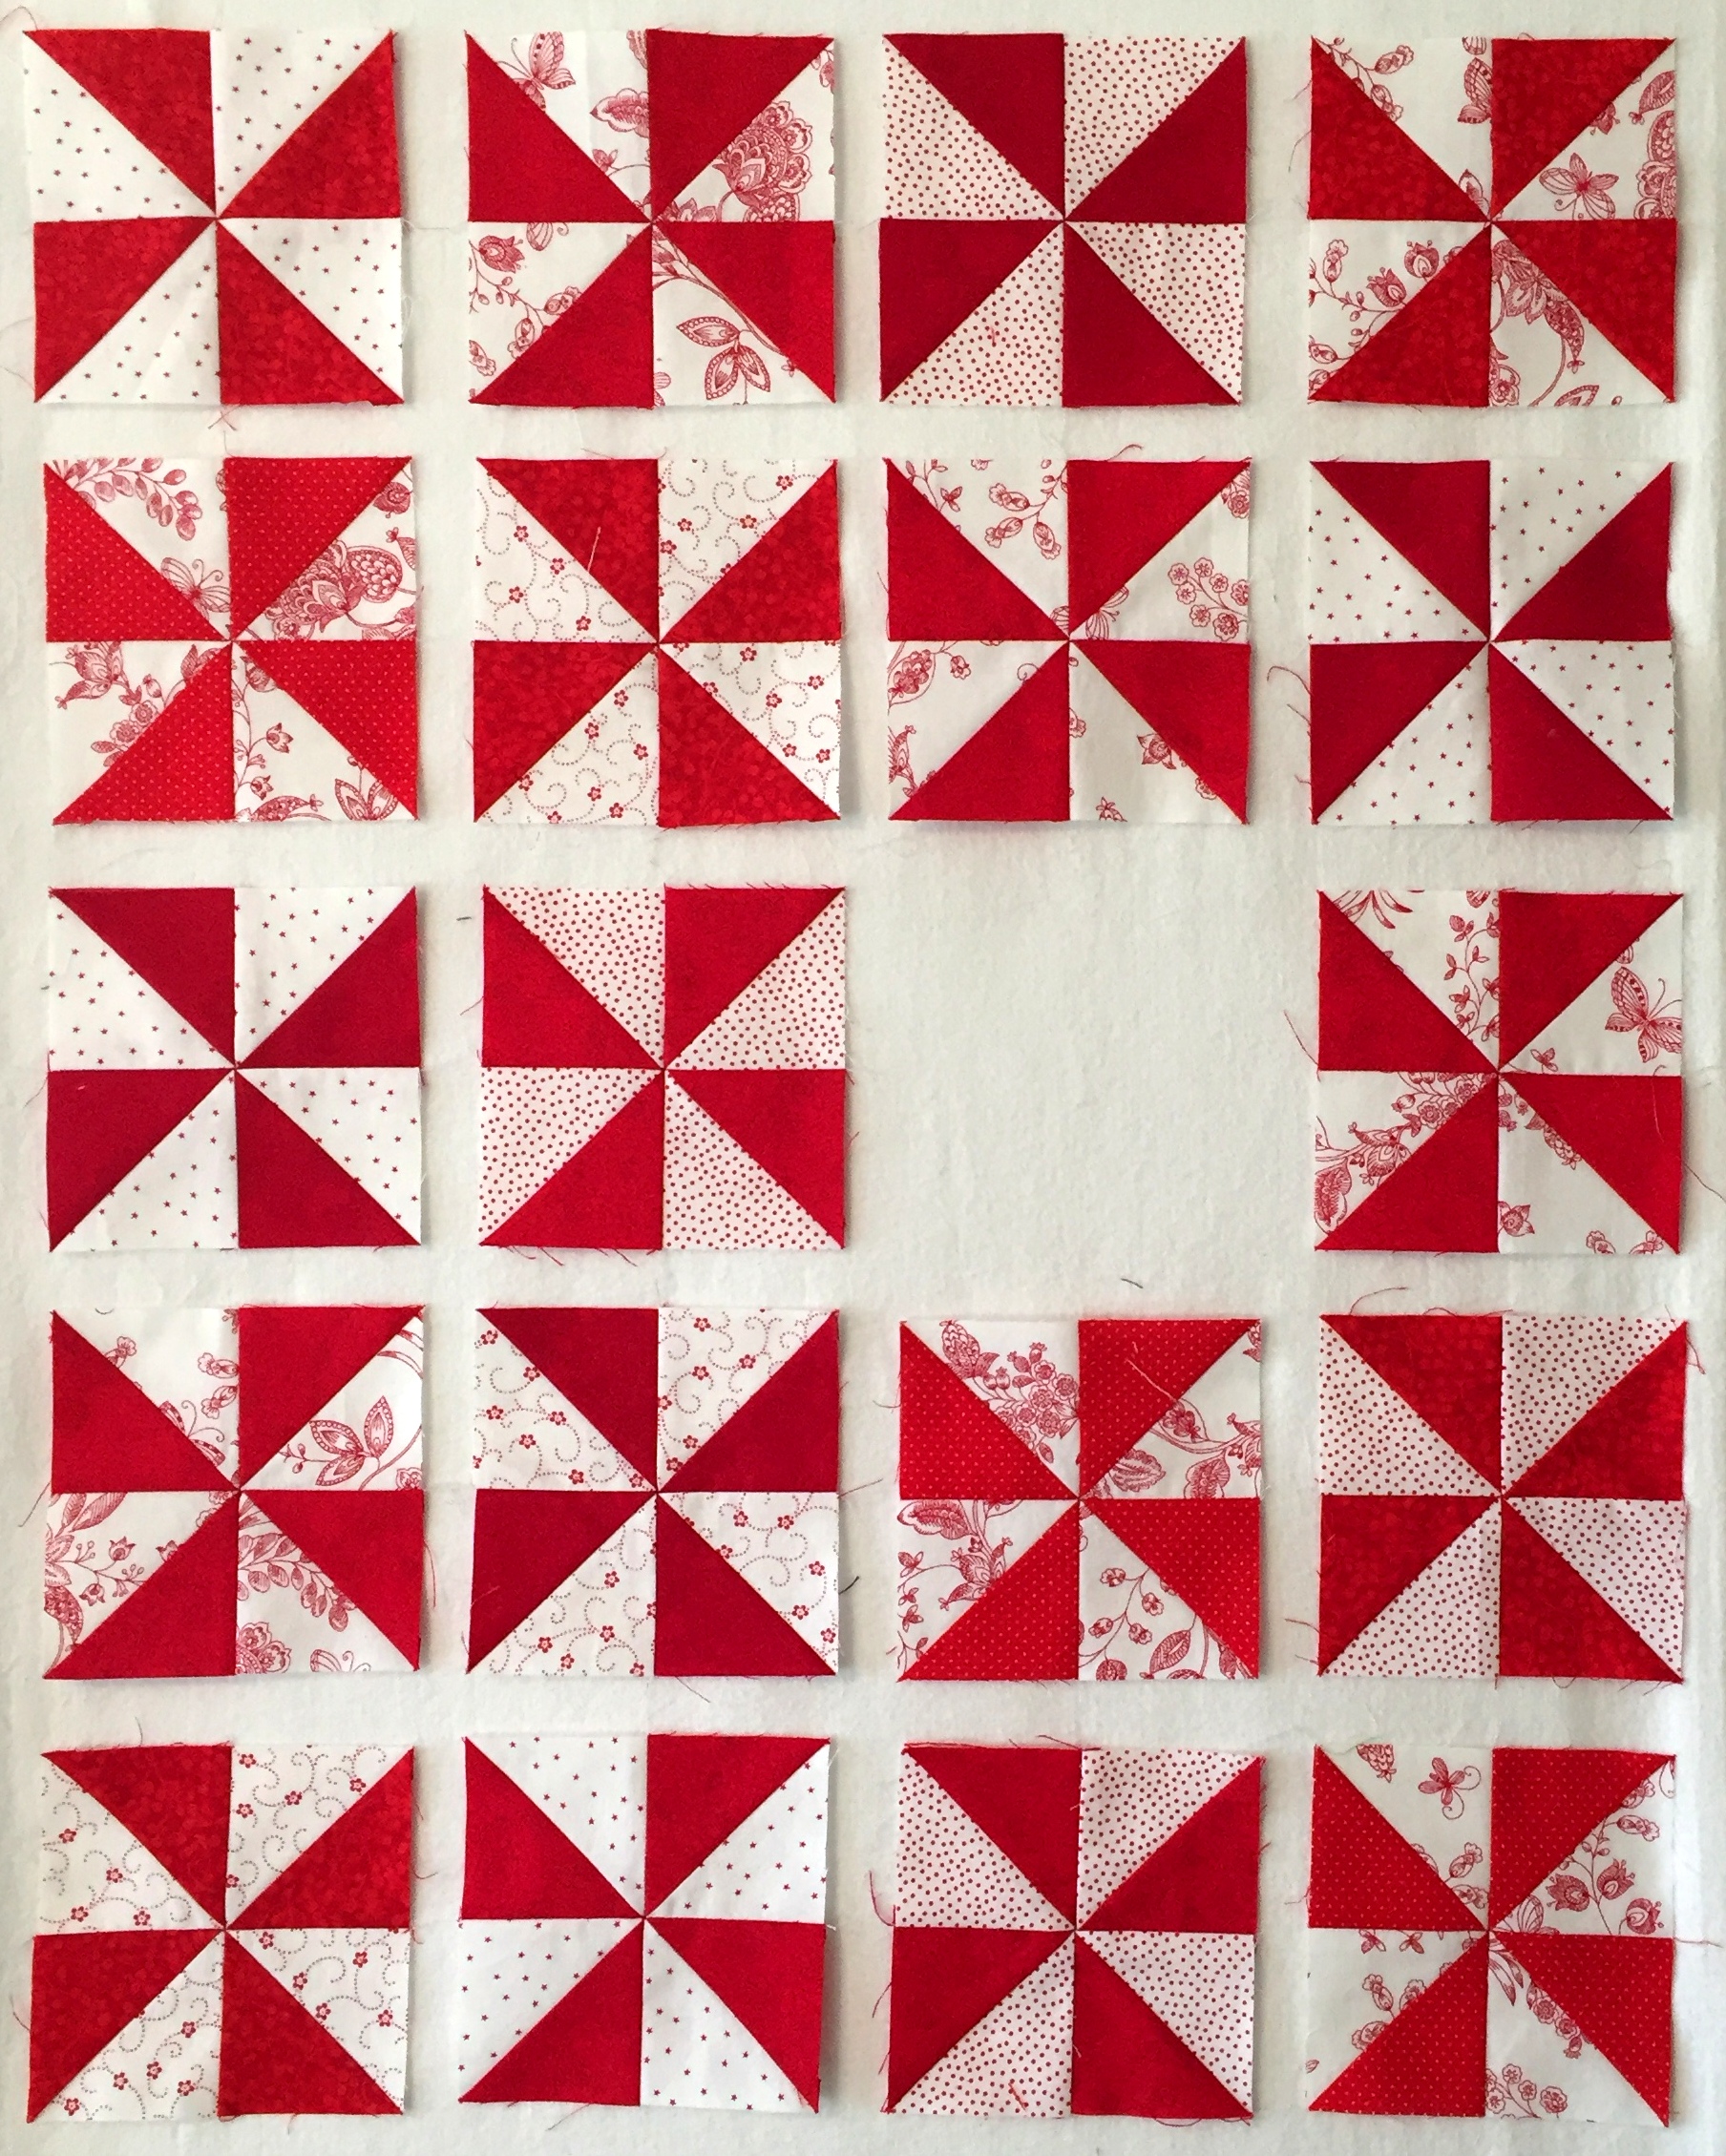
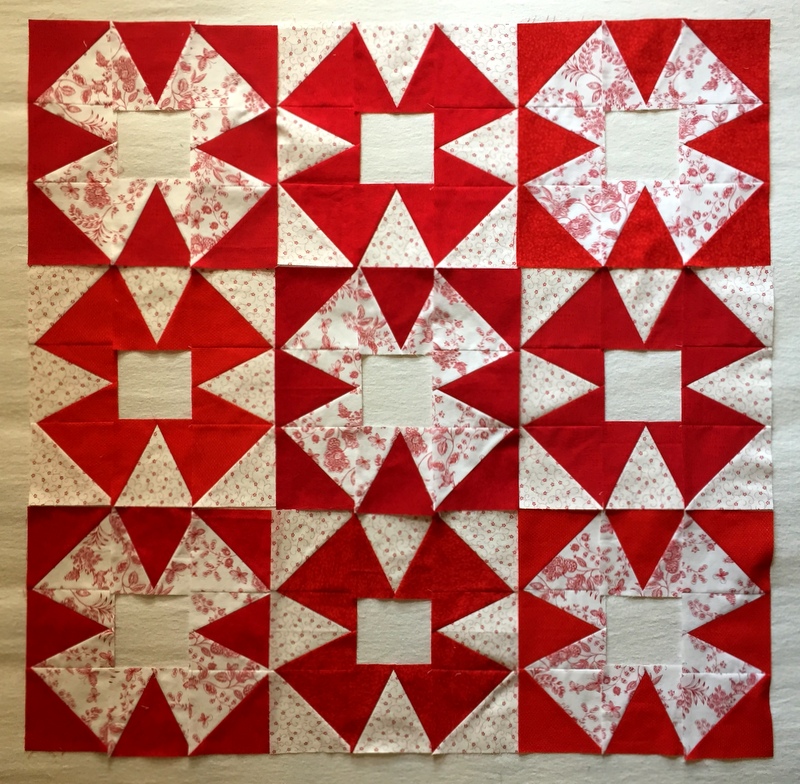
Here are the pinwheels laid out in the order they will appear in the quilt:
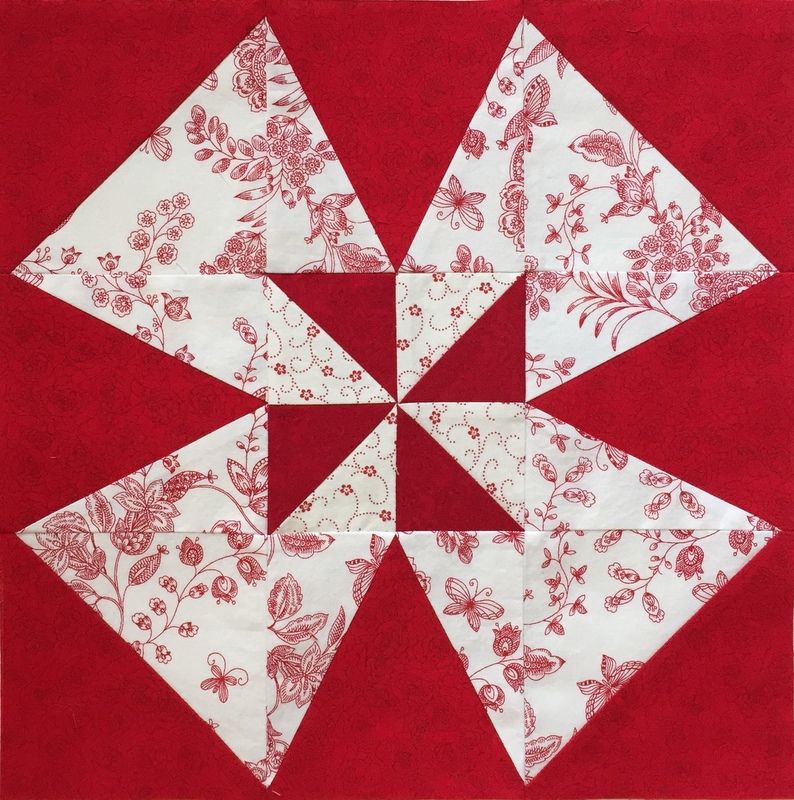
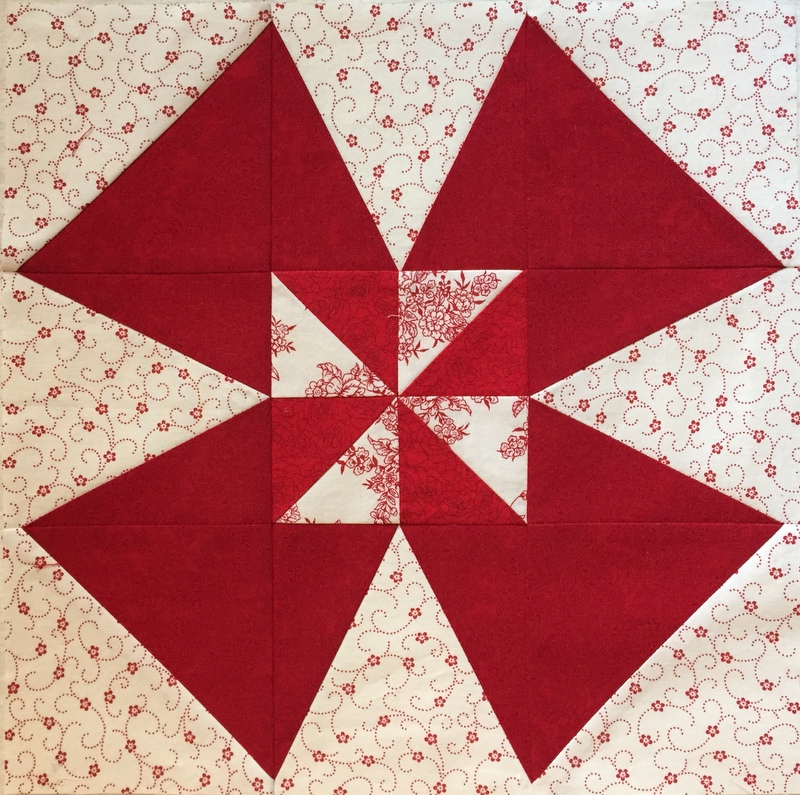
That hole in the third row is because the pinwheel already got sewn into this block:
If all goes according to plan, I’ll post photos tomorrow of the entire quilt layout. Maybe I’ll even have some blocks sewn together. Now that would make me really happy.
I’ve been longing to get back to my windmill quilt and today, after a three-week break, I finally did. With Valentine’s Day coming up next week, it seems appropriate to be working with red and white fabrics.
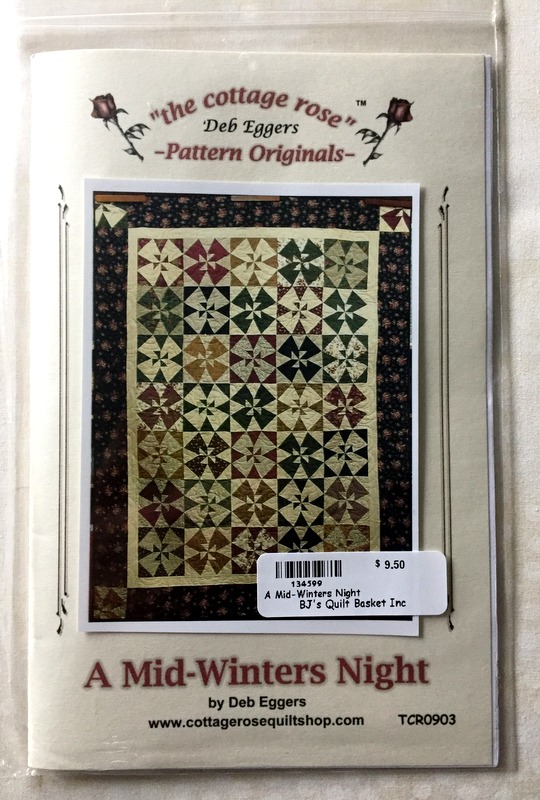
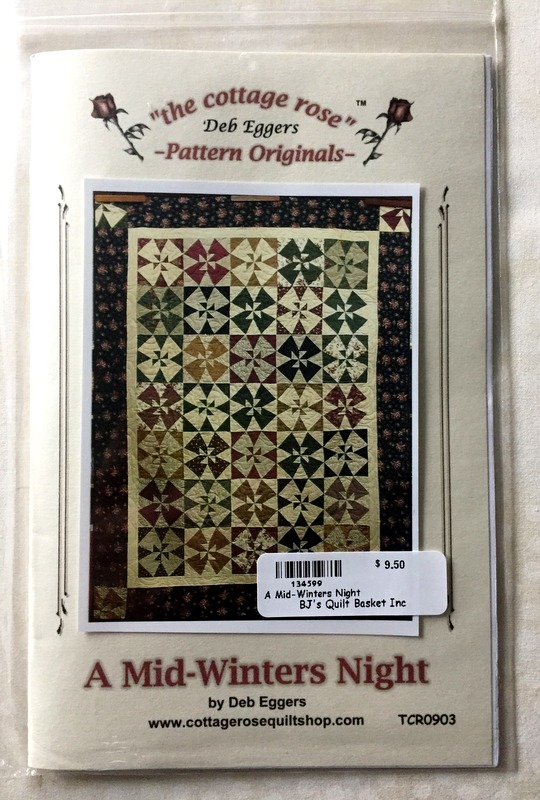
You may recall I’m making this pattern by Deb Eggers:
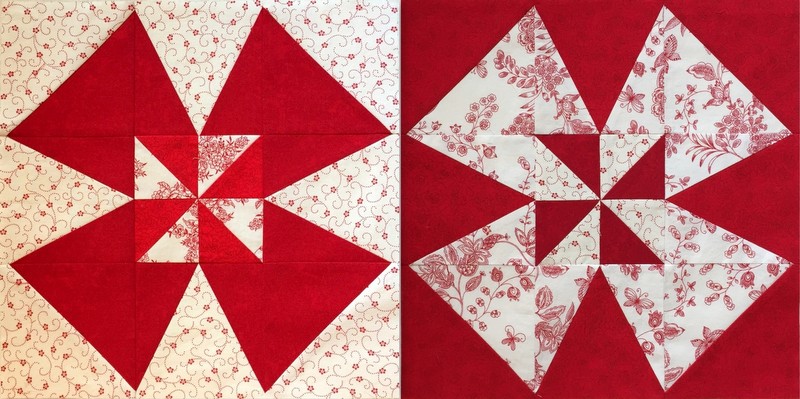
“Controlled scrappy” is the look I’m going for, with a mix of reds for my darks and two red-on-white prints for my lights. Here’s a light and dark block side by side:
My plan is to use a few additional red-on-white prints for the pinwheels in the center of each windmill block. After making the two complete blocks you see above, I decided to hold off on final selection of fabrics for the pinwheels until after all of the blocks were laid out on my design wall. I wanted to be sure the red fabrics, some of which are brighter than others, were balanced across the quilt with no like fabrics touching in rows or columns. A bit obsessive-compulsive, perhaps? Oh, maybe just a bit . . .
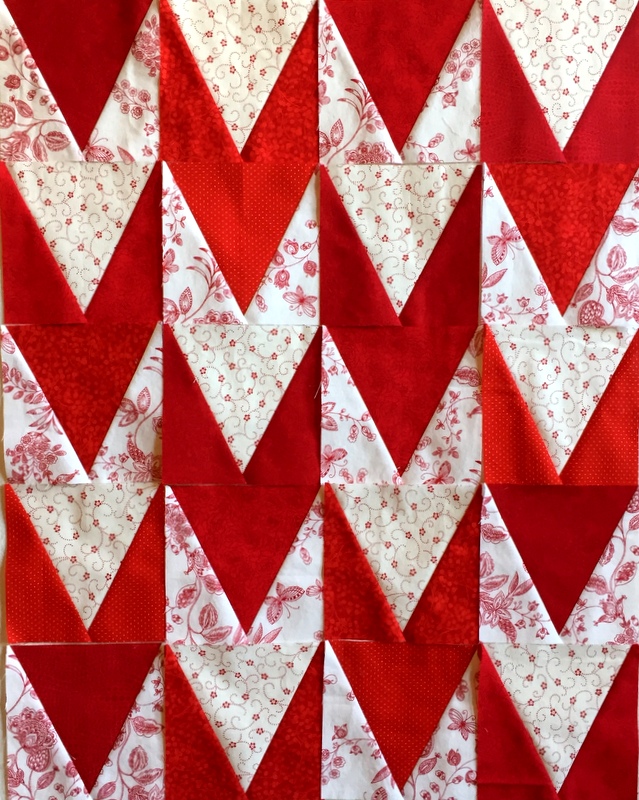
I decided on a 4 x 5 setting, requiring 20 blocks, and sewed the outer strips of each block, leaving the middle strip unsewn because of the missing pinwheel centers. I was having difficulty laying out the partial blocks on my design wall until I hit upon the idea of using just one V block from each windmill block.
This is what I wound up with:
It’s just coincidental that laying the blocks out this way created some elongated hearts. Sweet!
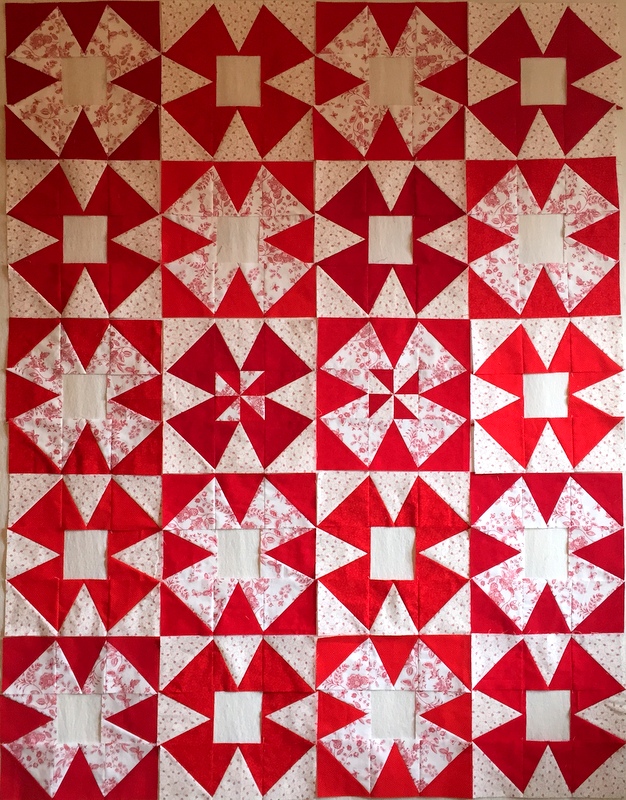
Satisfied with the placement above, I laid all of the blocks out:
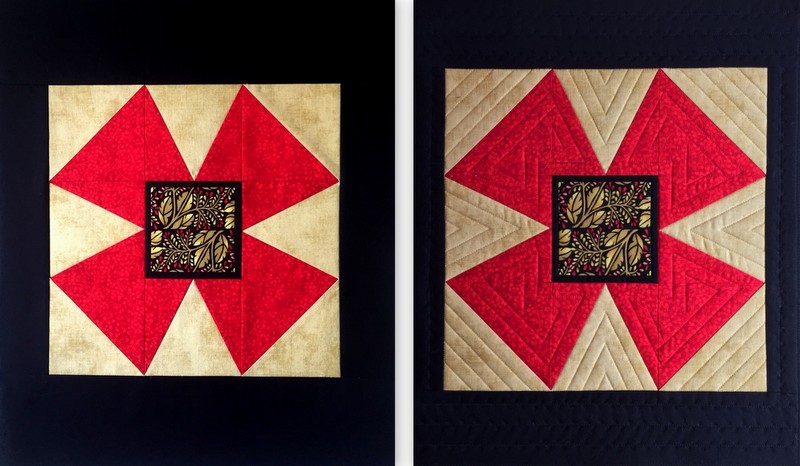
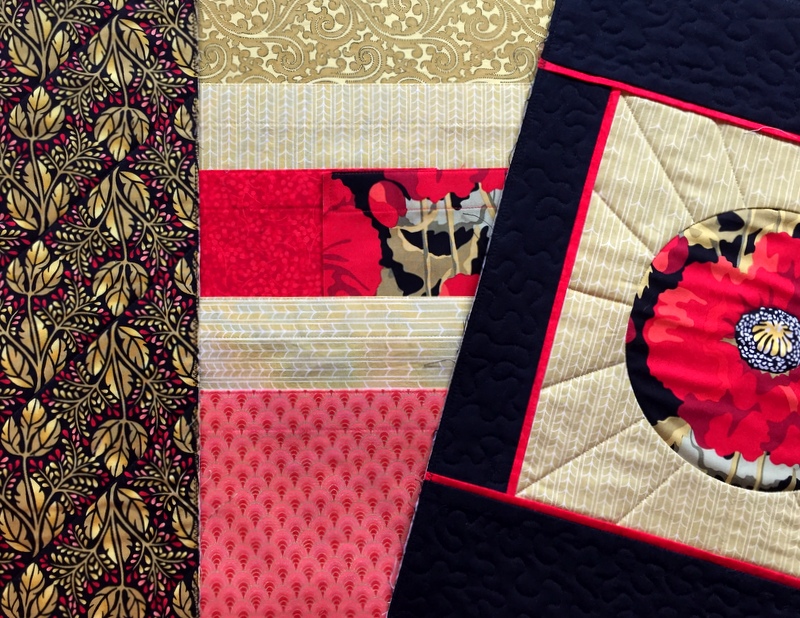
Oh, my — quilting sure makes a difference! Here’s a before and after shot of the windmill panel of the Junior Billie Bag I’m working on:
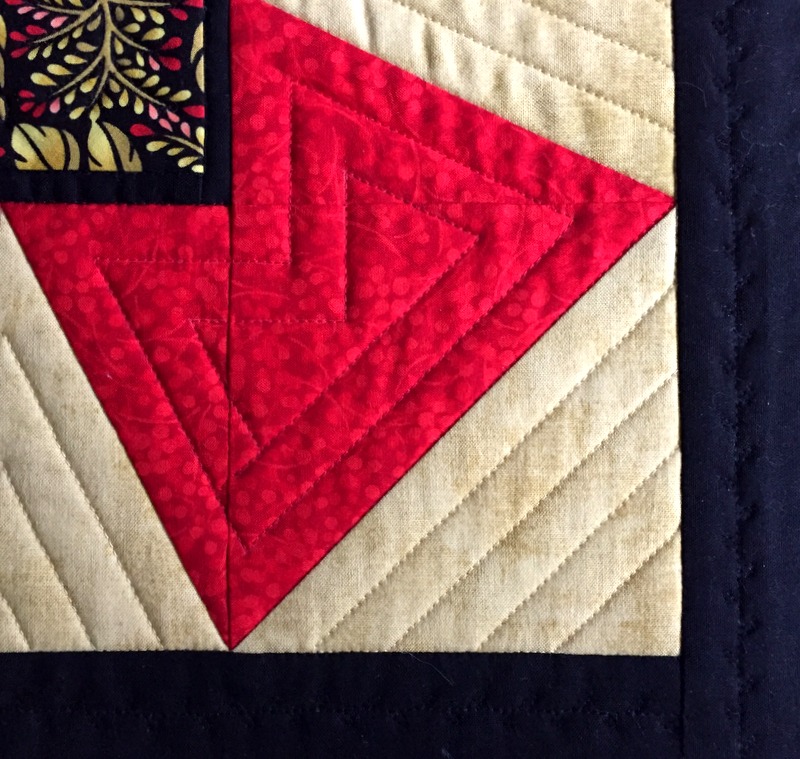
After stitching in the ditches, I quilted straight lines inside the red and gold shapes to emphasize the angles. In the black border strips I used a decorative stitch that mimics the little teardrop shapes in the fussy-cut center block:
That’s a very subtle touch (translation: you can hardly see it) but I like knowing it’s there. I also stitched around the veins of the leaves to hold the layers in the center together.
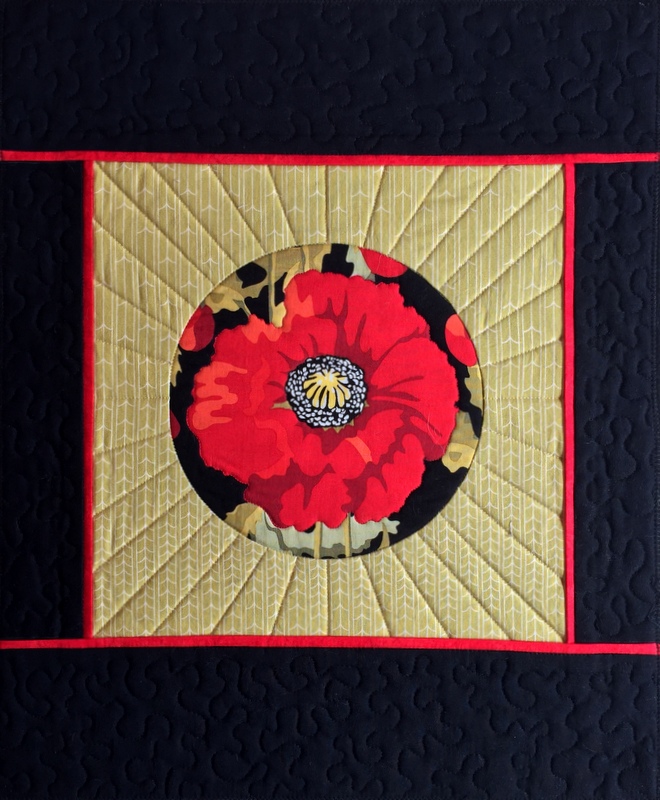
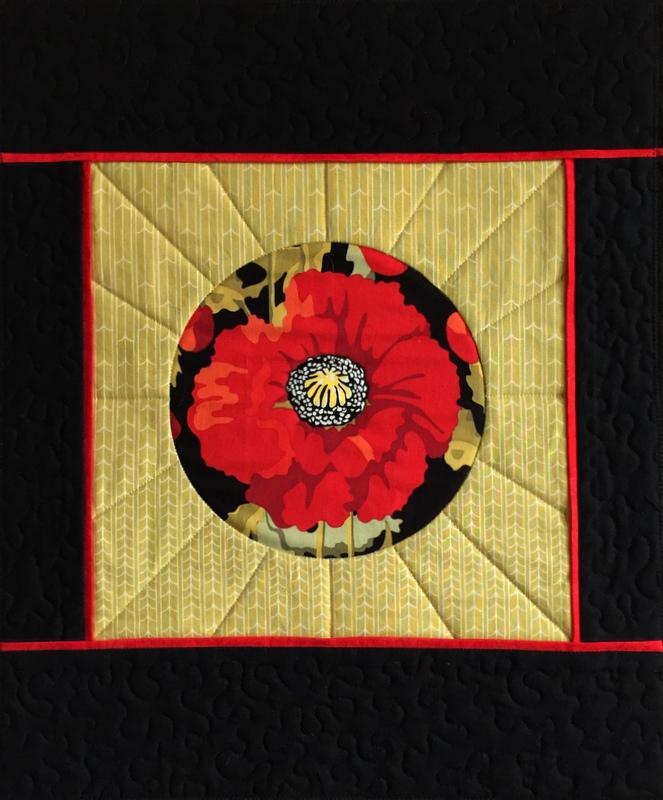
In the other panel (which I wrote about in an earlier post) I added some additional straight lines radiating from the center circle:
I also outline stitched around the red poppy and the center of the flower to hold those layers together.
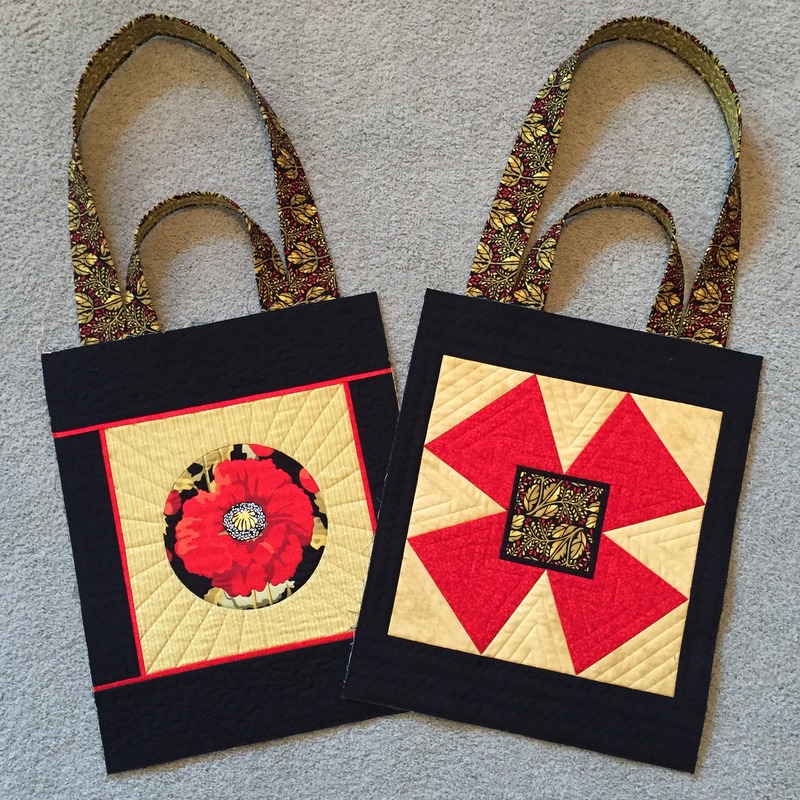
Here are the front and back panels with the two sets of handles attached:
Am I pleased with my quilted panels? I’m crazy about them! Next up: side panels with exterior and interior pockets.
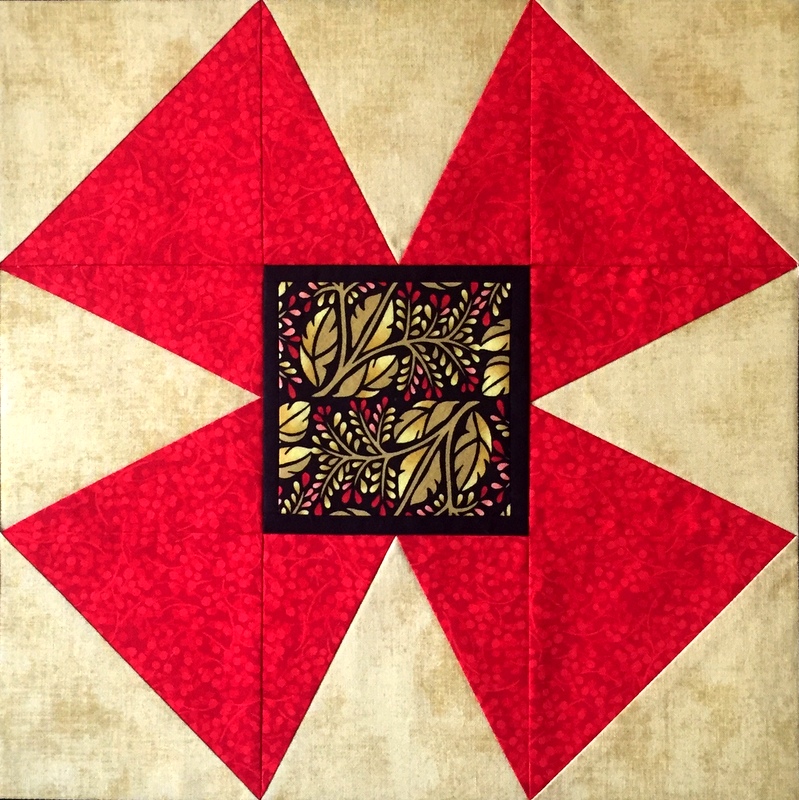
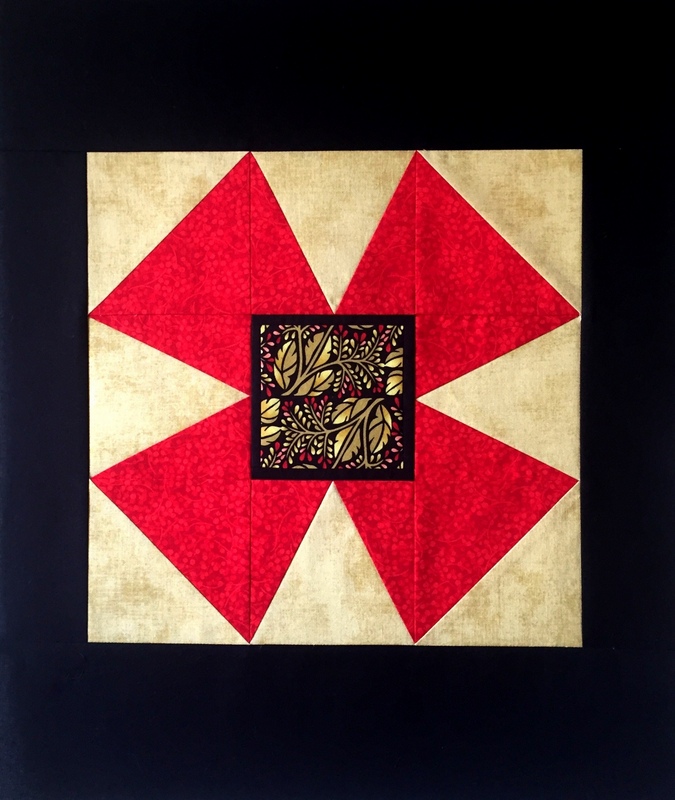
I didn’t have to look far to find a block design for the other main panel of my quilter’s tote known as the Junior Billie Bag:
It’s essentially the same block that’s in the red and white quilt I started a couple weeks ago. I swapped out the pinwheel center of that block with the fussy-cut square you see above, surrounding it with a narrow black accent strip.
I am loving the bold look of this block, which reminds me of a windmill. (My red and white blocks with the pinwheel centers look even more like windmills; there’s a quilt name in there somewhere.)
Here’s the latest windmill block with black border strips added to size it for my Billie Bag:
I’m mulling over the quilting possibilities. Maybe straight line quilting in the windmill block and free motion meandering in the black background strips?
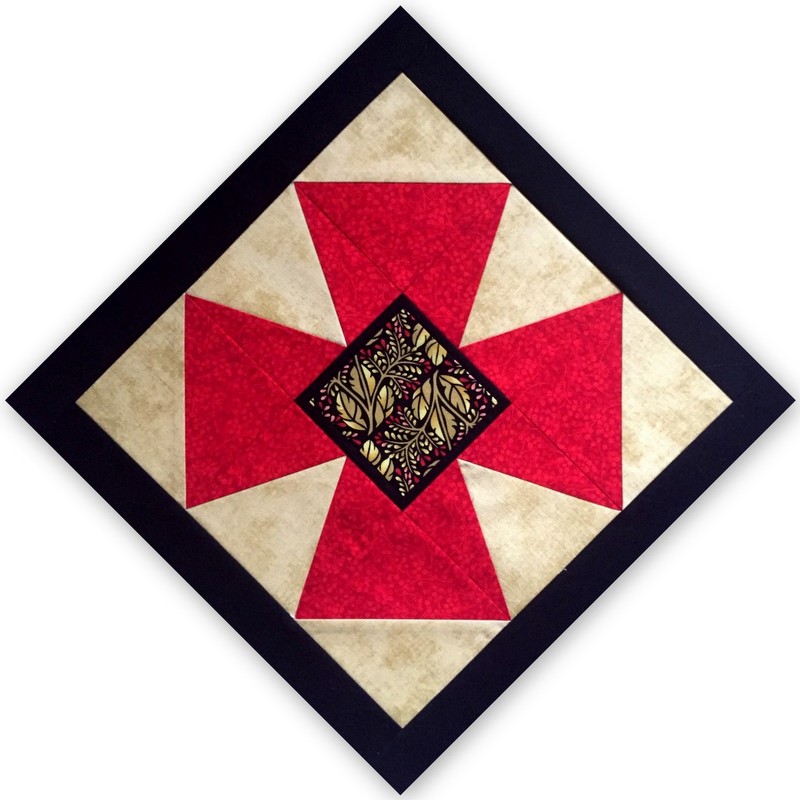
Just for fun I positioned the block on point on my design wall (and cropped it here so it would be framed in black):
Striking, yes? It reminds me a bit of a Maltese cross. Wouldn’t it make an interesting quilt? Oh for another lifetime to make all of the quilts that are in my head!
Last year I taught the Junior Billie Bag class three times and made three bags. (You can see them at this link.) Now I’m teaching the class again and — yep, working on another bag myself.
This is the first of two quilted panels for my current JBB:
As much as I enjoy making these bags, I really don’t want to make one every single time I teach a class. I like to begin each class with a “deconstructed Billie Bag” to show my students how each element goes together. Then as the class progresses I’m able to demonstrate construction techniques and share my tips. At the end of the class I have a finished bag along with my students.
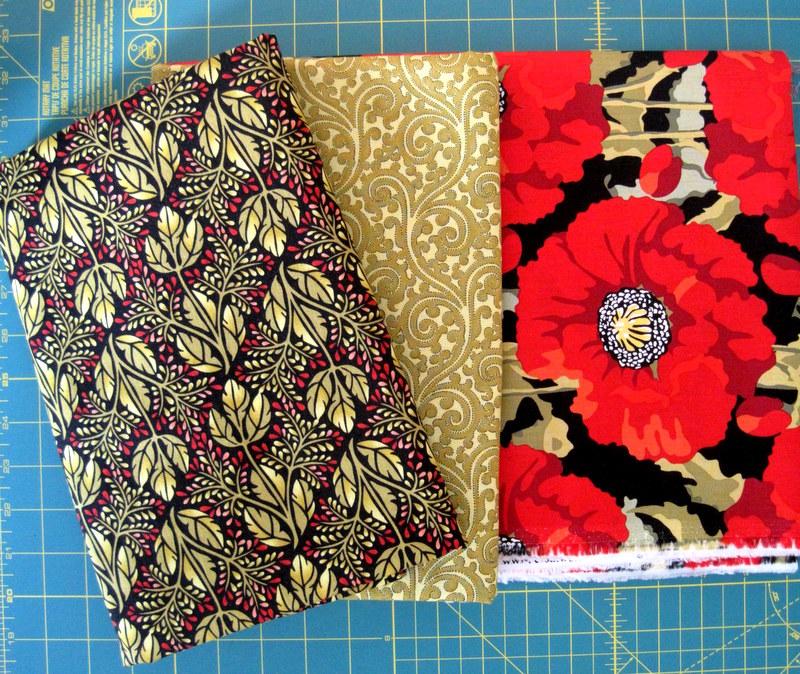
What might work instead is to have a partially constructed JBB on hand as a teaching tool. Then I wouldn’t have to reinvent the wheel every time. That said, I love these fabrics so much I can’t imagine not finishing this one. Look at these three fabrics from the Scarlet line designed by Pamela Mostek for Clothworks:
They’re not new — they’ve been in my stash since 2012. Every so often I would get them out and — I admit it — fondle them, thinking about how they might be used in a quilt. Inspiration on a quilt design is yet to come but in the meantime I’m using some of the yardage to make the wonderful quilter’s tote designed many years ago by Billie Mahorney.
The panel design is my own. I centered a poppy in an inset circle and sewed black strips all around to bring the panel to the proper size, adding red flanges for more drama. The directional gold print surrounding the center poppy is a Joel Dewberry design from another line. It looks like it was meant to go with the other fabrics.
I’ve pulled a few other fabrics from my stash for interior and exterior pockets:
Don’t you think the fabrics have an Arts and Crafts vibe? The Joel Dewberry print is directional and I’m having a bit of fun with that.
Now I have to decide what to put on the other panel. Oh, the possibilities!
I’ve been humming along on the blocks for my latest project, a variation of Winding Ways using red and white fabrics. As I showed you in my last post, I’m working from a stack of V blocks made up of four reds and a couple of light prints:
I figured that pairing all of the reds with both of the lights would give me a lot of variety when it came time to arrange the blocks on my design wall. But a funny thing happened when I started playing with the blocks. I had a stack that didn’t work at all! How did that happen?
Had I really thought about it before running off in high spirits to my sewing machine, I would have figured it out.
Look at a dark block. You see that the toile print is in the star points of the V blocks and the red fabric is on the outside:
Now look how a light block has the vine print in the V of the V blocks and all around the outside:
When you put the blocks together in their proper order, with the light and dark blocks alternating, the vine and toile fabrics should alternate, too, like this:
In other words, the V in the light blocks should always be the vine print, never the toile. And the star points in the dark blocks should always be the toile print, never the vine. I made several blocks that were the exact opposite.
(Just to be on the safe side, I’m going to make the center pinwheel blocks last. They’re going to be a bit scrappy and I sure don’t want to wind up with identical pinwheels in adjacent blocks.)
You know that carpenter’s saying “measure twice, cut once”? My dear friend Colleen, also a quiltmaker, modified that saying to “think twice, measure twice, cut once.” I should have followed Colleen’s advice. Instead I have a set of blocks I can’t use in this quilt.
Although I will never get back the time spent cutting, sewing, and trimming those extra blocks, there is a bit of a silver lining: they can always be used in another quilt or perhaps a table runner. Or on the back of this quilt. One thing I can assure you: they will never wind up as orphan blocks. I’ve invested entirely too much time in them.
Local pundits are calling it “Snowpocalypse” — the epic snowfall on Wednesday that pretty much shut Portland down. We can go years in Portland without snow in winter but this season it has already snowed four times. The temperatures aren’t rising enough to melt the snow so we are stuck with it for a while.
What a great excuse to hunker down and get some sewing done! This is what I’ve been working on:
Aren’t those pretty blocks? They remind me of windmills. The pattern is A Mid-Winter’s Night by Deb Eggers of the Cottage Rose Quilt Shop:
The pattern is a reworking of the classic Winding Ways block with a pinwheel in the center. If you look carefully at the quilt pictured on the pattern cover you can see overlapping light and dark circles. The circles are illusions, as all of the cutting and stitching lines are straight. I believe the Winding Ways block is traditionally made with curves resulting in a four-patch block. The method I’m using here results in a nine-patch block.
Working strictly from my stash — I couldn’t have driven to a fabric store in this weather even if I’d wanted to! — I pulled out some red tone-on-tone prints that read as solid and a couple of white-on-red prints.
Now I’m making my way through my little piles of V blocks:
The pattern calls for the Tri-Recs rulers, which I own, but I am getting great results from the V Block Trim Down Ruler by Deb Tucker. I resized the block from 9″ to 12″ so the units you see above measure 4½” square. With the V Block Ruler you can trim down blocks for 11 different sizes ranging from 1½” to 6½”.
I may add another red for more variety in my darks. With the exception of a few small pieces in my scrap bin, I’m limited to the vine and toile prints for the lights. I’ll save the smallest pieces for the center pinwheels.
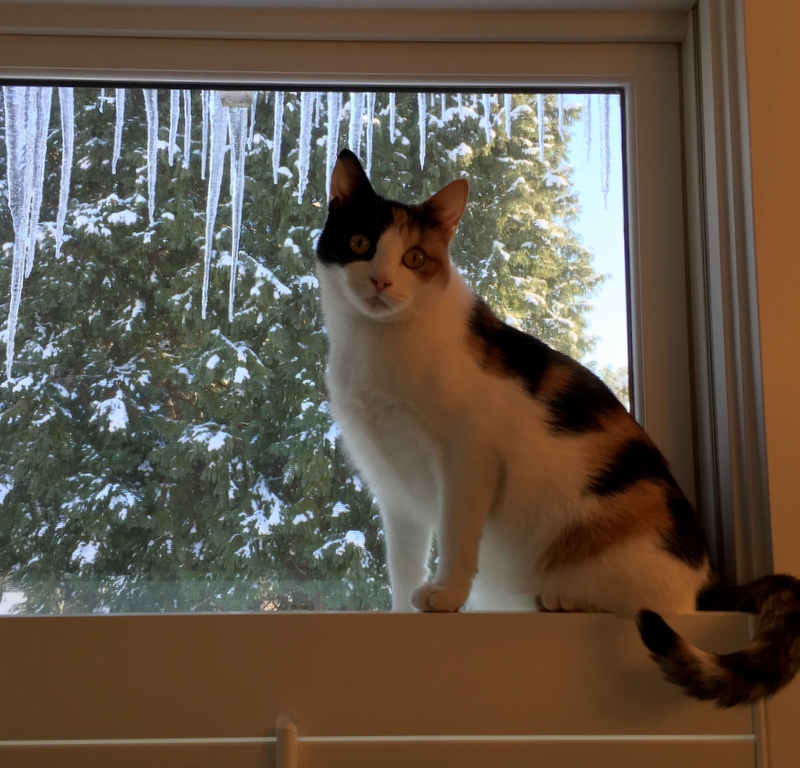
While I am happily ensconced in my sewing room, Coco is keeping tabs on the weather from her perch above the plantation shutters in the master bath:
The icicles start to melt in the morning sun but refreeze when the sun moves out of sight.
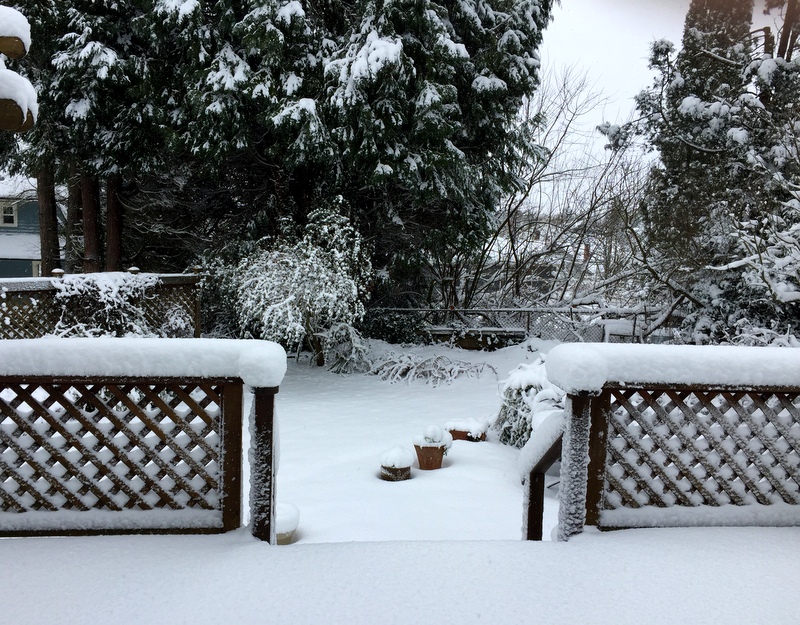
This is our back yard as seen from the kitchen door:
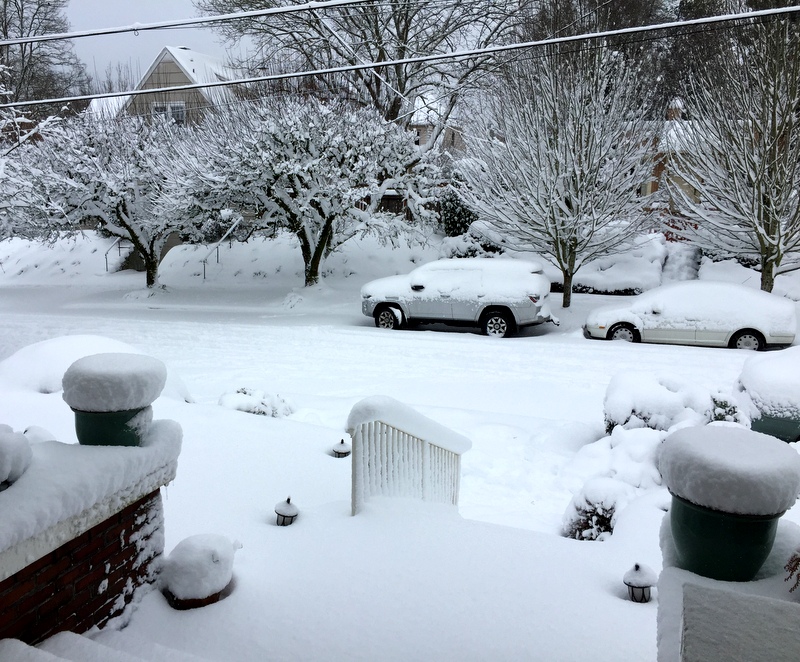
This is the view from the front porch:
You can see why I have no desire to drive anywhere. And freezing temperatures are expected for the next four days!
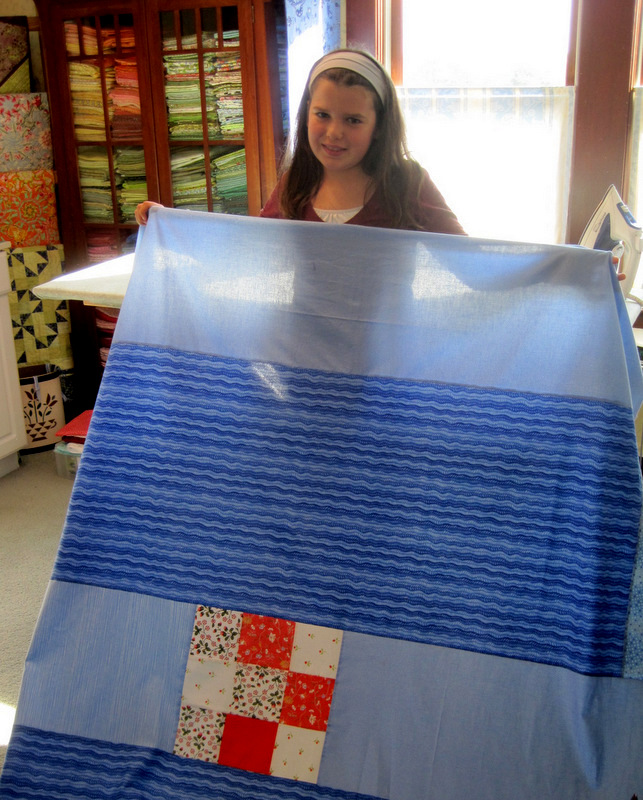
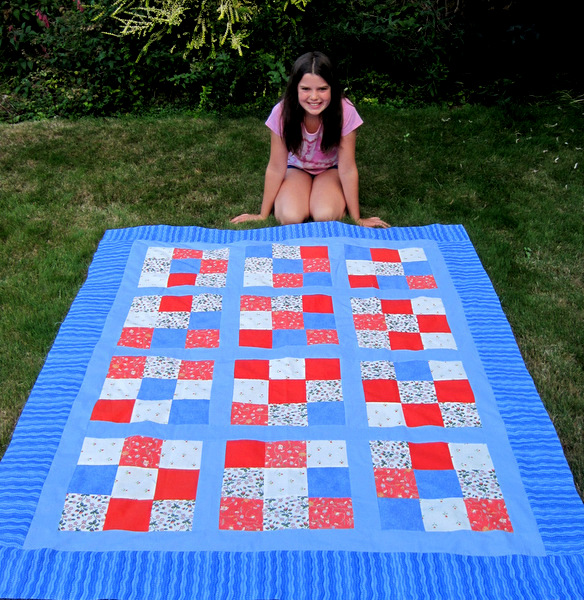
When last we encountered My Little Neighbor on the pages of this blog, she had finished piecing the back of her scrappy 9-patch quilt:
That photo was taken in October 2013. A few weeks before she had completed piecing the top:
The 9-patch blocks were sewn by hand in the summer of 2012 when MLN was 10 years old. She was recovering from a broken foot and needed something to work on while keeping her foot (which was in a cast) elevated. Click here to read the very first post about her project.
The sashing strips and borders were sewn by machine after My Little Neighbor was mobile again. The plan was for her to quilt and bind the top herself. To that end I asked Nancy Stovall of Just Quilting to baste the layers together on her longarm machine using water-soluble thread. I knew it would be easier for MLN to guide the quilt under the machine if she didn’t have to stop to remove safety pins; the basting thread would vanish the first time the quilt was washed.
The basted quilt sandwich came back from Nancy but MLN was busy by then with school and other activities. A year passed. Then another. Then one more.
I waited patiently, knowing that at some point My Little Neighbor would come back to her quilt. Sure enough, there was a knock at my door a few weeks ago. By this time I had discovered the joys of having someone else quilt my quilts so I suggested to MLN that we send hers off to be quilted.
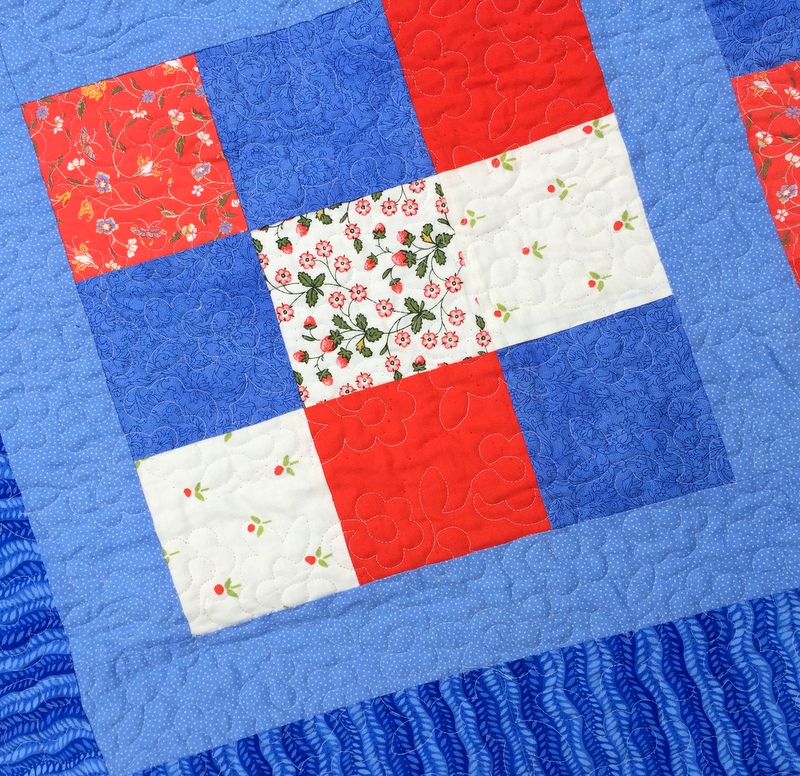
My friend Sherry Wadley, a professional longarmer, loaded the quilt onto her machine (even though the layers had already been basted) and quilted a charming floral motif that echoes the flowers in the quilt. I took out the basting in this one block to give you an idea of what the overall design looks like:
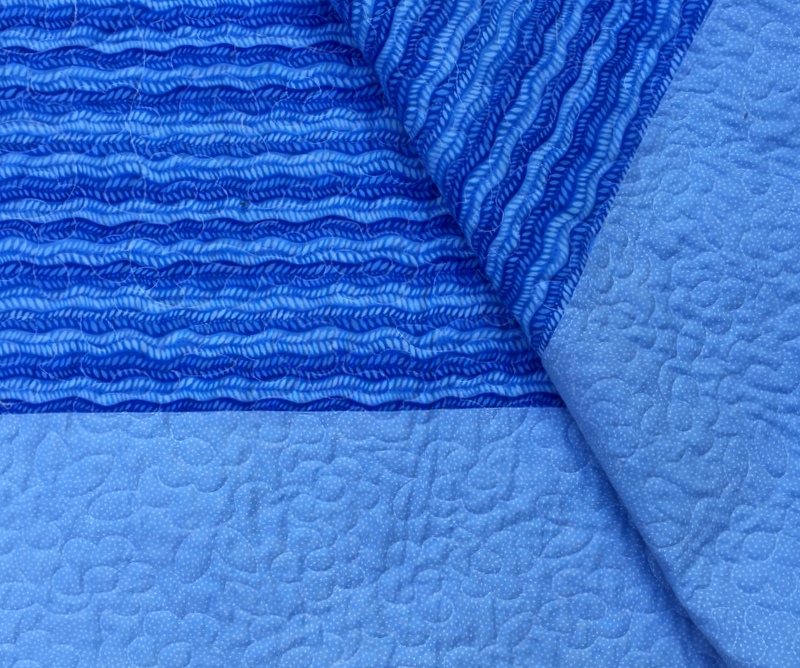
Here’s a glimpse of the back:
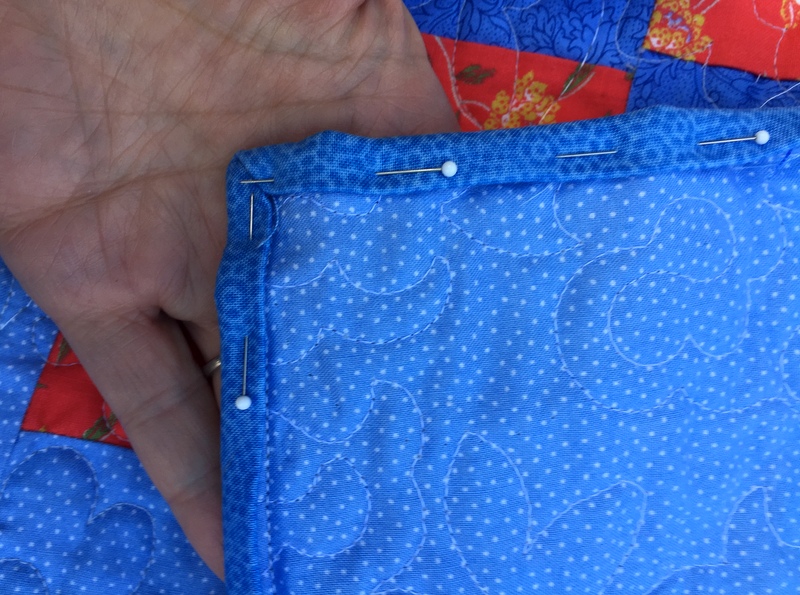
I sewed the binding on the quilt so all that’s left for MLN is to hand-sew the folded edge of the binding to the back and add a label. She came over a few days ago for a lesson. I showed her how to pin the binding to the back to cover the line of stitching and how to navigate the corners:
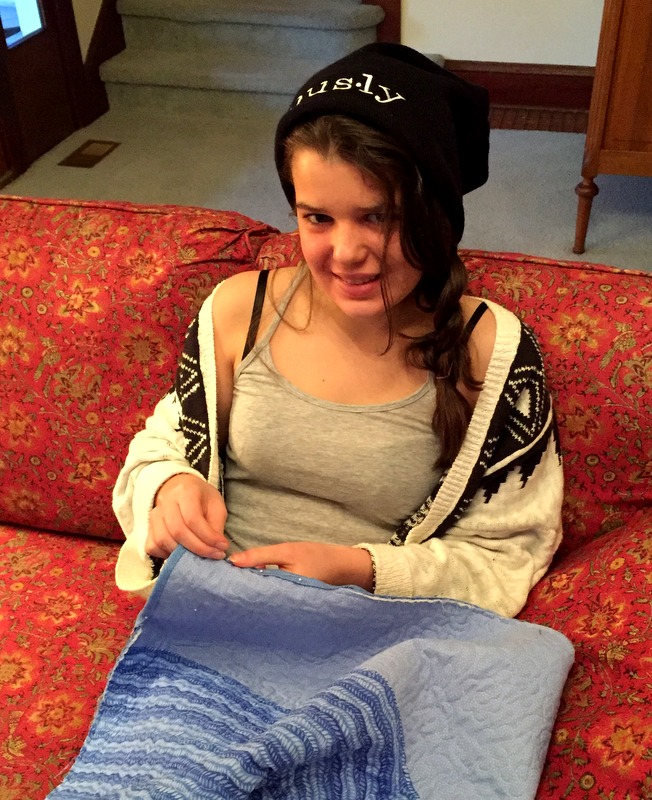
She got the hang of it right away:
My Little Neighbor is now 14 and in high school. She’s also 5’6″ tall. I think My Young Neighbor is a much more accurate descriptor, don’t you?
My favorite quilt teacher Billie Mahorney always encouraged her students to make the backs of their quilts interesting, incorporating leftover blocks or fabrics from the front. I took Billie’s lesson to heart.
This is the back of Baby Selene’s quilt:
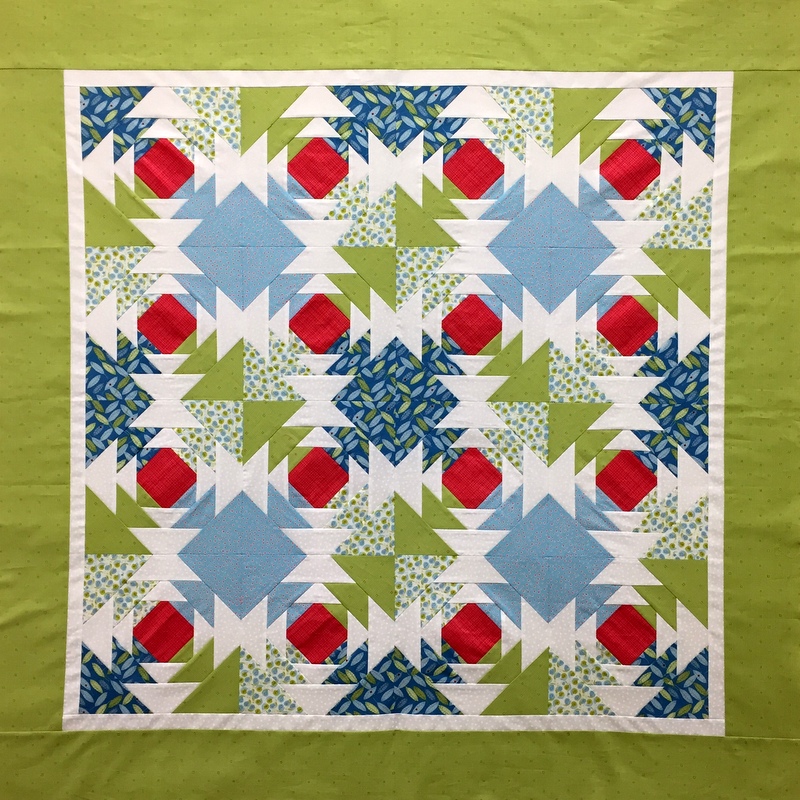
In case you missed my earlier post, this is what the front looks like:
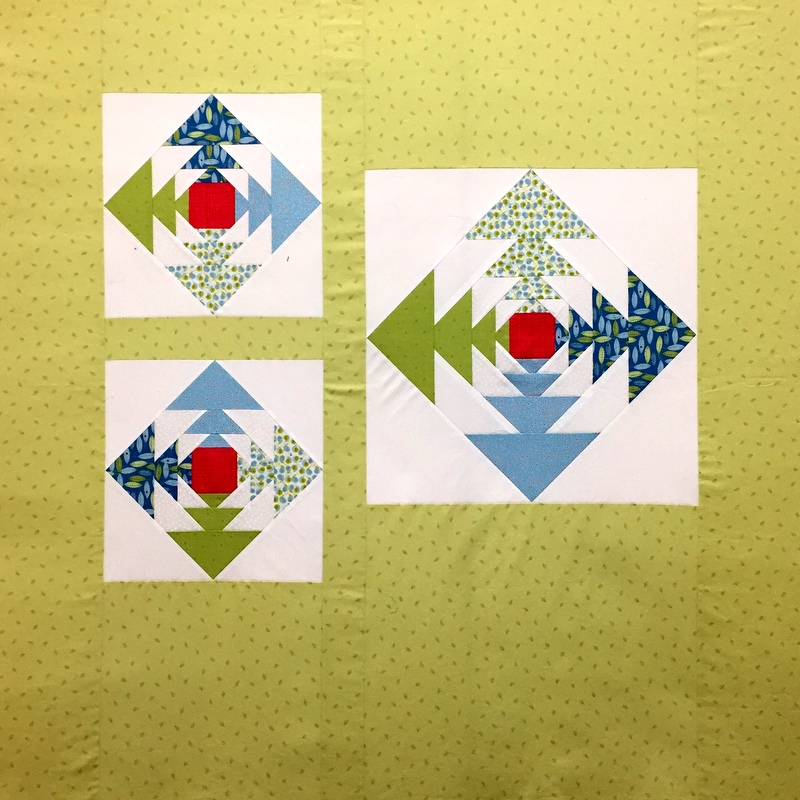
I had four blocks left over that couldn’t be used because the prints were in different positions. Apparently they were destined for the back. I supersized one of the leftover blocks by adding two more rounds, then set that block and two more on point. I floated the three blocks on a soft green background printed with drifting leaves.
The result looks rather modern, doesn’t it? It would look even more so with different fabrics. I may have to test that theory by making another quilt incorporating a plus-sized pineapple block or two.
After this one is quilted, I’ll add a label in the lower right-hand corner that echoes the larger blocks. It may be as simple as a square in a square or I might add another round or two to make a mini-pineapple block. I think Billie would approve.
Here’s to 2017! Specifically, here’s to lots of sewing and quilting in 2017. I’m already looking forward to several projects — and not just new ones. There’s a stack of UFOs beckoning that I am actually enthusiastic about tackling. But not today.
On this fresh new day of the year, I’m looking back on what I created in 2016. Rather than going in chronological order, I’m grouping my finishes by categories.
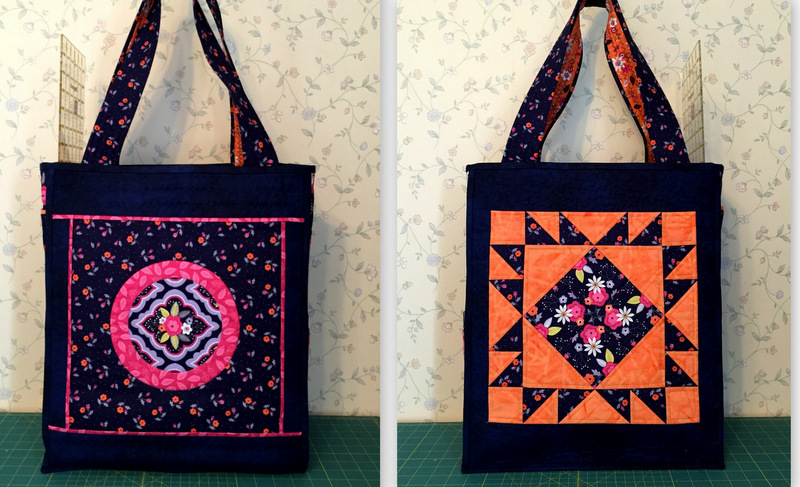
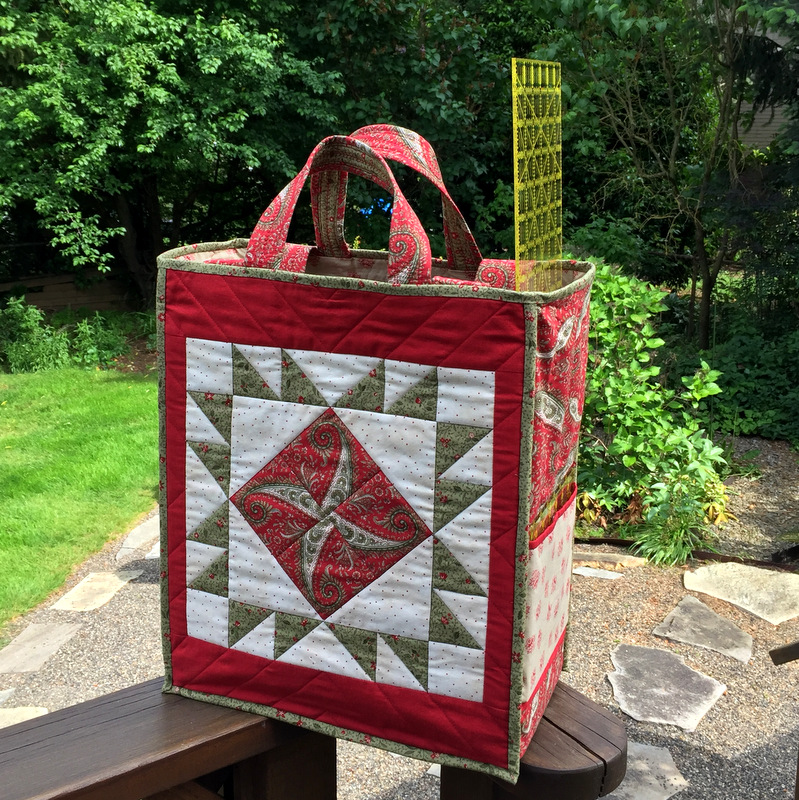
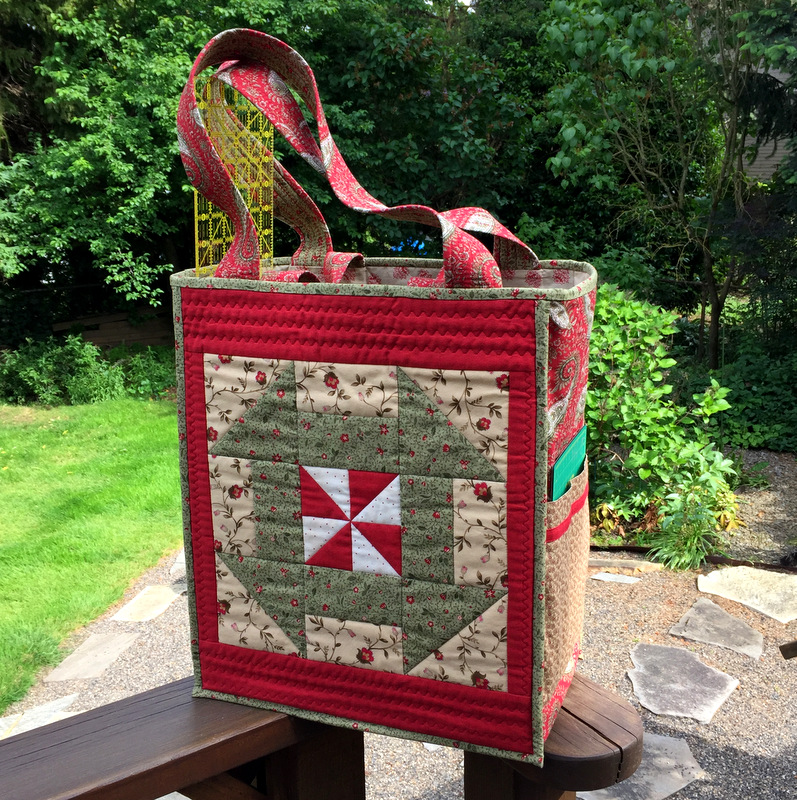
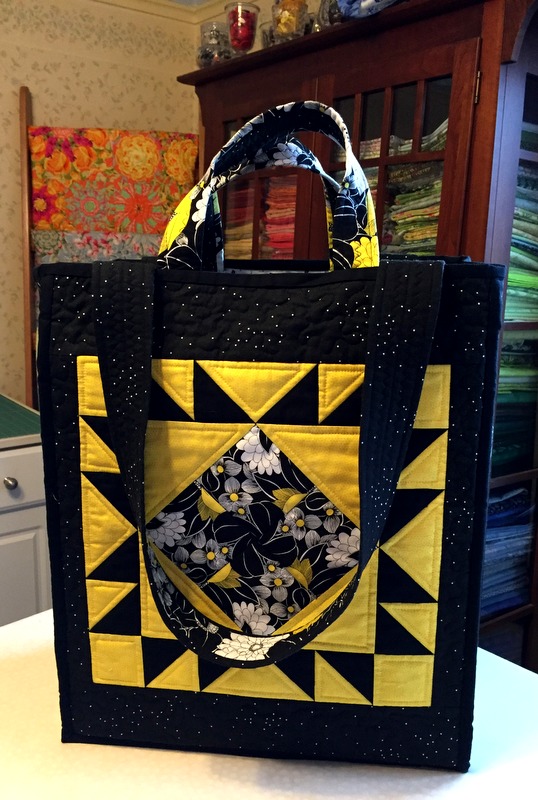
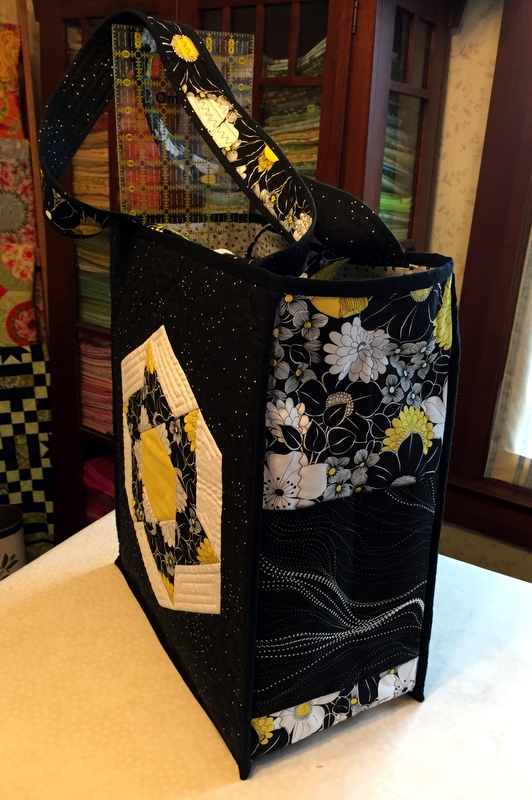
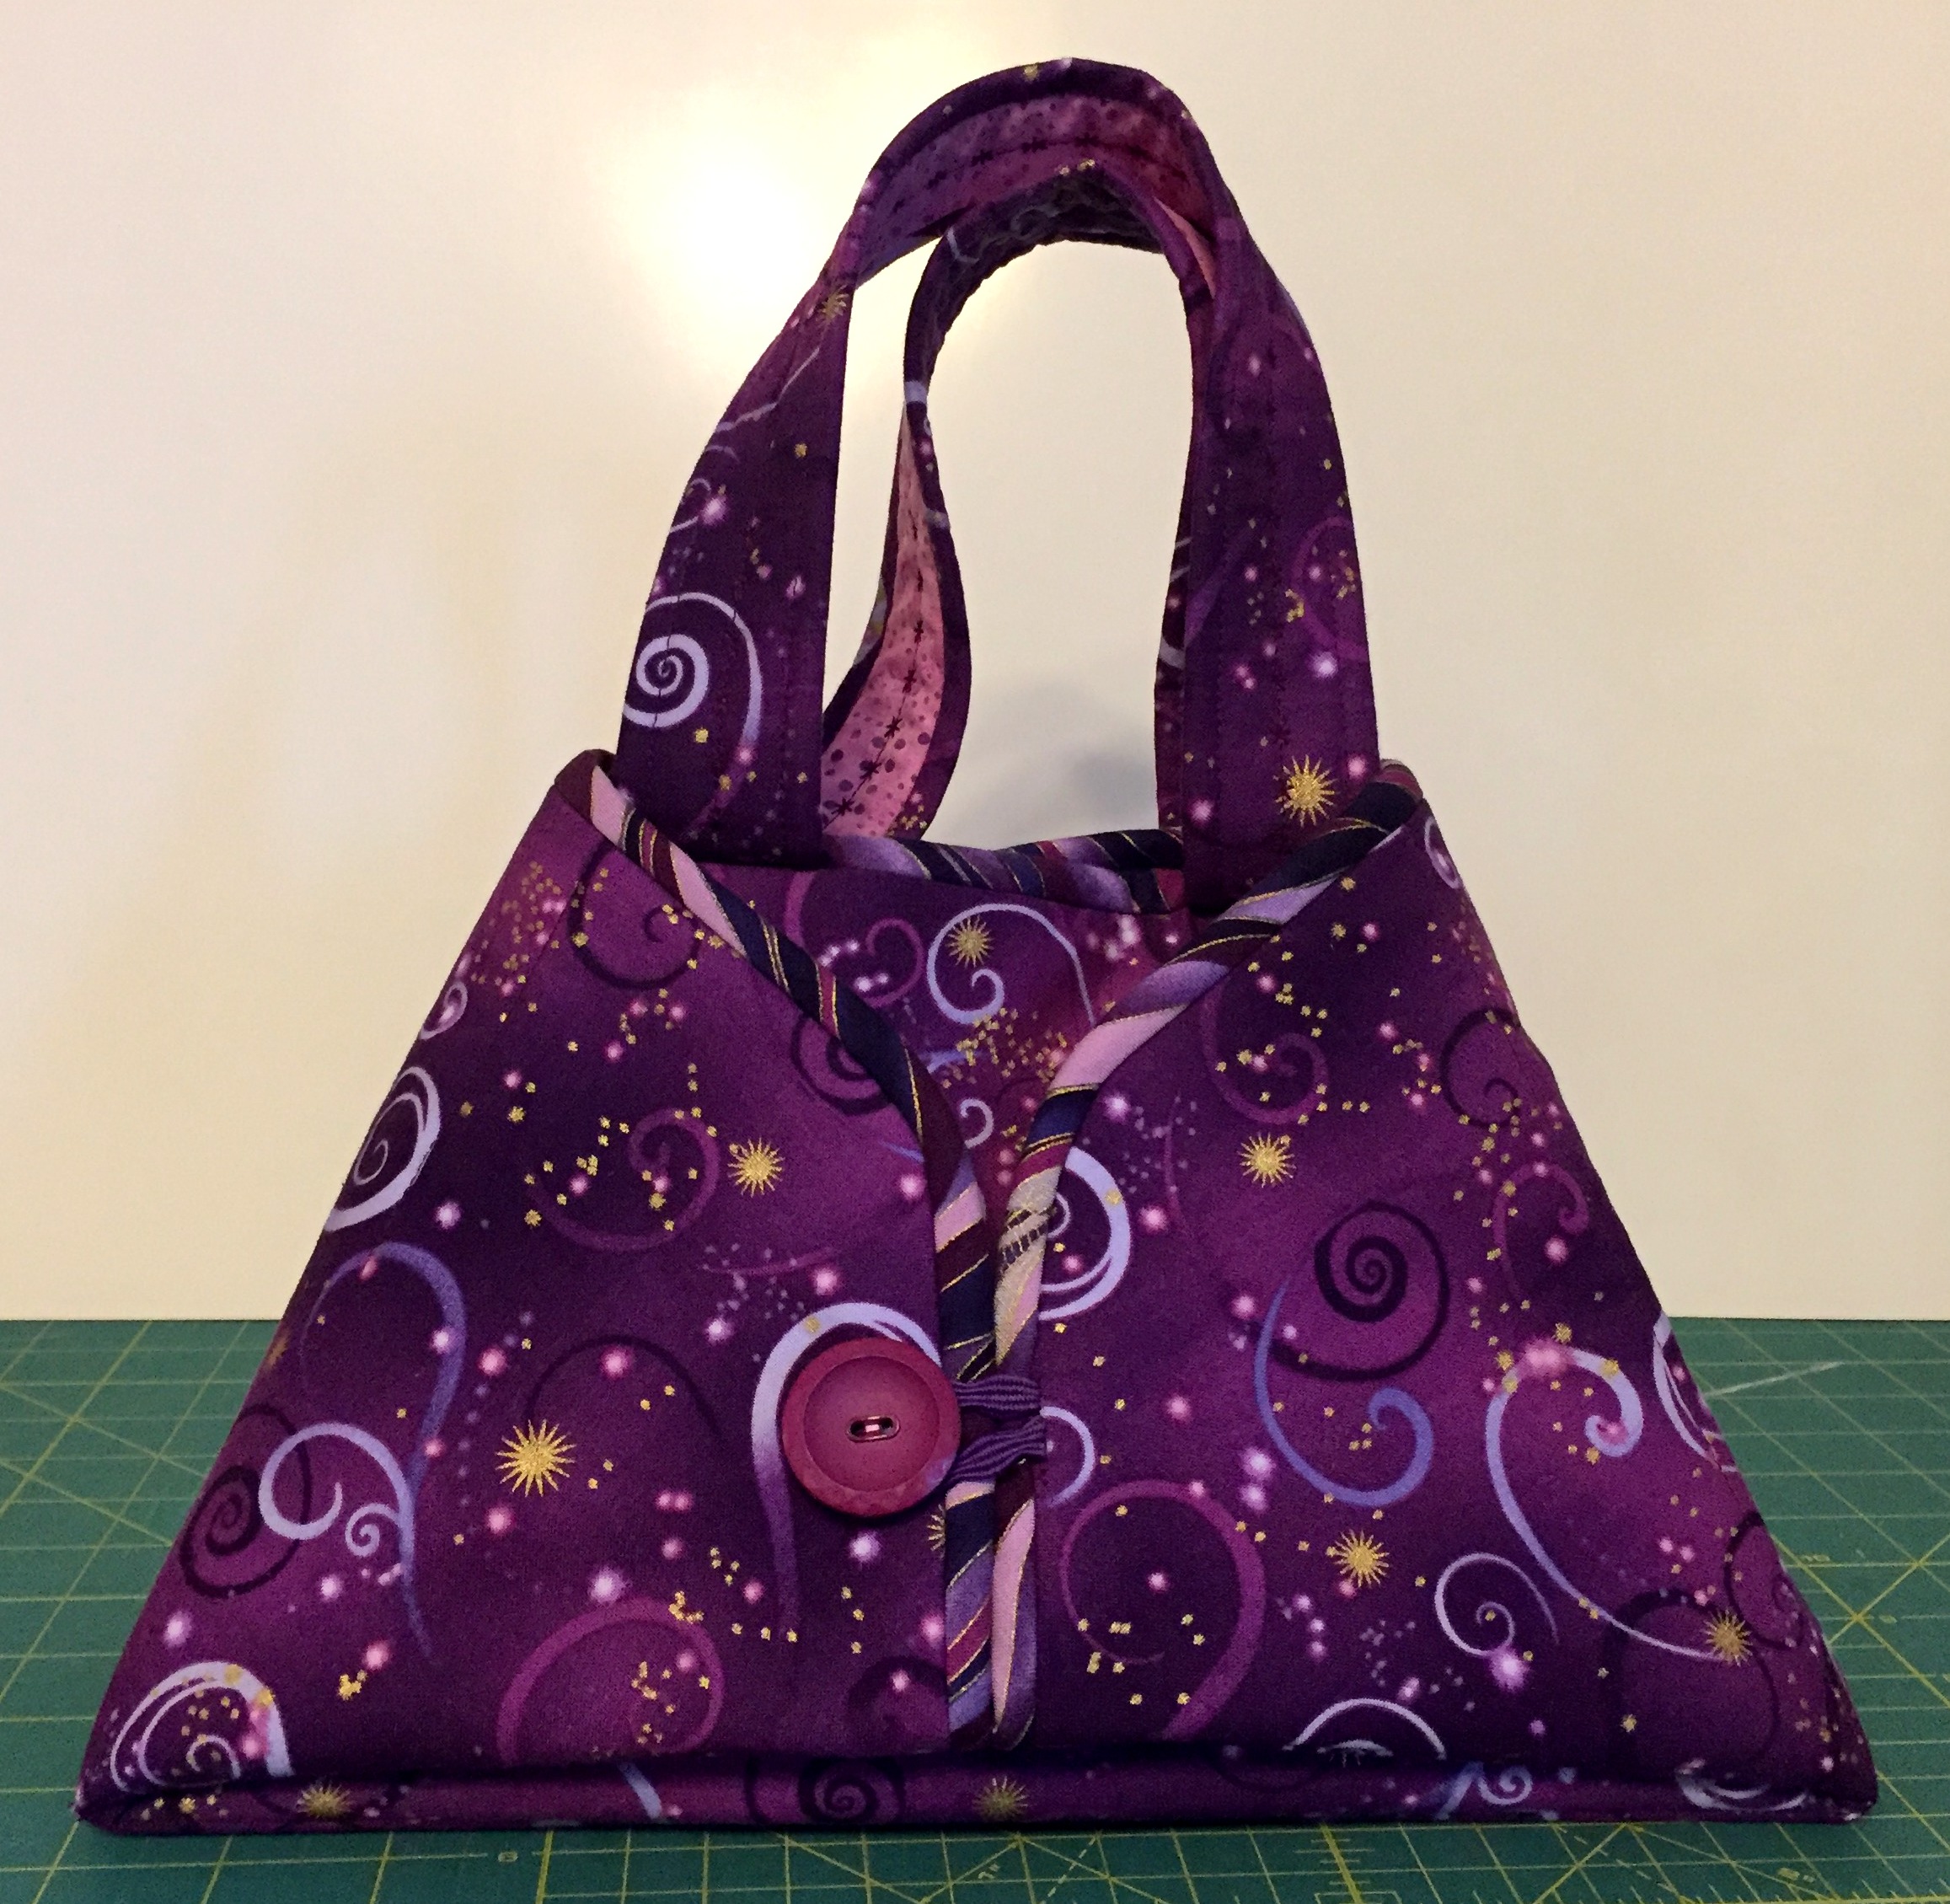
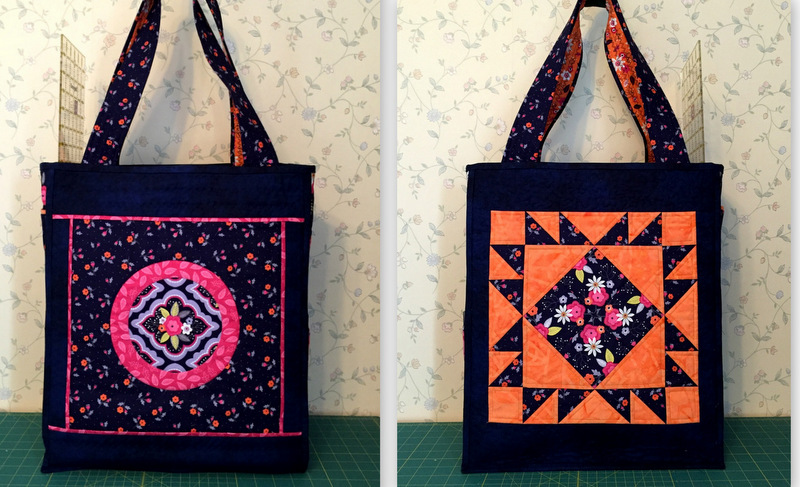
This was the year of the Junior Billie Bag, the quintessential quilter’s tote designed by Billie Mahorney. I made a bag for myself . . .
. . . and one for my friend Deborah . . .
. . . and one for my friend Miriam:
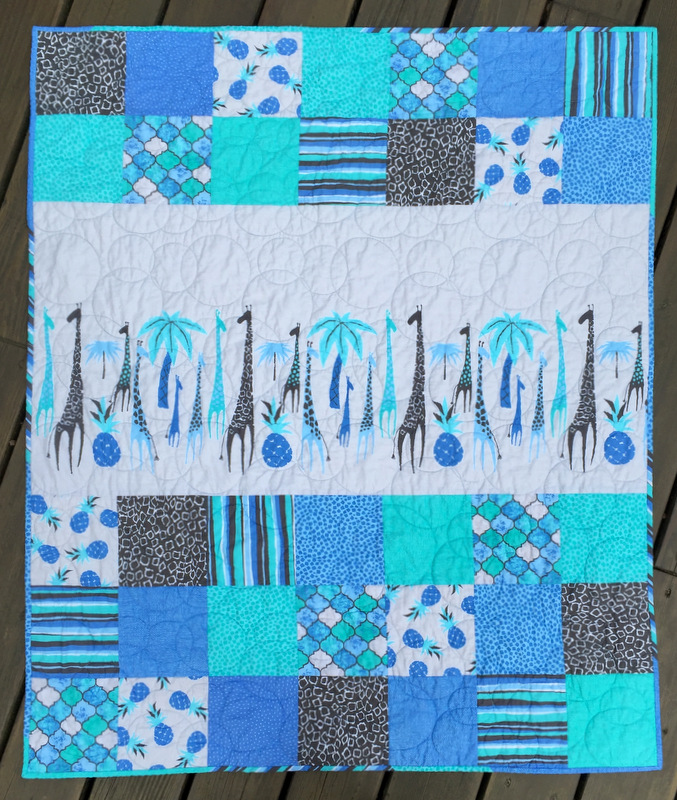
Next category: baby quilts. This is the first of two incorporating a charming giraffe-themed fabric panel:
Abraham’s Quilt, 40″ x 49″ (2016)
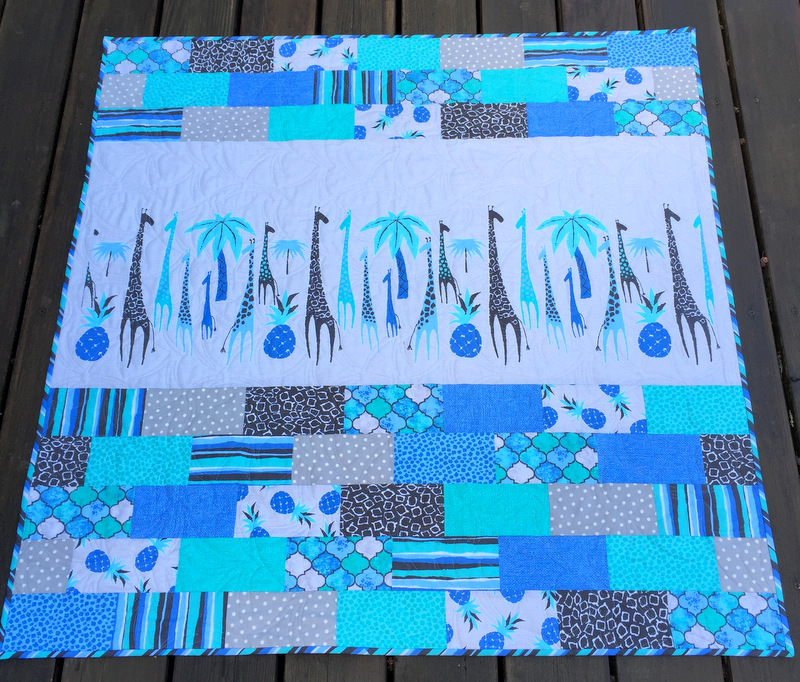
Here’s the second one, using the same fabrics in a slightly different setting:
Malachi’s Quilt, 41″ Square (2016)
I didn’t use a pattern for these quilts, preferring to play with simple shapes (squares and rectangles) so that the giraffes on the fabric panels would be the focal point.
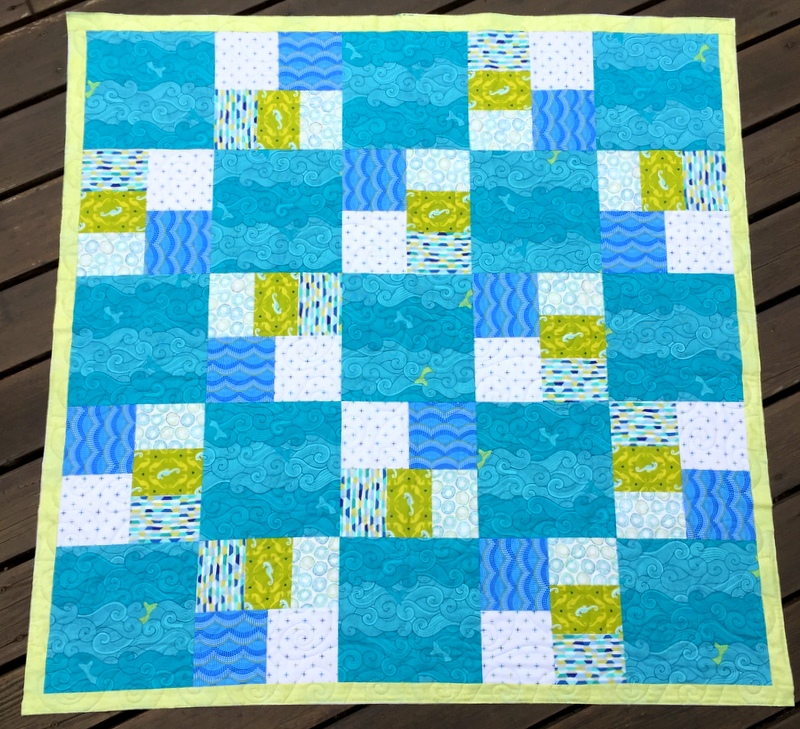
My third baby quilt of the year was this one using the pattern Just Can’t Cut It from All Washed Up Quilts:
Stefan’s Quilt, 46″ Square (2016)
All three were quilted by longarmer Sherry Wadley.
All by itself in the mini quilt category is Ring Toss, based on the pattern Mini Rings by Sew Kind of Wonderful:
Ring Toss, 32″ Square (2016)
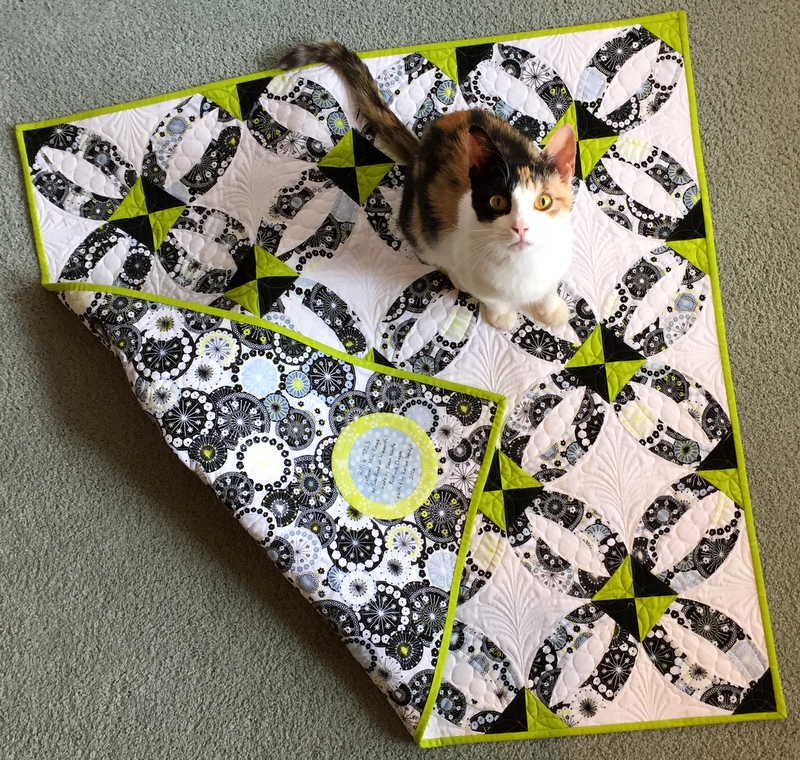
Mini Rings was quilted by Karlee Sandell of SewInspired2Day. Oh, and that’s our new rescue kitty Princess Cordelia (Coco for short).
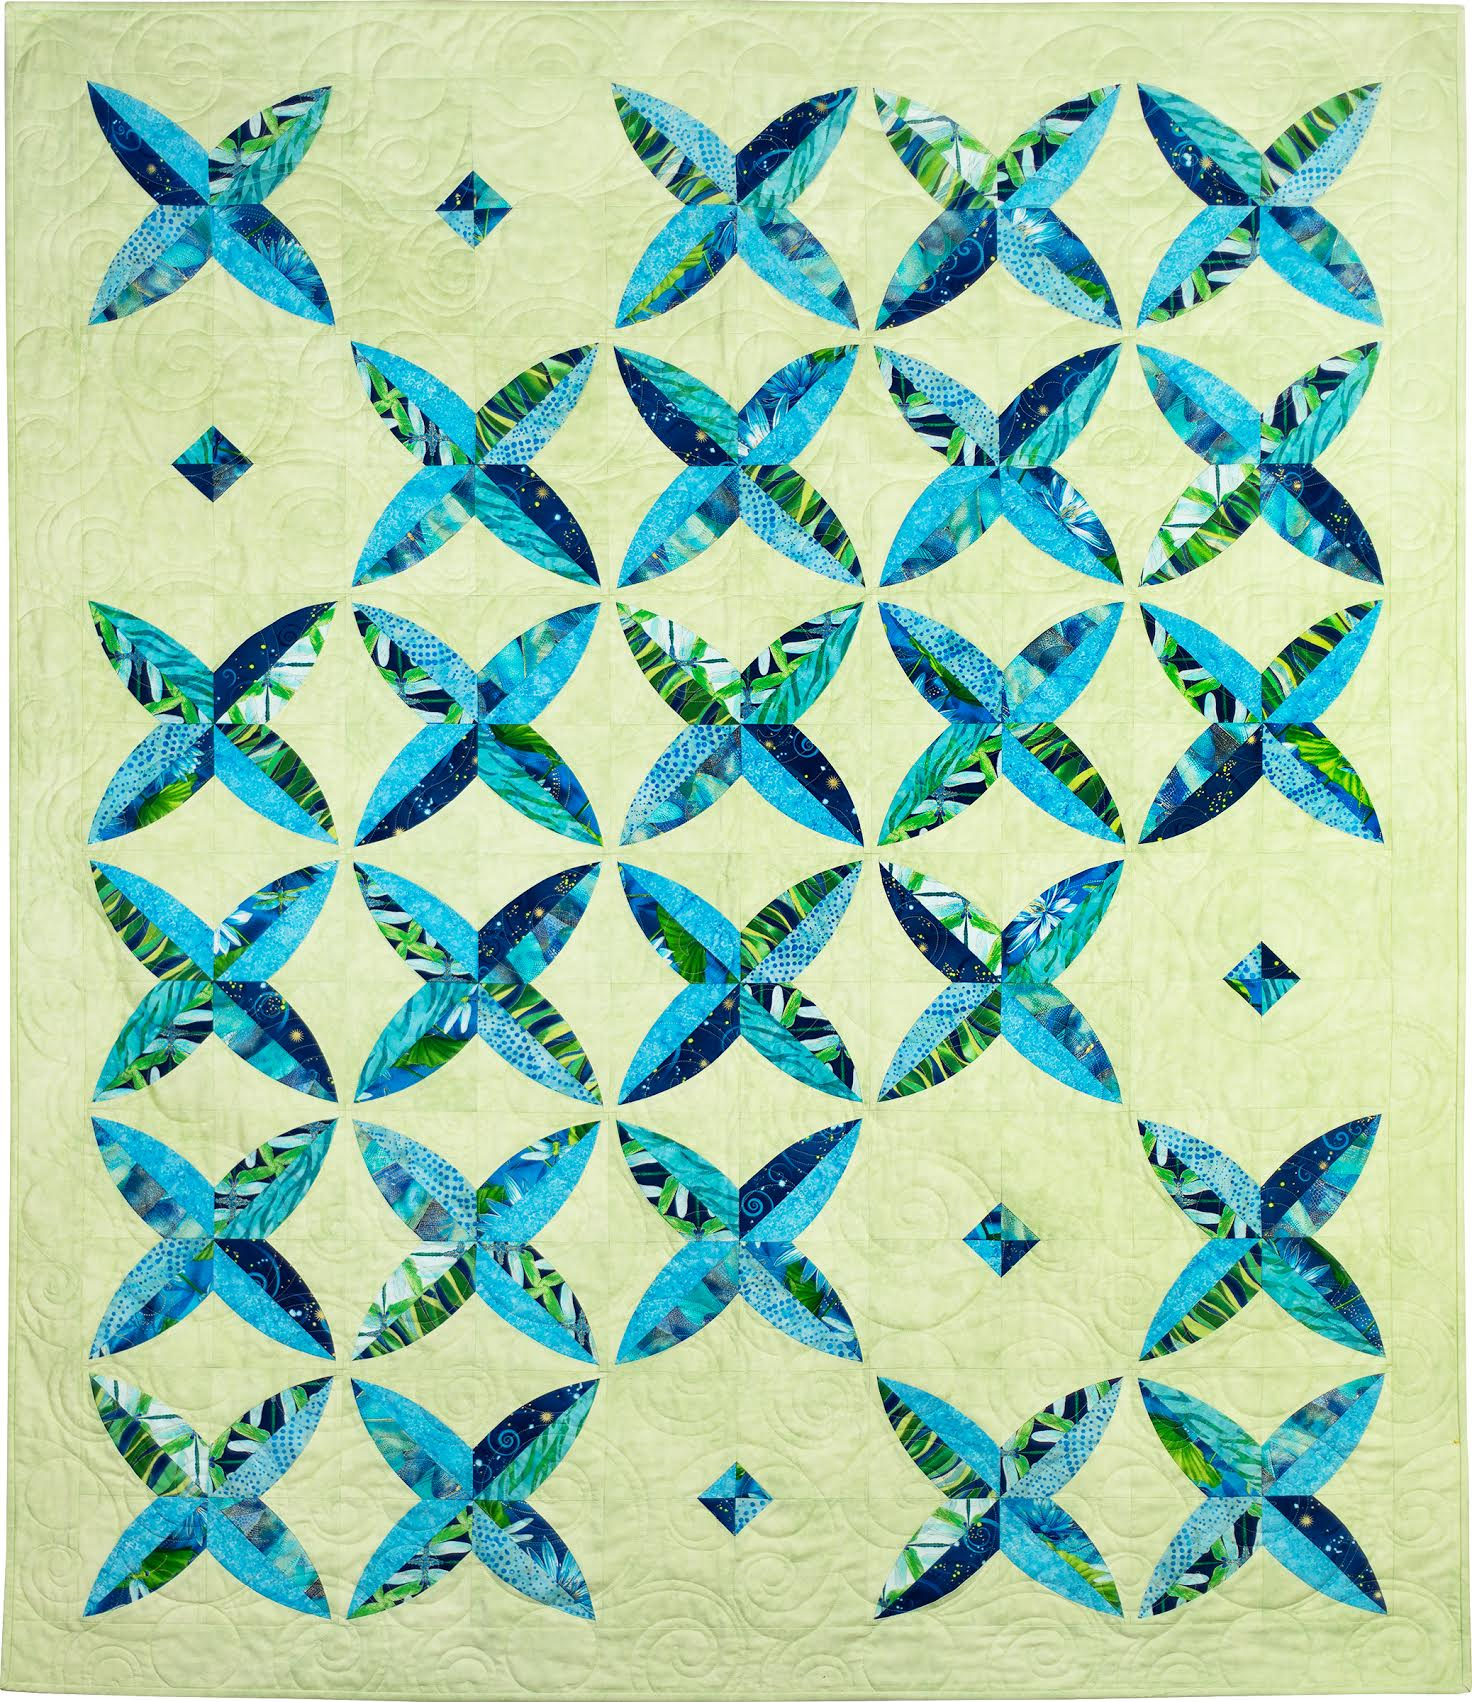
Lap quilts is the next category. Once again I used a Sew Kind of Wonderful design, adapting the pattern Chic Diamonds into this quilt I named Dragonfly Kisses:
It was quilted by Sherry Wadley.
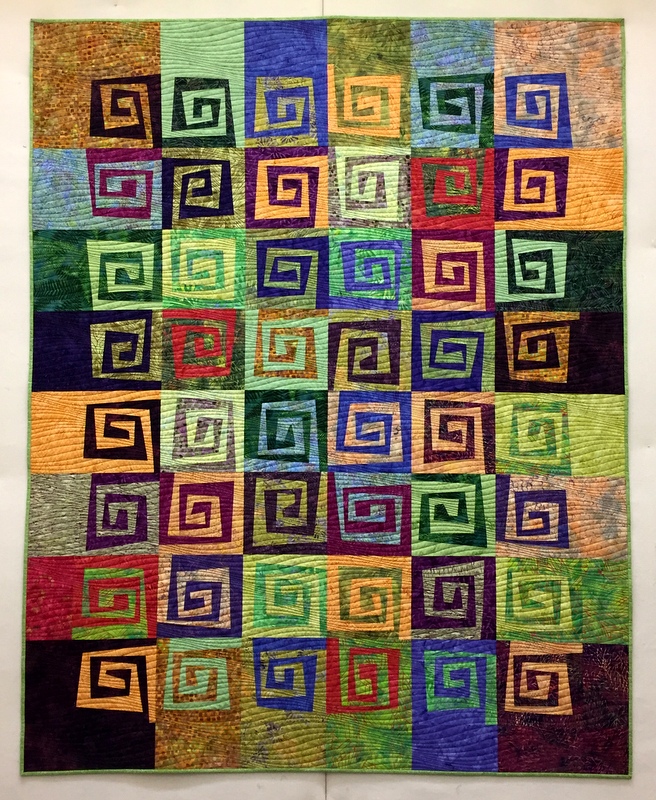
The next quilt, Where It’s @, was started in July in a class with Karla Alexander of Saginaw Street Quilts. It’s based on her pattern Rewind. I really stepped outside my comfort zone with this quilt, and I absolutely love the result:
Where It’s @, 57″ x 72″ (2016)
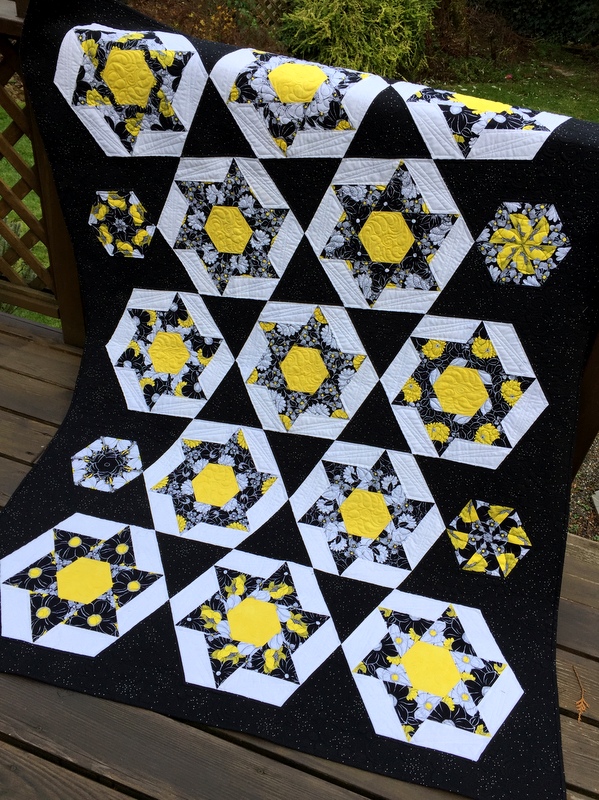
The last quilt in this category is Stella by Starlight, a “kaleido-spinner” using the Spinners block by Heather Peterson of Anka’s Treasures:
Stella by Starlight, 51½” x 71″ (2016)
I call it a “kaleido-spinner” because the six equilateral triangles in each block were cut from identical repeats of the focus fabric, creating a kaleidoscope effect of sorts. The four small hexagon blocks are true kaleidoscope blocks.
Both Where It’s @ and Stella by Starlight were quilted by Karlee Sandell.
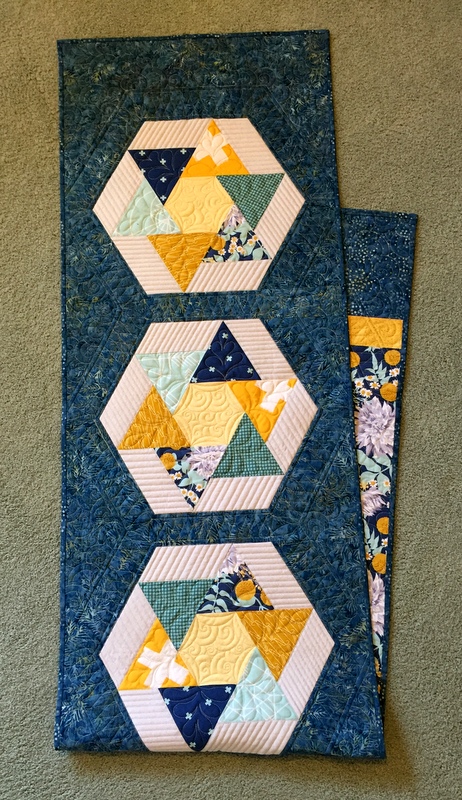
The next category is runners, both bed and table. I made one of each, using the same focus fabric in each (Wander by Joel Dewberry) and the same block design (Spinners by Anka’s Treasures) with completely different outcomes. Here is WanderLust I, the king size bed runner made with five blocks:
WanderLust I, 20″ x 88″ (2016)
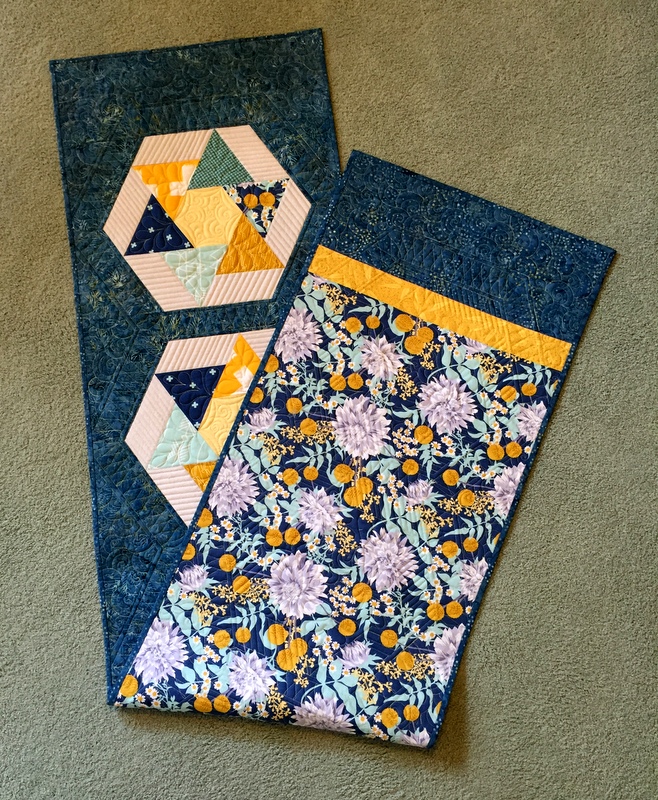
I liked the focus fabric so much I made the bed runner reversible:
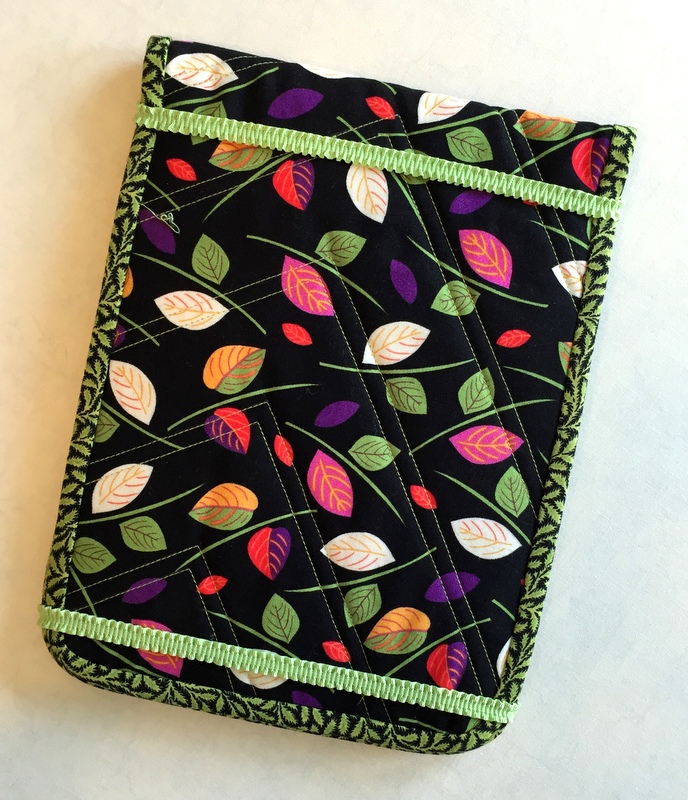
The final category is a bit of a hodgepodge. I made a quilted cover for my stepmother’s new iPad Pro . . .
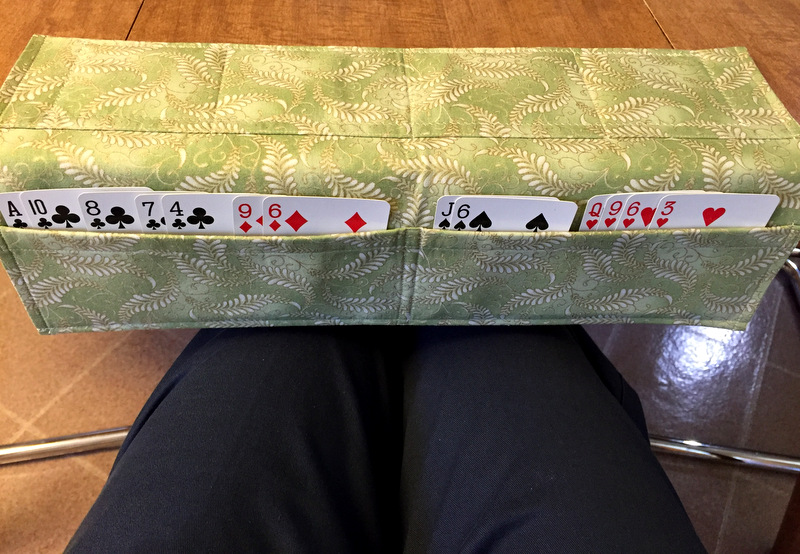
. . . and a cardholder for her bridge hands:
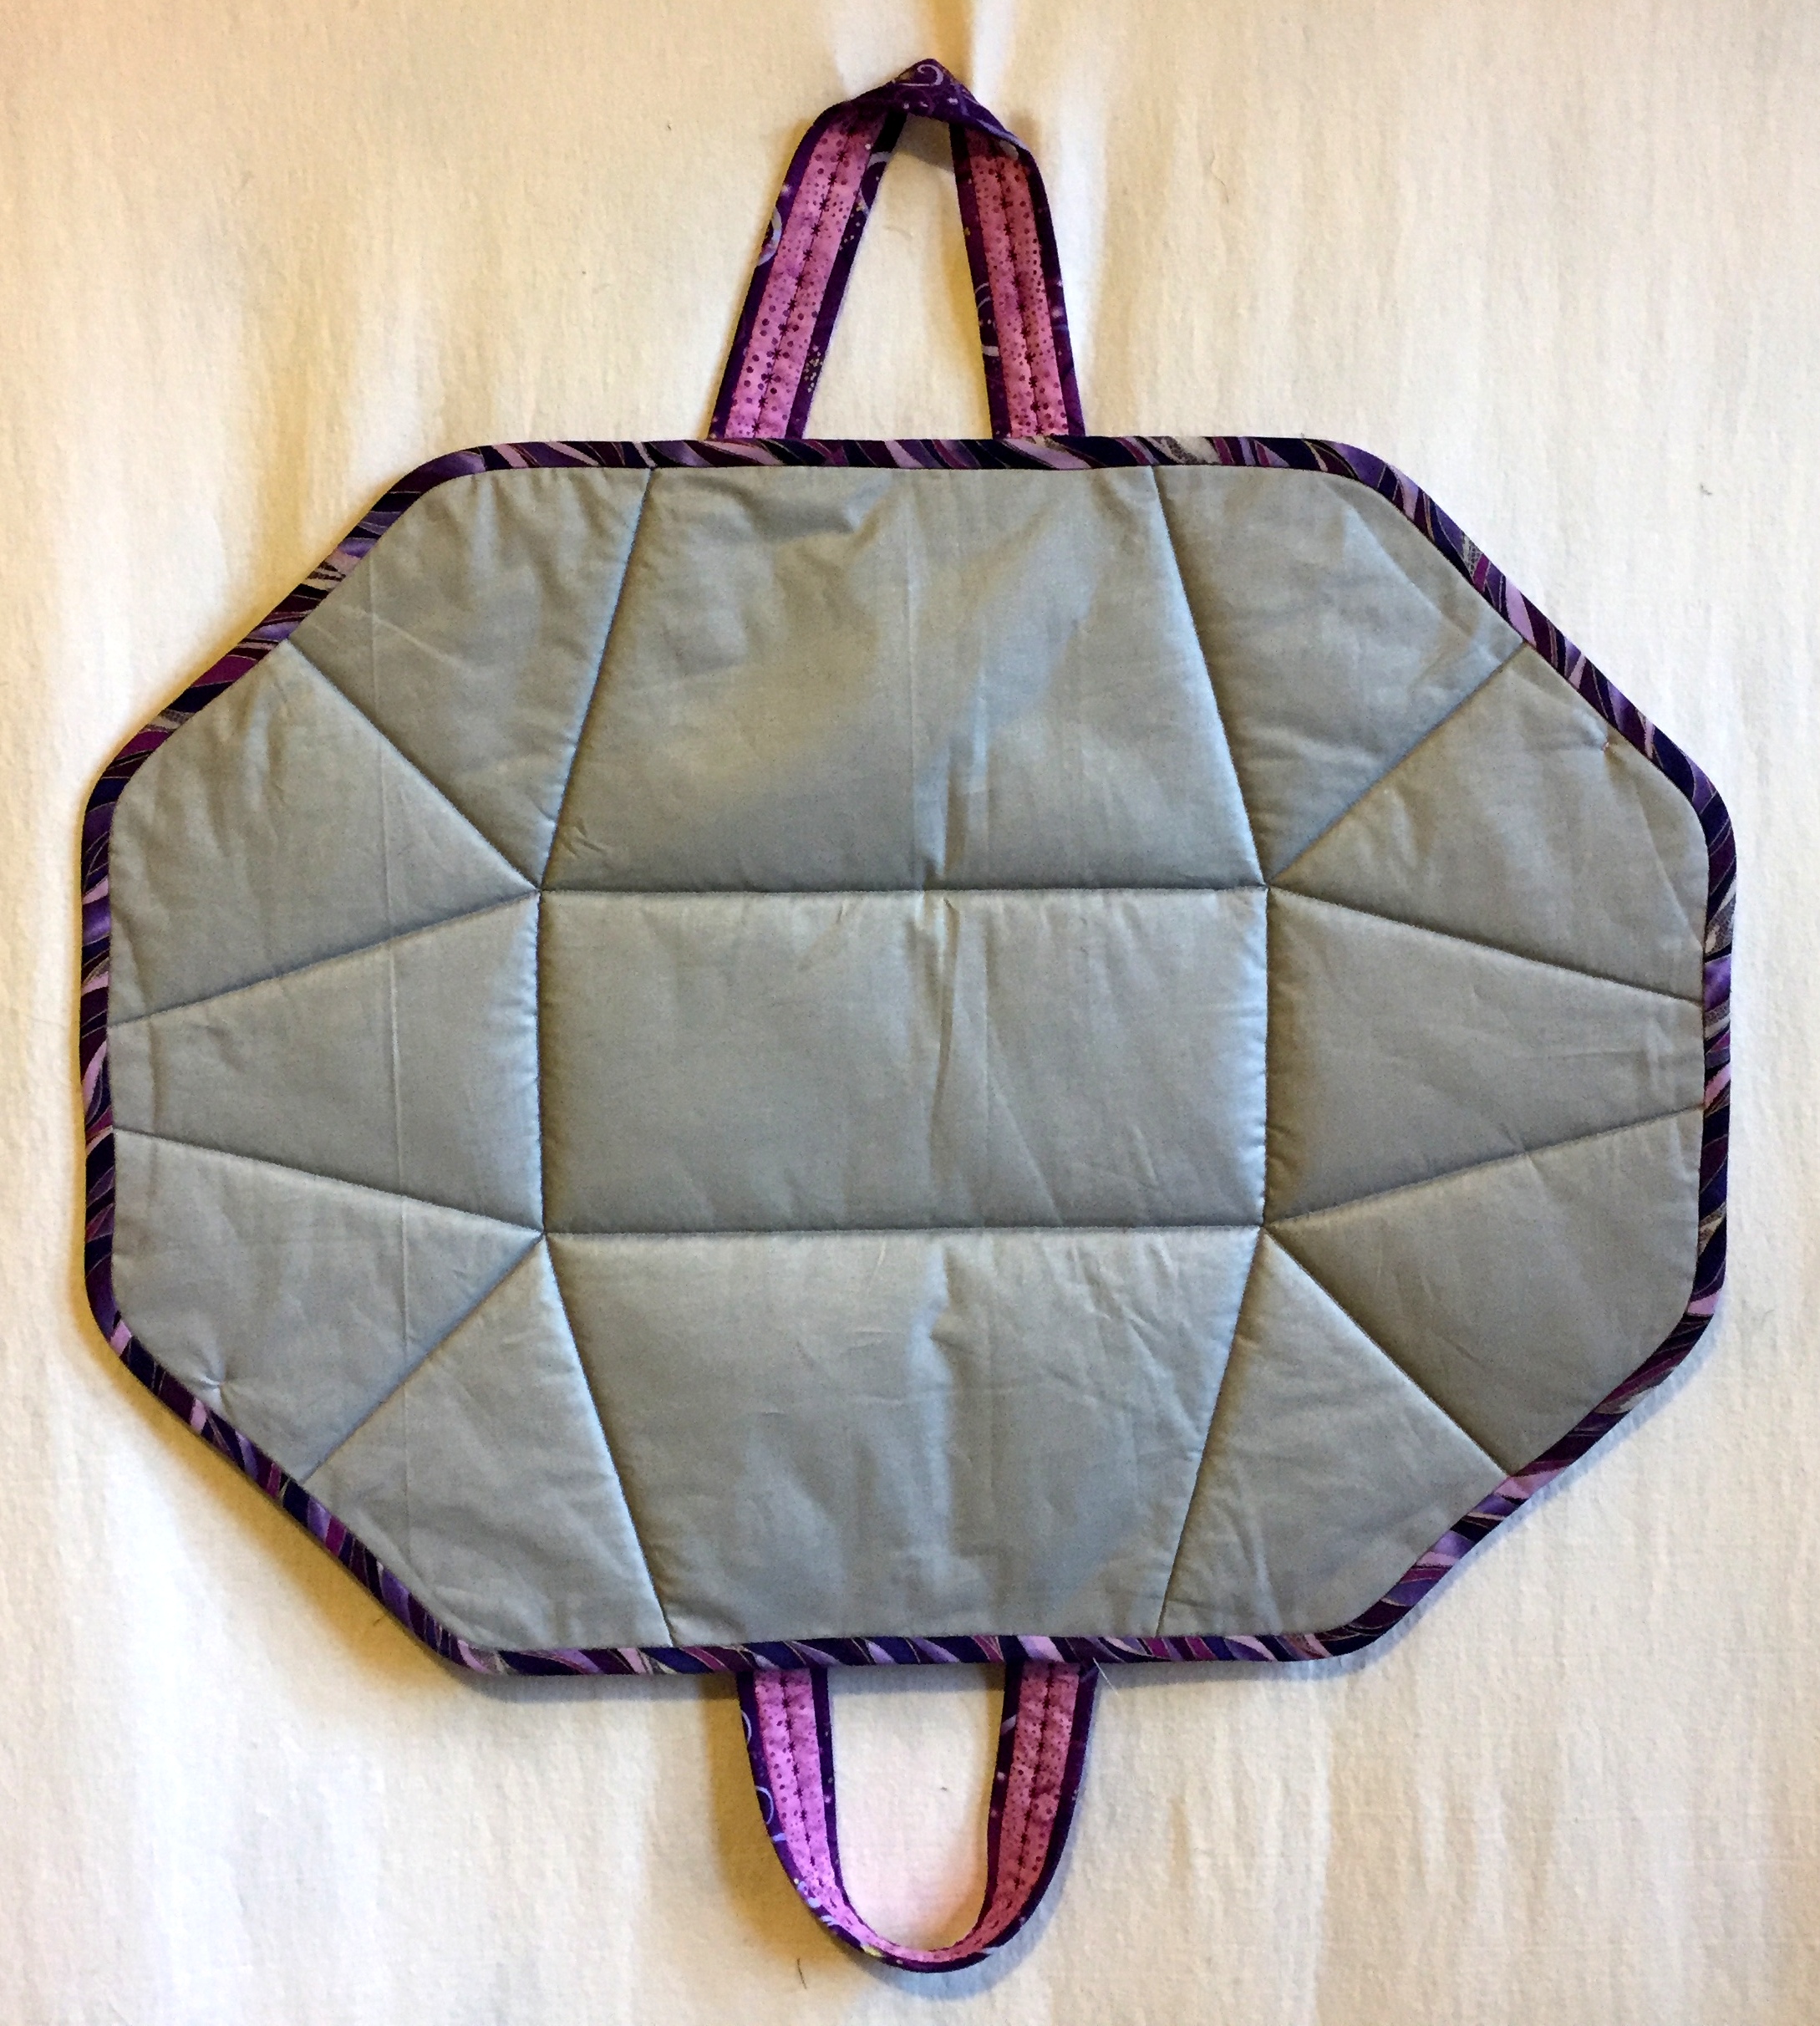
For my friend and fellow Quister (Quilt Sister) Vickie I made an iron caddy that doubles as a pressing mat . . .
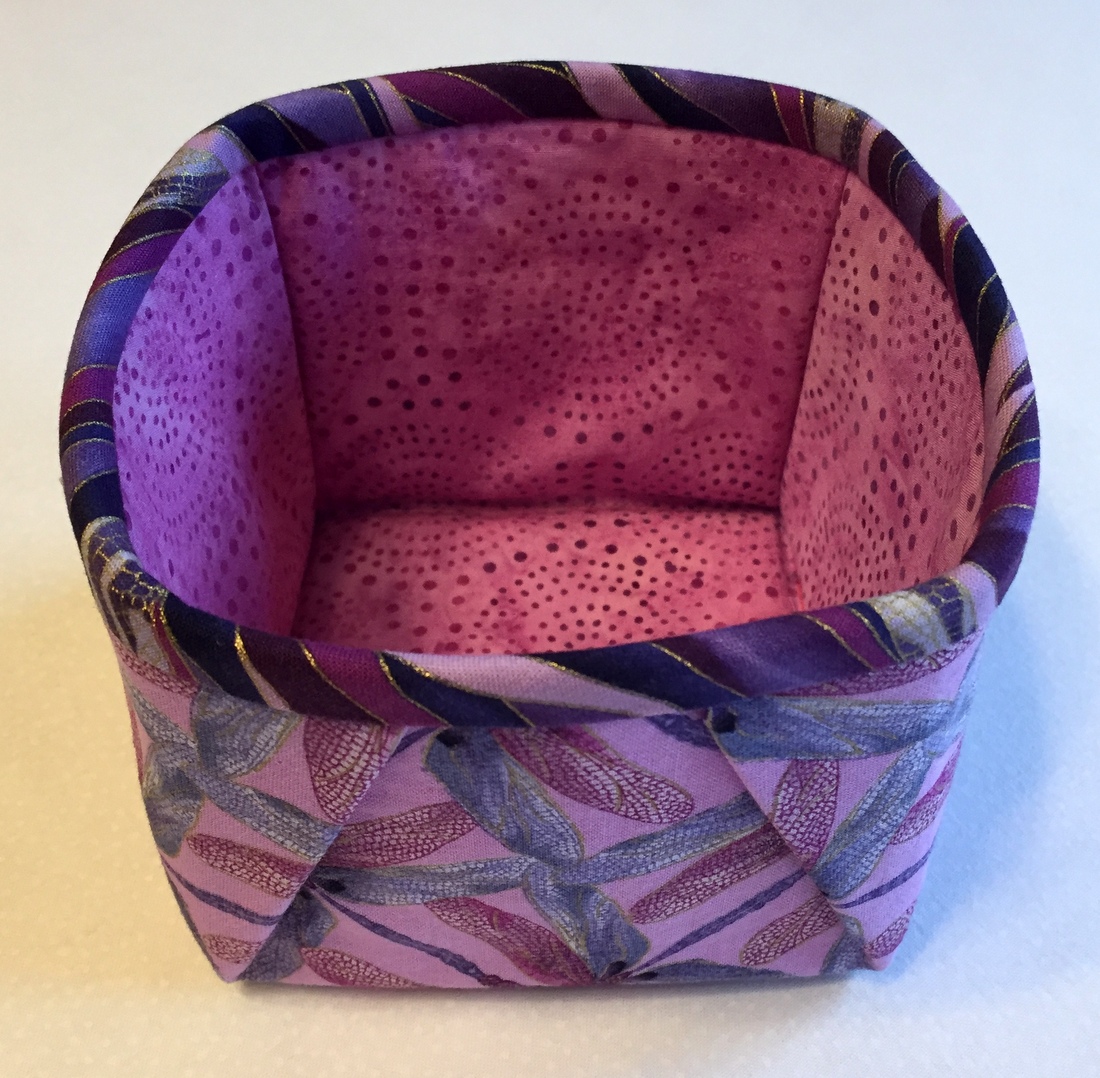
. . . plus a matching 4″ x 4″ fabric box that she can use as a threadcatcher:
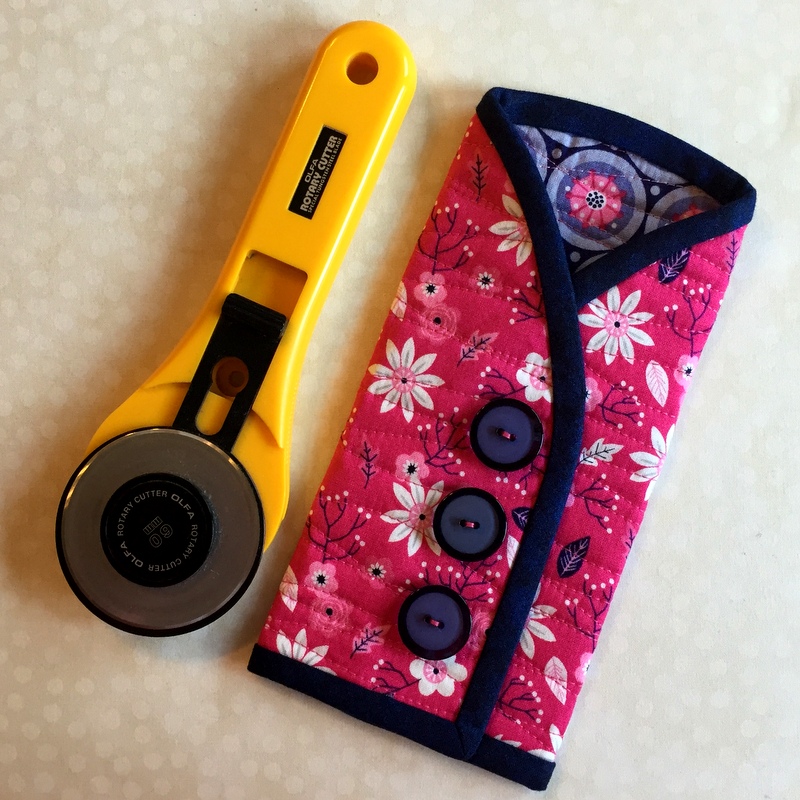
For myself I made some accessories to match my Junior Billie Bag: a rotary cutter coat made from my tutorial . . .
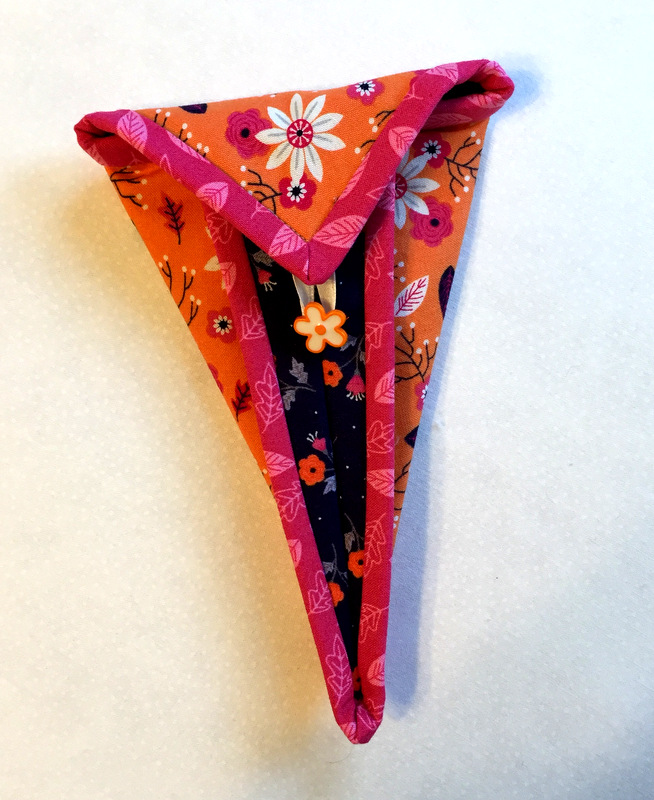
. . . and a scissors case . . .
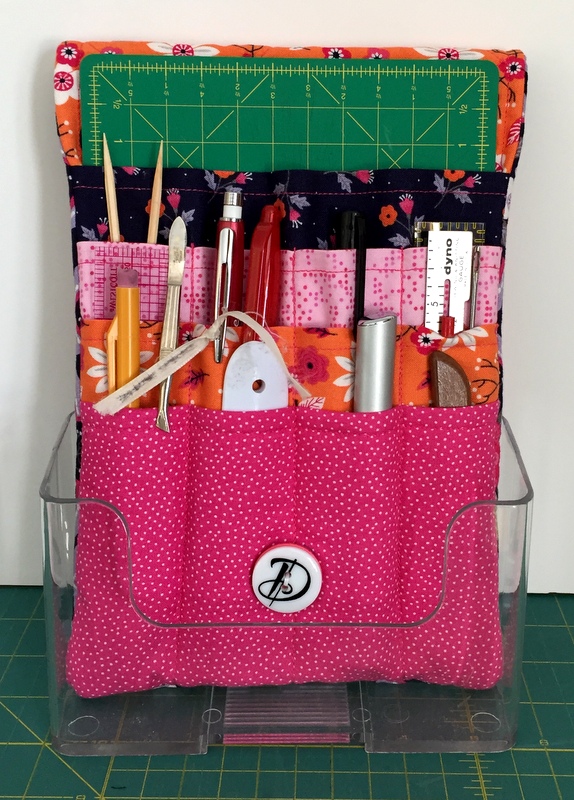
. . . and a sewing caddy that sits upright in a Lucite stand:
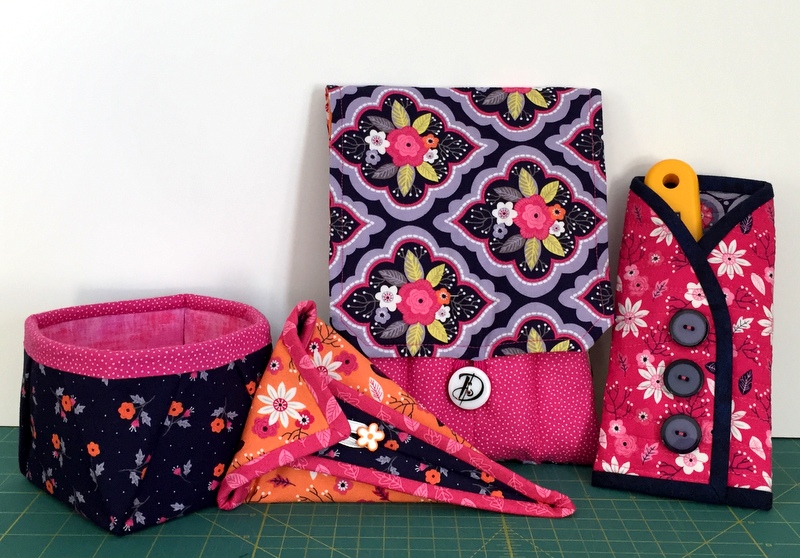
A 4″ x 4″ fabric box (yes, it’s a threadcatcher) completes the ensemble:
As you have surmised, I’m crazy in love with that fabric line (Paradise by Alisse Coulter for Camelot Cottons). I expect you’ll see more of it in 2017, as I bought a lot when it was released a couple years ago.
I’m sending a shout out to the talented longarm quilters who transformed my 2016 quilt tops into beautiful quilts — Coleen Barnhardt, Karlee Sandell, Debbie Scroggy, and Sherry Wadley — and to you, my loyal blog readers, for your continuing interest and support of First Light Designs.