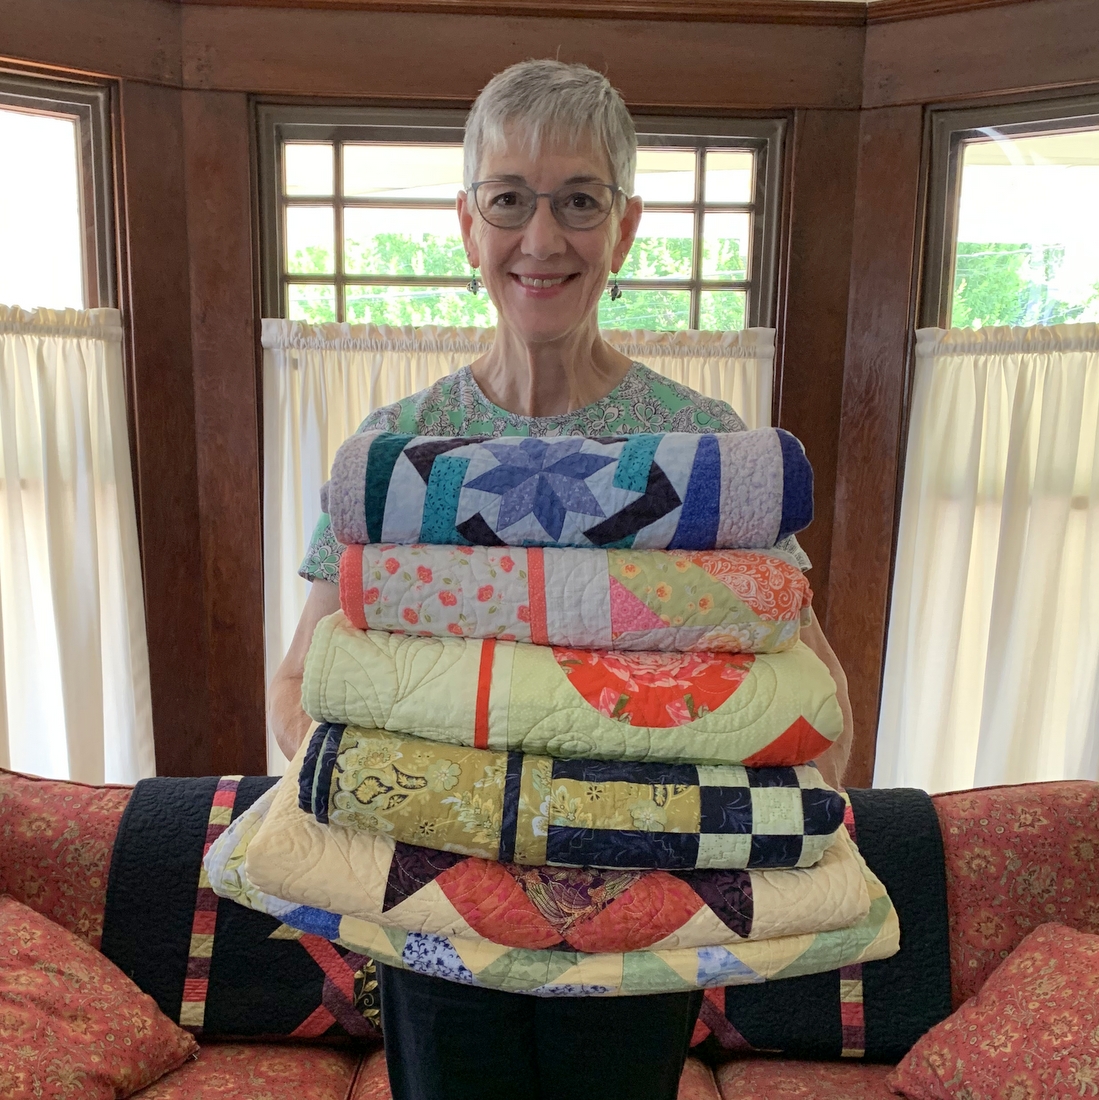
Just My Luck
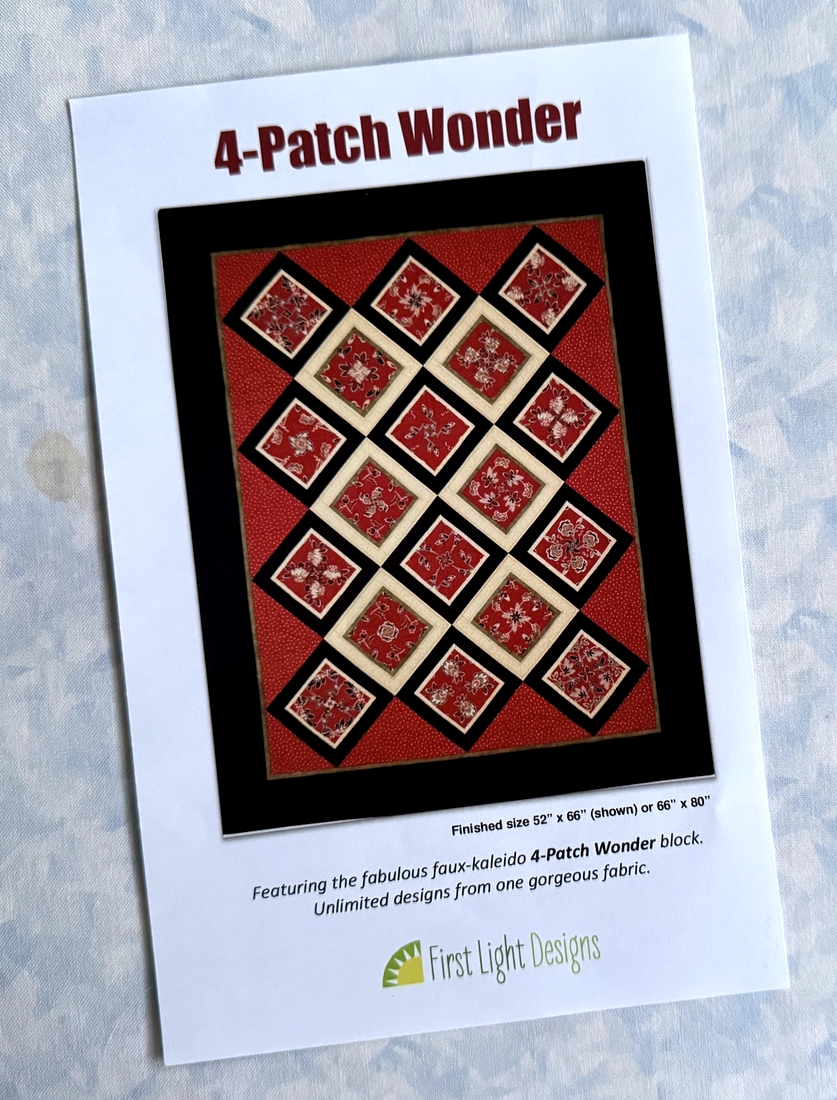
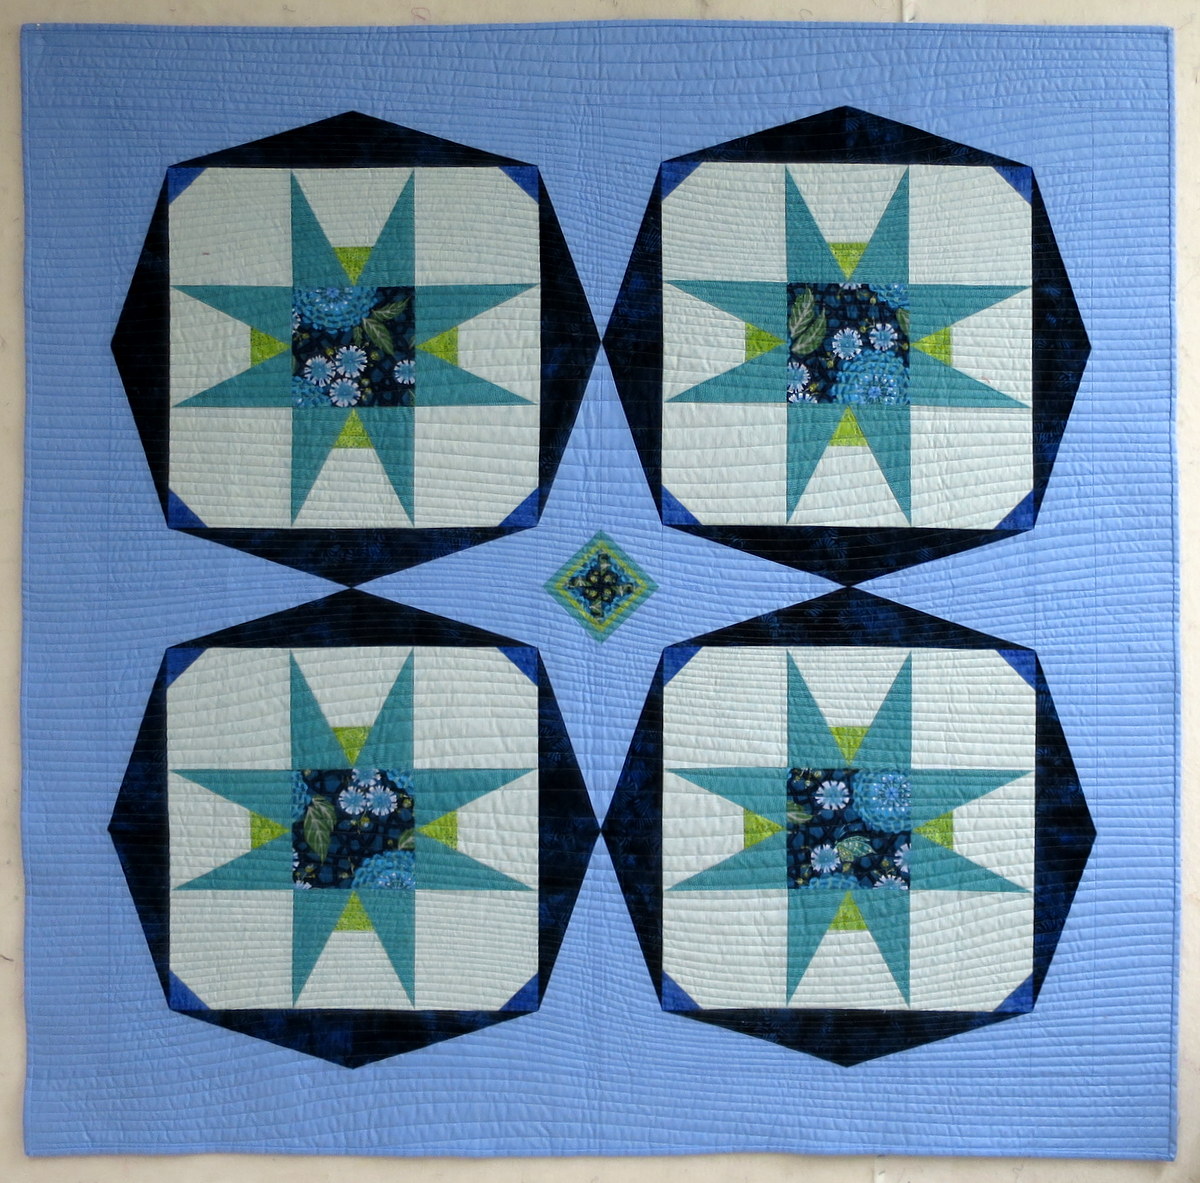
Just my luck . . . as in the good kind! If you read my last post, you know that I’m playing around with four-patch kaleidoscope blocks (what I call “4-Patch Wonder” blocks) in the making of another quilt from my pattern of the same name, using a different colorway from one of the versions I’ve made from the pattern.
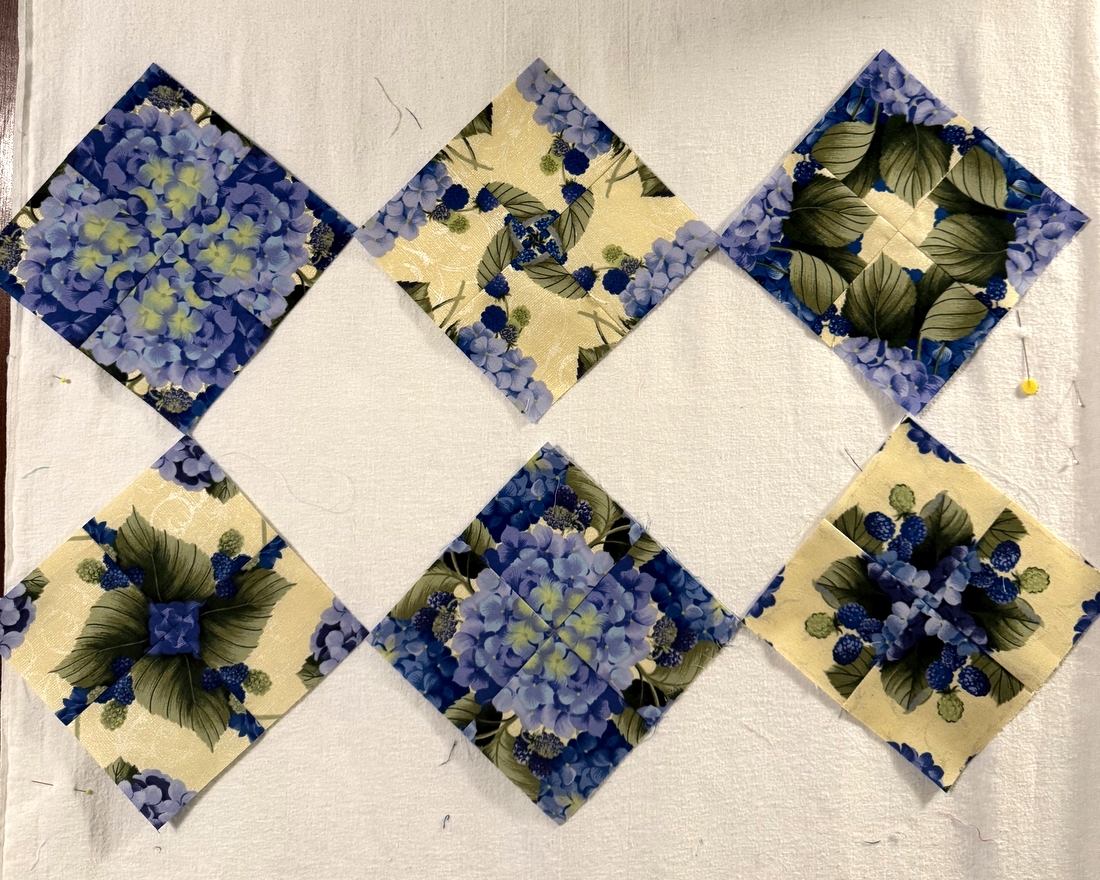
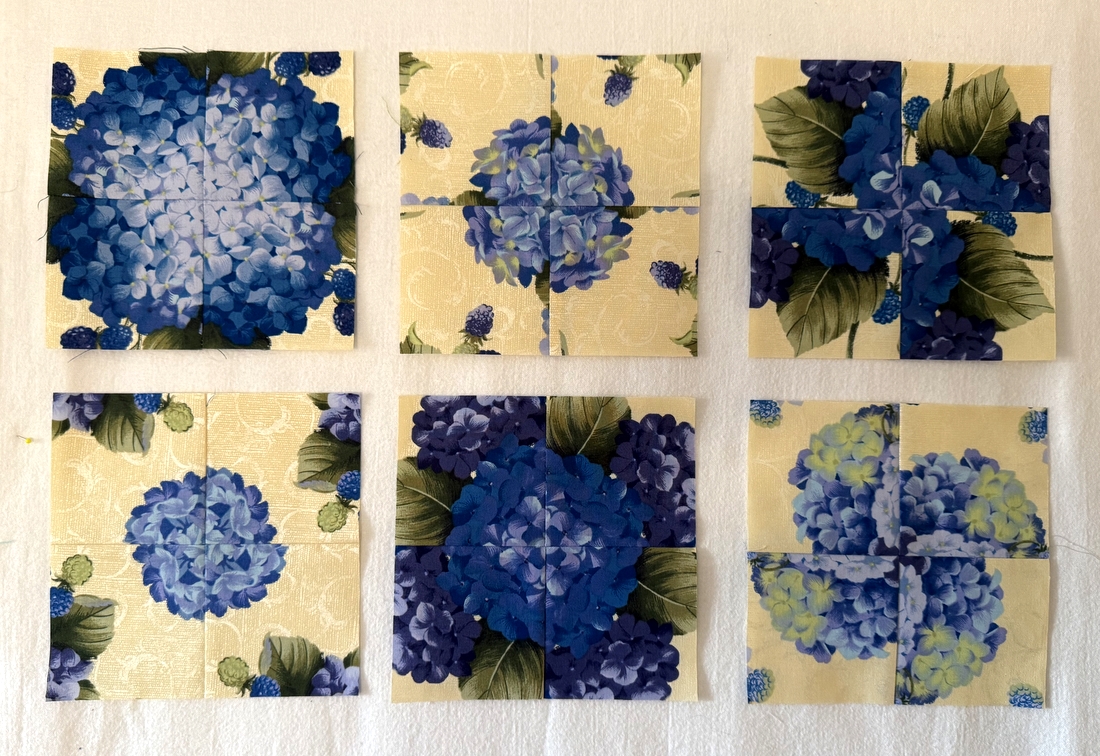
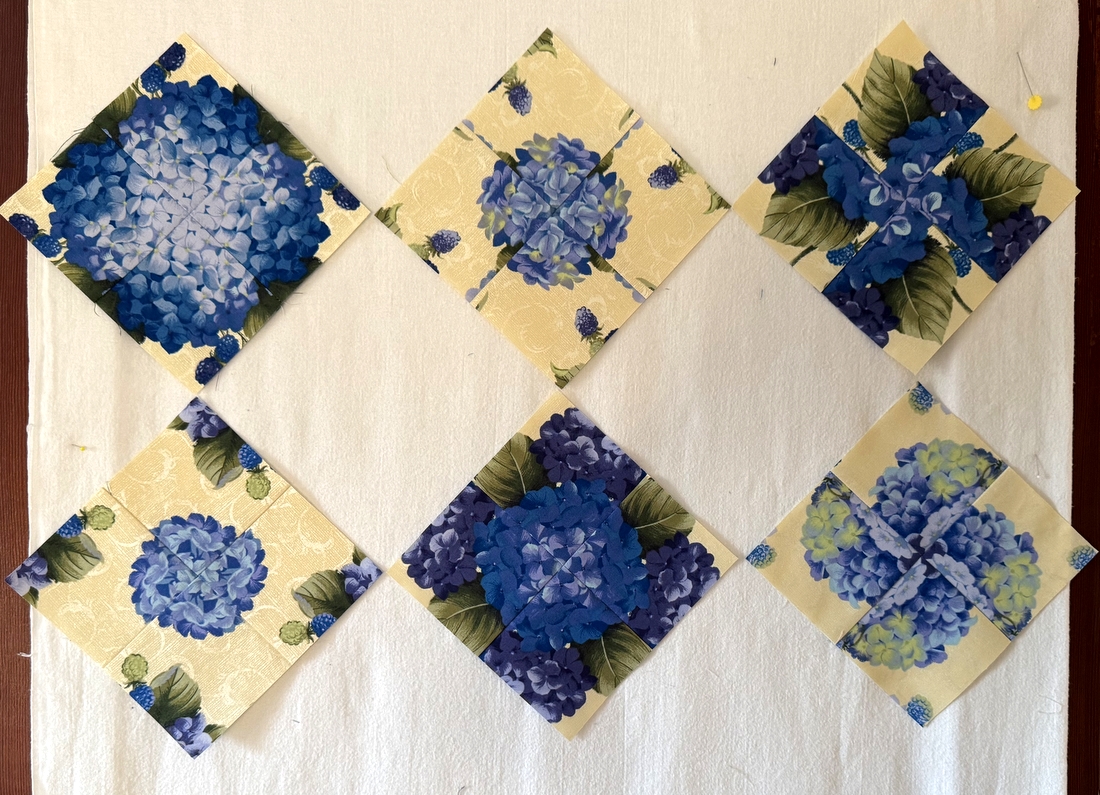
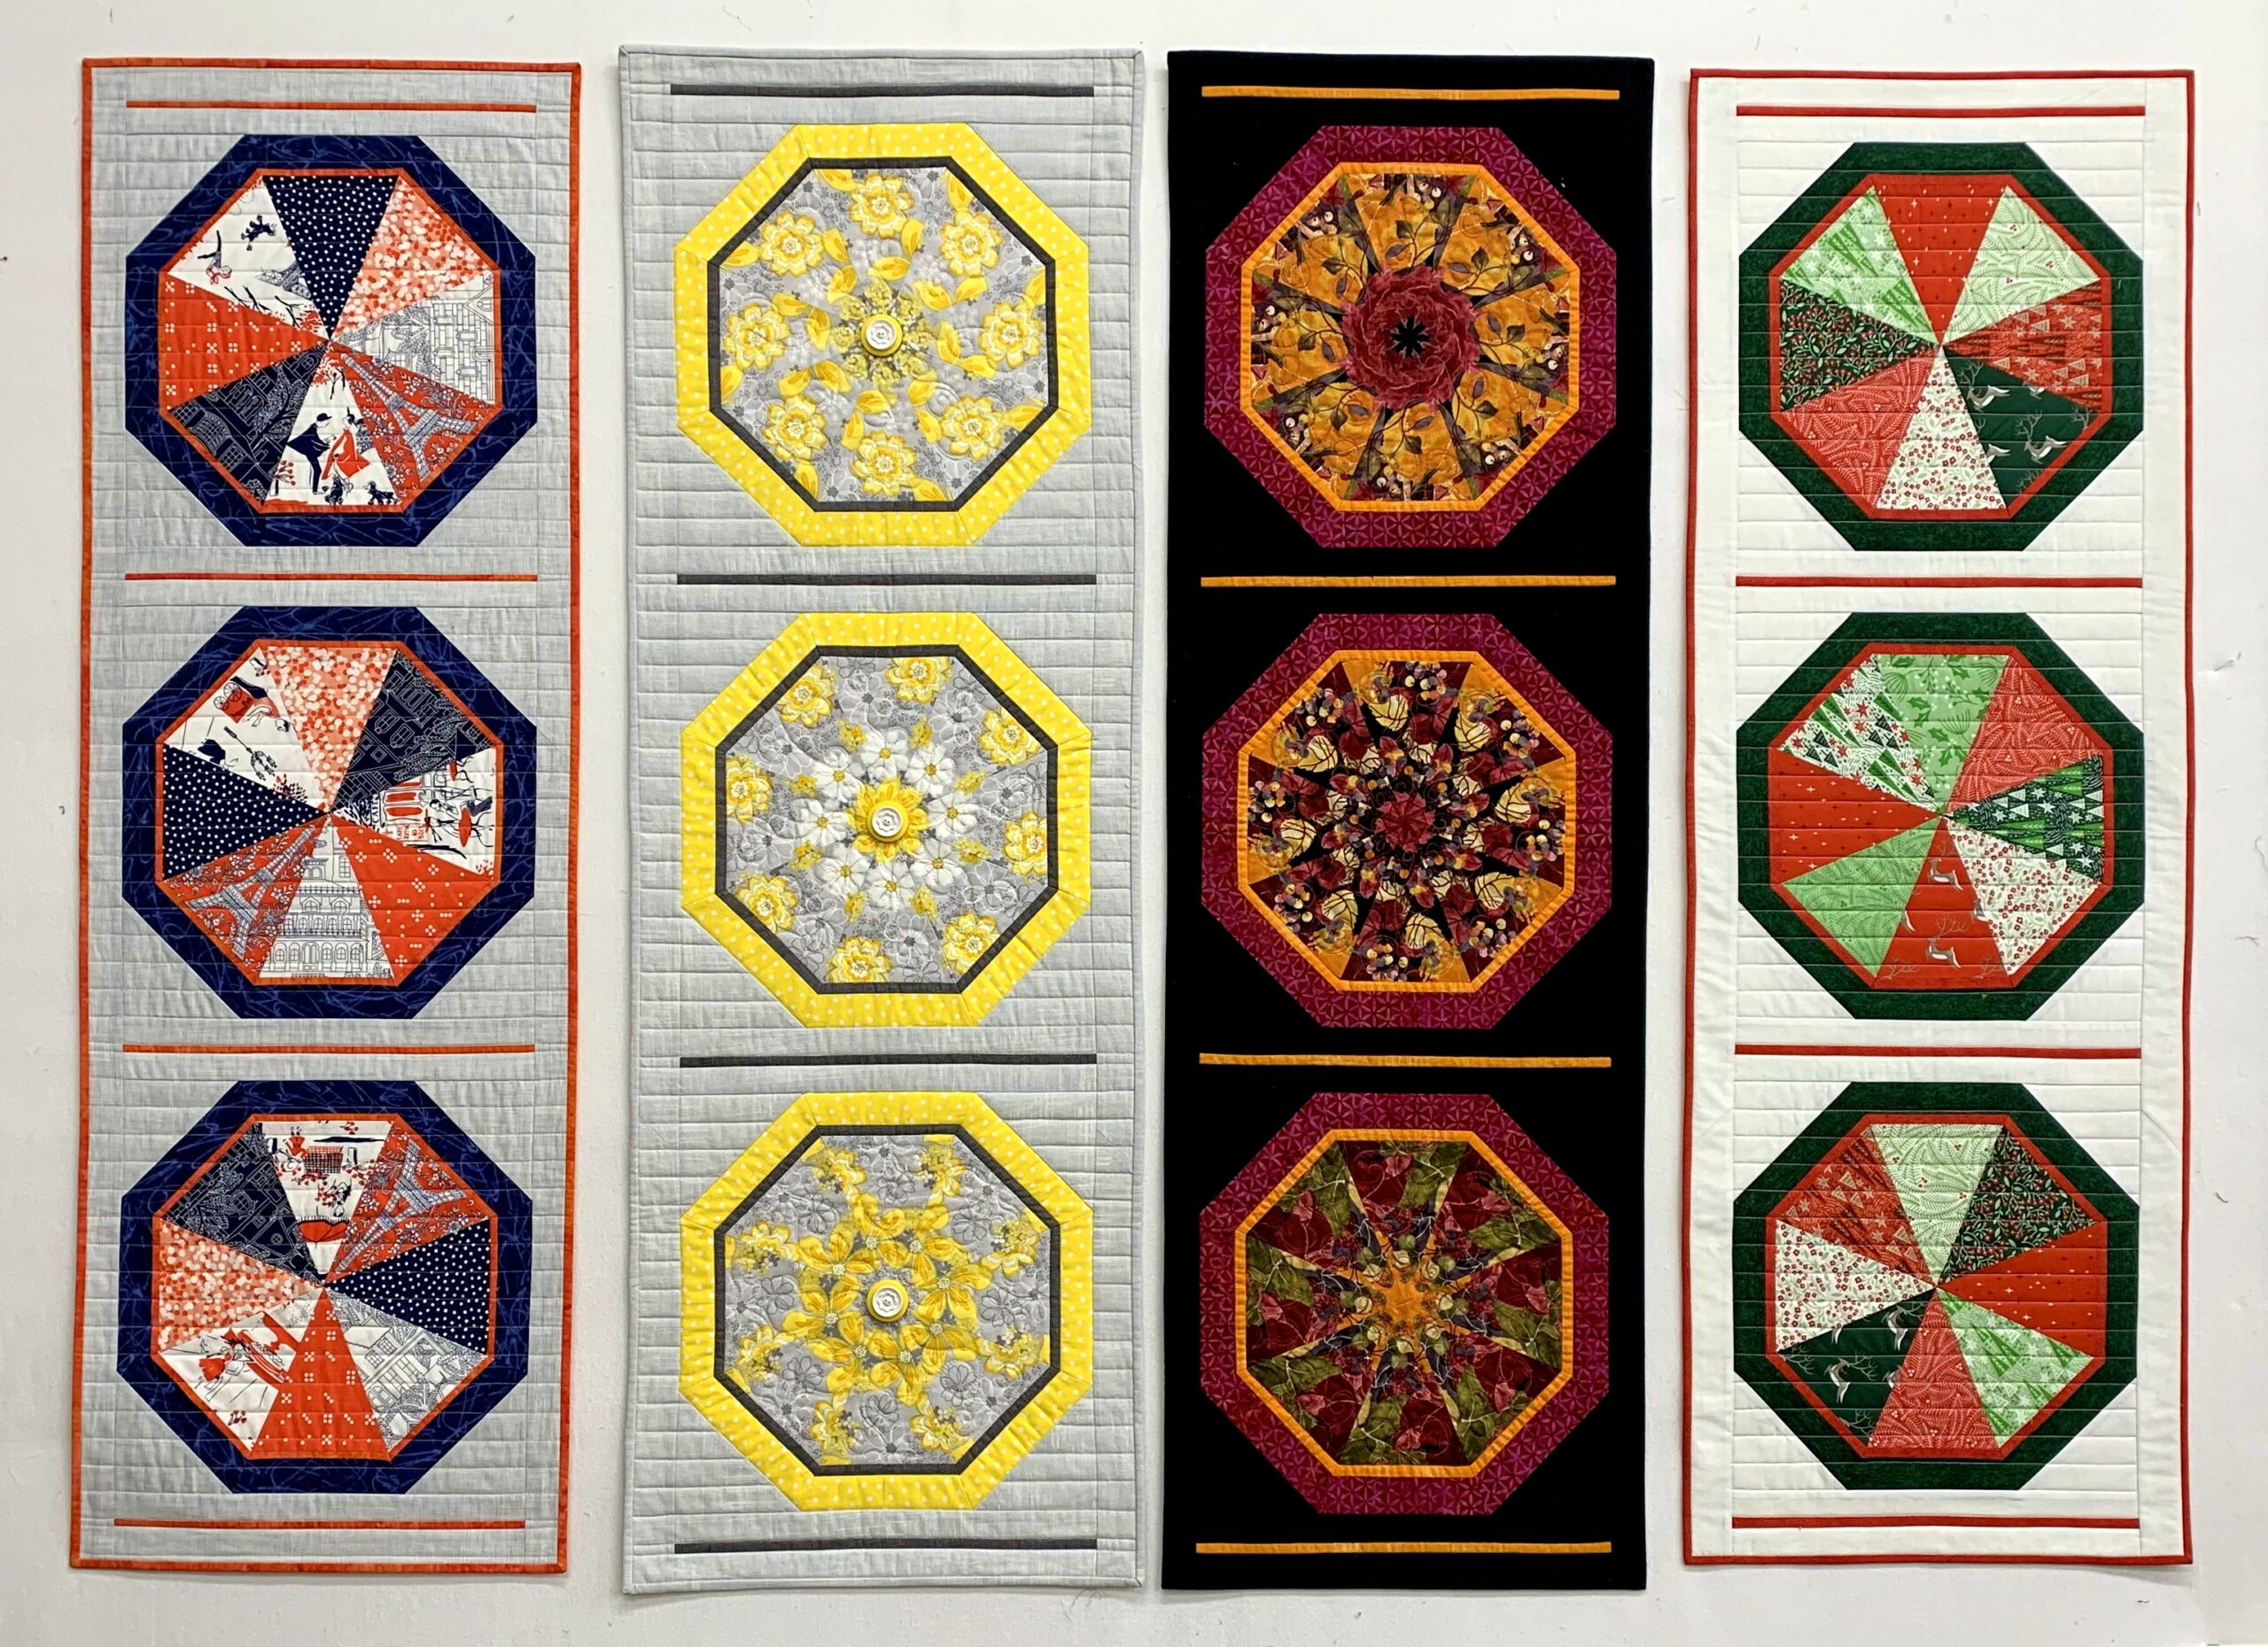
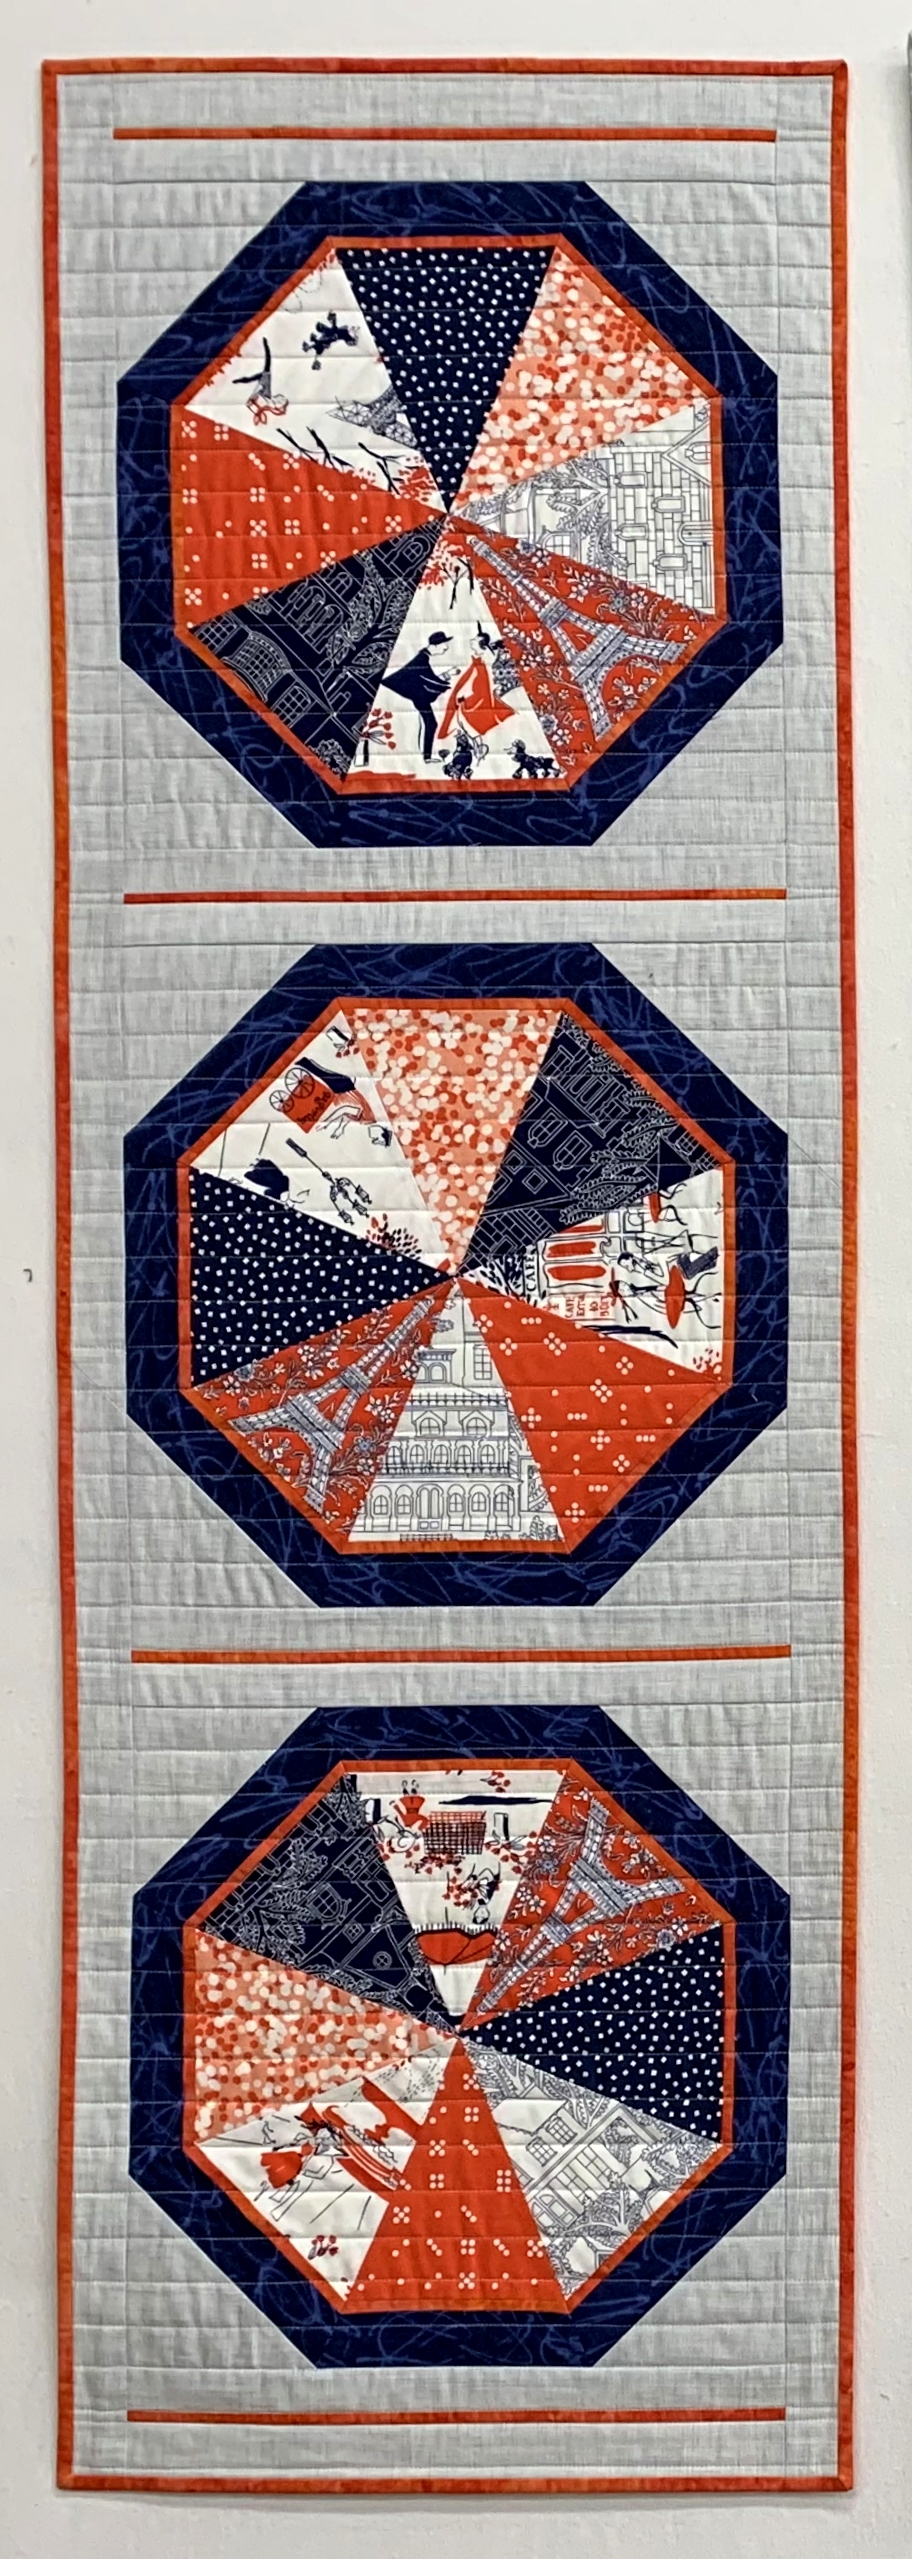
Instead of making the next set of 4-Patch Wonder blocks, I started playing around with possibilities for the narrow and wide sashing strips that surround the blocks. My pattern calls for two variations. I had already decided on the first combination of a medium green leaf design for the narrow sashing and a vibrant dark blue dot (“Spin Dot” by Timeless Treasures) for the wider sashing. I made a couple of test blocks.
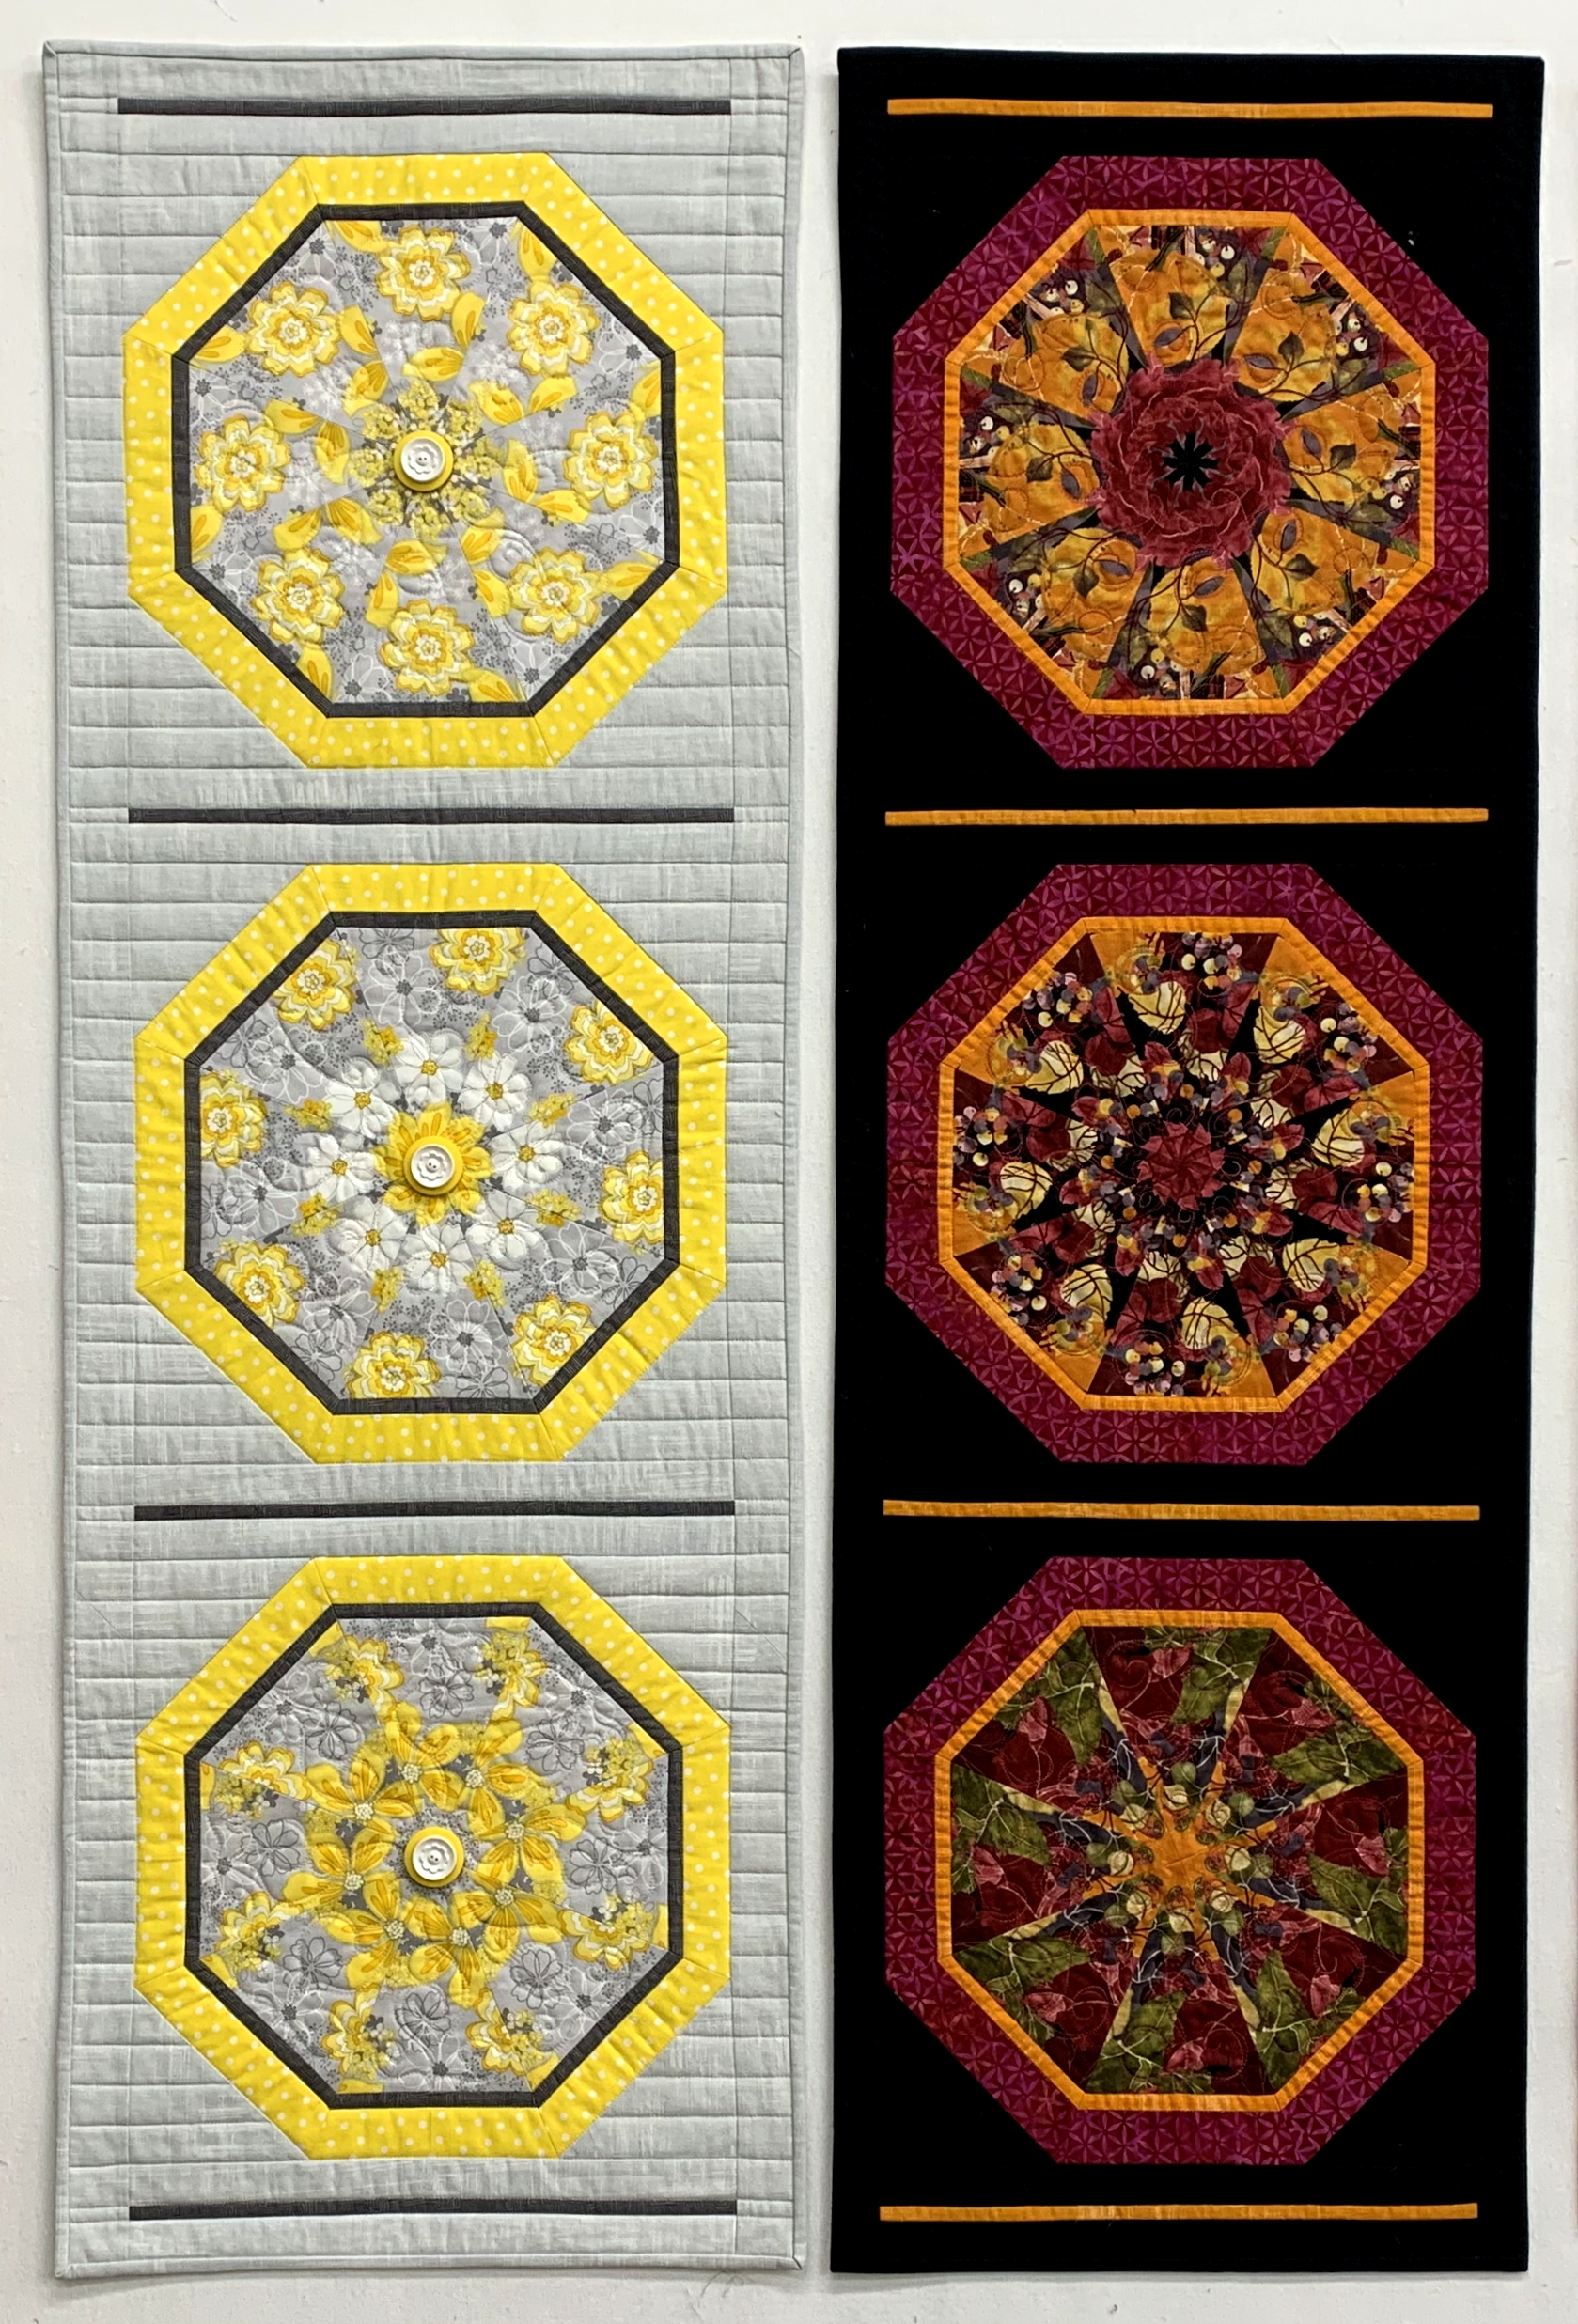
For the adjacent blocks I was considering the same green leaf for the narrow sashing and a pale yellow blender that matched the background yellow of my focus fabric. Here are the two blue test blocks with the yellow test block:
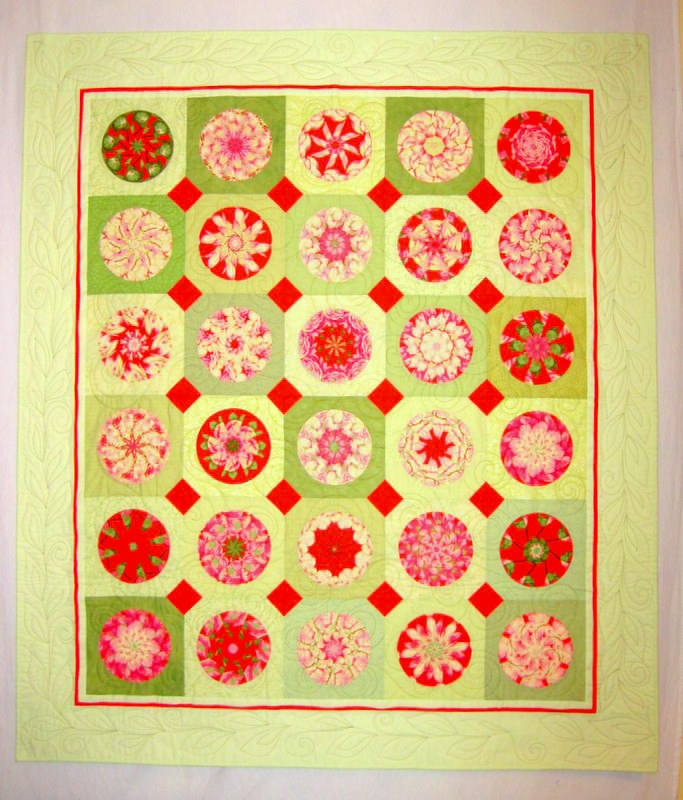
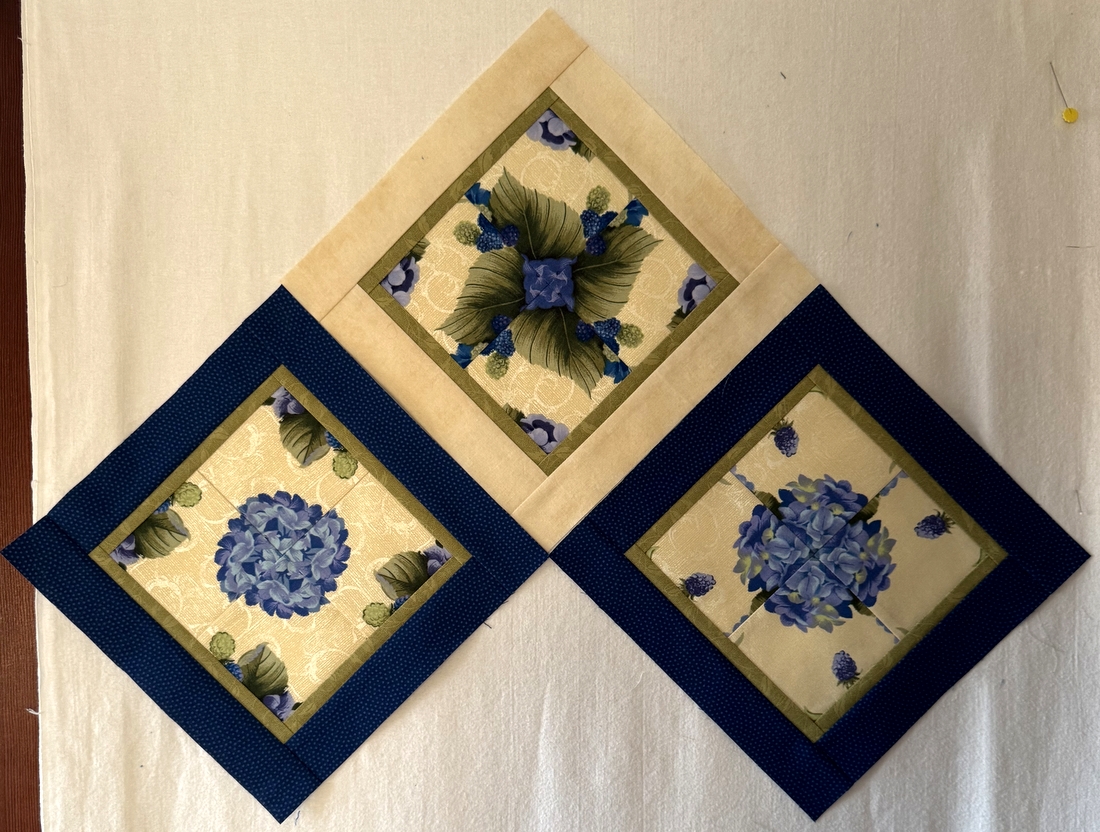 Okay, the yellow blender is very pretty . . . but it’s not sensational. I was hoping for something with a little more pizzazz, especially because the yellow background of the focus fabric is slightly metallic with a lovely subtle scroll design. I looked at my pink version, Framboise . . .
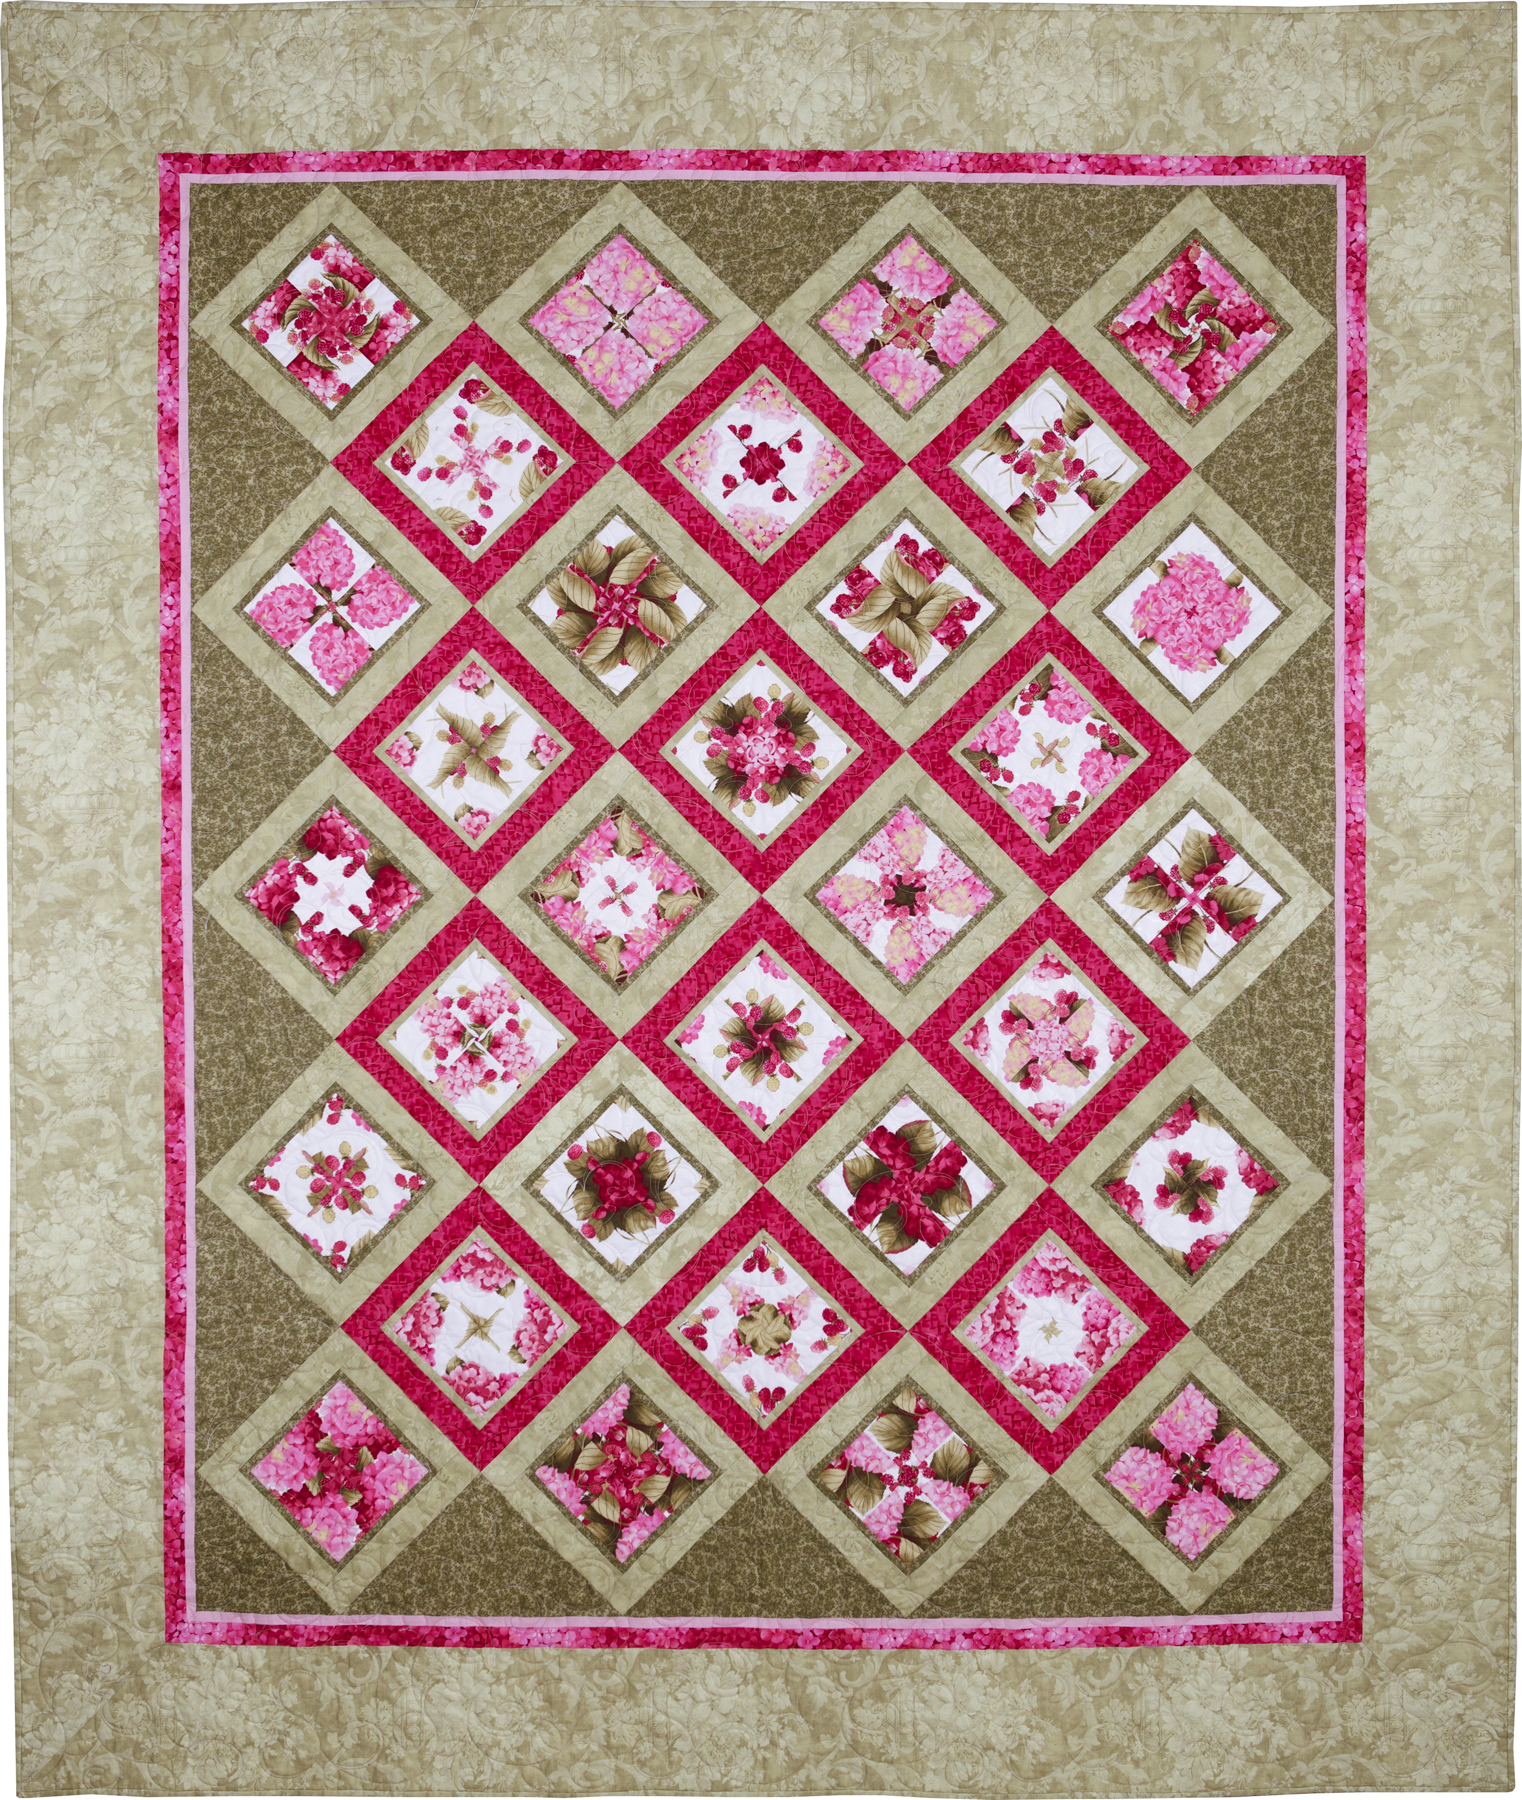
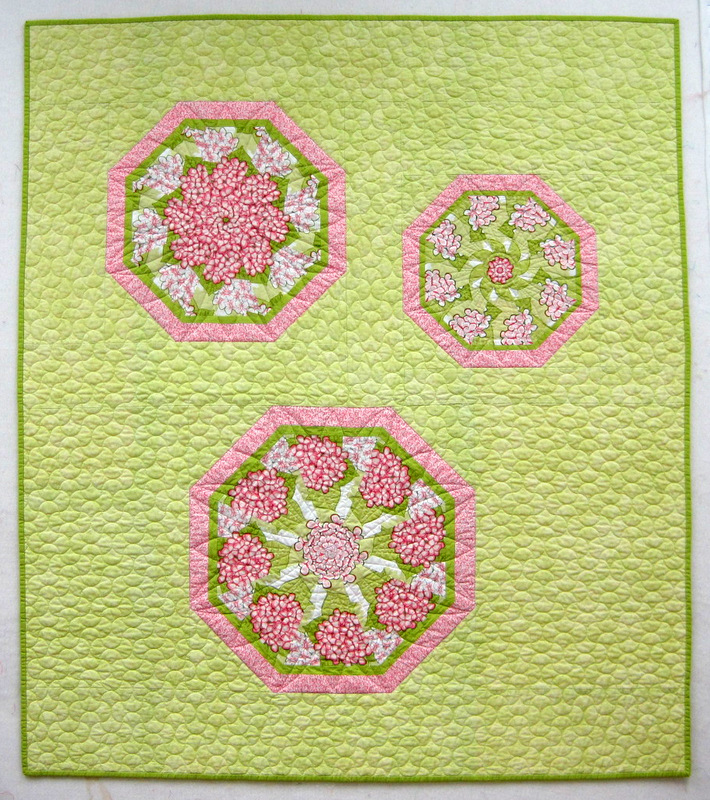
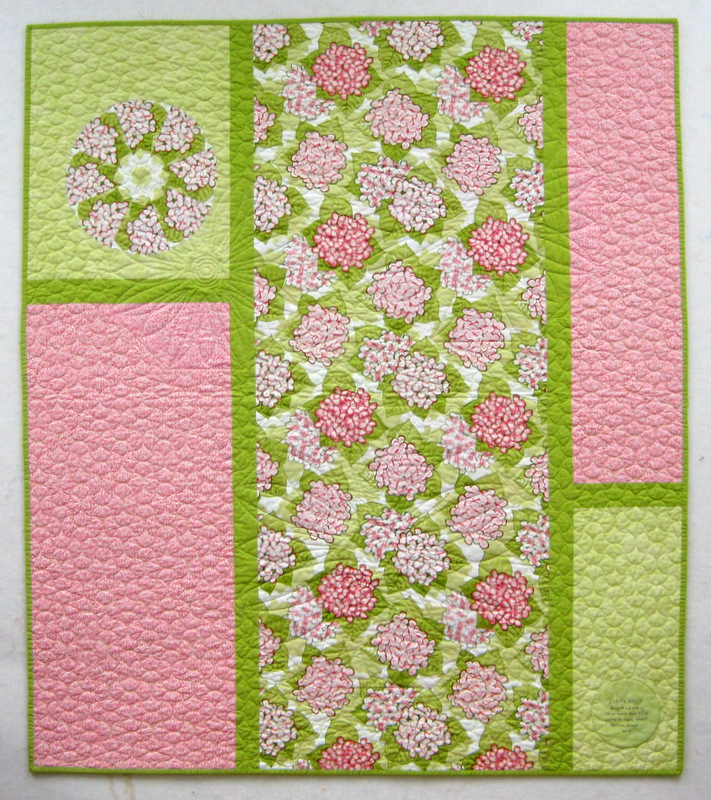
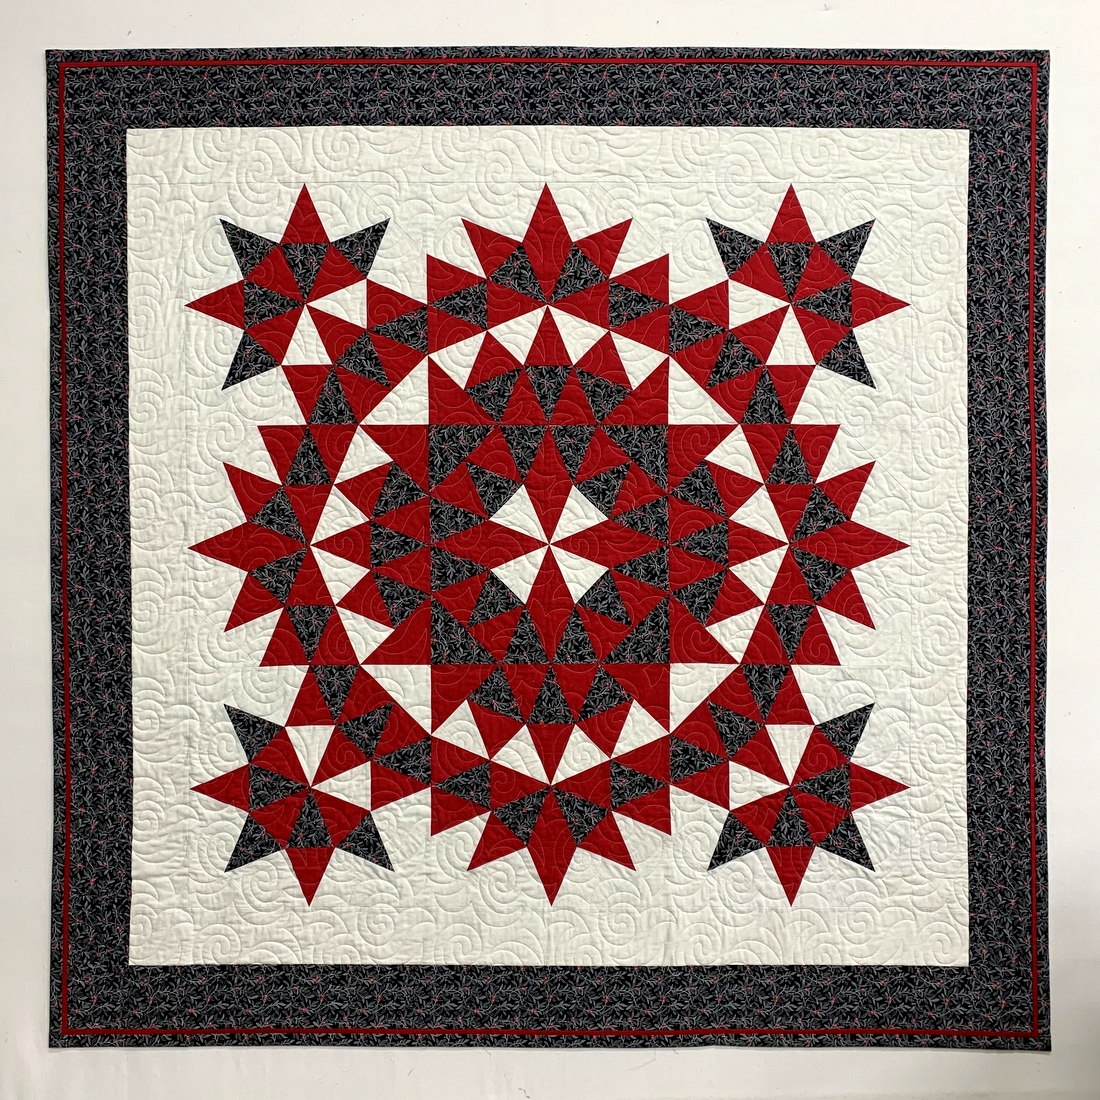
. . and thought, “Wouldn’t that pale green print in the wider sashing strips be sensational in the blue version?” Of course I had no hope of finding it after all these years. After all, I made Framboise way back in 2011.
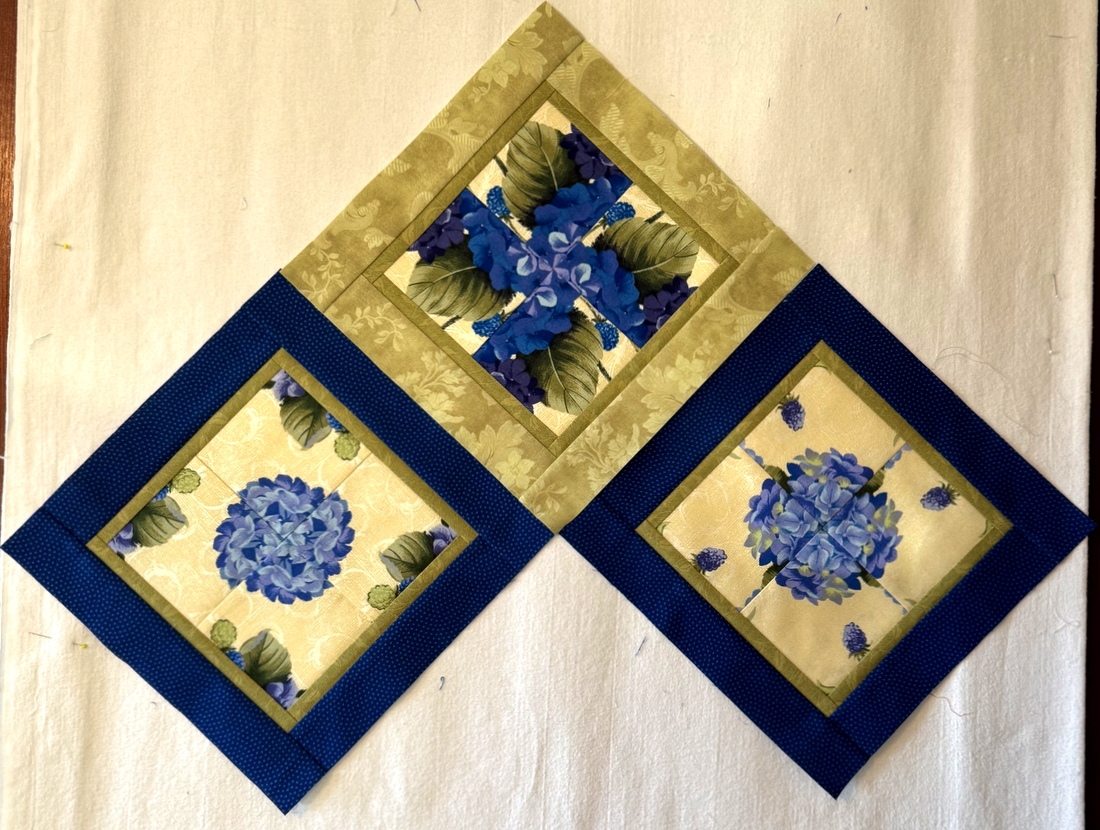
But wait! Didn’t I have a bit of that pale green fabric left over from the pink version? I started digging in my stash and was amazed to find a large remnant measuring 32″ x 54″ — enough to make the wider sashing strips. Oh, but wouldn’t it be nice to have enough for the outer border, too, like I did in Framboise? Just for fun, I made a test block. And I loved the combination:
 The product info was on the selvage; what did I have to lose? With very little hope in my heart, I googled “Sweet Dreams by Robyn Givens for SSI Quilting” — and was absolutely astounded to see a 2½-yard piece for sale on Etsy. Friends, what are the odds? Of course I bought it on the spot and am eagerly awaiting its arrival. Even if the dye lot is somewhat different from the piece I have, it will be enough to make the outer borders without having to piece them.
Although it was my plan to have these two versions of 4-Patch Wonder share the same focus fabric in two colorways, I didn’t expect to use some of the other companion fabrics as well. It will be fun to compare them when they are done. Fraternal twins! I can relate.