Double-fold quilt binding (also known as French binding) is clearly the standard in quiltmaking. I’m here today to sing the praises of single-fold binding, an option you may not have considered before. Most quilt reference books don’t spend a lot of time on single-fold binding other than to point out its recommended use on quilts with curved or scalloped edges where the goal is less bulk in the binding.
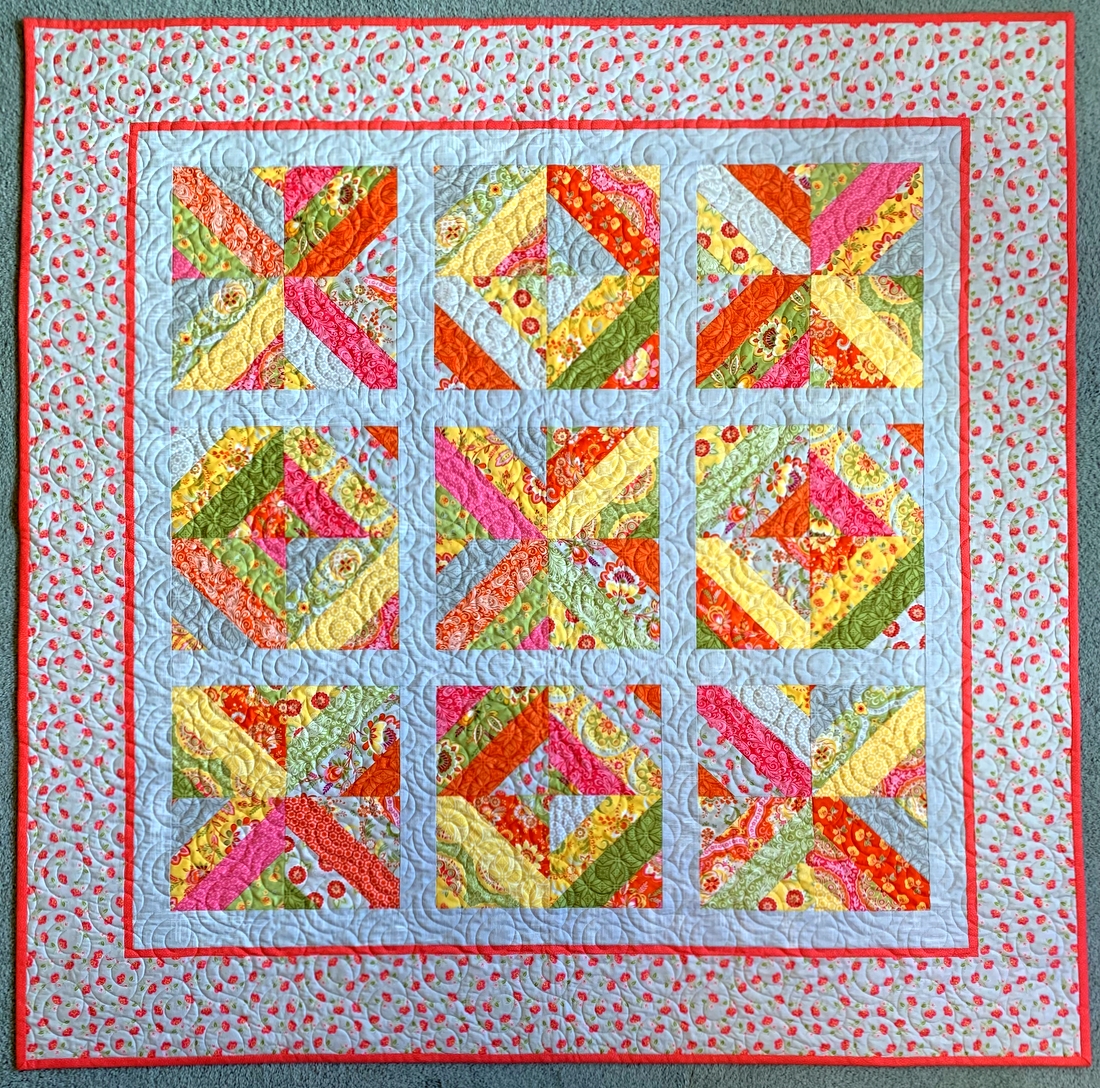
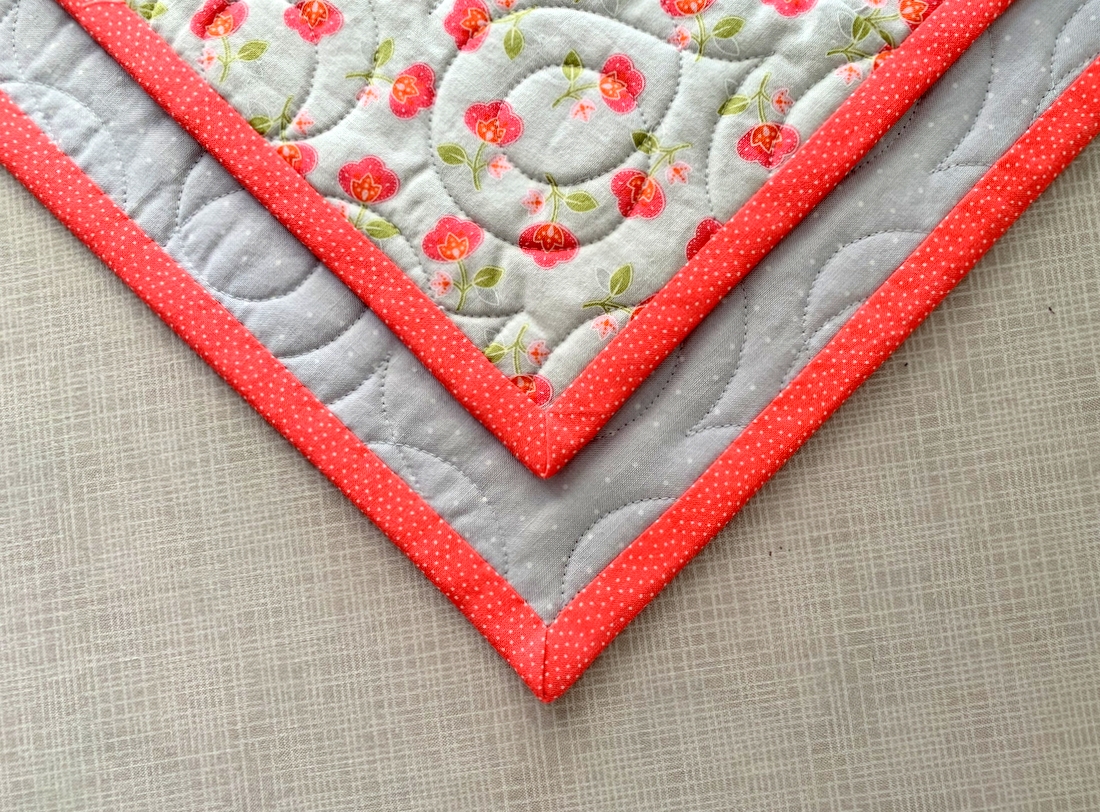
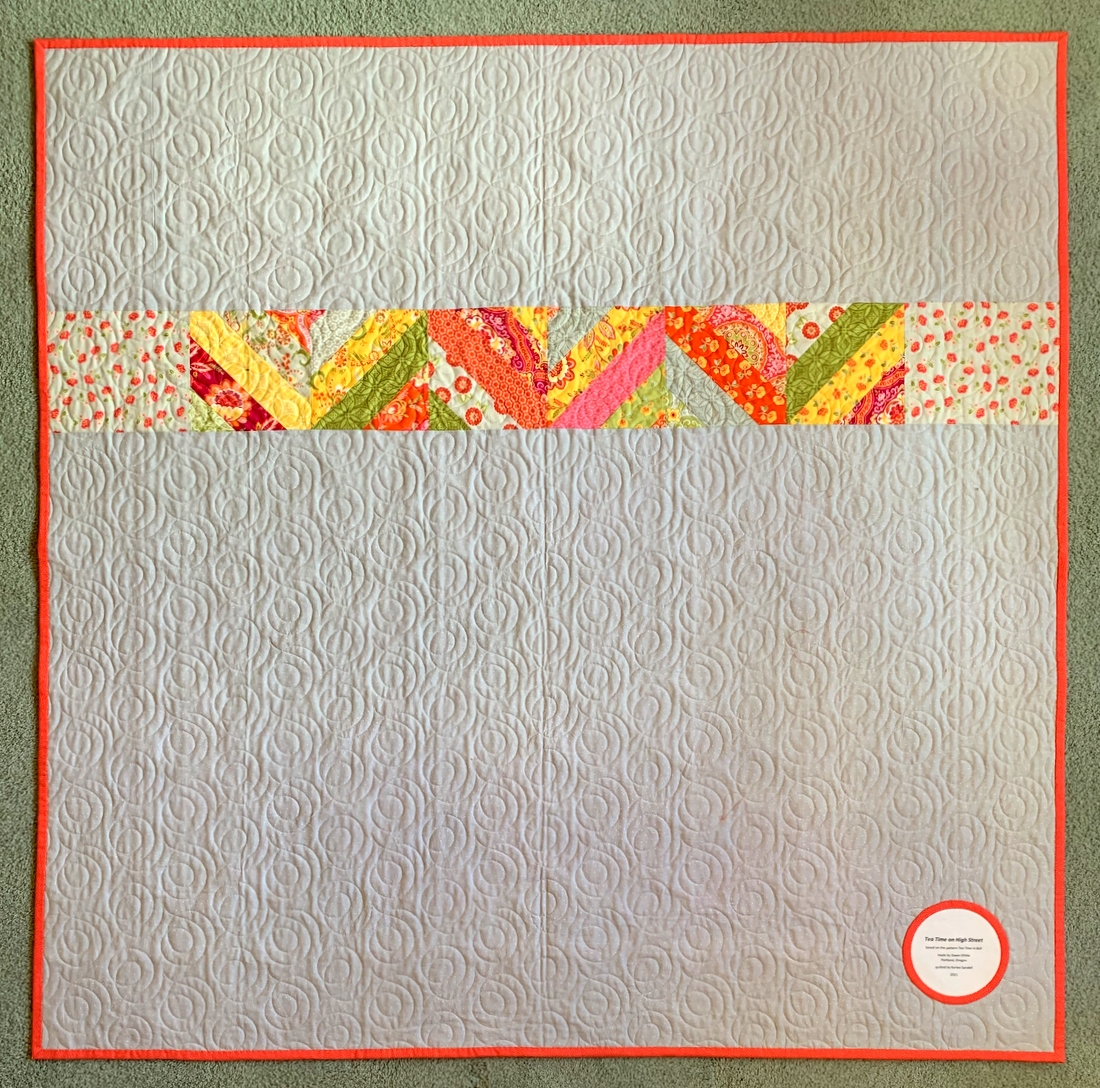
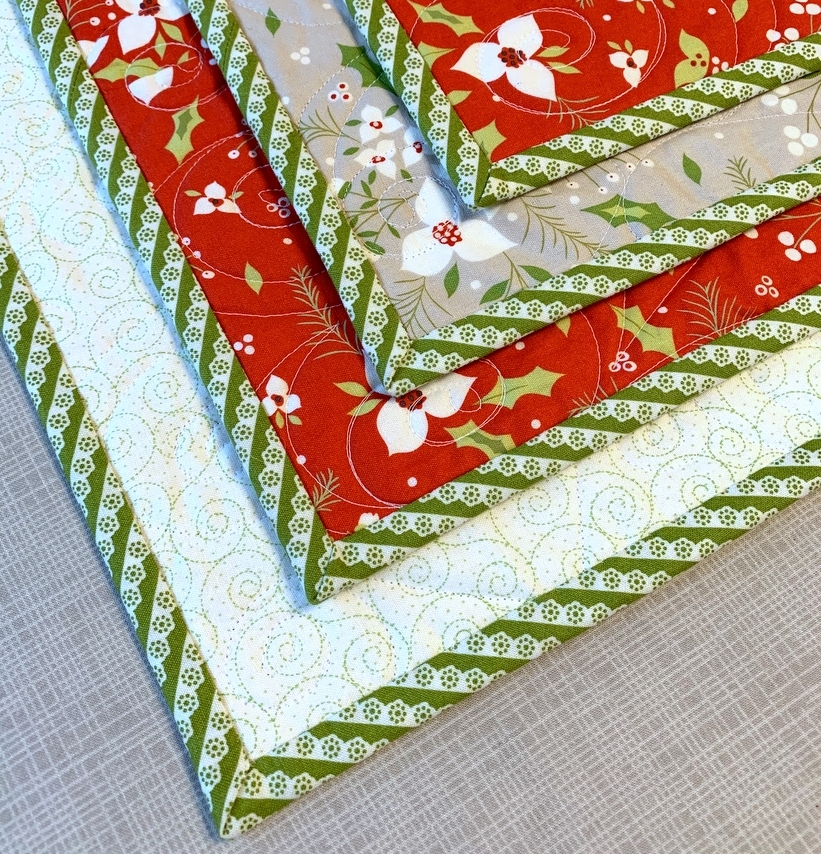
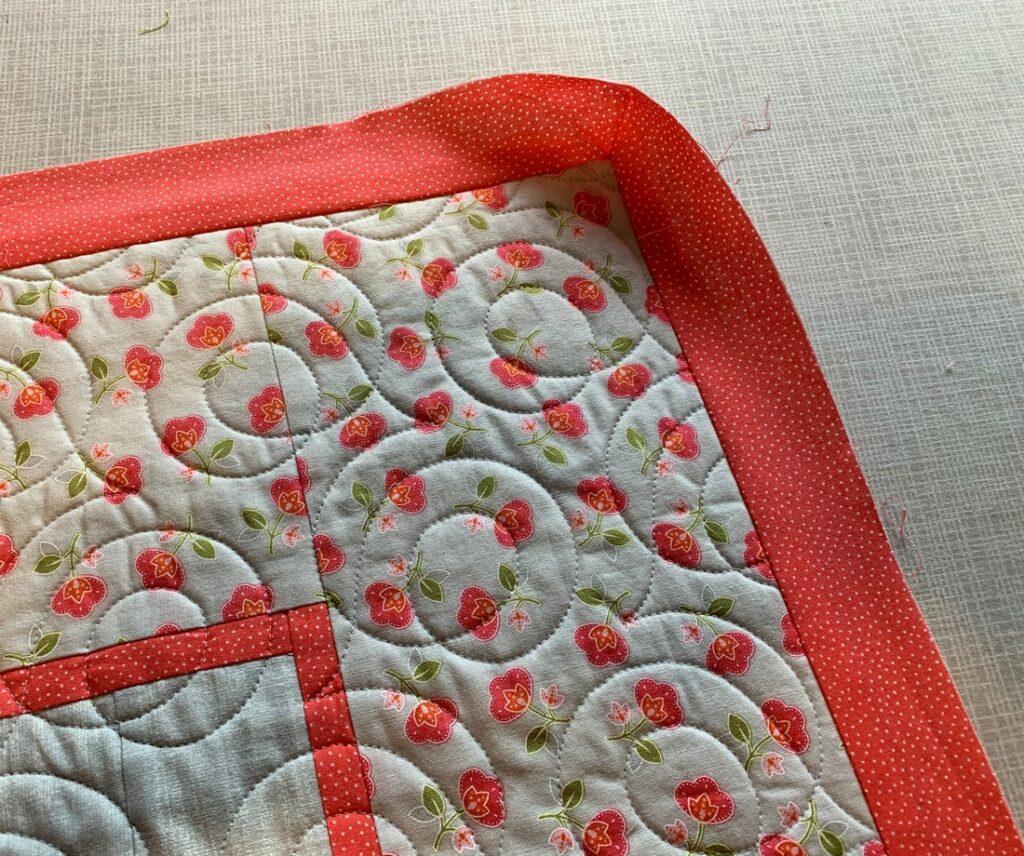
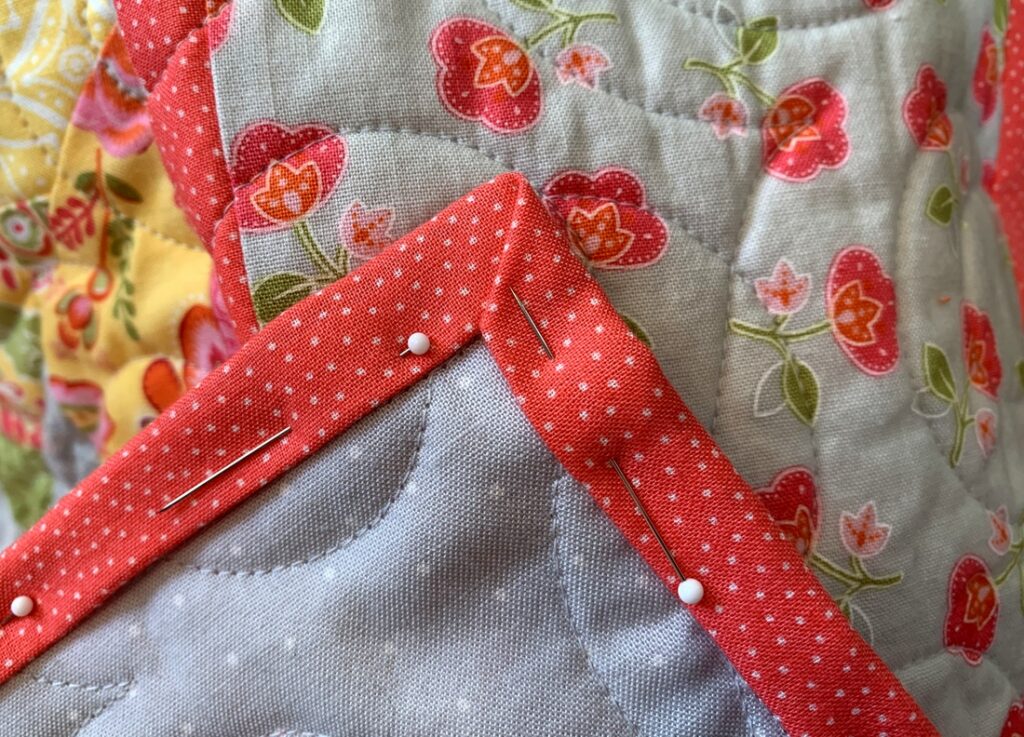
And that’s the one huge advantage of single-fold binding: it’s less bulky, meaning it lies flatter, and that’s especially noticeable on mitered corners. Here’s a look at mitered corners on my latest quilt, Tea Time on High Street:
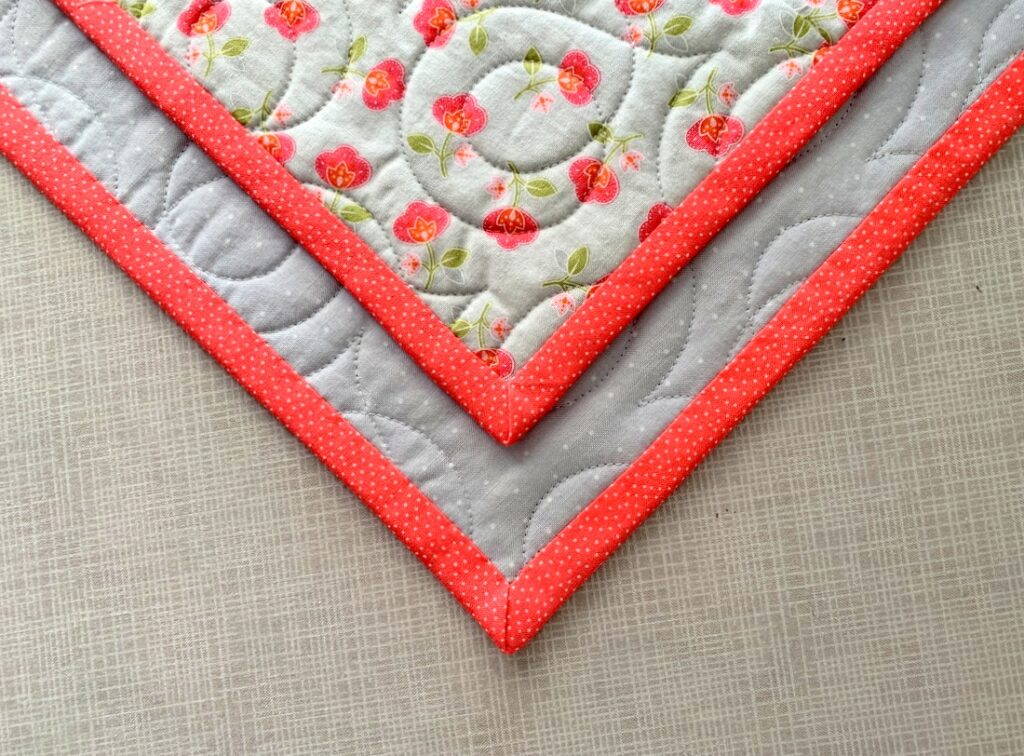 Nice and flat, right? That makes it a terrific option for art quilts and wall hangings.
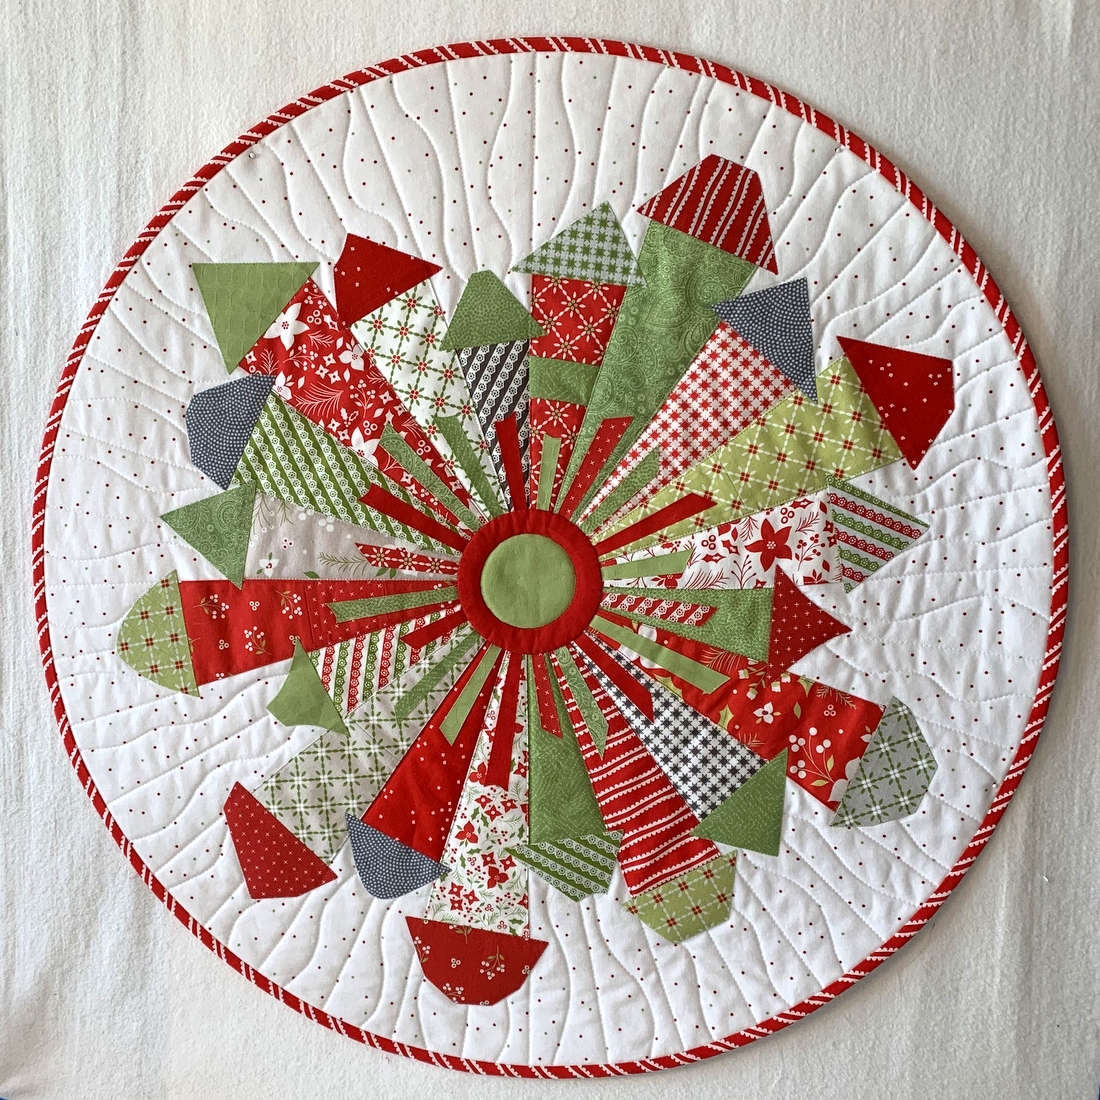
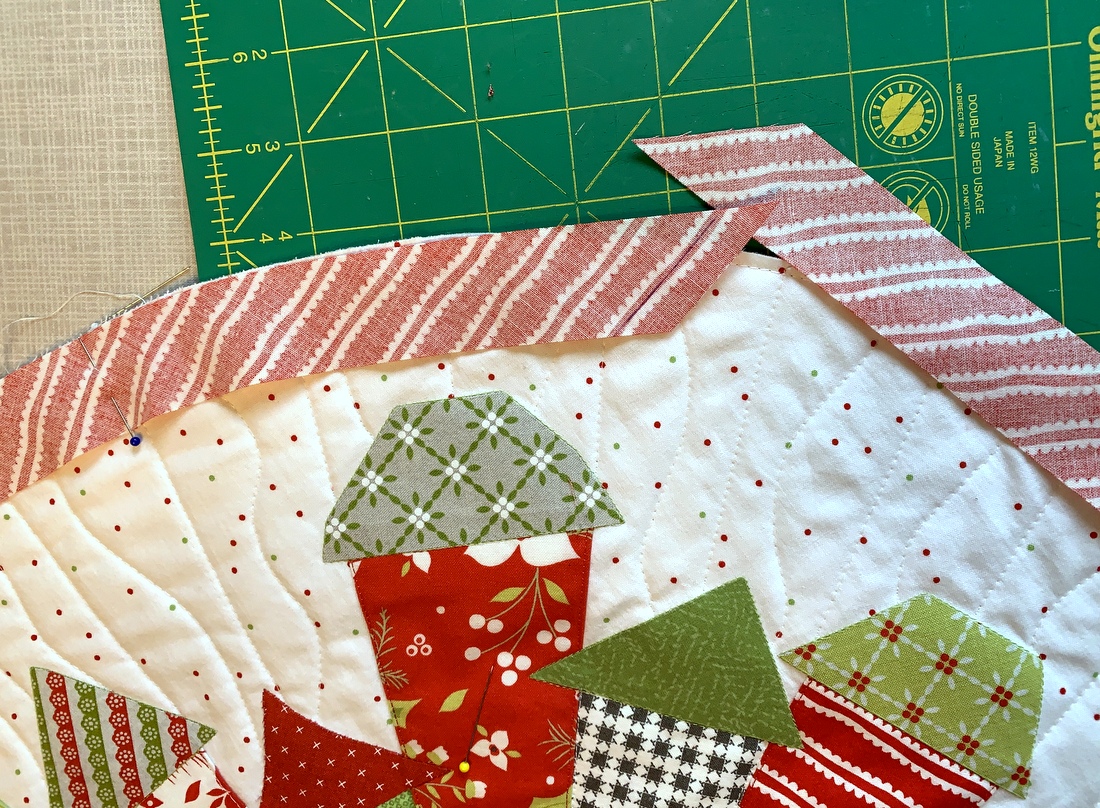
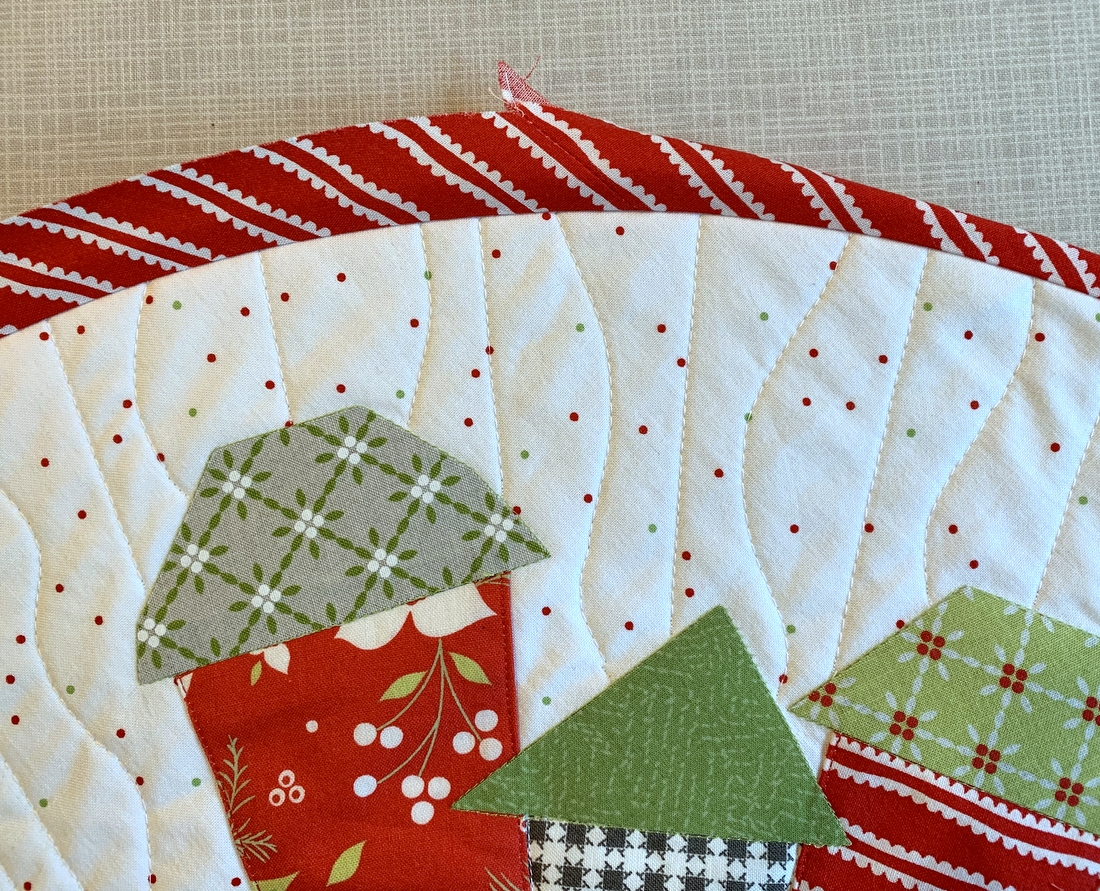
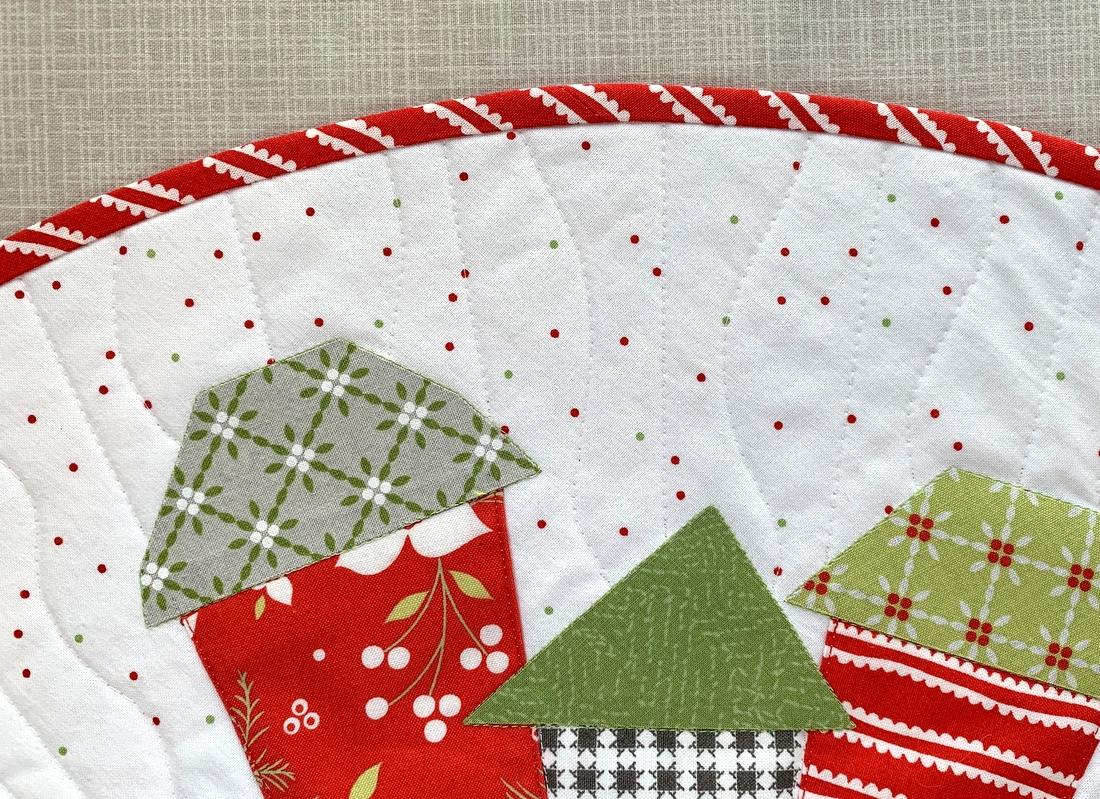
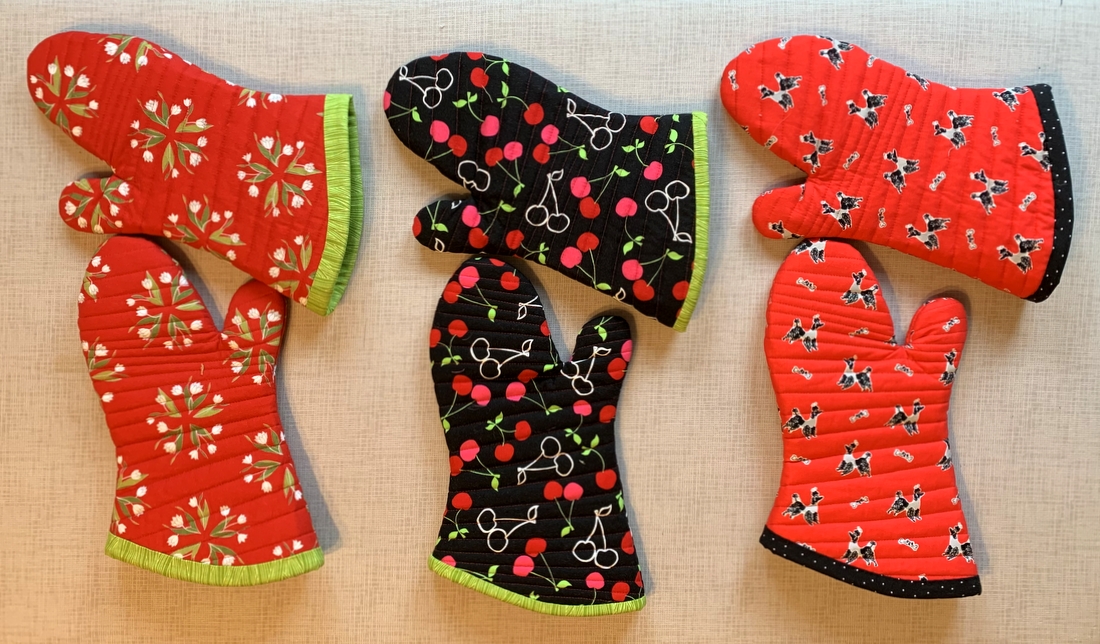
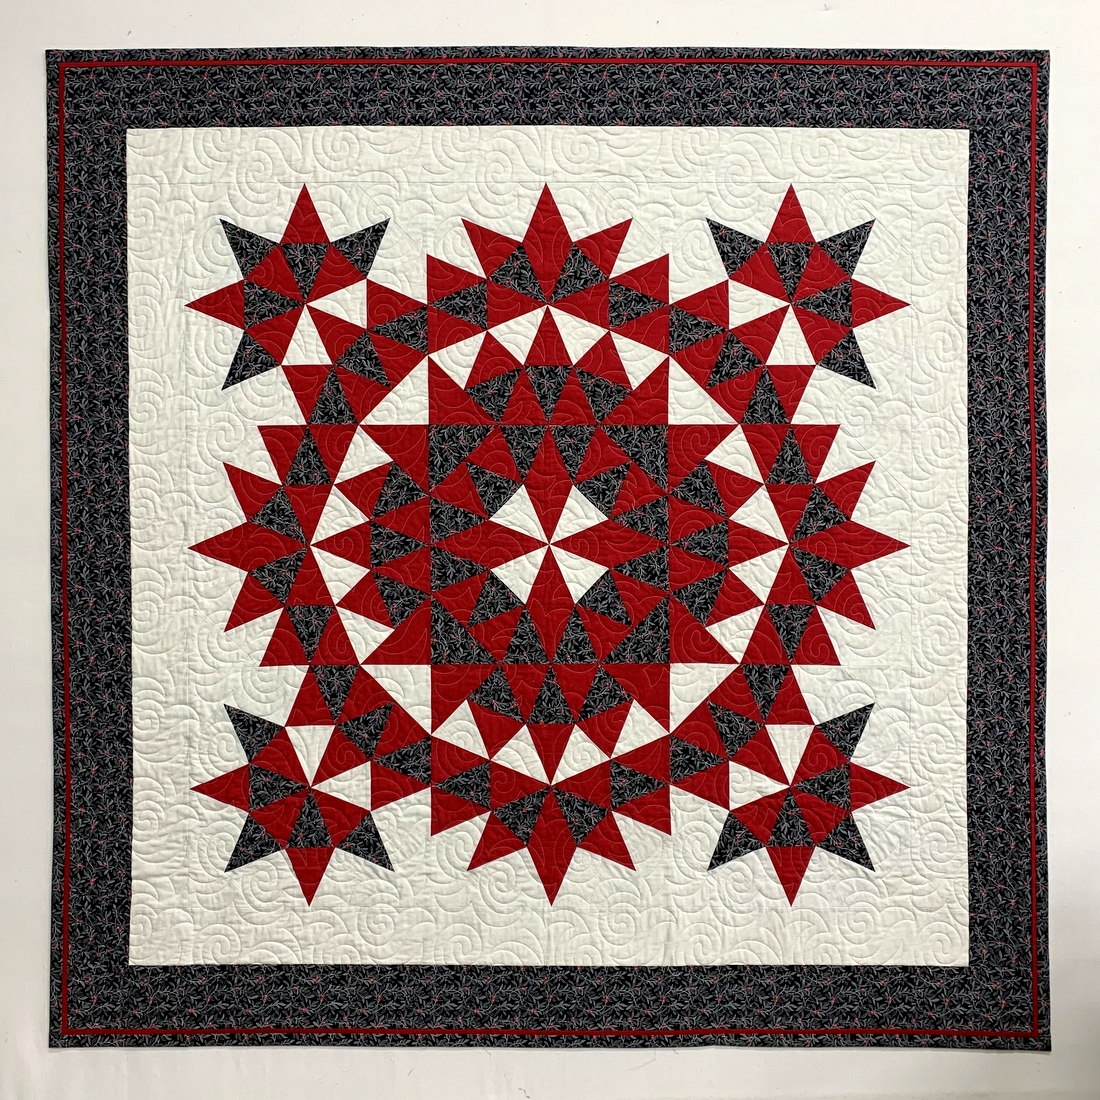
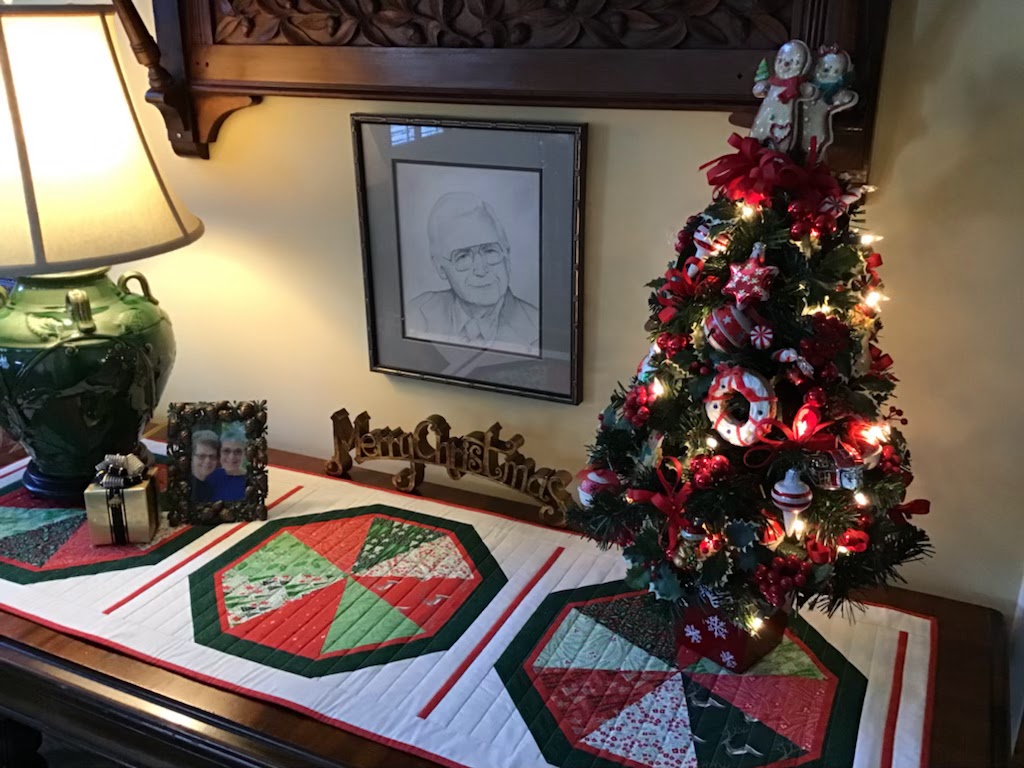
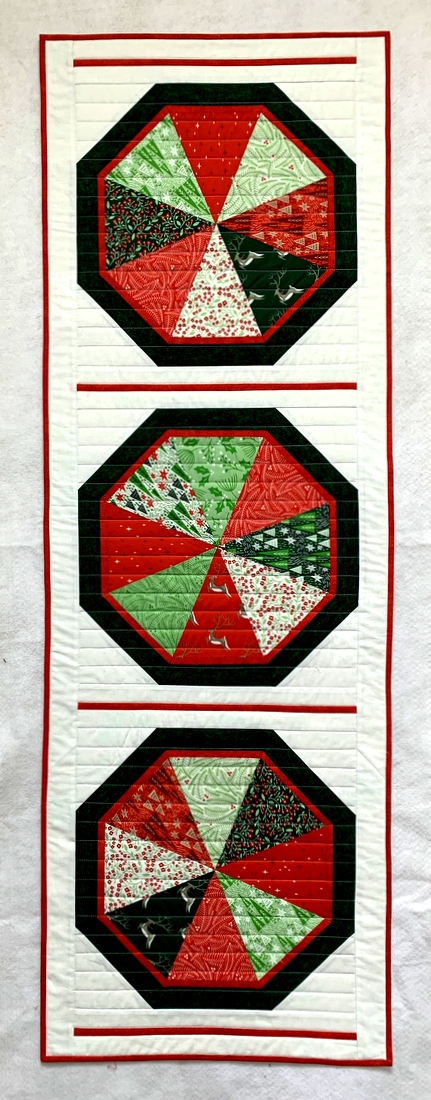
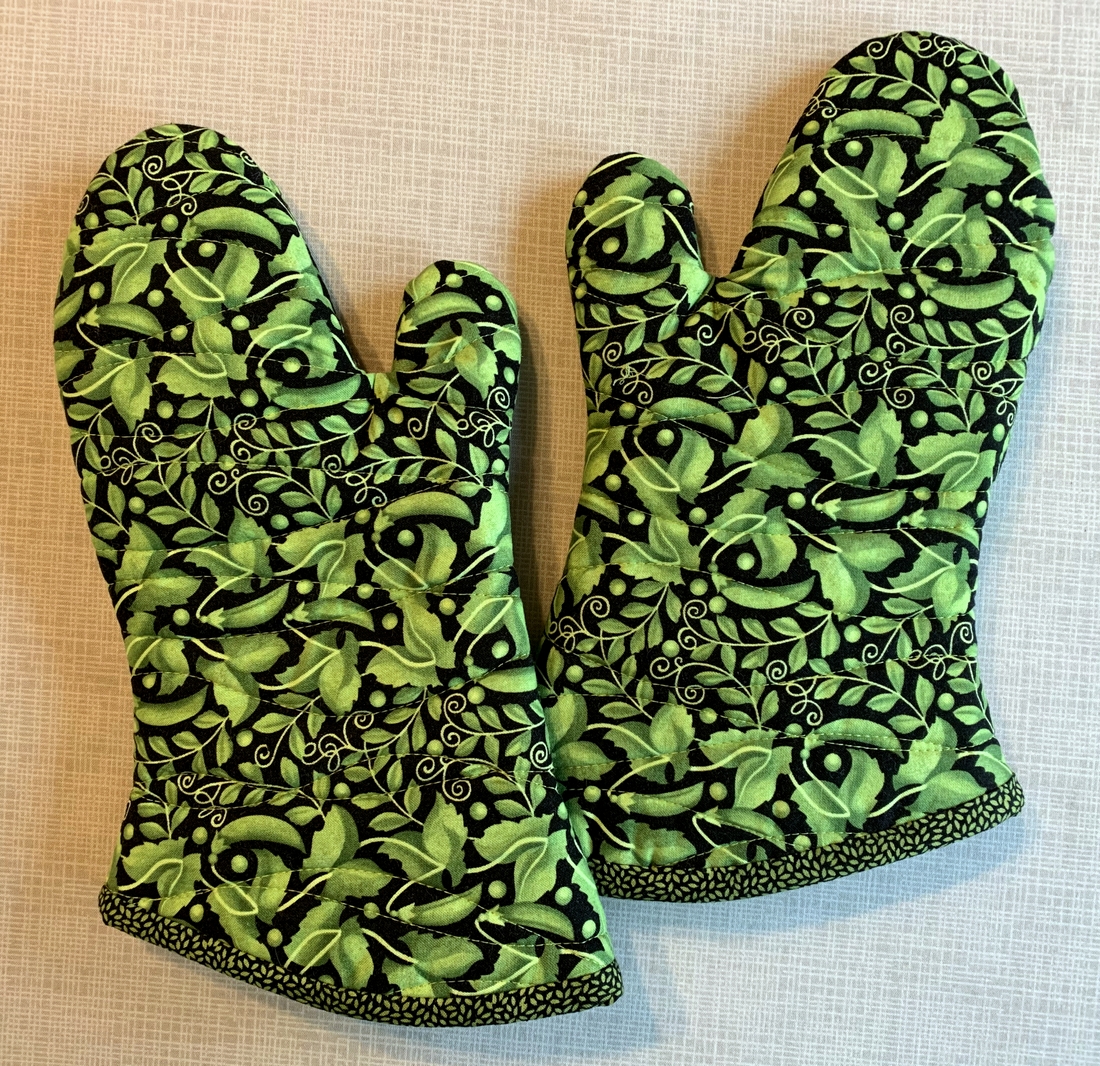
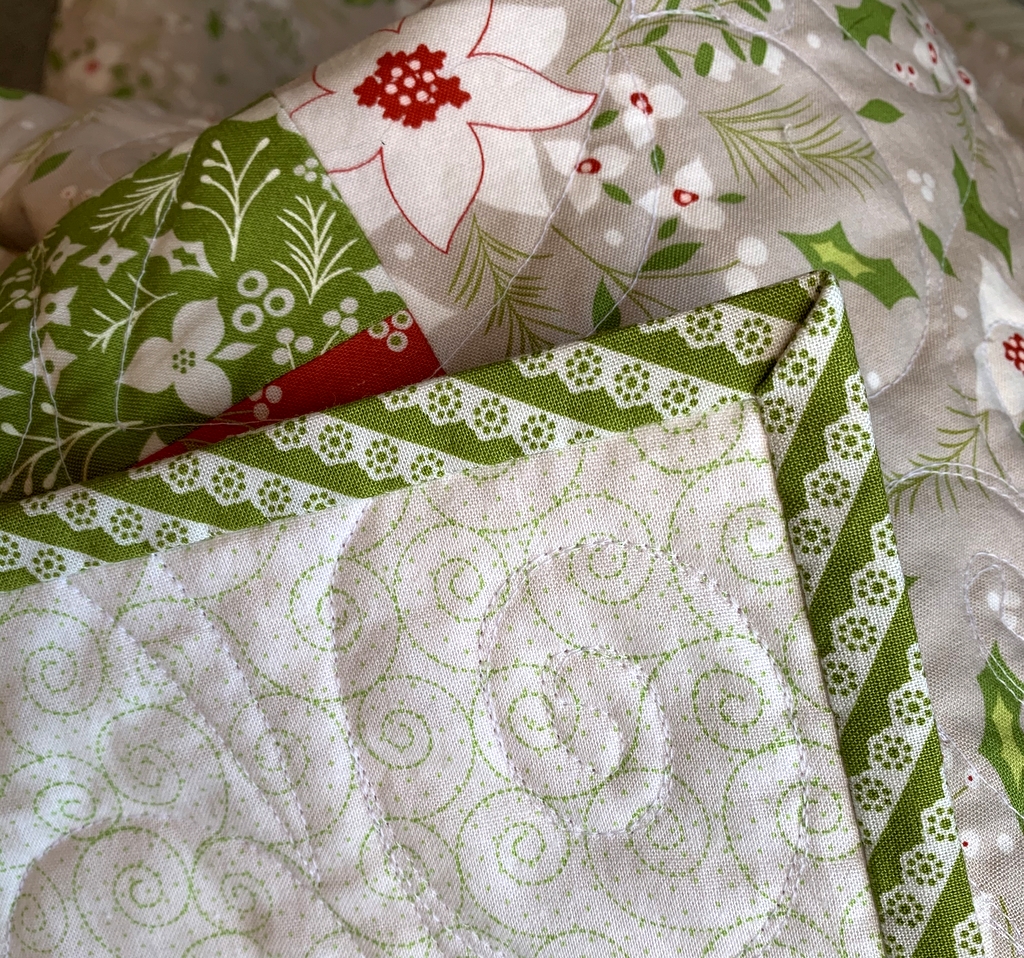
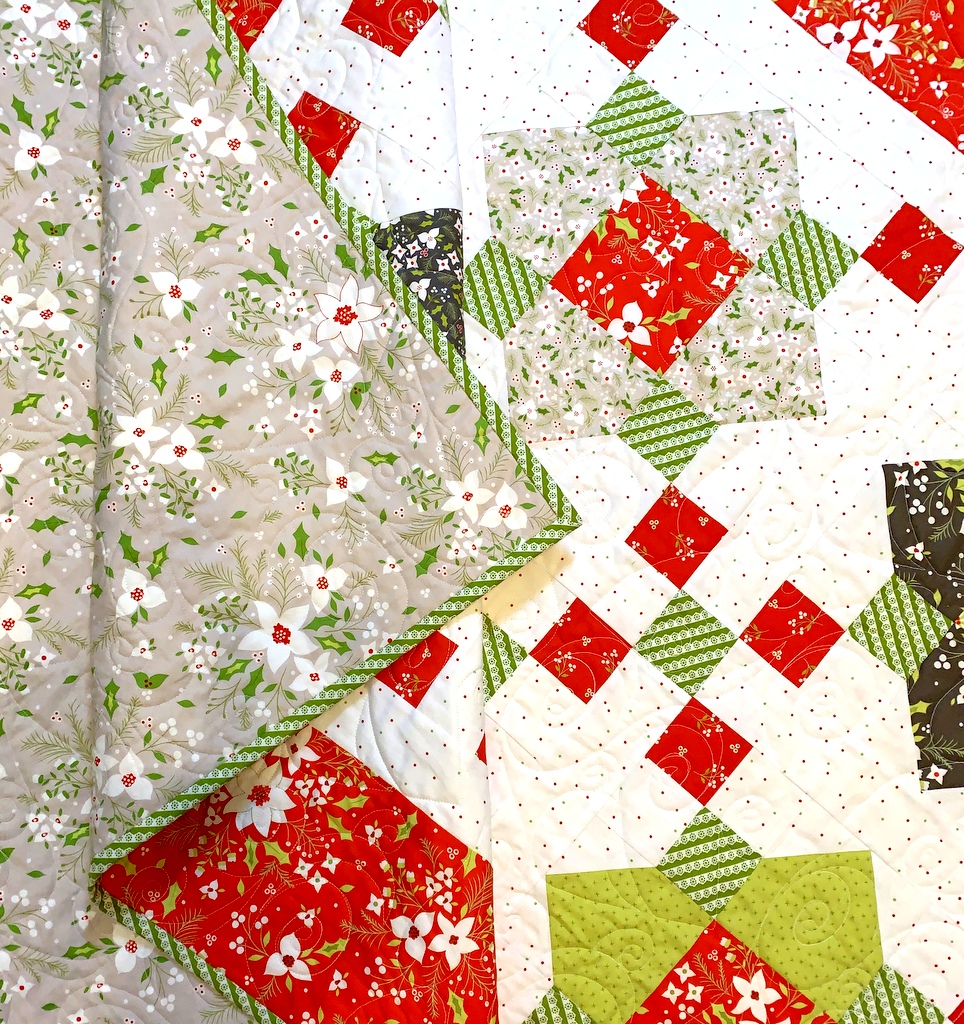
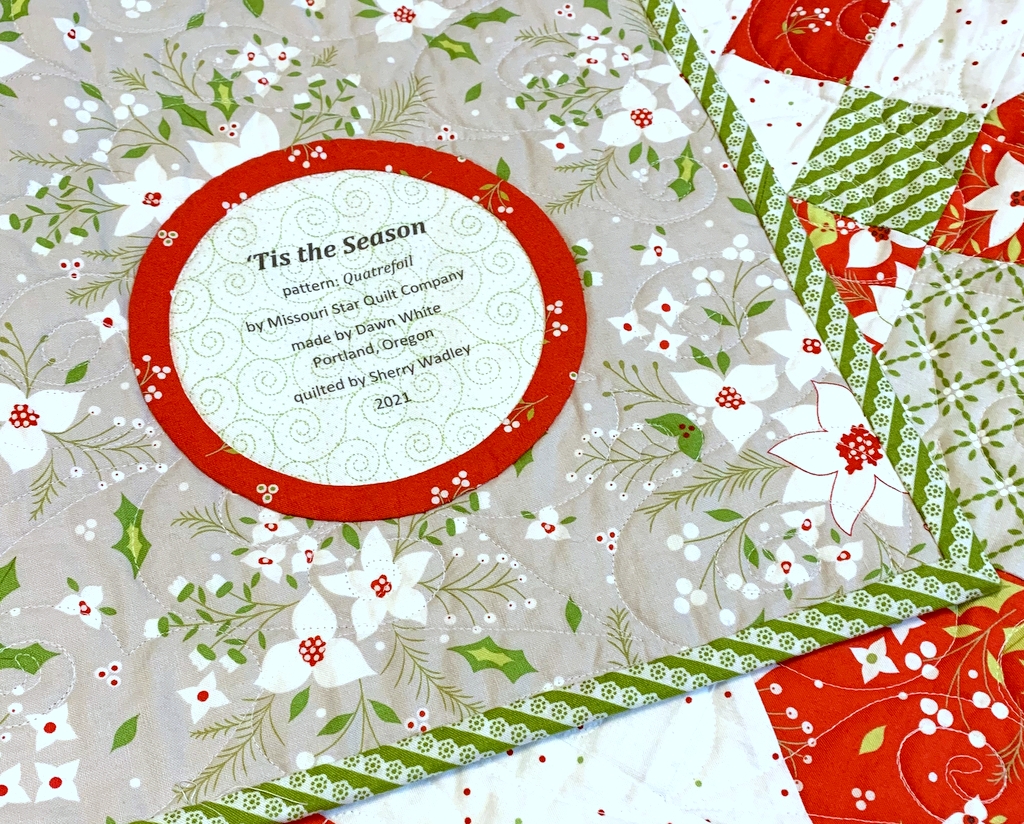
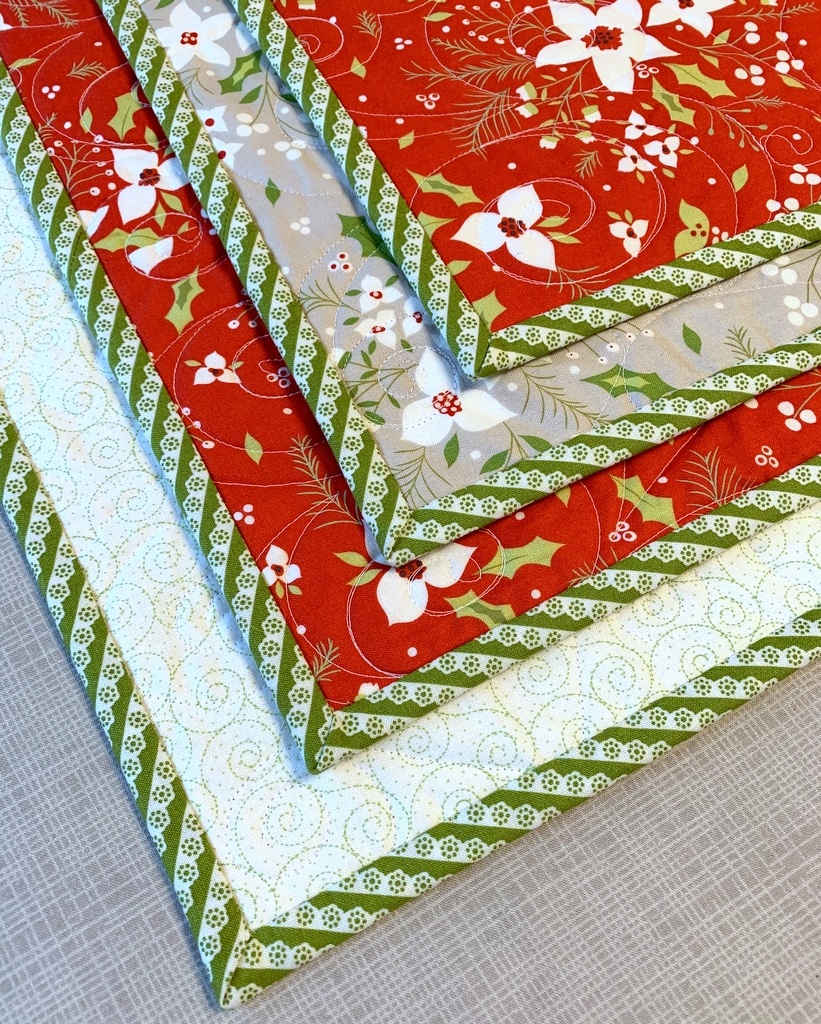
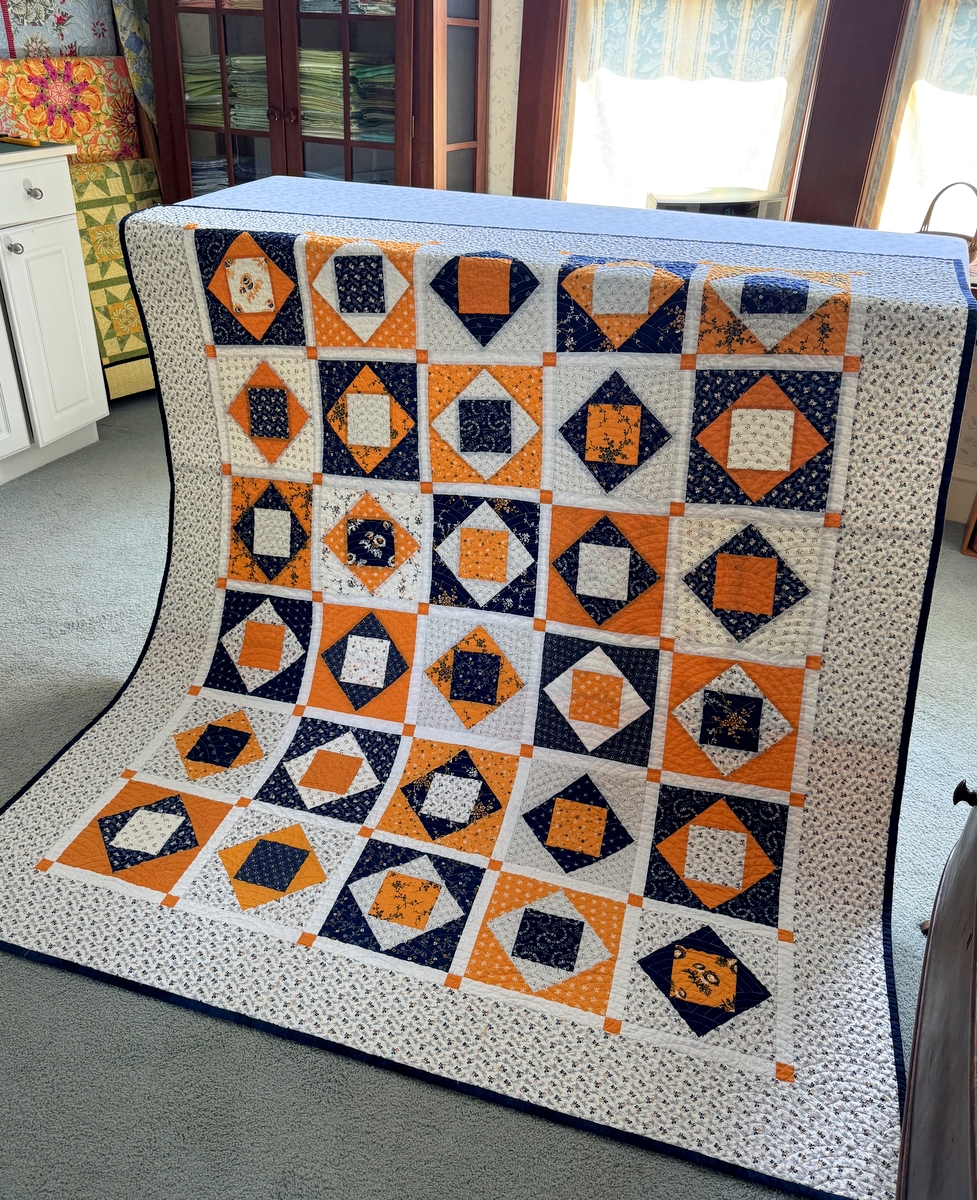
It’s also a good choice for quilts that will be gently used or not handled frequently. Think about quilts that come out for display at certain times of the year, usually for special holidays, such as the Fourth of July, Halloween, or Christmas. I used single-fold binding for the first time on my recent quilt ‘Tis the Season, which you can tell by the name is tied to the holiday season:
Are there any disadvantages to single-fold binding? Well, yes. It isn’t as durable, as there are fewer layers of fabric wrapping around the outer edges of the quilt. With double-fold binding, there are four layers of binding on the front of the quilt and two on the back. With single-fold binding, there are two layers of binding fabric on the front and two on the back. That may not seem terribly different but consider that there is only one layer of fabric going around the outside edge of a quilt with single-fold binding whereas with double-fold binding there are two layers.
Another possible disadvantage is that if you were to use light colored binding on a dark quilt or use dark batting, there’s a chance of shadowing on the outside edge of the quilt.
You have to think about how a quilt will be used before deciding on whether to use single-fold or double-fold binding. I would definitely put double-fold binding on a baby quilt, for example, as I would want that quilt to be loved, used, and dragged around by the recipient until it was completely worn out. I would also use double-fold binding on a bed quilt or lap quilt that was going to be laundered frequently. For almost any other quilt, I would consider single-fold binding. If you decide to try single-fold binding on one of your next quilts, I predict you will like it.
The first question you might ask is: what’s the formula for determining the width of binding strips? I consulted three reference books, each of which had a different formula! I think this one is the best:
finished width of binding x 4 + ¼”
— for ¼” finished binding: cut strips 1¼” (¼” x 4 + ¼”)
— for ⅜” finished binding, cut strips 1¾” (⅜” x 4 + ¼”)
— for ½” finished binding: cut strips 2¼” (½” x 4 + ¼”)
Caveat: the loft of the batting can affect this formula so be sure to test on a quilt sandwich made from layered scraps and your batting before cutting binding strips.
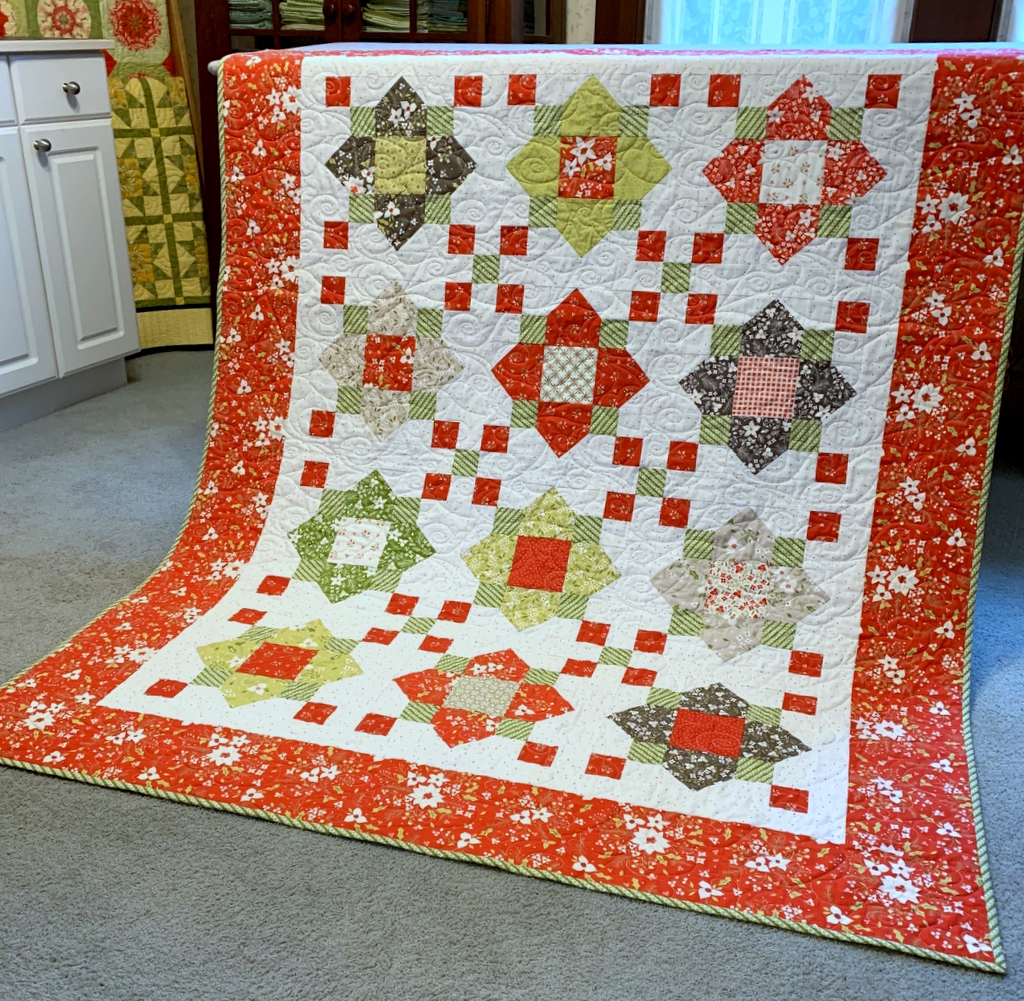
The procedure for applying single-fold binding is quite similar to double-fold but there are a few differences. I’m going to walk you through the steps using Tea Time on High Street as an example.
Having decided on ½”-wide binding, I tested on scraps. Much to my surprise, I found that cutting my strips 2″ wide instead of 2¼” and sewing a scant half-inch seam gave me the ½” finished width I wanted. (On a subsequent test using 1¼”-wide strips for a ¼” finished binding, my results were spot on.)
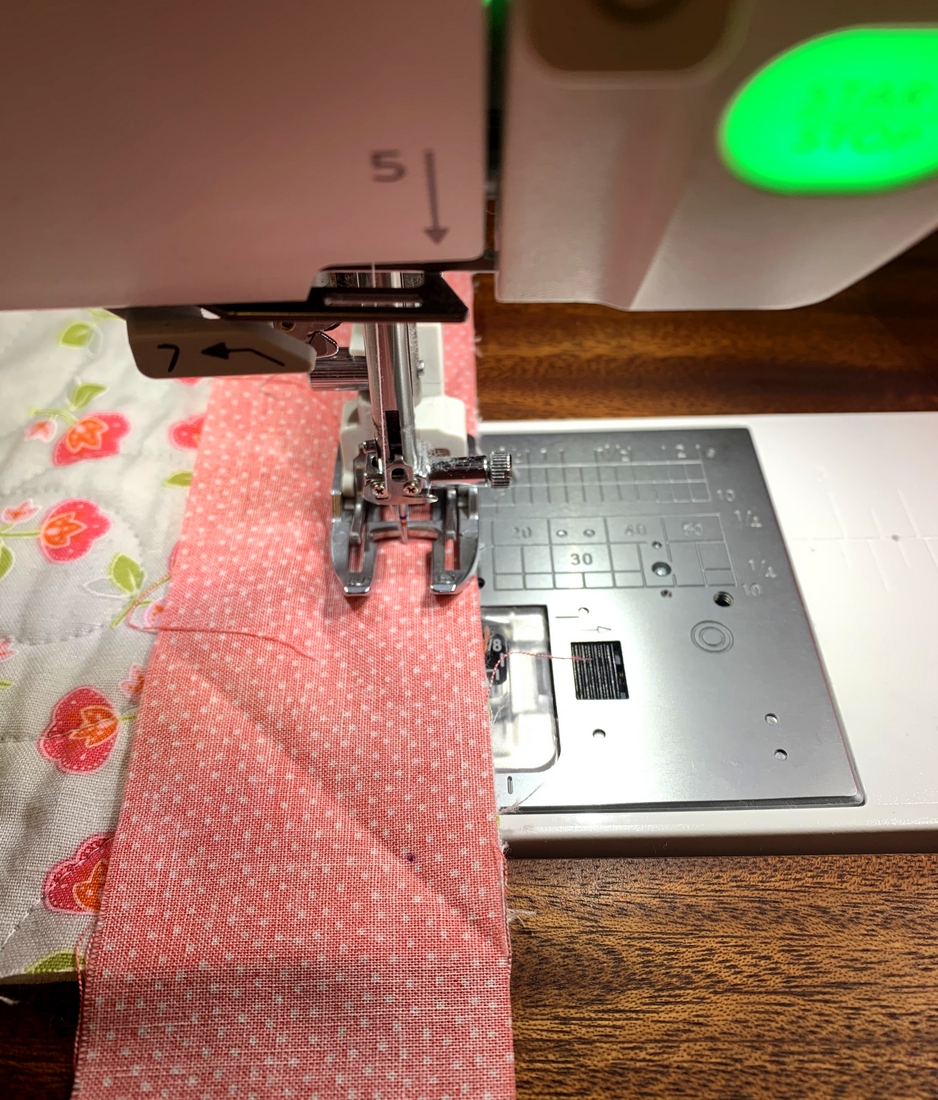
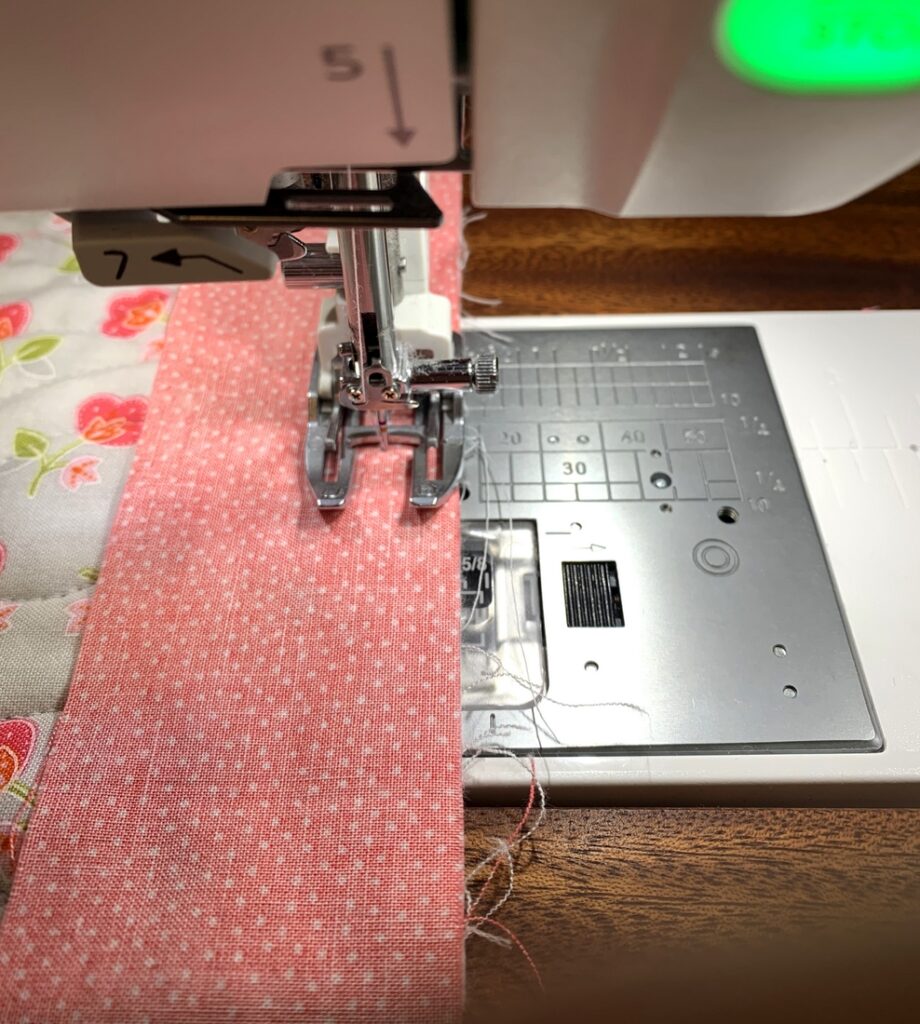
In the photo below, my 2″ wide binding strip is aligned with the raw edges of the quilt, right sides together. I’m using my open-toed walking foot, which feeds the layers evenly and allows me to see the needle going in and out of the fabric. I stop stitching about 3″ from the bottom edge of the quilt. . .
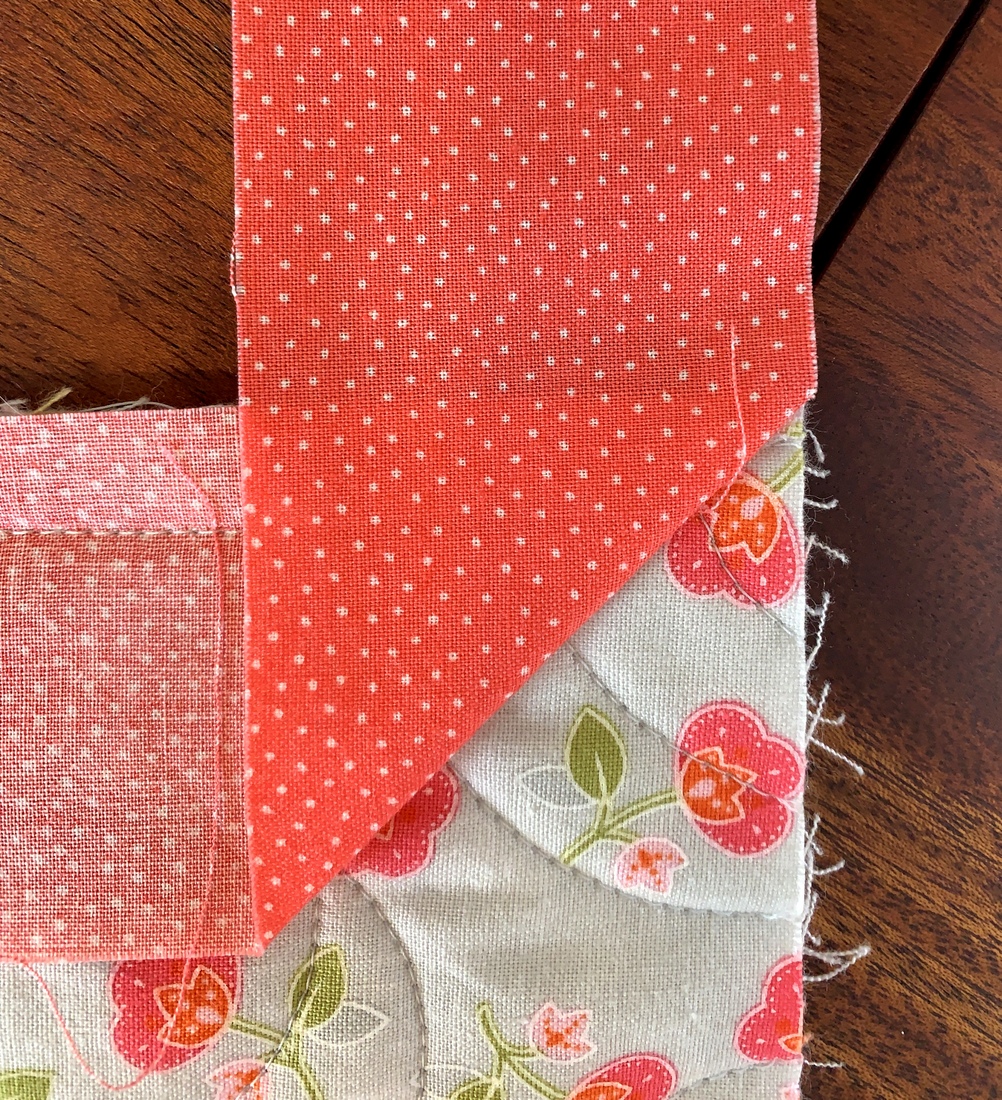
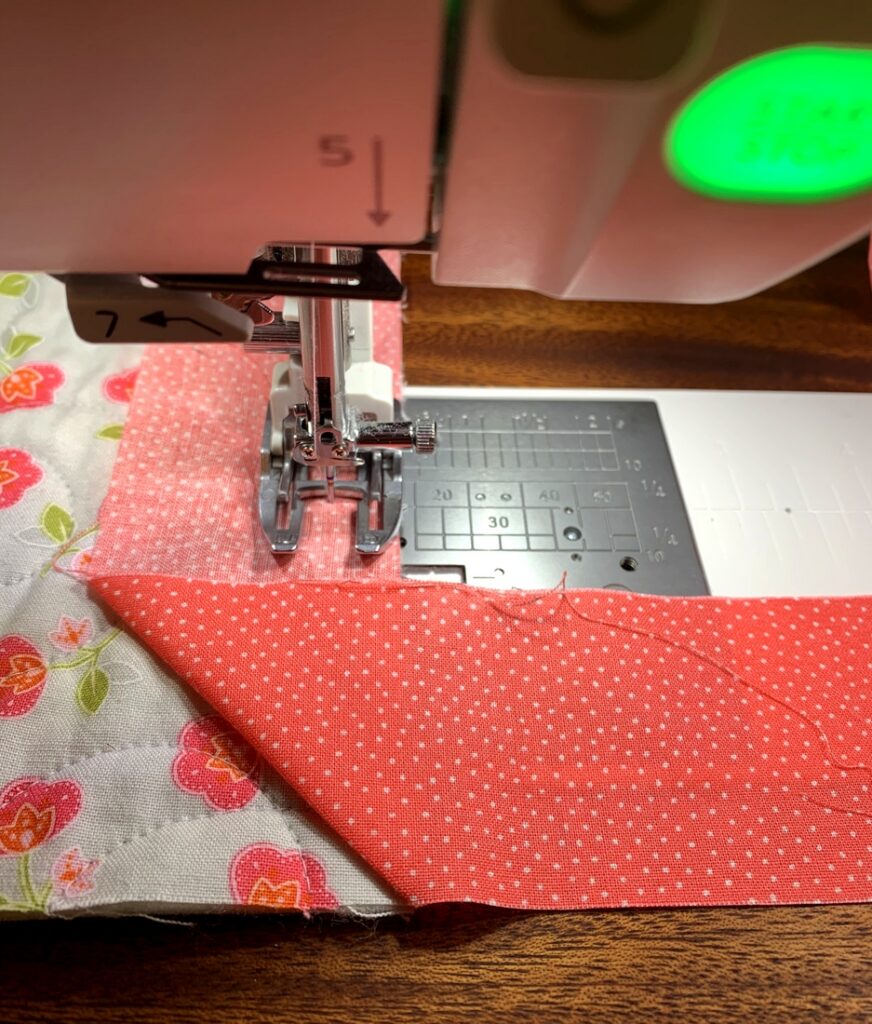
 . . . and fold the binding strip to the right at a 45˚ angle, making sure the bottom edge of the binding strip is even with the bottom edge of the quilt before finger pressing the crease:
When I open up the binding strip I can see where I finger pressed it. Using a sharp #2 pencil or a removable marking pen, I make a small dot on my stitching line just above the pressed crease:

Then I sew down to that dot, knowing I can go absolutely no farther than the dot before backstitching a few stitches. I can even stop a half-stitch before the dot. I do that to make sure that when I start stitching down the second side, there’s no chance my sewing lines will intersect. If they cross each other by even one stitch, I won’t get a properly mitered corner.
Next I fold the binding strip straight up, just as you would for double-fold binding . . .
 . . . and then straight down, also just as you would for double-fold:
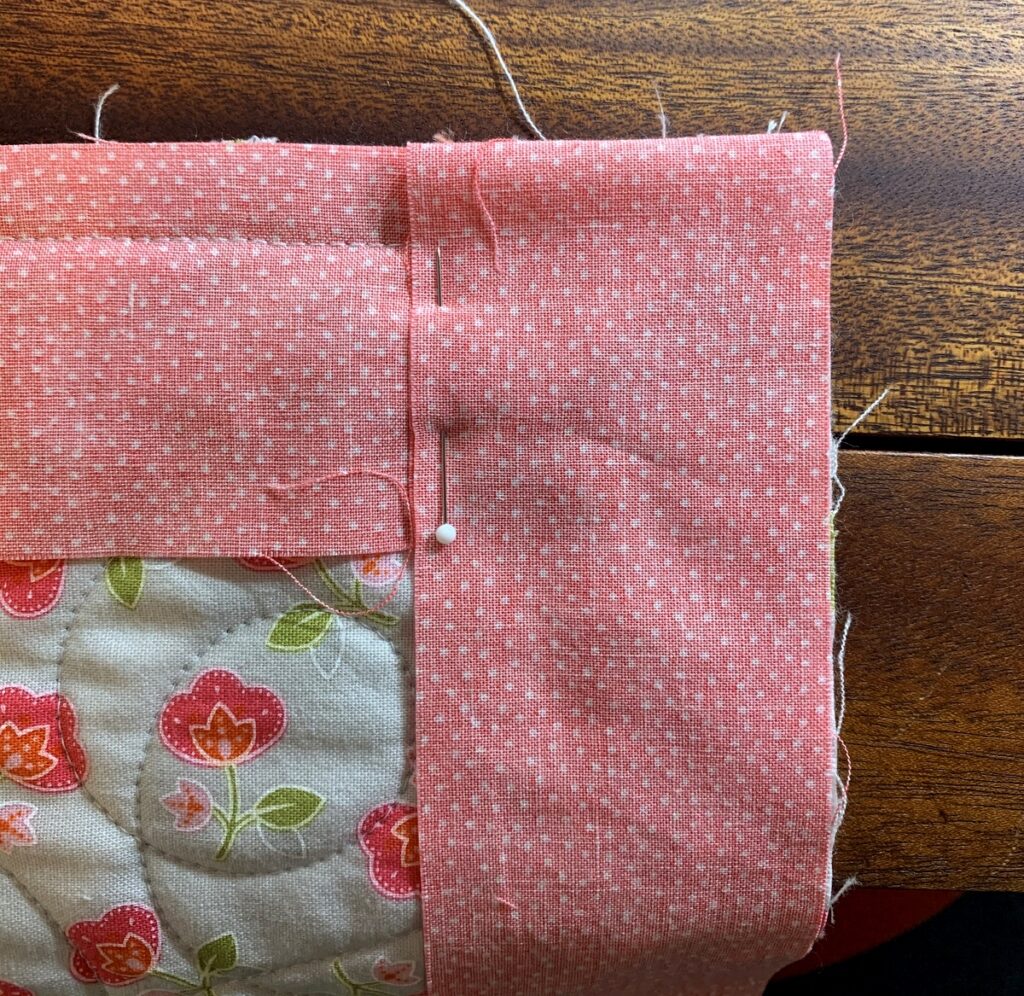
Did you notice that pin on the left edge of the binding where two layers of fabric must be perfectly aligned? I keep that pin in when I sew the next seam because it holds all of the layers in place to prevent shifting and it’s not in the way of any foot I might have on my sewing machine. (In fact, I leave that pin in until I am ready to form the miter and pin the binding in place.)
I work my way around the quilt, forming the other three miters, and finish the fourth side of the binding by sewing the beginning and ending tails together with an angled seam and finishing the seam between the two lines of stitching. (There are several ways to finish the tails of quilt binding so I’m not going into that here.)
From the right side of the quilt I press the seam toward the outer edges, avoiding the corners:
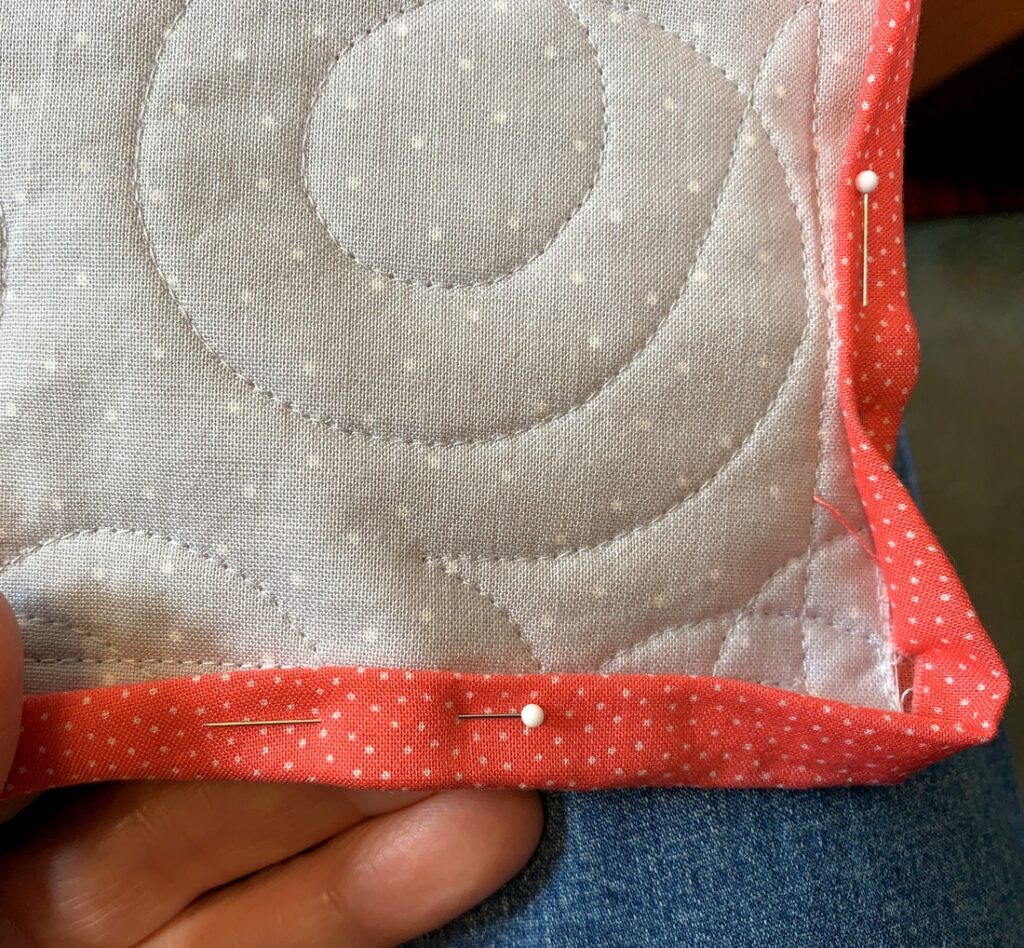
Starting about 2″ from a corner, I bring the raw edge of the binding up to the edges of the quilt, forming the first fold . . .
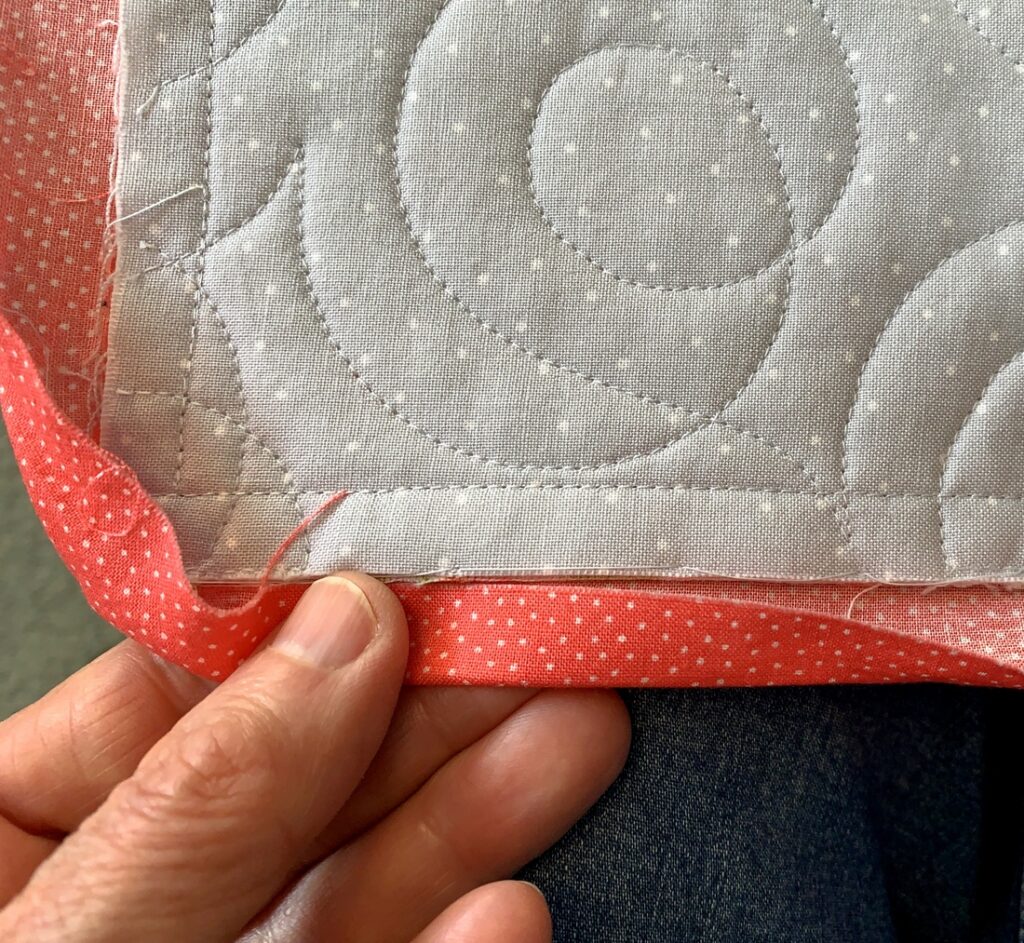
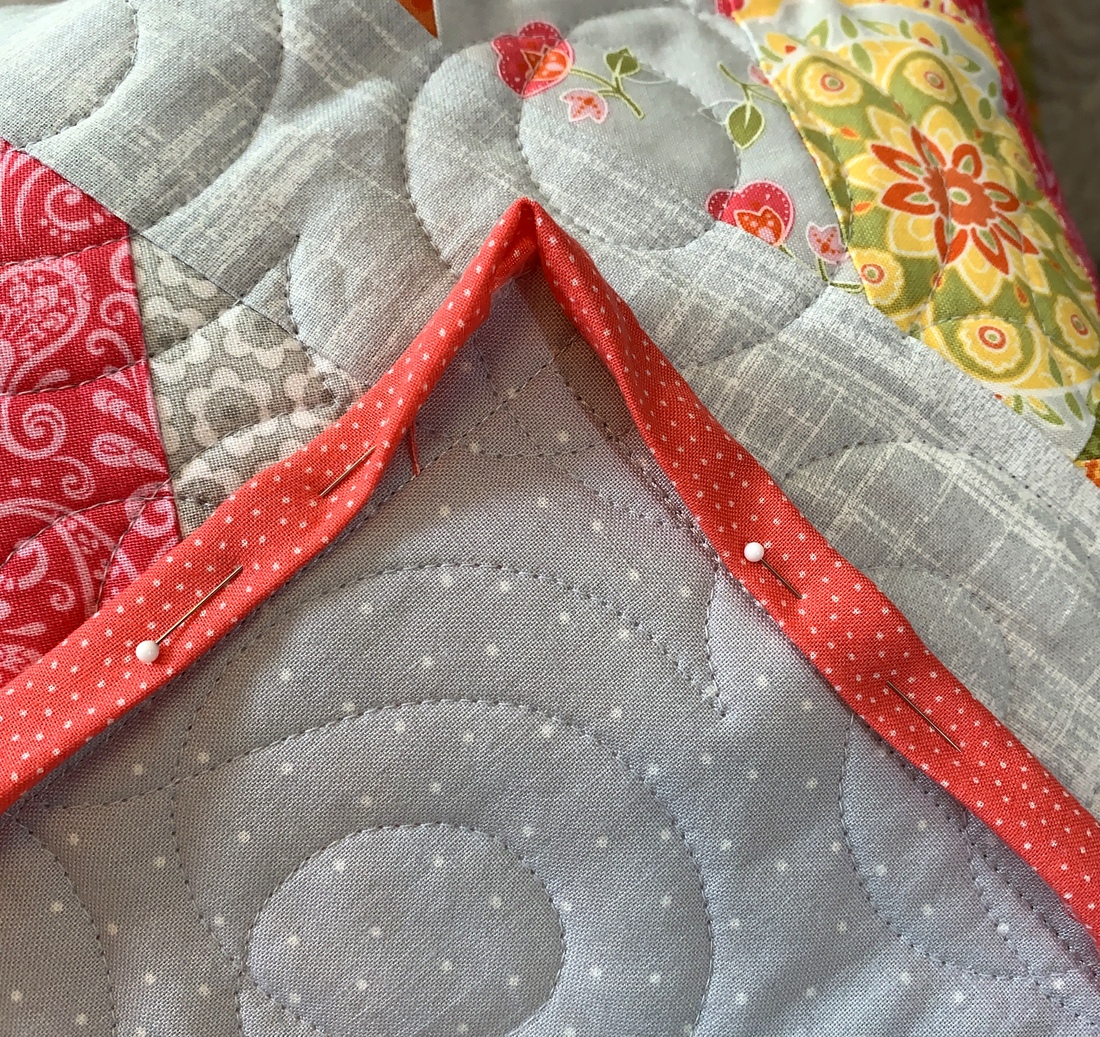
. . . and then fold it once again so that the folded edge covers the line of stitching. Then I put a pin in to hold the binding in place:
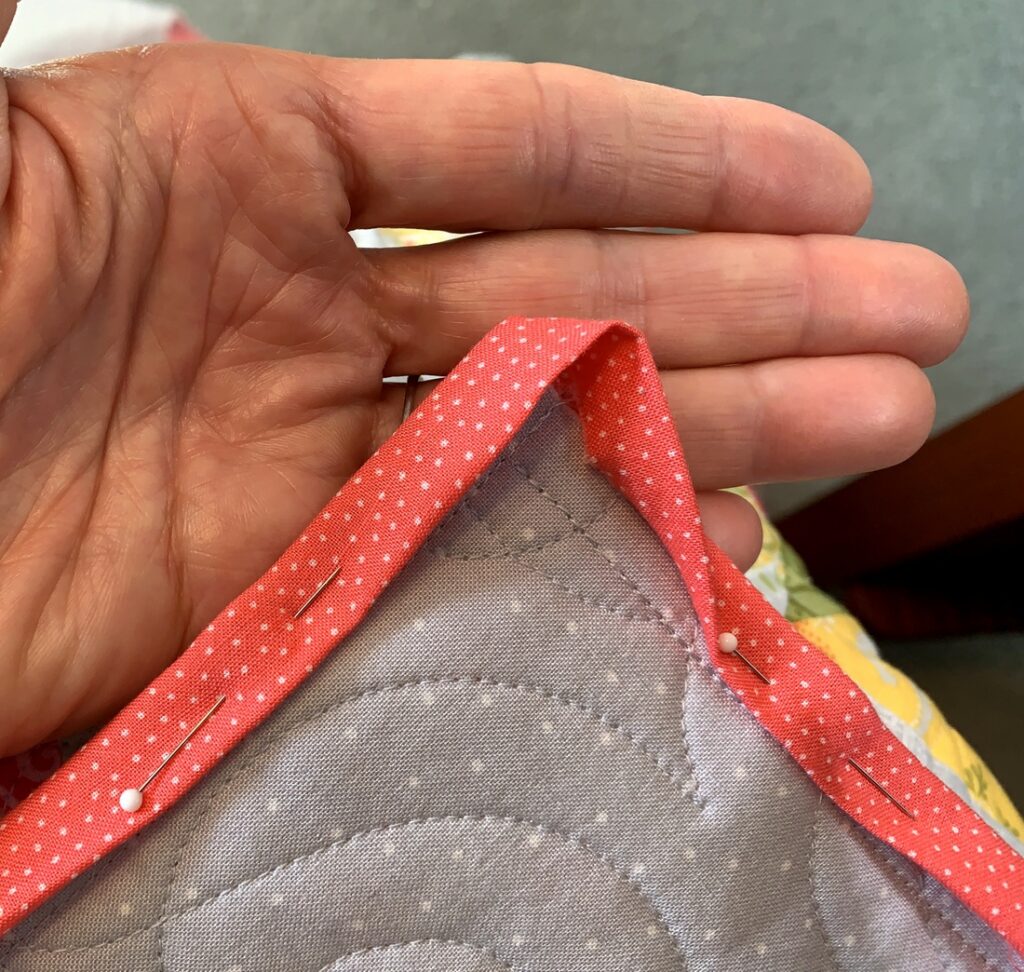
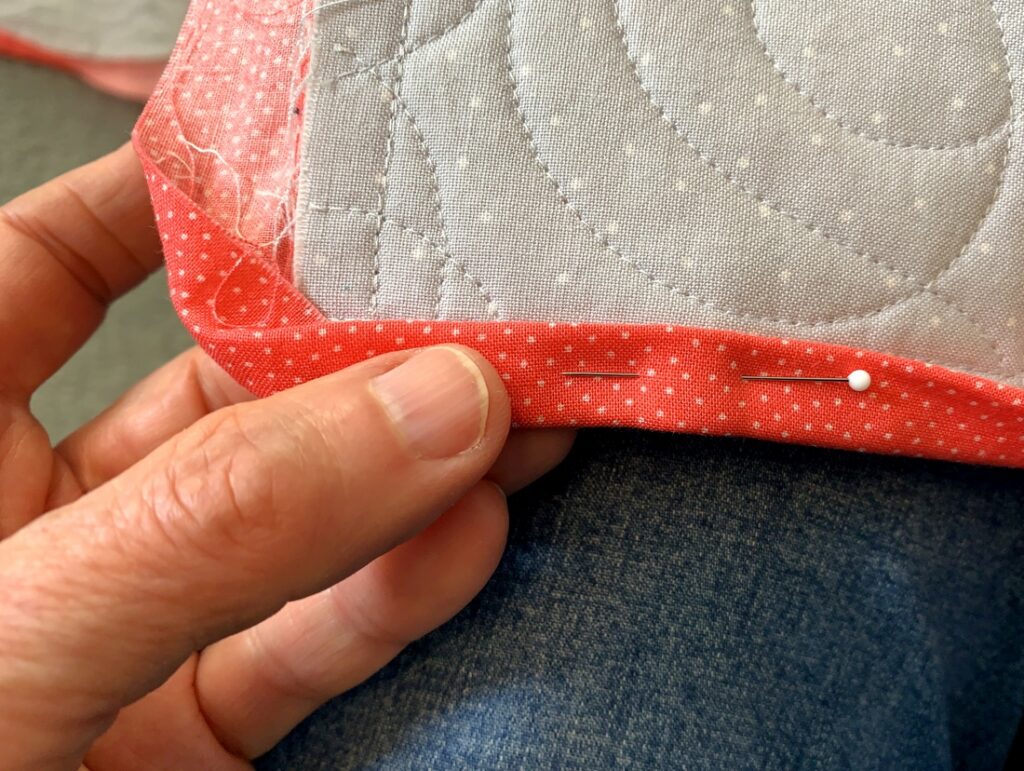 I rotate the quilt and do the same thing on the second side:
 With the raw edge turned under, you can see how the corner is getting ready to be mitered:
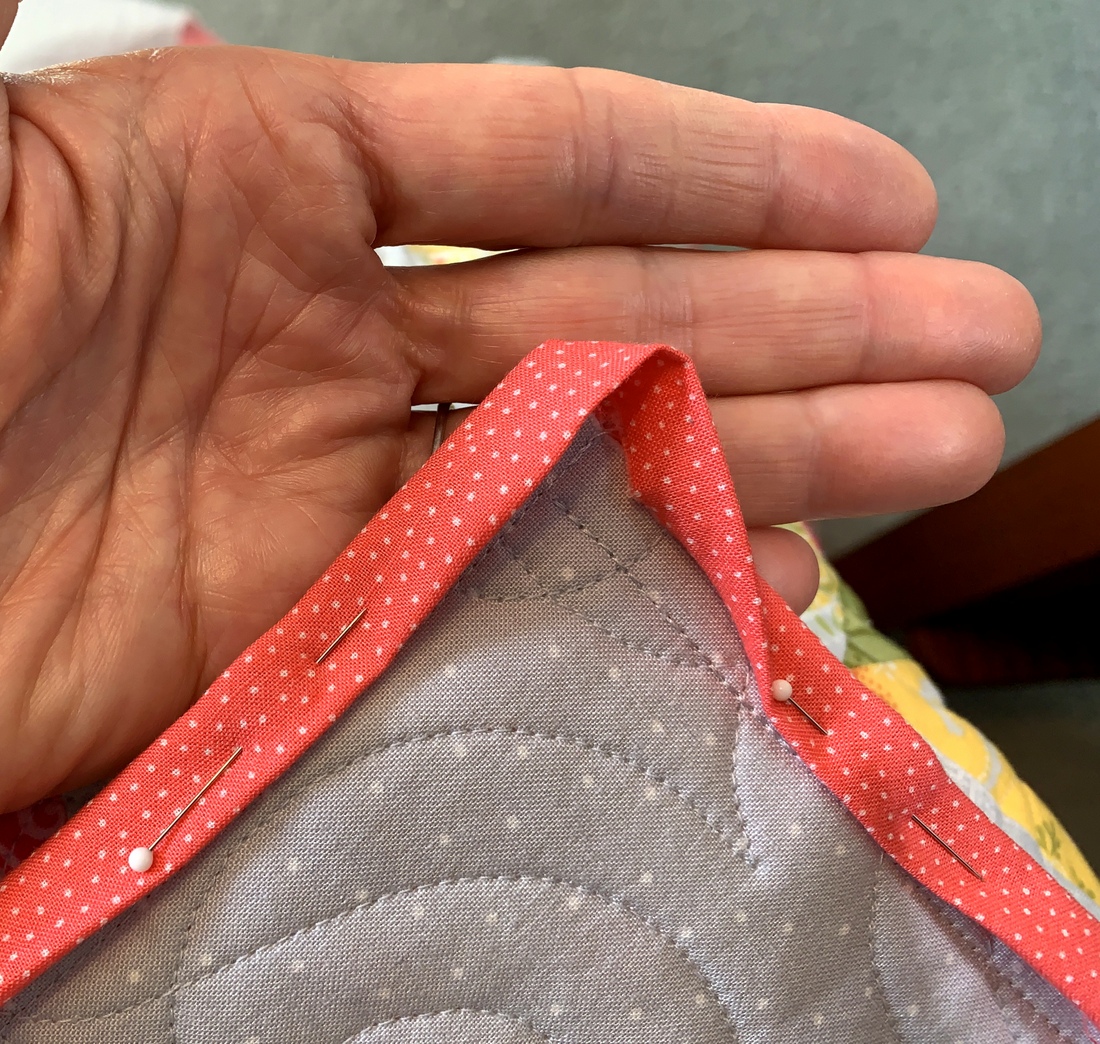
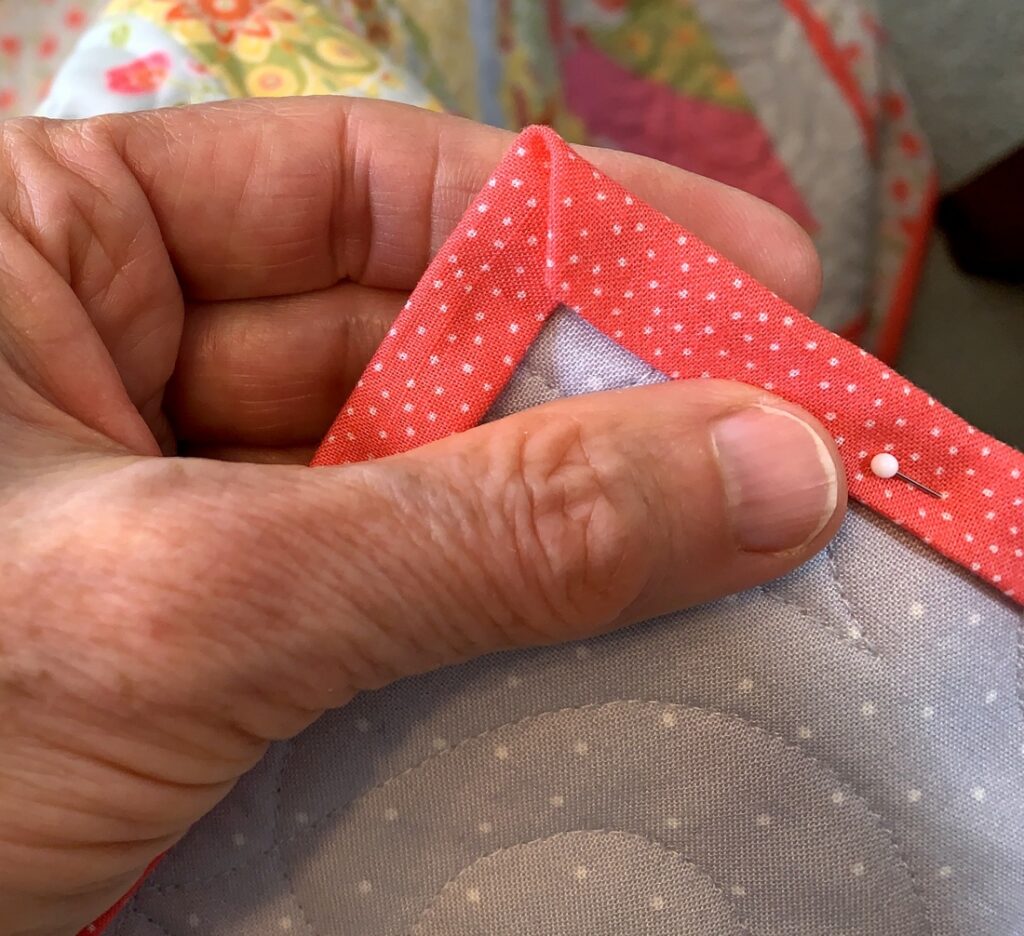
 You can form the miter from either side. I usually try it both ways and pick the one that looks best:
On this corner I tried it both ways and neither side lined up just right. See how the right side overlaps the left side by a couple of stitches?
It was an easy fix, though. I just opened up the corner . . .
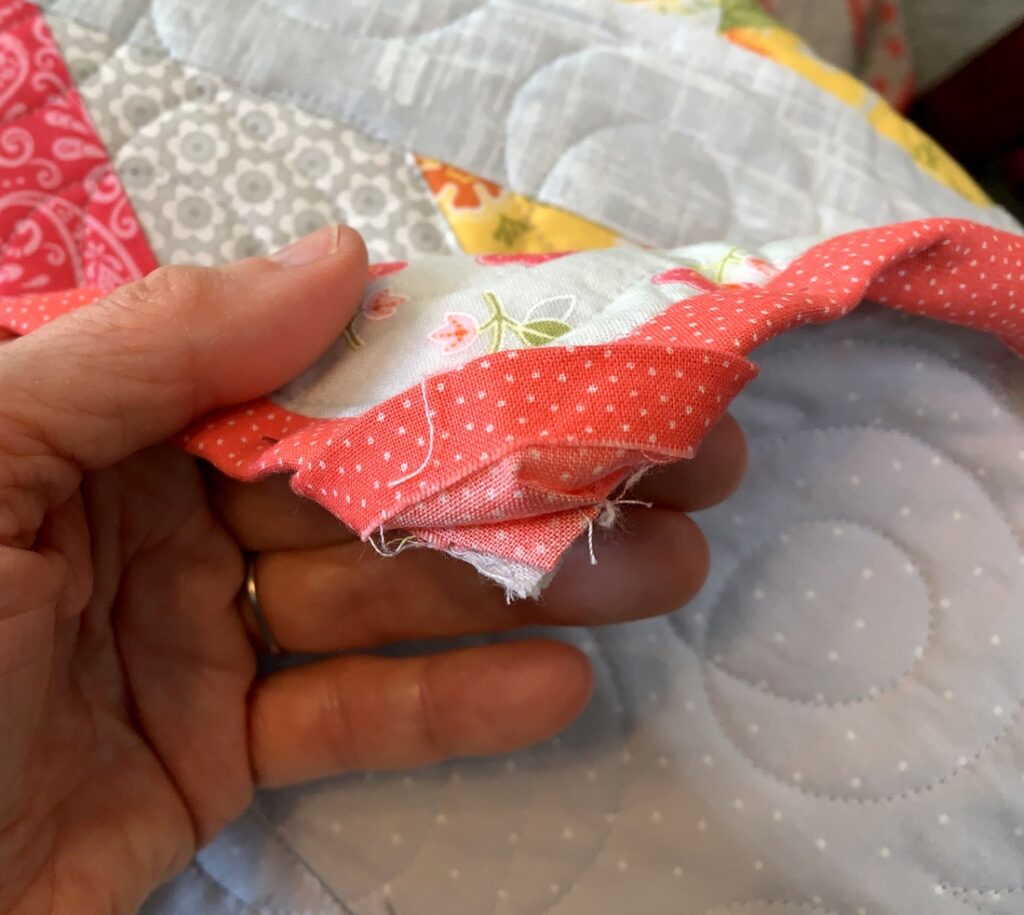
. . . and adjusted the fold a tiny bit. This time the miter came together perfectly:
And now I’m reading to tack the binding down:
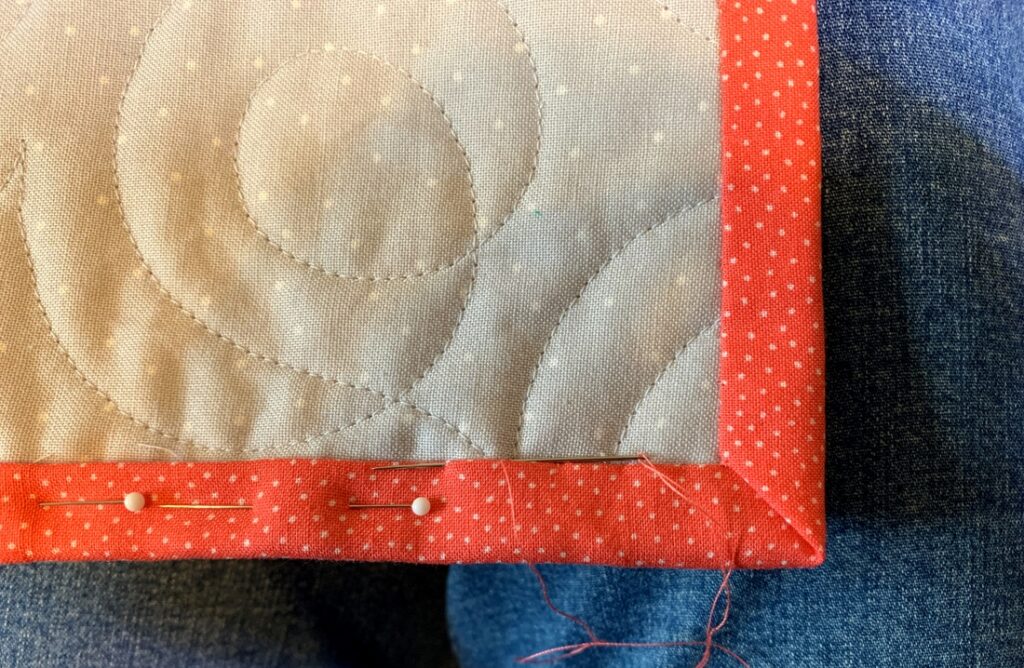 Some people don’t enjoy this aspect of quiltmaking but I find it both relaxing and satisfying.
Please let me know if you have any questions about single-fold binding. And if you do give this method a try, I would love to hear about your experience.
I’m ending this post with a shoutout to my friend Pam Raby of lovedtopieces.com who first brought single-fold binding to my attention. As I told Pam after trying it out with ‘Tis the Season, “It’s a game changer!”

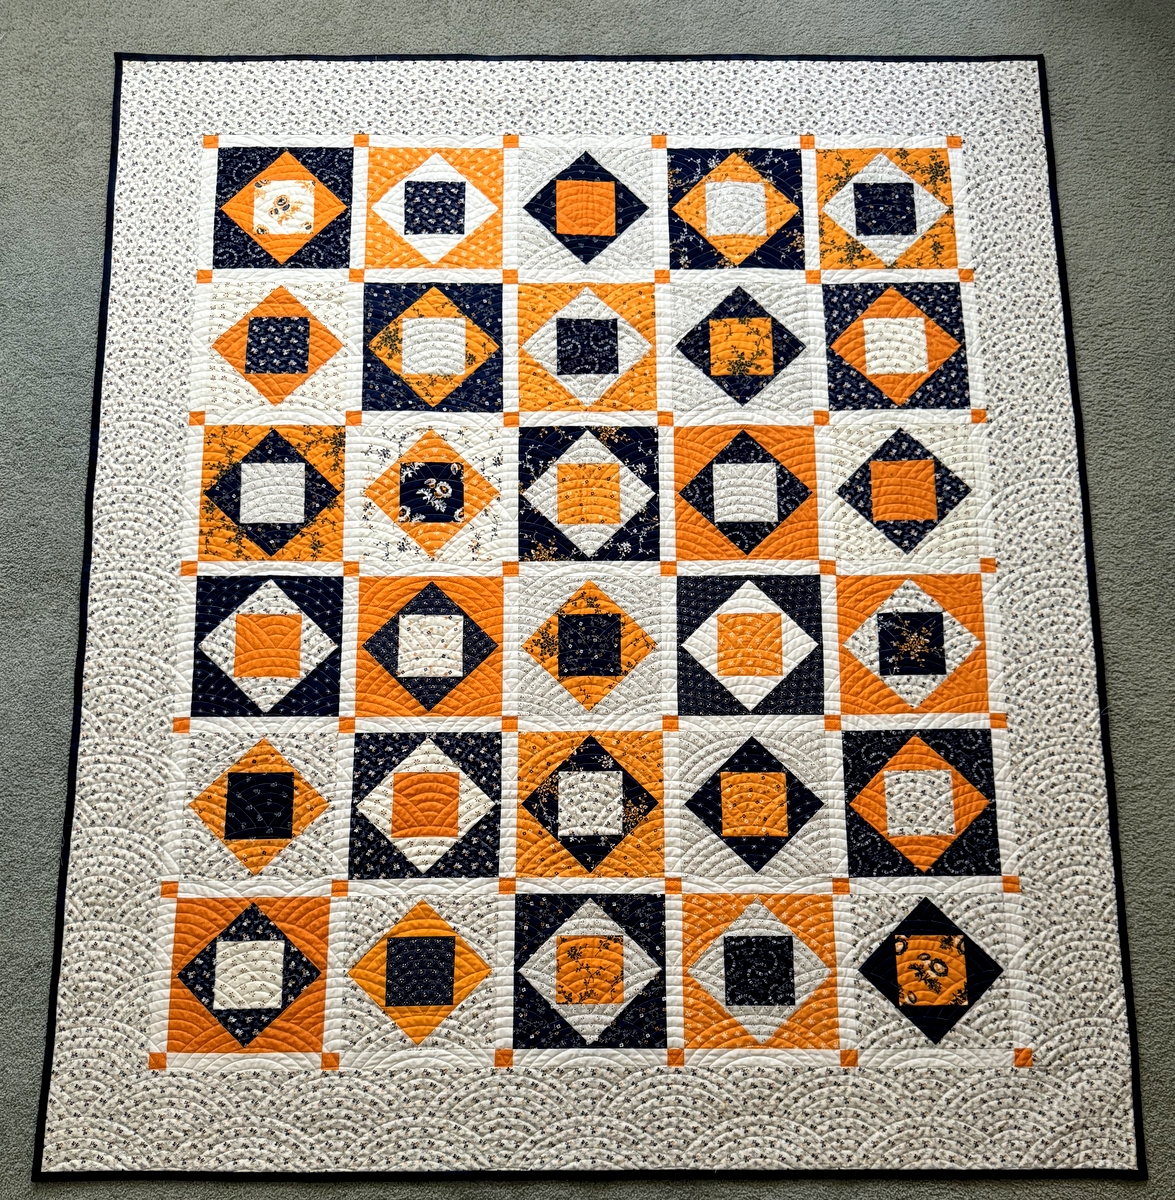
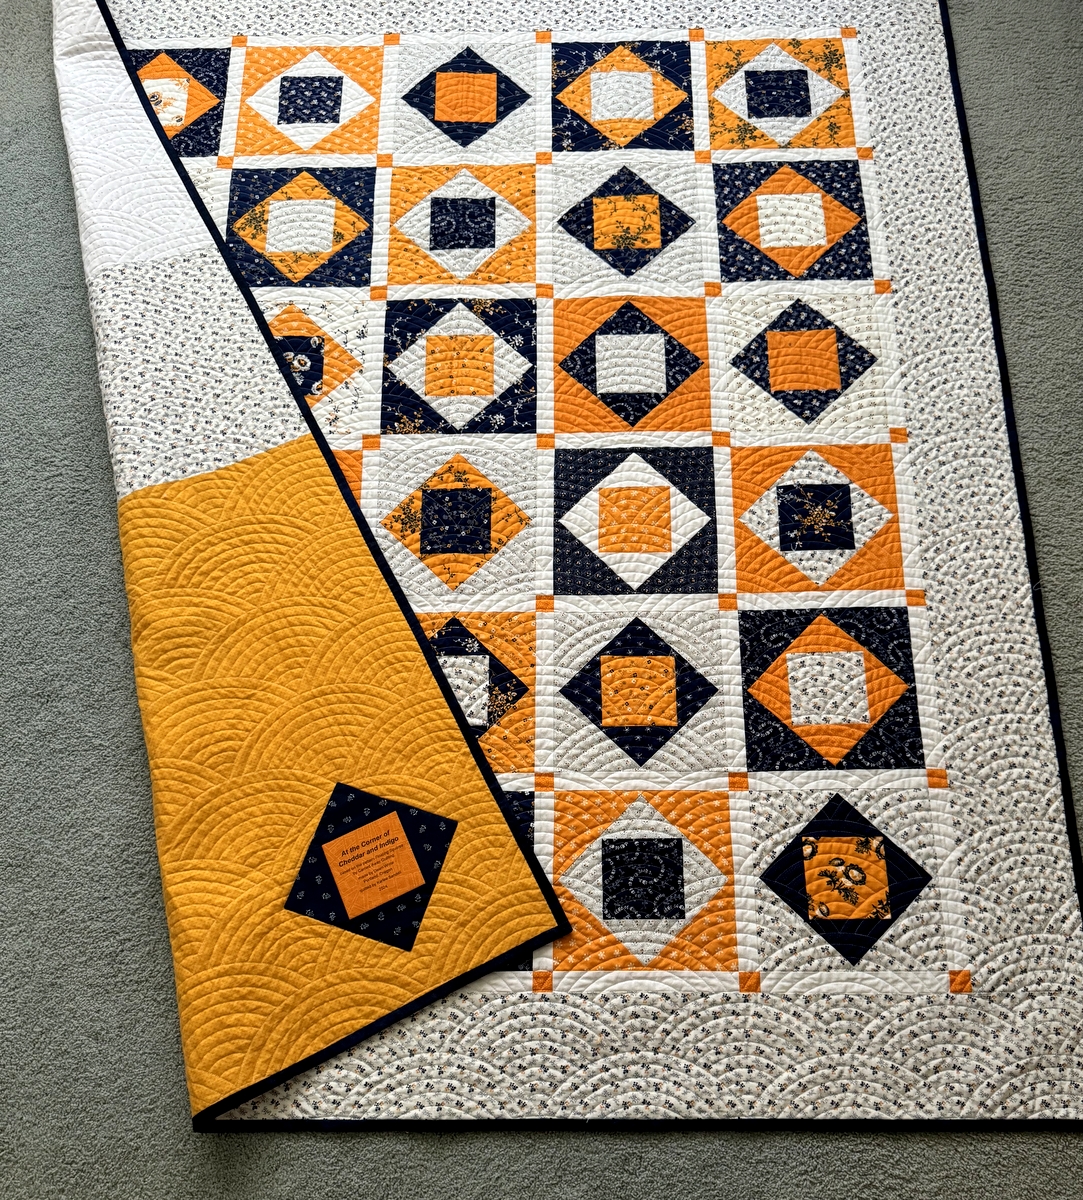

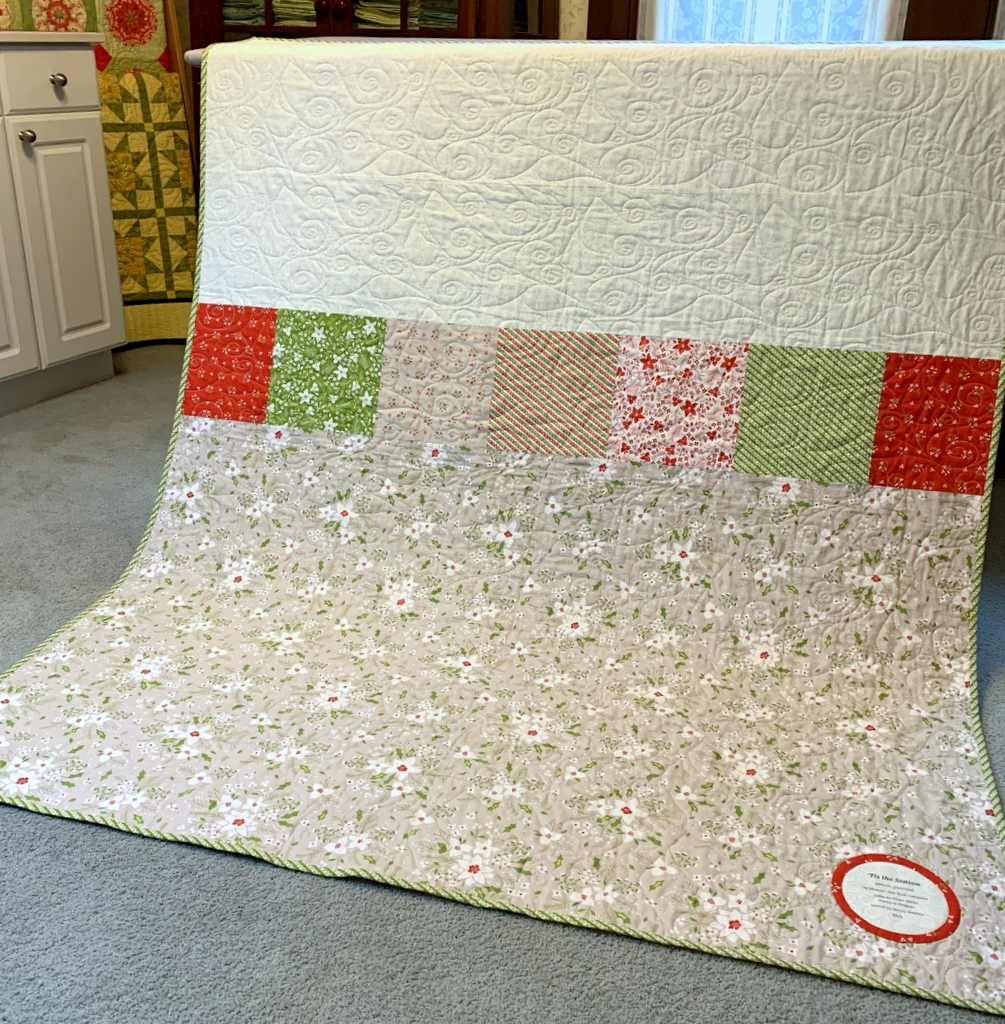
 After laundering it measures 60½” x 70½” — a perfect size for a throw.
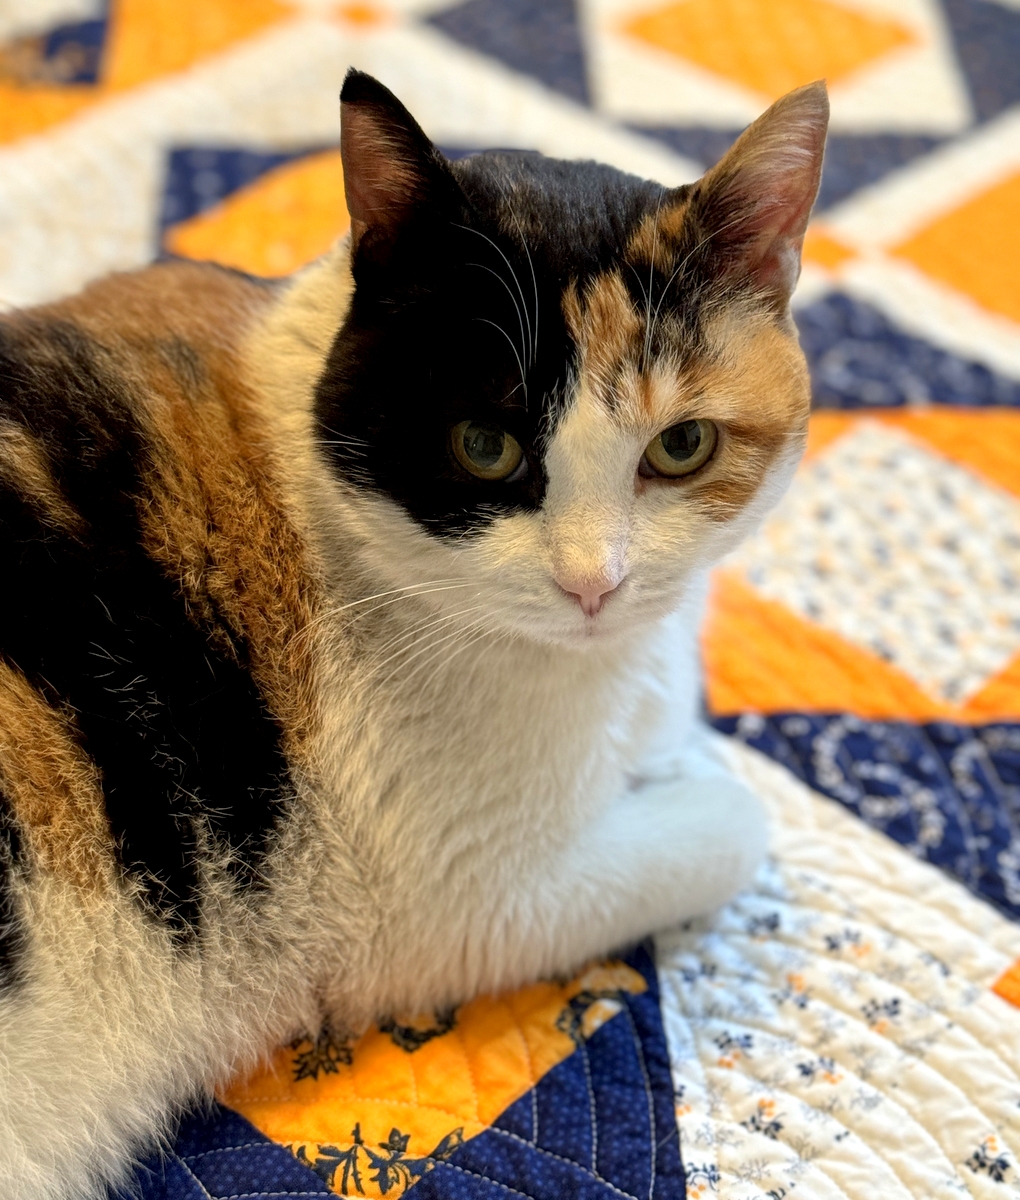 Such a regal pose!