Category Archives: tote bags

First Light Designs: Best of 2022

It’s that time of year again. Cheryl Brickey of Meadow Mist Designs is inviting bloggers to share their top five posts of the year in her “Best of 2022 Linky Party.” This is the eighth consecutive year Cheryl has hosted this linky party and my fifth year participating.

Clicking on the links will take you to the original posts where you can see more photos and read about my creative process.

Number 1. Isabella’s Quilt

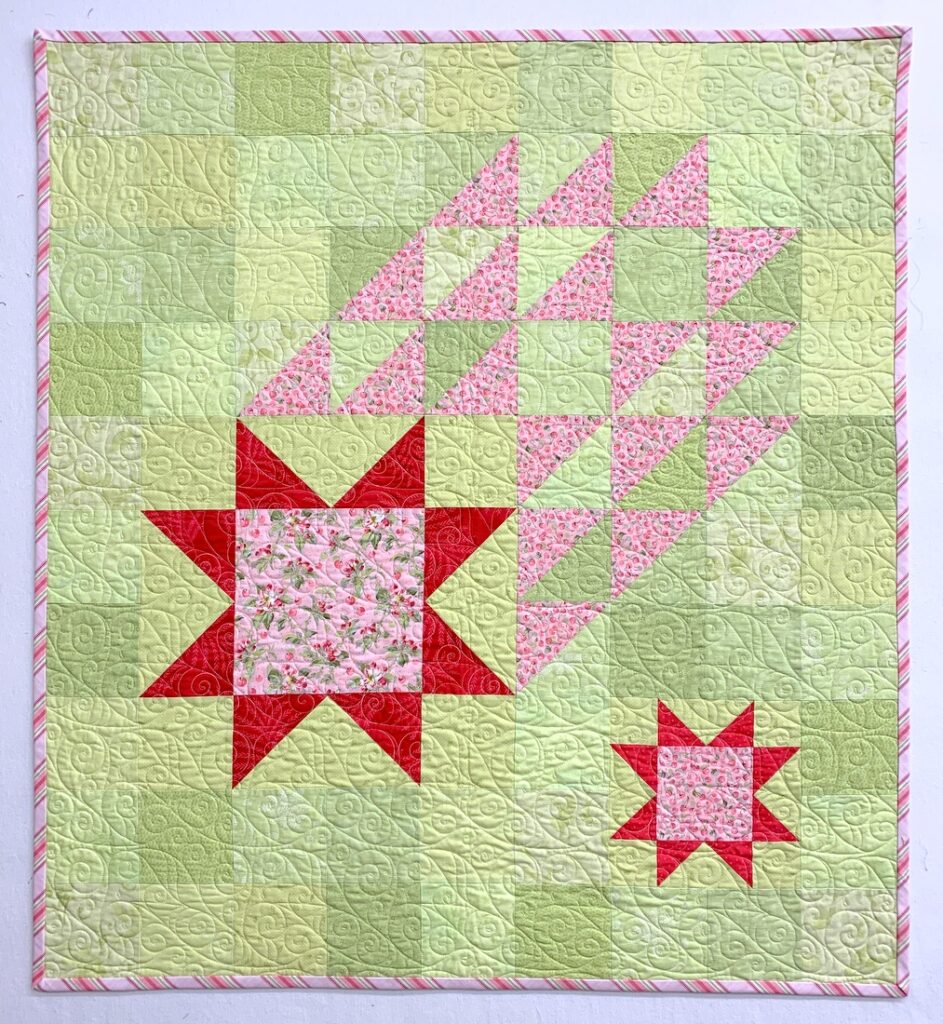
Isabella’s Quilt, 40″ x 44″ (2022)

Isabella’s Quilt, made for a new great grandchild, was adapted from the pattern Star Stream Quilt by Sally Davies of Chasing Tigers.  I chose to make only a portion of the original design, using just two stars and enlarging them for maximum graphic effect. Instead of using one fabric for the background, I used several greens from my ample stash to create a low volume effect.

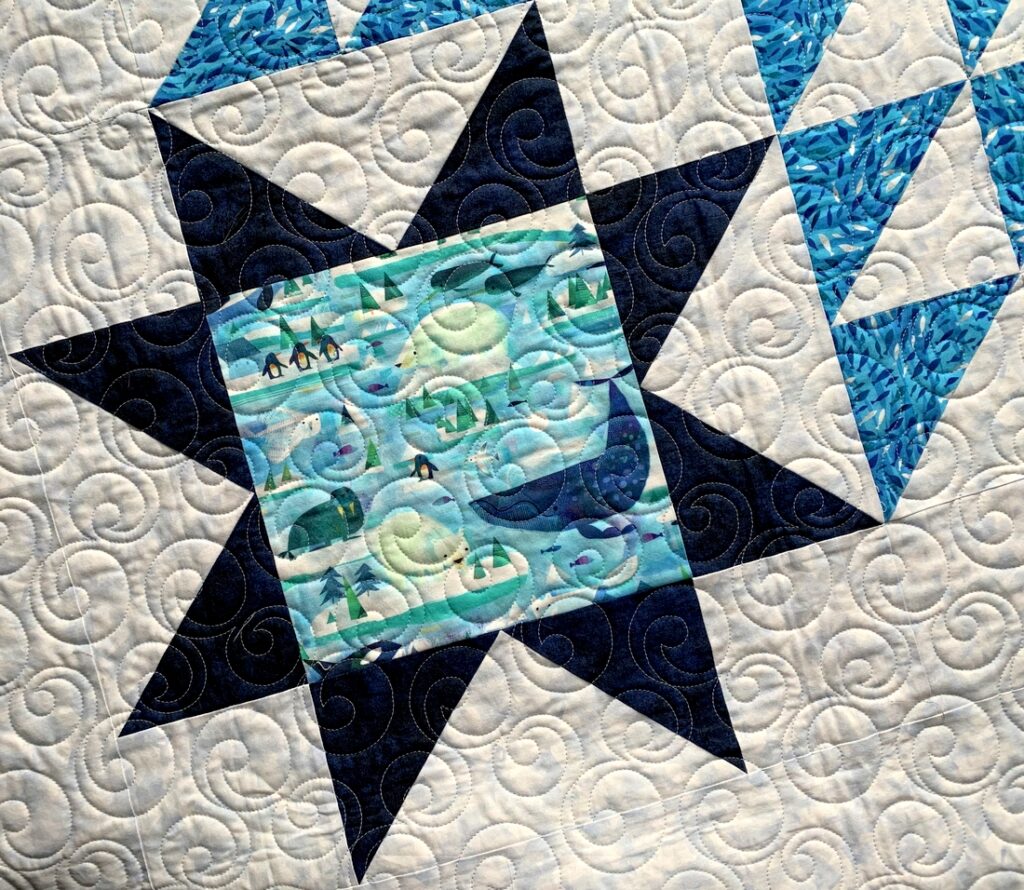
Number 2. Arctic Stars  (I liked Isabella’s Quilt so much I made a second version!)

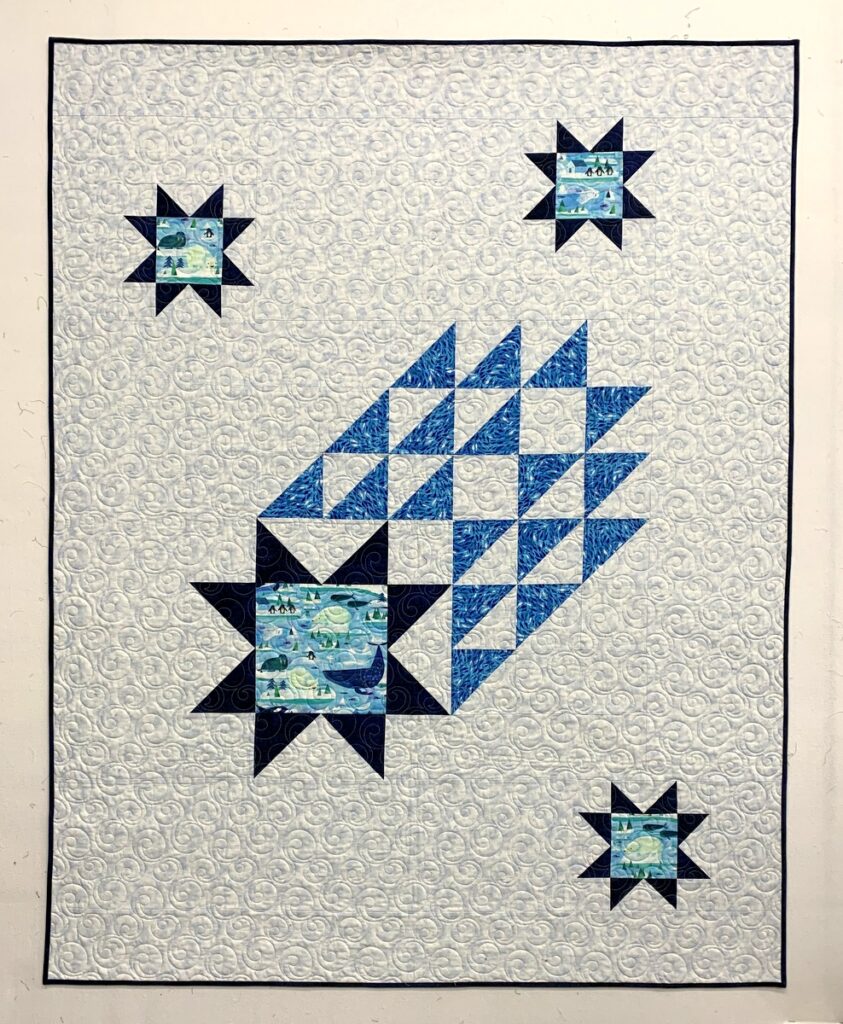
Arctic Stars, 50″ x 63″ (2022)

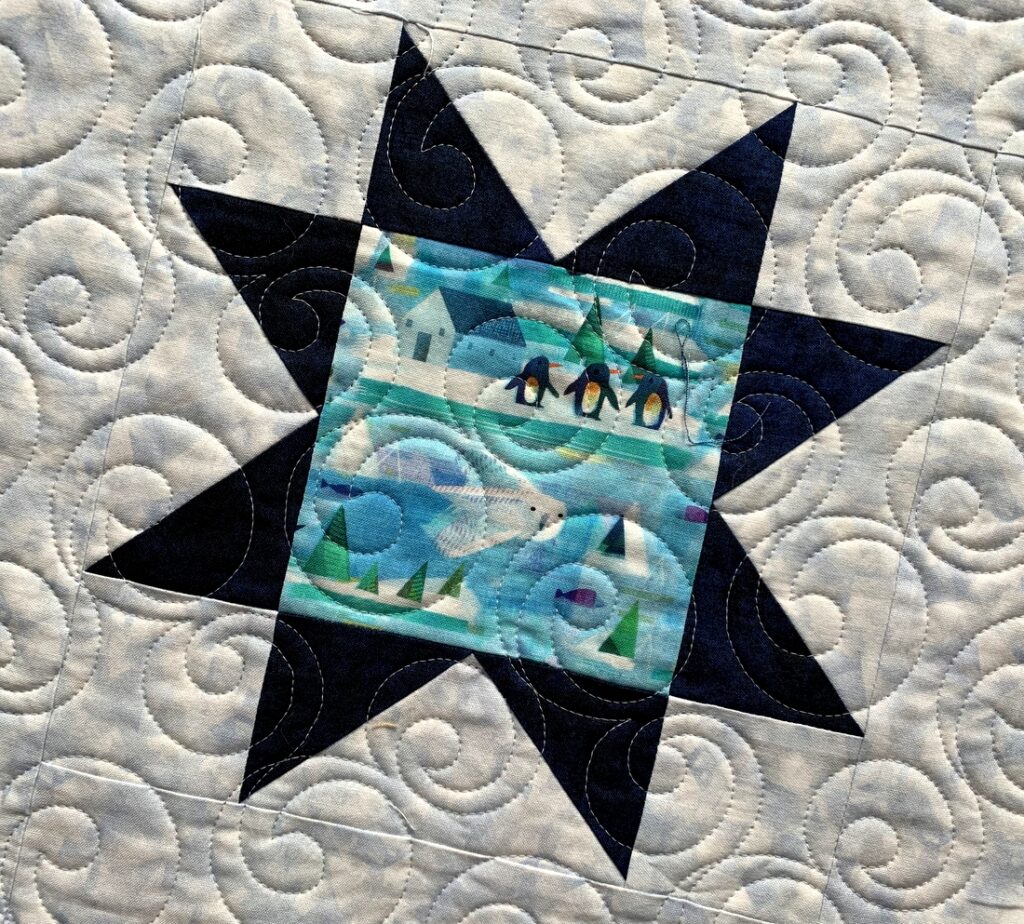
Made to be a throw size, the quilt features two additional stars, with each star containing a fussycut image from the “Icy World” line by Gareth Lucas for Windham Fabrics. Here are a couple of close-ups:

8″ Star Block in Arctic Stars
16″ Star Block in Arctic Stars

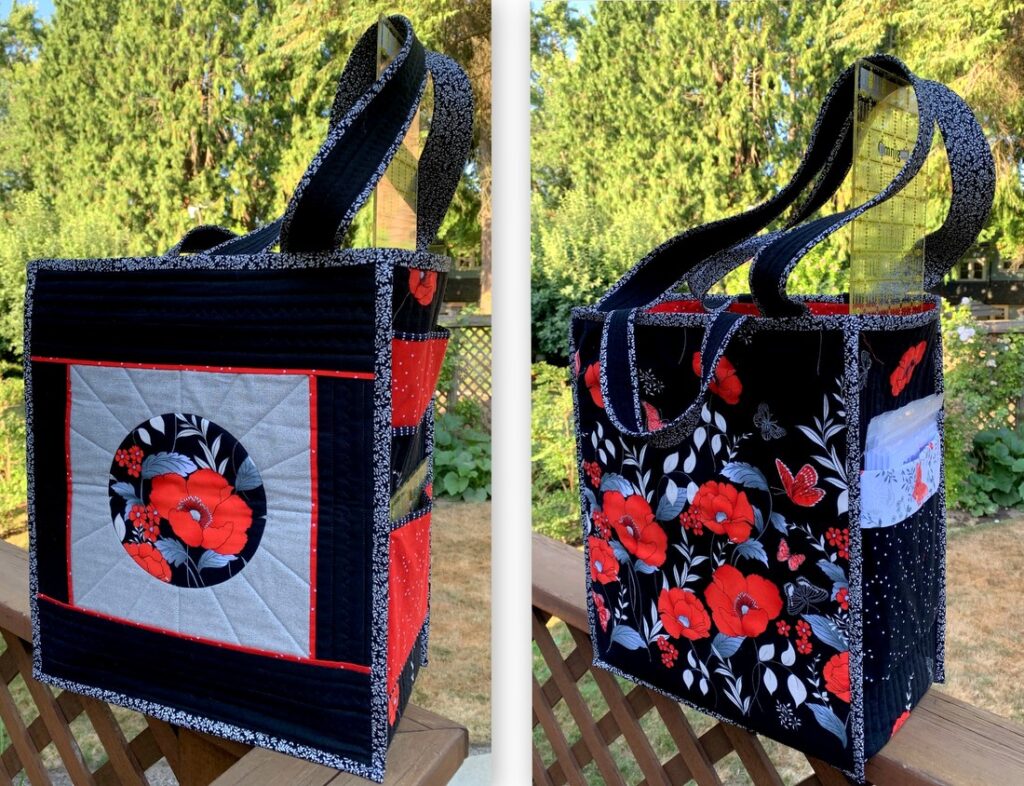
Number 3. My Eleventh (!) Junior Billie Bag (JBB)

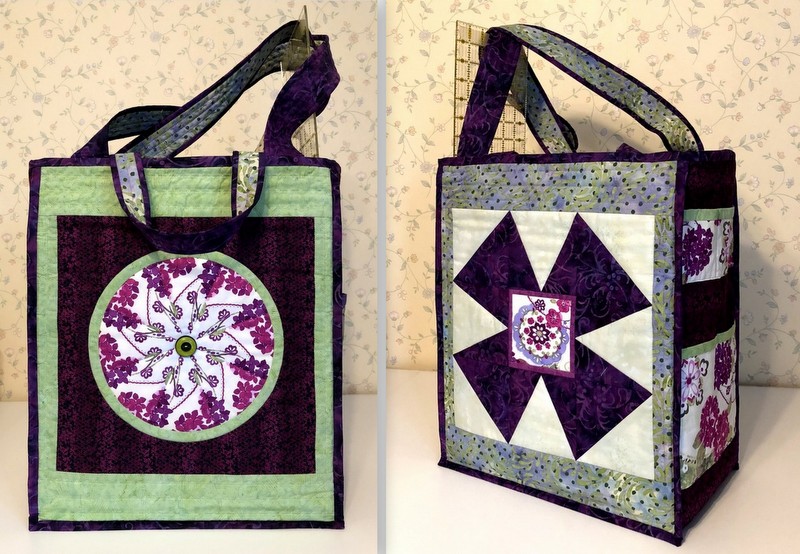
Dawn’s Latest Junior Billie Bag, the Essential Quilter’s Tote (2022)

I teach other quilters how to make this tote, making one myself in the process. That’s why I’ve made so many. To see earlier versions, click here.

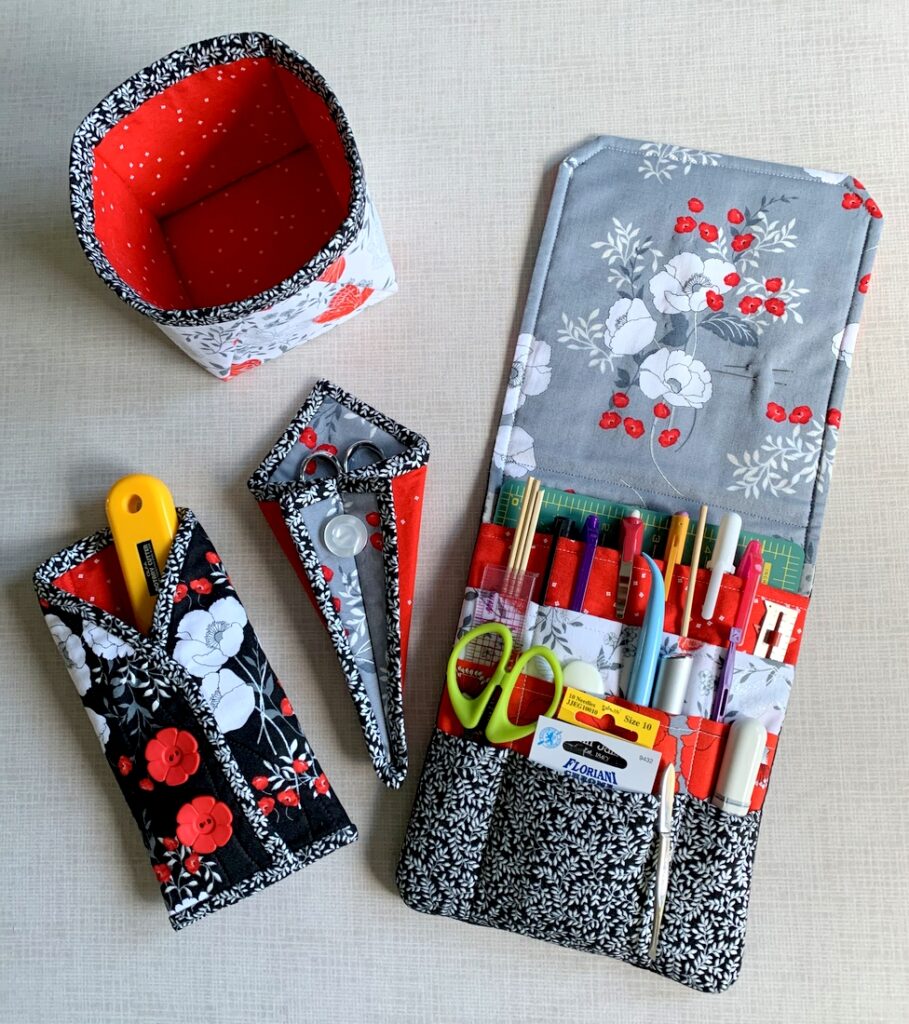
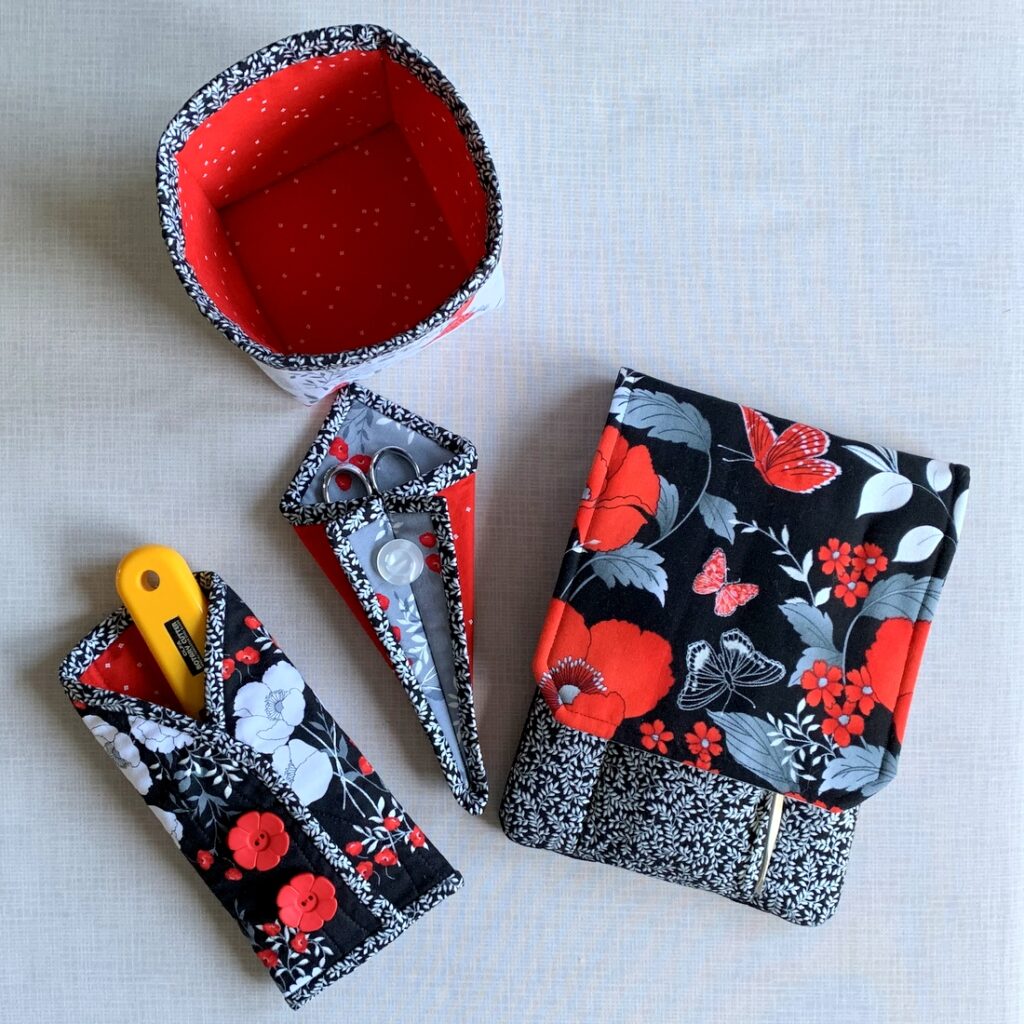
I’ve also been making accessories to accompany each JBB. Here’s my latest suite:

Dawn’s Junior Billie Bag Accessories (2022)

You’ll find tutorials for the rotary cutter coat and scissors case at these links to my website:
 Rotary Cutter Coat (Oct. 10, 2014)
 Scissors Case from First Light Designs (Sept. 5, 2018)

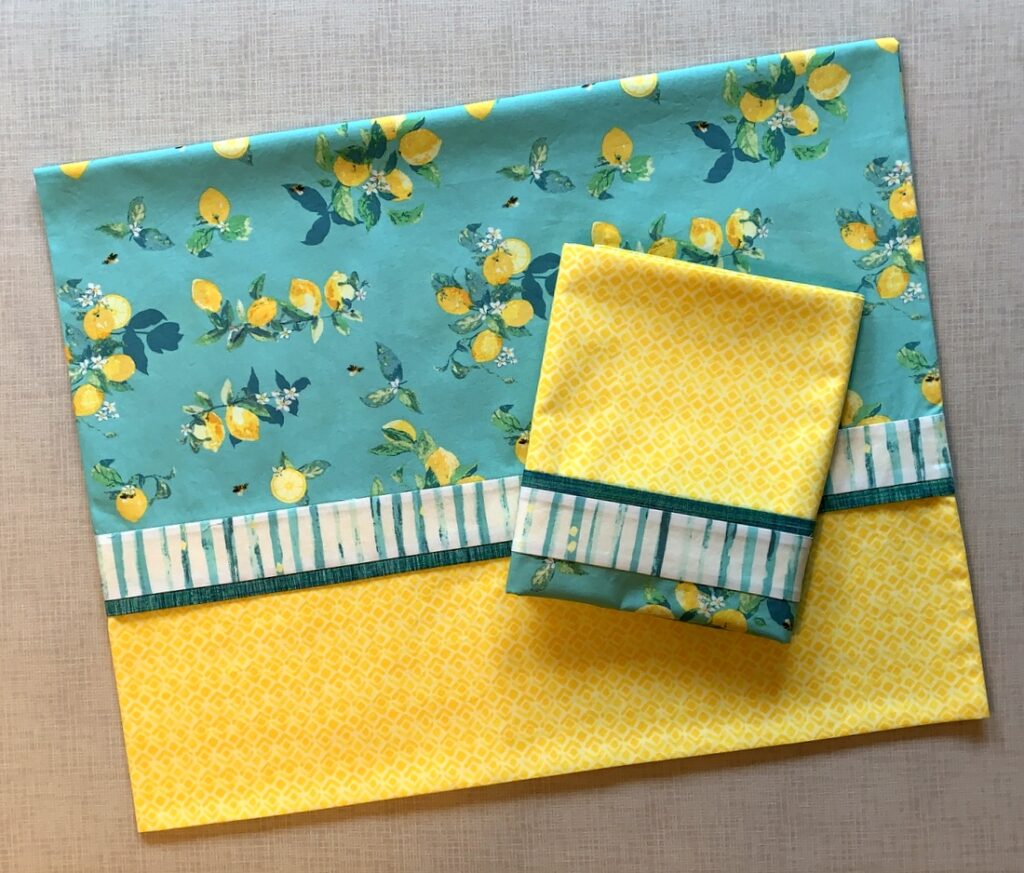
Number 4. Pillowcases to Make You Dream of Italy

Pillowcases for the Portland White House (2022)

I love sleeping on pillowcases made from beautiful cottons. These cases were made using the “Capri” line designed by Katarina Roccella for Art Gallery Fabrics. (I used the burrito or roll-it-up method for the pillowcases, using my own tutorial which you can find here.)

Number 5. Holliberry Circle

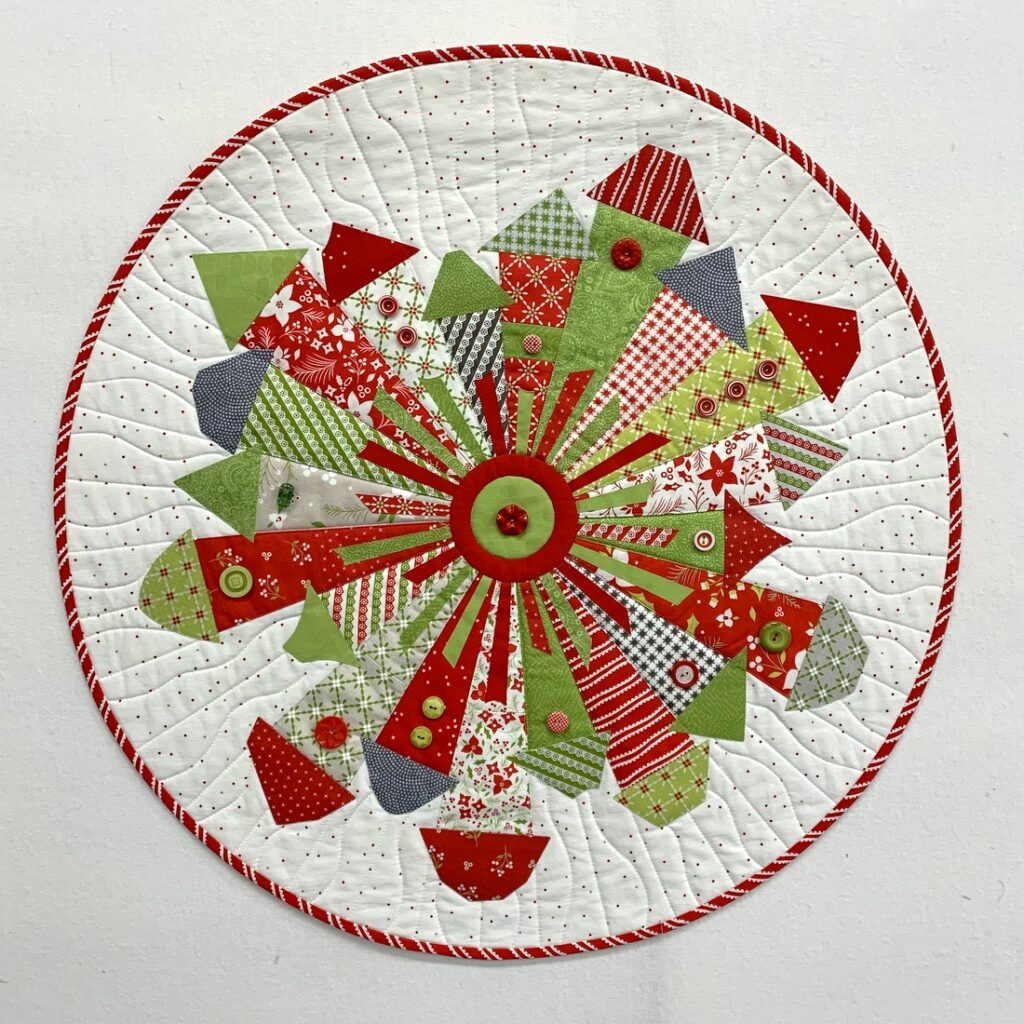
Holliberry Circle, 25″ in diameter (2022)

My very first finish of 2022 was this mini quilt using the delightfully whimsical pattern Dresden Neighborhood by Kim Lapacek of Persimon Dreams. I used scraps from Corey Yoder’s “Holliberry” line from 2021 plus a few other red and green fabrics culled from my stash. I embellished the quilt with a few strategically placed vintage buttons. The link above the photo will take you to the post in which I explained (with lots of photos) how I converted my little quilt from a square to a circle.

Thank you so much for visiting First Light Designs. And thank you, Cheryl, for getting the party going. Be sure to check out the top five posts of the other quilting/blogging partygoers. If you’re a quilter, you can join Cheryl’s Best of 2022 Linky Party, too. The link is open until January 2.

All the best in 2023!


Posted in baby quilt, Billie Bag, home dec, Junior Billie Bag, roll-it-up pillowcases, rotary cutter case, sewing tool caddy, tote bags, tutorial, update, wall hanging, wonky Dresden neighborhood | 7 Comments

It Was Inevitable

Having recently finished my 11th Junior Billie Bag, it was inevitable that I would make a suite of accessories to go with it:

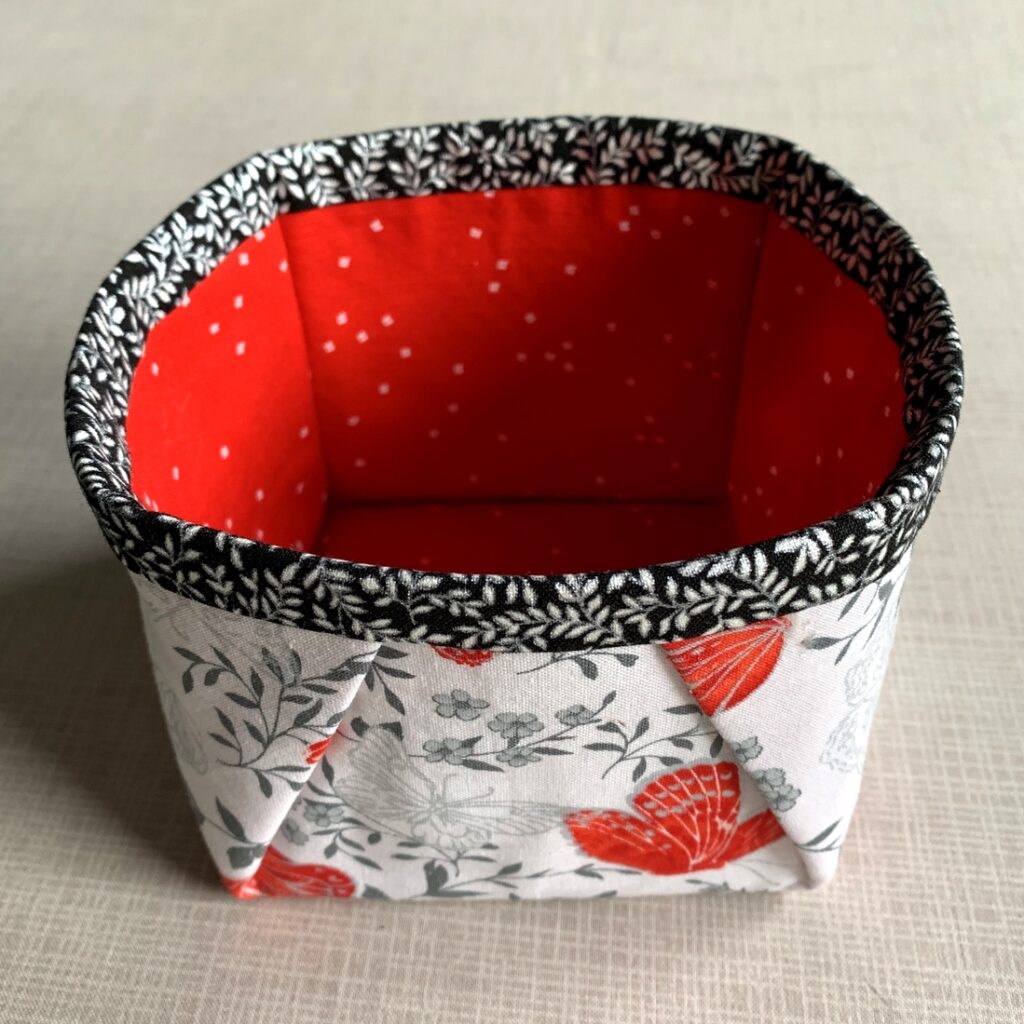
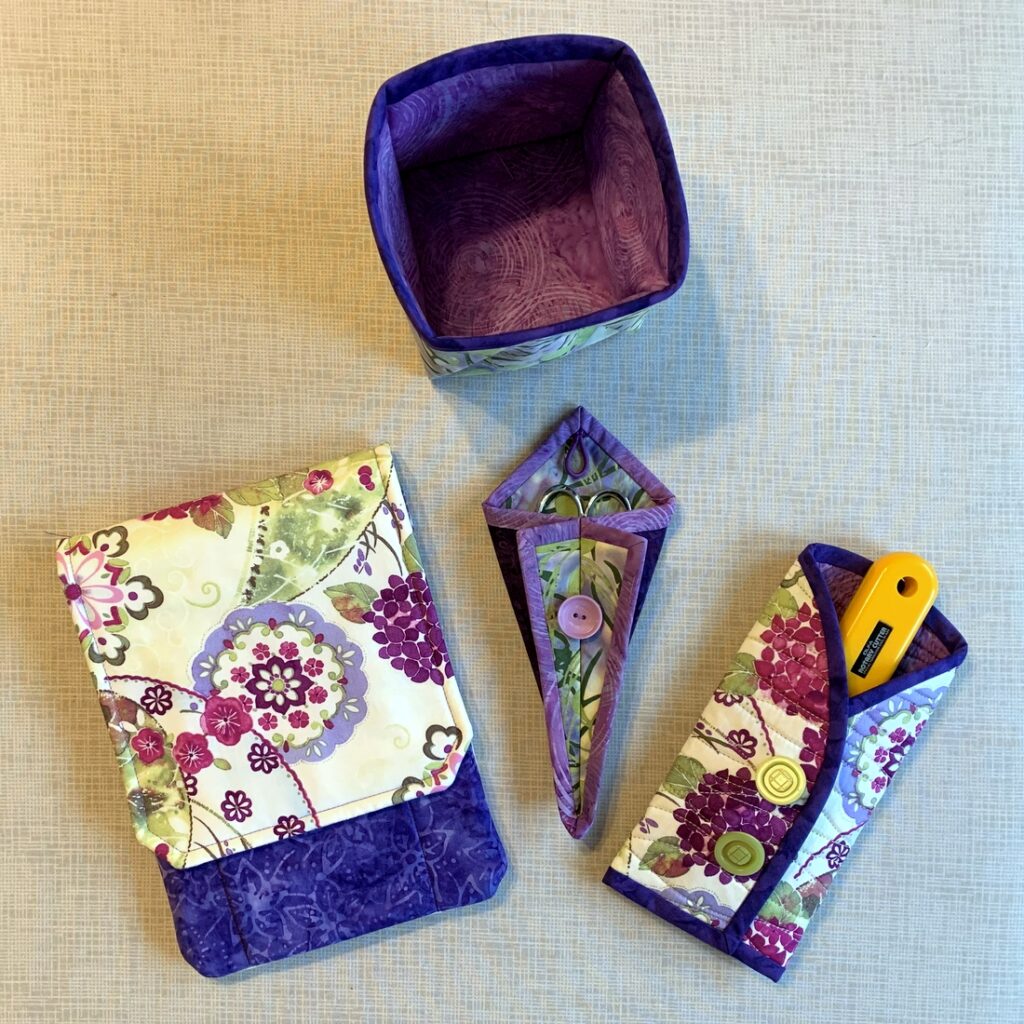
In clockwise order starting at the top, you can see a 4 x 4 fabric box (which I use as a threadcatcher), a quilter’s tool caddy (an embellished version of P3 Designs’ Travel Case pattern), a rotary cutter coat, and a scissors case. Directions for the rotary cutter coat and scissors case are on my Tutorials page.

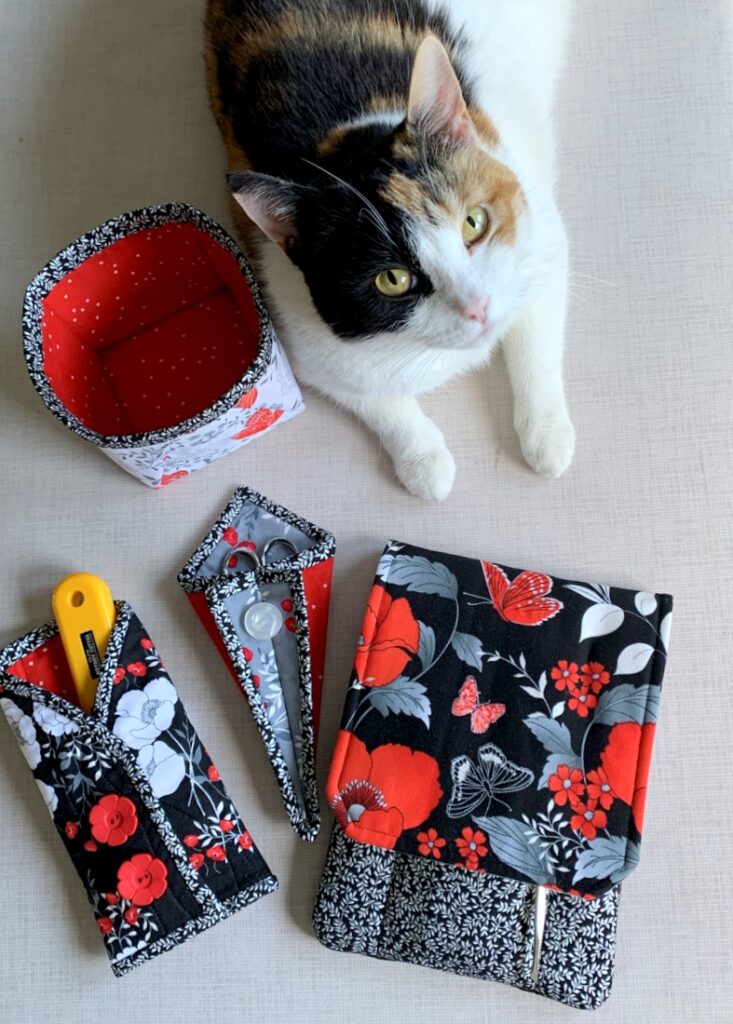
It was also inevitable that Princess Cordelia aka Coco would photobomb my picture-taking efforts:

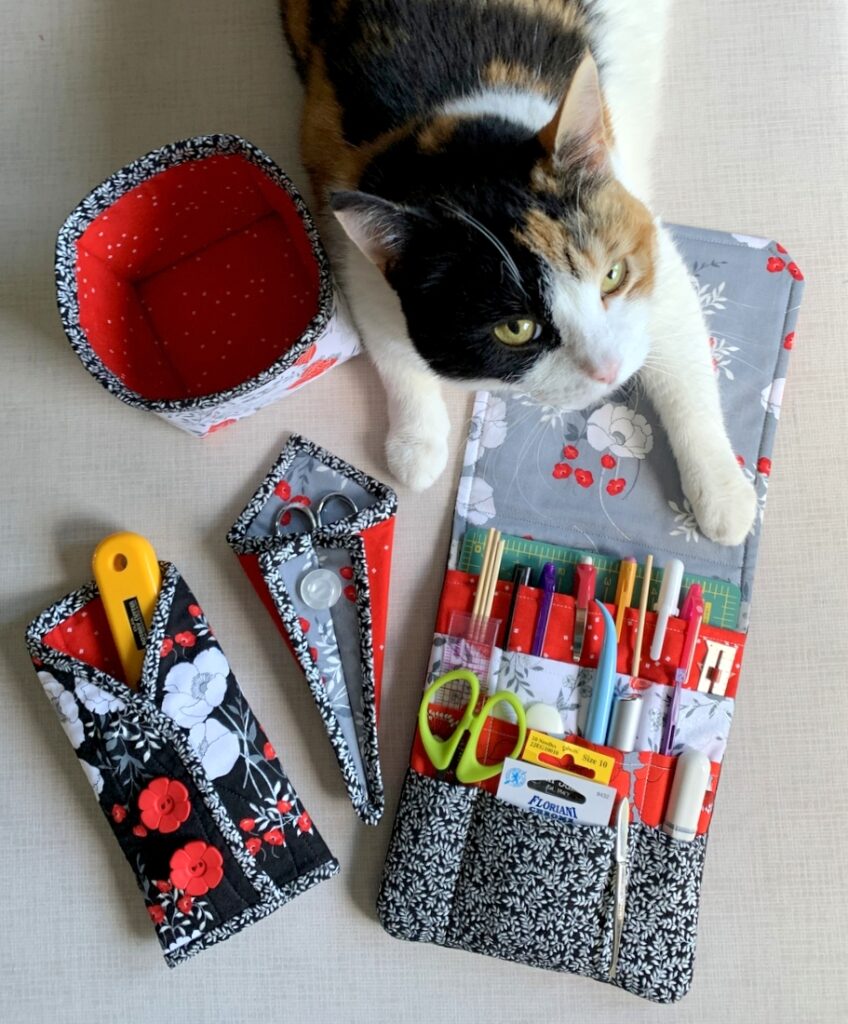
I shooed her off the ironing board so I could take a photo of the quilter’s tool caddy in its open position . . .
. . . and she returned to photobomb that as well. Notice the proprietary paw placed firmly on the tool caddy:
Here’s a better look at the threadcatcher:

I’ve devised a way to attach the binding that does not involve sewing!

This fall I’ll be teaching a class at Montavilla Sewing Center in Lake Oswego on how to make all four of these accessories. The class, called “Quilter’s Tote Accessories,” is intended as a companion to my Junior Billie Bag class but these accessories would be welcome additions to any quilter’s tote.

If you’re in the Portland metropolitan area and would like to treat yourself to some useful accessories or perhaps make gifts for your best quilting buddies, this may be the class for you. Thanks for stopping by!


Posted in Billie Bag, cats, Junior Billie Bag, rotary cutter case, sewing tool caddy, tote bags, tutorial, update | 5 Comments

It’s a Wrap: Junior Billie Bag #11

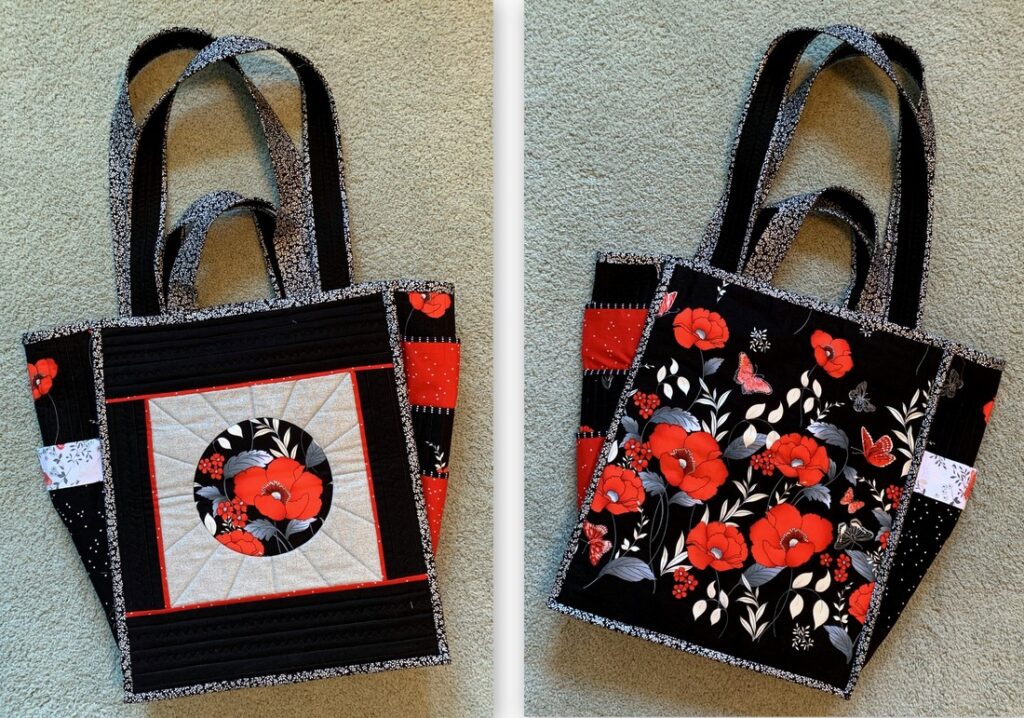
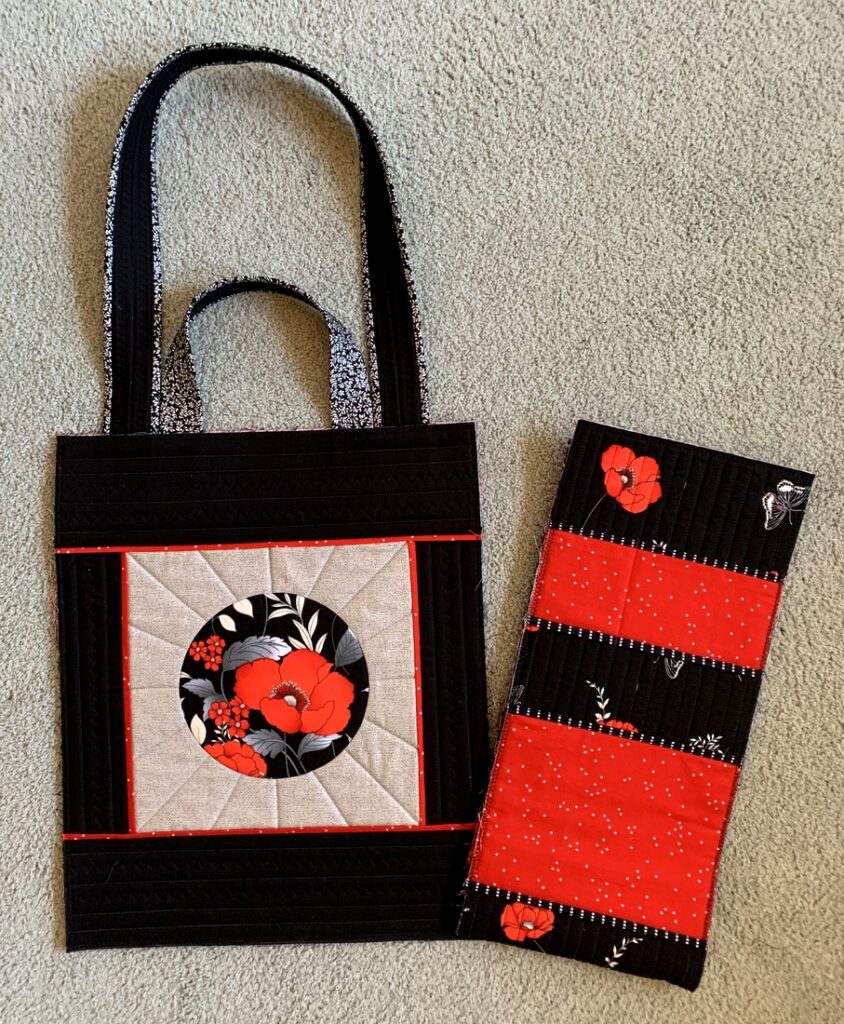
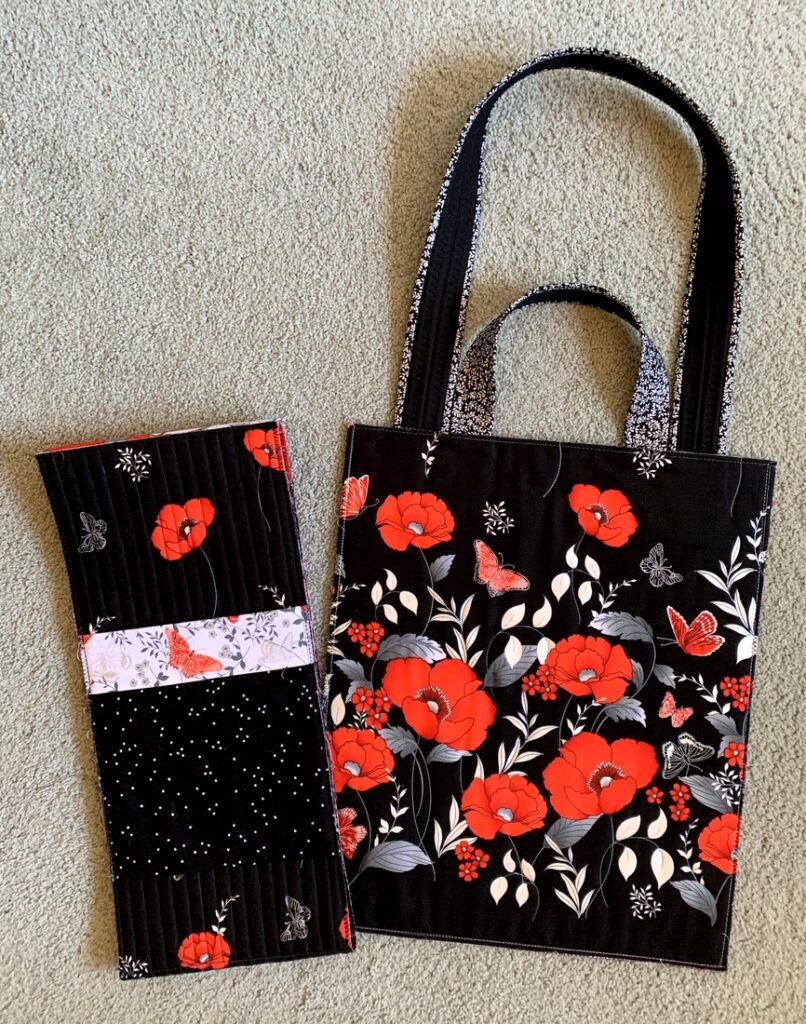
Officially finished and ready to load! Here ’tis, my eleventh Junior Billie Bag (JBB):

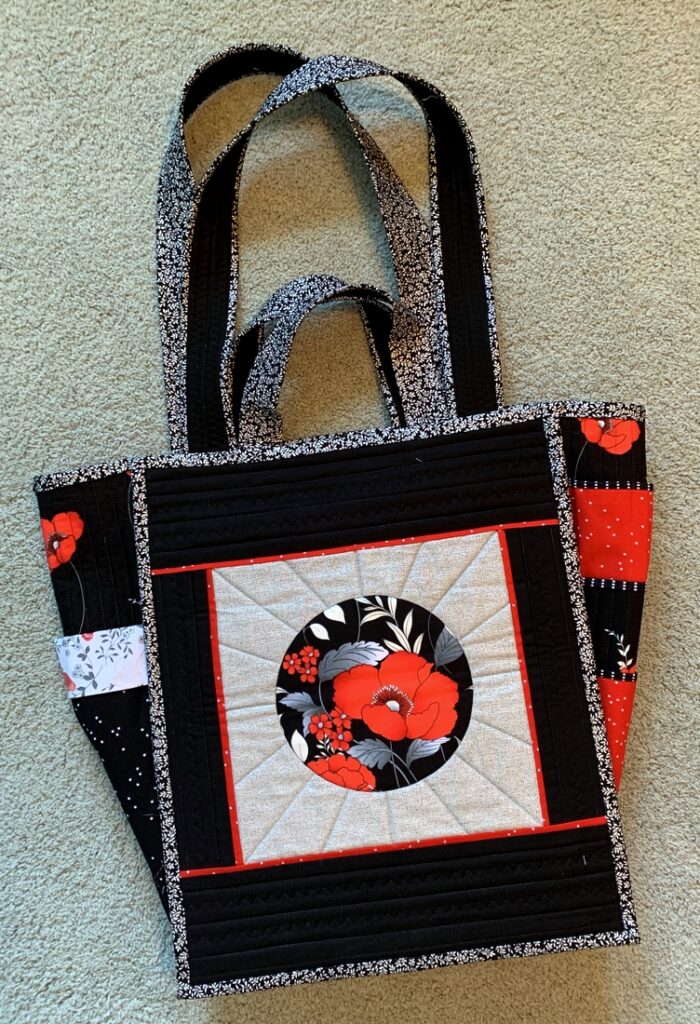
The block in the left photo above features an inset circle. Rather than make a different block for the other side (right photo), I used an uncut piece of the focus fabric because I wanted to showcase that gorgeous poppy border print. I really like how nicely the binding fabric — a metallic silver and black leaf print — sets off the grey, red, and black fabrics as well as the poppy print.

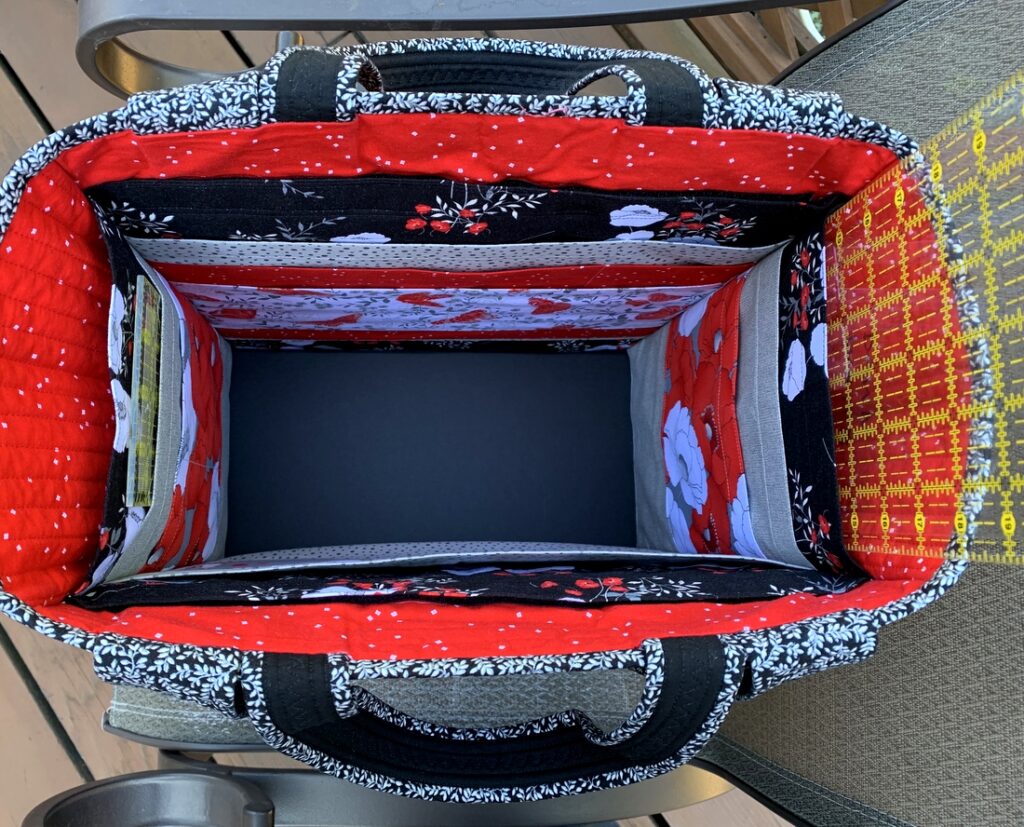
The bag is 14″ wide, 17″ tall, and 7″ deep. The depth of the bag is sufficient to hold a 6″ x 24″ acrylic ruler, which is only one of the terrific features of Billie’s design.

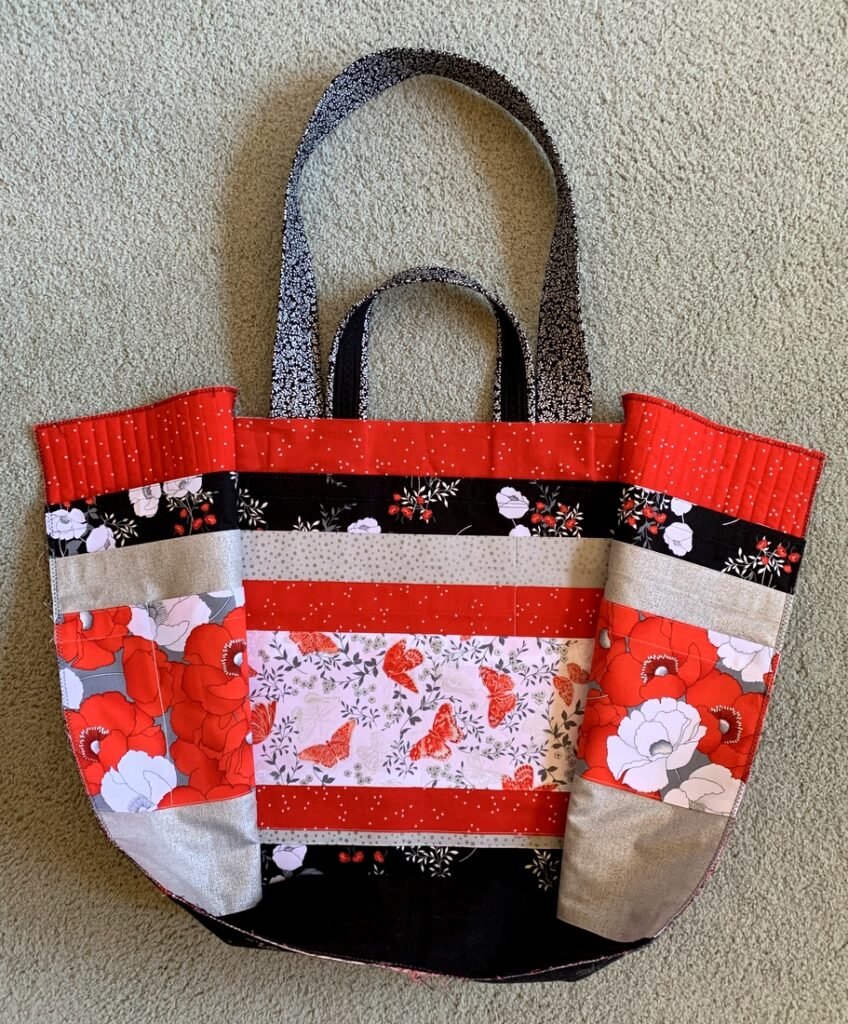
It’s always rather difficult to get good photos of the JBB with both sets of straps in plain sight. Here you see both sides flattened out, with the short and long handles in view:

Why two sets of handles? It’s so handy being able to choose when to carry the bag as a satchel using the short straps or when to carry it over your shoulder using the long straps.

It’s also difficult to get a good look at the pockets inside a Junior Billie Bag:

Here’s a photo of the interior (from a previous post) taken before the fourth side was added:

If you’re new to my blog, you may be wondering why on earth I’ve made so many Junior Billie Bags. The short answer is that I’ve been teaching this scaled down version of Billie Mahorney’s original design since 2015, and every time I teach the class, I make a bag because I’ve found that the best way for me to demonstrate construction techniques is to build a bag alongside my students.

Because of the pandemic, quilt classes came to a halt early in 2020. The last JBB I made was in 2019. When I started working on this one I realized how rusty I had gotten. As I tell my students, “This is a challenging bag to make but so worth the effort!”

You can see all of my Junior Billie Bags on the Gallery page of firstlightdesigns.com or by clicking here.


Posted in Billie Bag, Junior Billie Bag, tote bags, update | 10 Comments

Afternoon Delight

I can’t remember the last time I spent the entire afternoon in my sewing room. Despite the fact that it was really hot upstairs — the temperature in Portland reached 100 degrees at 6:00 pm today — I was in heaven. Fortunately, my ironing board is positioned right under the ceiling fan; the circulating air helped. I still got hot and sticky but it was totally worth it.

First I worked on Junior Billie Bag #11, the one I am making as a teaching tool for my students at Montavilla Sewing Center in Lake Oswego. I could have finished the bag today but I needed to leave the final steps undone so I can demonstrate them for my students at our third and final class on Friday. Look for the final reveal of this ultimate quilter’s tote next week!

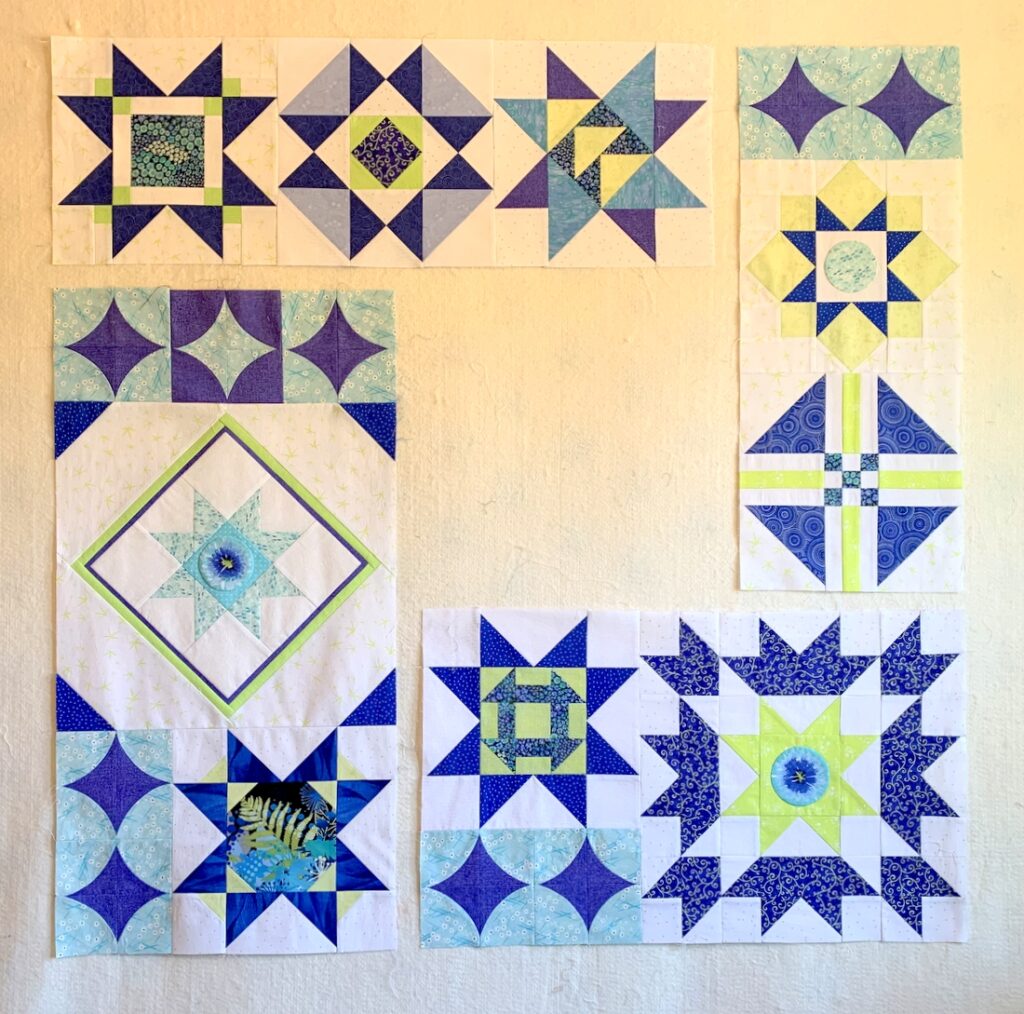
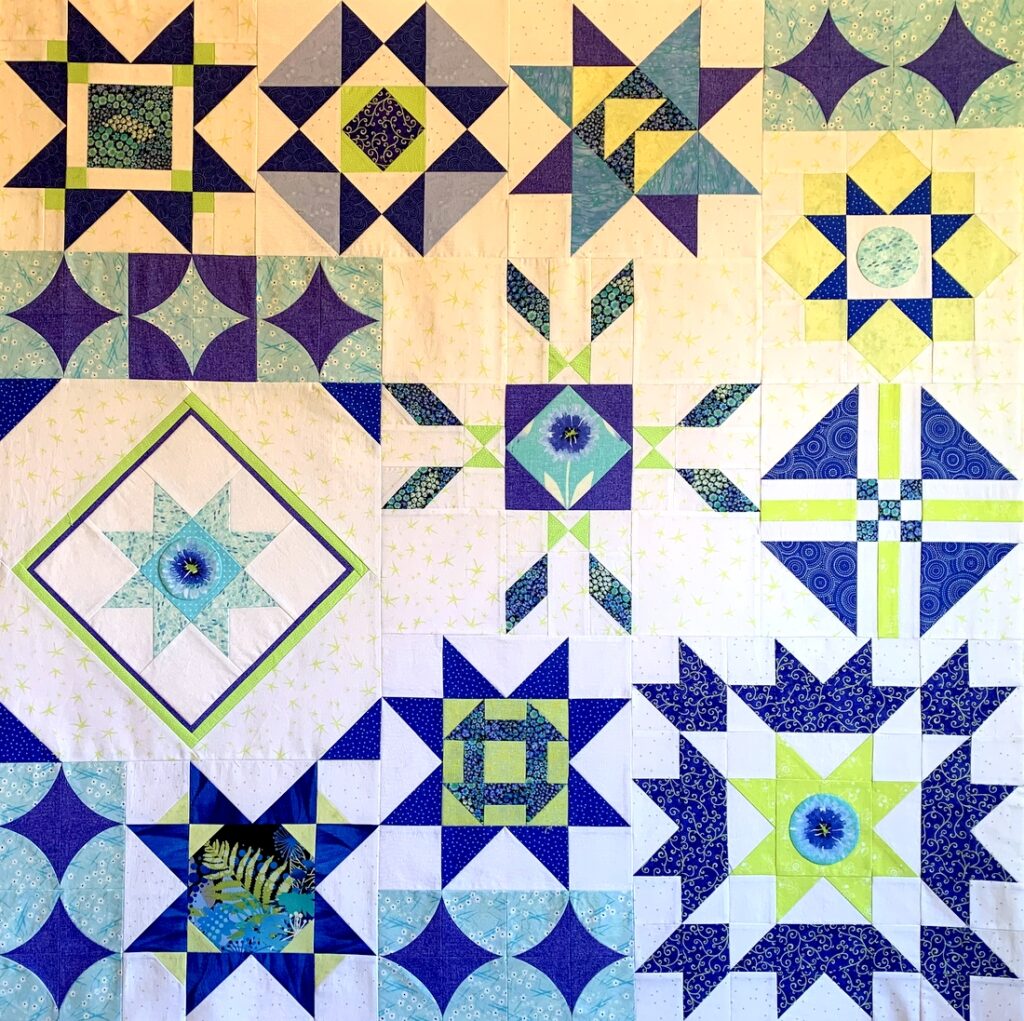
Then I finally got the blocks sewn together on my Sea Star Sampler quilt. Because the blocks are of different sizes — finishing at 6, 12, and 18 inches — I knew I’d be sewing the top together in sections. You can see the four sections here:

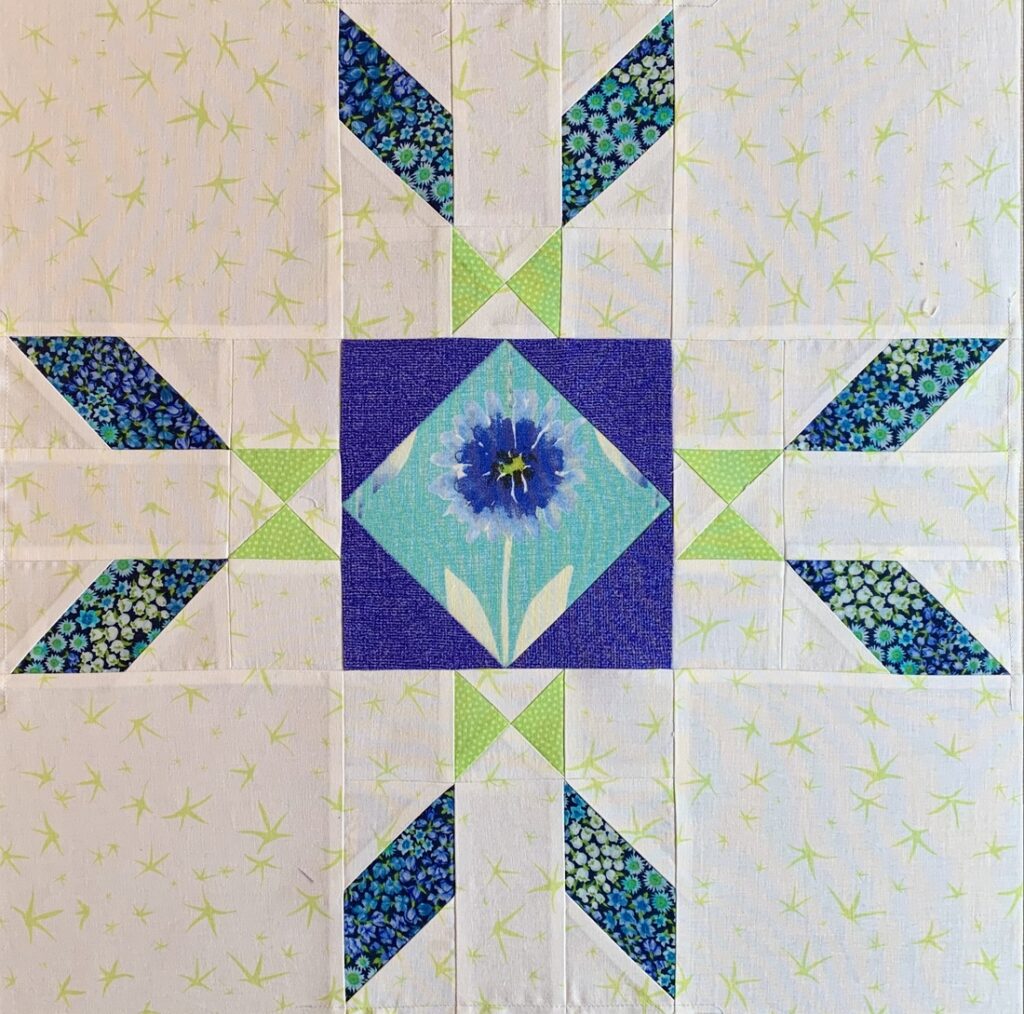
What’s missing? The 18″ Chicago Star block, which goes in the center:

The Chicago Star was the first block I made way back in May of last year, when Kristin at Montavilla Sewing introduced it in a Block of the Month program via Zoom. Once in-person classes resumed at the Lake Oswego store in the fall of 2021, the BOM project faded away but I carried on, not really knowing what I would end up with. By the time I finished making blocks, I had used only two of the ones in Kristin’s design — but I feel sure she would approve.

The Chicago Star block needed to be added to my top with partial seams . . . and here it is in its rightful place:

I did wind up making one last-minute swap of two blocks and am pleased with the decision. Right now the top measures 48½” square but there are two borders to come. Maybe tomorrow?!


Posted in Billie Bag, Block of the Month (BOM), Churning Stars quilt block, Junior Billie Bag, sampler quilt, tote bags, update | 6 Comments

That Magic Moment . . .

. . . when a Junior Billie Bag becomes three-dimensional:

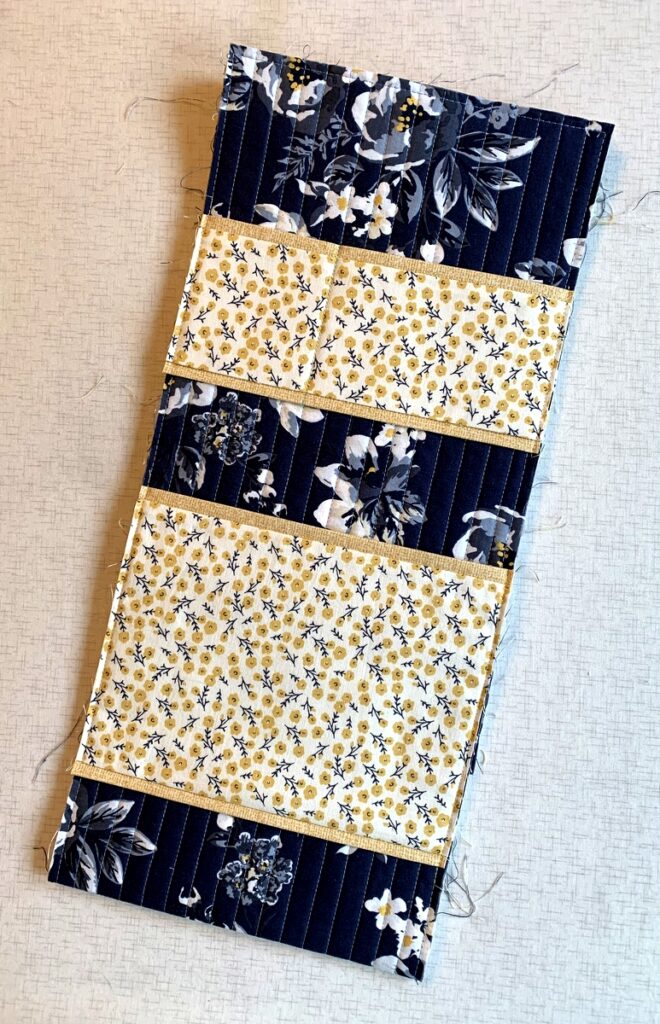
It makes all the work that goes into a JBB totally worth it! You’re looking at the inside of my current Junior Billie Bag-in-progress. You can’t see them all but there are 14 pockets in the three sides in the photo above. The other front/back panel has four pockets, bringing the number of inside pockets to 18.

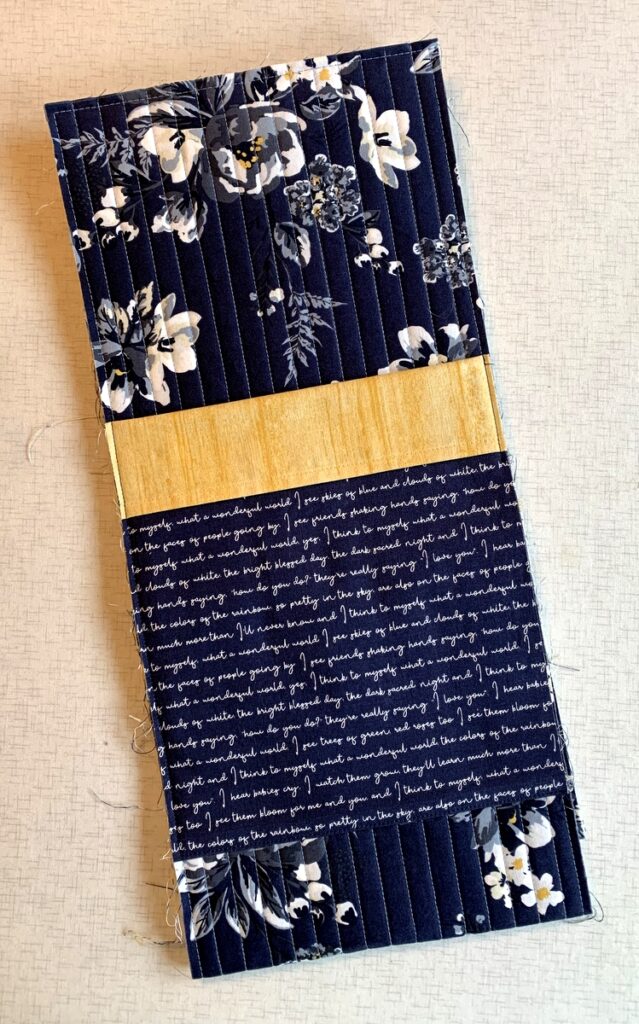
But wait — there’s more! The side panels on the outside of the bag also have pockets. There are three in the photo below . . .

. . . and one more in this next photo, bringing the total number of pockets to 22:

The size of each pocket was carefully measured and made to hold the tools I use most often when I go to take — or teach — a quilt class.

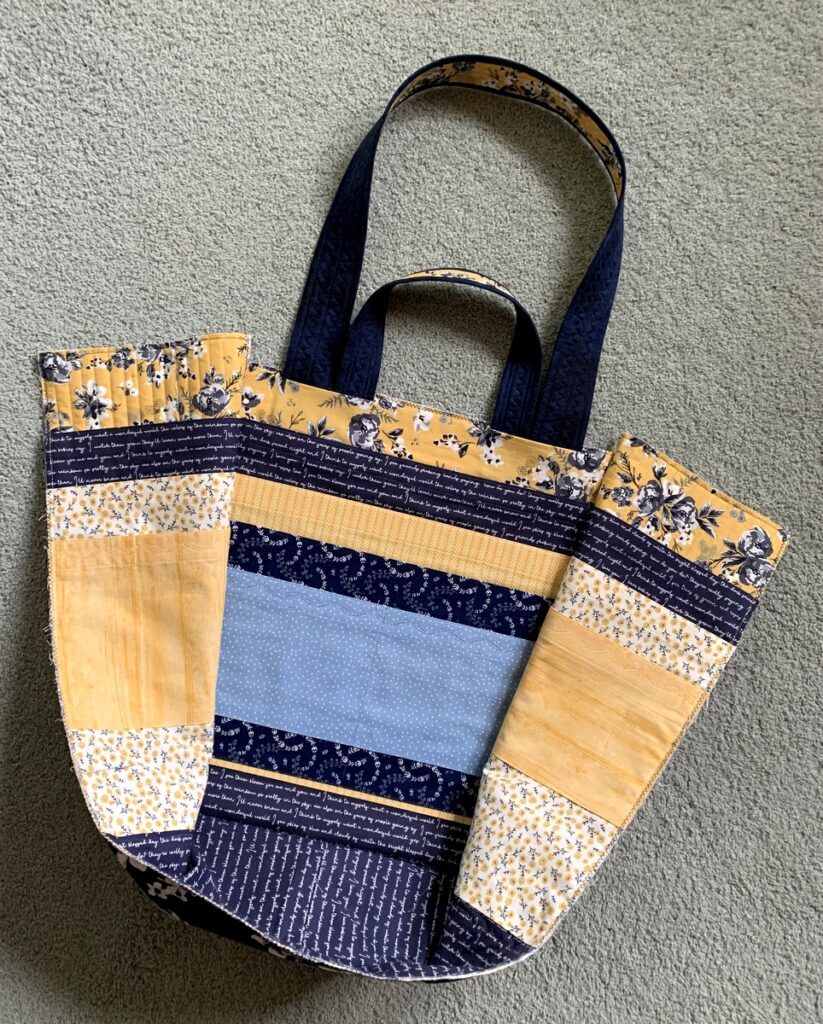
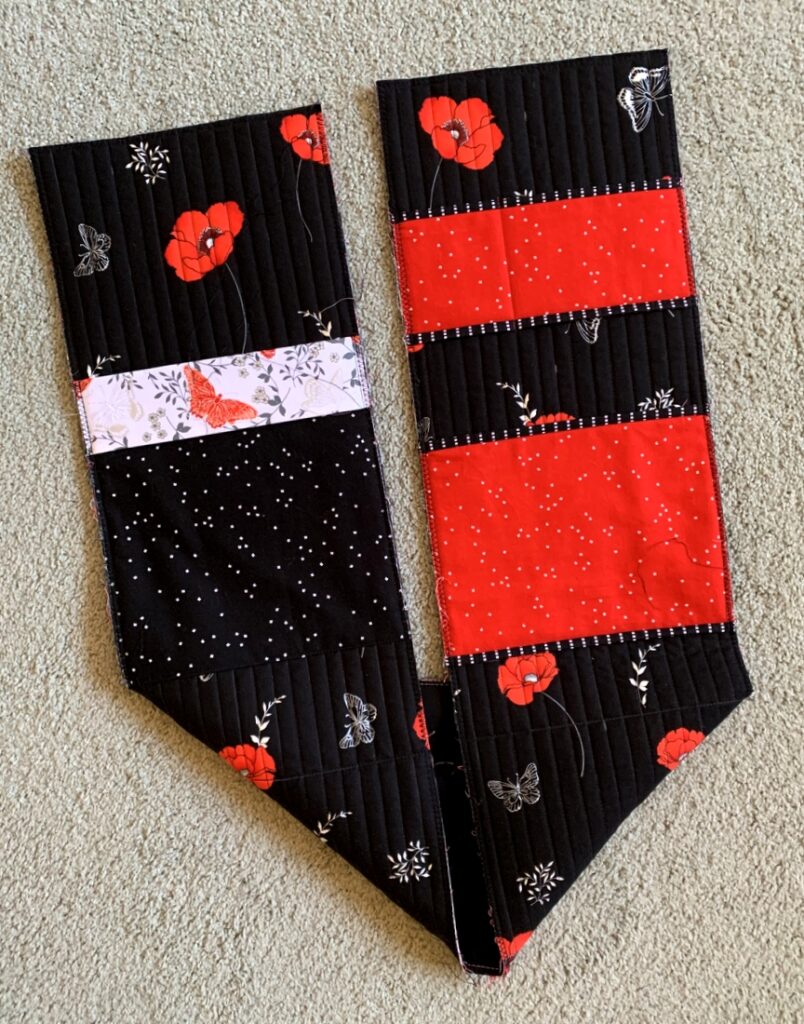
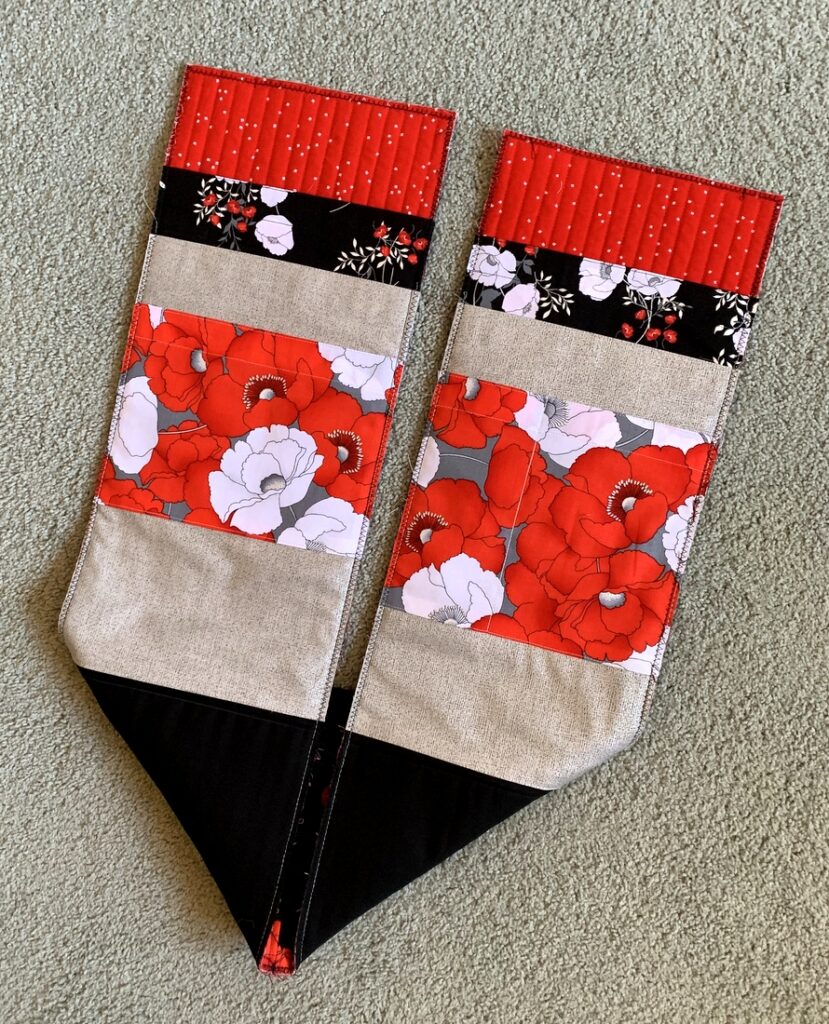
Here’s a look at the side panels/bottom unit on the outside . . .

. . . and on the inside:

I’m absolutely loving the bold poppy prints, all of which have touches of silver. I also used two other silver metallic fabrics in other parts of the bag. I’ve loved every single Junior Billie Bag I’ve made, all of which have been bright and colorful, but this one — #11 — is probably the most elegant.


Posted in Billie Bag, Junior Billie Bag, tote bags, update | 6 Comments

JBB Accessories

A year ago at this time I had just finished teaching a class at Montavilla Sewing Center on the one and only Junior Billie Bag, which I like to call “the quintessential quilter’s tote.” I wanted to test my idea for a new Junior Billie Bag Accessories class and had offered my students a bonus class on making four accessories to go along with their newly finished totes.

My idea was to have the students do advance work on all four projects and then finish them up in the space of a four-hour class. Good thing the class was a freebie, as it turned out I had vastly underestimated the time it would take to complete each project. Fortunately, by the time class ended the students were well on their way and would be able to complete their projects at home.

I was making accessories along with my students in order to demonstrate some of my tips and techniques so I too went home with unfinished projects. One year later, my accessories are finally finished:

At the top is a 4″ x 4″ x 4″ fabric box, which makes a wonderful threadcatcher. On the bottom left is a tool caddy based on the Travel Case pattern by Pearl Pereira of P3 Designs. In the middle is a little scissors case, and on the right is a rotary cutter coat.

I selected the fabrics you see above because they go so well with a Junior Billie Bag I made a couple of years ago for my dear friend Vickie R.:


Naturally these latest accessories were made with Vickie in mind, and I am happy to say they are now in her possession.

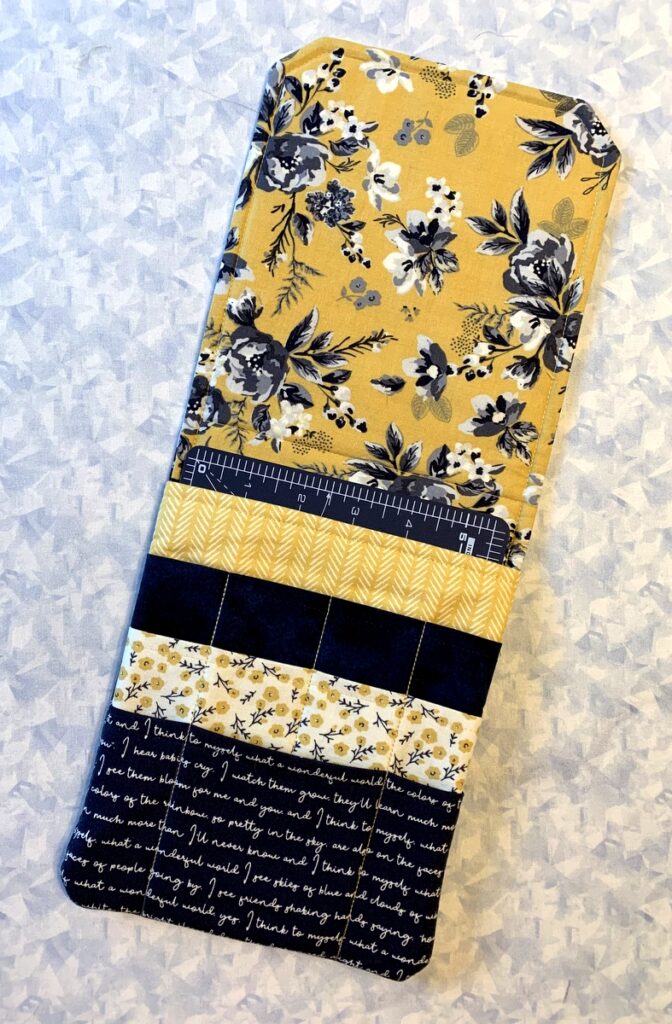
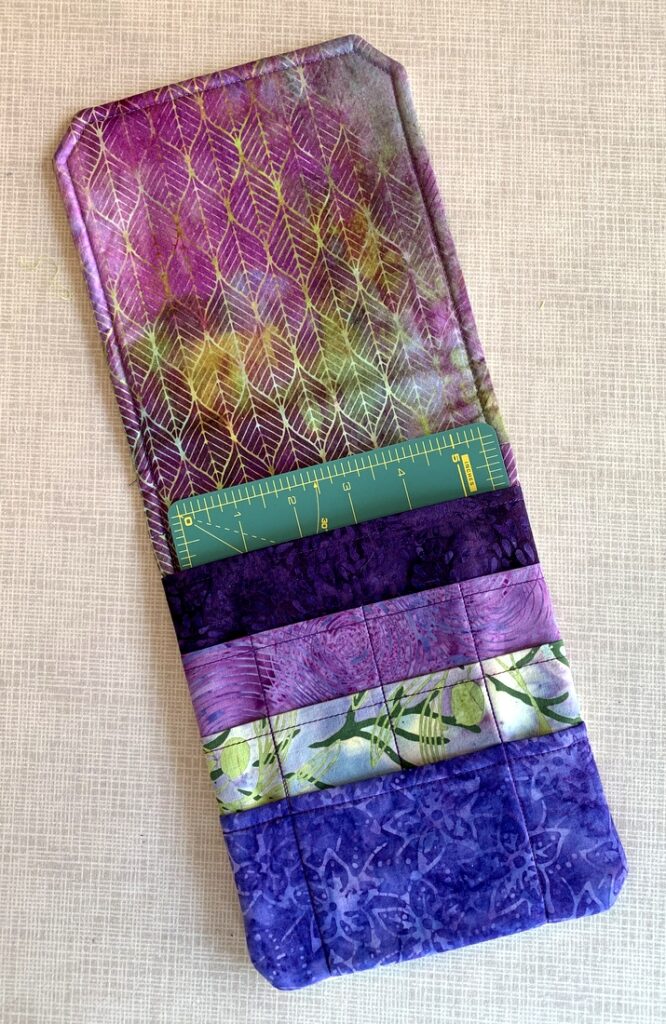
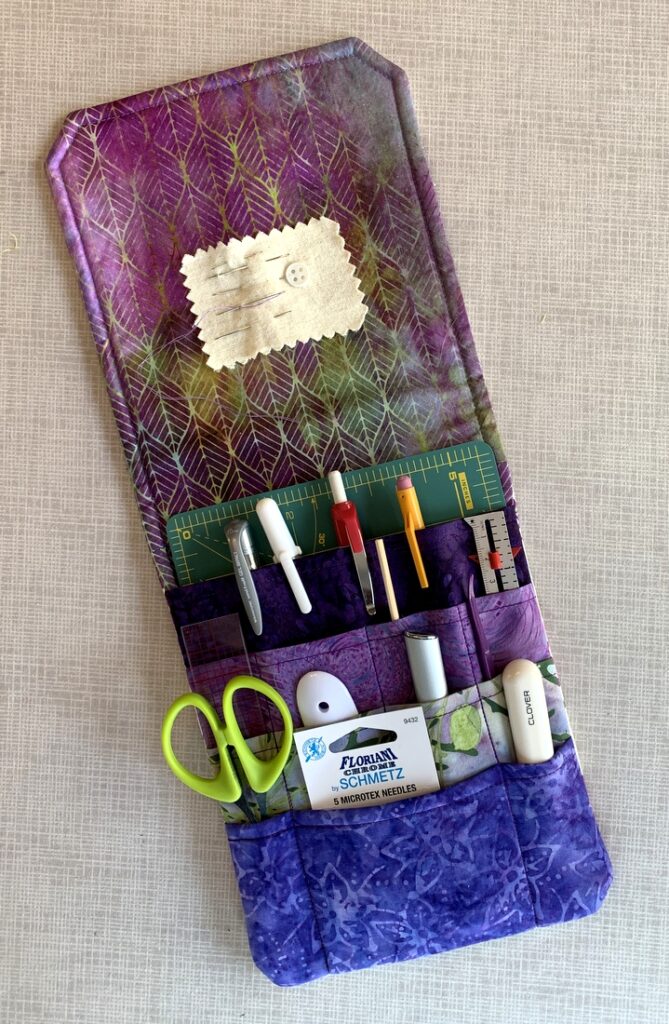
Here’s a look at the inside of Vickie’s tool caddy:


I made some modifications to the original pattern, adding a fourth pocket and making the case a little less wide (I’ll explain why in just a bit). The 6″ x 8″ mini cutting mat made by Olfa fits perfectly inside the case. Vickie will choose which of her tools she wants to put in her case; I put some of my own in just for this photo shoot:

As you can see, it holds a lot! Mine is loaded with even more.

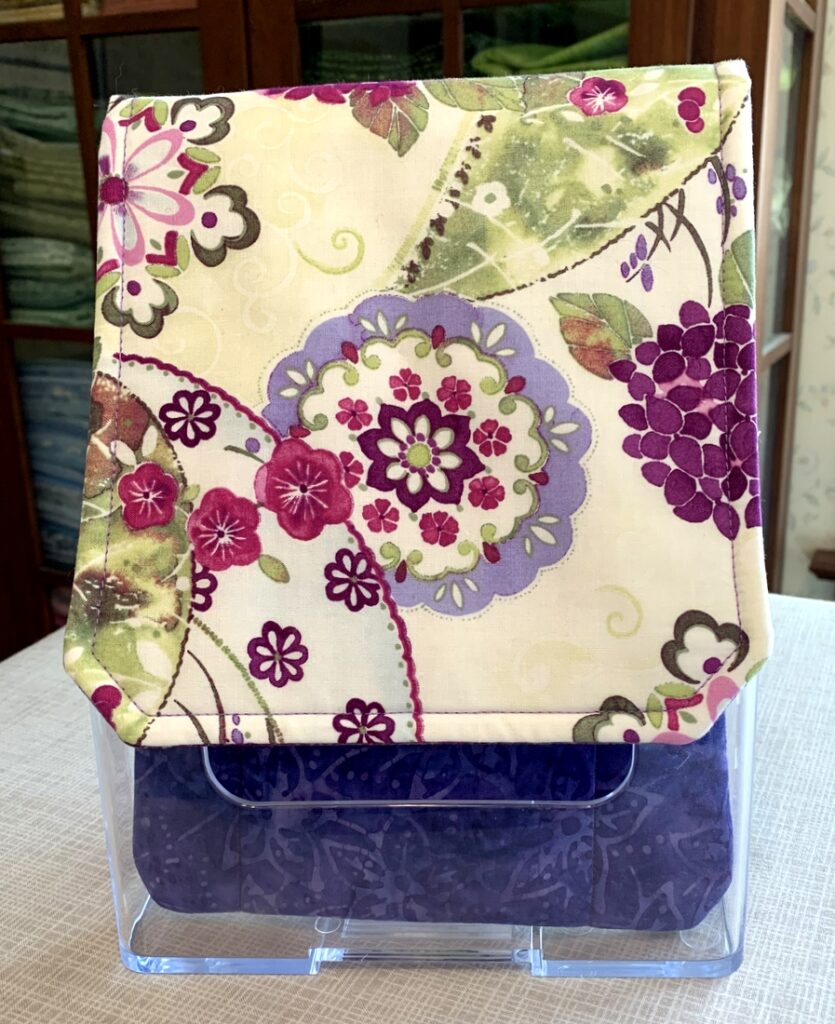
The reason I made the travel caddy a bit narrower than the pattern calls for is to make it fit better in this hard plastic brochure holder:

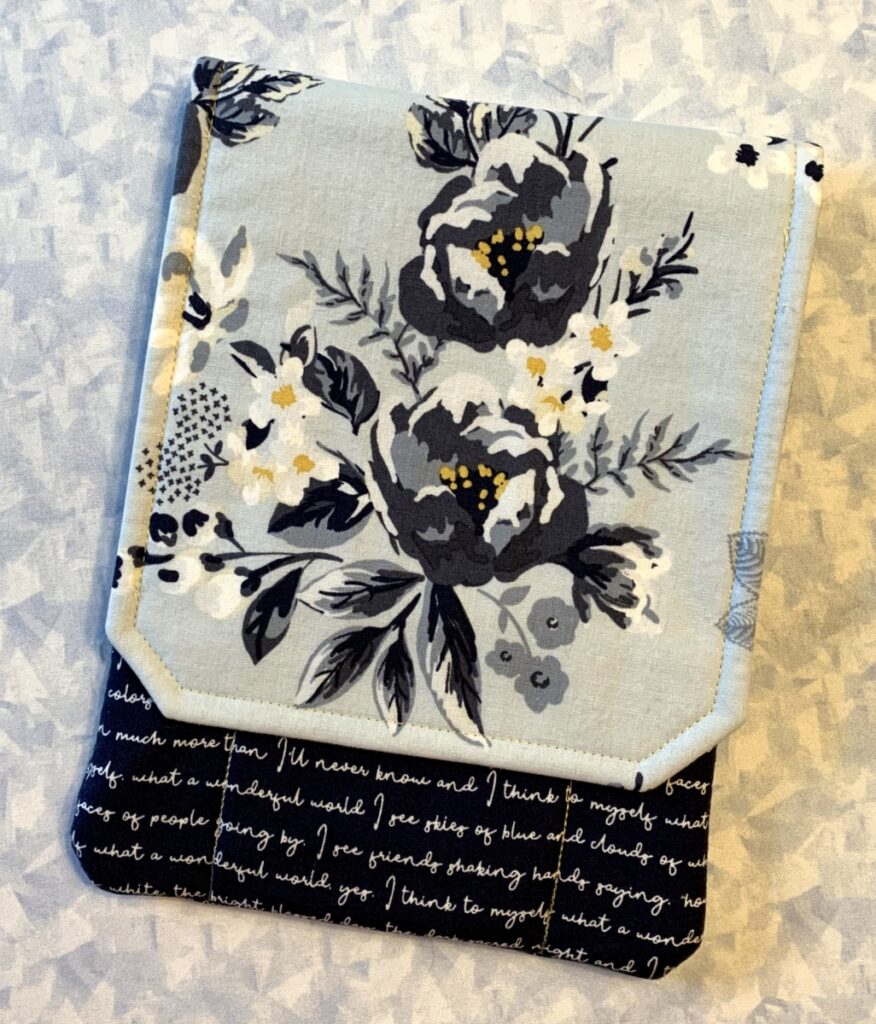
With the flap turned back, all of Vickie’s favorite tools will be right at her fingertips and easy to see. (A huge “thank you” to my guildmate Becky B. for introducing me to the brochure holder.)

That class in February 2020 was one of the last ones I taught before the coronavirus pandemic brought a screeching halt to in-person classes. I miss teaching so much and will savor the day when classes resume. There’s a list of quilters who want to make their own Junior Billie Bag, and I trust some of them will want their own suite of accessories to go with it. If so, I will be ready for them!


Posted in Billie Bag, Junior Billie Bag, rotary cutter case, tote bags, tutorial, update | 8 Comments

Suite Stuff

With a new Junior Billie Bag in my sewing room and a coordinating tool caddy, it was just a matter of time before I gave into the temptation to complete the suite of accessories. Pictured with the tool caddy below are a scissors case, a rotary cutter coat, and a fabric box:


I love these fabrics and colors so much!

You can find picture-heavy tutorials for the scissors case and rotary cutter coat under the Tutorials link at the top of my home page . . . or you can just click on this link.

Speaking of Junior Billie Bag accessories, I forgot to show you the tool caddy I made recently to go with the JBB completed last spring for a class I was teaching:

My friend Cheryl S. was the surprise recipient of this JBB and tool caddy when we were together at Quilt Camp earlier this month.

I’m so ready to shift gears! There’s a new-ish project I’m eager to get back to as soon as I finish up a couple of ongoing projects. And as my twin sister Diane keeps reminding me, the newly remodeled kitchen won’t be complete until I make those valances . . .


Posted in Billie Bag, Churning Stars quilt block, Junior Billie Bag, sewing tool caddy, tote bags, tutorial, update | 3 Comments

JBB 3-D

A rather cryptic title for a blog post, I know, but regular readers know what it means. My latest Junior Billie Bag in-the-making has gone three-dimensional:

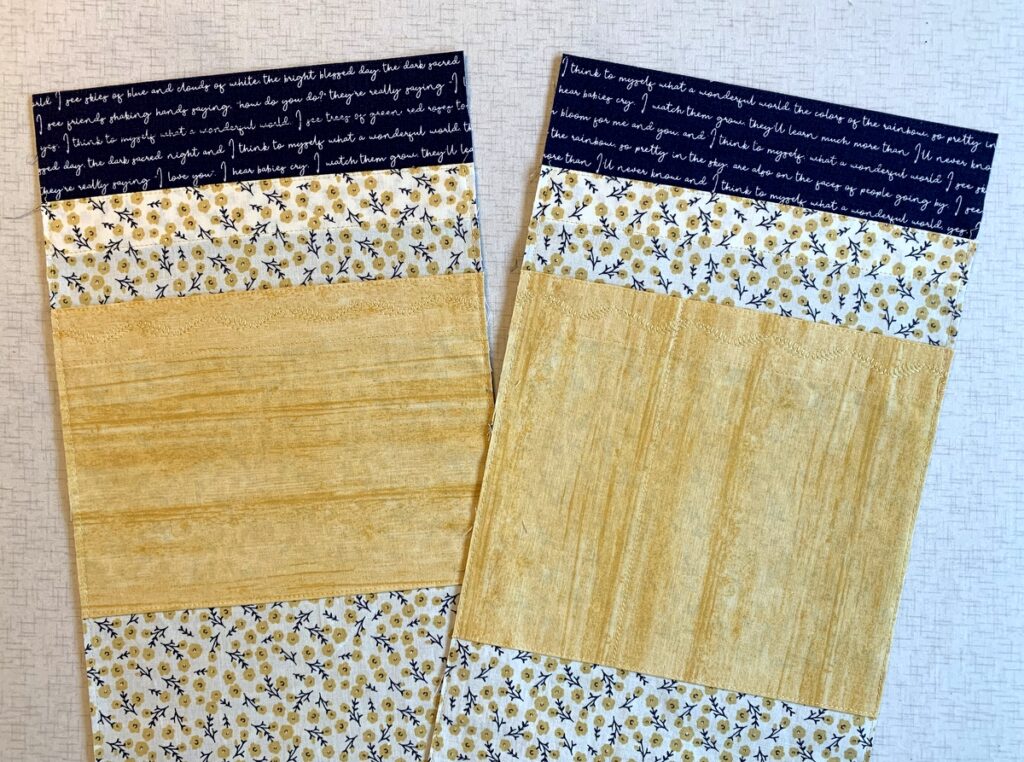
As I’ve mentioned before, this is my favorite part of the process, when a series of flat panels like this . . .

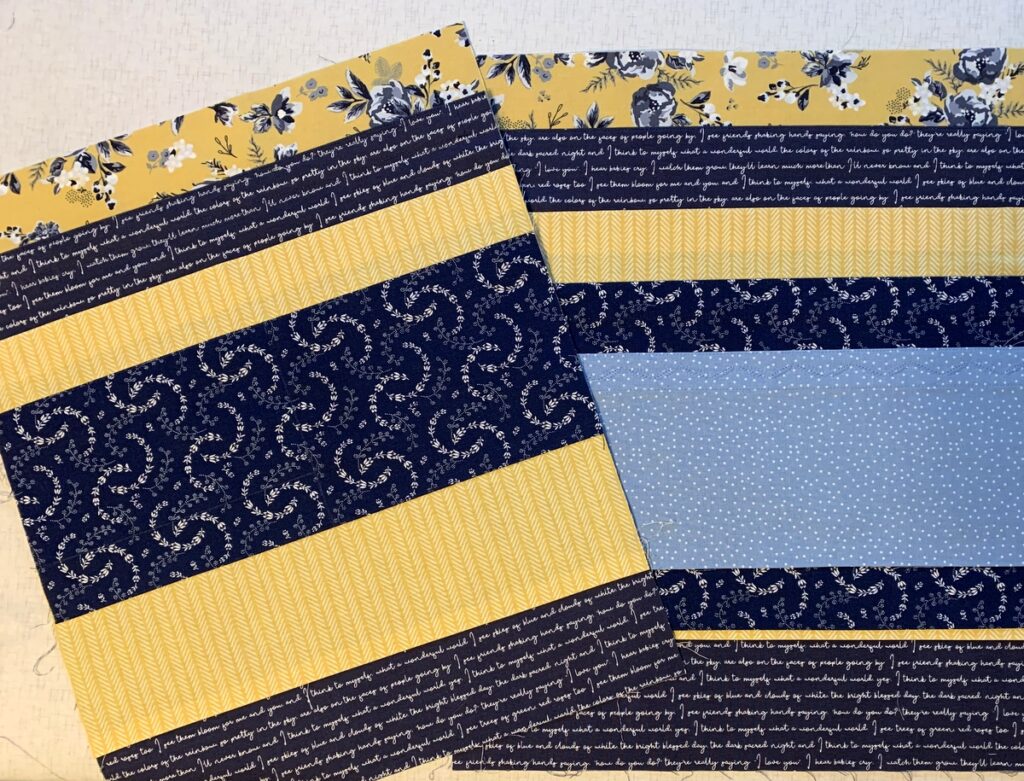
. . . and this . . .

. . . and this . . .

. . . are transformed into the quintessential quilter’s tote known as the Junior Billie Bag.

Junior Billie Bags (JBBs for short) have been a frequent topic on my blog since I started teaching Billie Mahorney’s design three years ago. I have been asked many times about a pattern for this tote but Billie, who owns the copyright on the design, never wanted to create a pattern.

Teaching her design in a hands-on class is by far the best way to go because I can share tips and techniques that have come to me through experience and also troubleshoot problems my students may encounter, just as Billie did when she was teaching. I’m so sorry that quilters across the country and beyond who have seen pictures of various JBBs on my blog don’t have the opportunity to create one of their own.

As I was snapping photos for this post, a little white paw made its way into the frame:


Uh-oh. It can only be Coco the Photobomb!


Posted in Billie Bag, cats, Churning Stars quilt block, free motion quilting, Junior Billie Bag, tote bags, update | 5 Comments

Junior Billie Bag #10: Panels and Pockets

In my last post you saw one of the front/back panels of my current Junior Billie Bag under construction. The second panel is now done. It’s the one on the left in this photo:


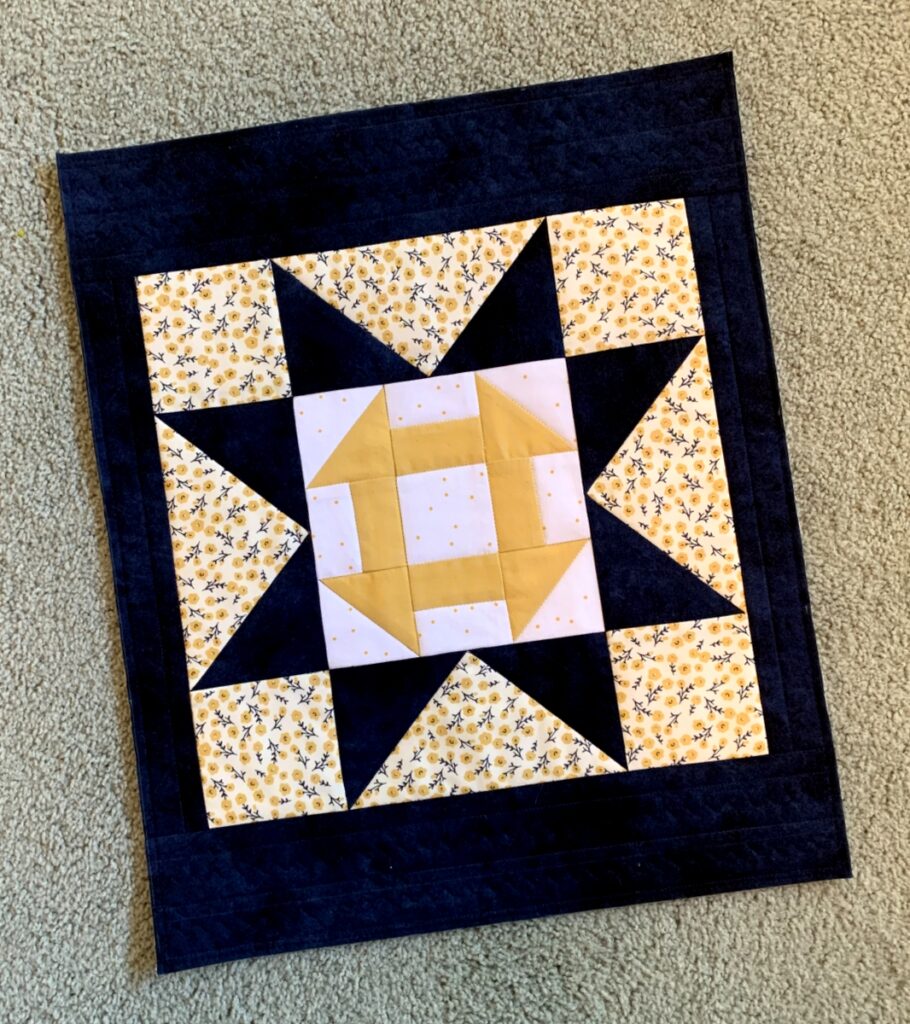
I love the look of the small Churn Dash block inside the Sawtooth Star block. I first saw this combination in a quilt by Jenifer Gaston called Churning Stars and liked it so well I used it on my most recent Junior Billie Bag. (Someday I’ll make an entire quilt from this block design but that’s on the back burner for now.)

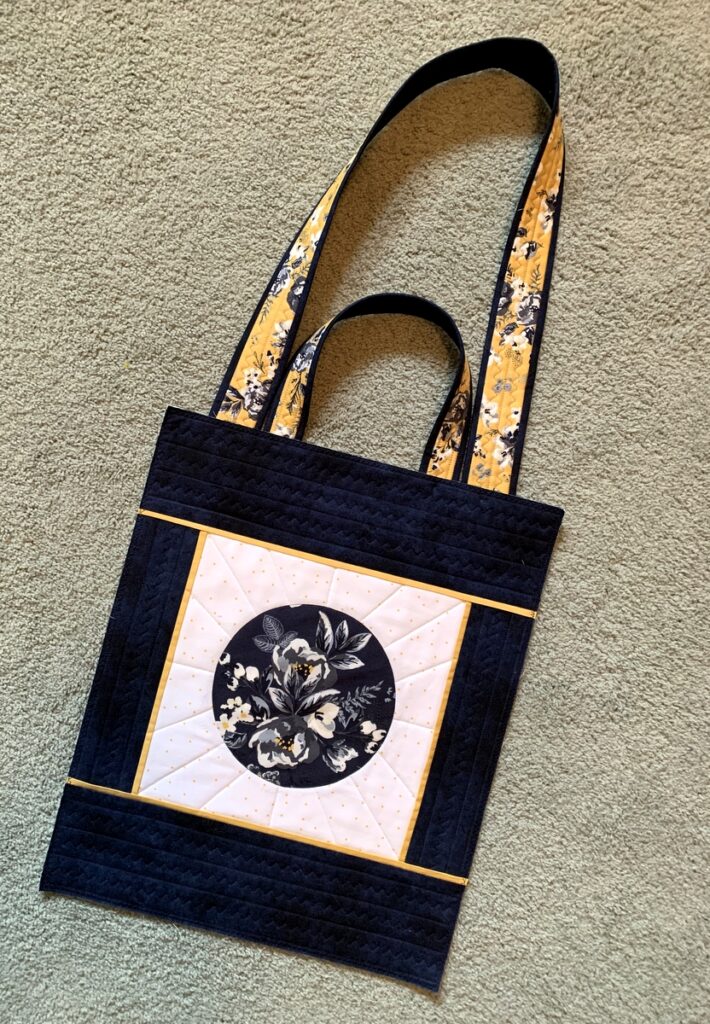
In the center of the Churn Dash in the photo above is a fussycut square from my focus fabric, a vibrant floral print from In the Beginning Fabrics. You see much more of the floral design in the first panel, which features an inset circle framed by turquoise flanges.

I used the same floral fabric to make two small pockets that go on the outside of the bag on one of the side panels. Those are on the left in this photo:

The other glimpses of fabric are some of the interior pockets. This bag has lots and lots of pockets! It’s been fun diving into my stash to audition these fabric combinations. The most difficult thing is making decisions about which fabrics to use. You may have noticed I like to combine batiks with woven cottons.

The next time you see Junior Billie Bag #10, it will be three-dimensional. I hope you’ll check back soon to see the transformation.


Posted in Billie Bag, Churning Stars quilt block, Junior Billie Bag, tote bags, update | 4 Comments

In the Works: Junior Billie Bag #10

Can you believe I’m up to #10 already? I had already made two Junior Billie Bags when I started teaching the class in 2016. Seven classes, seven more bags. (You can see them all here.)

I make a new bag with each class so I can show the students the individual components of the JBB and how they go together. Then I assemble the bag right along with the students so that I have a finished product the same time they do.

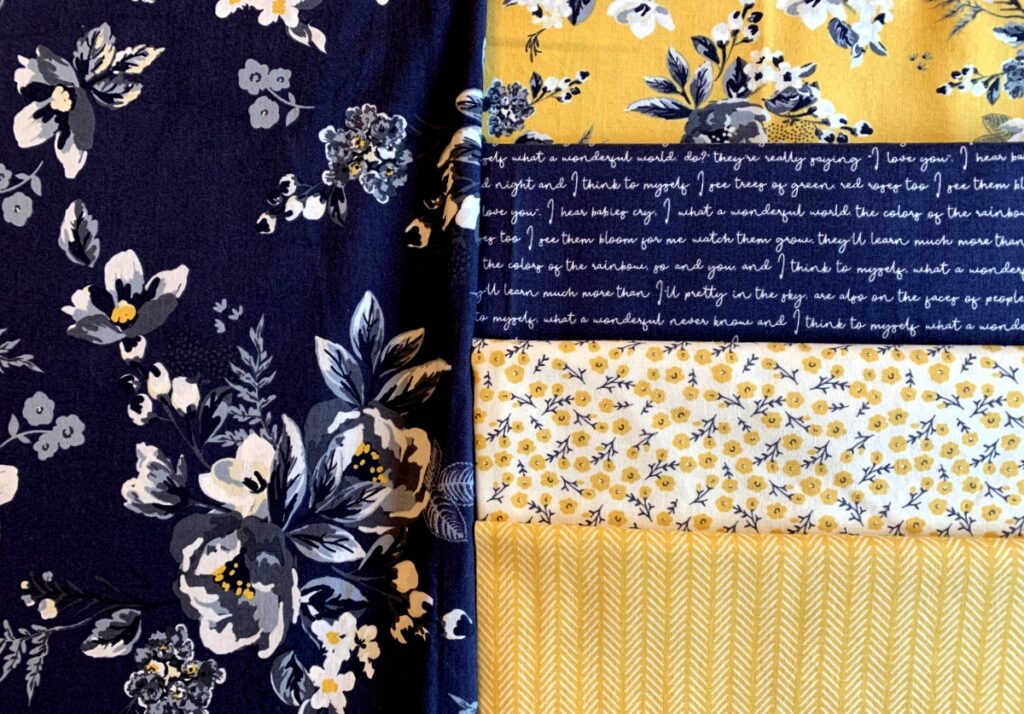
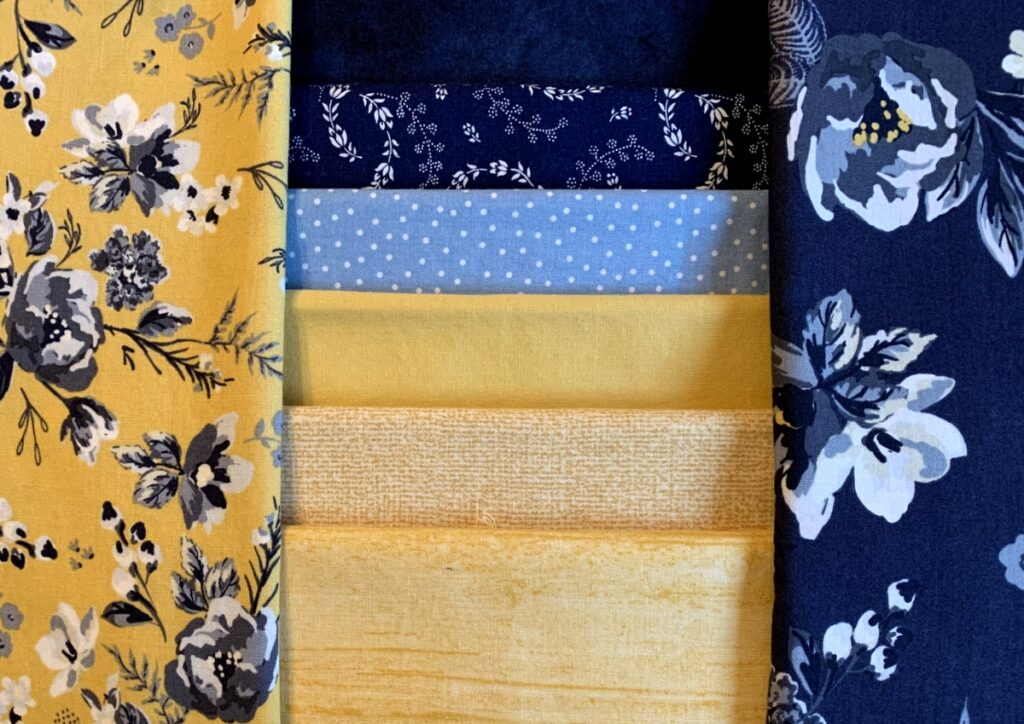
I’m doing the prep work for my eighth class, coming up next week. I have only one of the two front/back panels done so far because I haven’t yet decided what I want to do for the other panel. My focus fabric is a gorgeous floral from the “Unusual Garden” line by Jason Yenter of In the Beginning Fabrics. Here’s a better look at it, along with the fabrics I pulled from my stash for straps and pockets:

My plan this time is to leave the bag unassembled so that I can use it in future classes. My worry is that I’m going to love the components so much I won’t be able to resist sewing it together!


Posted in Billie Bag, Junior Billie Bag, tote bags, update | 7 Comments