
Practical Magic: Hanging Quilts with 3M Command Strips
Happy New Year!! I’m starting the year with a bit of practical magic: using Command Picture Hanging Strips from 3M to change out the wall hanging in my master bath. Command Strips have a sticky Velcro-like texture on one side and adhesive on the other side covered by paper backing. The strips are assembled in pairs, with adhesive facing out on both sides and the Velcro-like sides in the middle, like a sandwich. When the paper backings are removed, one adhesive side attaches to the wall and the other side to the back of the quilt — without leaving a trace on either when they are removed. Seriously!
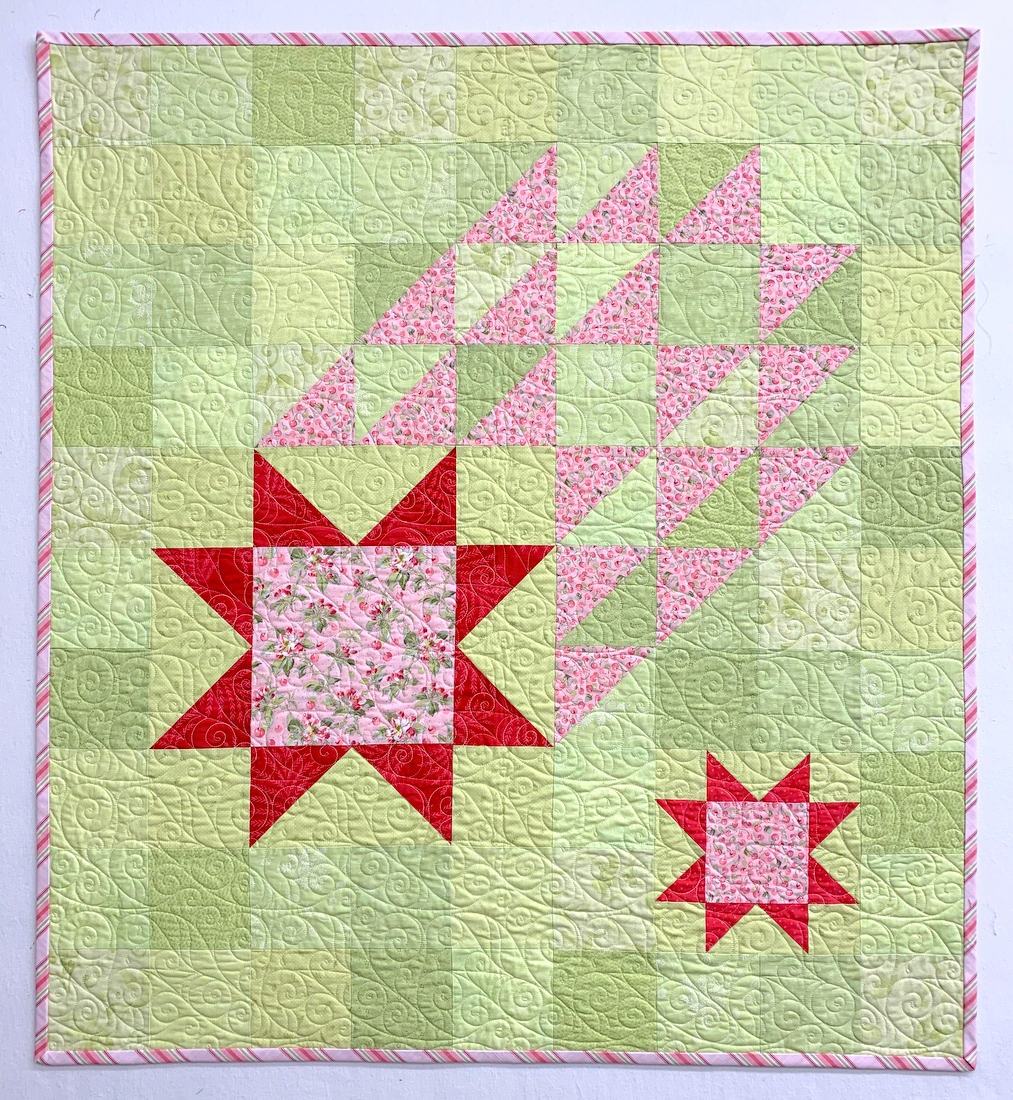
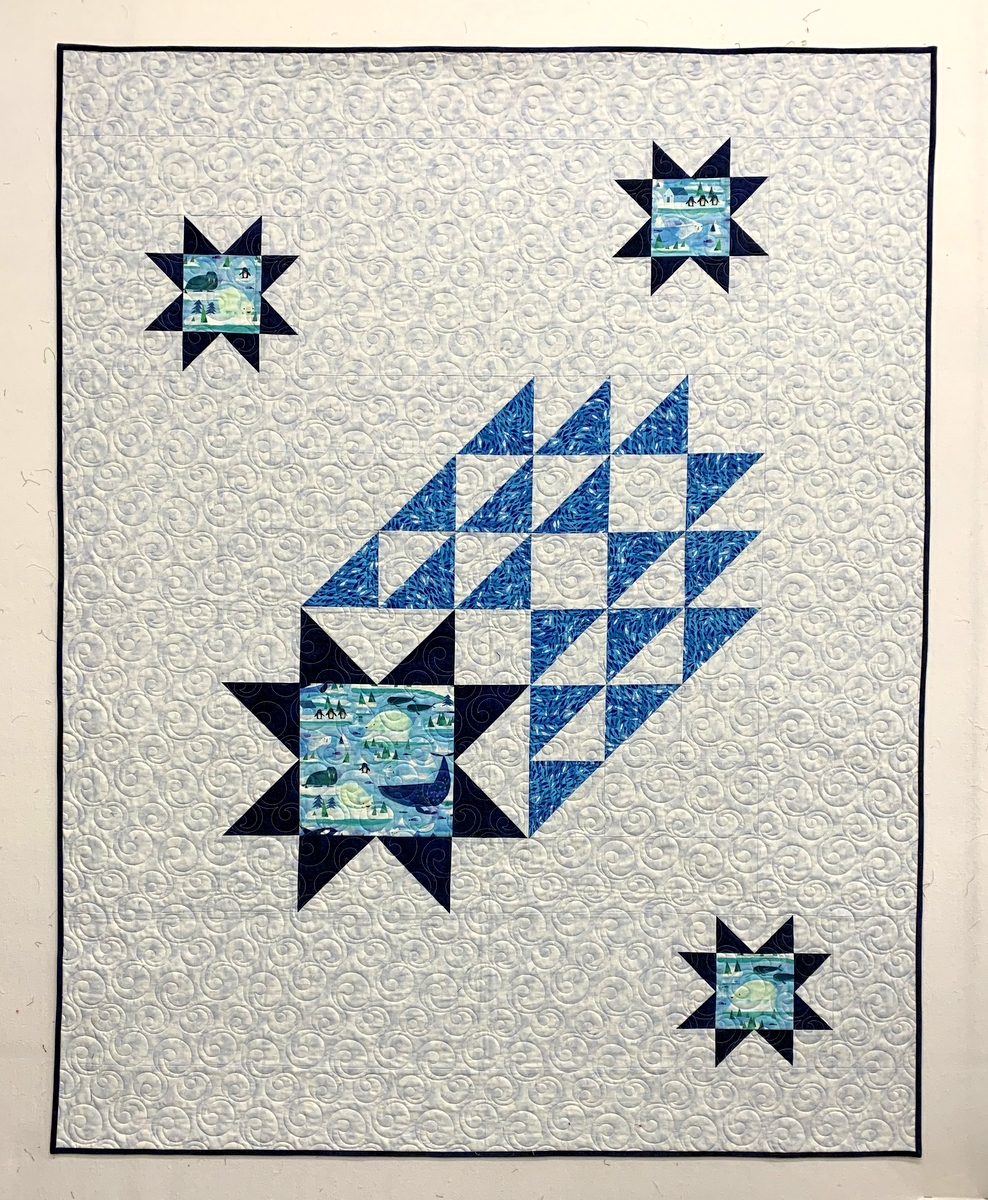
I have several wall hangings that I like to rotate more or less according to the seasons. Dark Moon, pictured on the left below, went up in December as my choice for winter but as the New Year rang in I was longing for something brighter. It took fewer than five minutes to swap out Dark Moon for Hip Hop:
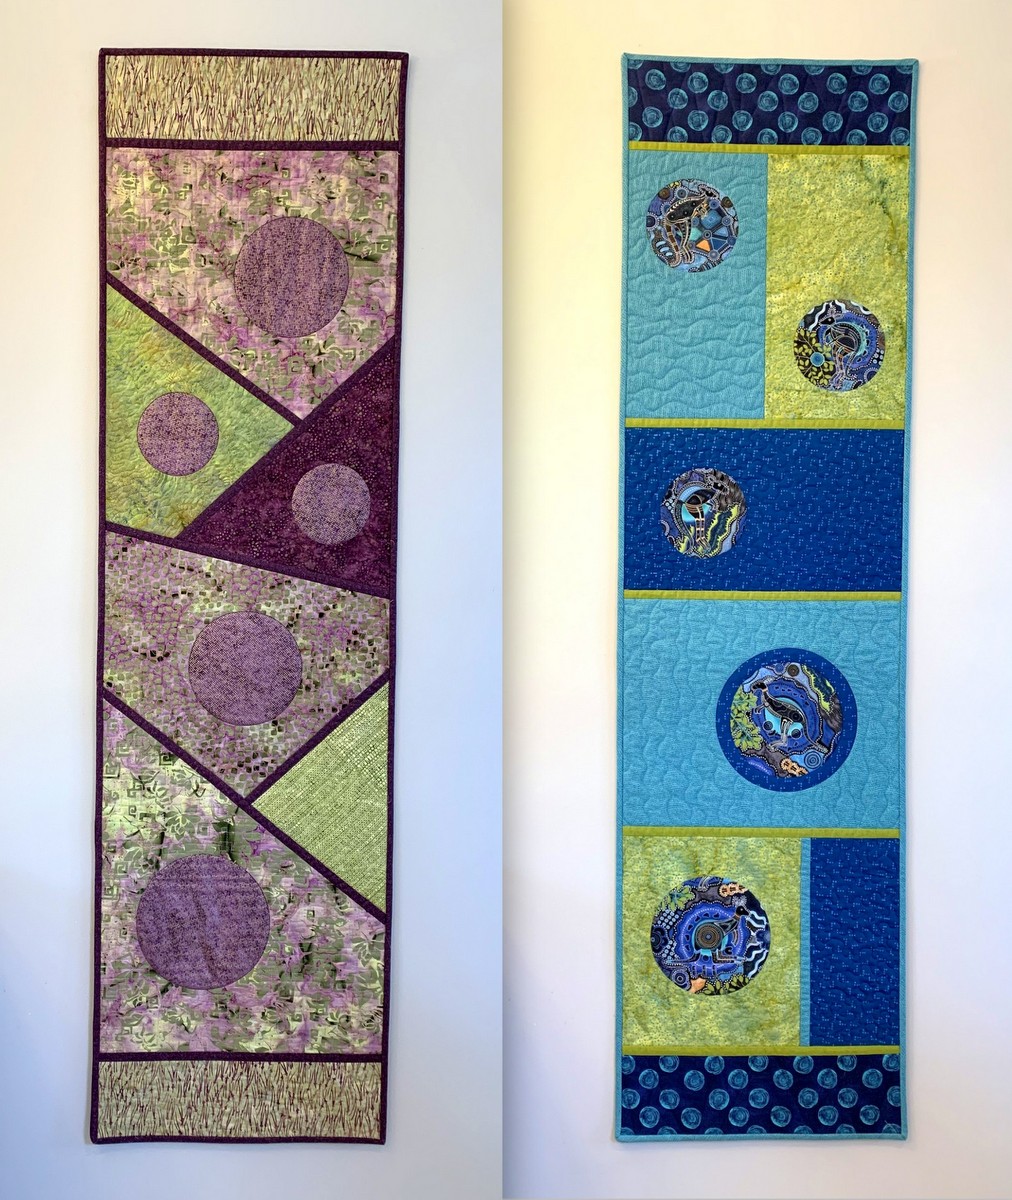
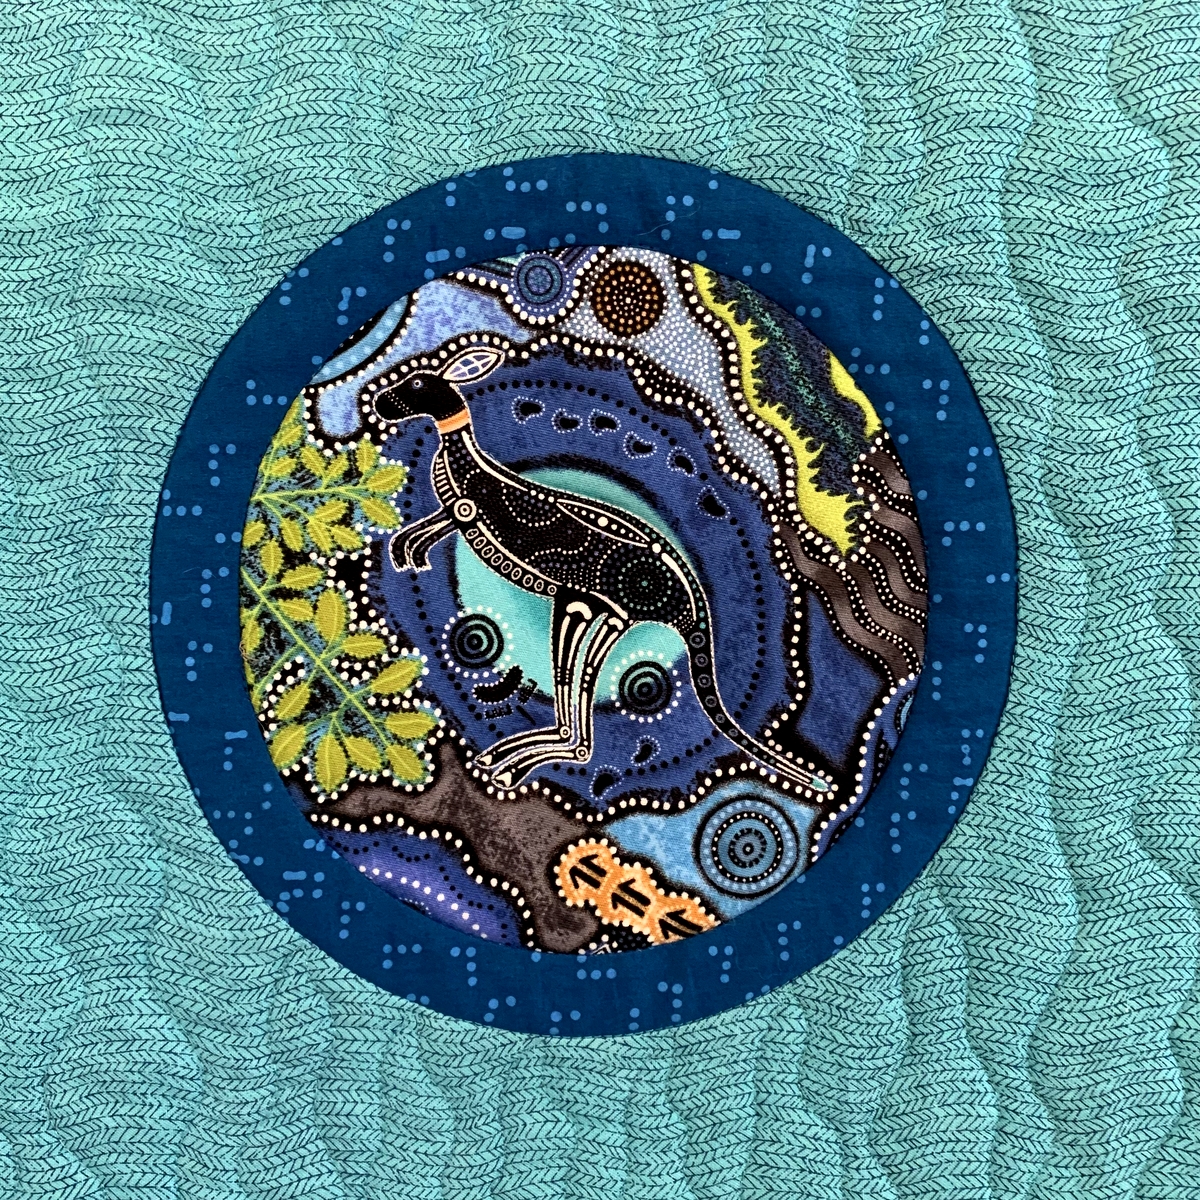
Hip Hop features five different kangaroos gamboling on an Australian aboriginal print background. The playful ‘roos and bright colors are definitely lightening my mood during these gray and rainy days in Portland:

But I digress. Let me show you how very easy it is to hang quilts using these Command Picture Hanging Strips.
Packaging varies. I bought a “value pack” containing four small and eight medium pairs of command strips:
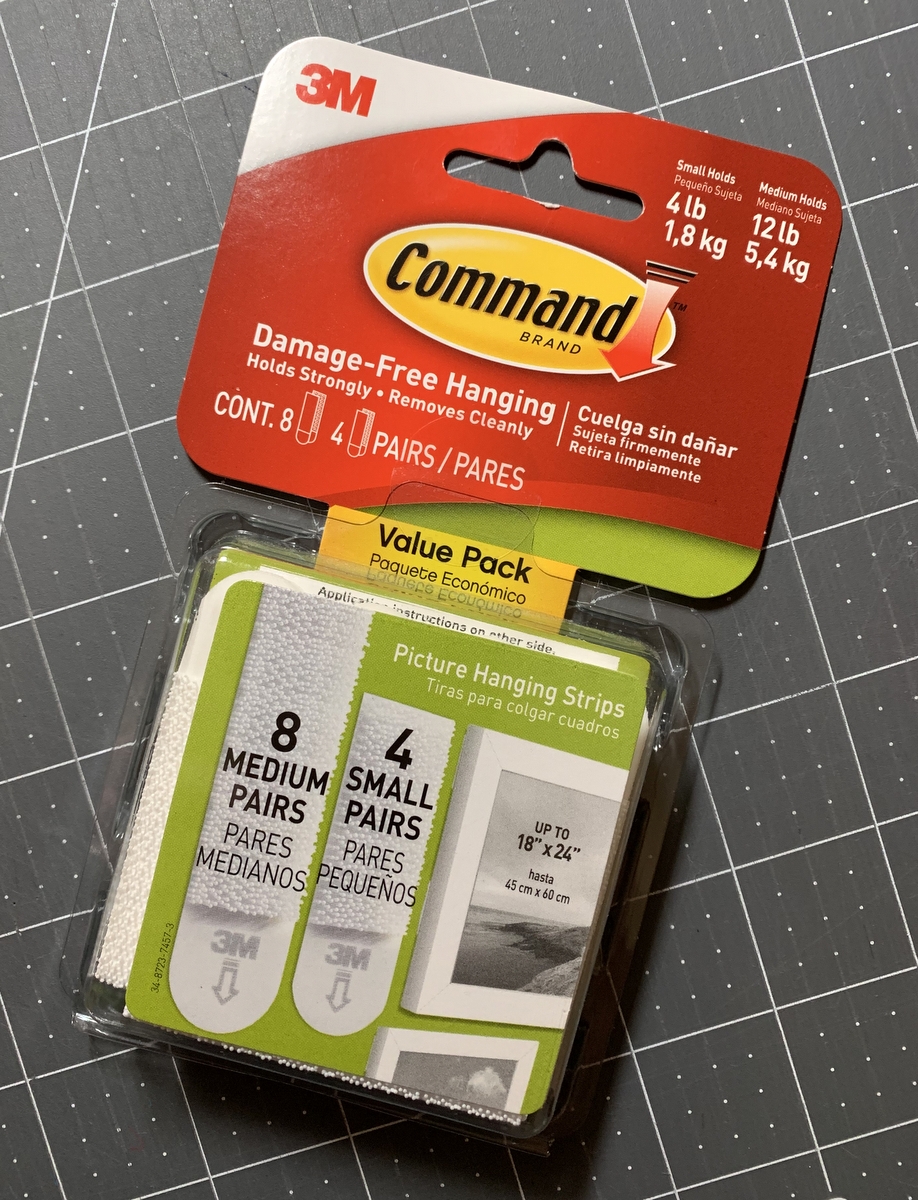
The strips come in Small (holding up to four pounds), Medium (up to 12 pounds) and Large (up to 16 pounds). As mentioned above, the strips are geared for picture frames but they are eminently suitable for quilts. The size Small is more than sufficient for my wall hanging, which weighs much less than four pounds. FYI, Hip Hop measures 16″ x 59″.
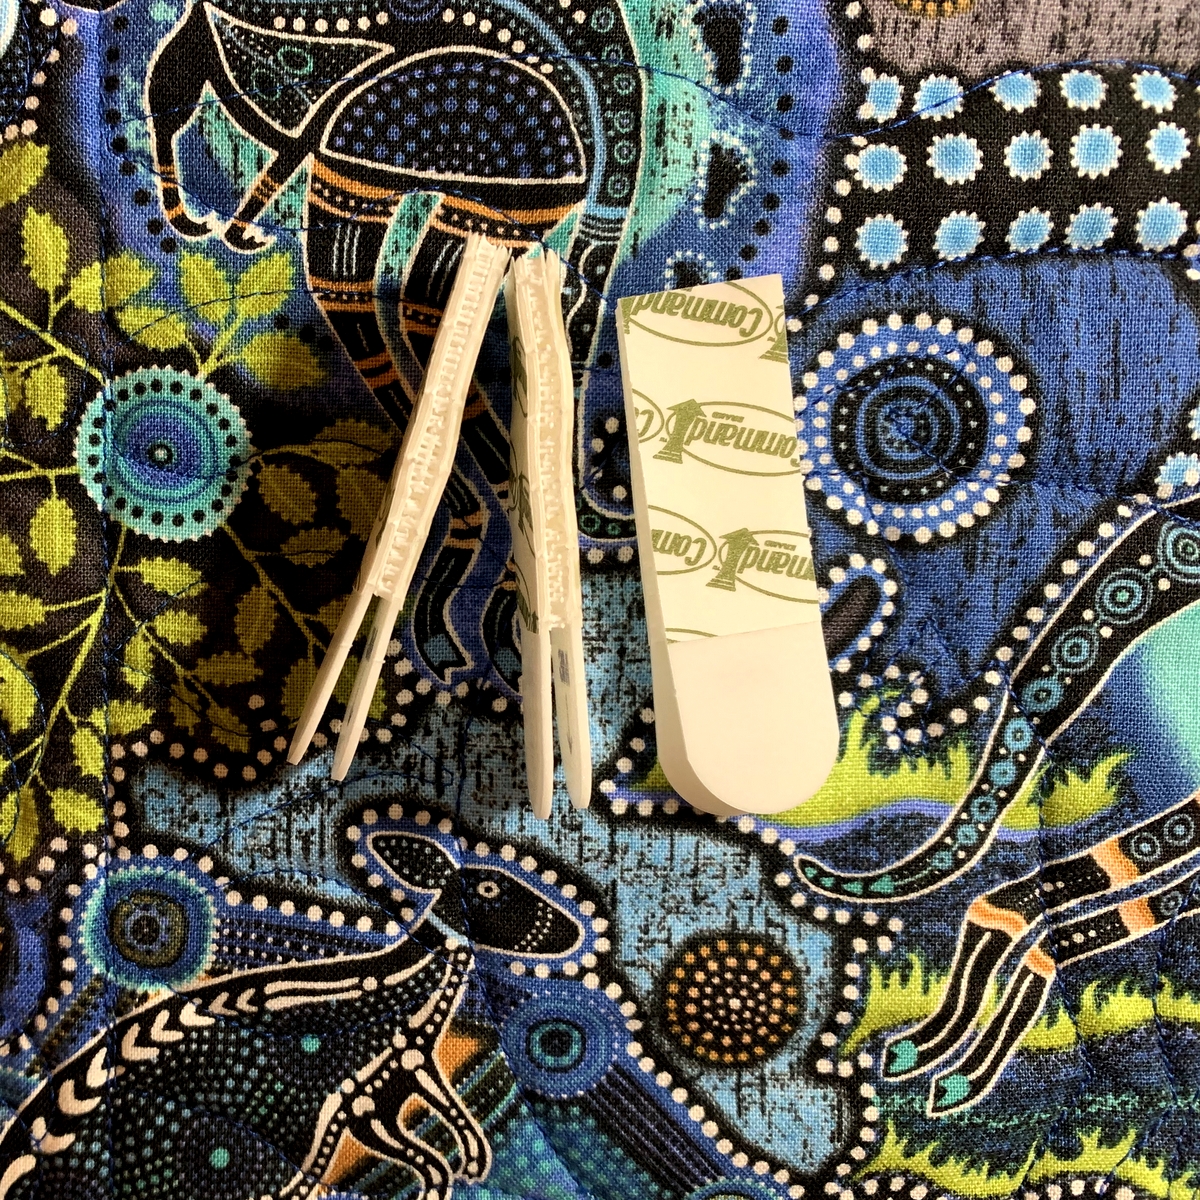
These are the four pairs of small Command Strips, front and back:
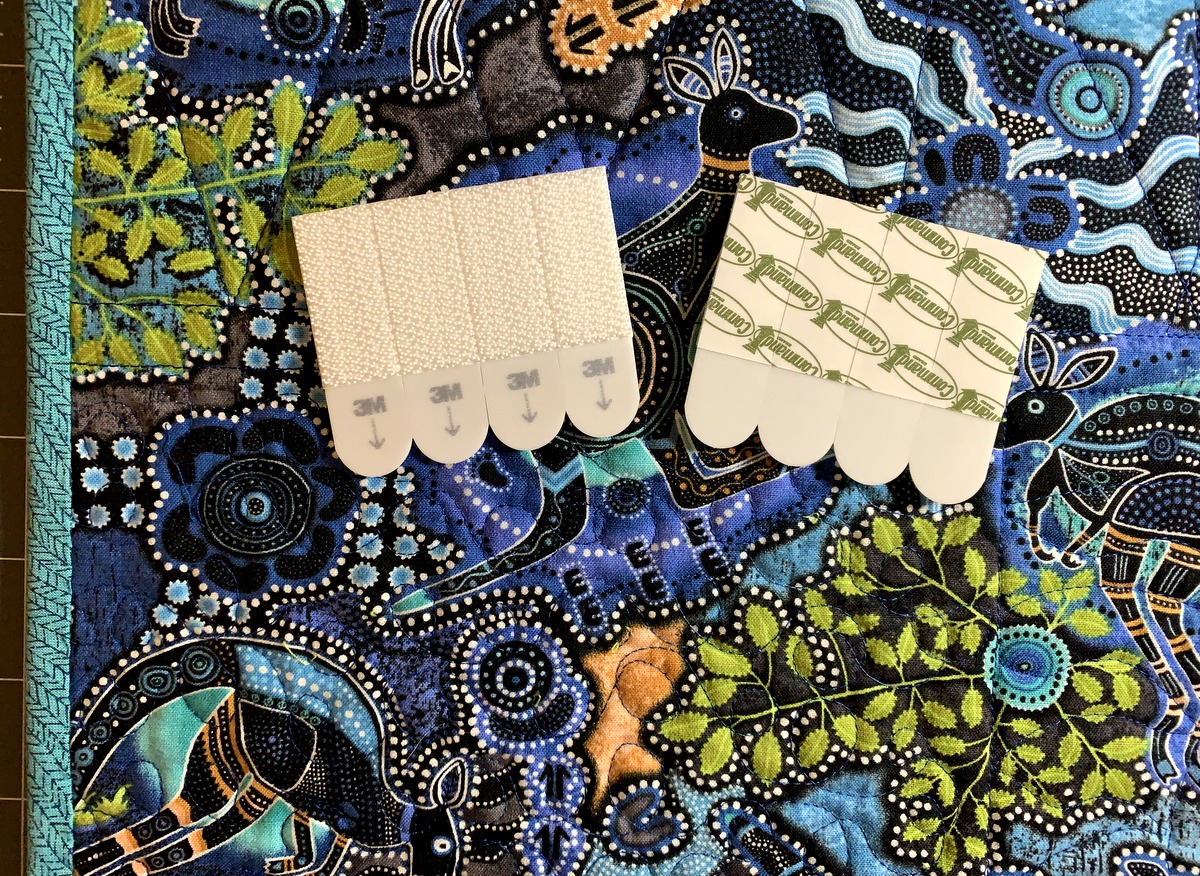
The strips are separated by pulling them apart (very easy). I’m using three pairs for my wall hanging:
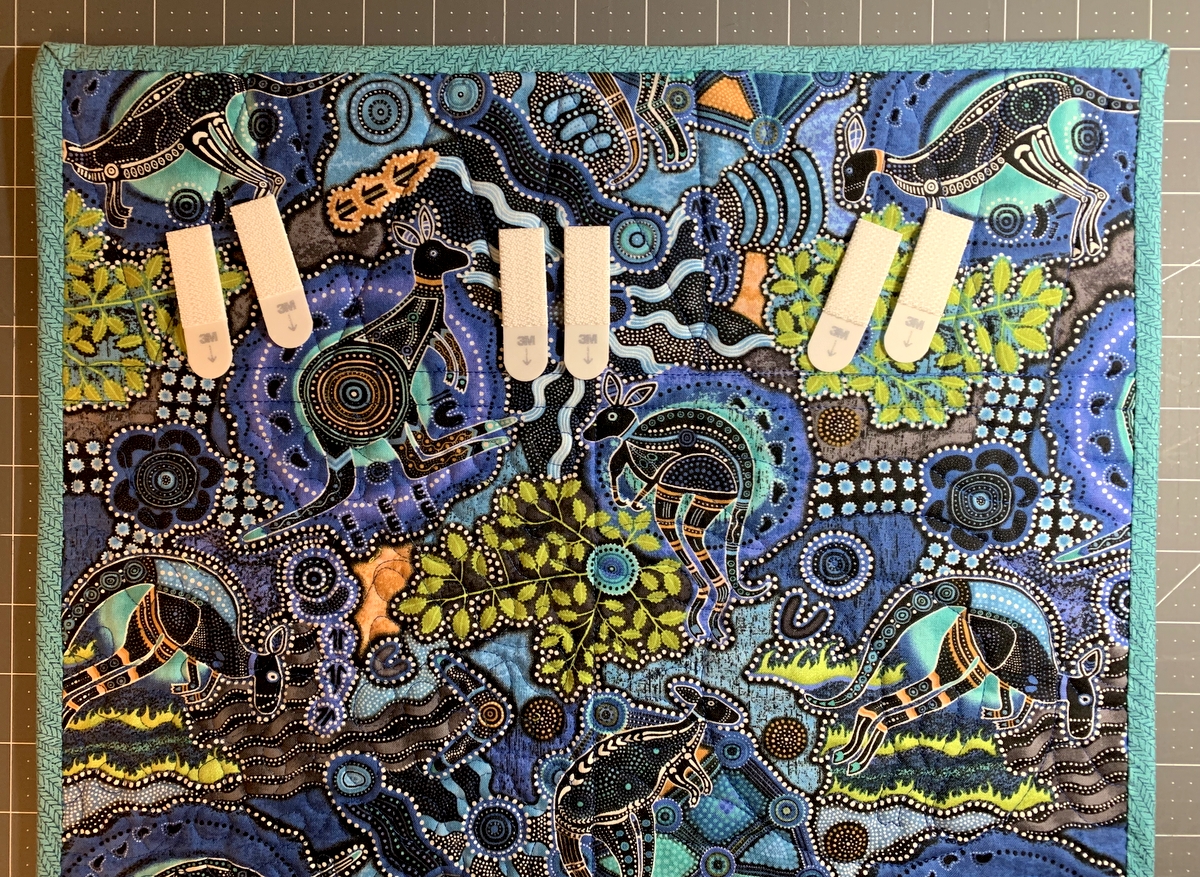
Each strip is ¾” wide and 2⅛” long. Before removing the paper backing, I press two sticky sides together to form a pair, causing them to make an audible clicking sound as they connect. This is what they look like from the side:
I peel off one set of paper backing pieces and place the strips sticky side down right next to the binding at the top back of my quilt — one strip on each end and one in the middle:
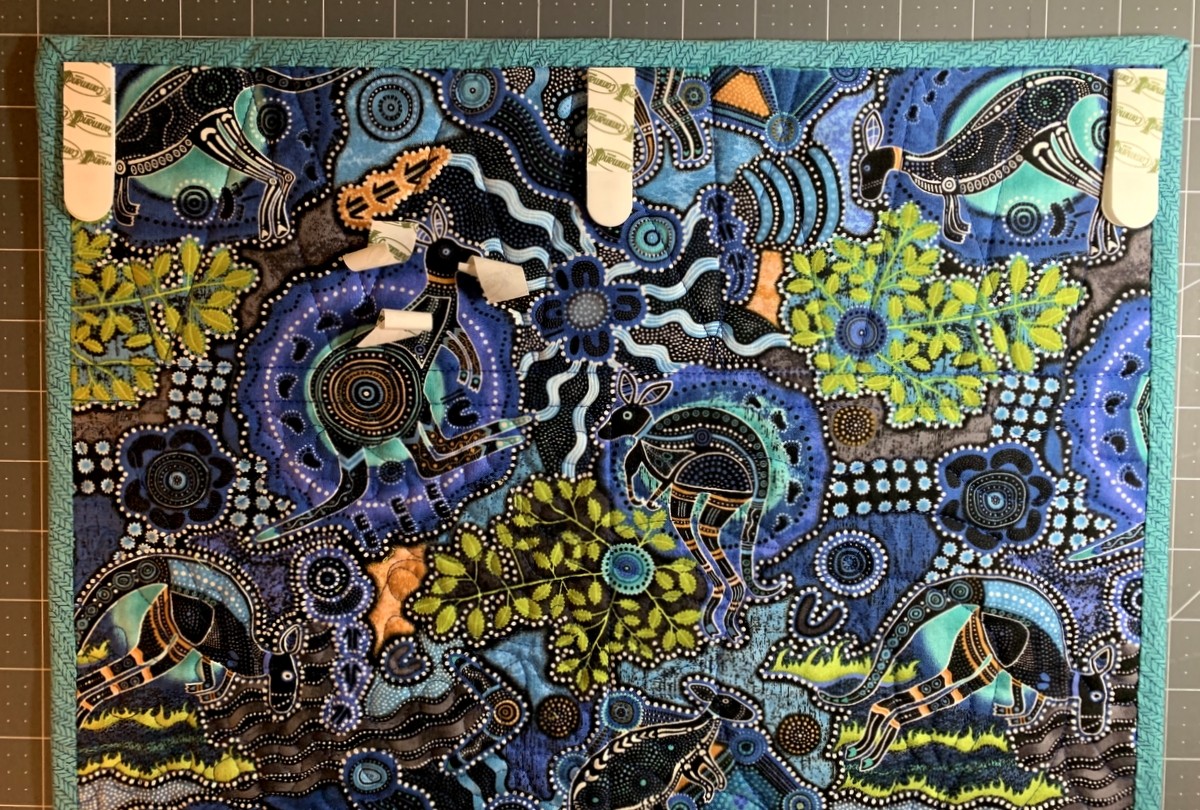
Then I remove the second set of paper backing pieces . . .
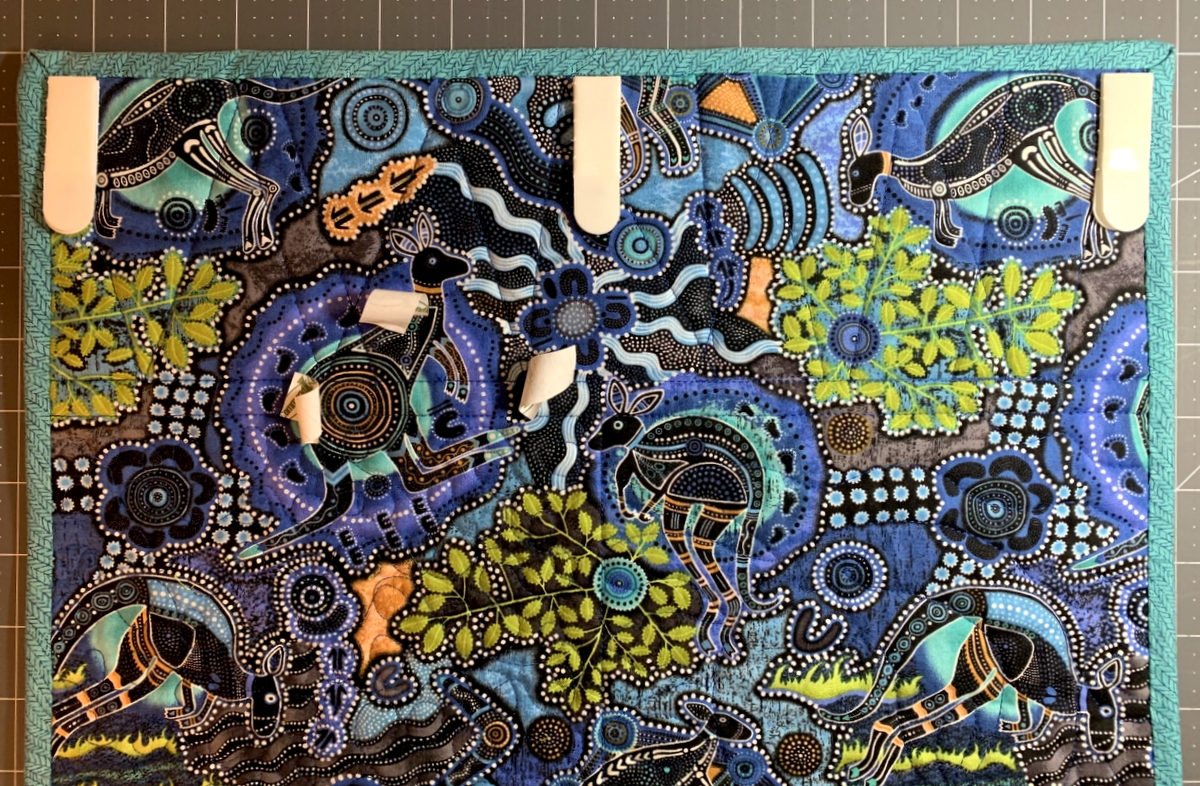
. . . turn the quilt around, and place it on the wall, pressing firmly from the right side of the quilt. I actually run my fingers up and down where the Command Strips are for a good 30 seconds, pressing the runner firmly against the strips for good adhesion. Note: this wall hanging is going on a painted sheetrock wall. I have also used the strips successfully on wallpapered walls (although the instructions say not to do this with picture frames) and on lath and plaster walls in my 1913 home.
Oh, and one more thing: I want to show you how to remove the strips from the wall after you’ve taken the wall hanging down. This shot was taken after I took Dark Moon off the wall:
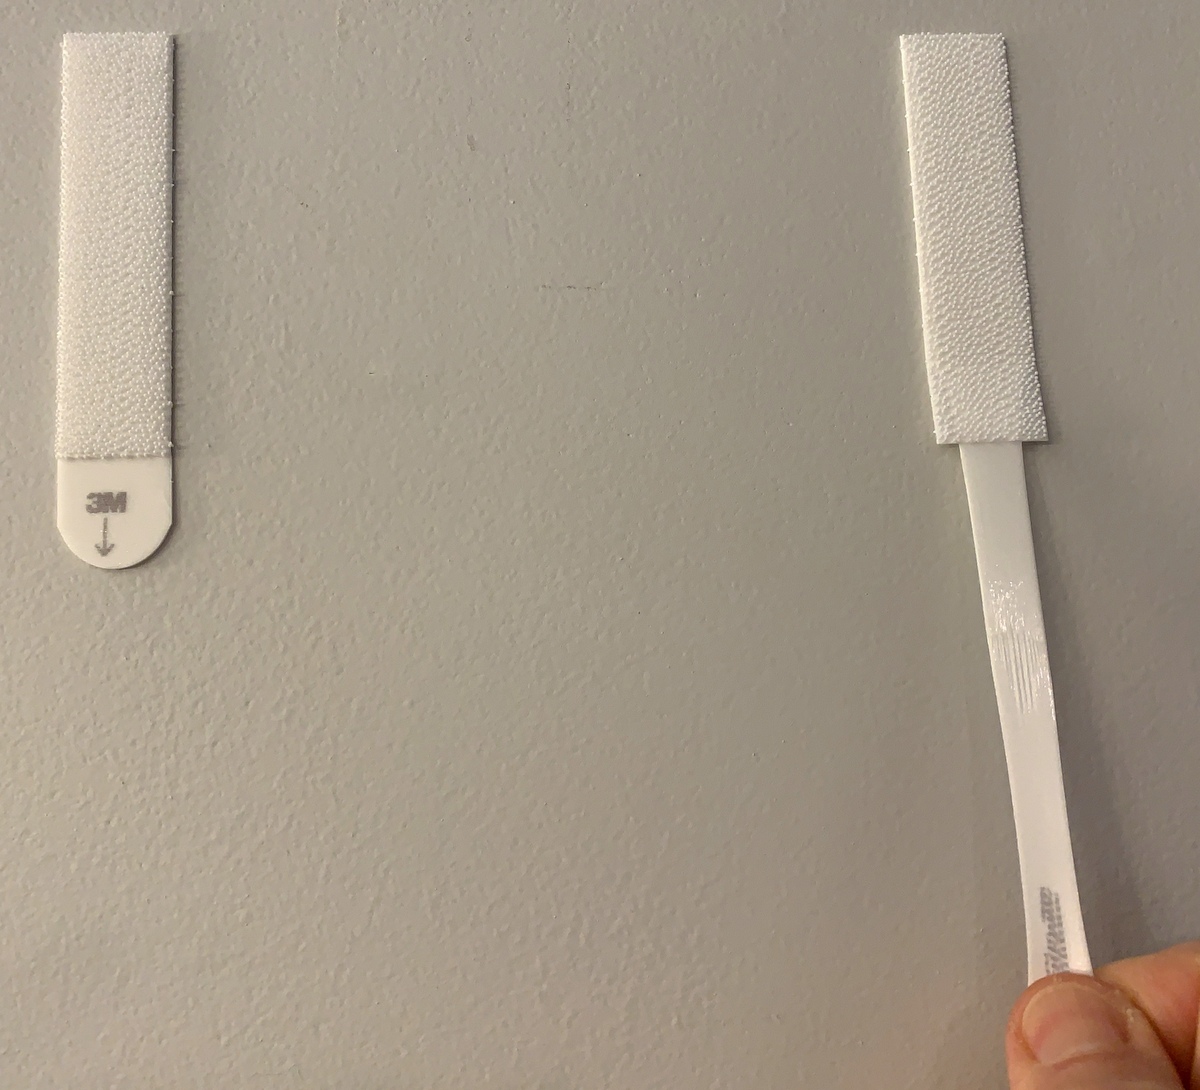
All you do is grasp the rounded tab at the bottom and pull gently, firmly and — this is important! — slowly straight down from the strip. That tab will stretch a good 12″ or more before the entire strip releases from the wall, leaving no trace behind of the adhesive. If you pull too fast or too hard, the strip snaps like a rubber band. Ouch! You only do that once, believe me.
Note: I have no affiliation with 3M, the maker of Command Strips. I’m strictly a consumer, recommending this product based on personal experience. As far as I know, there is no other comparable product on the market. Using this method to display quilts on my walls has eliminated the need to mar the surface of the walls with nails or screws in order to hang rods or other hardware.
About the wall hangings: both are original designs. Hip Hop was made using my first pattern, Full Moon Rising. Dark Moon was made from my second pattern, Full Moon Rising II. If interested, you can look at the front and back of the patterns on the Patterns page on my website.
A final thought: I think this post qualifies as a tutorial. I’m adding it to the Tutorials page on my website. It’s Tutorial #23. Maybe you should check out the other ones!
Update posted Jan. 23, 2023: Be sure to read the follow-up post to this one! It’s called Addendum: Hanging Quilts with 3M Command Picture Hanging Strips. Clicking on the link will take you right to the post.


 Tomorrow is a big day for First Light Designs. Ten years ago — on May 2, 2012 — my very first blog post was published. (You can