Category Archives: Churning Stars quilt block

JBB #12 — Can You Believe It? — Is Under Construction

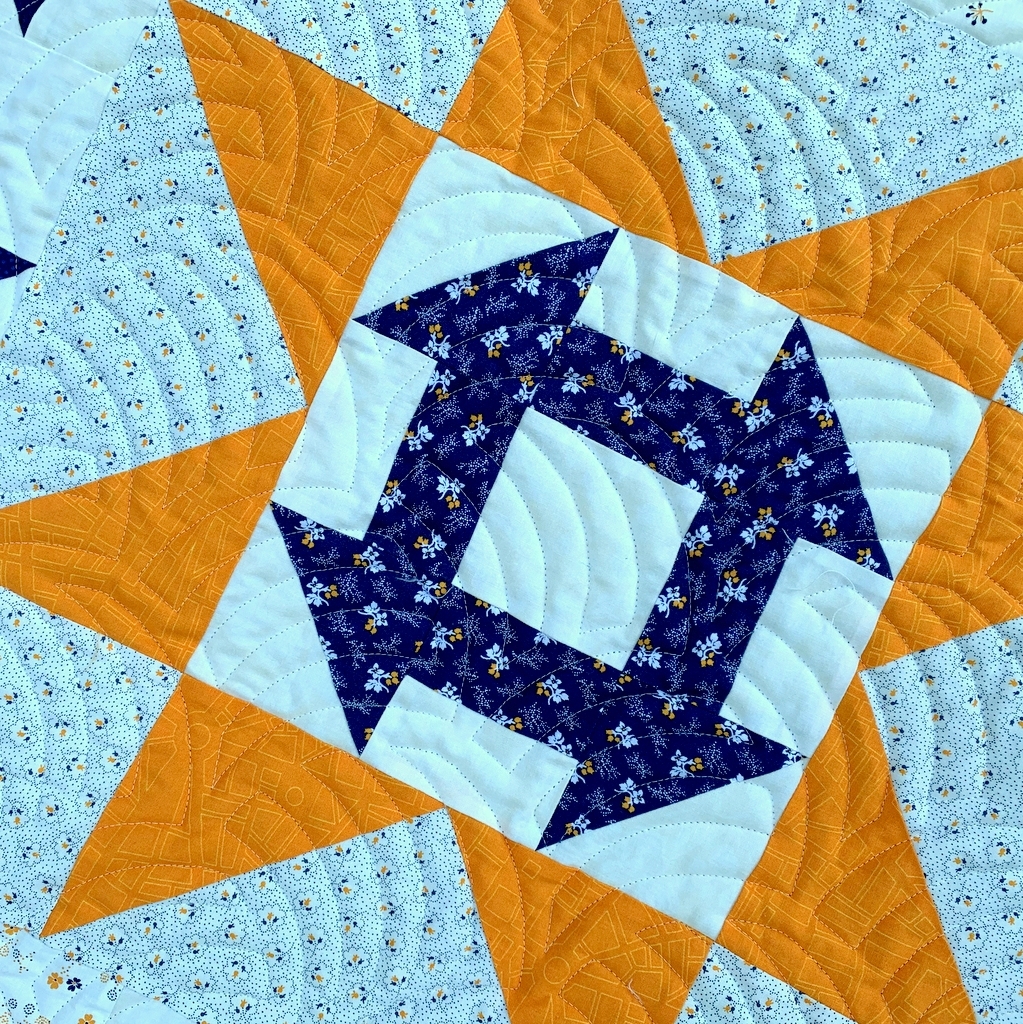
I’ve been gearing up to teach my Junior Billie Bag class that begins at Montavilla Sewing Center next week by creating the components that make up a completed bag. This is one of two front/back panels and it gives you a good sense of my color scheme: navy, gold, and white with just a touch of dusty blue. An elegant combo, yes?

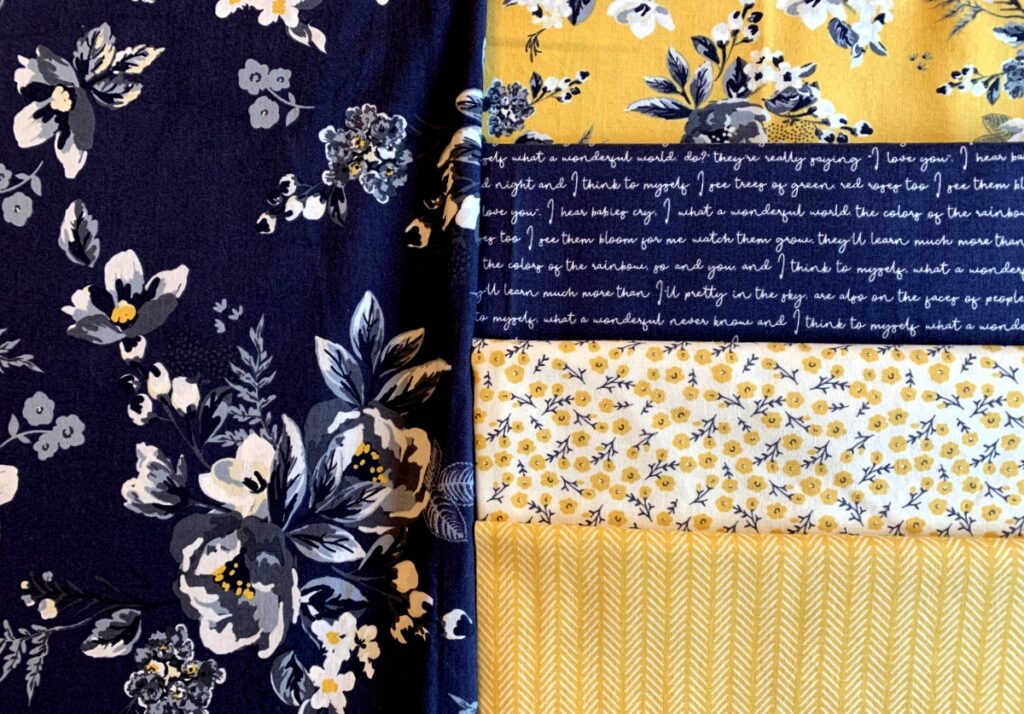
My inspiration came from these fabrics I bought at Montavilla a couple of years ago:

At the time I wasn’t sure what I would make with them but I knew I would come up with something. The line is called “Gingham Foundry” and was designed for Riley Blake Designs by My Mind’s Eye. It features a large floral print on a navy background and several companion prints, including the text design you see above right. In case you can’t make out the words, they are the lyrics for “What a Wonderful World” — one of my all-time favorite songs.

The design on the front/back panel is one that I came up with a few Junior Billie Bags ago. It features a large bloom from the main print set into a circle and framed with a narrow flange.

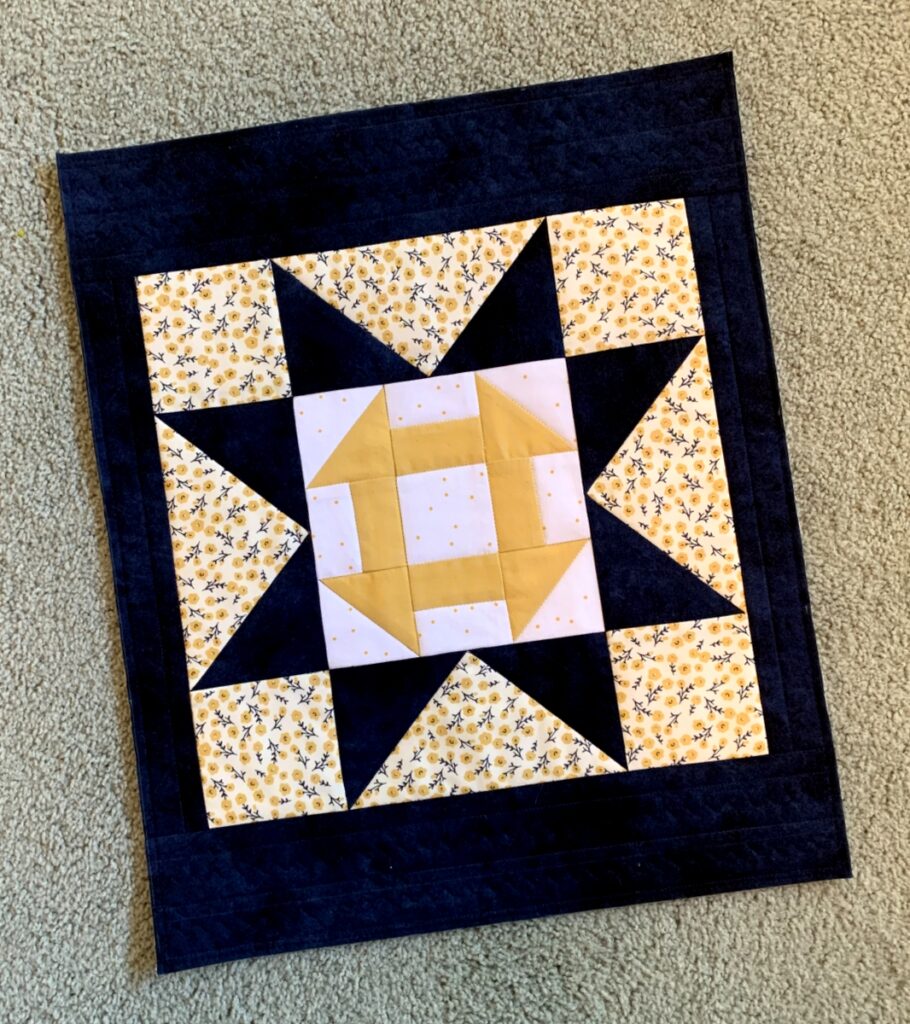
I returned to another favorite design for the other front/back panel:

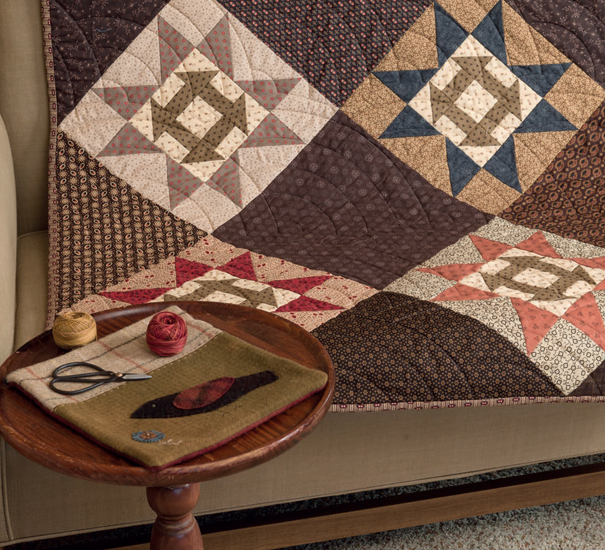
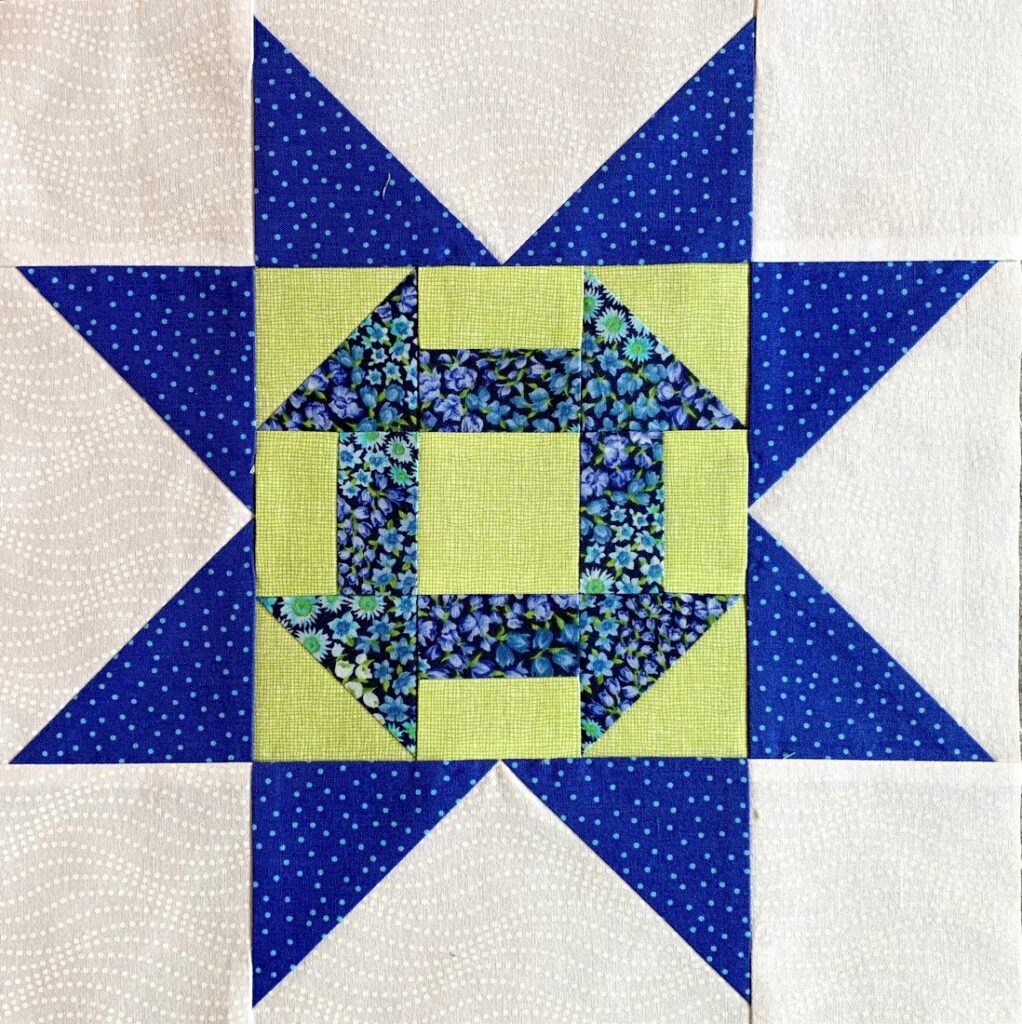
It’s a Churn Dash block set into the center of a Sawtooth Star block. I call it a Churning Star block as a nod to Jenifer Gaston, who designed a quilt front this block that she named Churning Stars. Her blocks are set on point in her charming version:

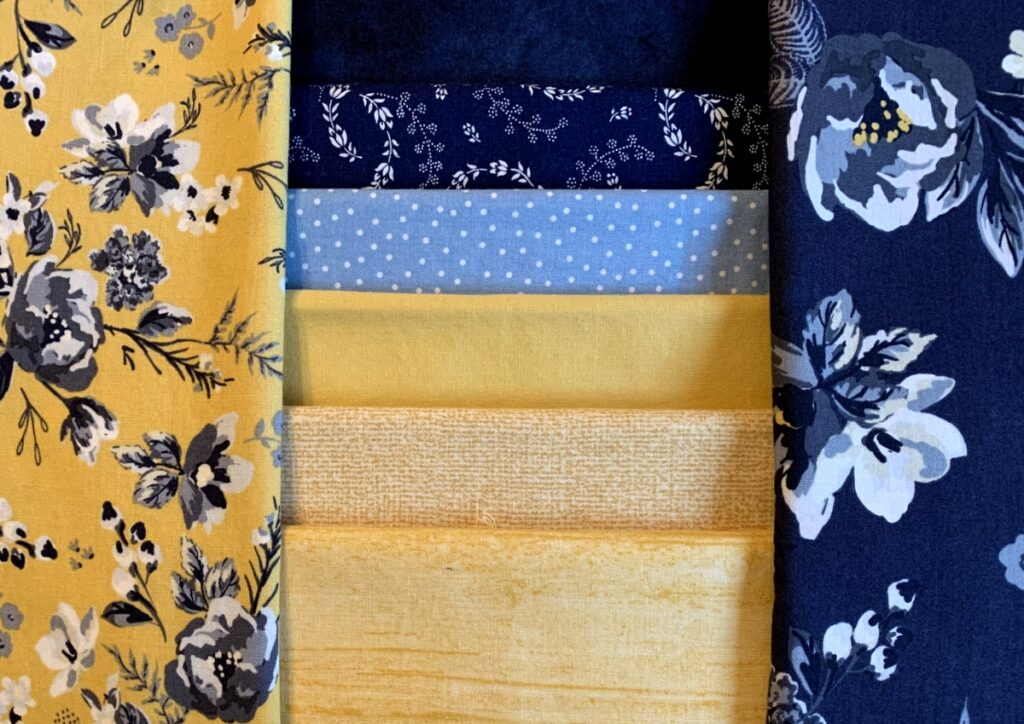
I found several fabrics in my stash that play nicely with the “Gingham Foundry” fabrics you see on the left and right sides of this photo:

You’ll see these fabrics in supporting roles in the JBB: they will appear on the inside and outside of the bag as pockets. Oops, I see I forgot the white and gold dot fabric that’s one of the “Seasonal Basics” by Lori Holt for Riley Blake dating back to 2019. I have that dot in a few different colorways.

Please check back soon. I’ll have a preview of those pockets — and you’ll be amazed how many pockets there are in this tote bag I call “the quintessential quilter’s tote.”


Posted in Billie Bag, Churning Stars quilt block, Junior Billie Bag, tote bags, update | 3 Comments

Afternoon Delight

I can’t remember the last time I spent the entire afternoon in my sewing room. Despite the fact that it was really hot upstairs — the temperature in Portland reached 100 degrees at 6:00 pm today — I was in heaven. Fortunately, my ironing board is positioned right under the ceiling fan; the circulating air helped. I still got hot and sticky but it was totally worth it.

First I worked on Junior Billie Bag #11, the one I am making as a teaching tool for my students at Montavilla Sewing Center in Lake Oswego. I could have finished the bag today but I needed to leave the final steps undone so I can demonstrate them for my students at our third and final class on Friday. Look for the final reveal of this ultimate quilter’s tote next week!

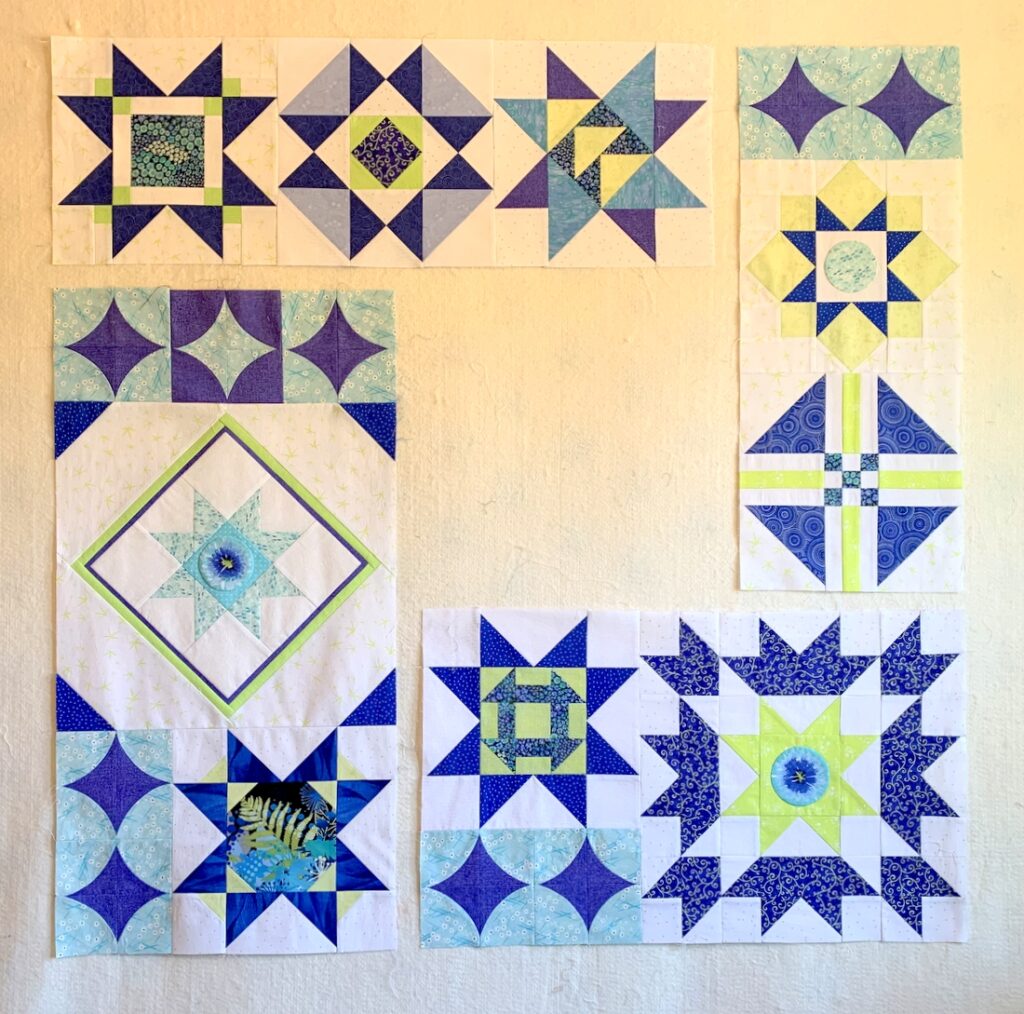
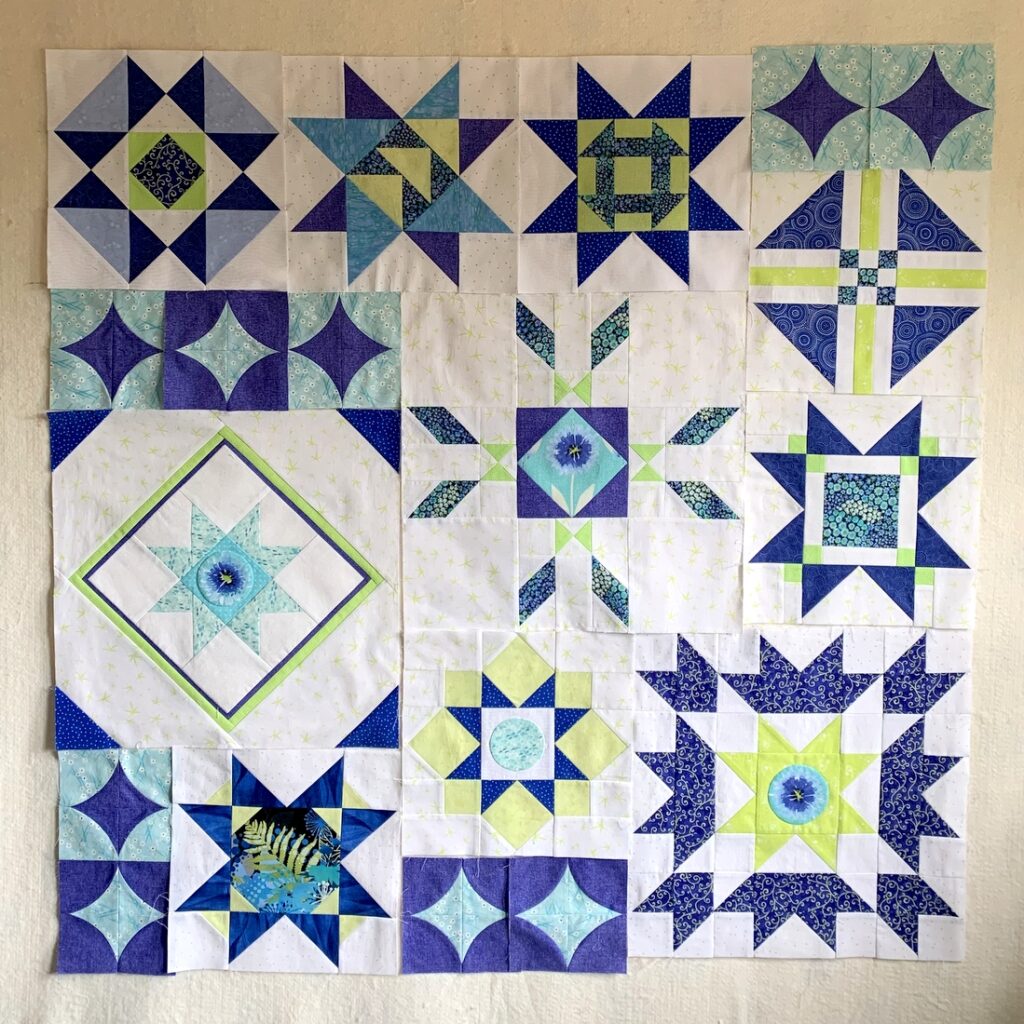
Then I finally got the blocks sewn together on my Sea Star Sampler quilt. Because the blocks are of different sizes — finishing at 6, 12, and 18 inches — I knew I’d be sewing the top together in sections. You can see the four sections here:

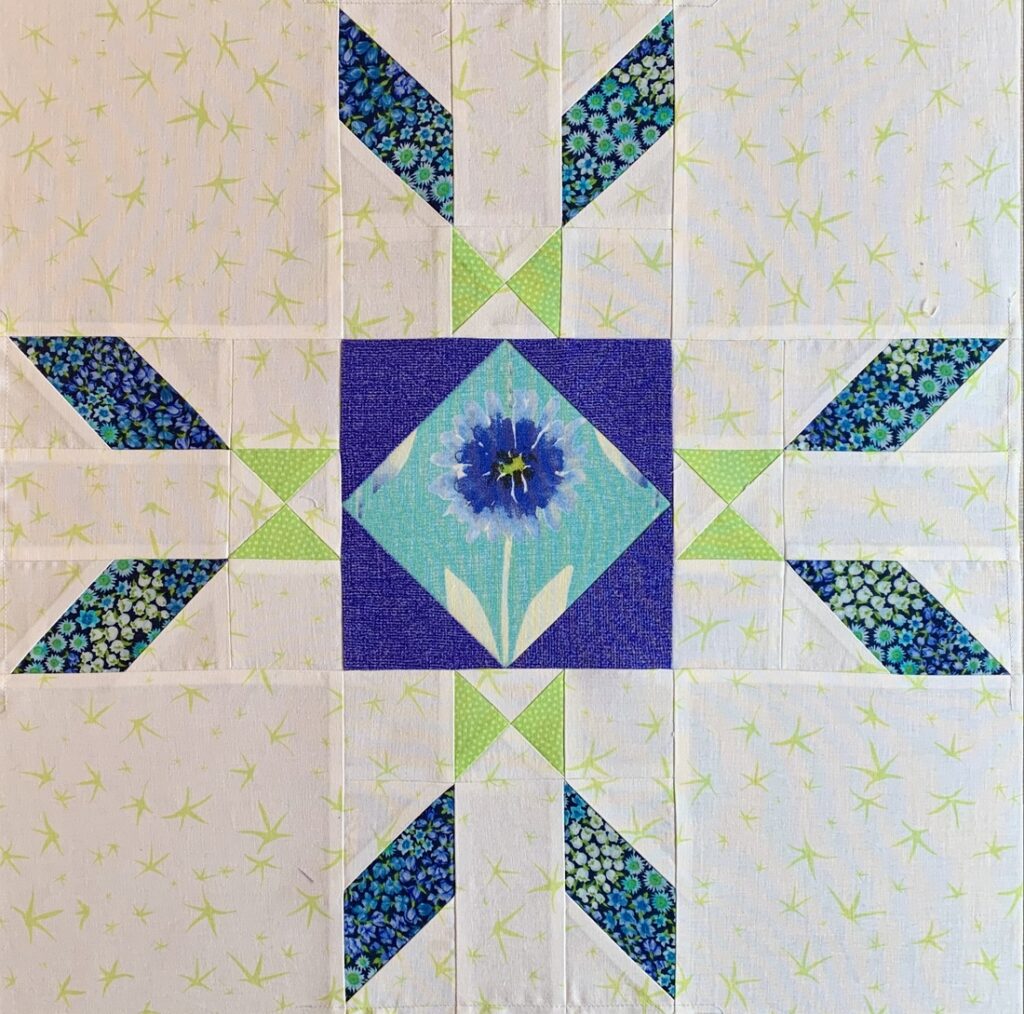
What’s missing? The 18″ Chicago Star block, which goes in the center:

The Chicago Star was the first block I made way back in May of last year, when Kristin at Montavilla Sewing introduced it in a Block of the Month program via Zoom. Once in-person classes resumed at the Lake Oswego store in the fall of 2021, the BOM project faded away but I carried on, not really knowing what I would end up with. By the time I finished making blocks, I had used only two of the ones in Kristin’s design — but I feel sure she would approve.

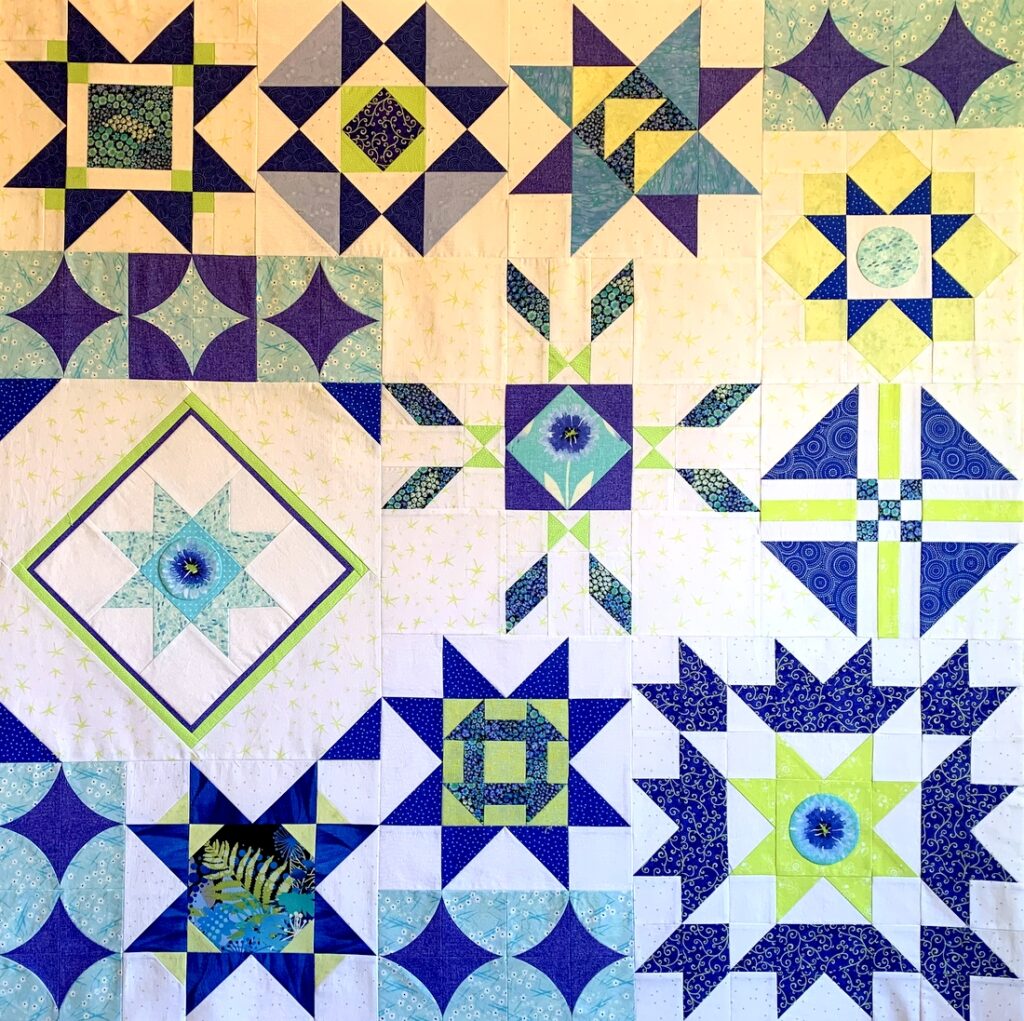
The Chicago Star block needed to be added to my top with partial seams . . . and here it is in its rightful place:


I did wind up making one last-minute swap of two blocks and am pleased with the decision. Right now the top measures 48½” square but there are two borders to come. Maybe tomorrow?!


Posted in Billie Bag, Block of the Month (BOM), Churning Stars quilt block, Junior Billie Bag, sampler quilt, tote bags, update | 6 Comments

Off the Back Burner

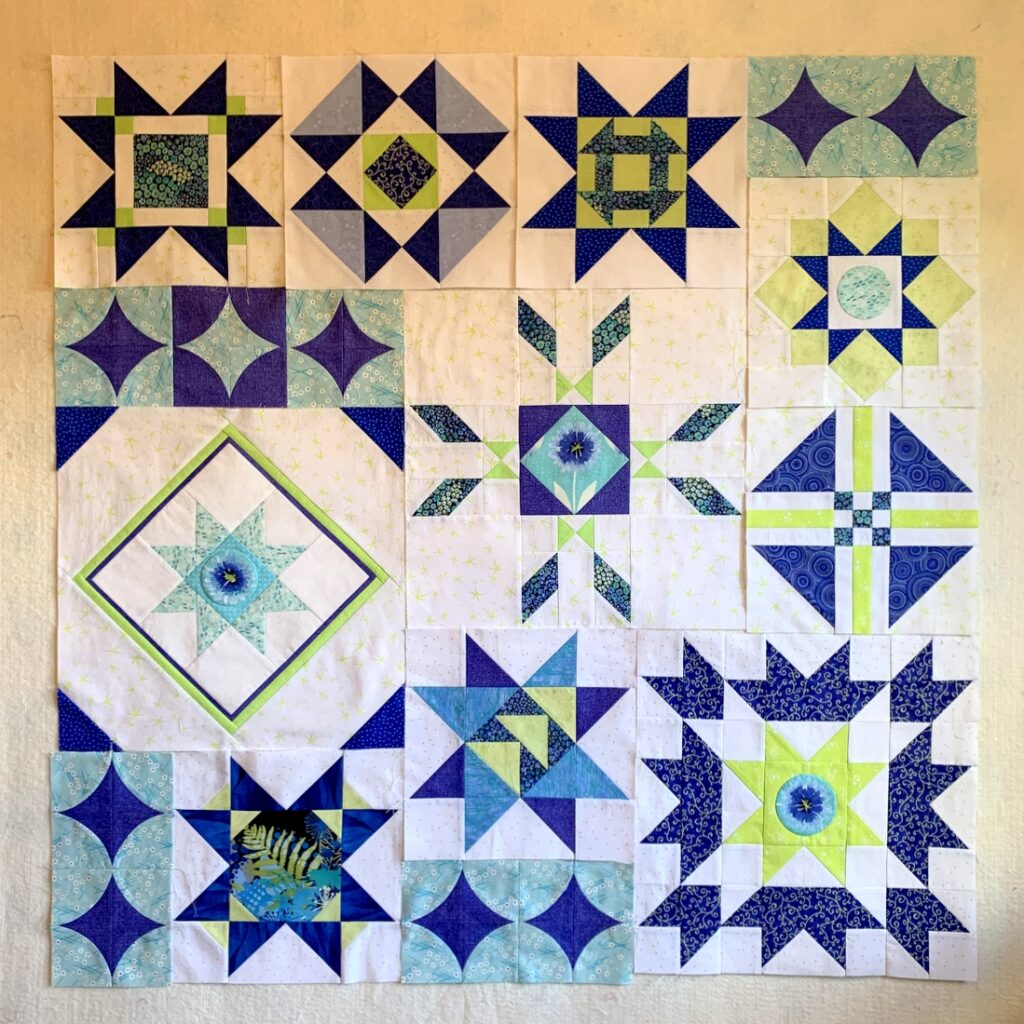
Is it just me or is the summer flying by way too fast? It’s been several weeks since I made my last Sea Sampler block. I played around a bit with block arrangements in early June but couldn’t seem to land on a setting that pleased me. Last week I finally figured out why. After remaking a few of the 6″ Atomic Star blocks this week (more on those below), this is what I wound up with:

As a reminder, the Atomic Star blocks look like this:

Now take a look at this photo from early June:

See how the Atomic Stars are arranged with positive/negative blocks next to each other? That’s what was bothering me. The only place I really liked the effect was the one row of three Atomic Stars in the upper left quadrant of the quilt top. There’s already a lot going on in this sampler quilt (any sampler quilt, for that matter) so going with one color combo for the Atomic Stars, in this case the one with the dark star and the lighter background, calms it down a bit.

I had one other design dilemma:  the placement of the block I think of as Dawn’s Nebraska Star because I found the design on a coffee cup purchased in Nebraska years ago:

Don’t get me wrong. I love this block. But the blue star is smaller in scale than the ones in the other 12″ blocks. This one just couldn’t hold its own next to them. I found a couple of places I thought the block could go. It was my non-quilting twin Diane who helped me decide after I texted her two possibilities.

Once the blocks are sewn together, the quilt top will measure 48½” square. I’m going to add a narrow green border (an inch, I think) and then a wider border (say, five or six inches) of the little fishies print that you see in the circle of the Nebraska Star above. I’ll wind up with a quilt around 60″ square — a good size for a lap quilt.

Thanks to a suggestion from my good friend Vickie R., this quilt has an official name: Sea Star Sampler. (Love the alliteration.) Thanks, Vickie!


Posted in Churning Stars quilt block, family, sampler quilt, update | 3 Comments

Another Churning Star Block

My Sea Sampler quilt begun last year is slowly taking shape. I recently finished this block:

The simple Churn Dash block nestled inside a Sawtooth Star has become one of my all-time favorite star blocks. I first saw this particular combo in a book by Jenifer Gaston. She called her quilt Churning Stars so that’s what I call this block.

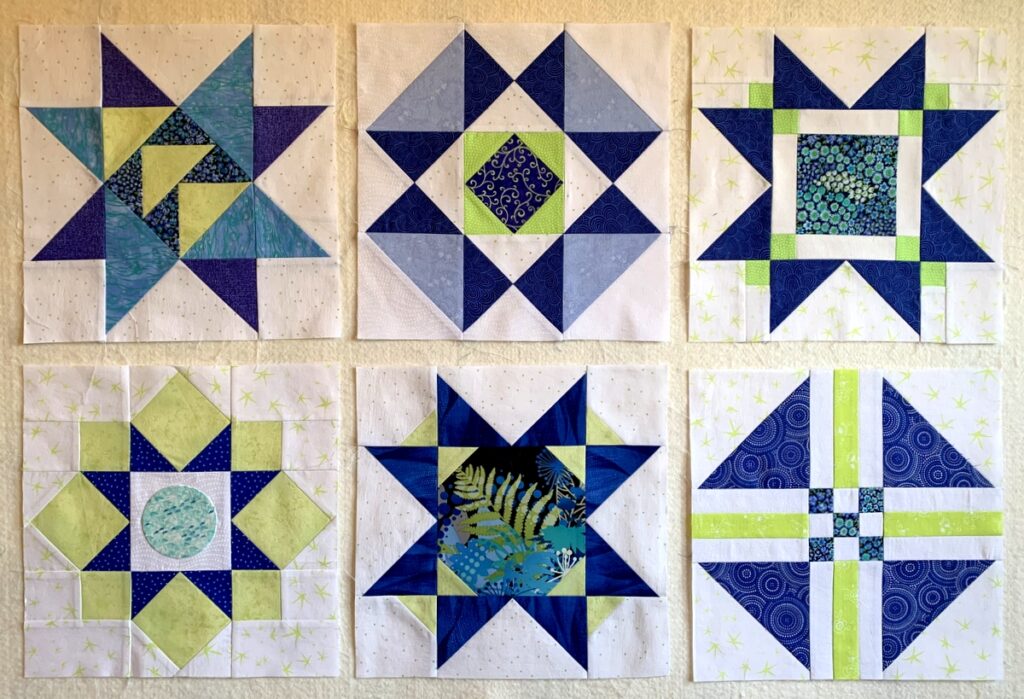
It joins these six other blocks, all of which finish at 12″ square:

The blocks will be combined with some others that finish at 6″ and 18″ square. Eventually I will get a top put together but for now this project is on the back burner.

All three winners of my recent 10th Blogiversary Giveaway requested pillowcases — they had their choice of three handmade gifts — so I have been putting together fabric combinations for their review. Once their choices have been finalized, I’ll get the pillowcases made and mailed. As I’ve told the winners, it’s been fun getting reacquainted with my stash. But it’s been hard narrowing down the choices because there are so many possibilities. What does that tell you about the size of my stash??


Posted in Churning Stars quilt block, Giveaway, roll-it-up pillowcases, sampler quilt, update | 5 Comments

First Light Designs: Best of 2020

Cheryl at Meadow Mist Designs is hosting a Best of 2020 Linky Party, inviting bloggers to highlight their top five posts of the year. It’s a fun way to look back over the last 12 months and identify some of the high points. (And wouldn’t we all much rather dwell on the high points of 2020 than the low points?!)

My top five are below, in reverse order. Clicking on the links will take you to the original posts.

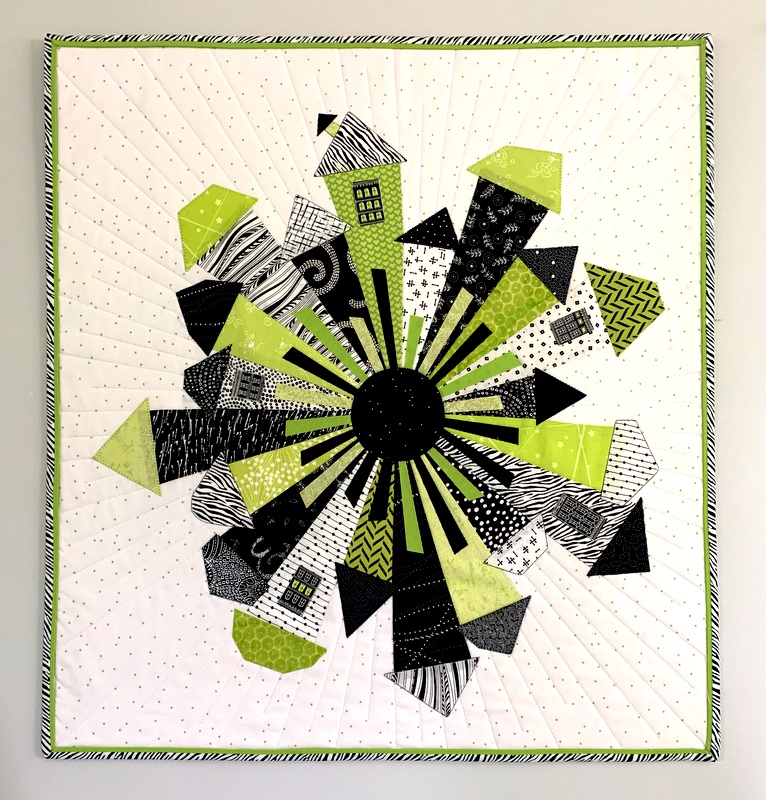
5. Uptown Funk. My version of Dresden Neighborhood by Kim Lapacek of Persimon Dreams. It was so much fun to make!

Uptown Funk (24″ x 26″) by Dawn White (2020)


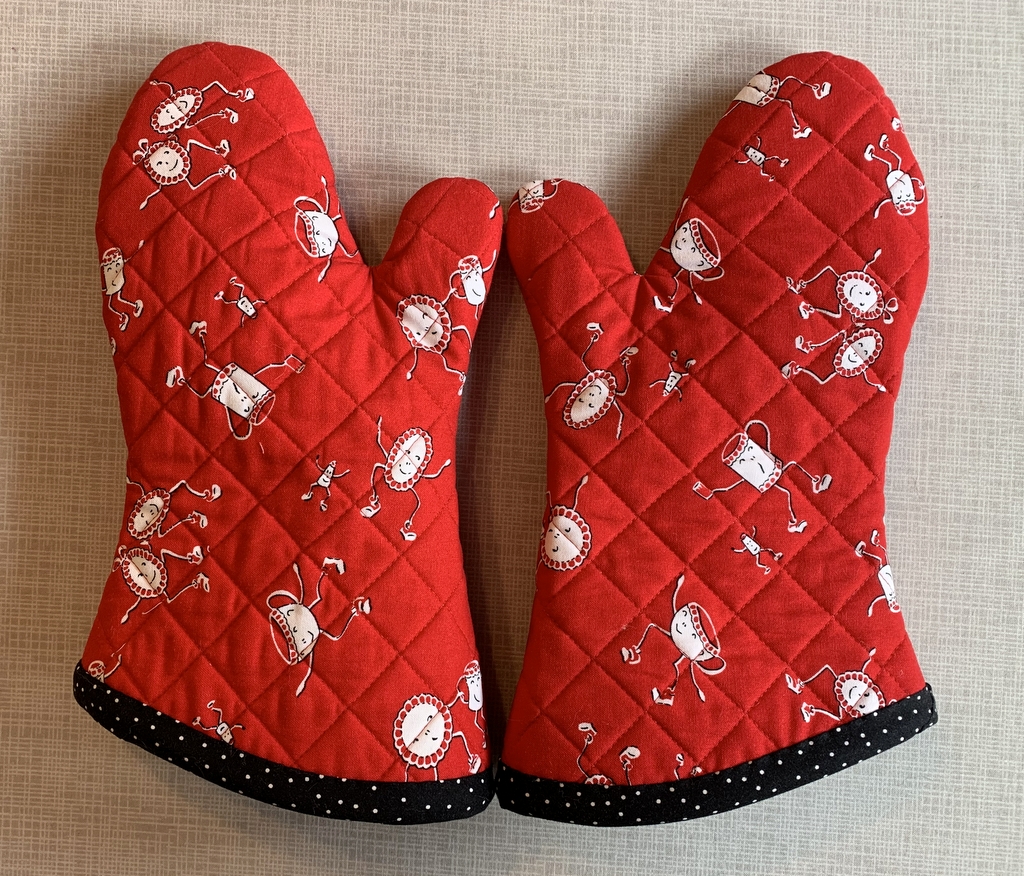
4. Something in Red: New Oven Mitts. Every oven mitt I’ve tried on in a store has been oversized, and every tutorial I’ve found online has included a pattern that’s too big. What’s a quilter to do? Why, make her own, of course! I just started making oven mitts in December and am still tweaking my process but I plan to offer my own tutorial and free pattern in early 2021.

Mitts that Fit! Made by Dawn White (2020)


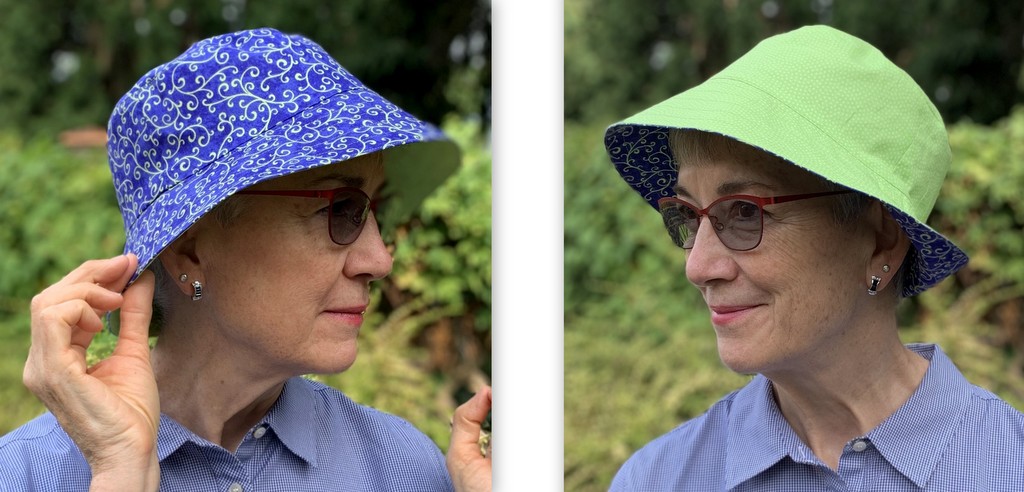
3. A Bee in my Bucket Hat. A reversible hat made using the Sorrento Bucket Hat pattern from Elbe Designs.

Dawn’s Sorrento Bucket Hat (2020)


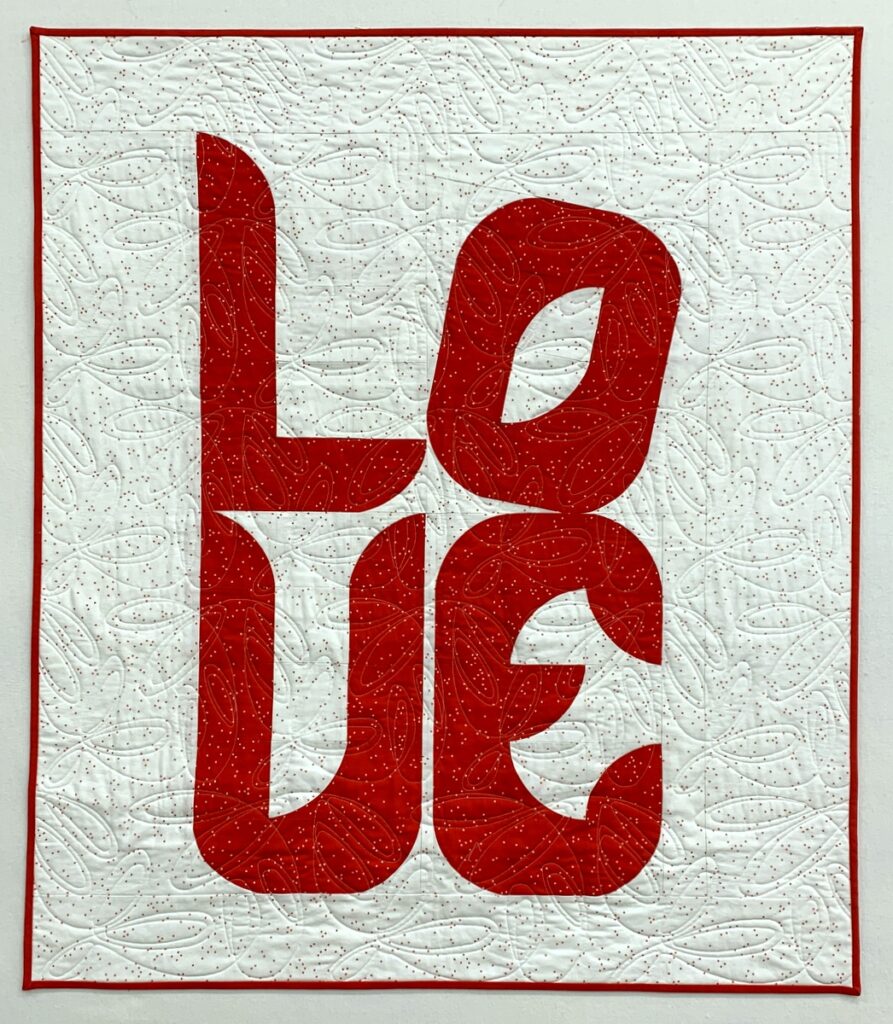
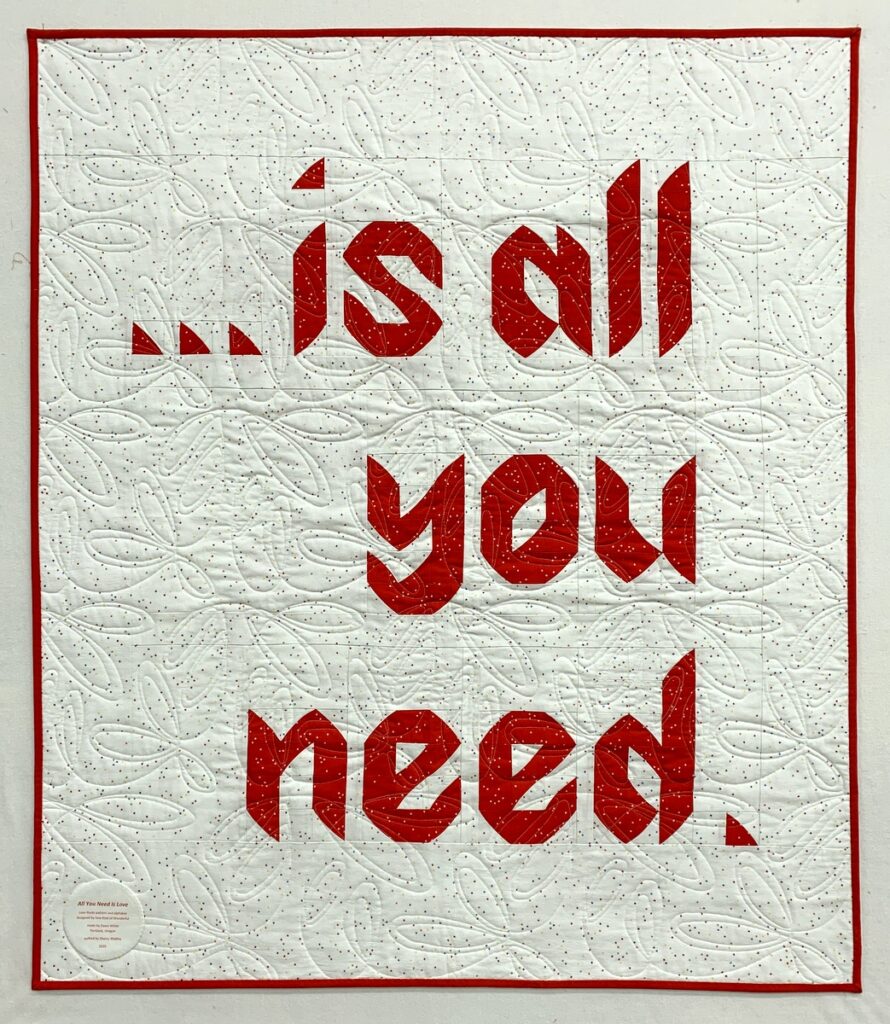
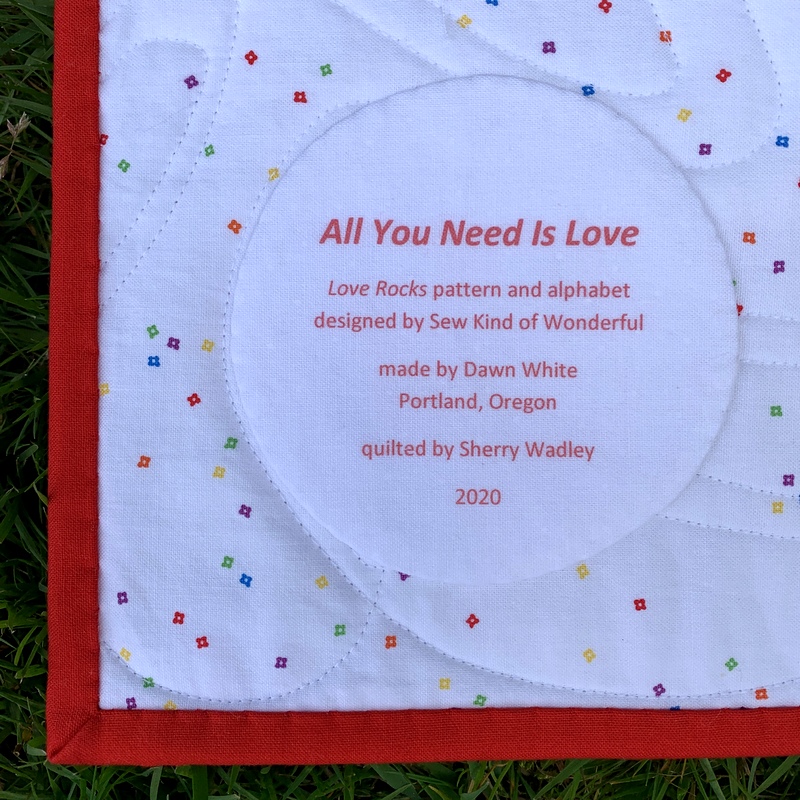
2. Love Rocks. All You Need Is Love, made using the Love Rocks pattern and alphabet (both contained in Sew Kind of Wonderful’s latest book, Text Me) and the Wonder Curve ruler.

Love Is All You Need (38″ x 44″) by Dawn White, quilted by Sherry Wadley (2020)
back of All You Need Is Love (38″ x 44″) by Dawn White, quilted by Sherry Wadley (2020)


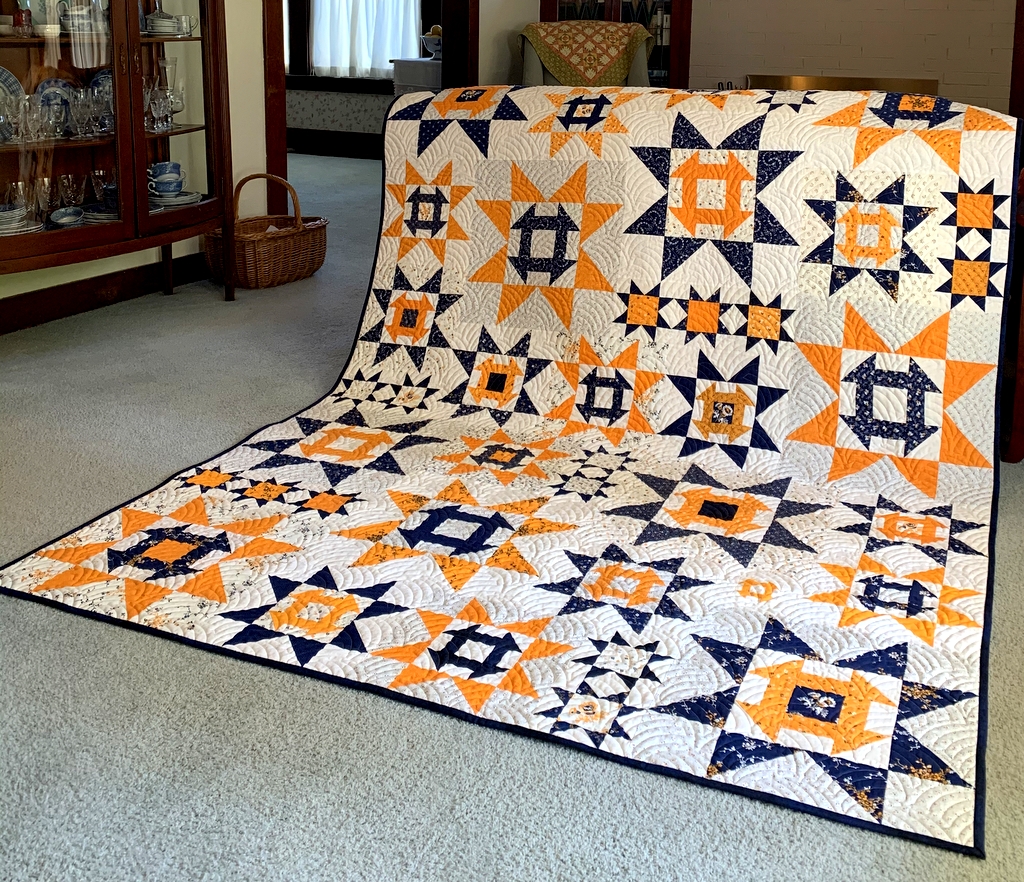
1. Scattered Stars, an original design using a block first seen in Jenifer Gaston’s quilt Churning Stars.

Scattered Stars (66″ x 88″), made by Dawn White, quilted by Karlee Sandell (2020)


Thank you so much for checking out my “top five” blog posts. If you’re a blogger, you can join Cheryl’s party, too. The link is open until January 2. Be sure to check out the top five posts of the other quilting/blogging partygoers — and prepare to be inspired!


Posted in bucket hat, cheddar and indigo, Churning Stars quilt block, home dec, machine applique, tutorial, update, wall hanging, Wonder Curve Ruler, wonky Dresden neighborhood | 10 Comments

Printing Quilt Labels on Fabric: A Tutorial

Back in May — doesn’t that seem like a hundred years ago? — I wrote about a method I discovered quite by accident of printing computer-generated labels on fabric. It requires only two items: fabric and fusible interfacing — no freezer paper involved. I described my method and promised to write a proper tutorial on it. Here is that tutorial. Better late than never, right?

I’ve written this tutorial in two parts. Part 1 is all about getting the fabric ready. Part 2 is about creating the label on your computer.

Part 1, Preparing the Fabric for Your Label

Step 1. Choose a fabric for your label that allows the type to show clearly. The fabric can be a solid or tone-on-tone print in a light to medium-light value. You might also be able to use a printed fabric — perhaps one you used in your quilt – if it’s not too busy or too dark in value to make the printed label hard to read. I’m illustrating this tutorial by making a label for my most recent UFO finish, Lilacs in September, using a medium light spring green fabric with a crosshatch design.

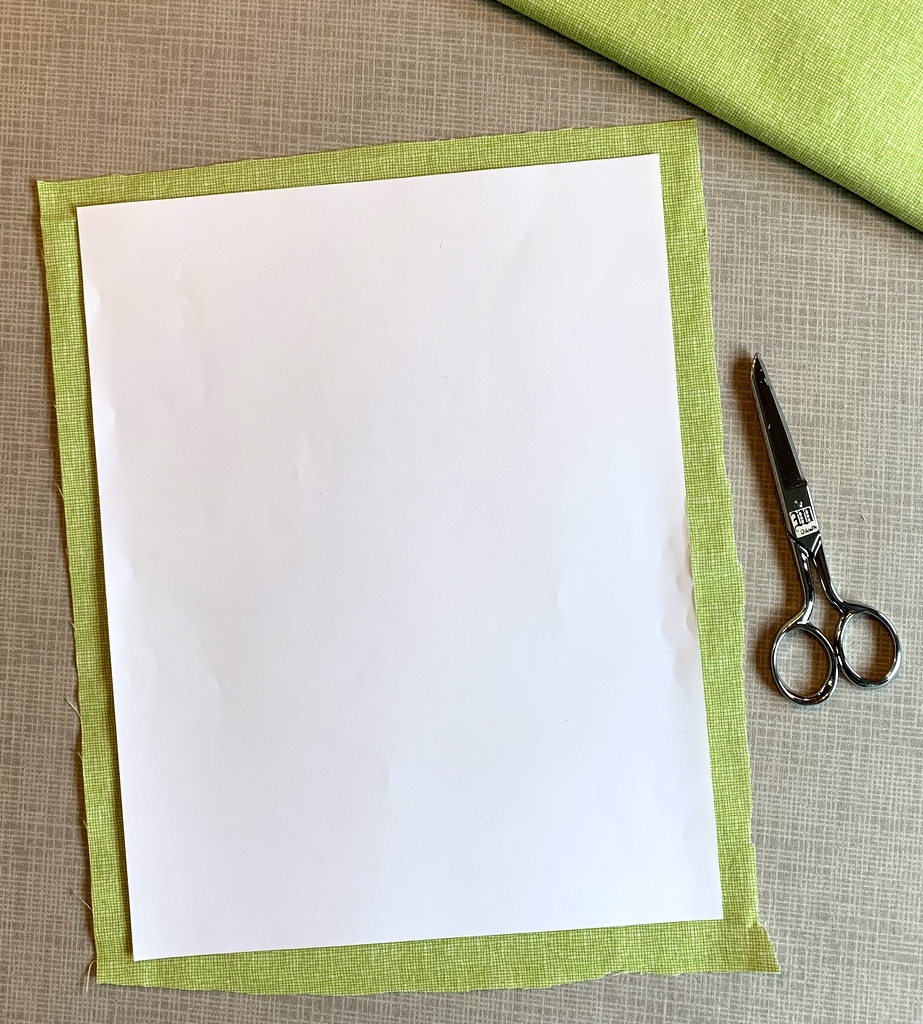
Step 2. Cut the label fabric about ½” larger all around than a printed page. In the United States the standard paper size is 8½” x 11” so you would cut your fabric about 9½” x 12”. It doesn’t have to be exact. I just lay a piece of paper on top of my label fabric and cut around it with scissors:
Step 3. Choose a featherweight or lightweight fusible interfacing. I use Pellon 911FF (the FF stands for featherweight fusible) for most of my labels but other brands will work equally well.

Step 4. Cut the fusible interfacing slightly smaller than you cut the label fabric. I do this the same way, by laying a piece of paper on top of the interfacing and cutting around it with scissors:
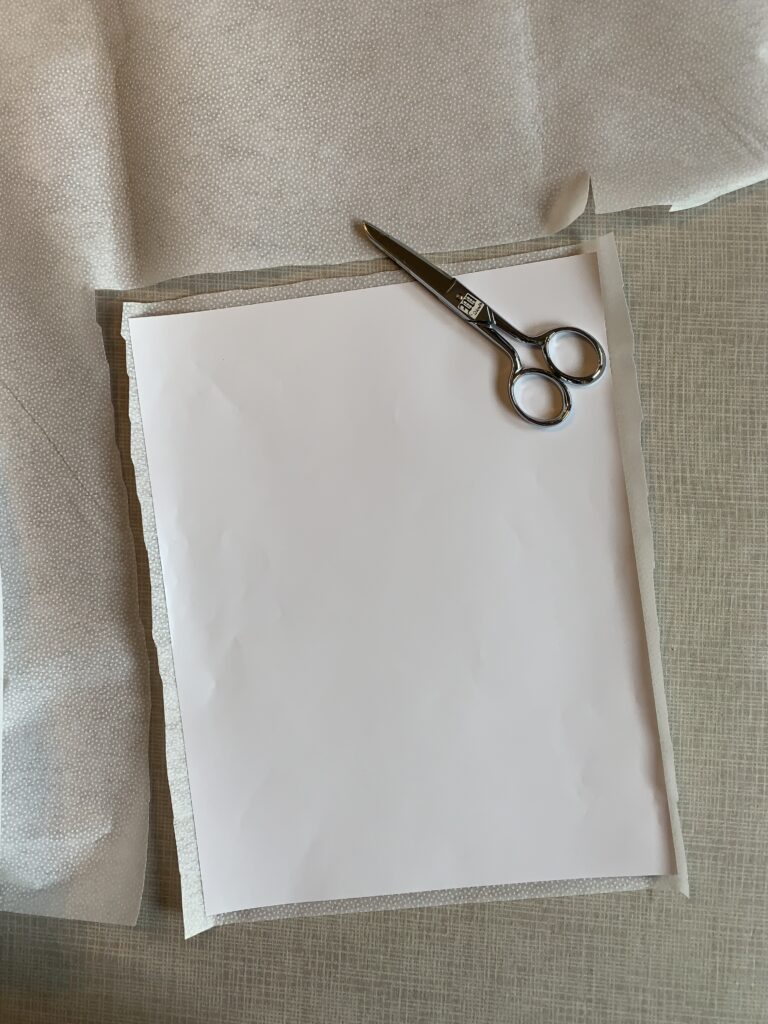
Cutting the interfacing slightly smaller assures that you won’t accidentally fuse it to your ironing board cover when you iron it to the label fabric. No need to ask me how I know that . . .

Step 5. Place the fusible side of the interfacing on the wrong side of the label fabric, making sure none of the fusible extends beyond the edges of the label fabric . . .
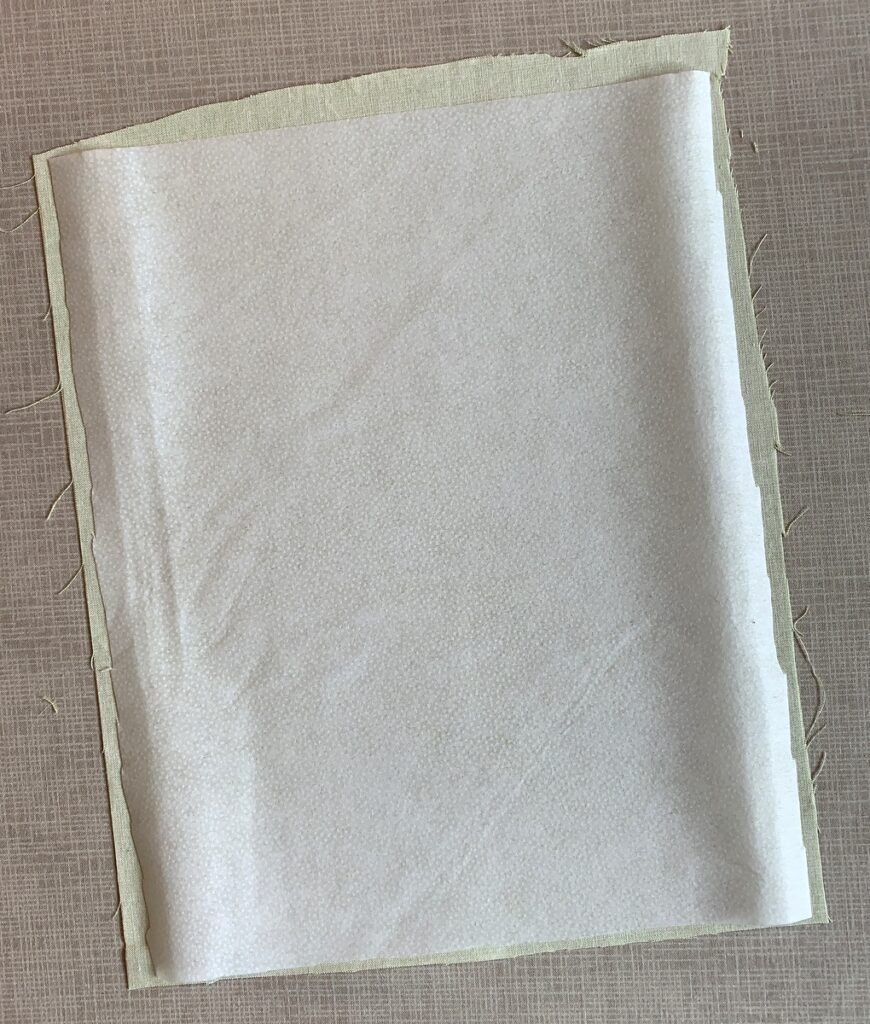
. . . and fuse in place following the manufacturer’s directions.

Step 6. Place the fabric on your cutting mat interfacing side up. Trim to 8½” x 11”:
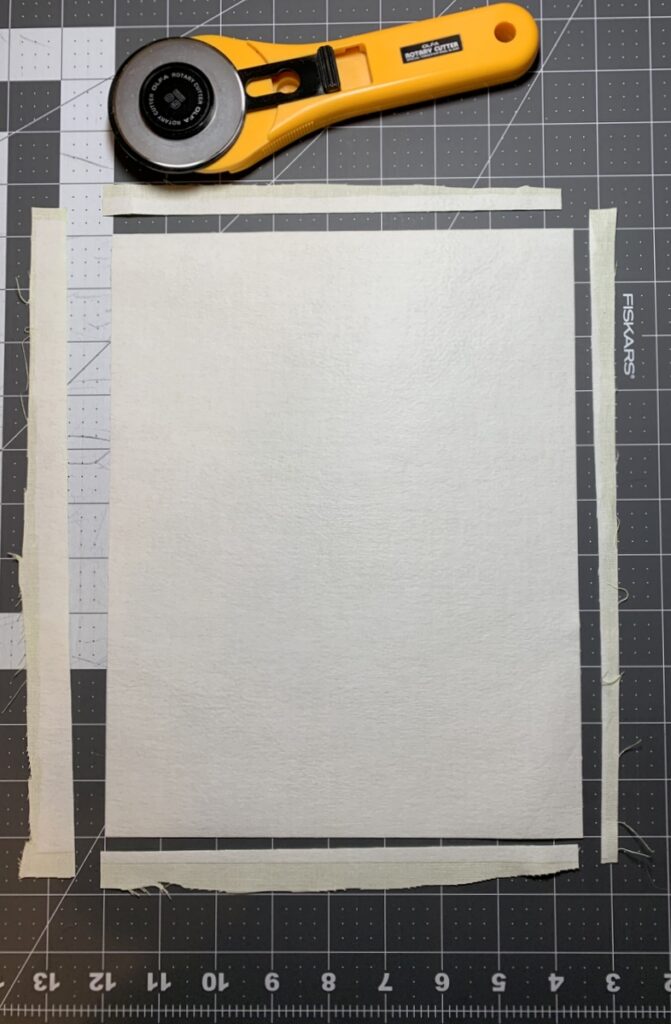
Make sure your cutting is precise because the piece of interfaced fabric needs to fit perfectly in the paper tray of your inket printer.

Step 7. Place the fabric in your printer’s paper tray. (Make sure you know whether the fabric side needs to go in the tray right side down or right side up, as it varies from printer to printer. It goes right side down in my HP Office Jet Pro 8620.) Now print the label:
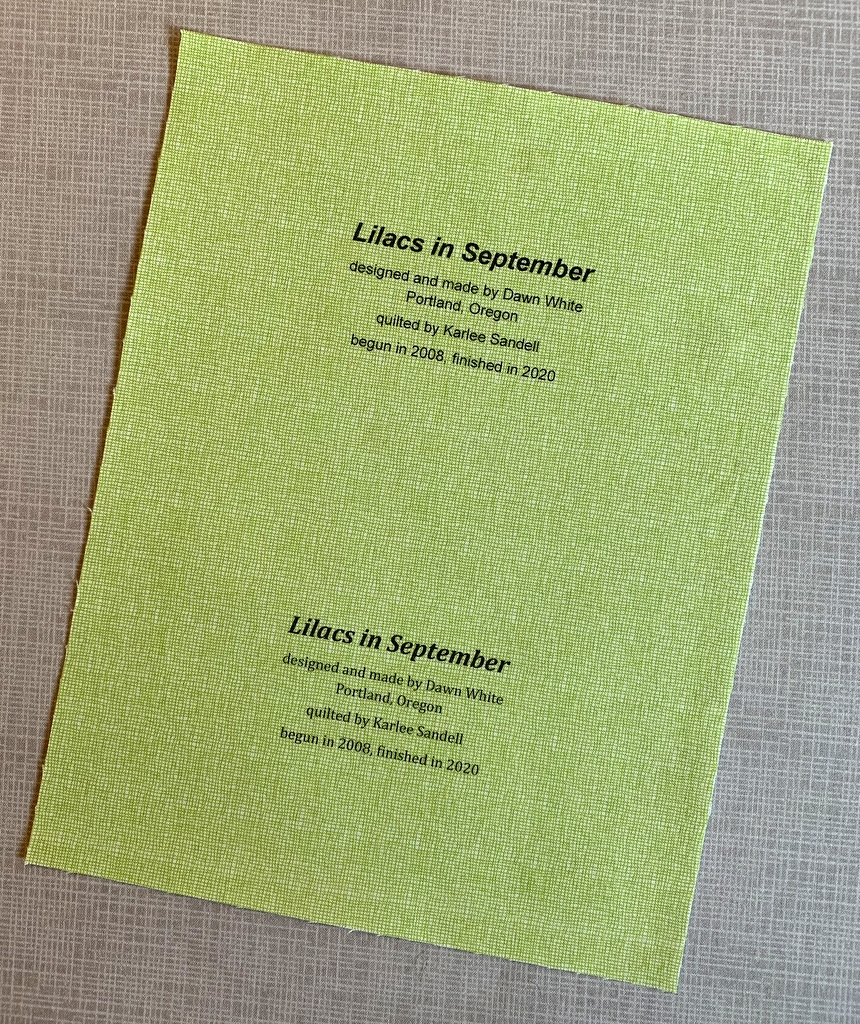
Voilà! It should slide out of the printer just as if it were a piece of paper. (You’ll notice I put two labels on my page; I’ll explain why in Part 2.)

One more thing to do:

Step 8. Heat-set the ink on the label using a press cloth and plenty of steam:
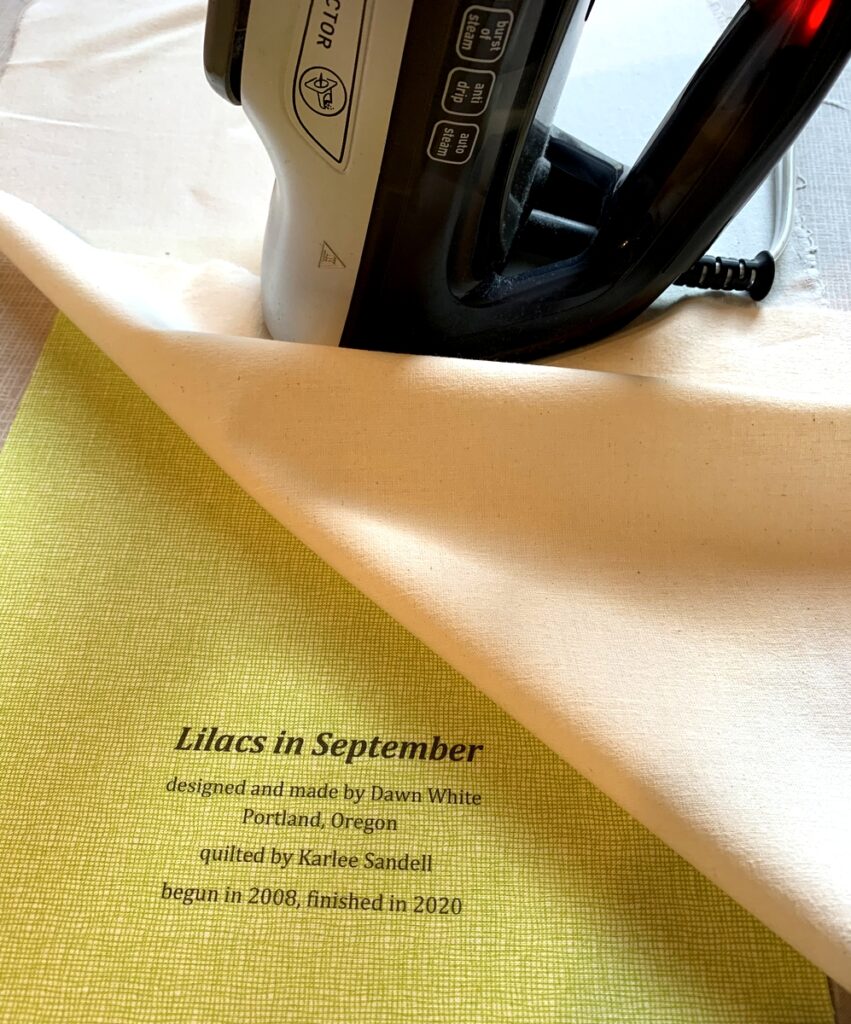
This helps to keep the ink on the label from fading with repeated washings. Irons vary widely so let me caution you not to have the iron too hot as it may scorch the label, even with a press cloth on it. I like to set my iron on medium high and, with the press cloth on top, steam the writing on the the label for 10 seconds. I let it cool and steam it for 10 more seconds.

Now you’re ready to finish your label and attach it to your quilt. You’ll see in Part 2 below that I like to make my labels round but yours can be any shape you want. Squares and rectangles are popular and easy because all you need to do is turn and press the raw edges under ½” or so and stitch the label to the quilt.


Part 2. Creating the Label on Your Computer

Step 1. Open up a new document on your computer and type the information you want to include about your quilt. What you put on your label is entirely up to you. At a minimum I always include:

the name I have given my quilt
my name
my city and state
the name of my quilter (if I didn’t quilt it myself)
the year of completion

Notice that each line is centered.

If my quilt is an original design I might say “designed and made by Dawn White.” If the quilt was made from one of my own patterns I might include the name of the pattern or say “designed and made by Dawn White of First Light Designs.”

If my quilt was made using someone else’s design, I always credit the designer:
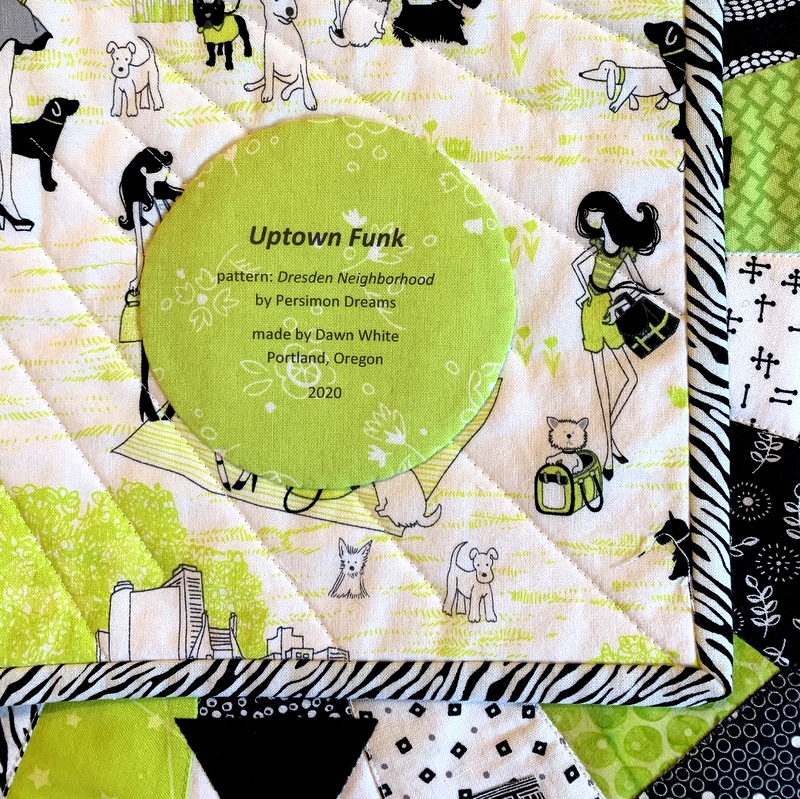
If I tweaked someone’s design, added my own design elements, or significantly changed construction techniques, I might add a line such as “based on (pattern) by (name of designer)” or “inspired by (name of designer)”:
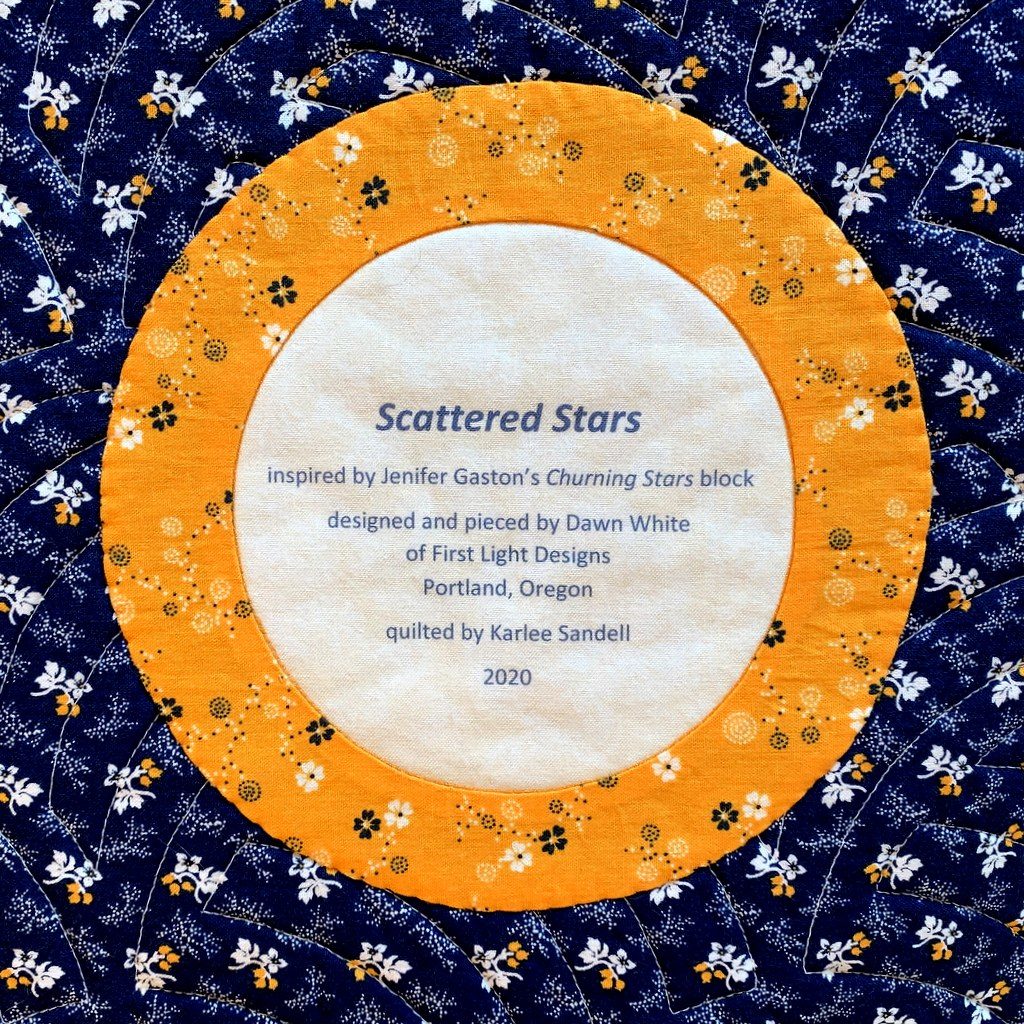
Step 2. Determine the point size and typeface of your label. The point size refers to the size of the type, e.g. 12 point, 14 point, etc. The typeface refers to the design, or style, of the lettering. Most word processing programs offer dozens of typefaces to choose from. On my computer these typefaces are called “theme fonts.” (Did you know that font is the French word for face? Now doesn’t the word typeface make more sense?)

The point sizes you choose depend on the size and shape of your finished label and how much information you want to include. My label for Lilacs in September has five lines of copy. I put the name of the quilt in 24 point boldface and italic. The lines underneath are in 14 point. I auditioned a sans serif type face called Arial and a serif typeface called Cambria. Both labels fit on one page so I could make my final decision on which one to use after this page was printed on fabric. (Putting two labels on one page is just an option, of course. You could create one label and center it on the page, which would give you a lot of flexibility in deciding later on the shape of your label.)

Step 3. Save your document.

Step 4. Print your label on paper. This gives you a good sense of what the label will look like printed on fabric. Here is my label for Lilacs in September, printed with black ink:
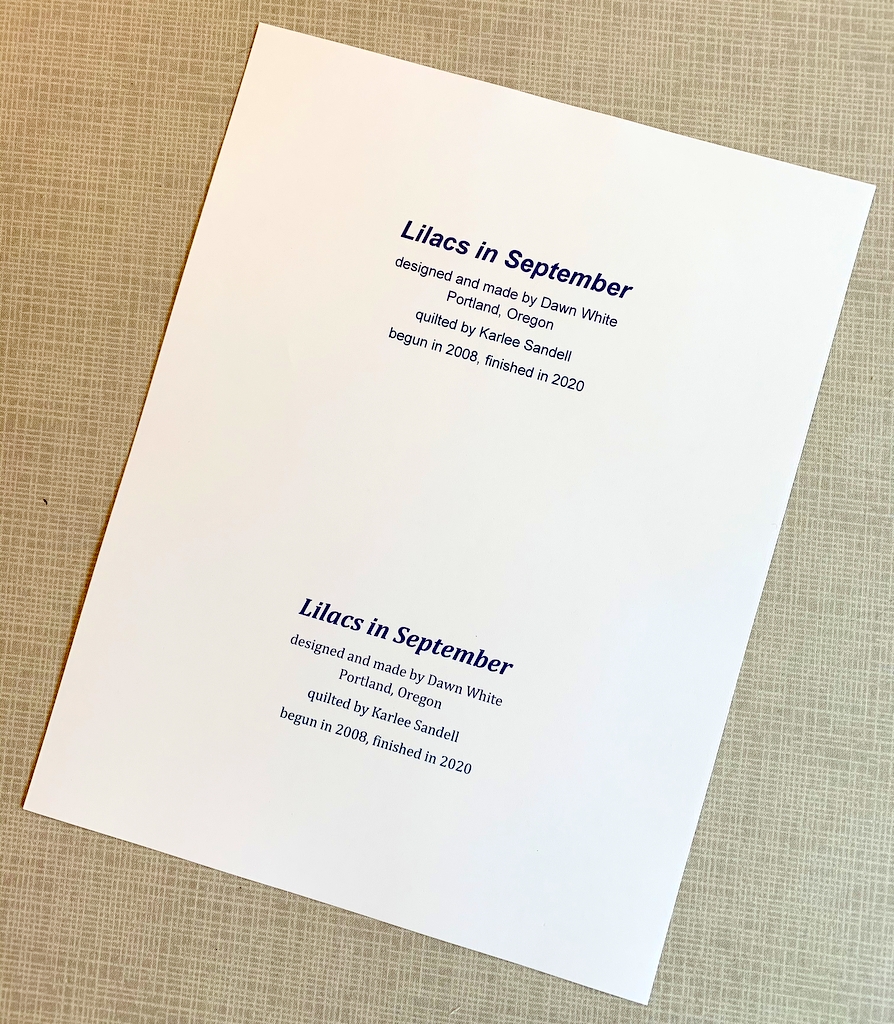
If you have a color printer you can experiment with different colors of ink. Print the labels on paper first to test the depth of color. You may find the ink doesn’t look quite as dark or as vivid on fabric as it did on paper.

I used red ink on my label for All You Need is Love:
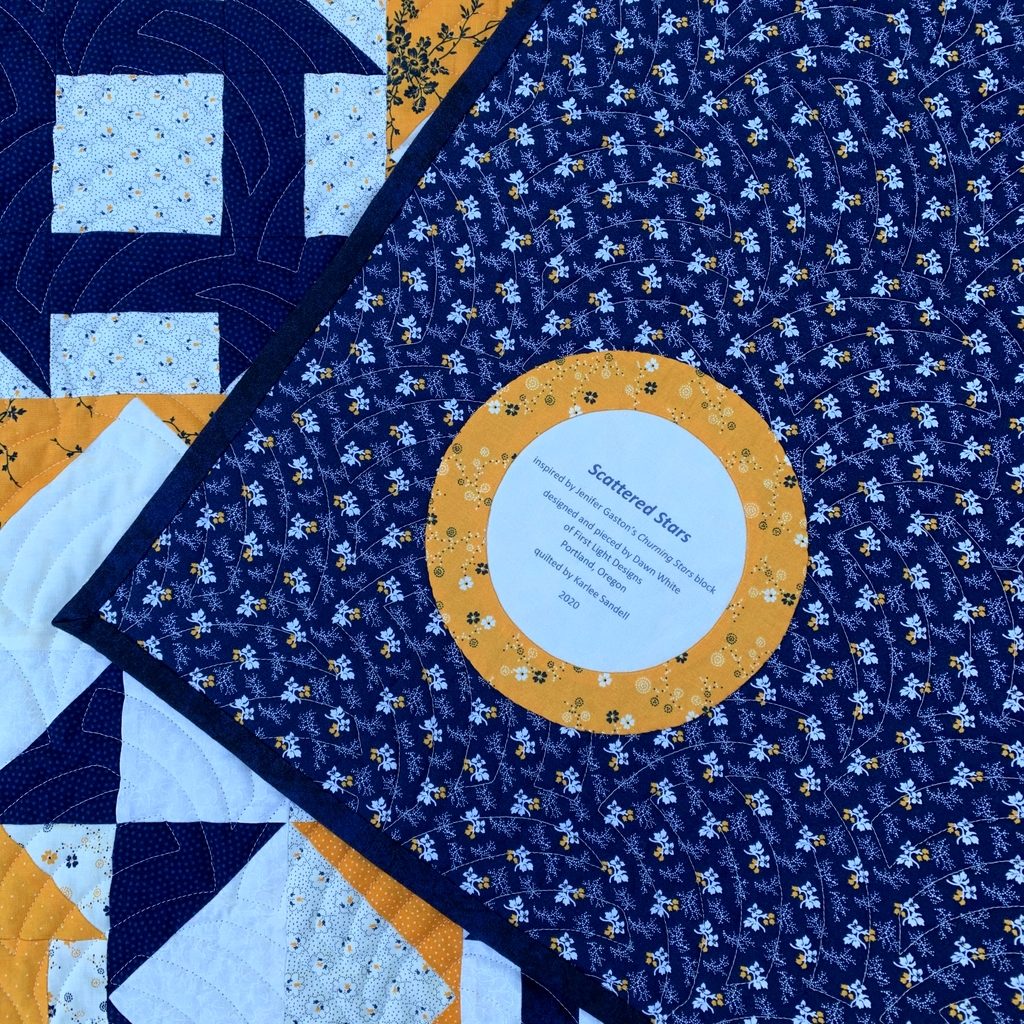
Take another look at the label for Scattered Stars, my cheddar and indigo quilt. I used indigo ink which turned out to be not as dark as I was expecting but I still chose it over black:


Most of my round labels are made using a compact disc as a pattern. A CD measures 4⅝” in diameter so a label with a few lines of text fits inside that circle nicely. My label for Give Me the Simple Life has eight lines but still fits inside the compact disc pattern size:
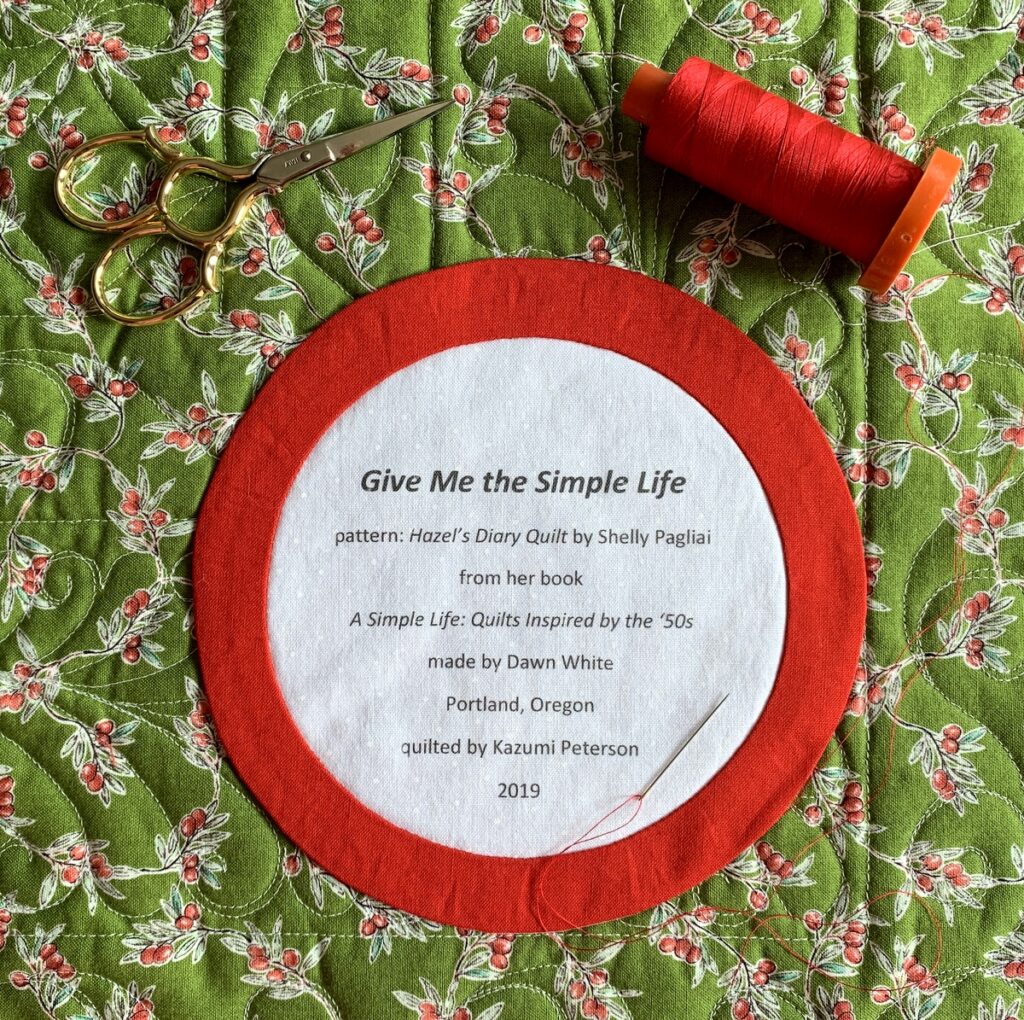
The addition of the red ring made the label finish at about 6″ in diameter.

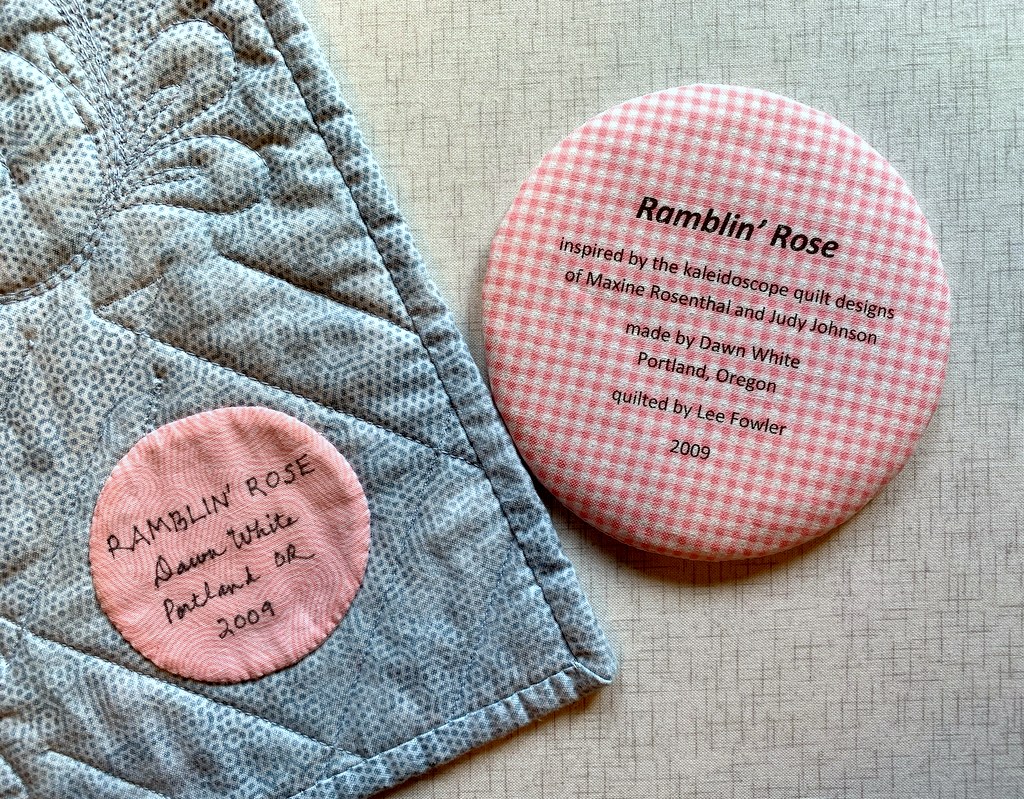
Below is a computer-generated label I made in May to replace a label on Ramblin’ Rose, made several years ago. I had omitted two significant pieces of information — the inspiration for my quilt and the name of the longarm quilter — and wanted to correct those oversights. In the photo below the original label is still on the quilt, about to be removed and replaced with the one on the right:
I used to write all of my labels by hand, a time-consuming endeavor. Creating them on the computer and printing them directly onto fabric has turned out to be quick and easy — and rather fun to do. I don’t think I’ll ever go back to hand-printed labels.

I hope you find my tutorial helpful. Be sure to let me know if you have any questions. As always, thank you for visiting First Light Designs!


Note: I followed up this tutorial with a new one, posted Nov. 6, about how I make my round labels using a compact disc. You can find it here.


Posted in appliqué, cheddar and indigo, Churning Stars quilt block, Hazel's Diary Quilt, quilt labels, tutorial, update | 9 Comments

It’s a Wrap: Scattered Stars

Finally! I got the label made today for my cheddar and indigo quilt, Scattered Stars, so I can officially declare it finished:


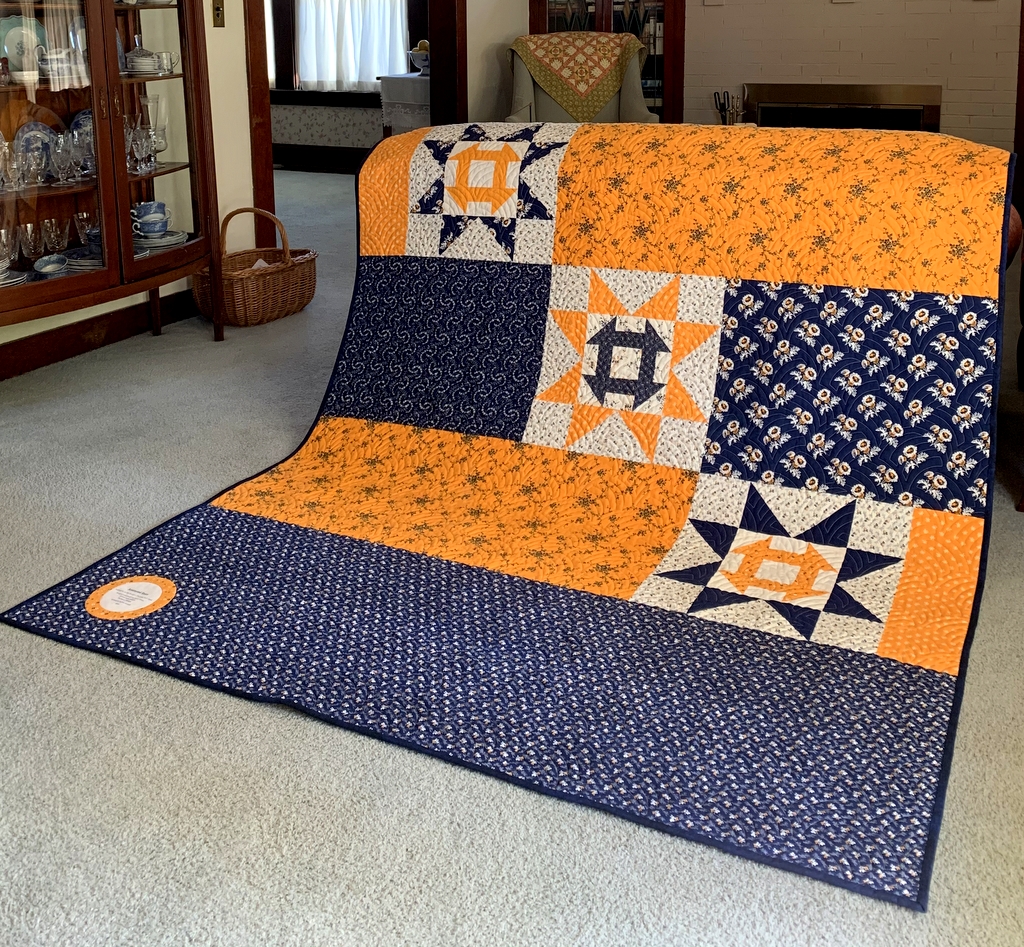
Here’s a look at the back:

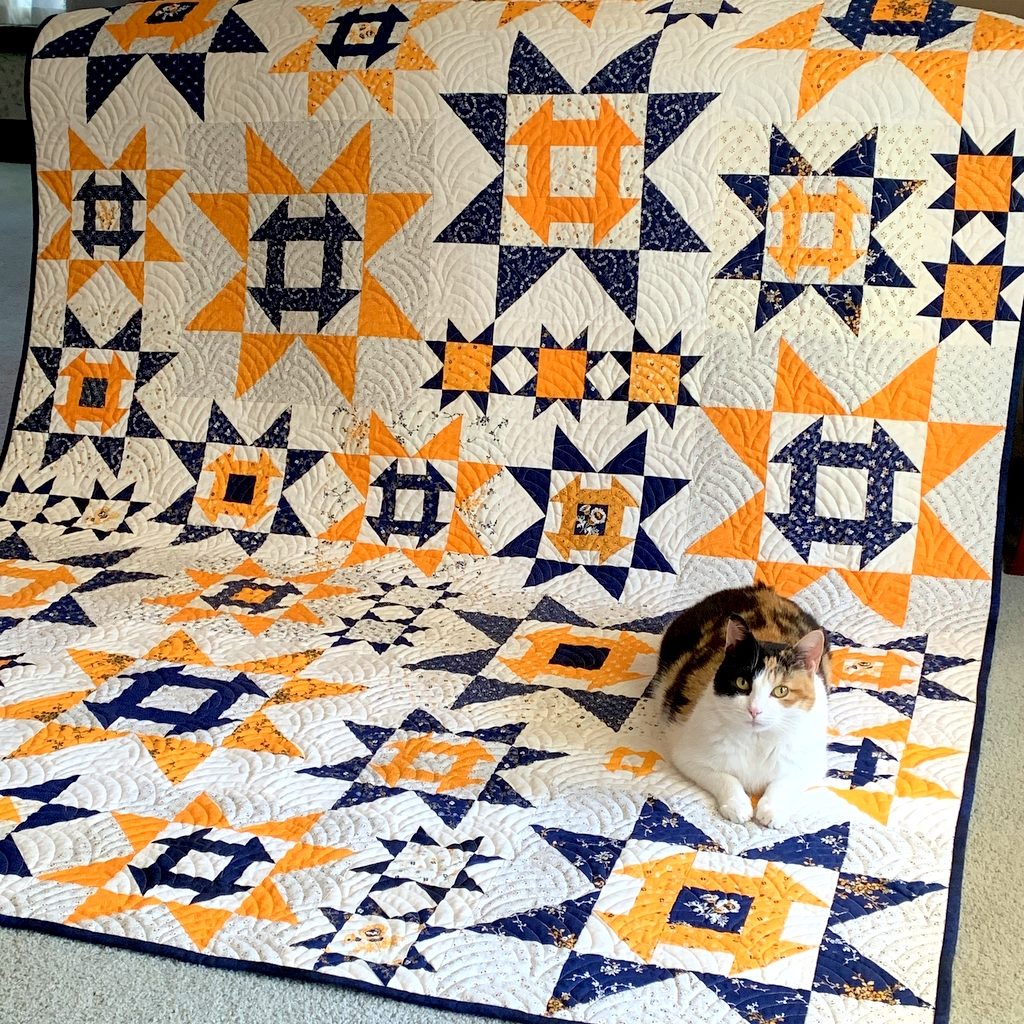
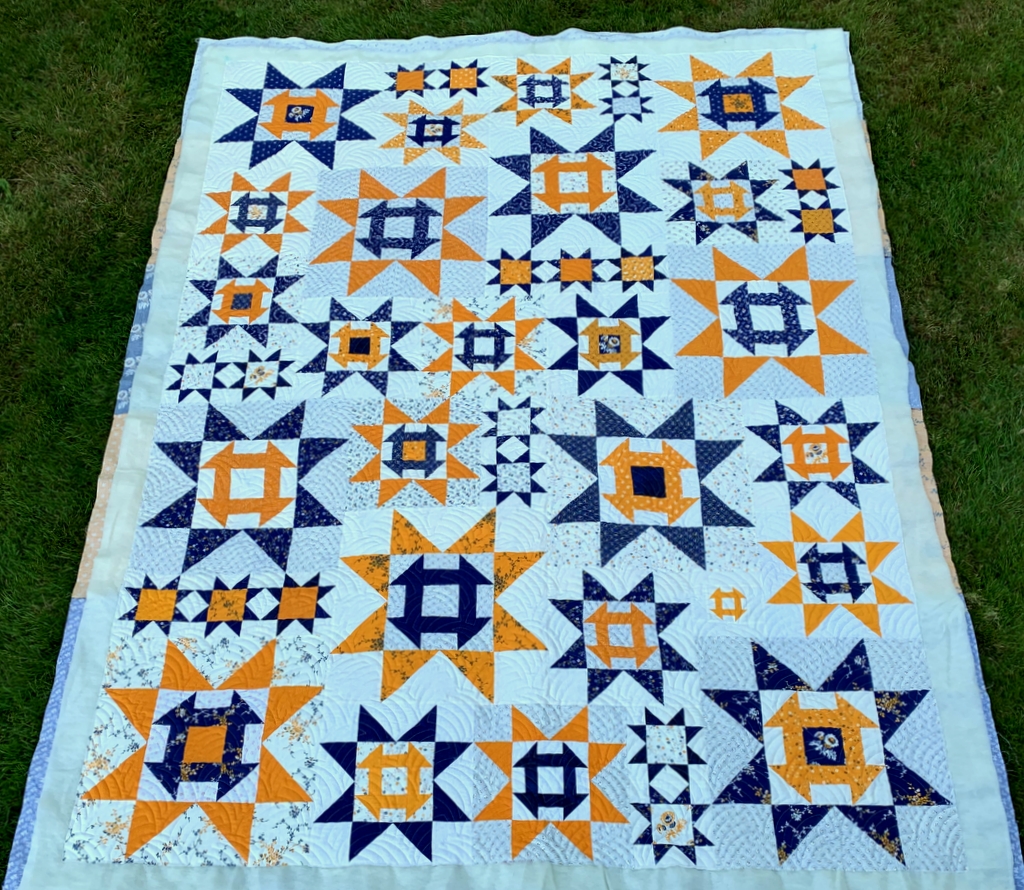
Scattered Stars finished at 66″ x 88″.

For the label I made an inset circle and then enclosed it in another circle:


Here’s a close-up:


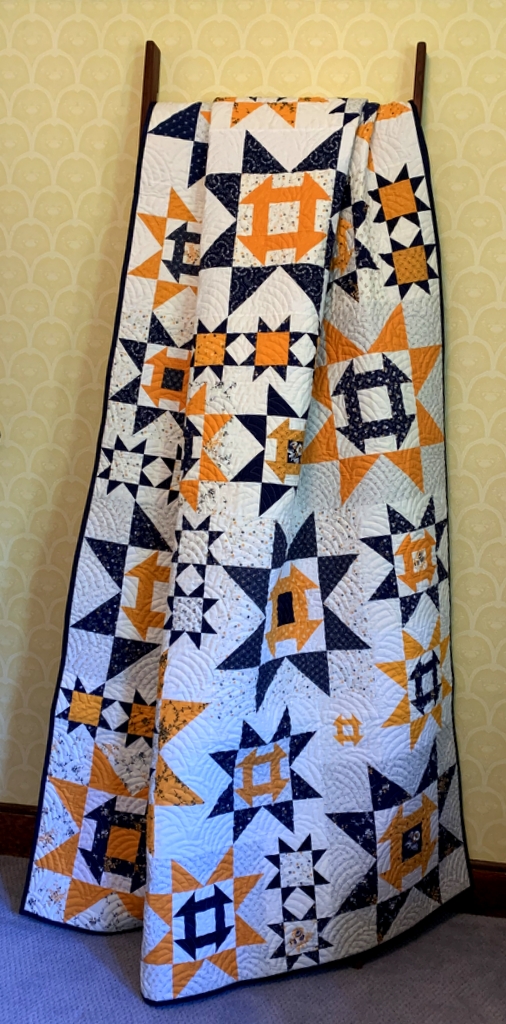
I tried arranging Scattered Stars artfully on a quilt ladder, with mixed results:

At least you get a good look at the beautiful quilting done by Karlee Sandell of SewInspired2Day.

The quilt motif is “Woven Wind,” a contemporary version of the classic Baptist Fan design.

Coco photobombed my quilt at every step in its construction so it seems only right that she should show up for the final reveal:

Thank you for following along on my quiltmaking journey!


Posted in cats, cheddar and indigo, Churning Stars quilt block, quilt labels, update | 16 Comments

Beautiful Blenders

As I was tacking down the binding on my Scattered Stars quilt a couple of days ago, I was reflecting on how much I like one of the “modern” cheddars in my cheddar and indigo quilt and was rueing the fact that only a few inches of that fabric remained in my stash.

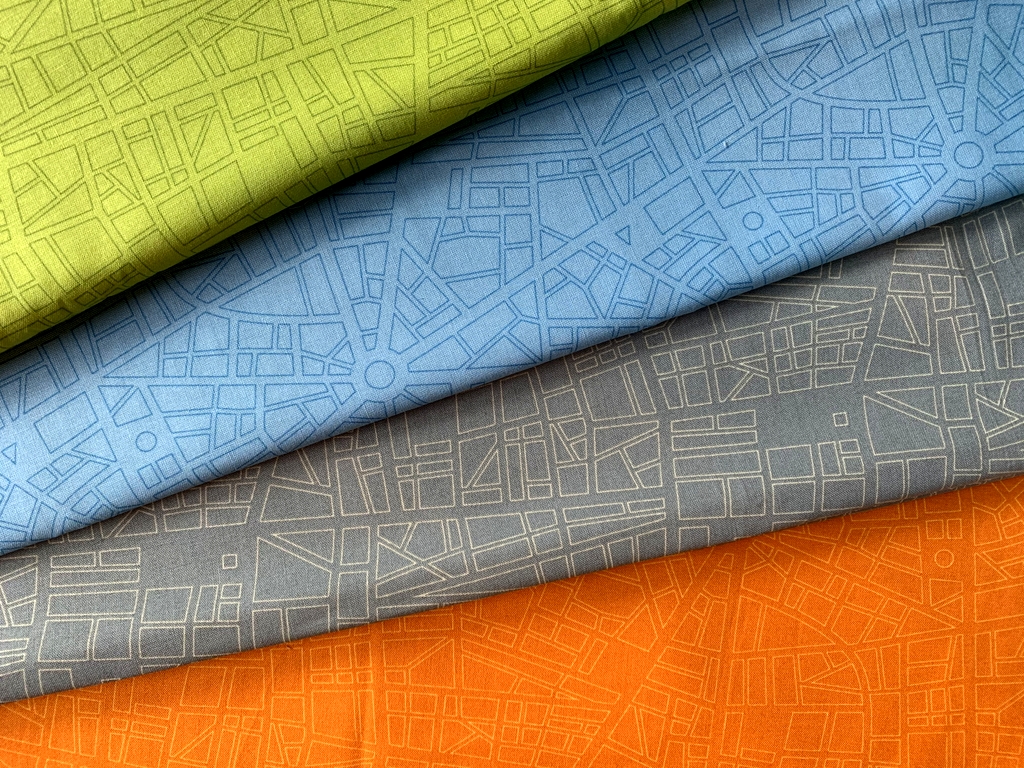
The fabric is Barcelona City Map in saffron from the “Barcelona” line by Zen Chic for Moda. The line came out several years ago so I didn’t hold out much hope I would find any left but I decided to check the Internet anyway.

Much to my delight, I found an on-line shop called Lark Cottons that still has some — and the shop is in my own city of Portland, Oregon! While perusing the Lark Cottons website I made another happy discovery: Barcelona City Map came in a variety of other colors — and Lark Cottons still has some of those in stock.

Well, you probably know what’s coming: not only did I replace my stash of the saffron/cheddar color, I ordered three other colors:

And more good news: I didn’t have to wait for a package to arrive in the mail. Lark Cottons offers curbside pickup so these beauties were in my hands the very same day I ordered them.

They will be excellent additions to my rather extensive stash of blenders. I rarely use solid colors in my quilts, preferring the subtle texture and visual interest that printed fabrics bring. I’m also drawn to maps and geographical features on fabric so you can see why these appealed to me so much.

Color me happy with these beautiful Barcelona blenders!


Posted in cheddar and indigo, Churning Stars quilt block, update | 8 Comments

Vexation!!

I don’t even want to think about the number of hours I spent attaching the binding to my Scattered Stars quilt. What should have taken a couple hours at most stretched into (shall we just say) several hours over the space of several days.
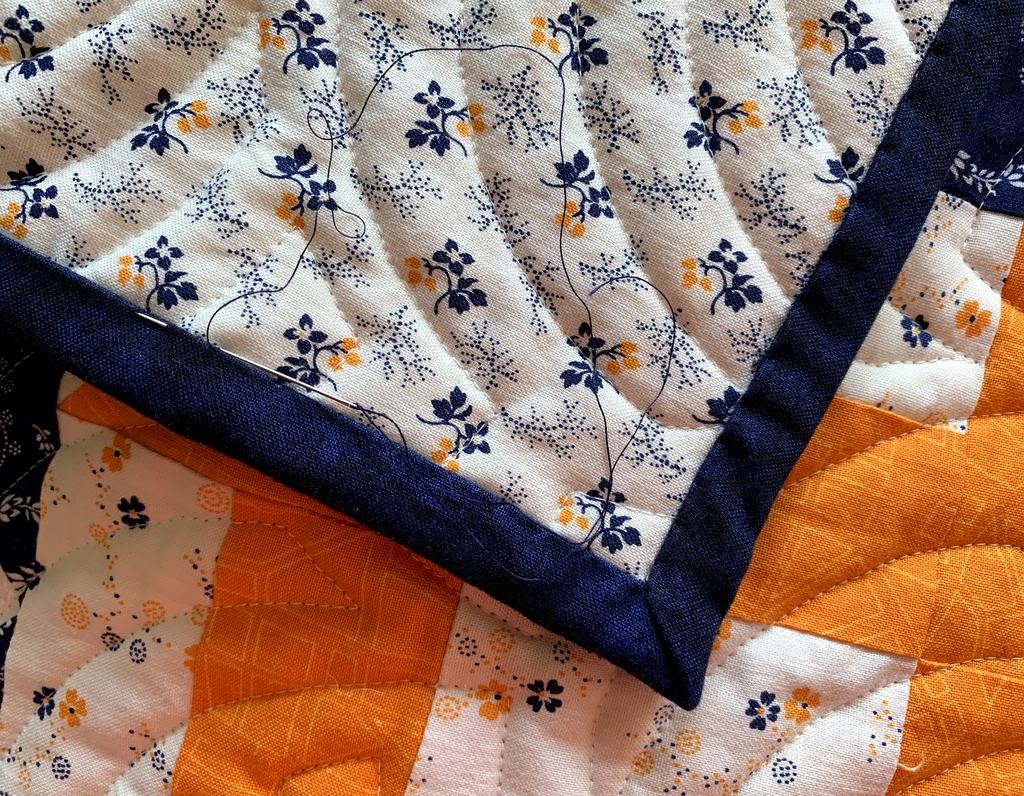
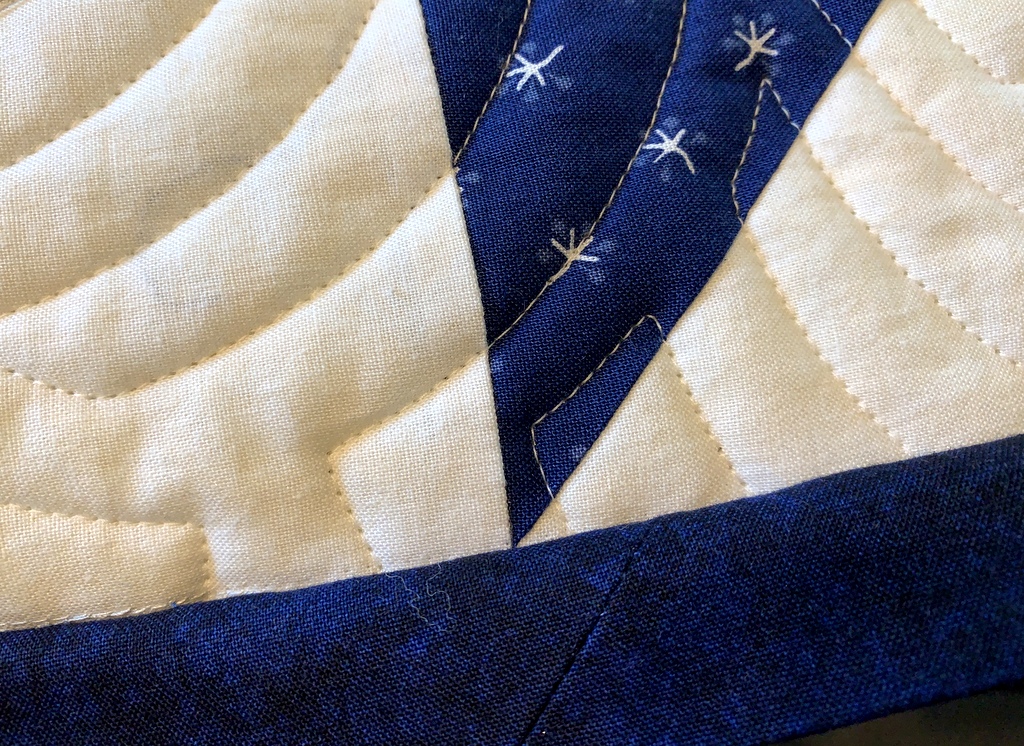
I trace my problems to three decisions — none of which I regret. I can say that now that the binding is on to stay! I’ve already started tacking it down on the back side. Here you can see I’ve turned the first corner and the binding looks fine:

But getting to that point. Oy!

My first decision was not to add a border to Scattered Stars. That meant the points of my outer stars, being exactly ¼” from the edge of the quilt, would butt right up against the binding, leaving no room for error in attaching it. The danger would lie in cutting off the points by taking a seam allowance that was too deep. Fortunately, I had staystitched ¼” away all around the outer edges of the quilt top so I knew my star points were right where they needed to be.
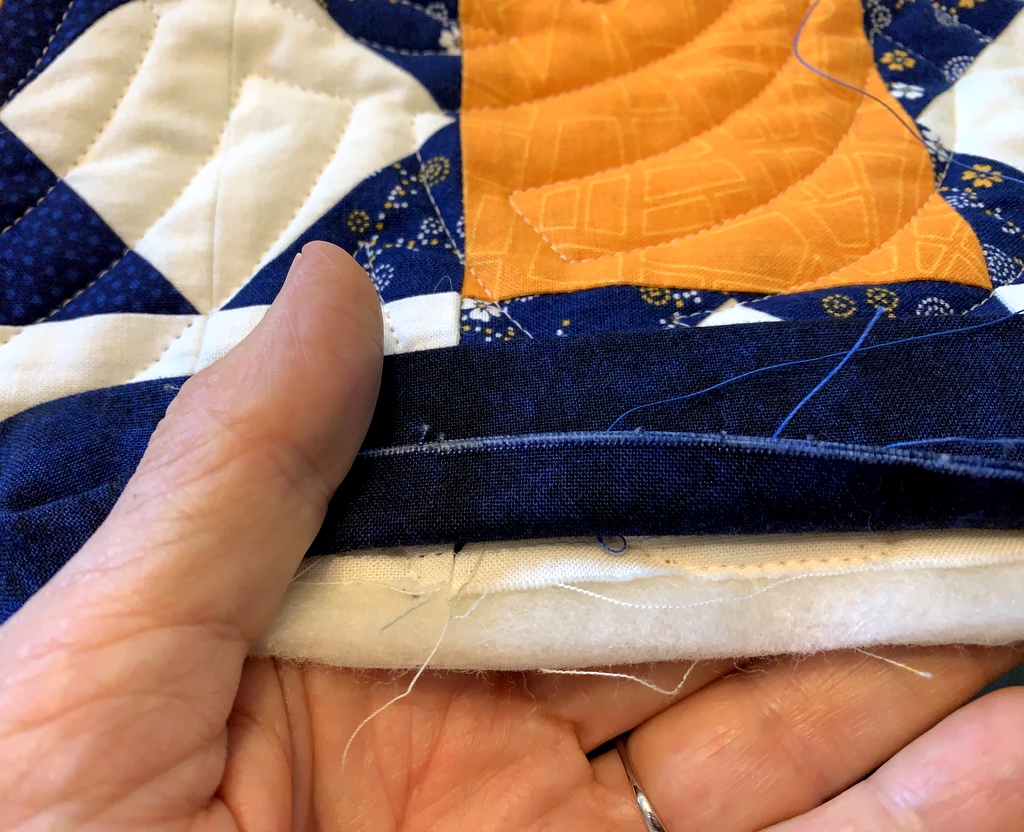
My second decision was to have my binding finish at ½” wide. That required trimming the quilt a quarter-inch beyond the raw edges of the top so there would be a full half-inch from the stitching line to the outer edge. In the foreground of this picture you can see my line of staystitching, the quarter-inch seam allowance,  and the additional quarter inch of batting (the quilt is folded so that the back of the quilt is in the background):

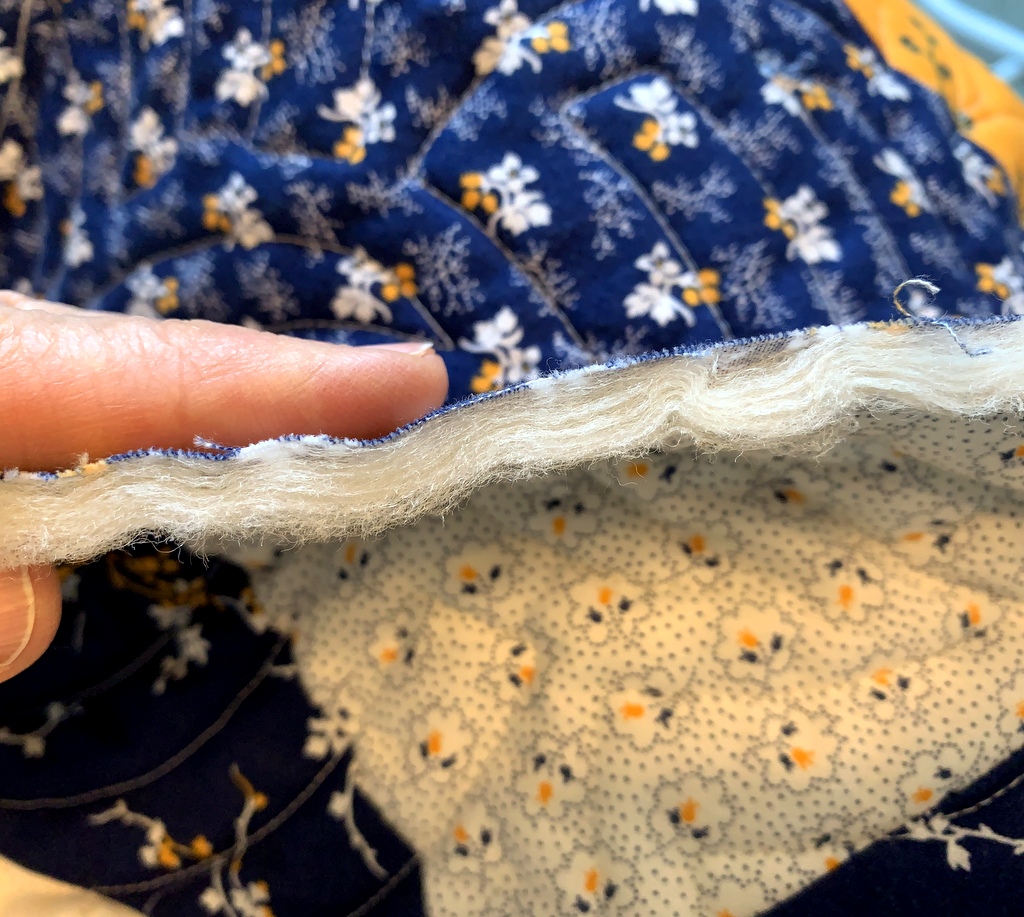
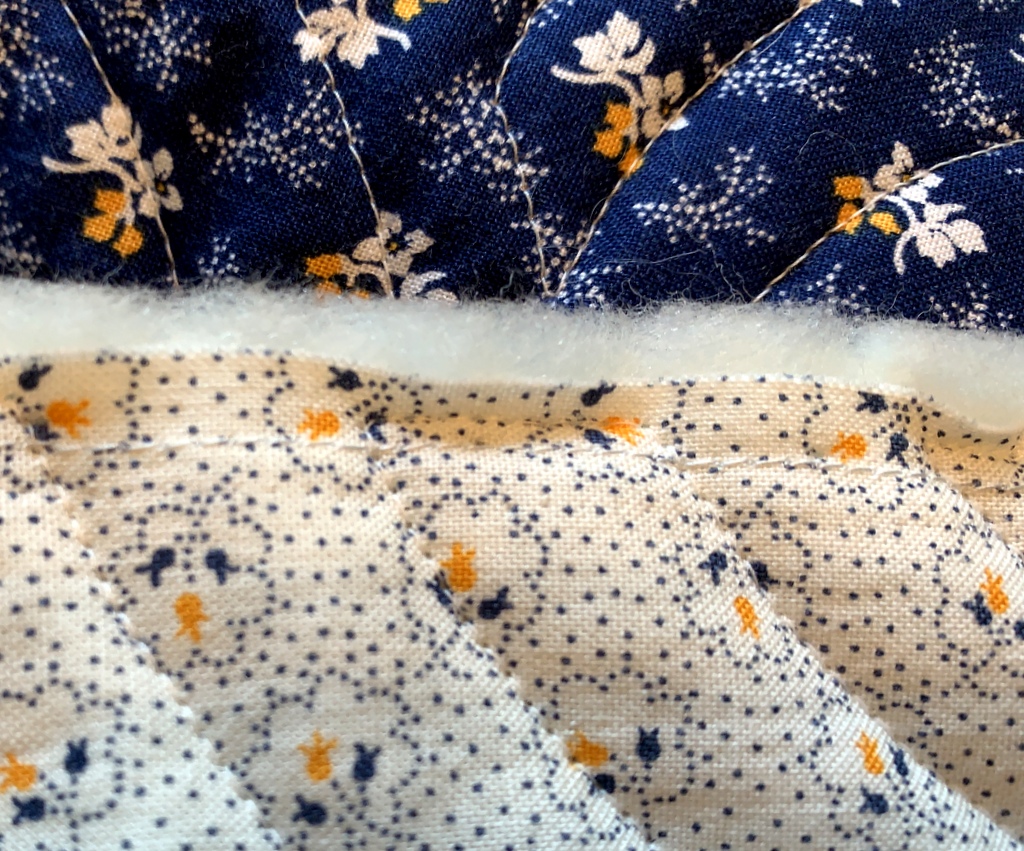
Now take a look at that batting. It’s wool. That was my third decision. Wool batting is lighter weight than most other batts made from cotton or cotton/poly blends. Scattered Stars is only twin-size but all those seams in all those star blocks added quite a bit of extra weight. I knew wool batting would lighten the load, so to speak.

But here’s the thing about wool batting: it’s really quite poufy. Look at this side view:


It appears to be made of many ultra thin layers.

I can’t say for sure but that puffiness may have been a factor when stitching the binding on. I had pinned sections of binding at a time, removing the pins as I went, so I was quite sure all of my edges were properly aligned. But somehow the seam allowance on my quilt top shifted slightly to the left as I was sewing. In some places, not all — but I didn’t notice it was happening because my binding fabric was on top.

I actually sewed all four sides of the quilt before I discovered there were several places where I had caught much less than a quarter-inch of the quilt in my seam. If it had happened in just a couple of places I could have taken the stitching out and readjusted the fabric but it happened all around the quilt. Nothing to be done but rip out the entire binding and start over.

The second time I pinned even more carefully and sewed a section only about 20″ long to test my stitching. I checked my seam . . . and the same thing happened. I was using my walking foot so the layers were feeding evenly through my sewing machine but that one layer of fabric was still pulling to the left. Out came the stitching again.

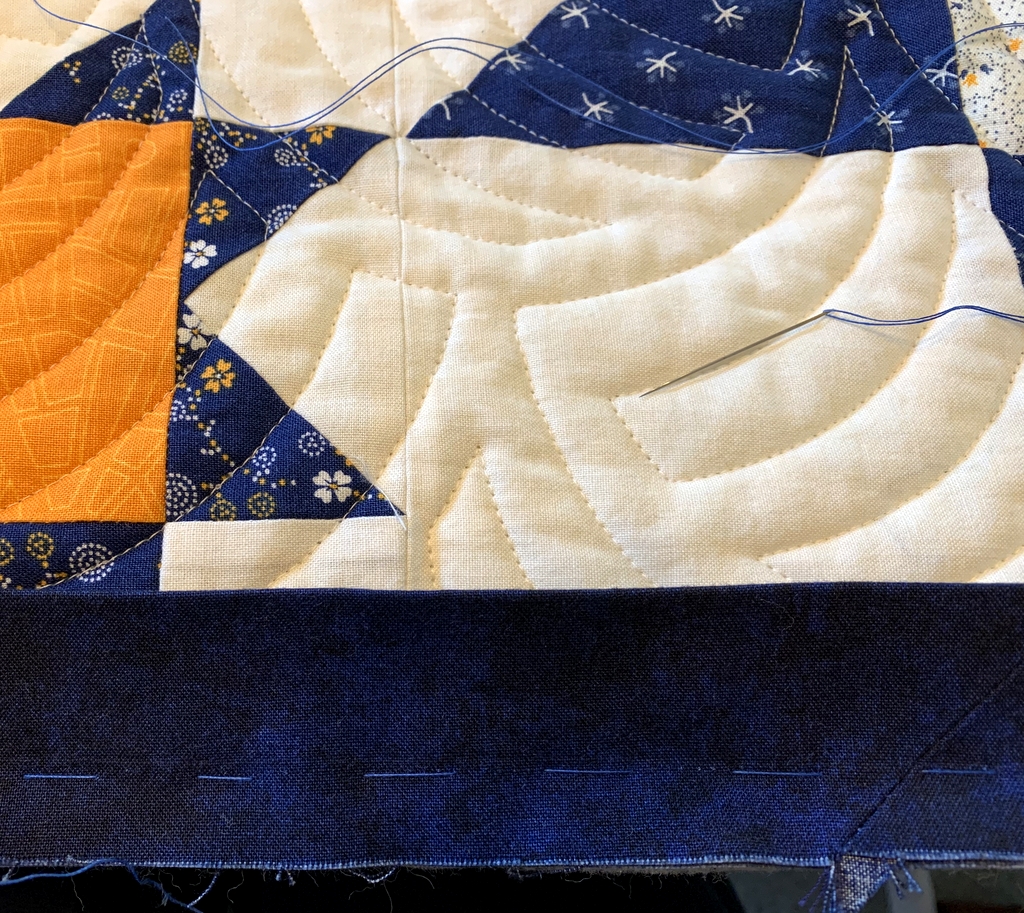
Want to guess what I wound up doing? The only other thing I could think of:  basting the binding to the quilt. By hand:

I aligned my basting stitches on the staystitching line underneath, thus guaranteeing I had the necessary quarter-inch of fabric underneath . . .

. . . and also guaranteeing I hadn’t chopped off any star points:

Then it was just a matter of machine stitching right over my basting stitches. No shifting of fabric this time. What a relief!

I’ve chosen wool batting for many of my quilts and have also used it when applying binding that finished at ½” so I really can’t figure out why I had such a problem this time. I’m just glad the binding is finally on to my satisfaction and I can move toward a finish.

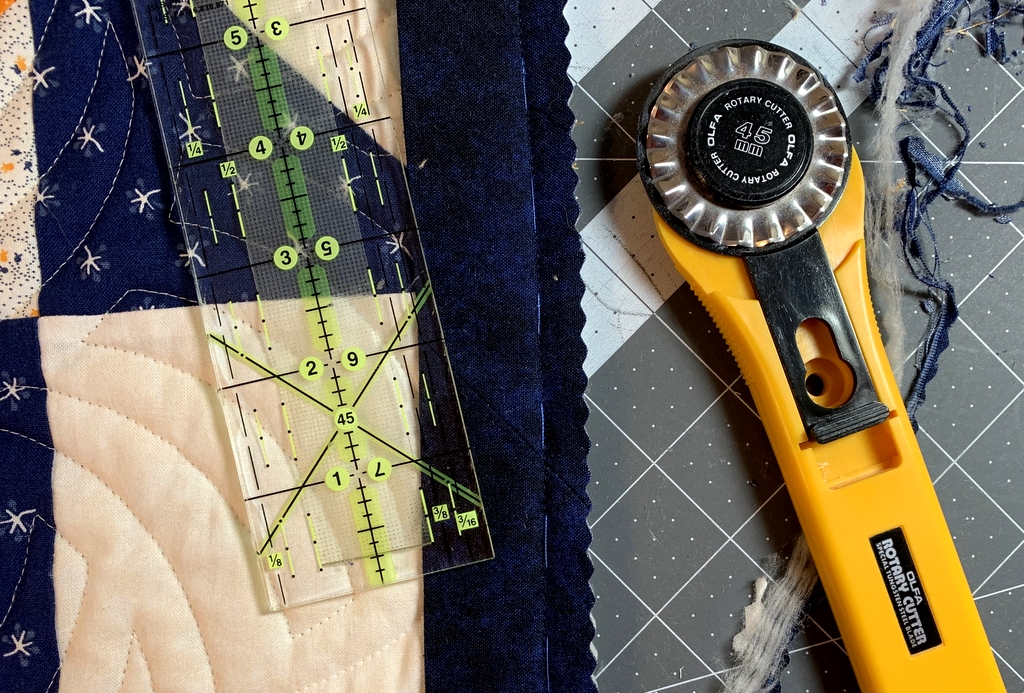
Oh, there’s one more thing I did before starting to tack the binding to the back of the quilt. I pinked the outer edges of the seam allowance to remove a bit of the bulk:

Pinking the edges also eliminated the raveling that often accompanies cut edges of fabric. I have a pair of trusty pinking shears but for long straight stretches I like to use my rotary cutter with a pinking blade. I think this pinking blade is actually meant for paper — I found it in the scrapbooking section at a craft store — but it works very well on fabric.

Since I’m one of those quilters who actually enjoys tacking down binding, this next step will be a pleasure. Then it’s on to the last step, the label.


Posted in cheddar and indigo, Churning Stars quilt block, update | 10 Comments

Quilting Loveliness

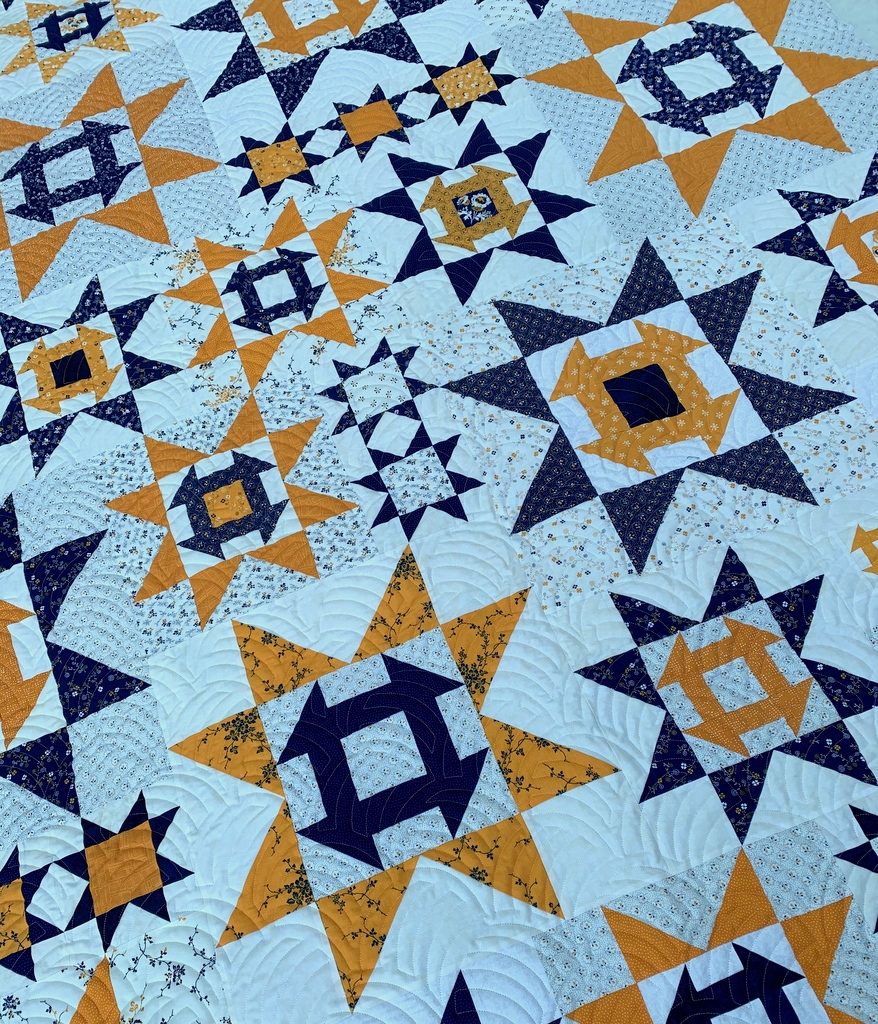
How about a few more photos of the quilting on Scattered Stars, my cheddar and indigo quilt? I’ve been feasting my eyes on it since bringing it home from the quilter on Wednesday. It’s only fair to share it with you, right?

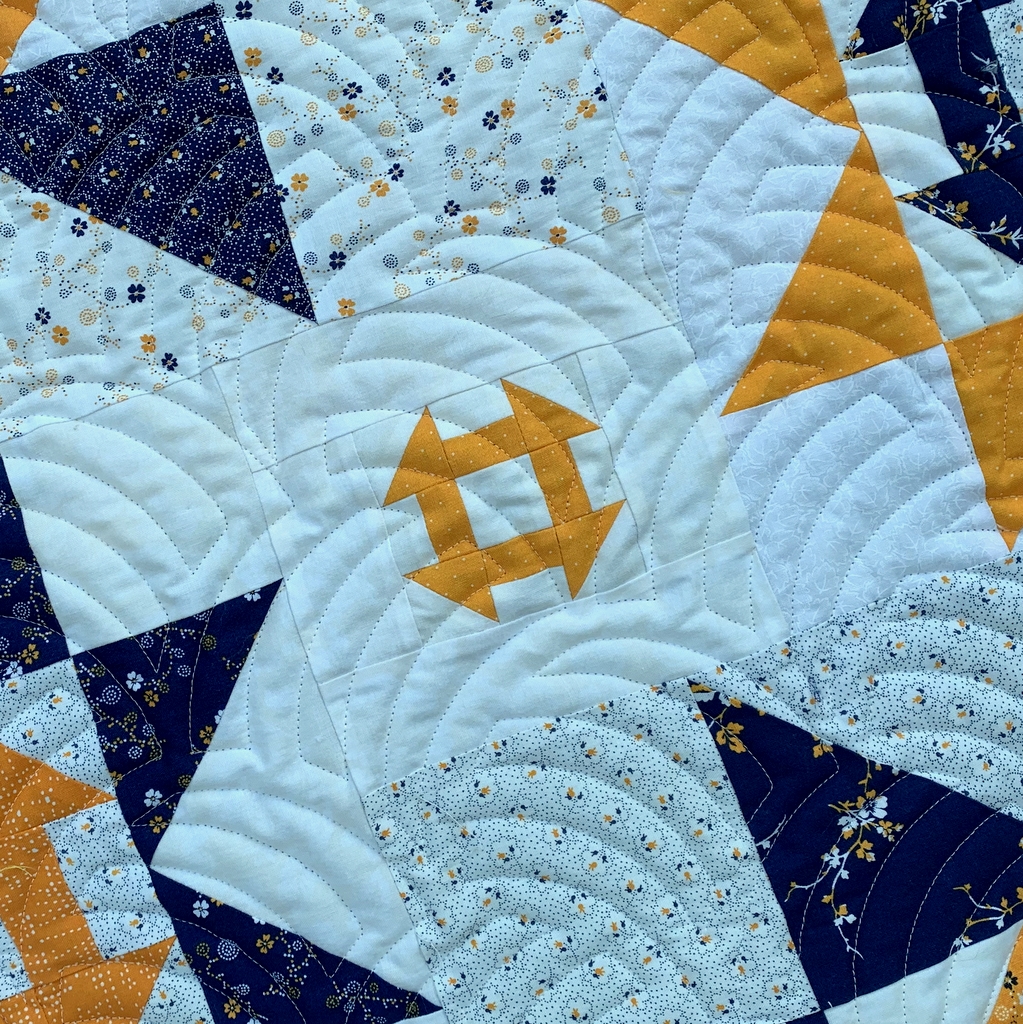
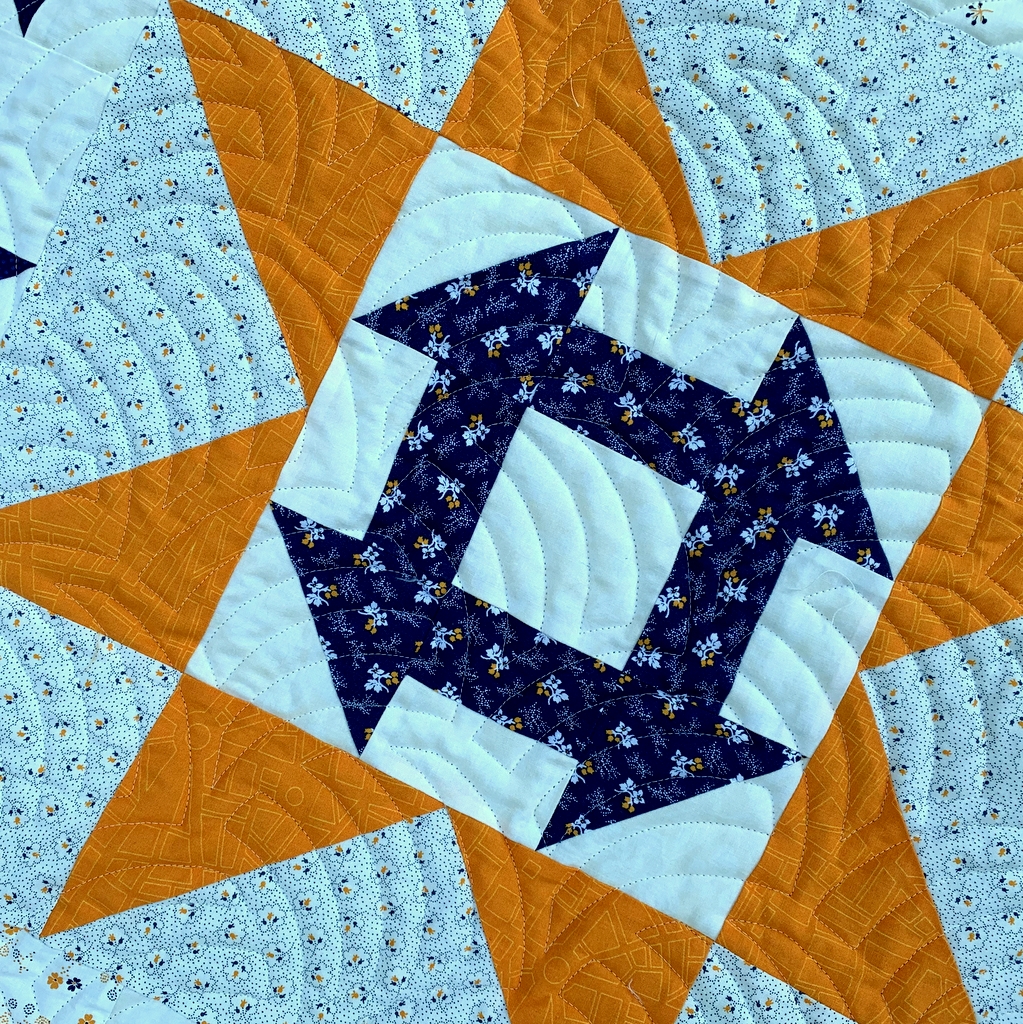
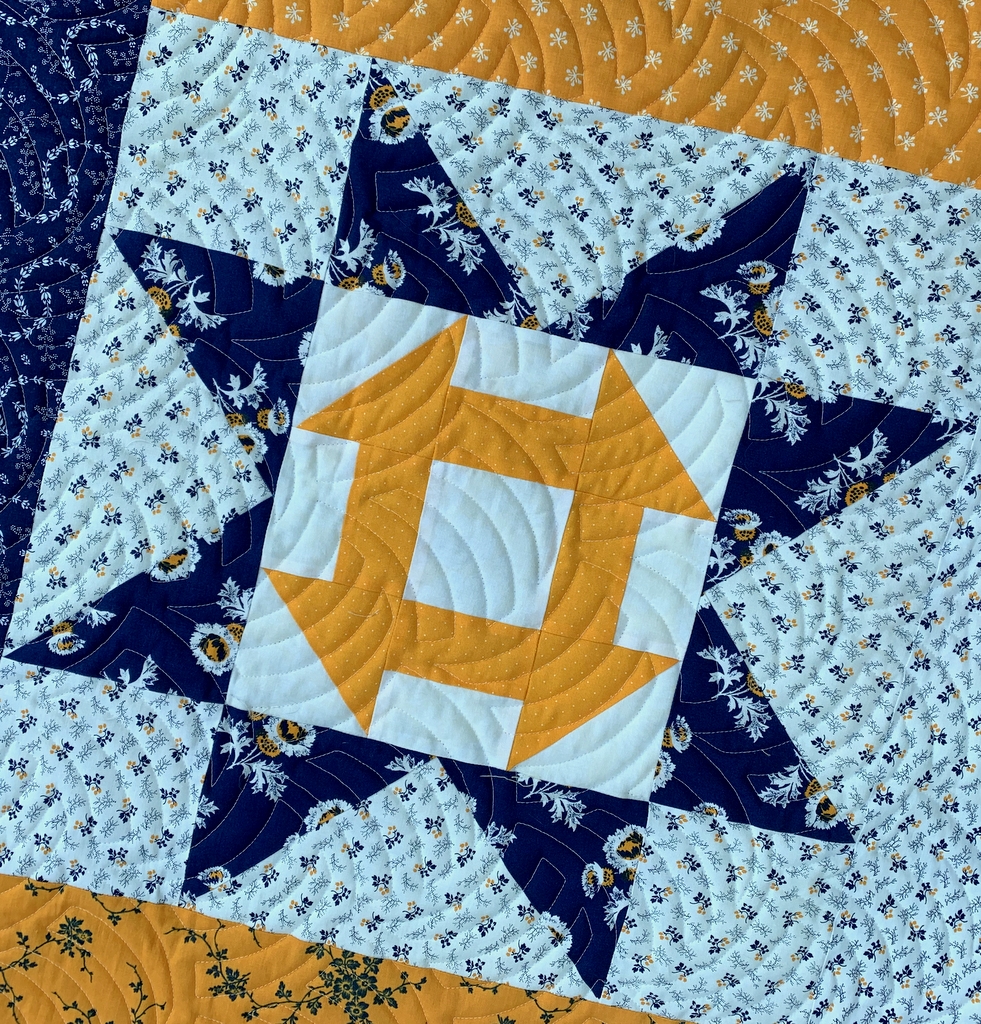
Let’s start with the tiniest block in the quilt, this 3″ Churn Dash nestled inside a 6″ block:

The photo shows off the beautiful quilting by Karlee Sandell of SewInspired2Day. At first glance you might think the quilting motif is Baptist Fan but it’s actually a more contemporary design called Woven Wind.

Here’s a look at the entire front of the quilt . . .

. . . and an angled look across the front:

Most of the fabrics are from the “Cheddar and Indigo” line by Penny Rose that came out in 2015. The prints are very traditional but I had fun mixing in some contemporary prints, including this cheddar print — it’s a map of Barcelona! — from the line of the same name by Zen Chic for Moda . . .

. . . and this cheddar print by Victoria Findlay Wolfe from her “Futurum” line for Marcus Fabrics:


That navy print in the Churn Dash block above is a vintage fabric that’s so old there’s no information on the selvage. I can’t even remember where I found it.

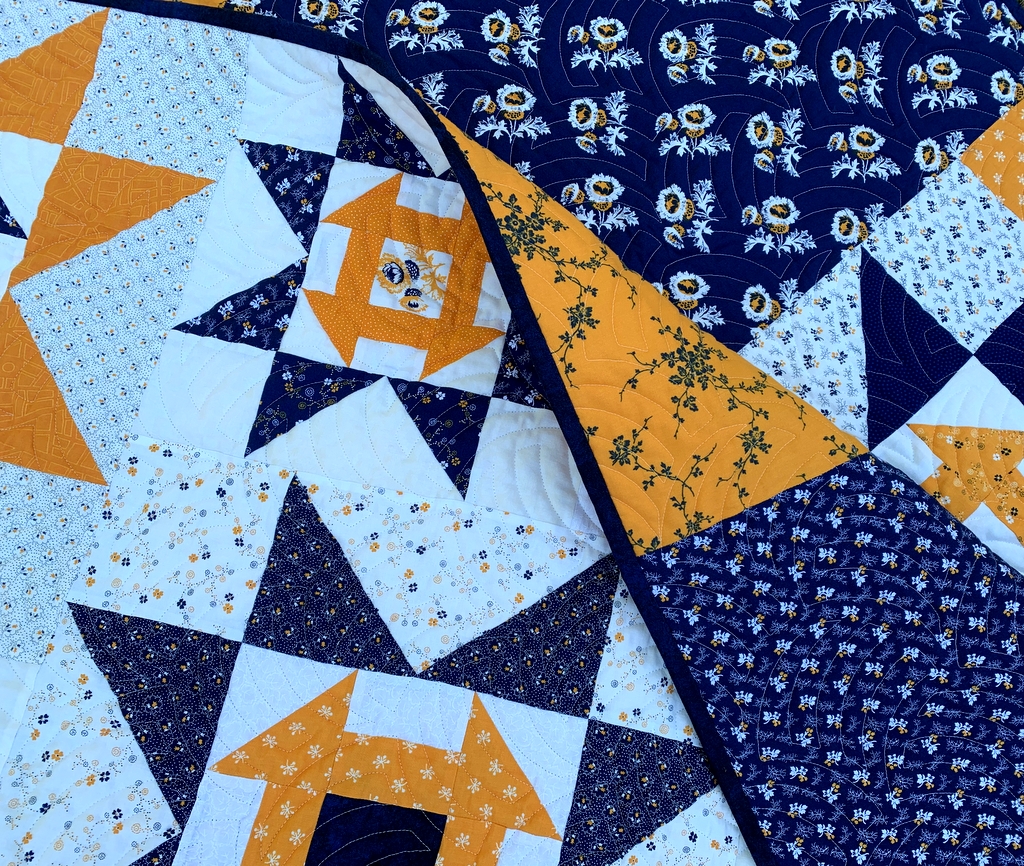
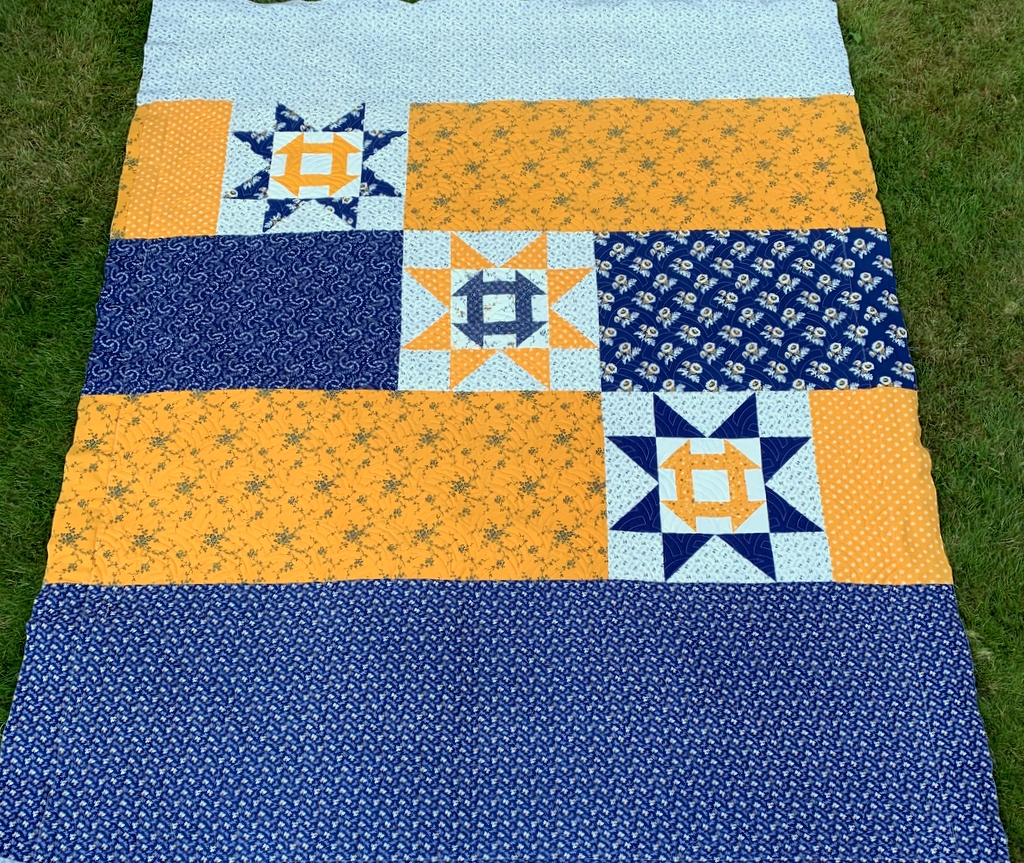
Here’s a look at the back of Scattered Stars:


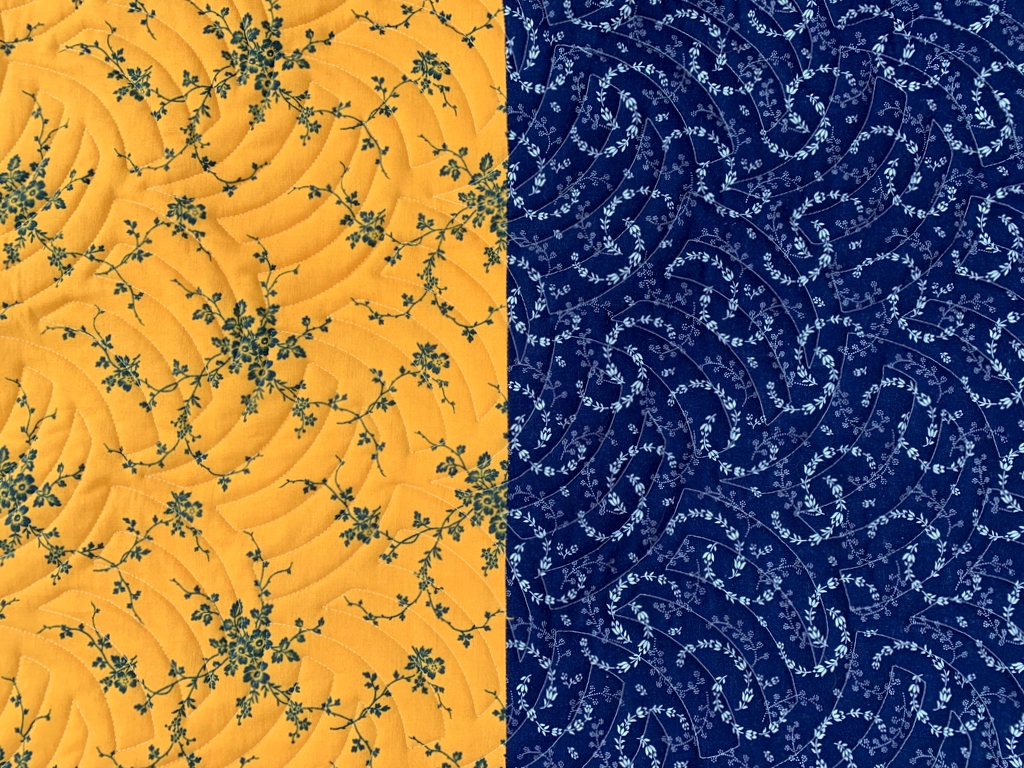
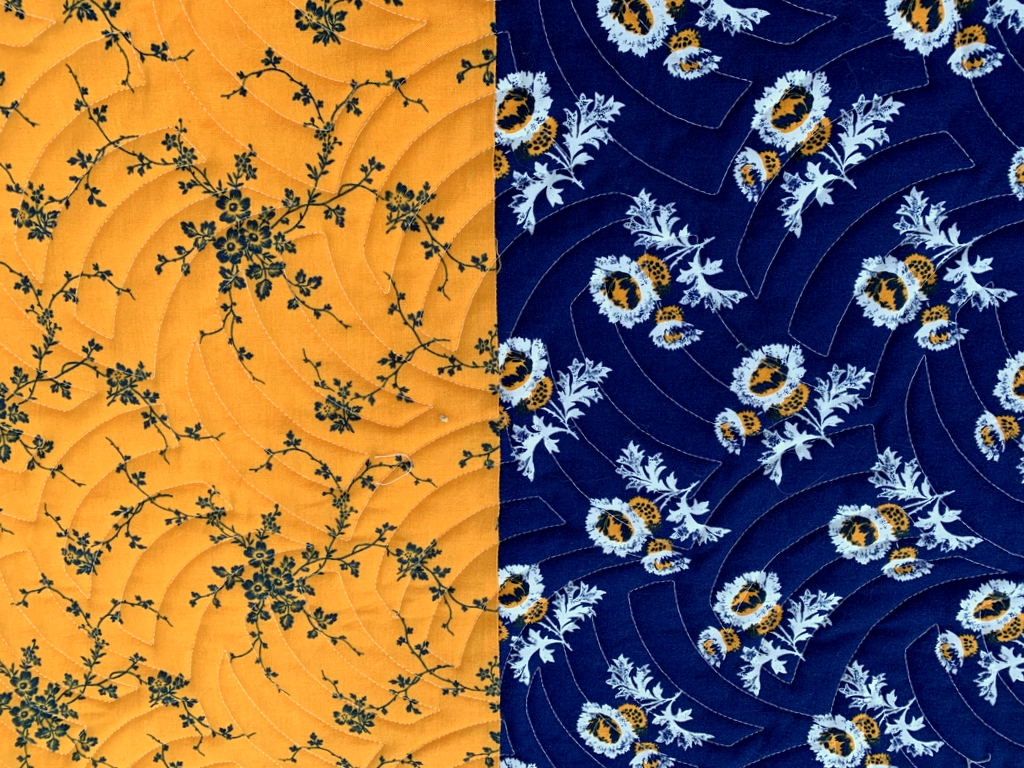
It’s nearly impossible to see the quilting in that photo so here are a couple of close-ups:

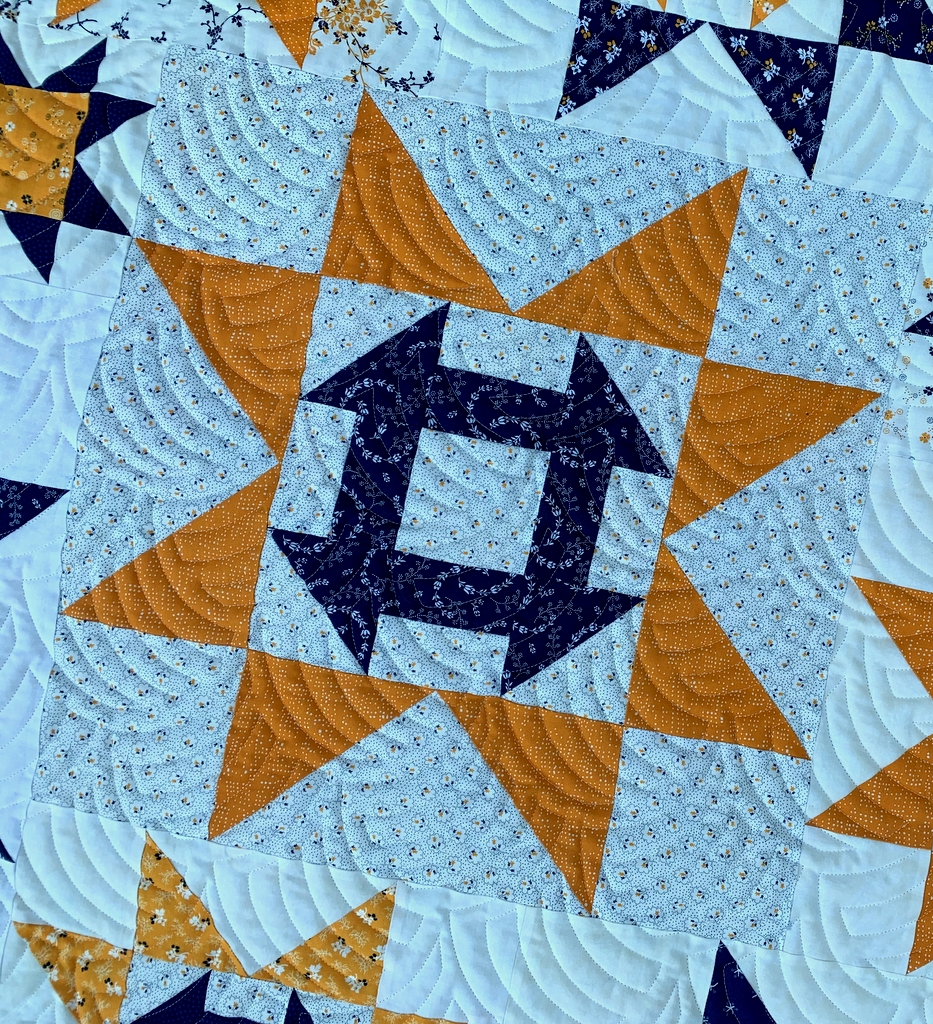
You can really see the Woven Wind quilting motif in the large indigo print above right. And in the next photo, notice how the quilted curves in the center of the block serve to soften those sharp angles and straight lines:


I think you can tell I really love how this quilt is turning out! I trimmed it today and plan to attach the binding tomorrow. The forecast for Portland the next couple of days is sunny with temperatures in the high 90s. I can’t imagine sitting for hours with a quilt in my lap so I may have to wait till cooler weather arrives to tack the binding down on the back.

In the meantime I can work on the label. I should have a finished quilt to show you by the end of the month.


Posted in cheddar and indigo, Churning Stars quilt block, update | 7 Comments