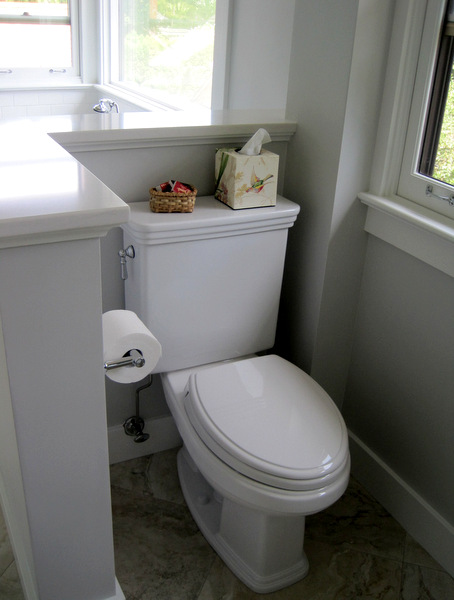
Yes, after 12 weeks, the renovation of our upstairs bathroom is all but complete! Would you like to see? Let’s start in the doorway. The first thing you see is the quartz cap on the toilet alcove:
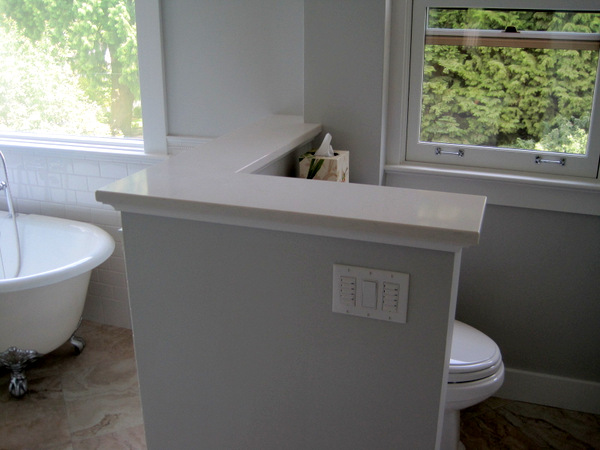
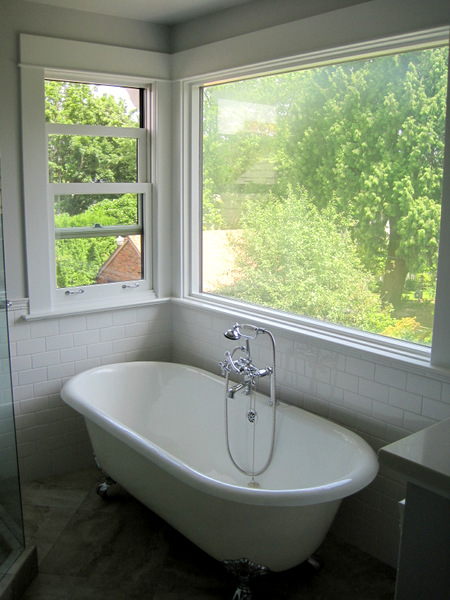
I’m so glad we waited to find another remnant of the quartz (“Lattice” by Pental) to finish this half-wall instead of capping it with wood trim. Wood would have been very nice but this is much more elegant. To the left of the wall you can see part of the clawfoot tub. Here’s a look at the entire tub:
I love the look of the vintage bath hardware, including the telephone-style shower head.
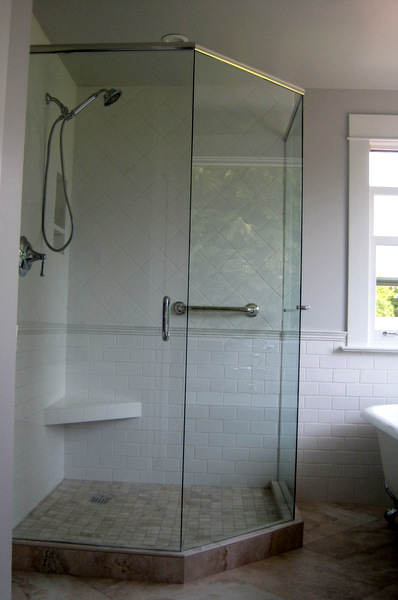
Now for the shower, in all its tiled and glassed-in beauty:
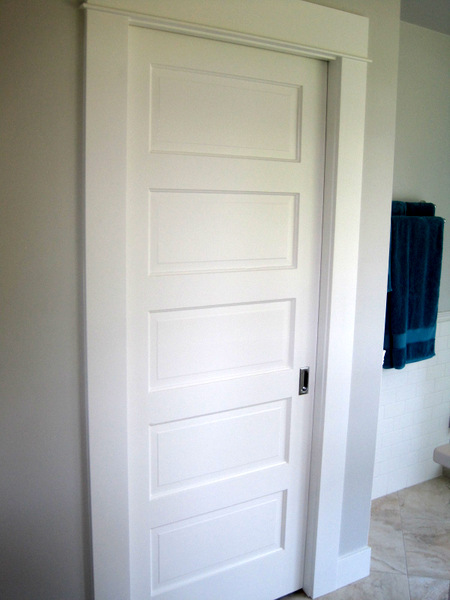
Moving counter-clockwise, here’s the five-panel door, which used to swing into the bathroom but now slides neatly into its wall pocket:
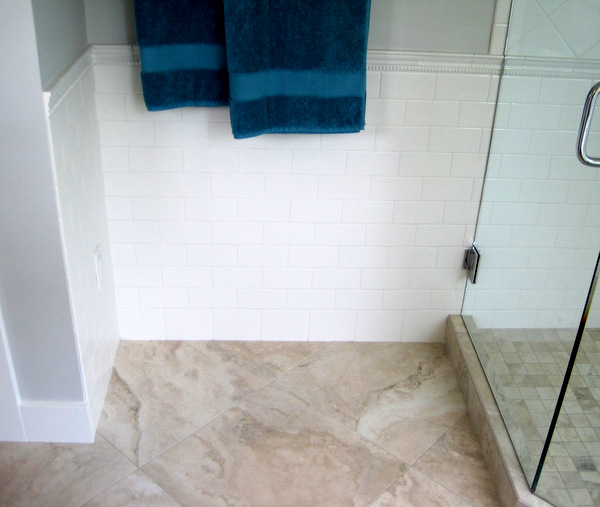
As you can see from the right side of the photo, I’ve already hung towels on the wall to the left of the shower. I chose a deep teal blue.
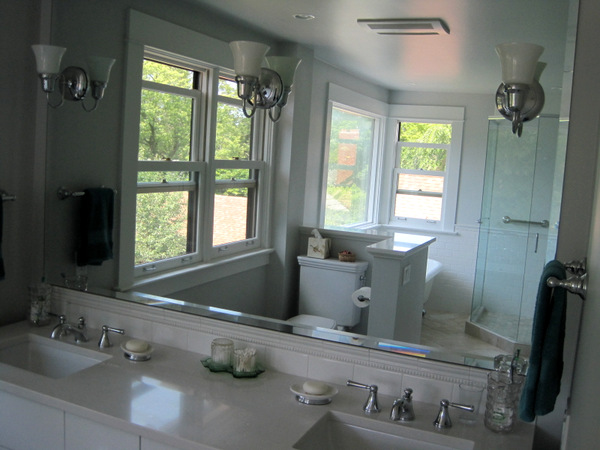
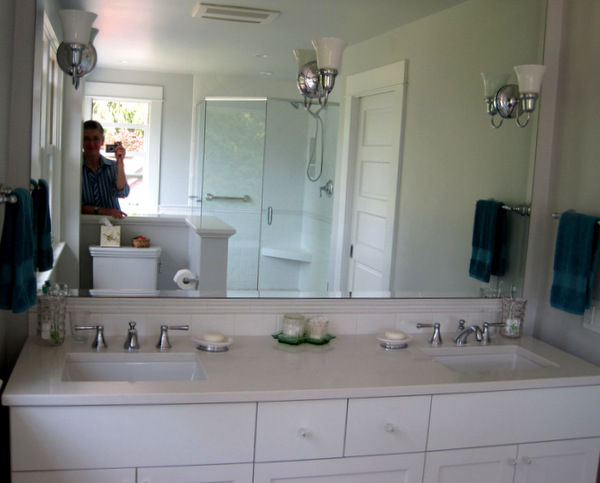
Am I saving the best for last? Maybe! Here is the mirror over the vanity, with the three sconces mounted in place:
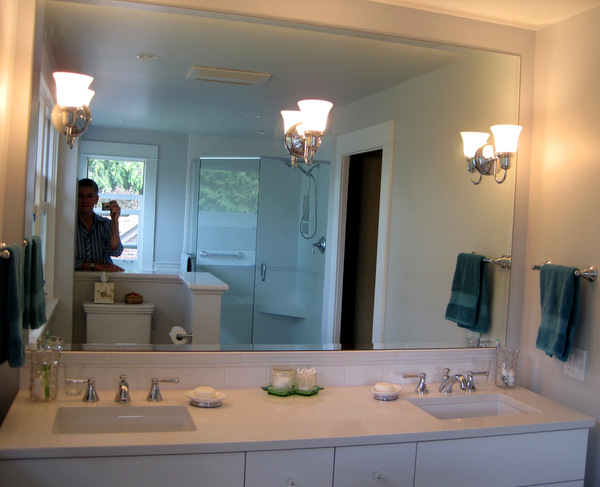
Another view from across the room:
Even prettier with the lights on:
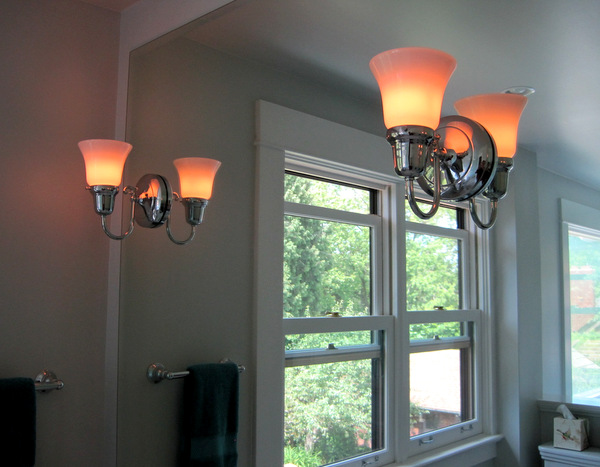
And, for some drama, here’s a shot of two the sconces with the lights turned low:
Back where we started, here’s another shot of the toilet alcove and wall cap:
And there you have it. Am I thrilled? Absolutely!
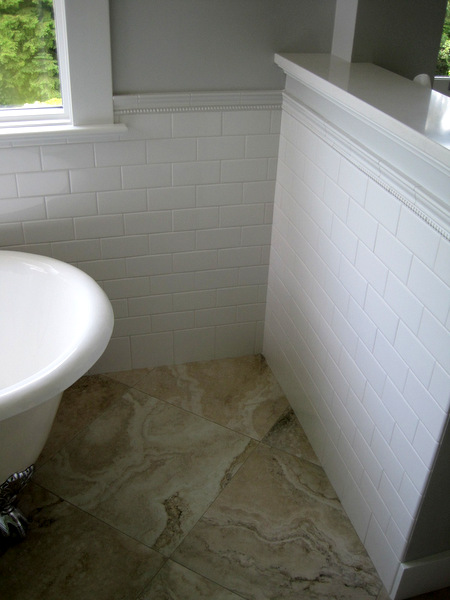
There is more to come, however. The plantation shutters I ordered for the windows are due to arrive by the end of June. I’m going to wait until they are in place before putting pictures on the walls. In the meantime, I’ll be looking for a long narrow console table, preferably vintage, to go in this space between the end of the tub and the half-wall . . .
. . . and a bench to go in this little corner:
Once the bathroom is truly complete, which may take a few weeks, I’ll post some before-and-after photos. Until then, if you want to review the project from the outset, feel free to follow these links:
March 16: Happy Birthday, House!
March 27: The Bathroom Remodel Begins
March 31: Bathroom Reno, Week 1
April 8: Bathroom Reno, Week 2
April 15: Bathroom Reno, Week 3
April 21: Bathroom Reno, Week 4
April 28: Bathroom Reno, Week 5
May 5: Bathroom Reno, Week 6
May 12: Bathroom Reno, Week 7
May 19: Bathroom Reno, Week 8
May 27: Bathroom Reno, Week 9
June 2: Bathroom Reno, Week 10
June 9: Bathroom Reno, Week 11
Thanks for following along!

Kudos, it looks fantastic!!
Gorgeous!!!
Outstanding down to every last detail. So inviting! Well done, Dawn.
Wow! It is just beautiful! Wonderful choices. Love the floor, too.
Peg
It’s magnificent! And now it’s done! I love it!
Sandy
Fabulous! It looks so wonderful and certainly worth the wait.
Stunning!
Beautiful renovation! It inspires me to do something to mine as well. I know you will enjoy it every single day!
Where did you get the tile floor? (name/color) I love it… the whole bathroom is beautiful. It is giving me the push that I need to start mine! 🙂
Glad you like it, Mindy! The ceramic tile floor is made by Century. The pattern is called Darwin and the colorway is Floreana. If you google “century darwin floreana tile,” you’ll get several images of it as well as names of distributors around the United States. I found my tile at Macadam Floor and Design in SW Portland.
That looks great! I want to change a swinging door into a pocket door as well. Did you do this work on your own? Do you have any tips?
thanks!
nevermind, i got my answer from a local carpenter. thanks!