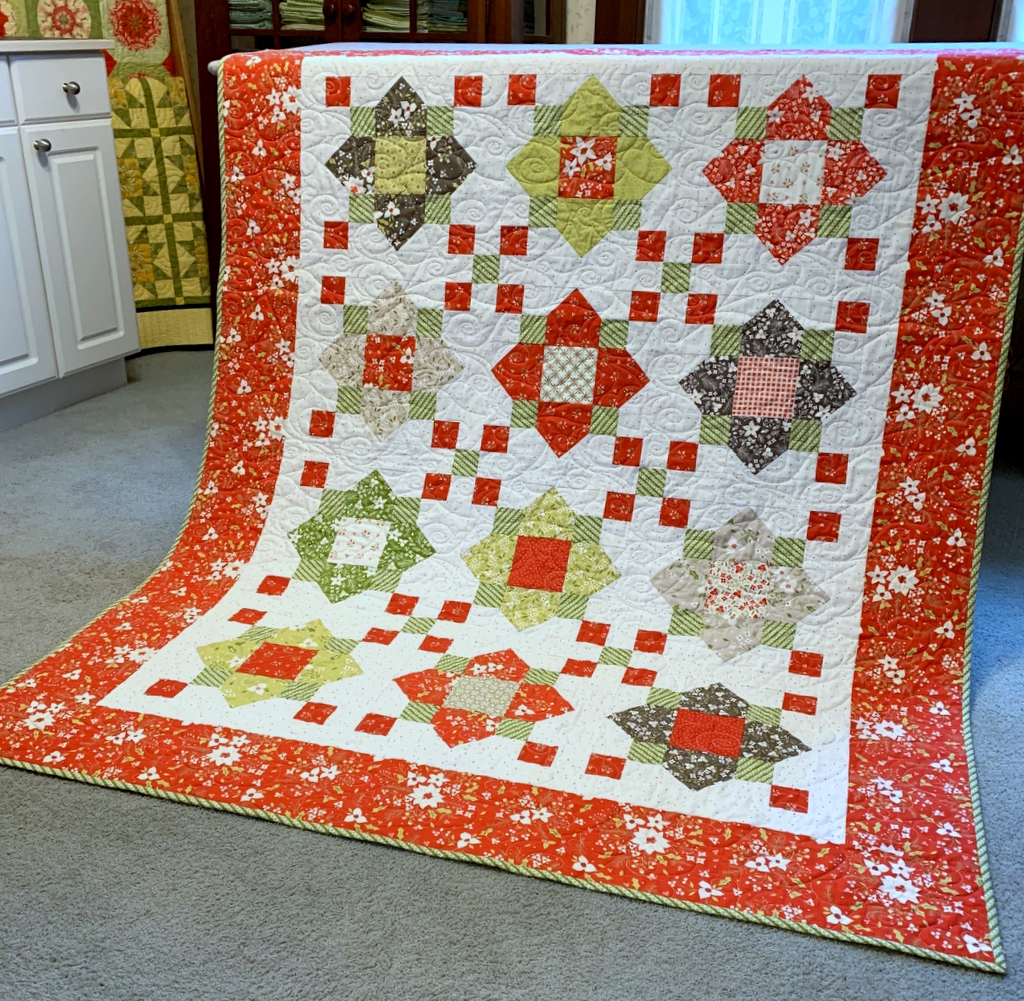
Blue on Blue
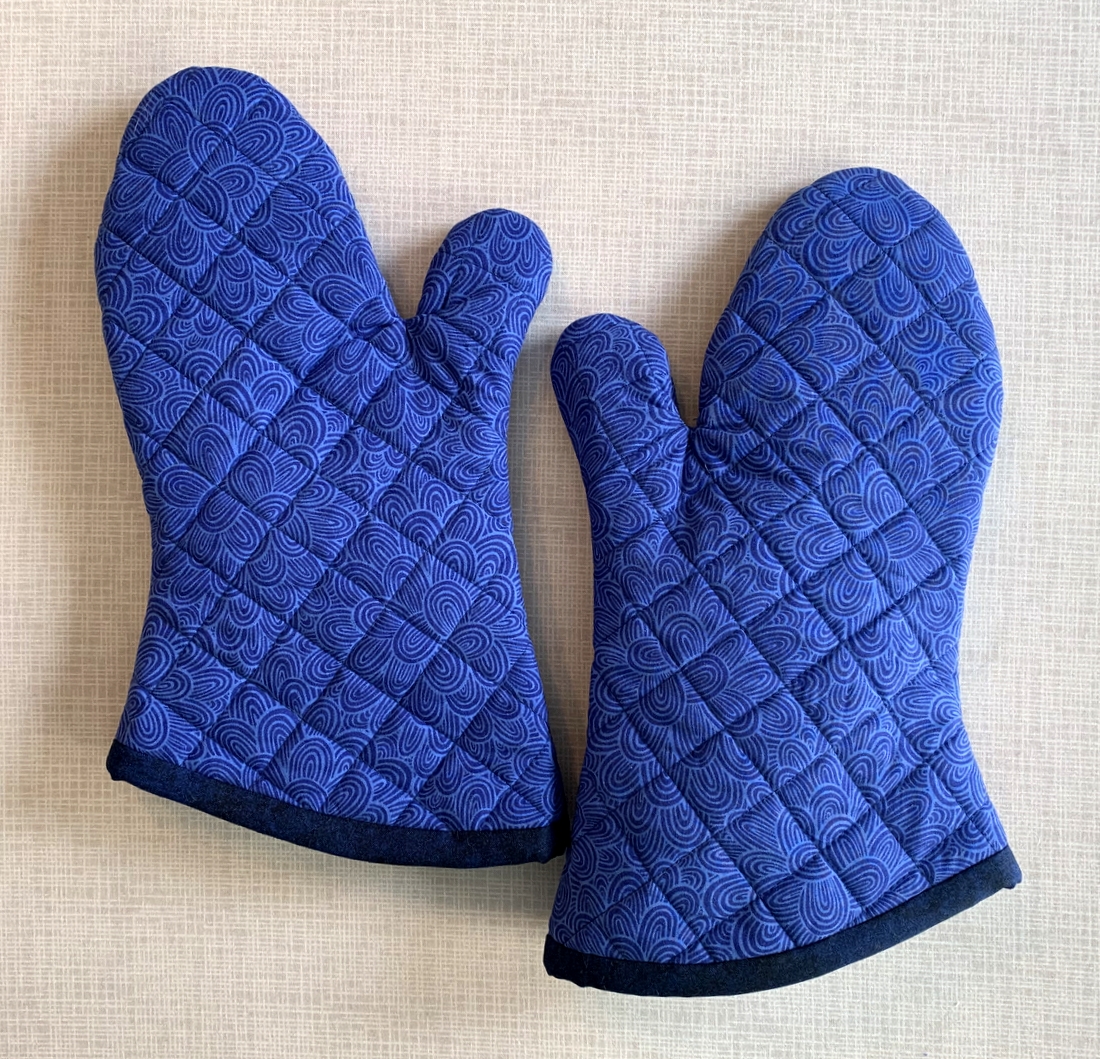
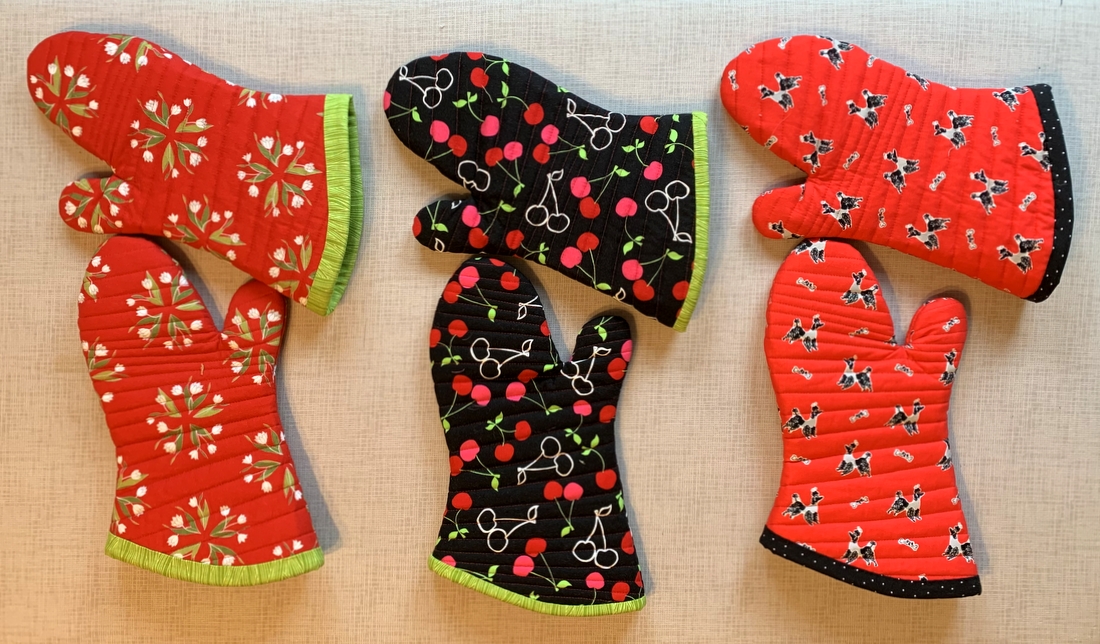
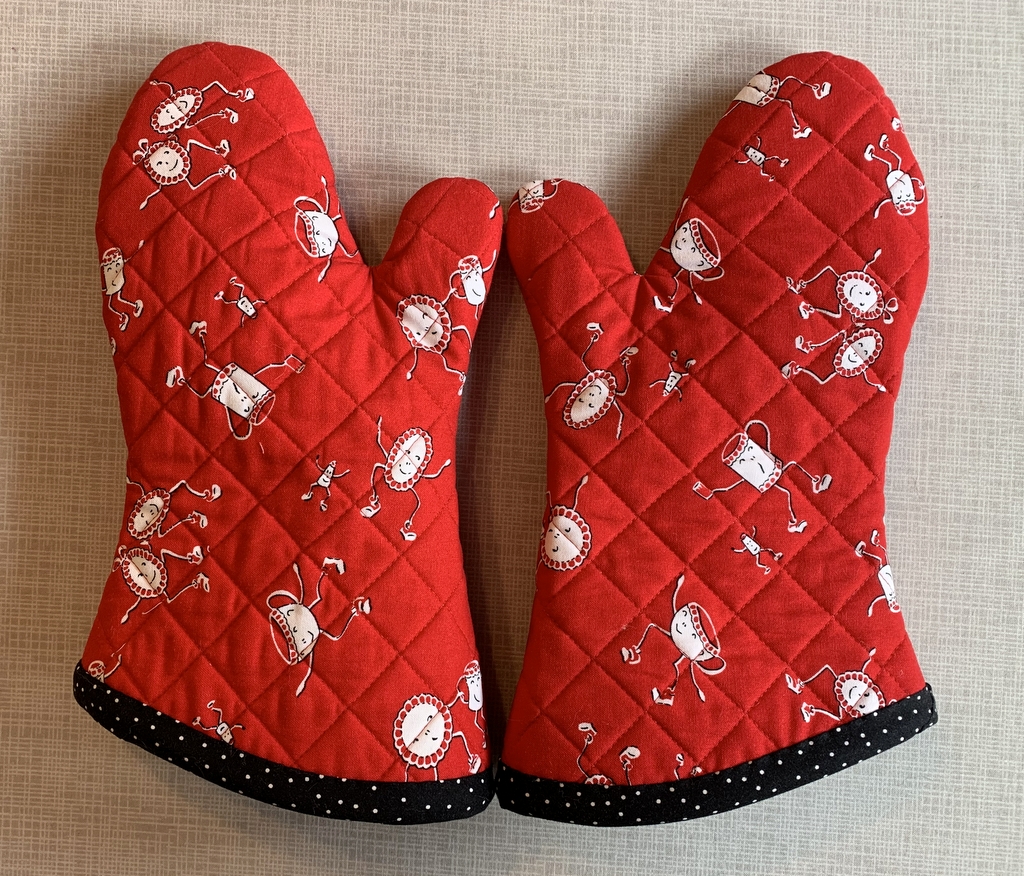
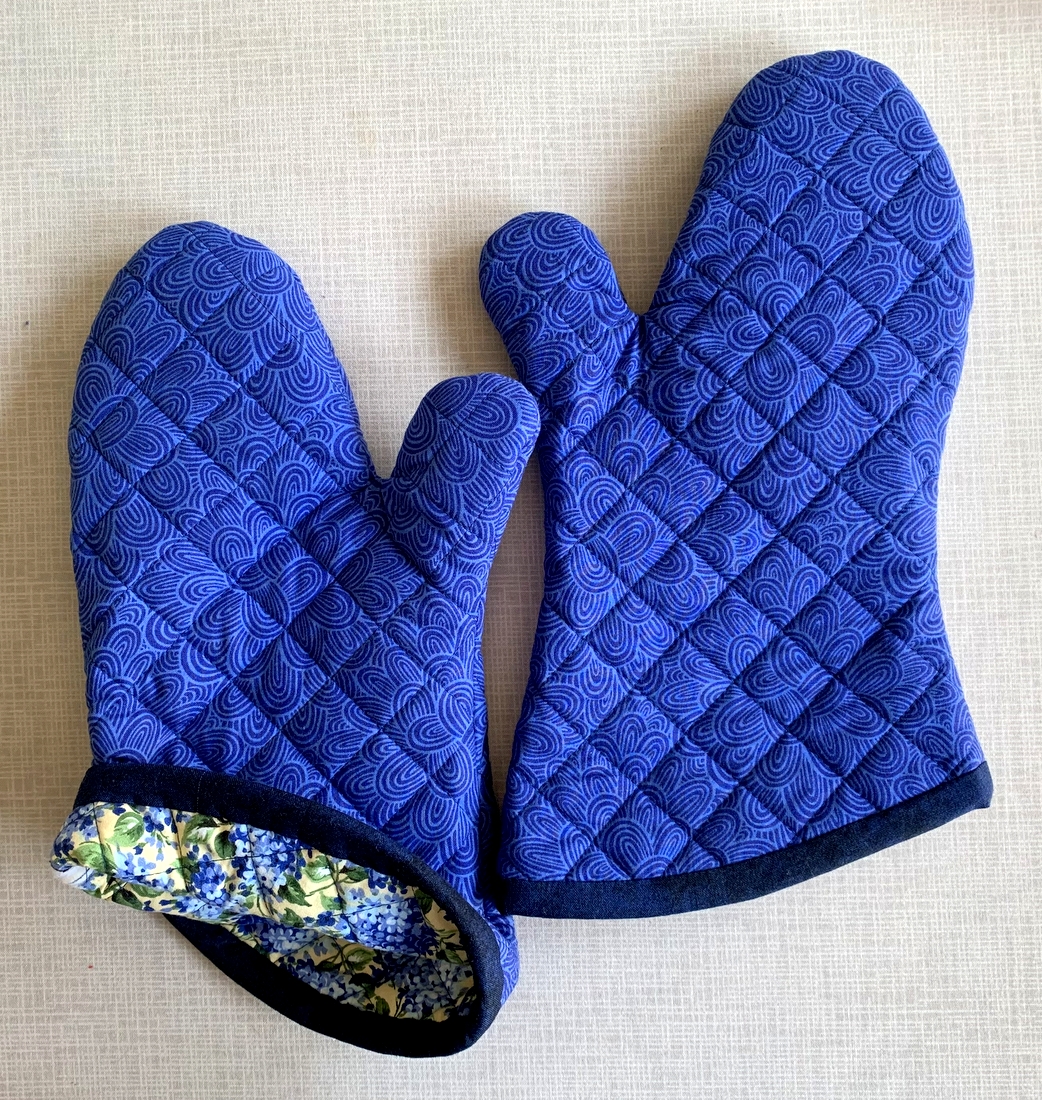
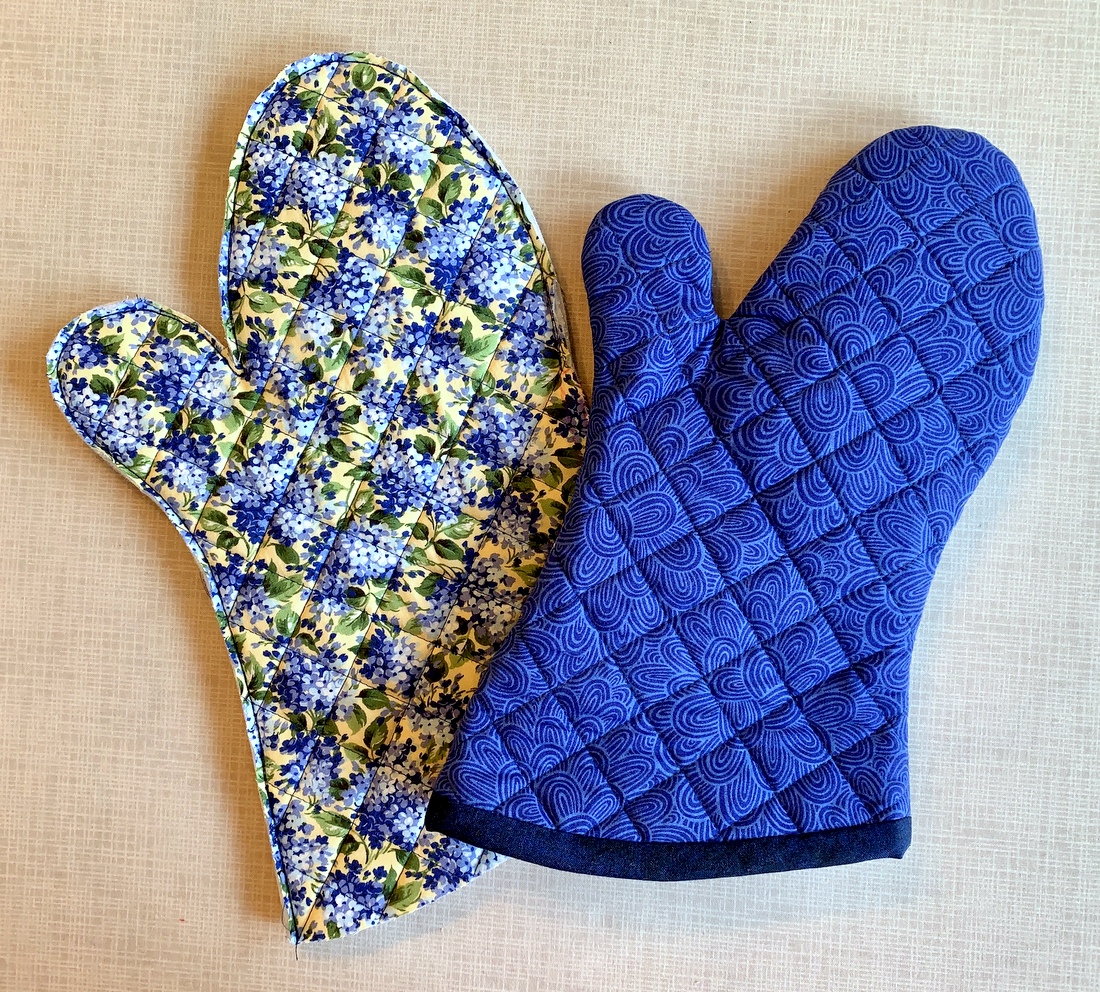
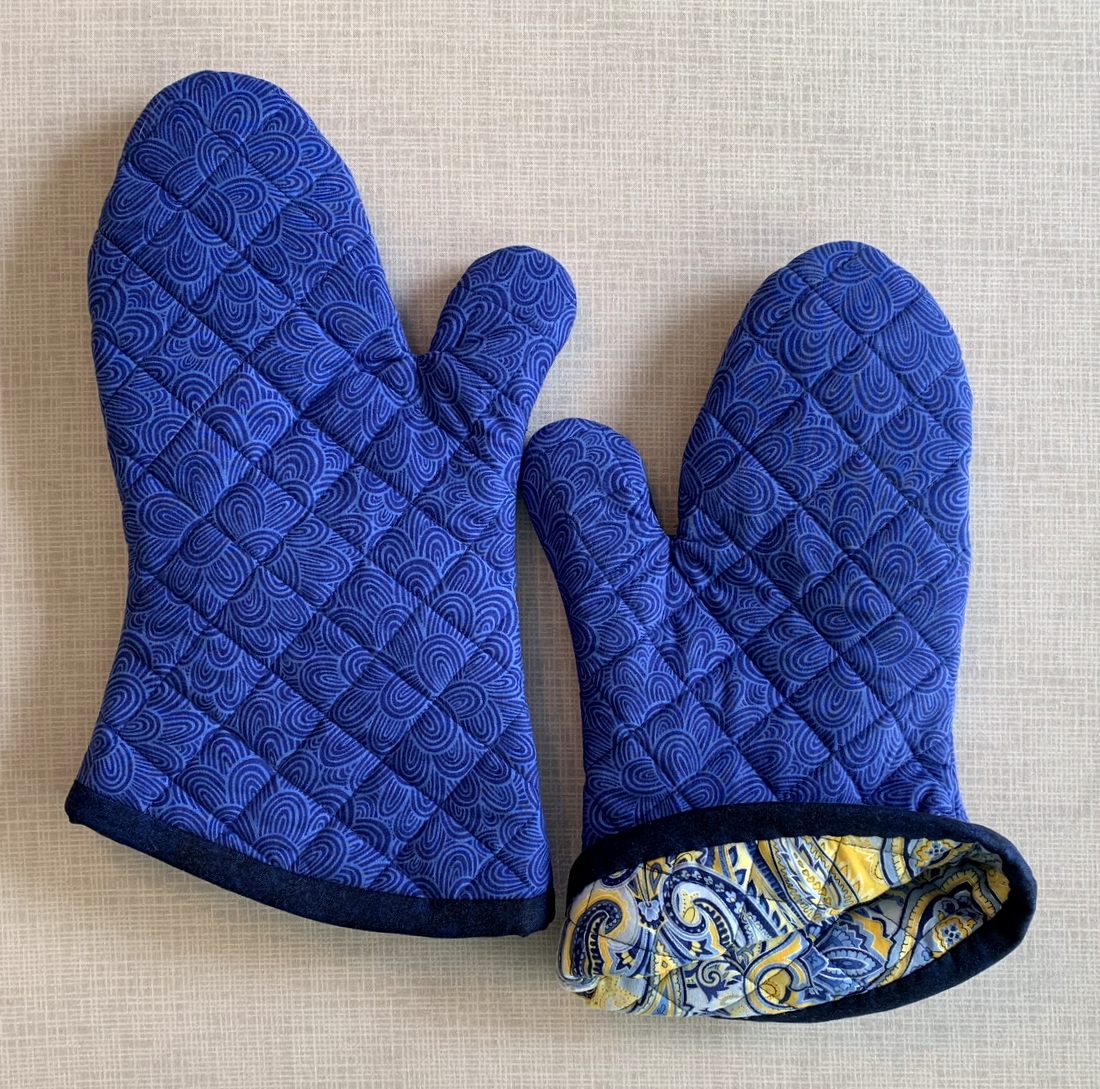
If you were a teenager in the 1960s, as I was, you probably remember a hit song by Bobby Vinton called “Blue on Blue.” Bobby was singing about heartache but I’m singing — well, writing — about my new oven mitts. Behold:
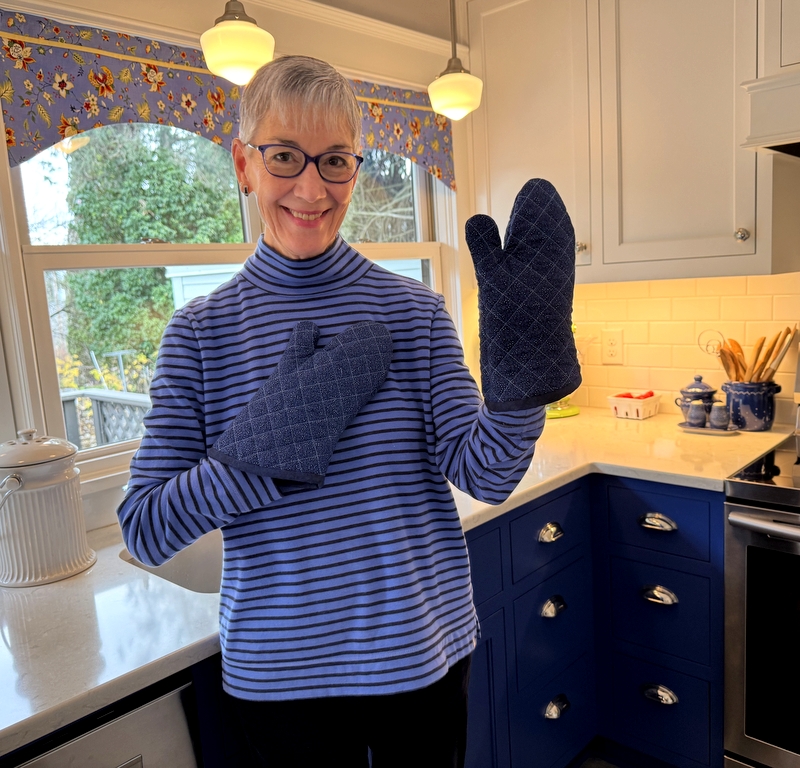 The other day I spotted a tiny hole in one of my old mitts. I don’t know how it got there but it was enough to prompt me to make a new one (and of course I had to have a matching pair). My fabric of choice was a lovely vintage blue-on-blue print that I won recently at a meeting of my quilt guild, the Metropolitan Patchwork Society. The print was my favorite of the four dark blue blenders in my winning bundle.
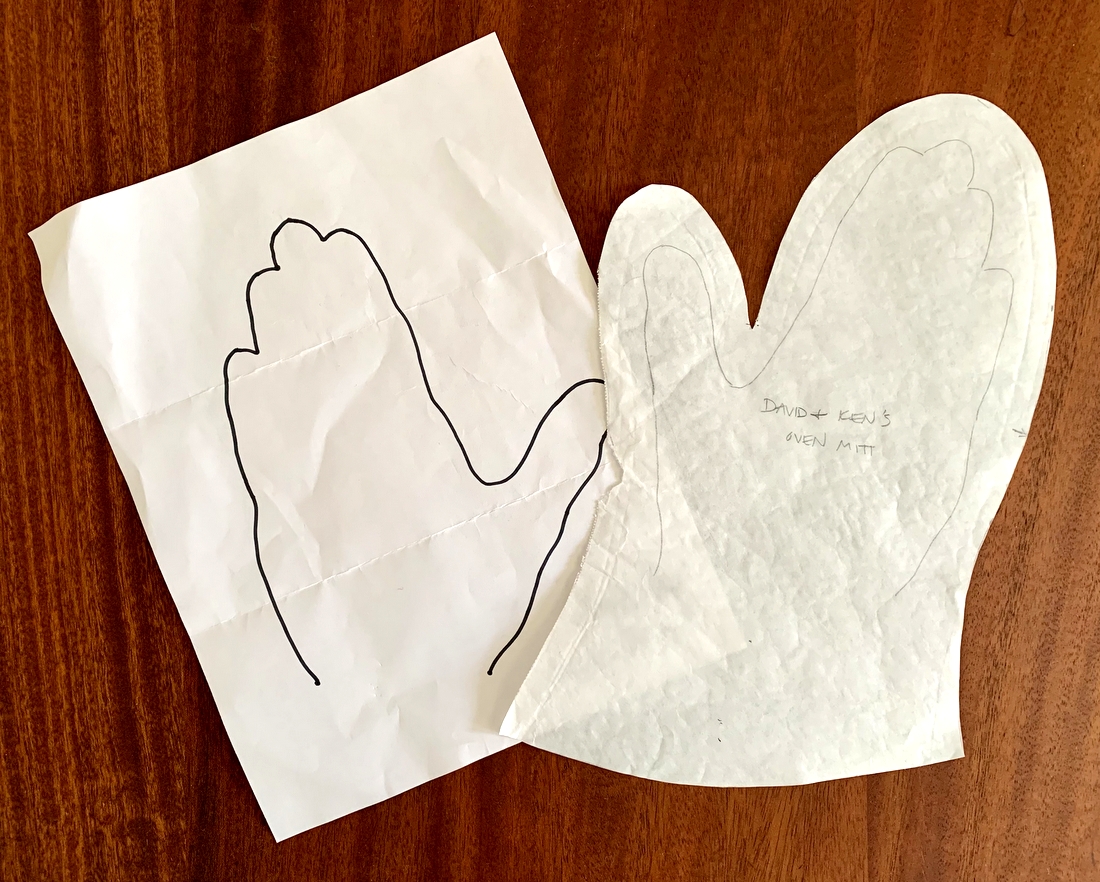
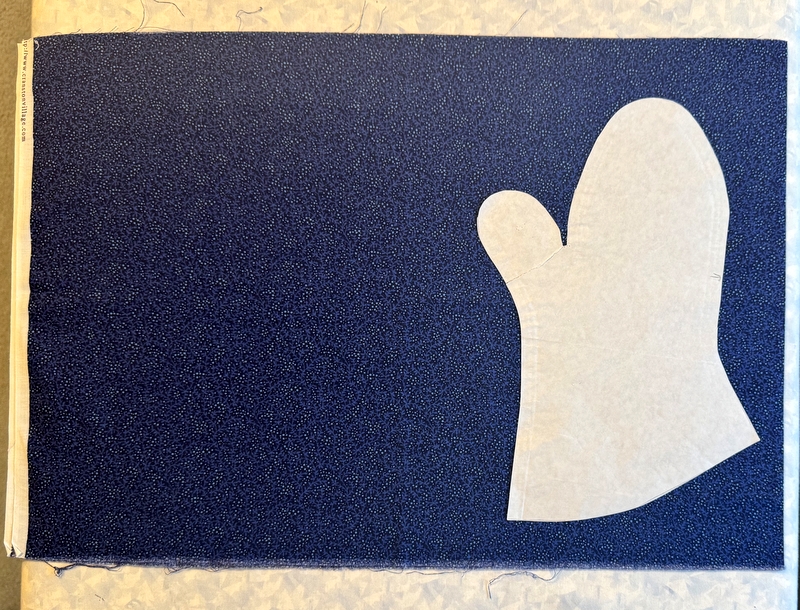
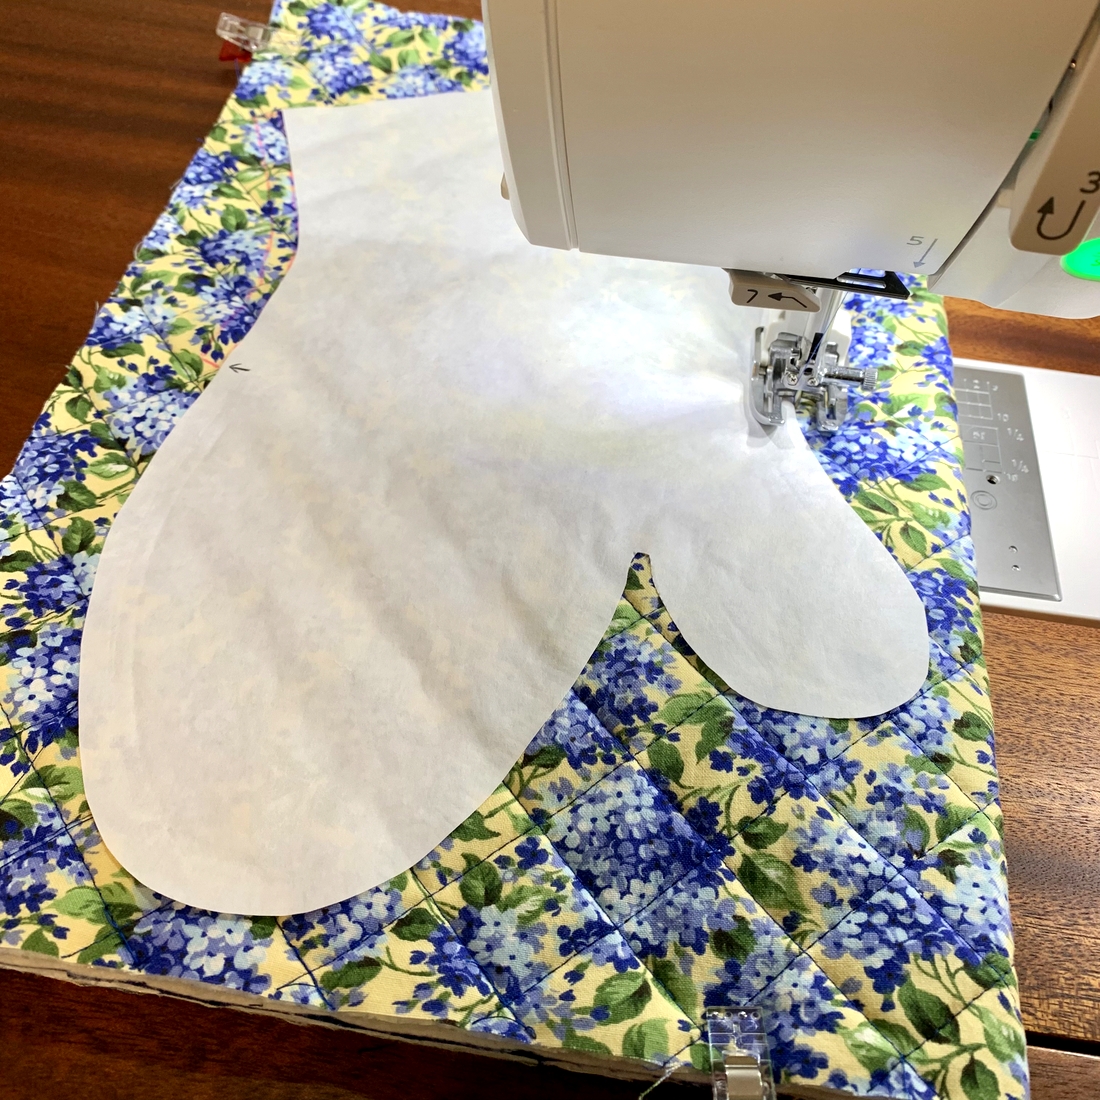
Following my own tutorial (more on that at the bottom of this post), I made a new pair. I had only a 15″ length of fabric but it was enough for two mitts. Here you see the doubled width of fabric with my freezer paper pattern on it for scale:
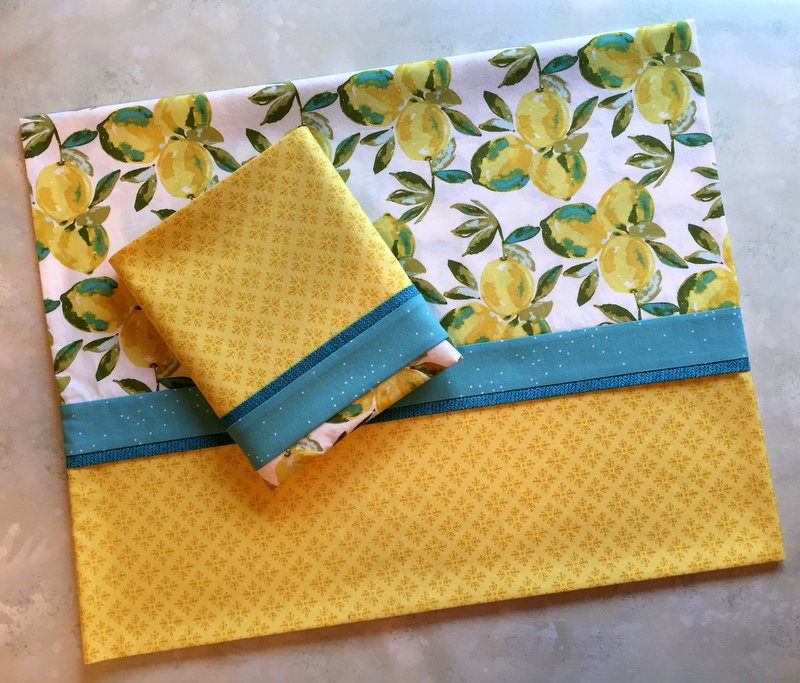
 For the lining of the mitts I drew on this French provincial print from my precious stash of Sandy Klop’s “A Breath of Avignon” line, which I’ve had for well over a decade:
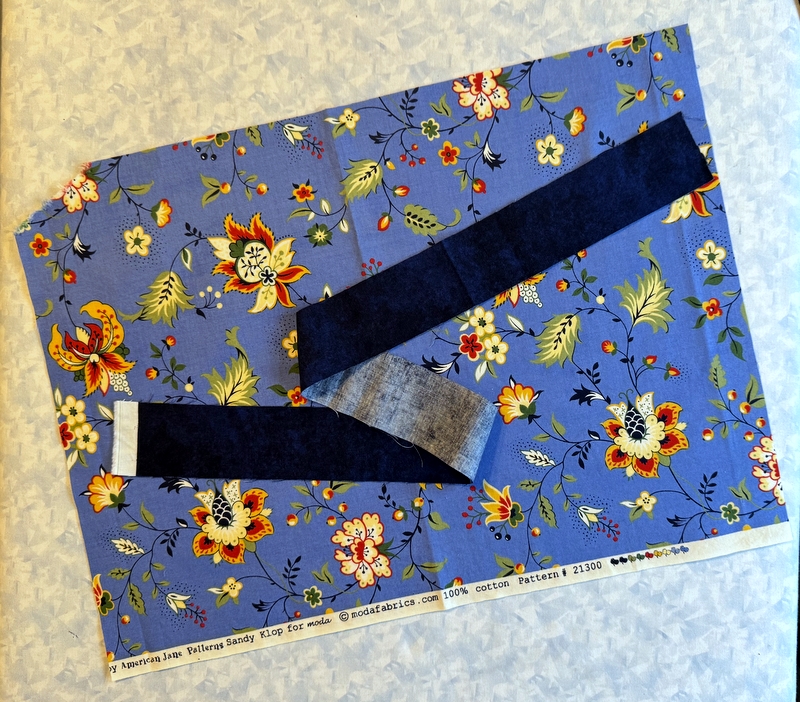
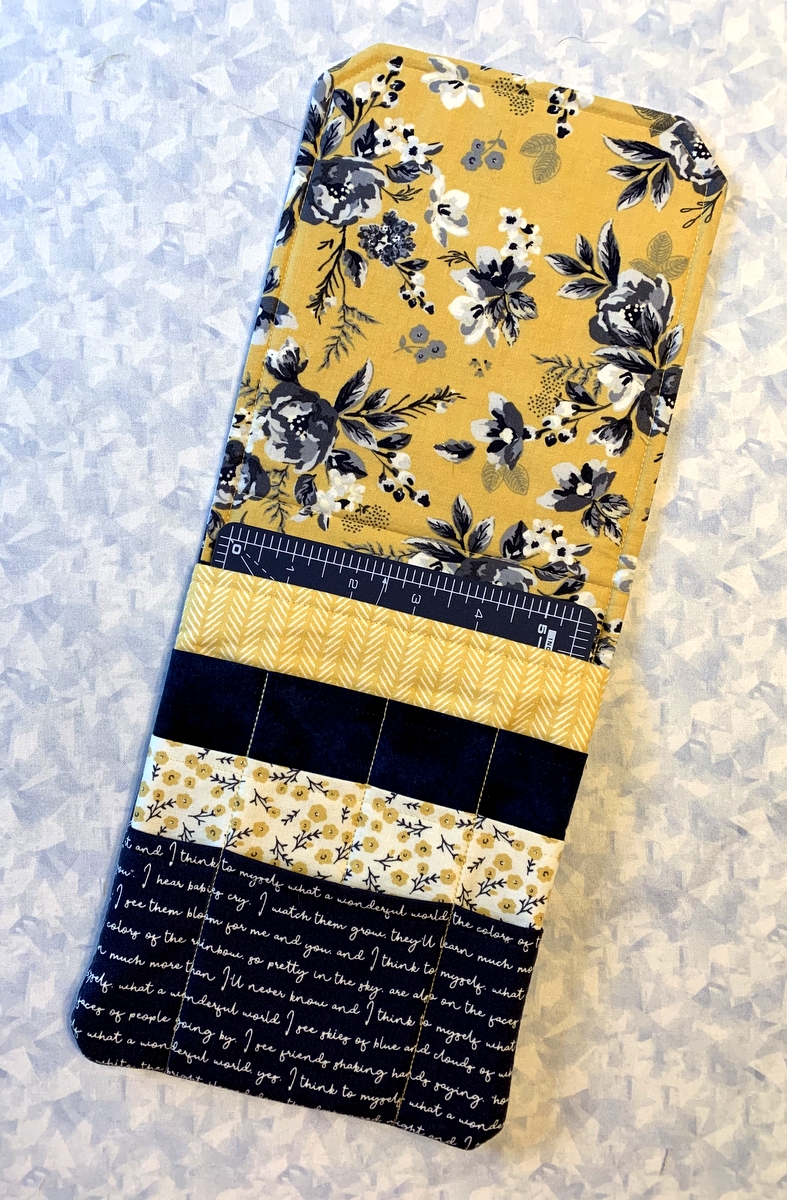
Did you happen to notice the valance fabric in my kitchen? It’s the same fabric used inside my new oven mitts. That strip of mottled navy “Shadowplay” by Maywood is for the contrast binding at the cuff.
The next photos show you how I quilted the mitt with a 1″ grid. I often quilt my mitts with random wavy lines, which goes very quickly. It takes more time to quilt a grid but it sure does look nice.
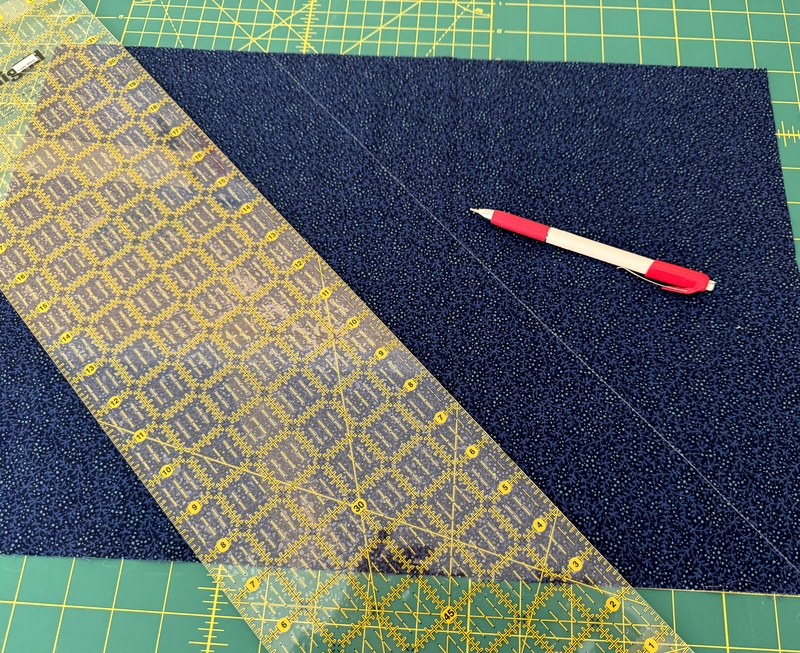
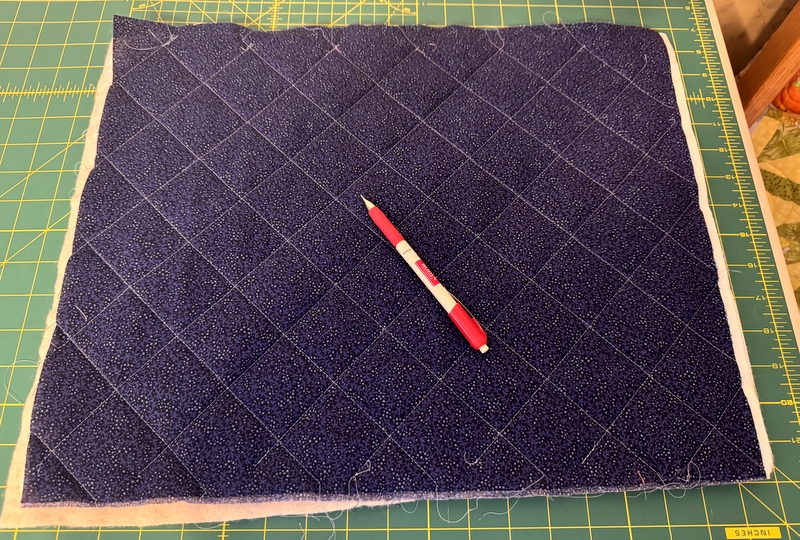
First I marked the top fabric with a 45 degree line following the diagonal mark on my cutting mat:
 My favorite marking tool for dark fabrics is this Bohin mechanical chalk pencil, which gives such a nice thin line.
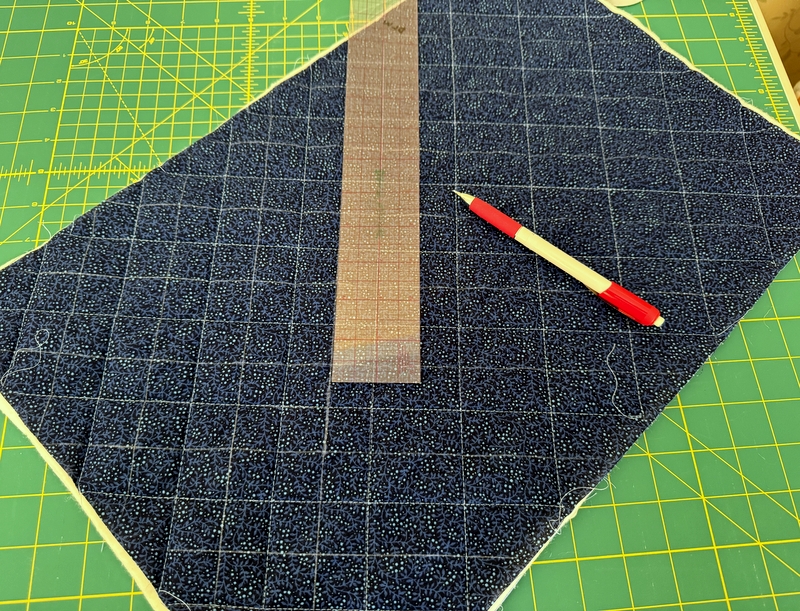
Then I used a 2″ wide clear plastic ruler to mark the rest of the lines in 2″ increments going in the same direction:
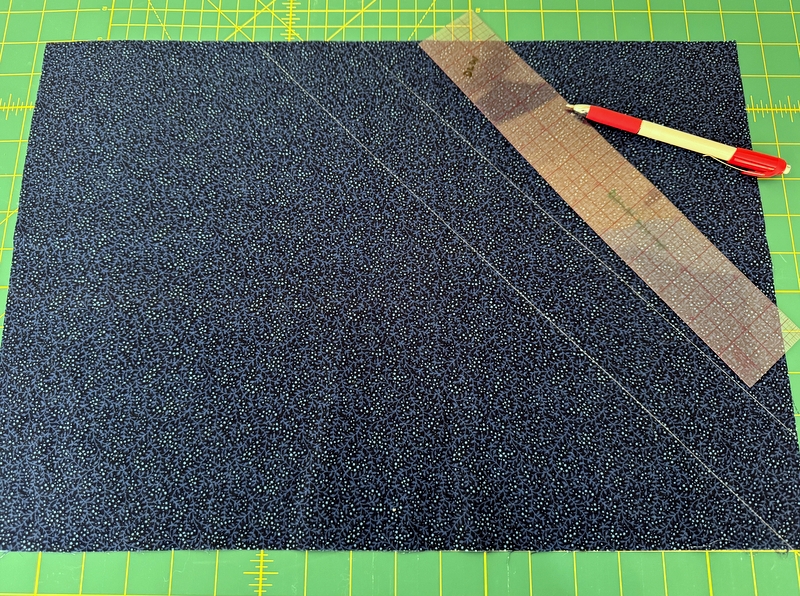 I repeated the marking with lines going in the other direction:
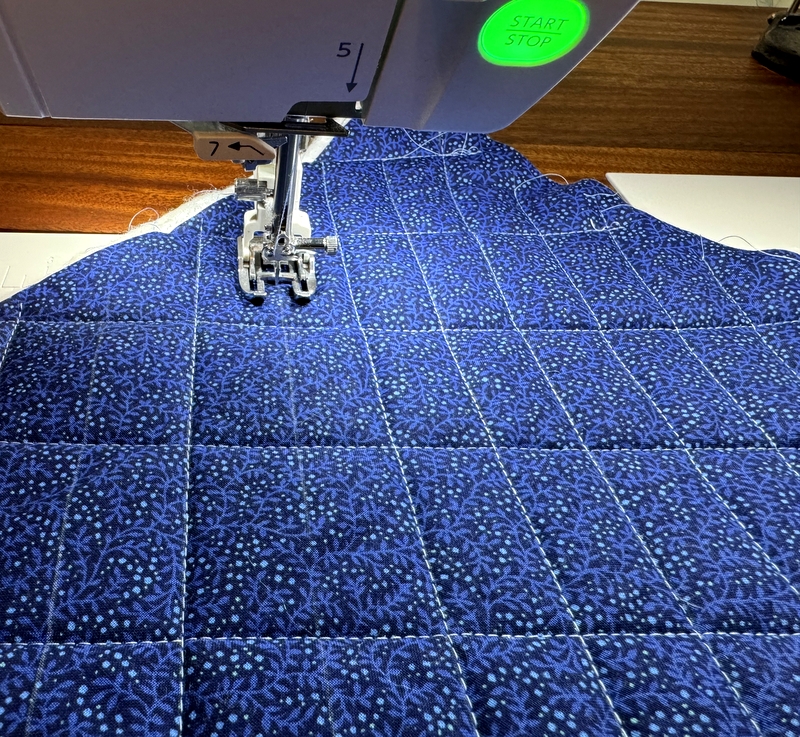
After lining up my four layers — top, 100% cotton batting, Insul-bright (an insulated heat-resistant batting), and lining — I quilted all of the lines in one direction and then all the lines in the other direction:
 I chose a medium light blue thread so the quilting would stand out. By the way, I didn’t bother to pin the layers. I simply stitched a line (starting with one of the longest ones) and smoothed the bottom layer if it needed it before stitching the next line.
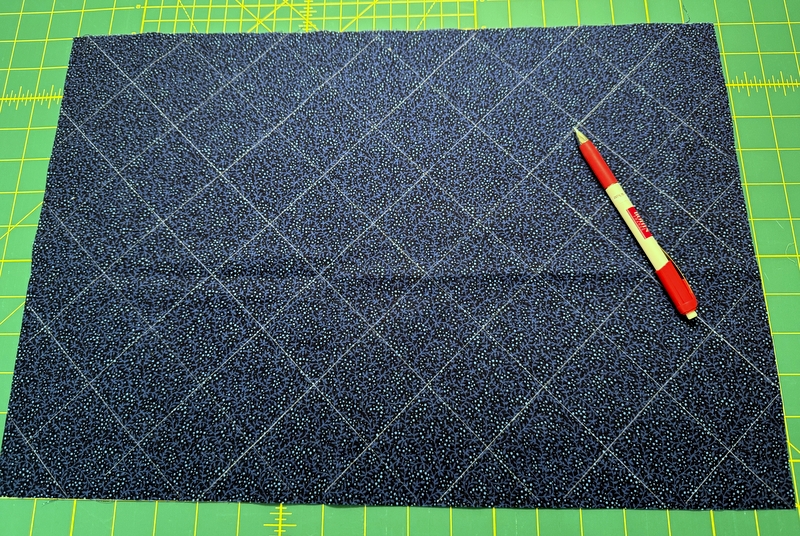
Next it was time to mark between the stitched line to create the 1″ grid. I could probably have eyeballed the space between the stitched lines but my obsessive-compulsive gene kicked in:
 In any case, it didn’t take much time to mark the lines and move on to sewing them.
 My open-toed walking foot was essential for this project. You really need to be able to see the needle going in and out of the fabric.
A close-up of both sides quilted:

The oven mitt partially sewn together . . .
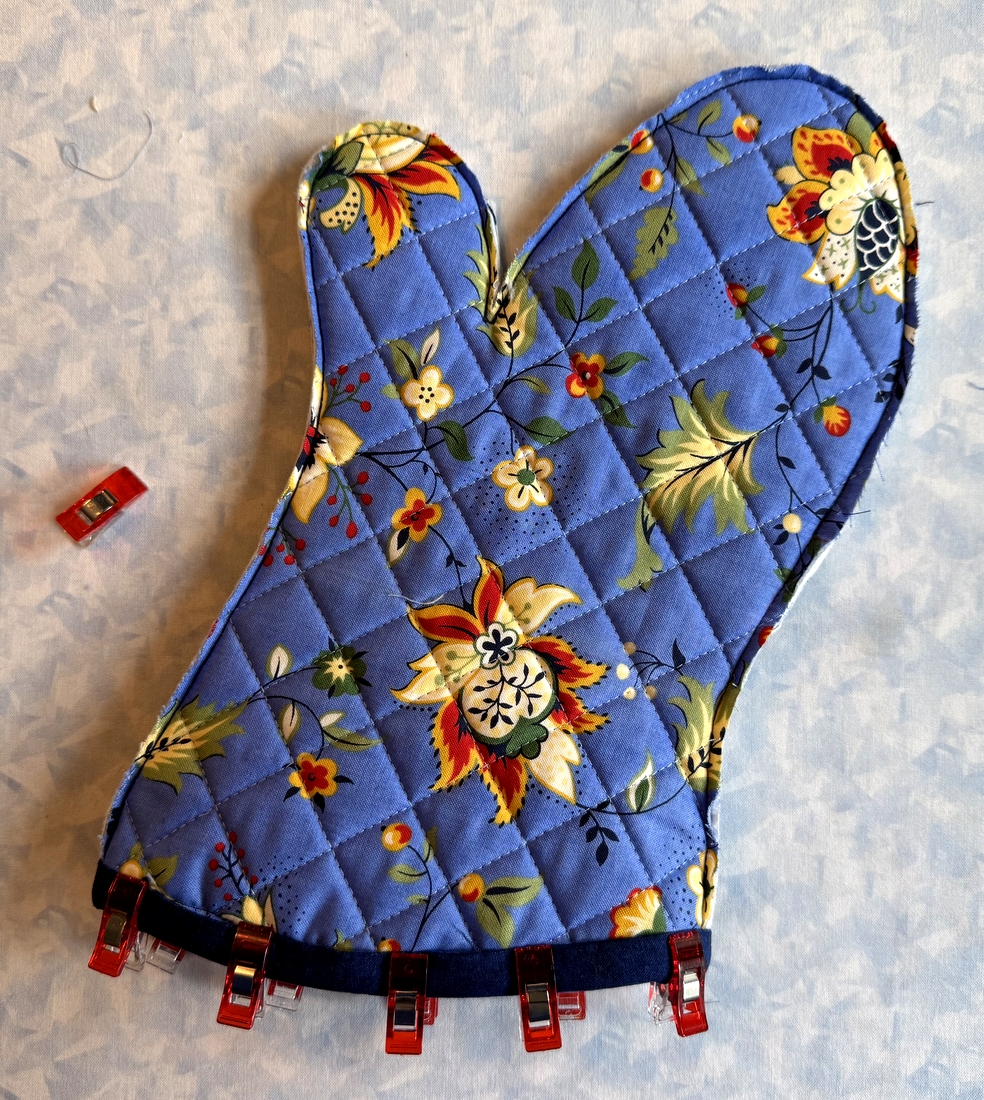
 . . . and now with the contrast binding at the cuff edge applied and ready to tack down:
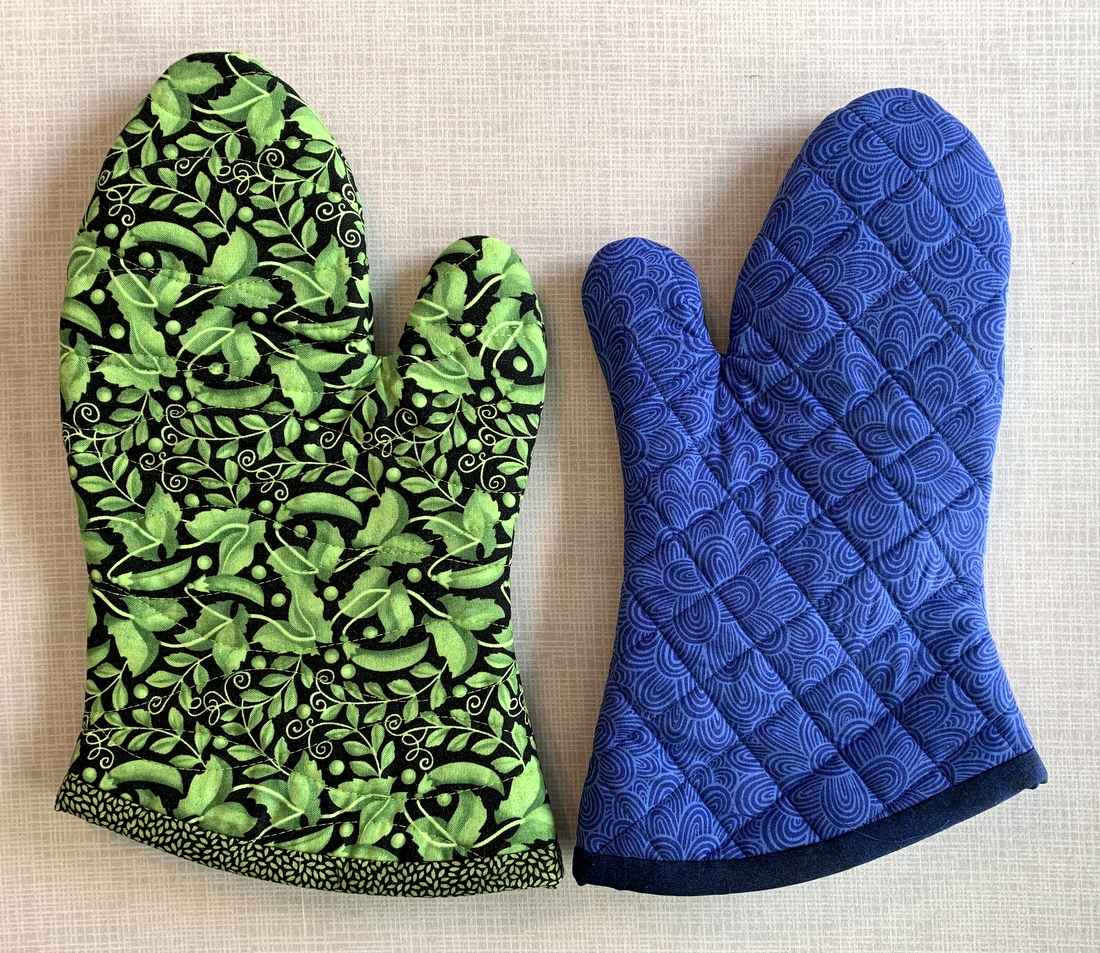
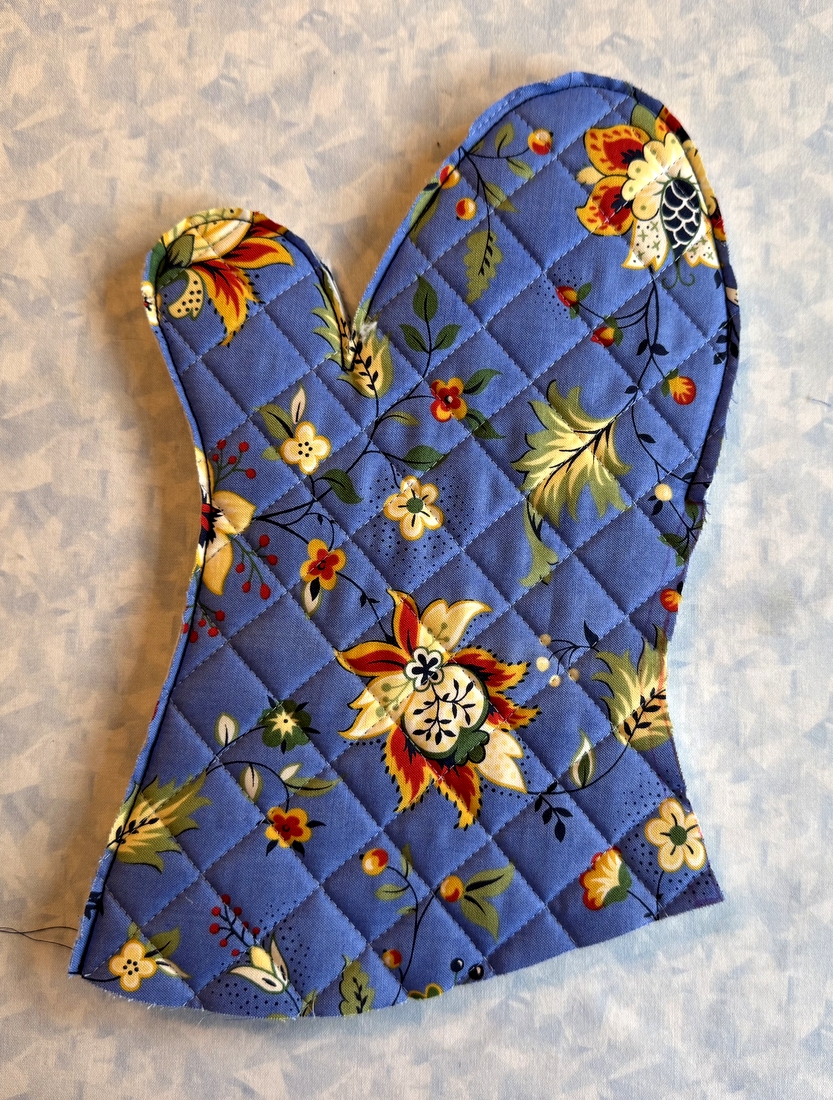
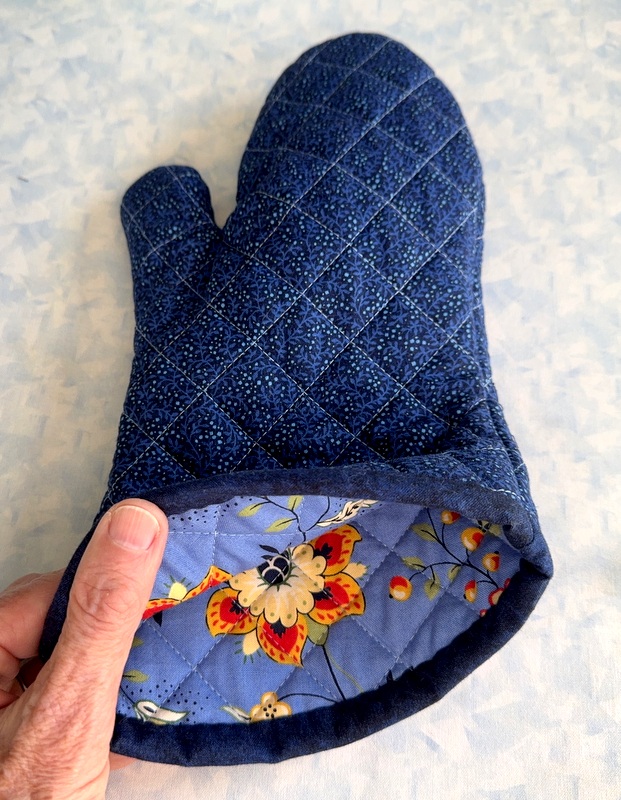
 Here’s the finished mitt, with a peek inside to see the lovely lining:
Ready to make a pair? The links below will take you to my oven mitt tutorial, broken into three parts. The first part (the Prequel) explains why I made my own pattern and how to make one that fits your own hand.
The second one (Part 1) covers fabric requirements, instructions for downloading and printing the pattern, assembling the layers, and quilting the resulting “quilt sandwich.”
The third one (Part 2) covers the sewing of the mitt and contrasting band around the cuff edge as well as the final step of tacking the band down before turning the mitt right side out.
Here you go:
21, Oven Mitts that Fit: Prequel to the Tutorial (April 13, 2021)
21, Oven Mitt Tutorial from First Light Designs, Part 1 (April 18, 2021)
21, Oven Mitt Tutorial from First Light Designs, Part 2 (April 19, 2021)
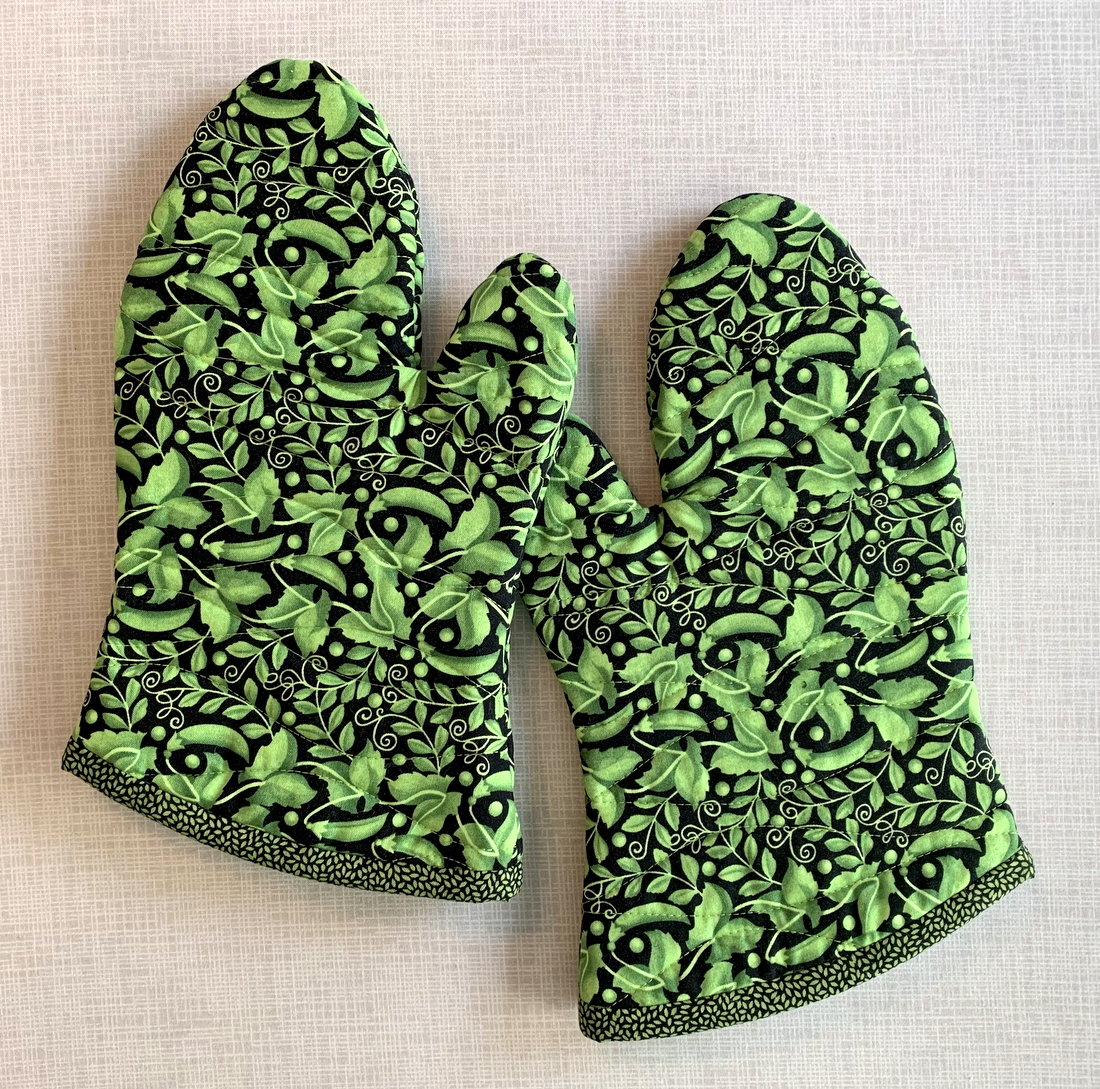
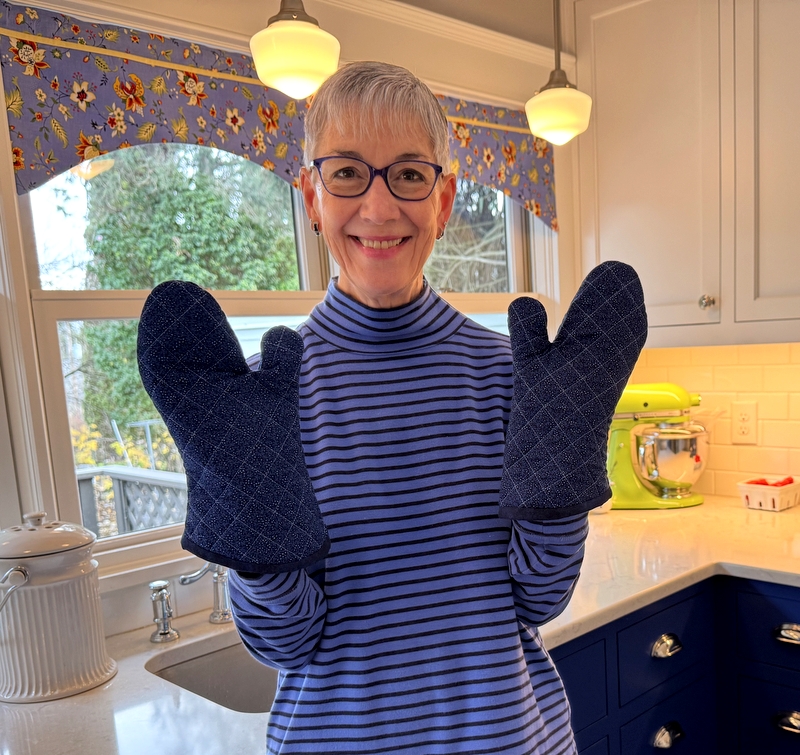
Here I am again with my new blue-on-blue oven mitts. And the blue-on-blue top I’m wearing? Total coincidence!

 Tomorrow is a big day for First Light Designs. Ten years ago — on May 2, 2012 — my very first blog post was published. (You can