Addendum: Hanging Quilts with 3M Command Strips
After seeing my last post on using 3M Command Strips to hang quilts, one of my readers asked an excellent question: “Can you successfully remove the strip from the back of the quilt?”
The answer is “yes” — but there’s a surprise involved. When you take a quilt off the wall that was hung with Command Strips, the strips stay on the wall — not the quilt! And there is no residue whatsoever on the back of the quilt.
I discovered something else quite by accident: if you’re planning to take one quilt down and put up another one of the same or slightly wider width, you can reuse the strips that are already attached to the wall. Serendipity!
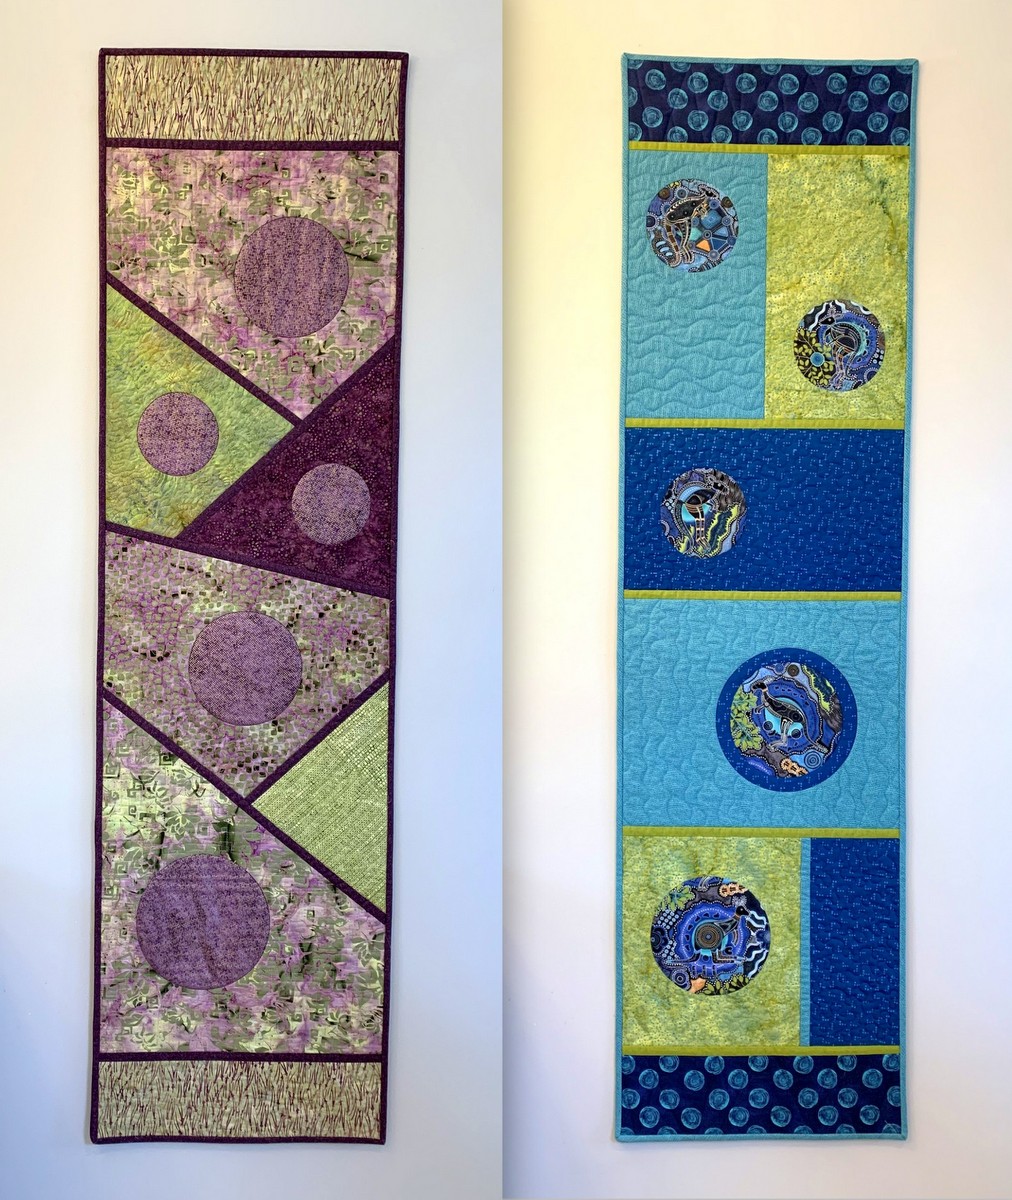
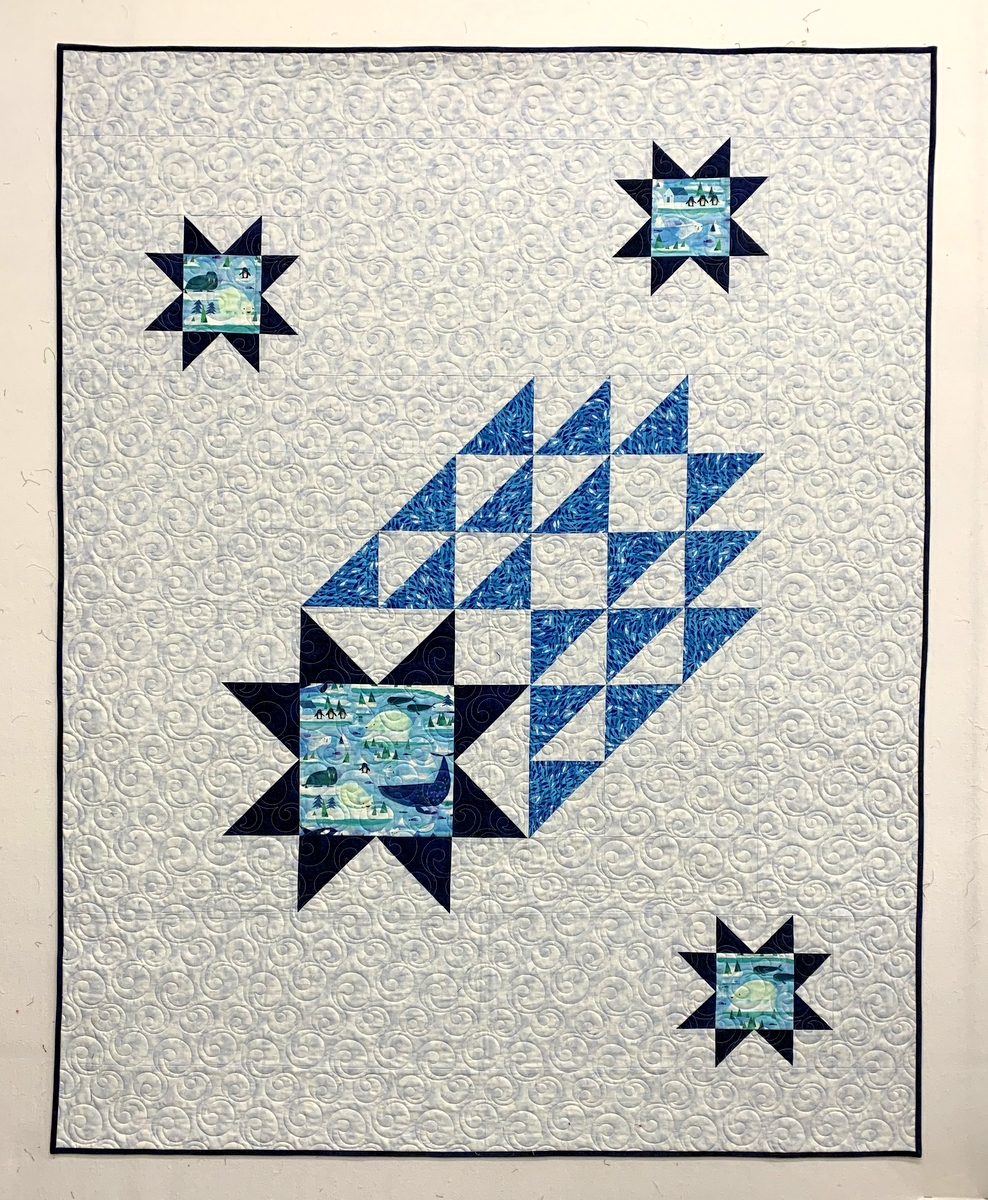
On one wall in our main floor bath I took down Uptown Funk (now on loan to a quilt guild for an upcoming workshop) . . .
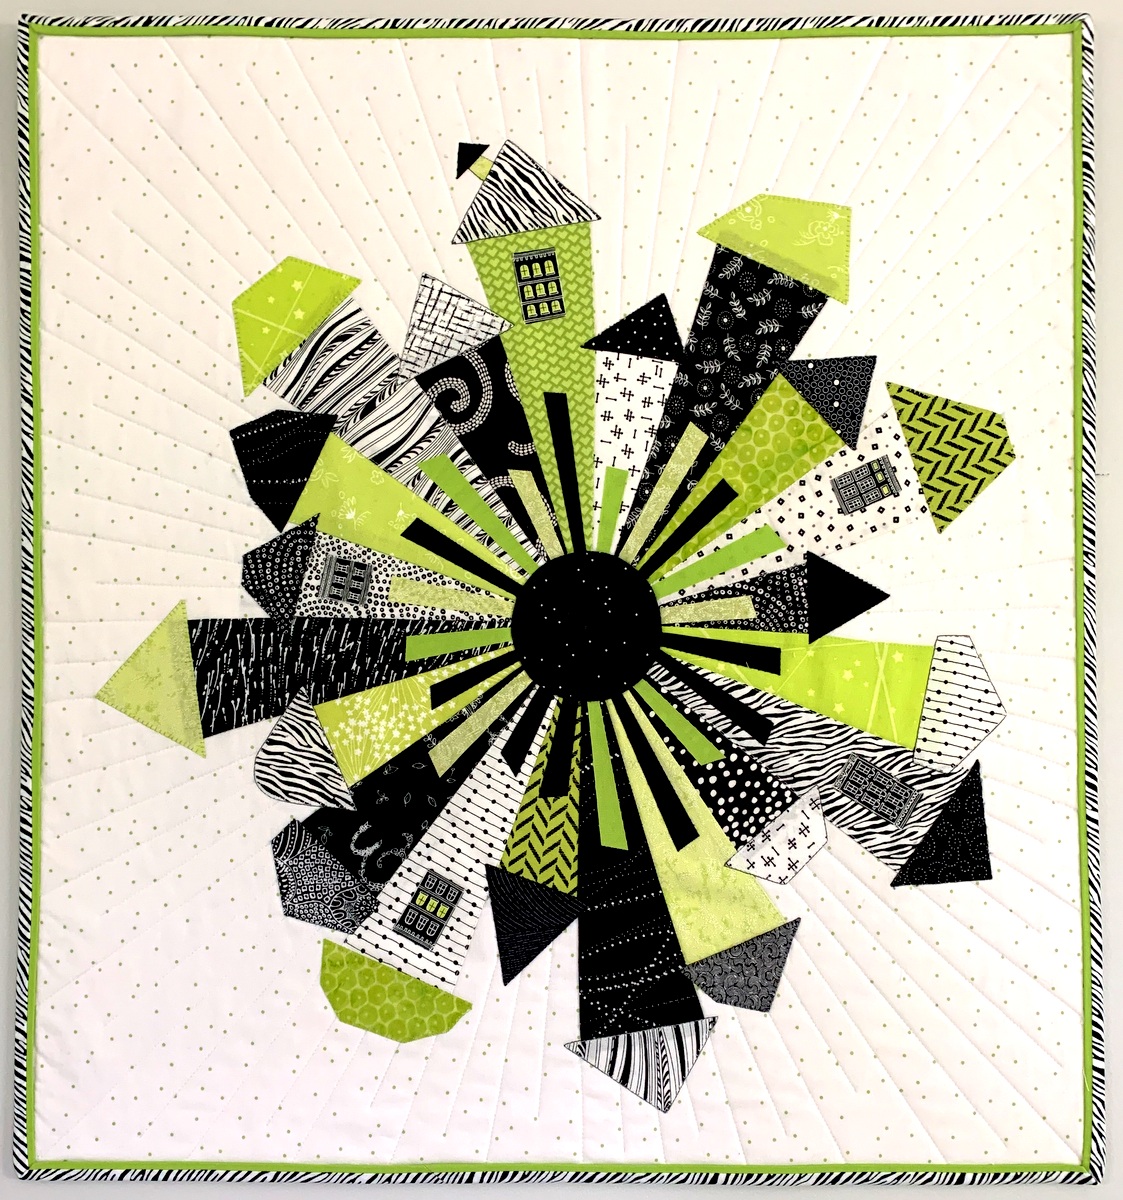
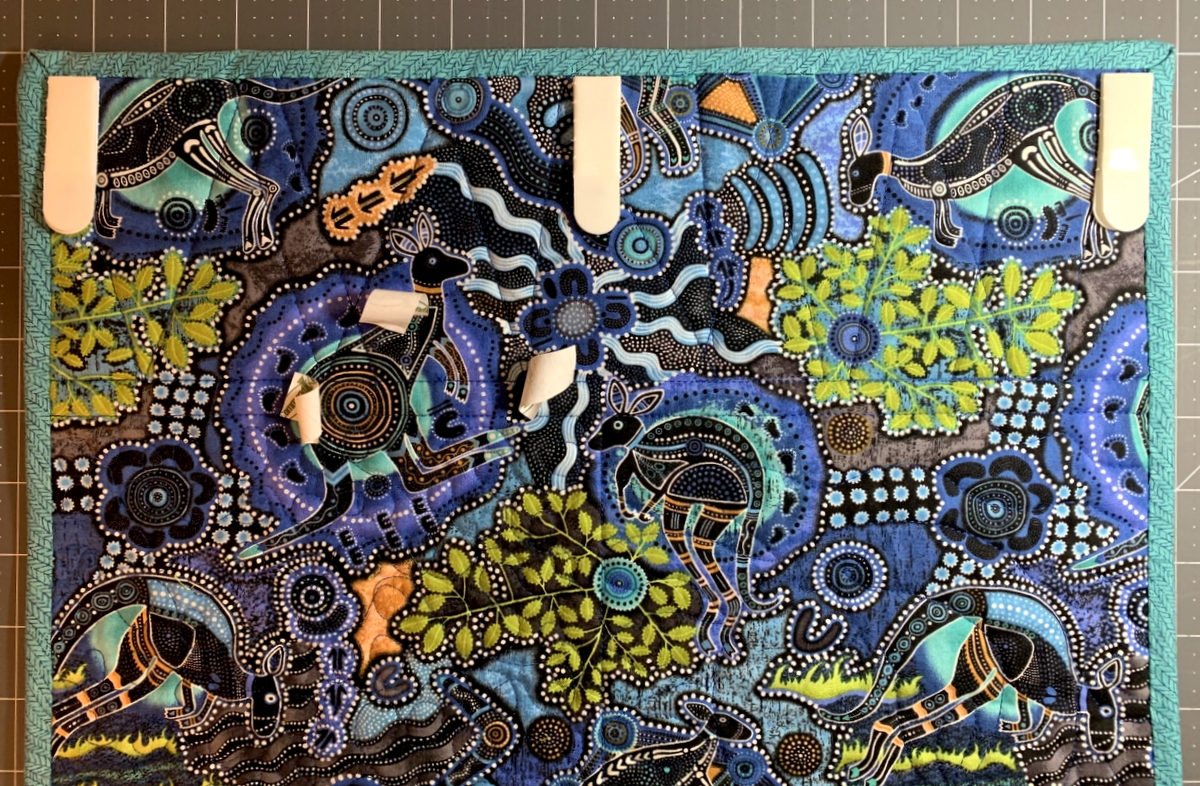
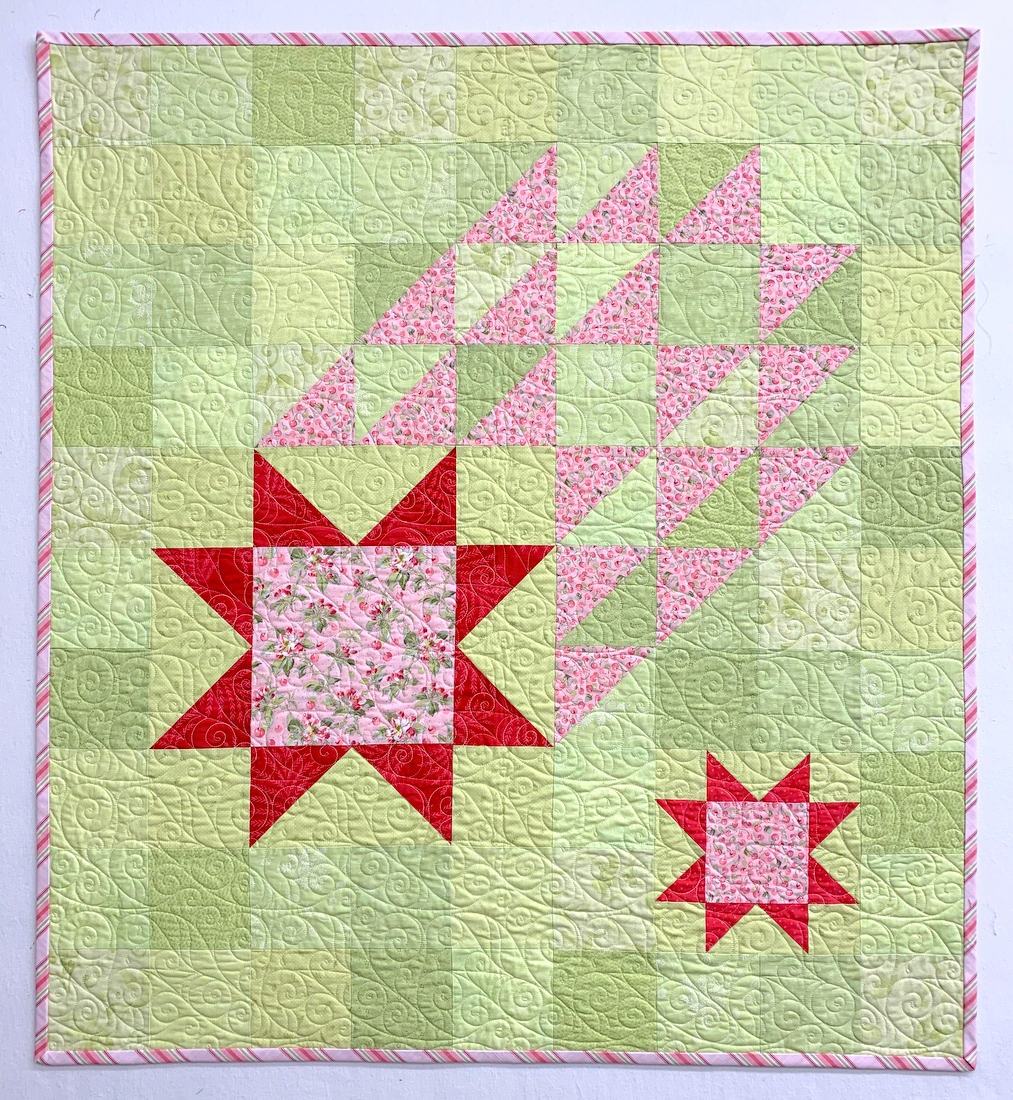
. . . in order to hang Loose Leaf:

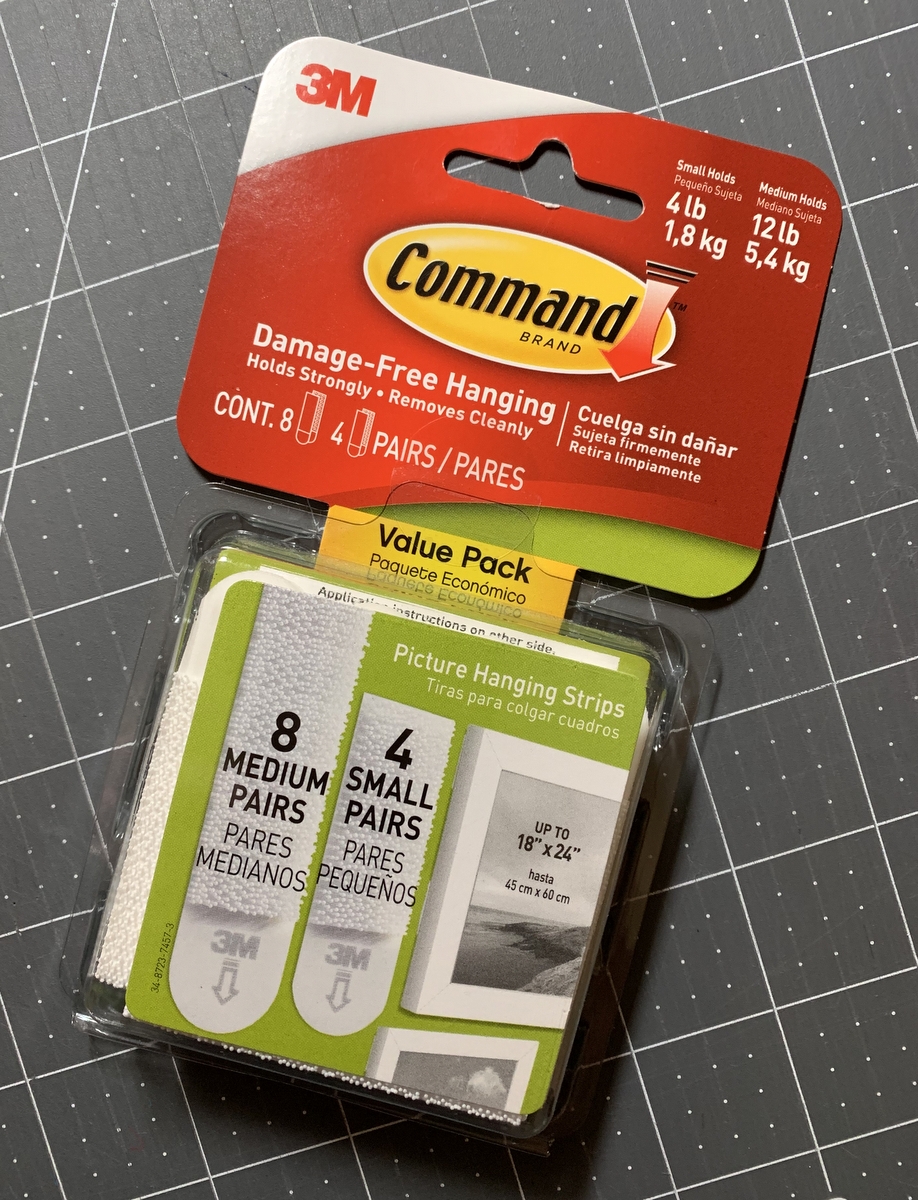
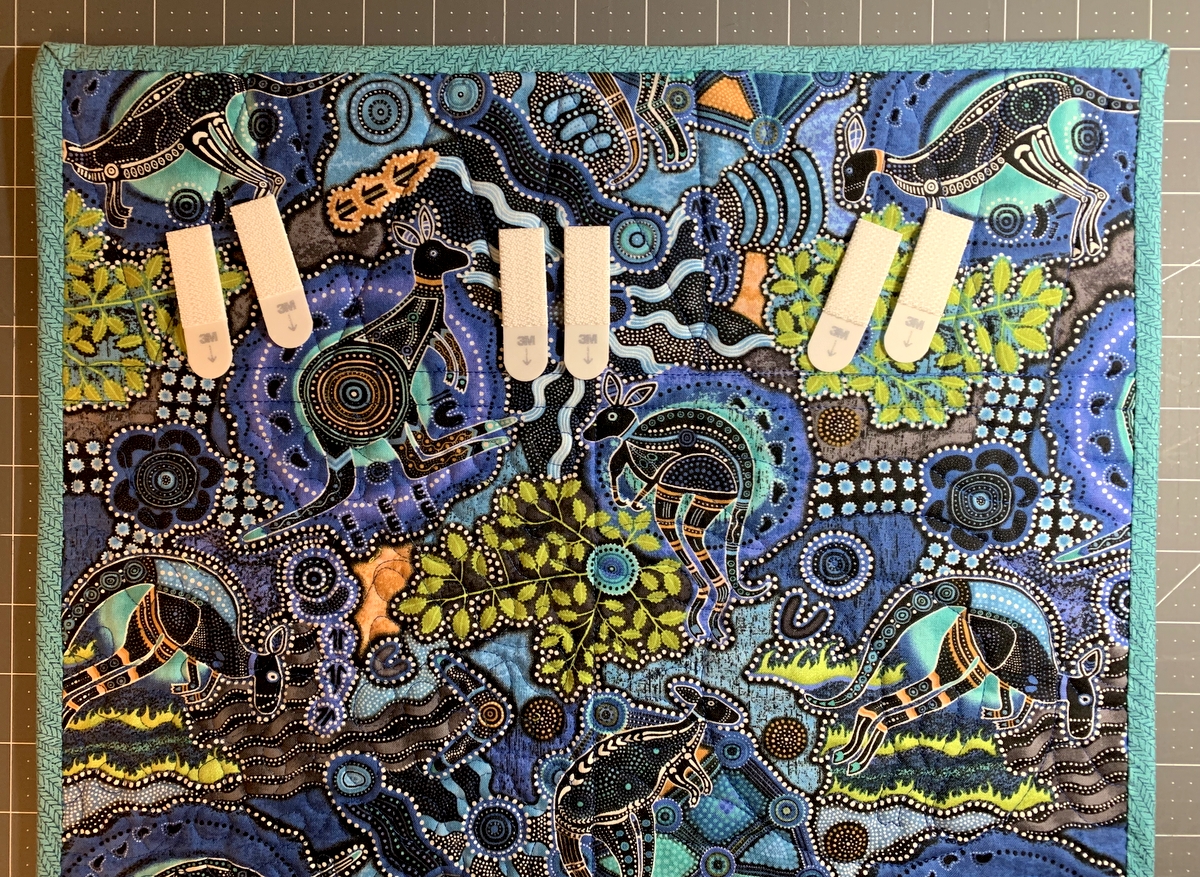
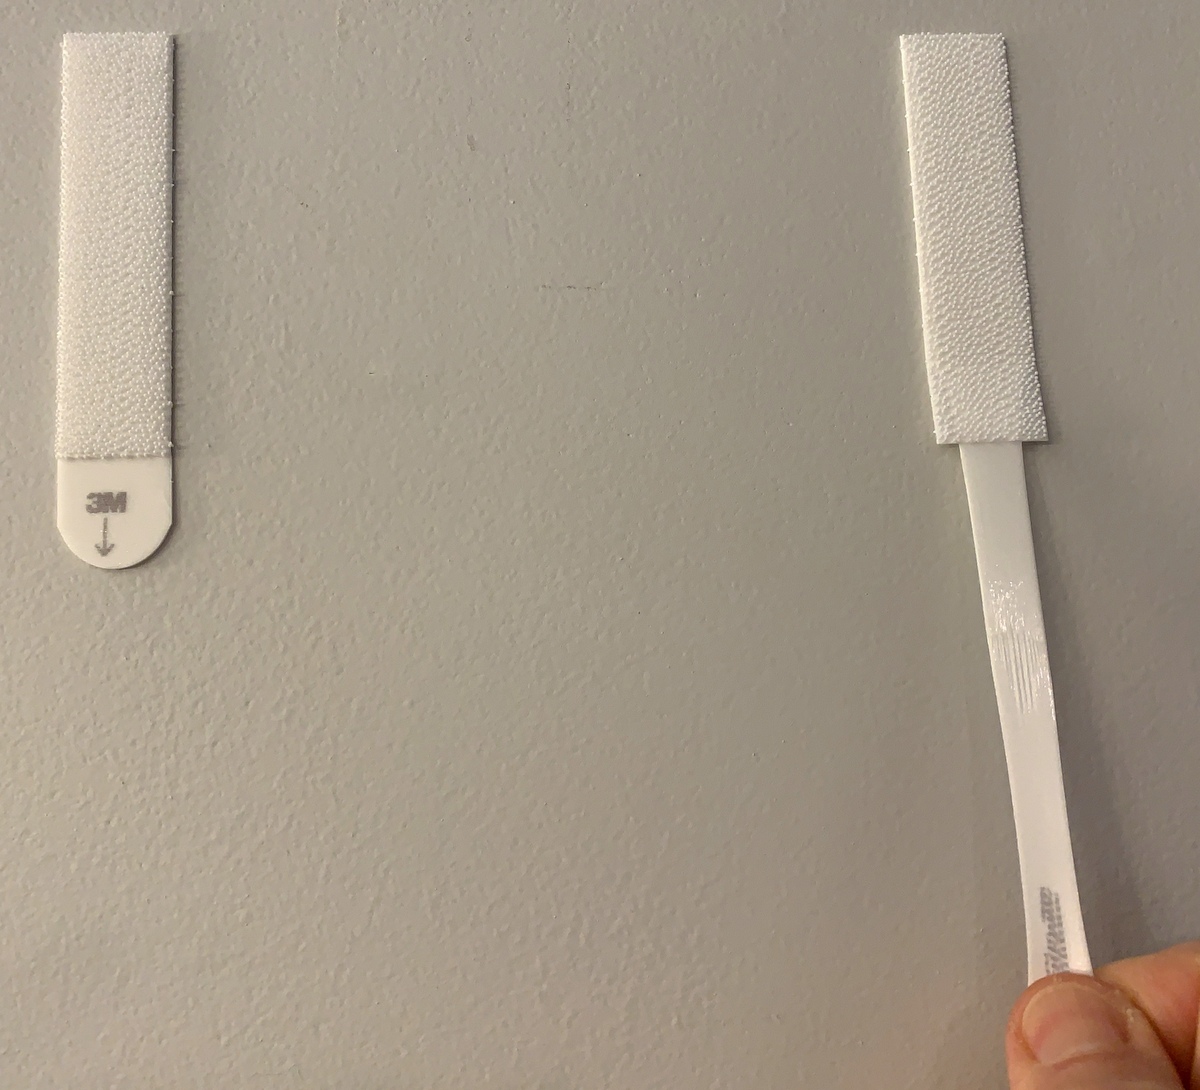
I saw that I had hung Uptown Funk using Medium-size Command Strips, which measure ¾” x 2¾”. All I had to do was separate the top strip from the bottom strip of each pair on the wall. You will remember from my previous post that the strips work in pairs, with the Velcro-like textured sides coming together with an audible click. It’s quite easy to separate them, leaving one half of the pair on the wall with the Velcro-like side exposed:

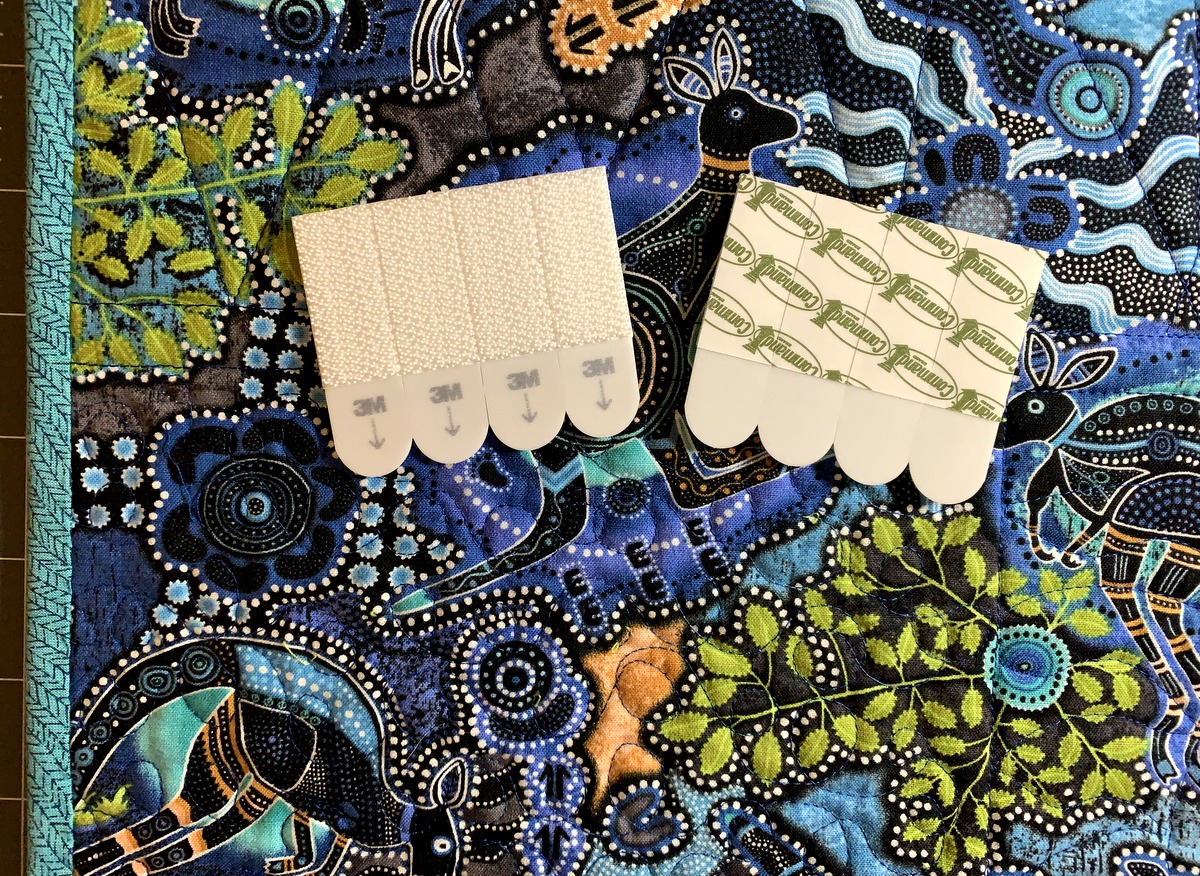
I took three new strips from the package (each strip is half of a pair) . . .
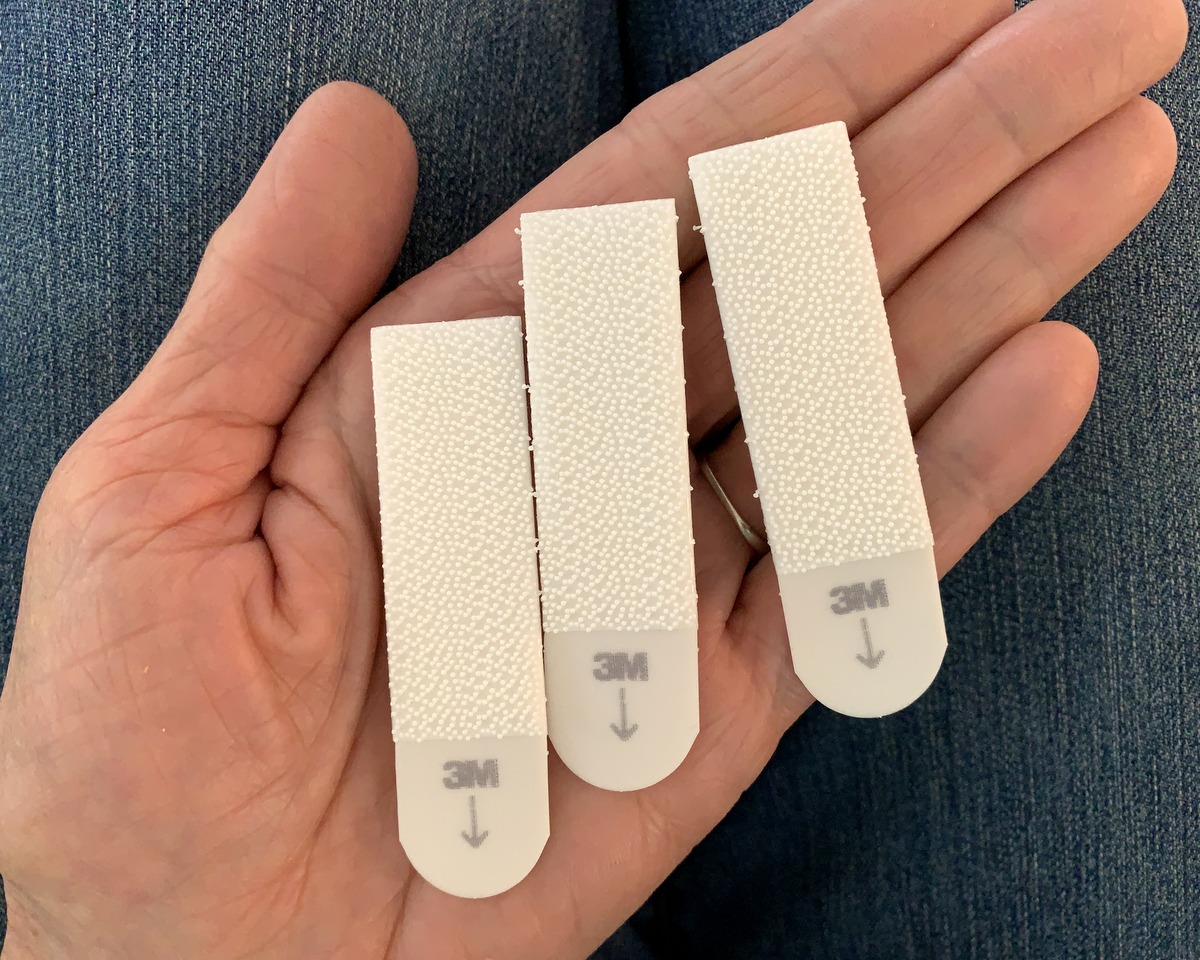
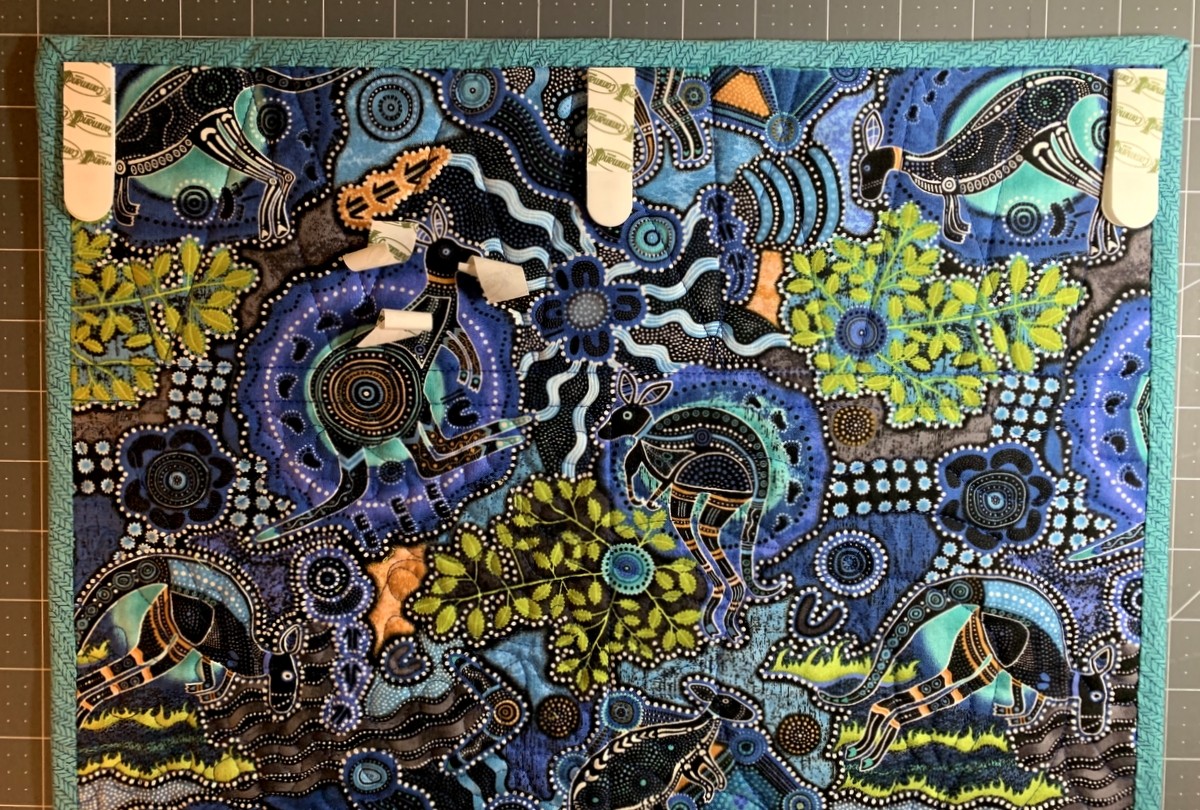
. . . and pressed each Velcro-like side to its mate on the wall. Then I peeled off the paper backing to expose the adhesive and pressed Loose Leaf into place. Easy as pie! It took less than two minutes.
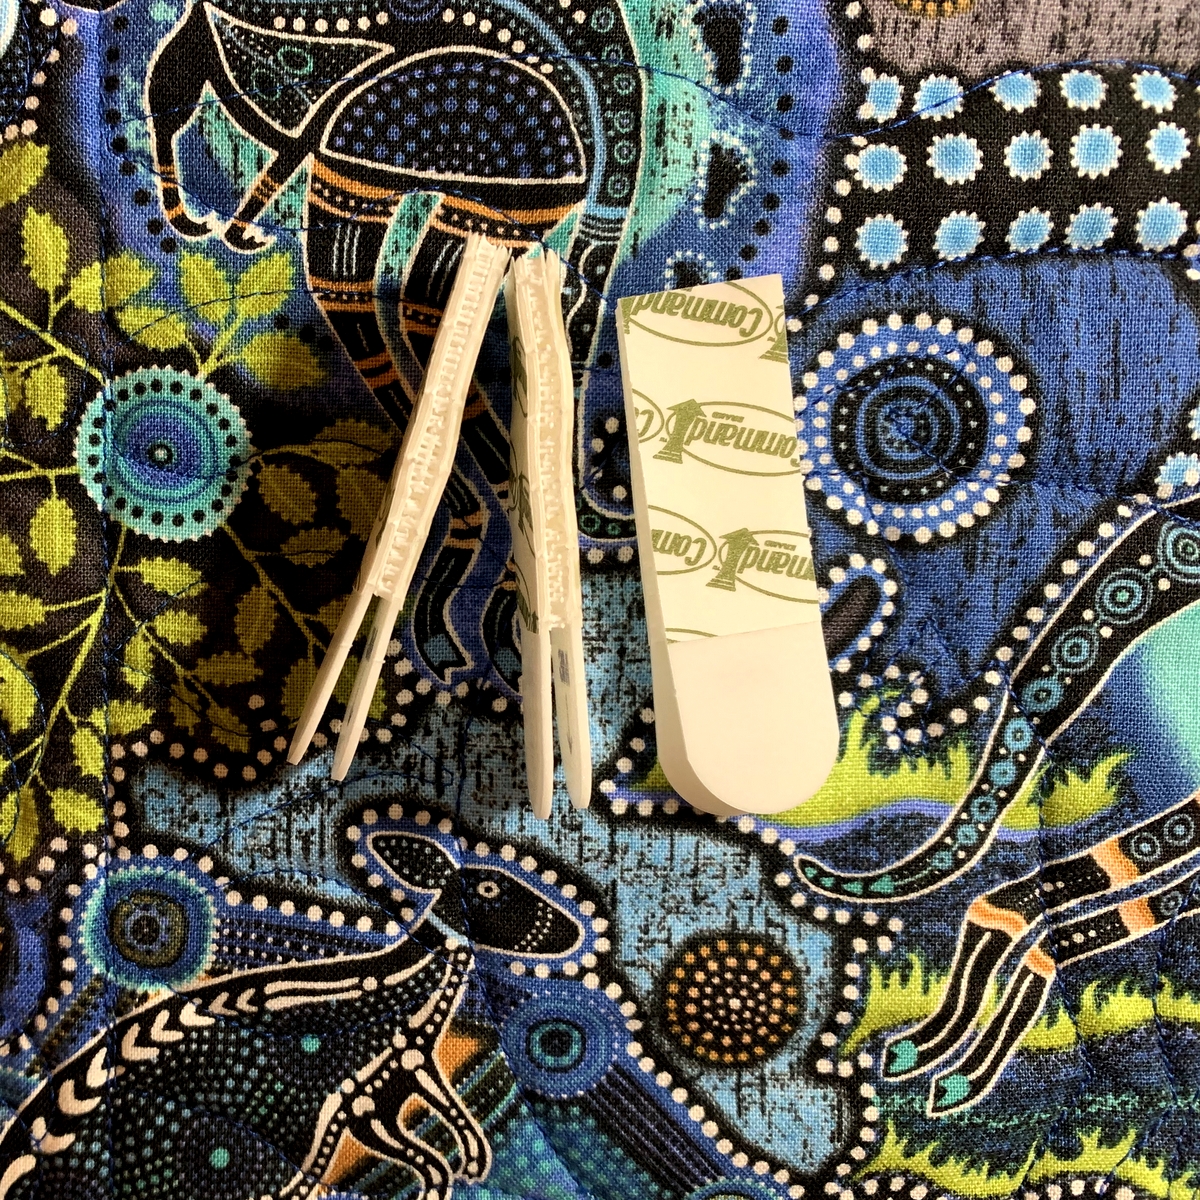
If you’re the least bit apprehensive about attaching adhesive strips to either your wall or your quilt, I have a suggestion. Start with one pair of Command Strips. Remove the paper backing from one strip and attach it to the back of one of your quilts. Remove the paper backing from the other strip and attach it to a wall in an inconspicuous place — perhaps behind a door or a piece of furniture. Leave both strips in place for a week or two. Then remove the strips, remembering to pull straight down and very slowly on the rounded tab . . .
 . . . until the strips completely separate from the fabric and the wall.
Pulling slowly and straight down on the tab is what loosens the bond between the adhesive and whatever it is attached to (fabric or wall). If you pull the tab out from the wall instead of straight down, you run the risk of pulling part of the wall or paper off with the tab. (This has never happened to me, by the way). If you pull too fast, the strip will snap you like a rubber band when it comes off. (This has happened to me but it won’t ever again, I assure you.)
I predict that trying this experiment will give you the confidence to hang your own quilts with Command Strips.