Monthly Archives: June 2014

New Pattern: Season to Taste

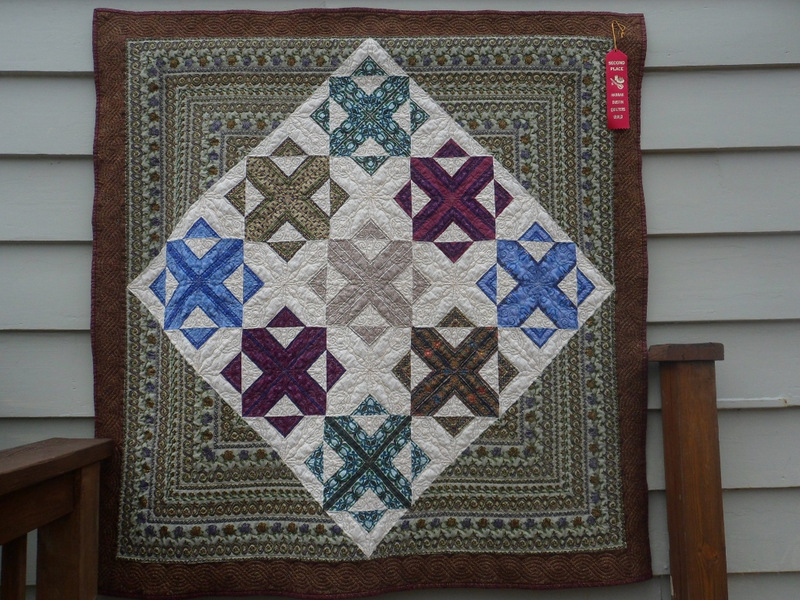
Last week I wrapped up Part 2 of a kaleidoscope table runner class at the Pine Needle Quilt Shop. The class sprang from two table runners I had made earlier this year — same design but totally different outcomes because of the fabric choices. I wrote about them in this post in March.

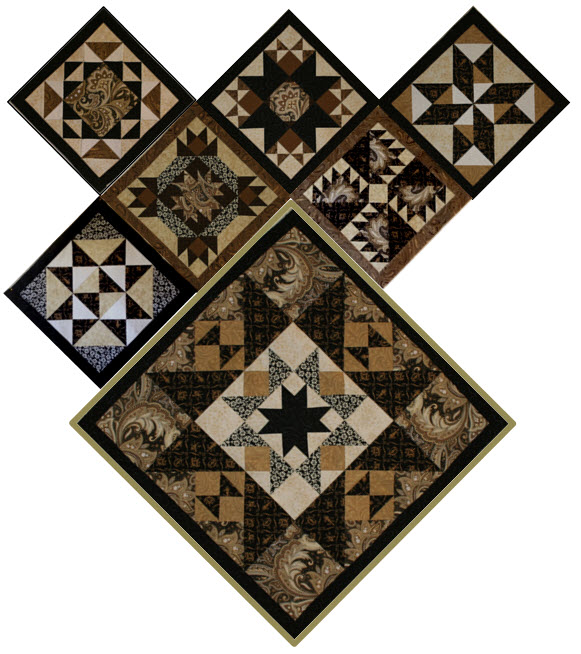
Both runners appear on the cover of my latest pattern, Season to Taste:

Season to Taste pattern cover july 2014-page-002
Dawn’s newest pattern

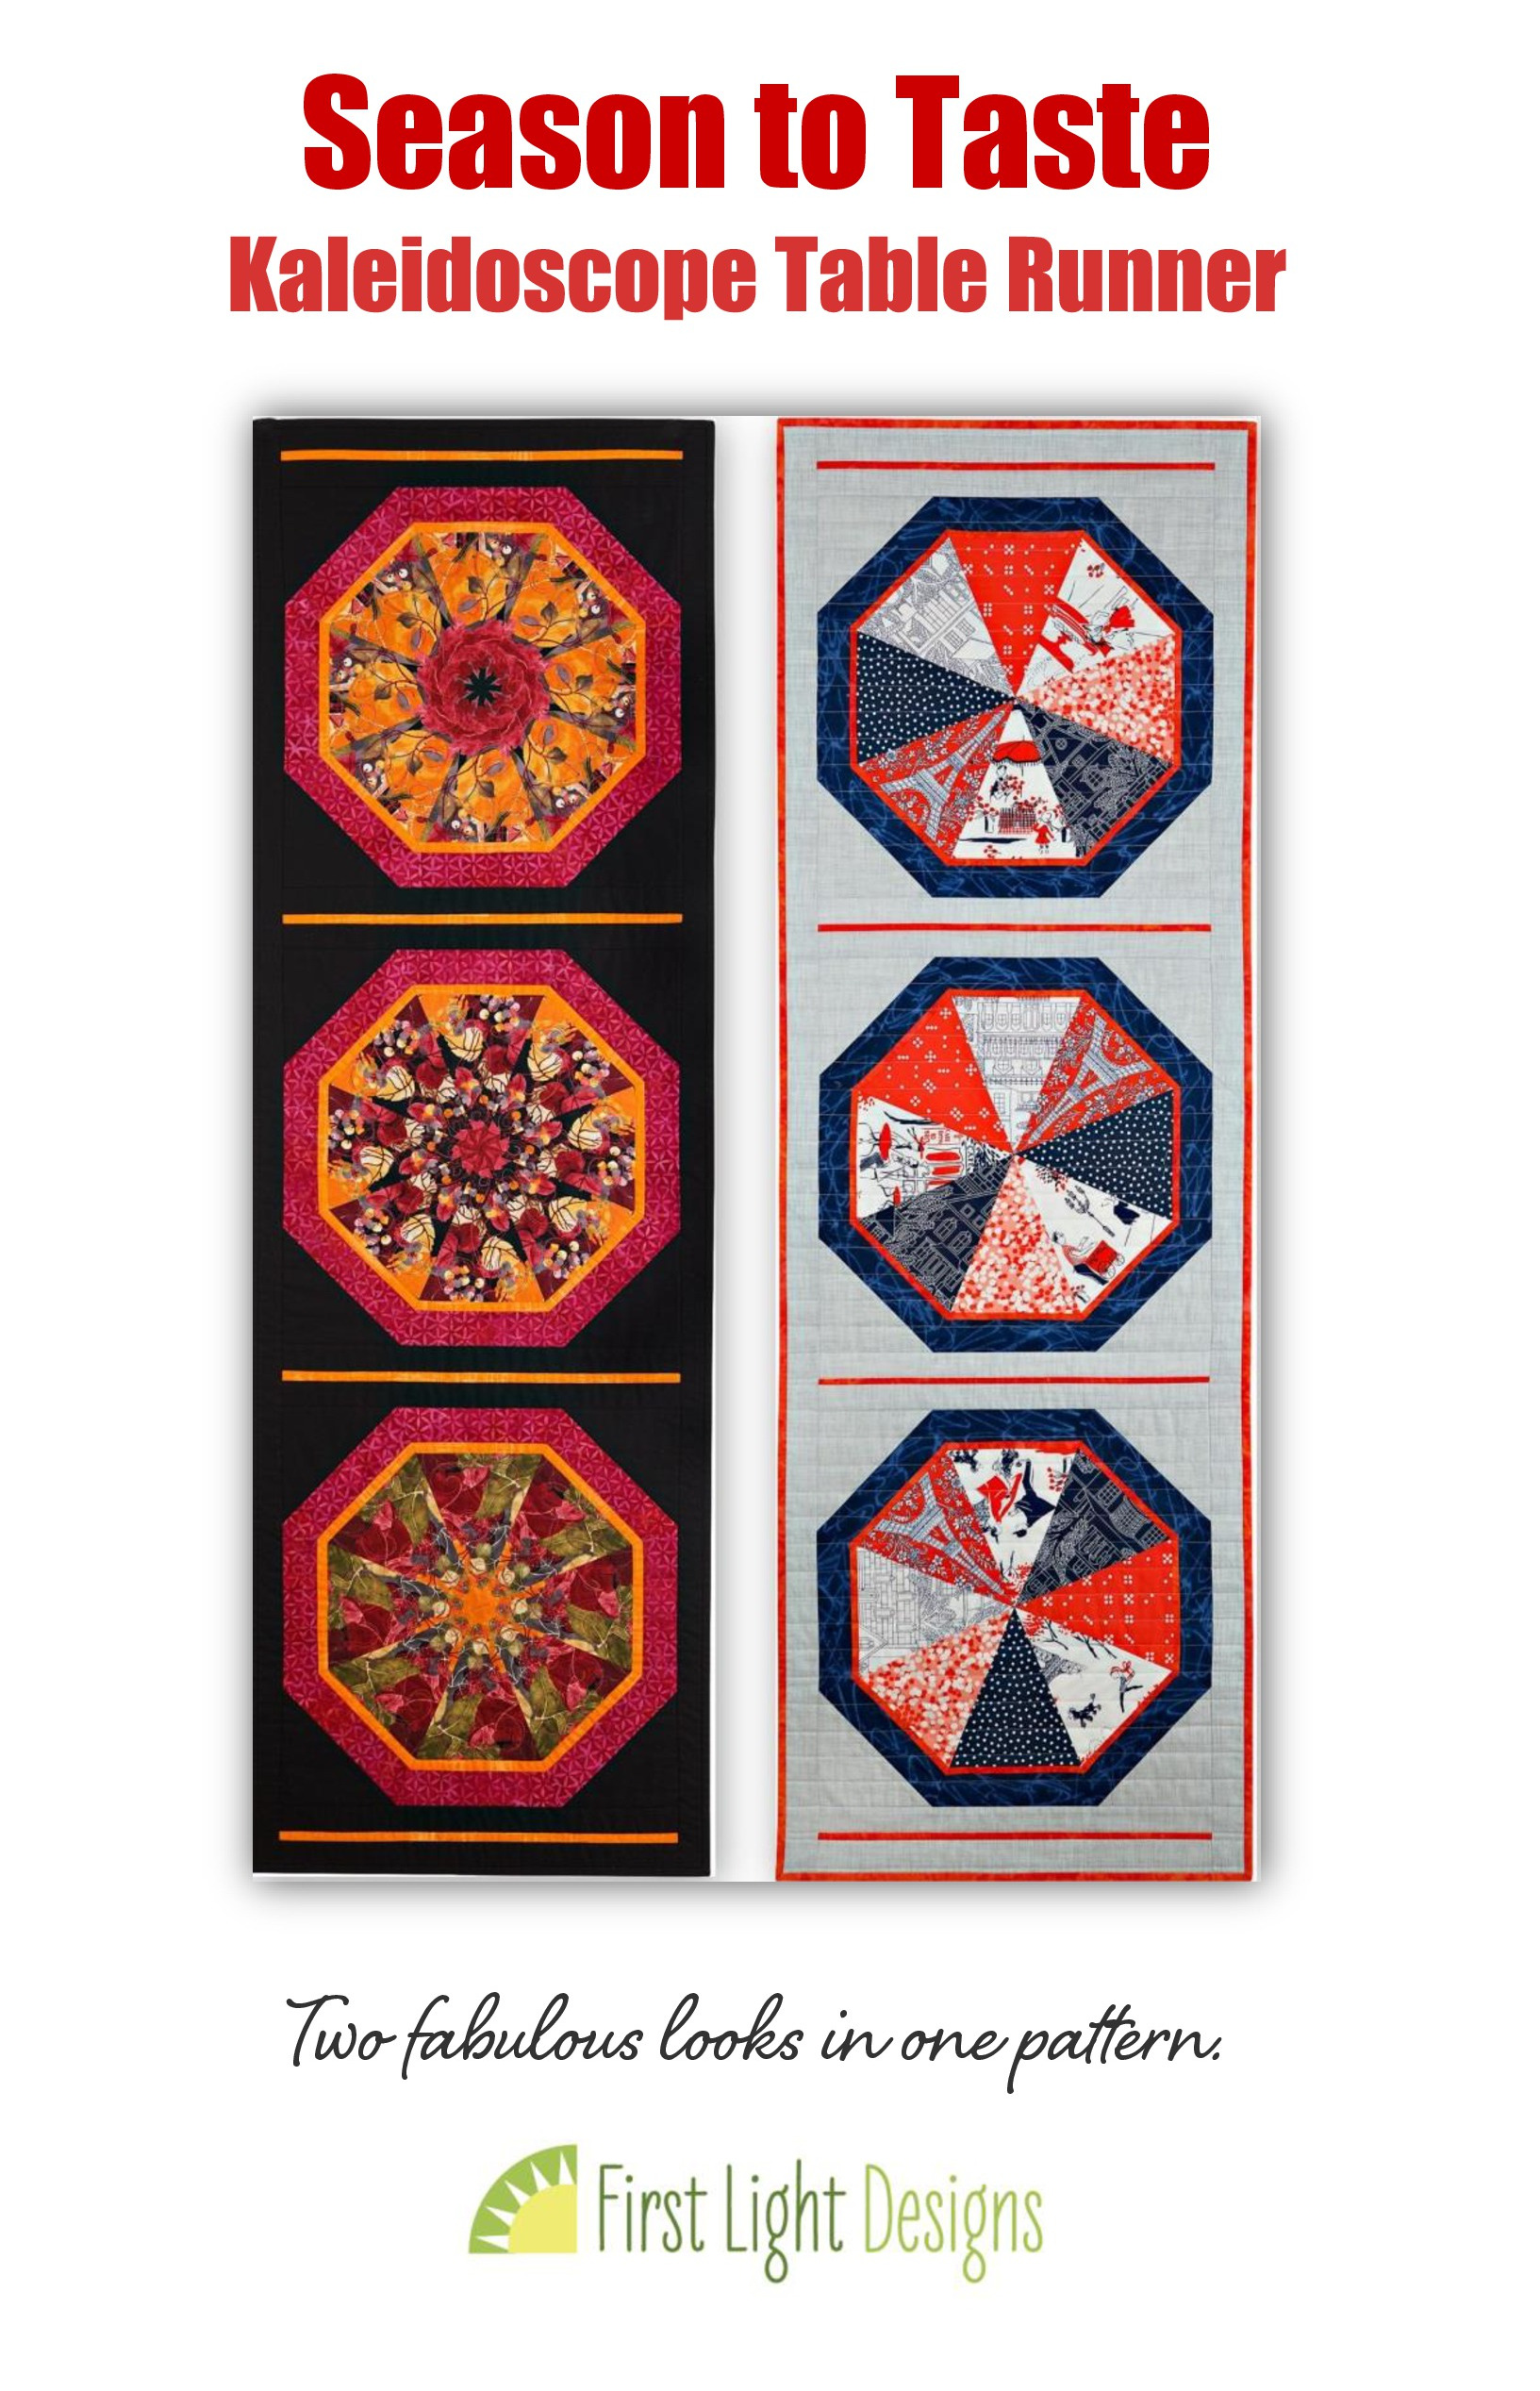
That’s Autumn Reflections on the left and a springtime version, Under Paris Skies, on the right. I’m thinking about making a summer and winter version, which will give me a quartet of seasonal table runners made from the same pattern, each very different from one another.

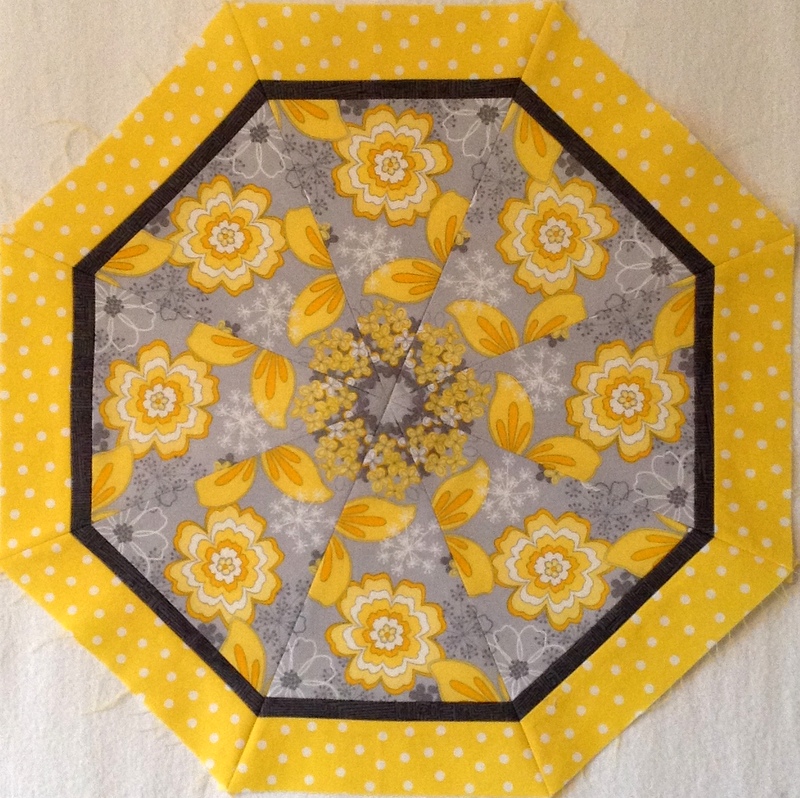
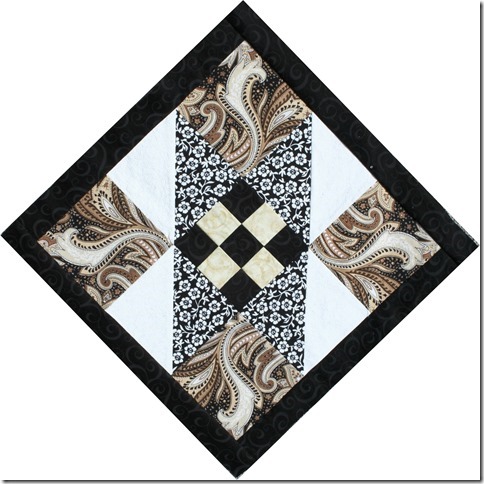
My summer version may already be in the works. For the kaleido block I was demonstrating in class, I used this floral fabric from the Gray Matters collection by Jacqueline Savage Mcfee for Camelot Cottons:

floral gray matters camelot cottons
Gray Matters, Camelot Cottons

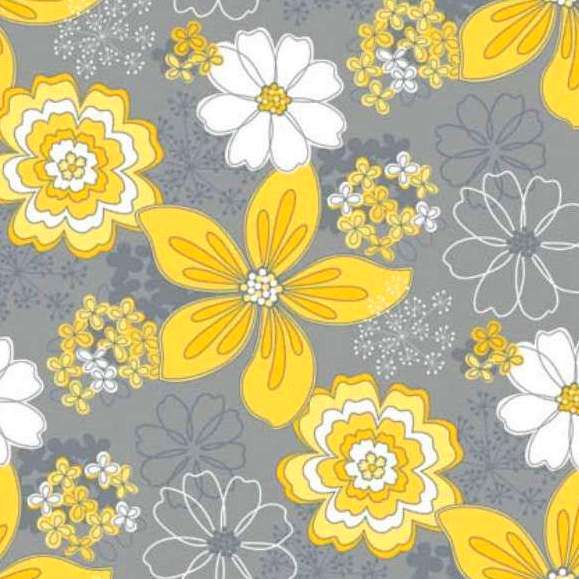
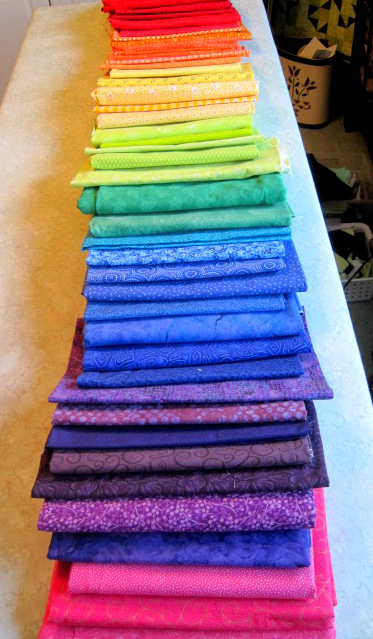
Yes, there’s a lot of gray in this piece of fabric but it’s offset by a sunny yellow and bright gold. The white brightens it up even more. I bought a piece of the floral last year and was so excited when it was reissued this year along with some fabulous companion fabrics. Between the Pine Needle and Hawthorne Threads, I picked up several pieces in the line that will definitely find their way into another quilt.

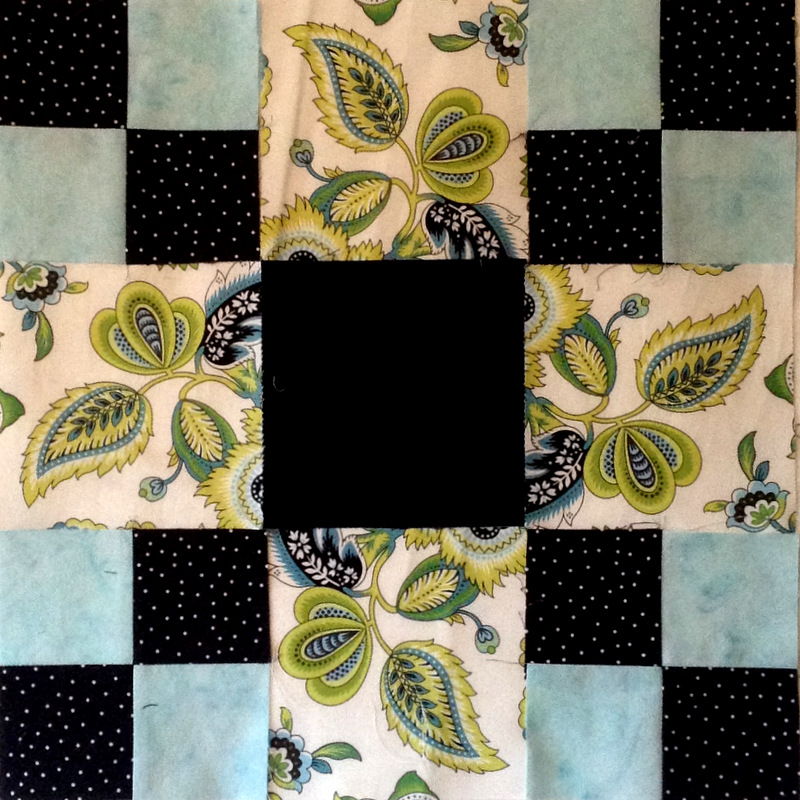
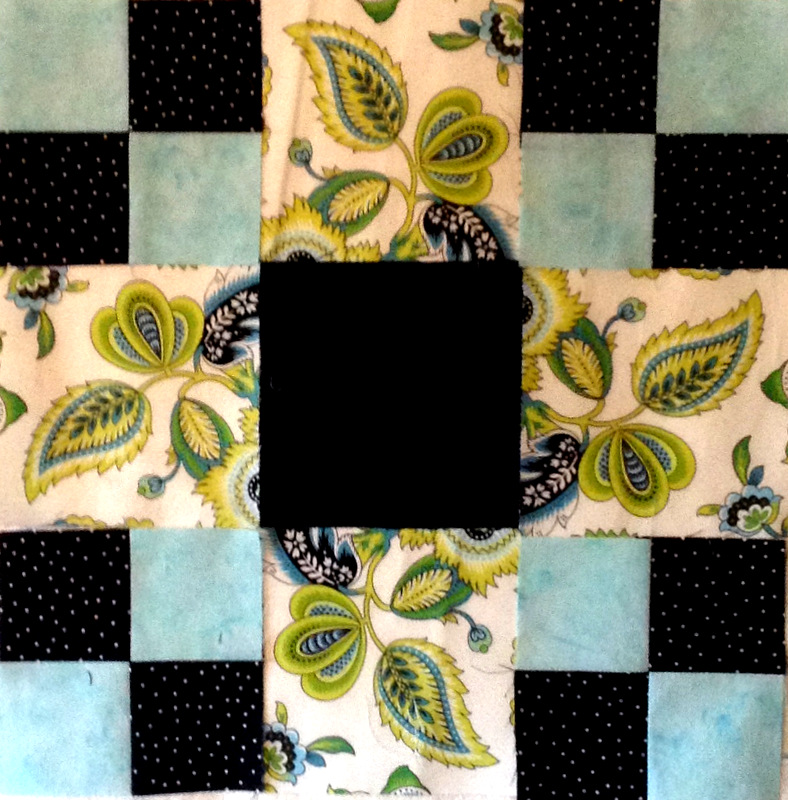
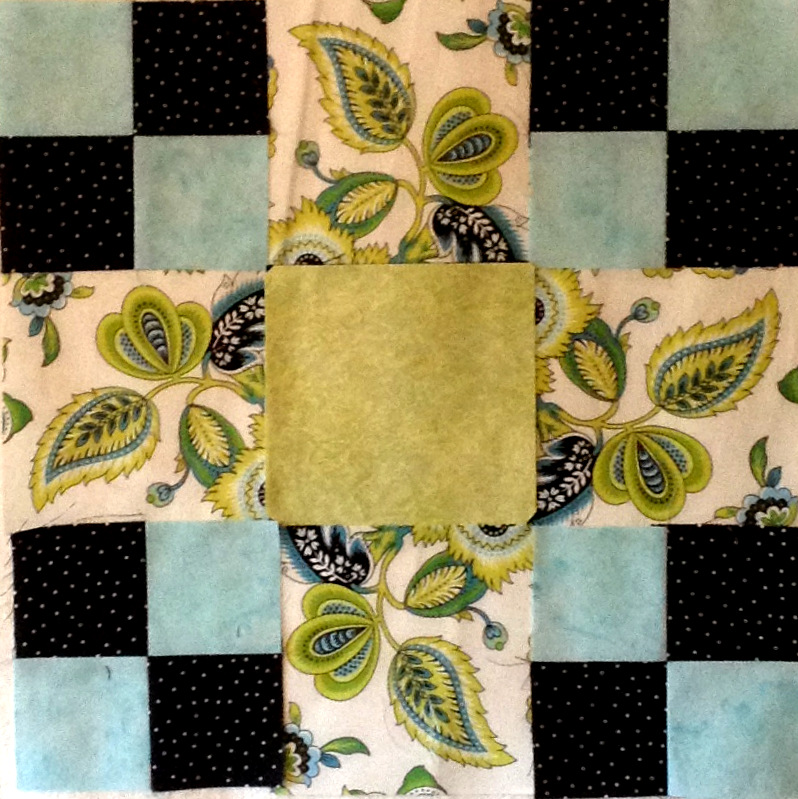
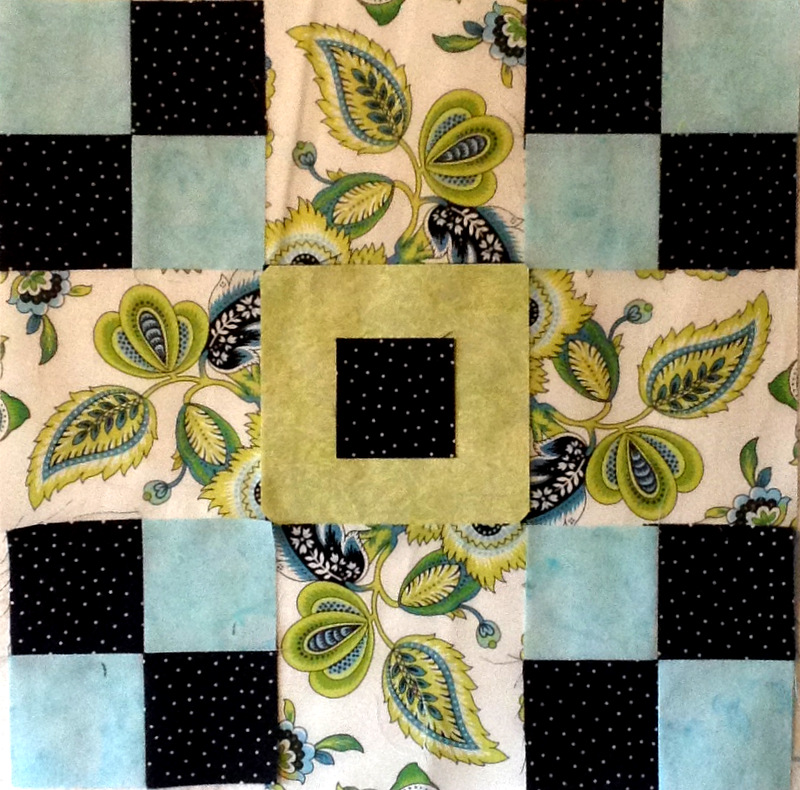
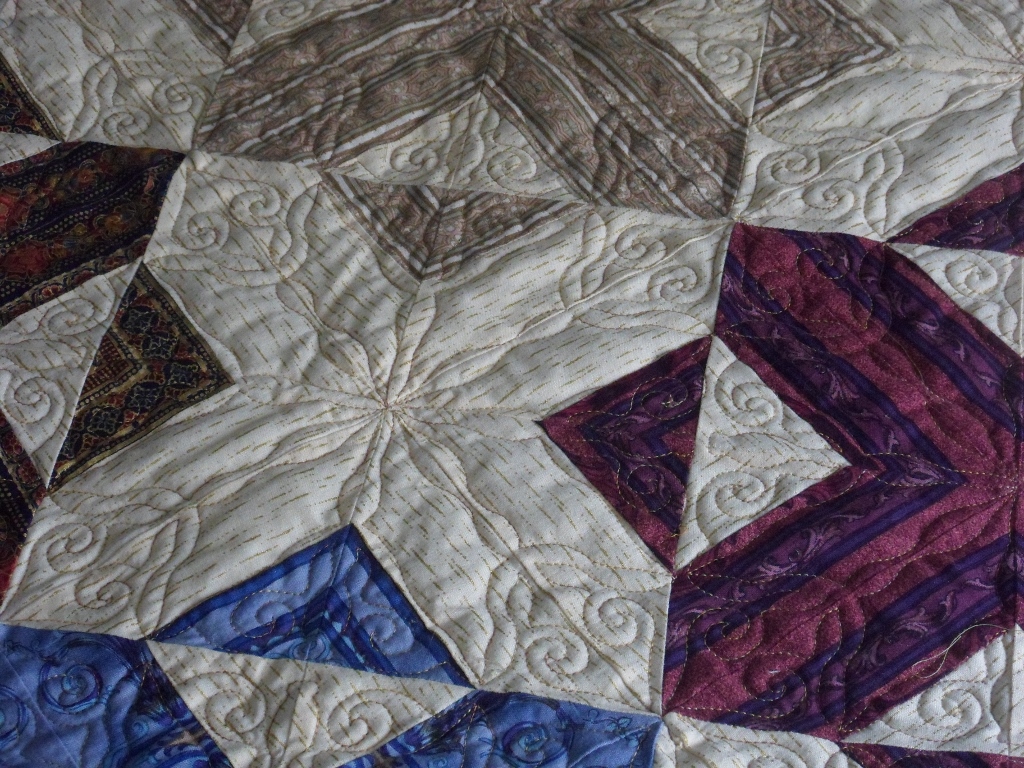
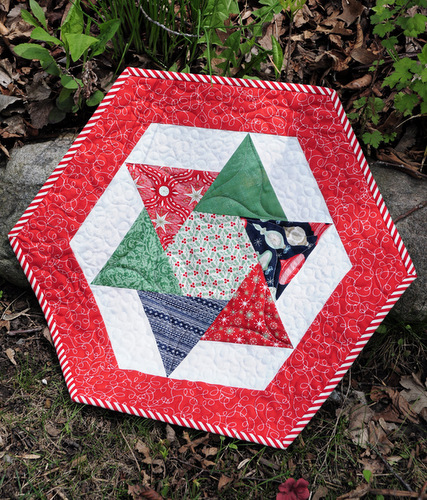
Are you curious to see what this print looks like as a kaleido block? Well, here ’tis:

photo
Dawn’s Sunny Kaleido Block


Posted in kaleidoscope quilts, update | 8 Comments

The Sewing Bs

My two youngest granddaughters, Bonnie (age 14) and Beatrice (age 11), are here for a 10-day visit. This is the third year they have flown to Portland from San Francisco to spend part of their summer vacation with their granny and grandpa, and we are savoring every moment. All too soon, I fear, summer jobs and other commitments will keep them from spending as much time with us.

One highlight of their visit so far was a dinner cruise on the Willamette River. The girls were invited into the wheelhouse and both of them steered the ship — and they have Honorary Captain’s Certificates of Outstanding Seamanship from the captain to prove it!

Each year the girls work on a sewing project while they are here. Two years ago they each made a pillowcase and last year they made four-patch coasters. This year they made banners — you know, the kind with triangular flags attached to a strip. (A shout out to my friend Vickie Rooks for the suggestion.)

Both girls wanted bright colors for their flags so we raided my stash for fabrics reading as solids and arranged them along the lines of the color wheel:

flag fabric choices

Here is Bea with her fabric choices . . .

Bee with fabric choices

. . . and her banner design:

Bea's design

Practically ROYGBIV: red, orange, yellow, green, blue, and violet, with pink next to red at the far left. For each flag Beatrice cut two 8½” squares of fabric and one square of double-stick fusible web. She fused the web between the squares (that’s a press cloth on top):

Bee fusing her squares

When all the layer were fused together, she cut triangle shapes using a rotary cutter with a pinking blade. Then she inserted the top of each flag between wide double-fold bias tape and stitched along the tape with a serpentine stitch:

Bea at the  machine

closeup of a flag

Here is Beatrice with her finished banner:

Bee with flags 1


Bonnie will be starting high school this fall at the School of the Arts (SOTA) in San Francisco so she opted for four larger flags that spell out SOTA. We sketched out her design and color choices, which included white on black for one flag:

Bonnie with fabric choices

Here’s a close-up of her design:

Bonnie's design

Bonnie started out with 11″ x 8½” rectangles. After fusing the letters to the flags, she trimmed the rectangles into triangles. You will see below that the capital A became a lower case a. That’s because the School of the Arts actually presents its logo as SOTa, not SOTA.

Bonnie at work on her flags . . .

Bonnie cutting letters

Bonnie fusing letters

. . . and with her finished banner:

Bonnie with flags 2


Great work, Sewing Bs!


Posted in family, update | 8 Comments

Reach for the Stars: Colleen’s Block 1

My friend Colleen joined the Reach for the Stars club a couple of months ago. It’s not an official club, rather an informal group of quilters around the country working on a queen-size sampler quilt that appeared last fall as a series quilt in the pages of Quilter’s Newsletter magazine. Instructions are coming over the course of seven issues.

You may remember from a previous post that Colleen is using William Morris-inspired fabrics. Take another look at her center medallion:

2014-4 Colleen's center medallion on point


Colleen recently finished her first block, one of 14 that will surround the center medallion:

Colleen's Block 1 2


Like her medallion, this block will be set on point, so here it is in that position:

Colleen's block 1 on point


Colleen lives out in the country and has a huge garden to tend. I suspect that at this time of year it’s going to be difficult for her to find time to sew. We may have to wait a bit for her next block — but I think it will be worth the wait.

In the meantime, anyone who wants to join the club is most welcome!


Posted in Reach for the Stars sampler quilt, update | 4 Comments

Reach for the Stars: Block 12

Of the 14 blocks in my Reach for the Stars sampler quilt, Block 12 was by far the easiest to make — just five squares and four four-patches — yet I spent an inordinate amount of time fussing over it.

I spun my wheels initially just trying to decide which fabrics to use. I’m using several blacks, greens, and aquas and two different focus fabrics (from the same line), trying to spread them evenly throughout the quilt. Eons later (or so it seemed), I had my motif isolated from the focus fabric of choice and had settled on the white-on-black dot and the pale aqua batik.

Going with the original block layout, my block 12 looked like this:

Block 12 1


I knew I was going to change this layout. Because Block 14 is sashed in black, I was pretty sure that black in the corners would prove overpowering. I tried switching the position of the four-patch units:

Block 2

Better, maybe . . . but still too much black with the sashing to come.

I auditioned a green square in the center in place of the black:

Block 12 3

Nope. Too light.

What about a square of black in the center of the green?

Block 12 4

Ah, that’s better. I can live with that.

Here is the block all sewn together. . .

RFTS Block 12 before sashing

. . . and here it is sashed and positioned on point, as it will be in the finished quilt:

Block 12 7


Still too much black? Maybe. When I added the block to my design wall, it looked . . . I don’t know . . . heavy compared to the other blocks. What do you think?

RFTS 1 - 12


I also auditioned it in the center spot:

RFTS 1-12

It actually looks pretty good there. Maybe my Block 12 just became Block 13!


Posted in Reach for the Stars sampler quilt, update | 7 Comments

Reach for the Stars: Sherri’s Blocks

Today I have the pleasure of sharing photos of three blocks made by Sherri Crisp of Knoxville, Tennessee. These blocks are part of Reach for the Stars, a queen-size sampler quilt that is also being made by several others. It’s almost like a Block of the Month (BOM) project, except that those of us making the quilt are getting instructions every other month from Quilter’s Newsletter magazine. We started last fall and, if everyone stays on track, we  should have our quilts pieced by the end of the year.

The April/May issue of Quilter’s Newsletter contained instructions for Blocks 7, 8, and 9. Here is Sherri’s Block 7:

Sherri's block 7
Sherri Crisp’s Block 7

Look how dramatic this block is set on point, as the directions call for:

Sherri's block 7 on point
Sherri’s Block 7 on Point


Block 8:

Sherri's Block 8
Sherri Crisp’s Block 8

Notice how the star shape changes when the block is set on point:

Sherri's Block 8 on point
Sherri’s Block 8 on Point

Sherri is paper-piecing most of her blocks, and I must say it shows. Look at those perfect star points!

Block 9:

Sherri's Block 9
Sherri’s Crisp’s Block 9

Block 9 on point:

Sherri's Block 9 on point
Sherri’s Block 9 on Point


Now just imagine these blocks added to the ones Sherri made earlier:

RFTS Sherri's medallion and blocks 1-6
Center Medallion and Blocks made by Sherri Crisp

Keep those blocks coming, Sherri — that is going to be one gorgeous quilt!


Posted in Reach for the Stars sampler quilt, update | 3 Comments

Reach for the Stars: an Update from Jennifer V

Jennifer Varney of Hudson, New Hampshire — one of several quilters I have become friends with over the last few months through our shared desire to make a sampler quilt called Reach for the Stars — revised her center medallion recently.

You may recall from an earlier post that Jennifer plans to arrange her center medallion and blocks in a straight set, rather than on point as called for in the original quilt. Jennifer’s fabric choices include some elegant border prints and metallics in a palette of pewter, soft blue, gold, and black. Before I show you the revision, take a look at her original medallion block  (and take note of the four corner squares):

Jennifer V center medallion
Jennifer V’s Medallion Before

Nothing wrong with that medallion at all! In fact, it’s beautiful. Now take a look at the revised block:

Jennifer Thacker's revised center medallion
Jennifer V’s Medallion After

It’s better, isn’t it? Jennifer used the same fabric in the outer blocks that she used in the first version but fussy-cut the squares to highlight a different motif in the fabric. I agree with her that the change brings more light and balance to her medallion.

Directions for Reach for the Stars are coming in serialized fashion from Quilter’s Newsletter magazine. Thus far the magazine has provided directions for 12 blocks (plus the medallion). Jennifer fell a wee bit behind on the blocks but for a very good reason: she was getting another quilt ready for her local guild’s spring show — and it won a second place ribbon!

Allow me to present Lady Guinevere’s Quilt, designed and made by Jennifer Varney:

Jennifer T's quilt Lady Guinevere
It’s A Winner!

Jennifer fussy-cut border prints and pieced them into Night and Day blocks, which she then set on point. The outer edges of the quilt feature a gilded tapestry-look border print.  Lorri Wurtzler of Seventh Heaven Quilting in Nashua, New Hampshire custom quilted Jennifer’s quilt. Here’s a close-up of Lorri’s beautiful quilting:

Jennifer T's quilt, quilting detail
Beautiful Custom Quilting

The finished quilt measures 53″ square.

Congratulations, Jennifer! Now: back to work on Reach for the Stars?


Posted in Reach for the Stars sampler quilt, update | 2 Comments

Spinning Away

My little Spinners table topper (from Heather Mulder Peterson’s new book On the Run Again) was a breeze to make. What took me a while was cutting out the pieces. The pattern calls for a 60° triangle ruler, which I don’t have (note to self: buy one!), so I cut out each triangle separately using the 60º marking on my favorite 4″ x 14″ acrylic ruler and the lines on my cutting mat.

Here is my top with the six triangles sewn to the hexagon in the middle:

Spinners topper in progress

So far so good! Here it is with the outer border:


Spinners top

The more I work with these Kate Spain fabrics (from her Sunnyside line for Moda Fabrics), the more I like them. Happily, I have quite a bit left of the fat quarter packet I started out with, so I may use the fabrics for another project in Heather’s book. I’m not sure what company makes the aqua solid, since the fat quarter didn’t have any selvage information, but I have enough of it to bind the topper.

Now comes the hard part: how to quilt it?


Posted in hexagons, table topper, update | 4 Comments

Topping it Off

I know I shouldn’t start something new but — I just can’t help myself! Heather Mulder Peterson’s newest book, On the Run Again, arrived in my mailbox a few days ago, and ever since then I’ve been oohing and aahing over the table runners and toppers pictured inside. Take a look at Granny Square Stars, the runner on the cover of the book:

On the Run Again book cover
Featured runner: Granny Square Stars, 18″ x 56″

Copyright Heather Mulder Peterson. Used with permission.

Wouldn’t that be fun to make? What a great way to use up scraps! I see it with dark stars in the centers. Granny Square Stars is definitely on my list but the one I am going to make first is a little table topper called Spinners:

Heather's Spinners Topper
Spinners, 18 1/2″ x 20 1/2″

Copyright Heather Mulder Peterson. Used with permission.

Anyone who loves hexagons as much as I do needs to make this design! As soon as I saw it, I knew what fabrics I would use. A few months ago I bought this combo of prints in the Sunnyside line by Kate Spain for Moda Fabrics:

2014-06-04 11.13.08

The way the fabrics were cleverly packaged by the shop, Pioneer Quilts, was a selling point. You can see why I can’t wait to get started!

If you’d like to see more of the charming toppers and runners featured in Heather’s new book, check out her blog, Trends and Traditions, which happens to be one of my very favorites.

I hope you’ll check back soon right here at First Light Designs to see the progress on my version of Spinners. Thanks for stopping by!


Posted in hexagons, table topper, update | 2 Comments