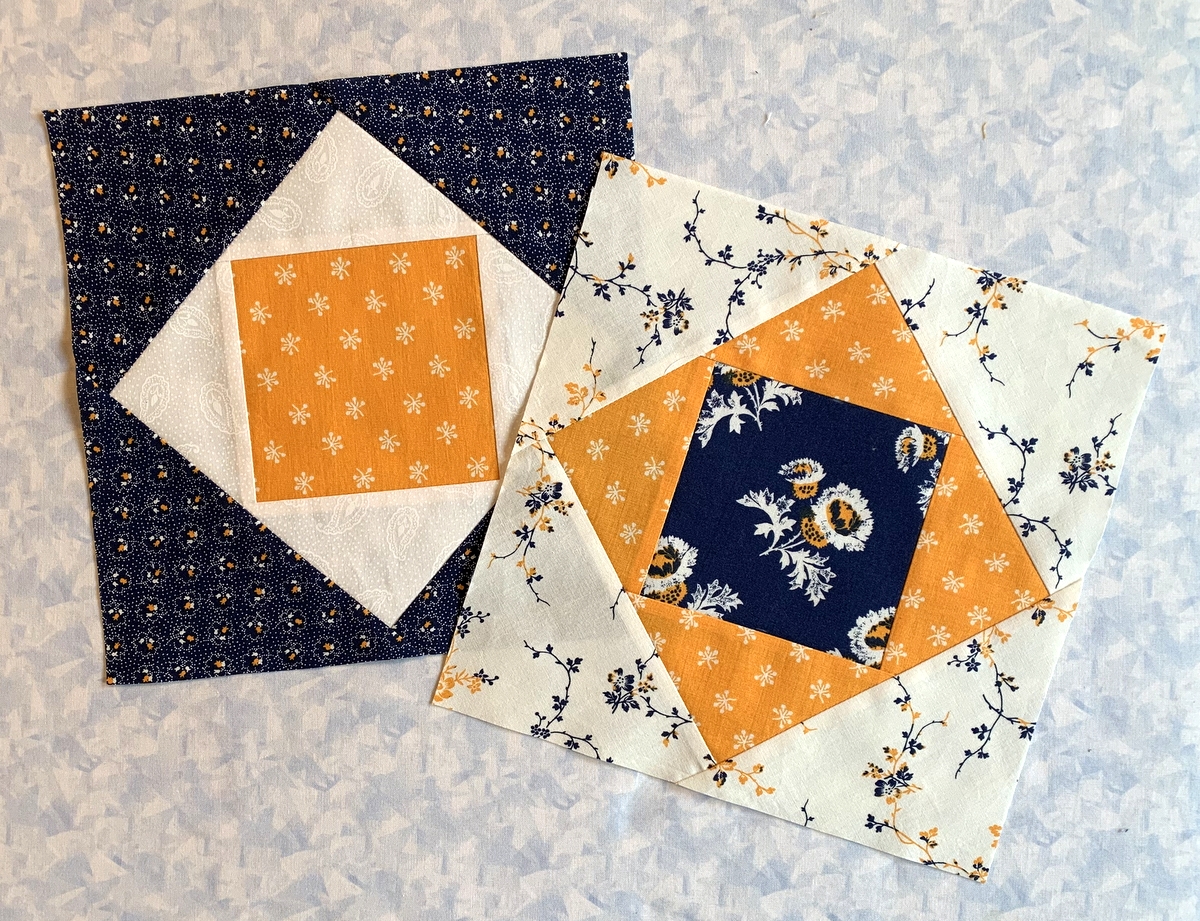
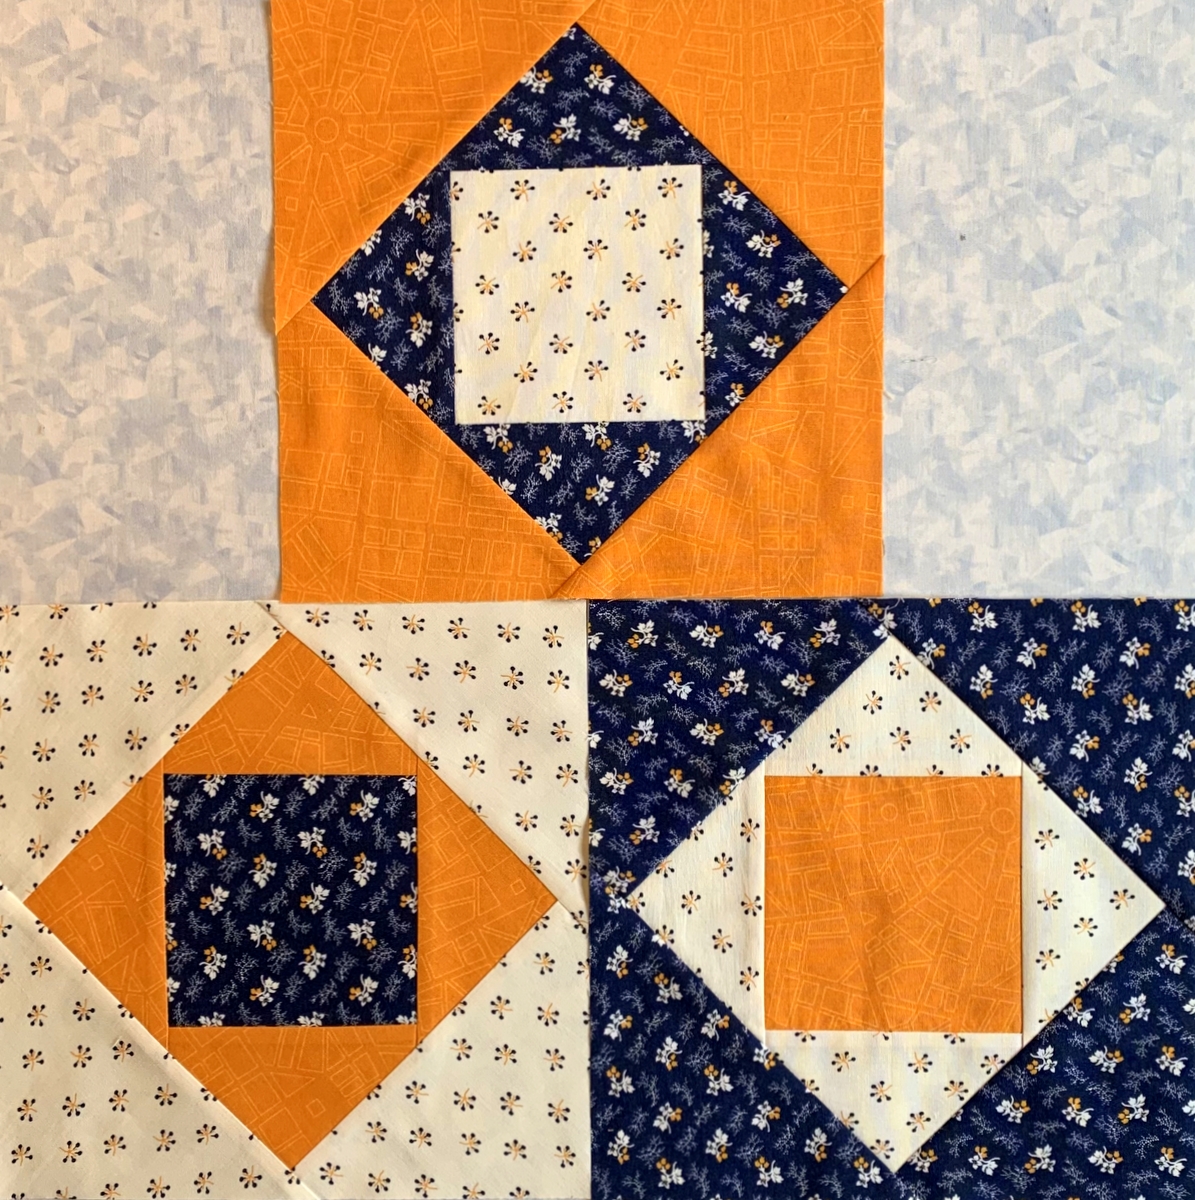
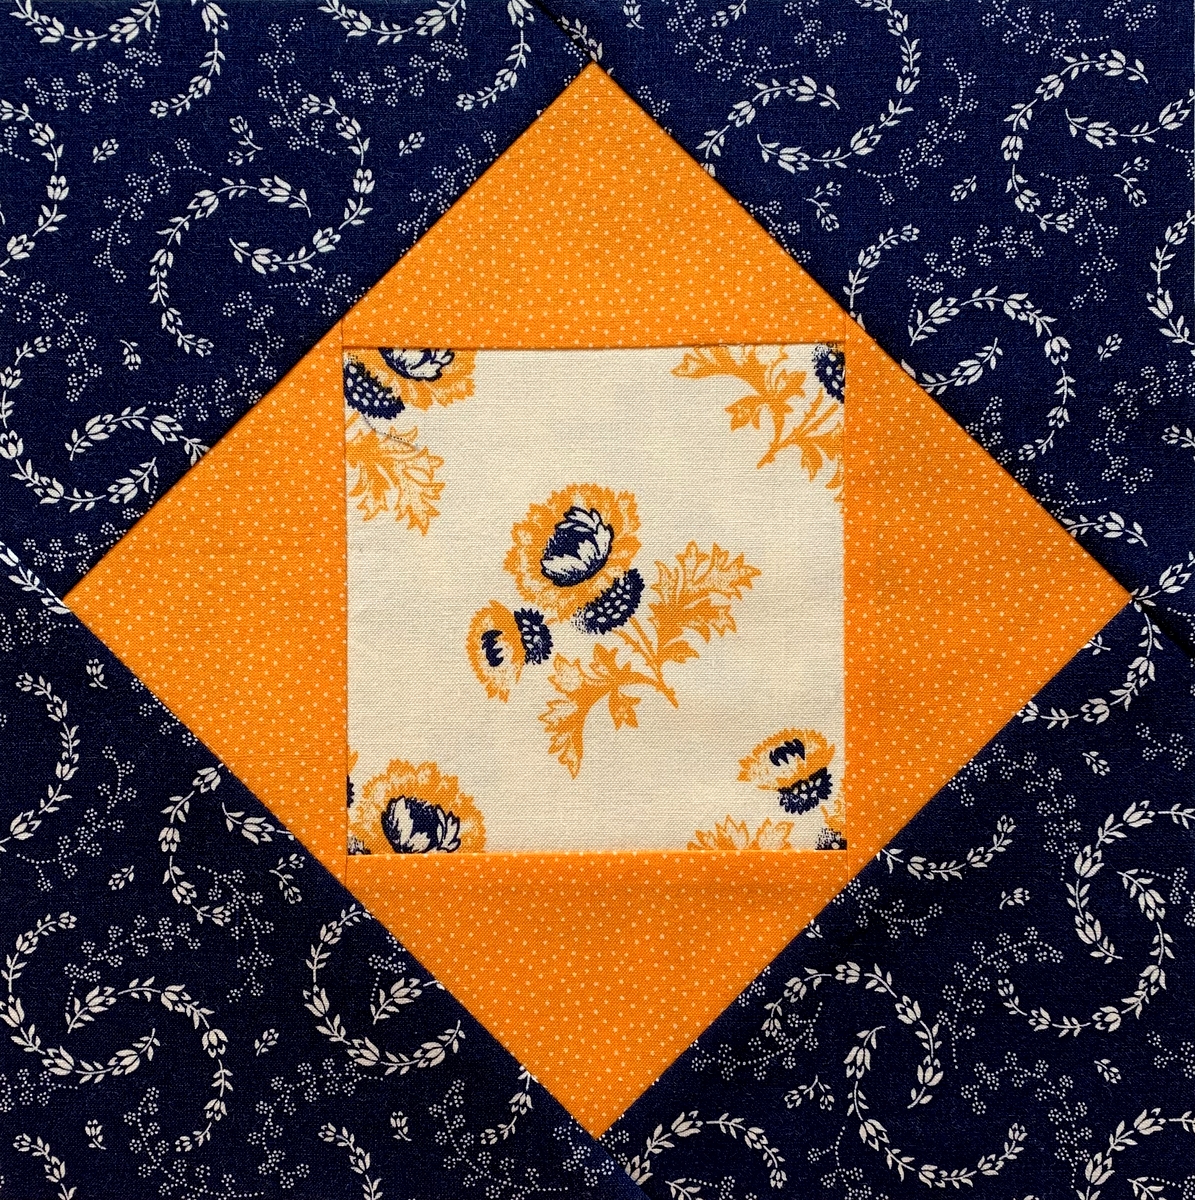
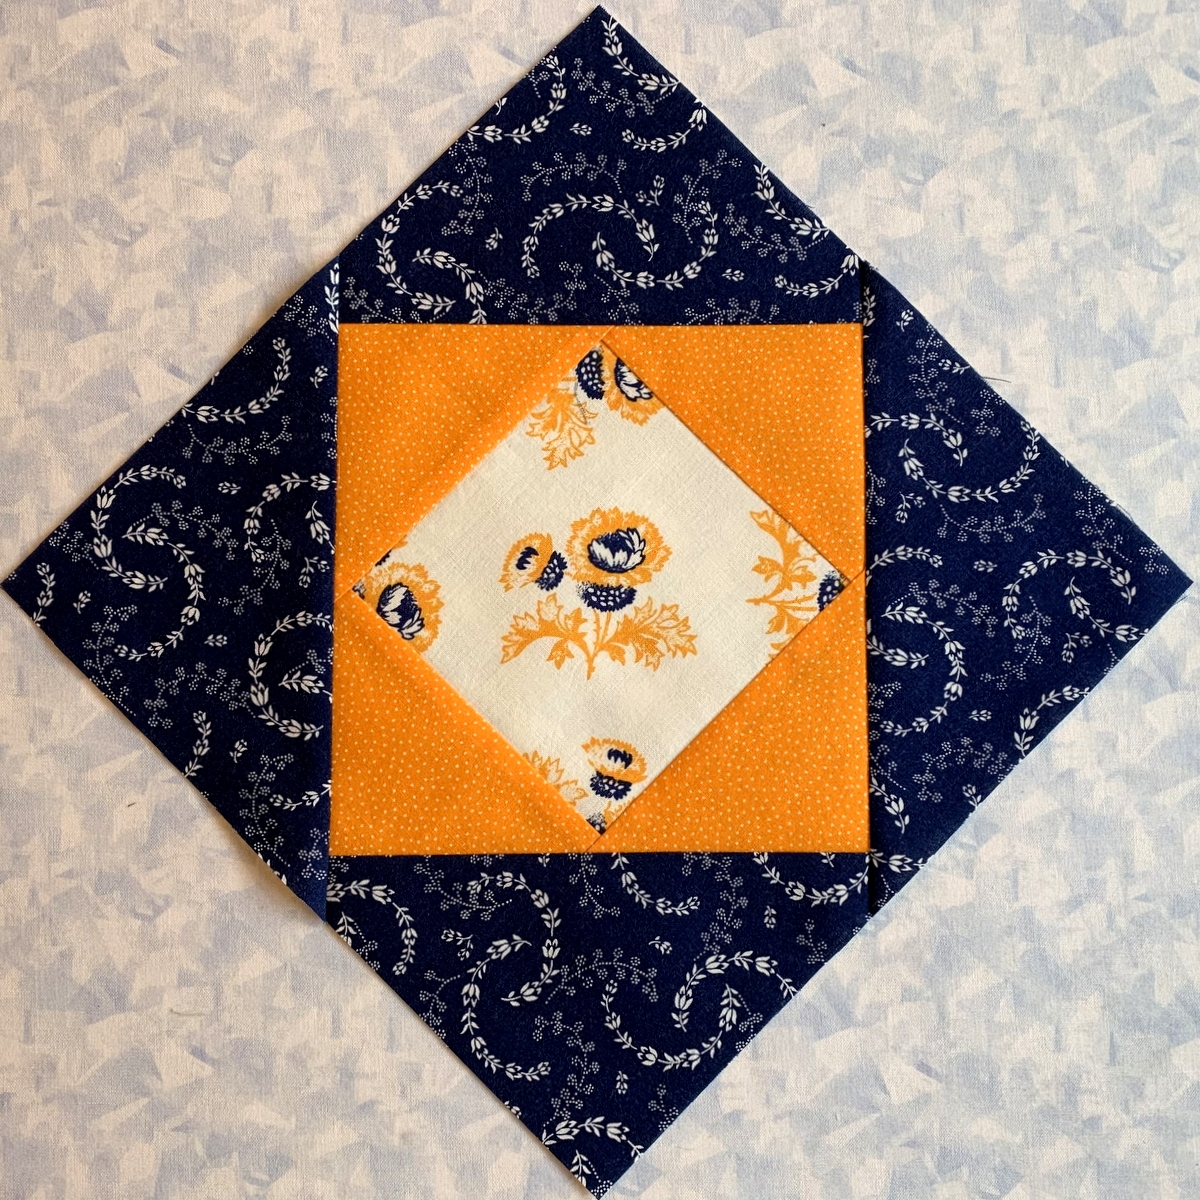
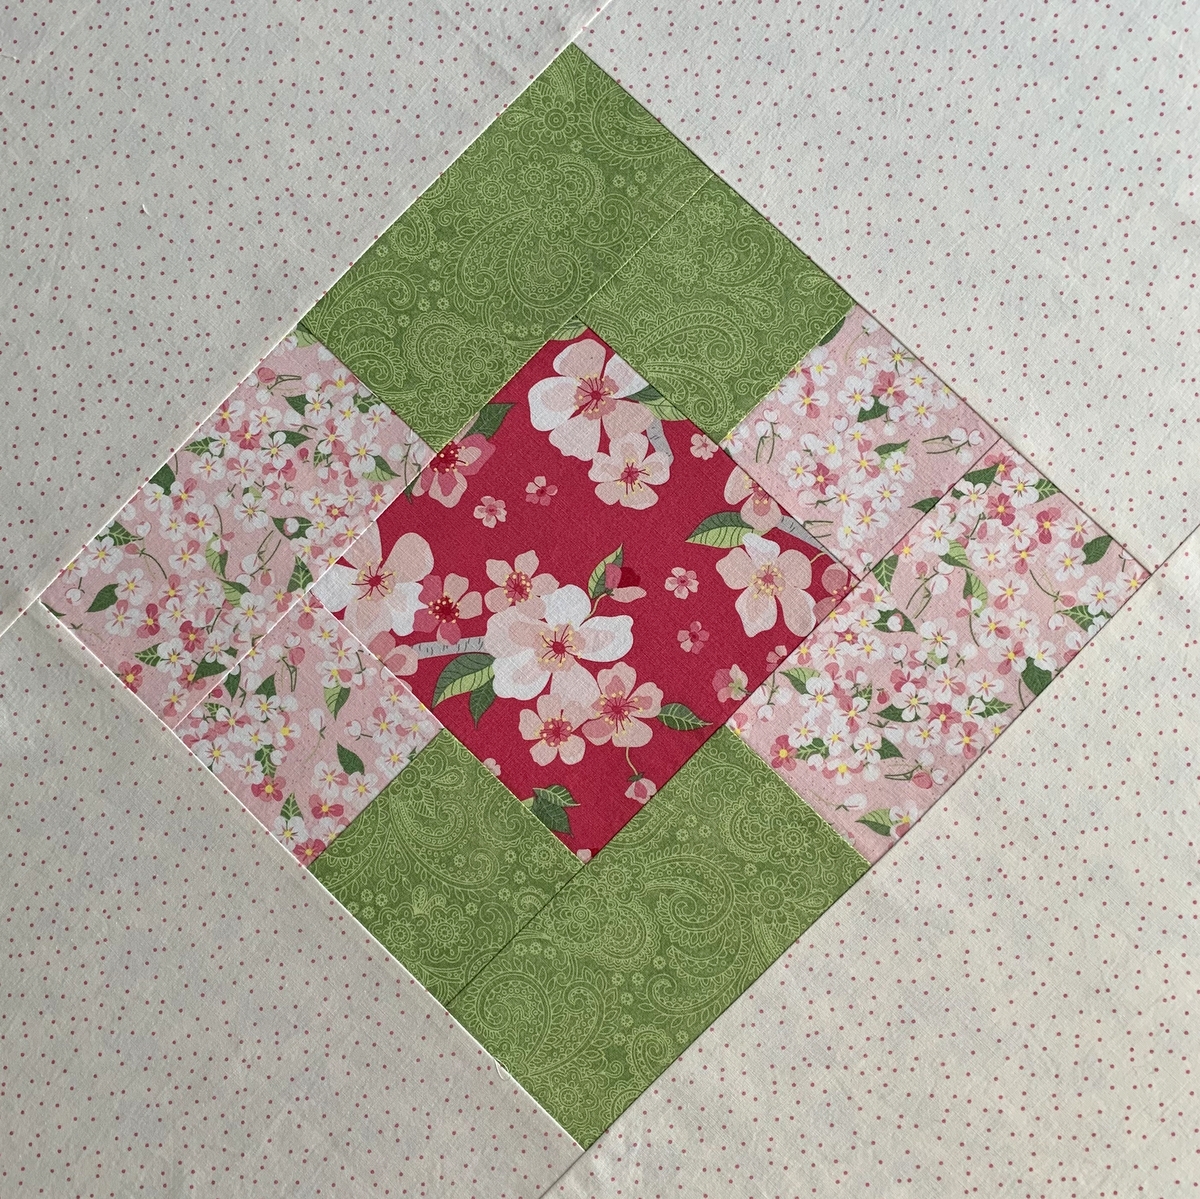
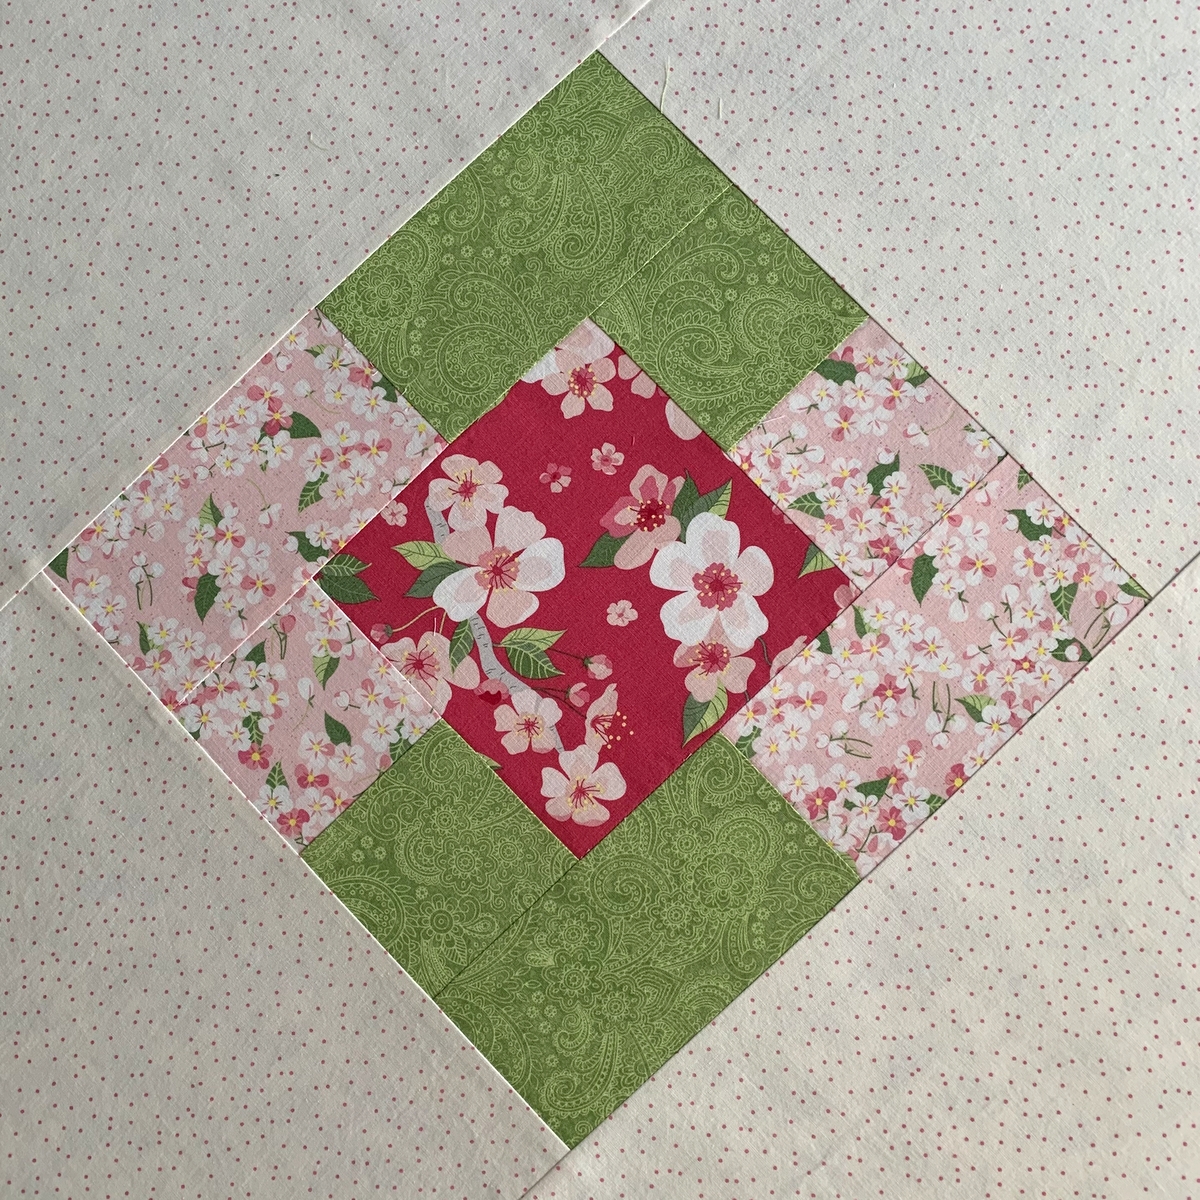
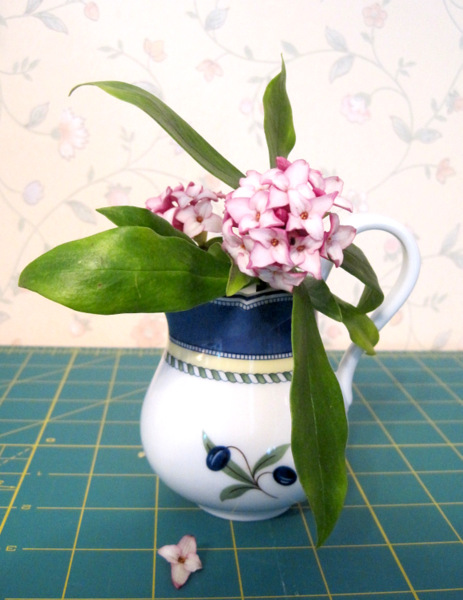
Here are my two latest Floating Squares blocks:

Aren’t they pretty? You’ll notice the one on the right has a fussycut center from the same print as an earlier block but in a different colorway. I wish I had more of the one dark and one light outer triangle fabric but I only had enough scraps to finish those two blocks.
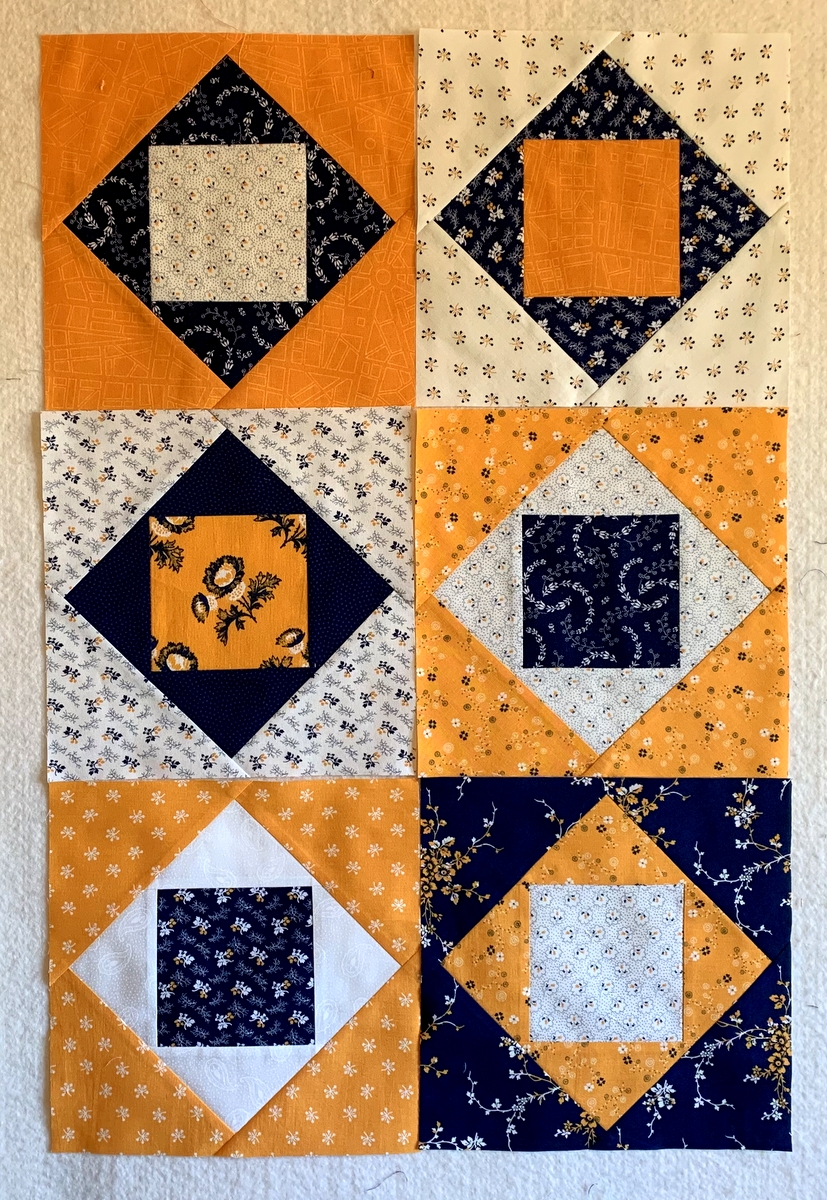
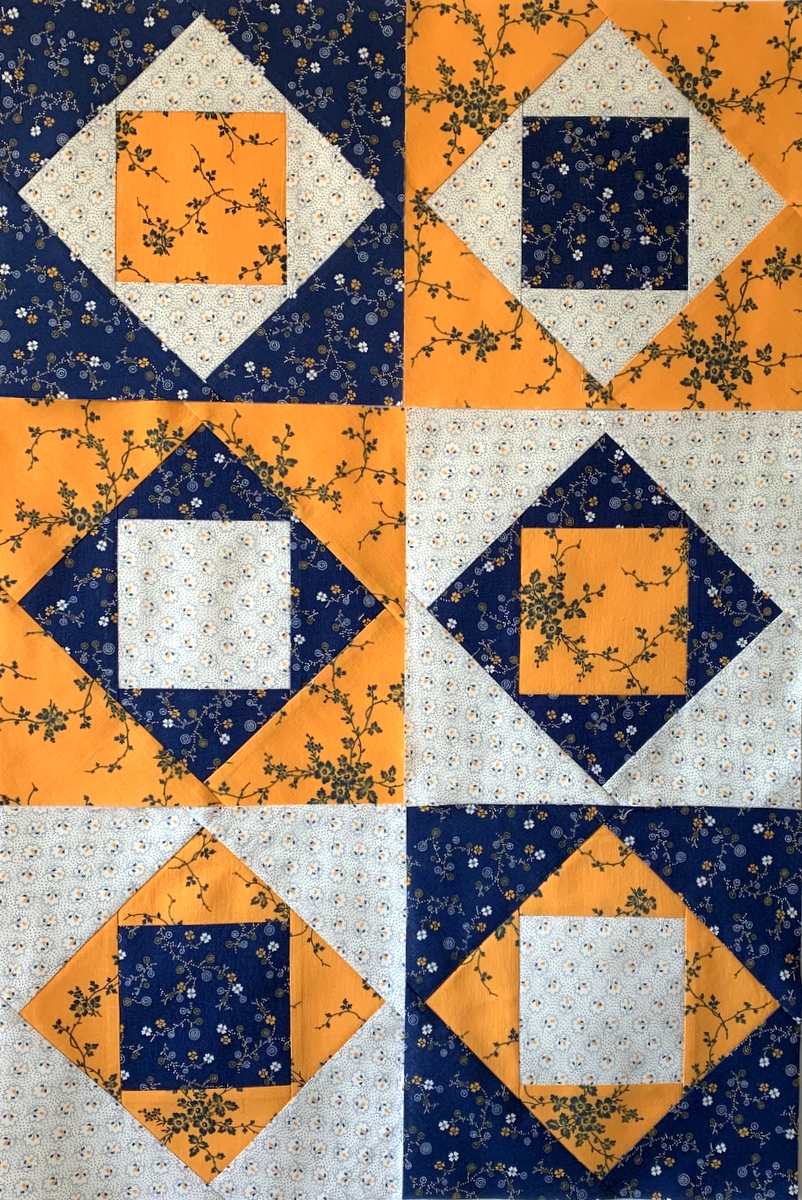
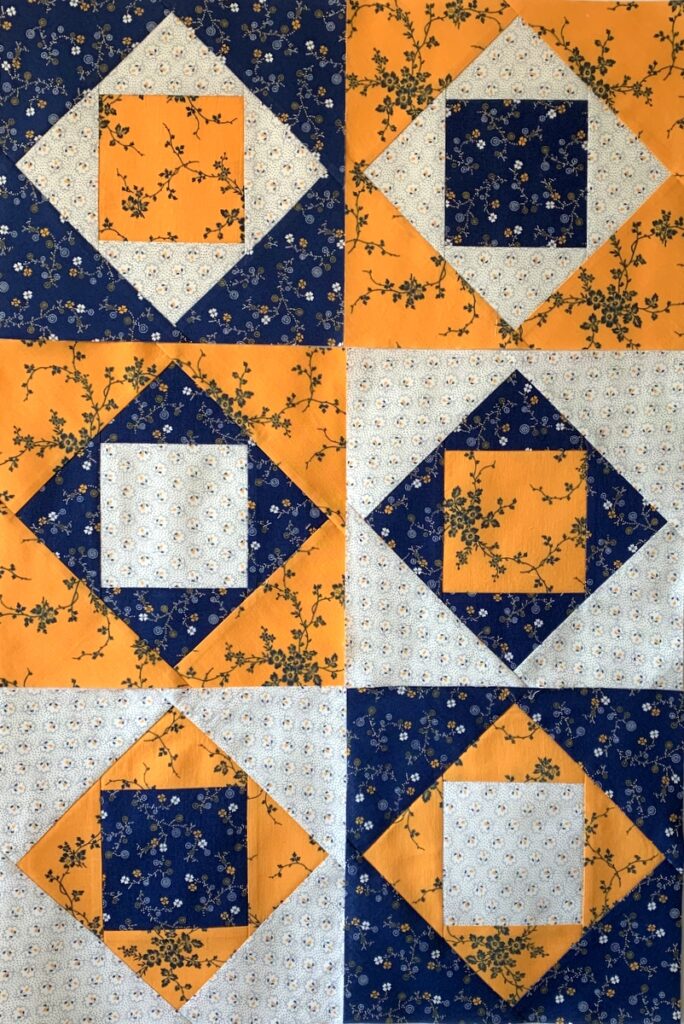
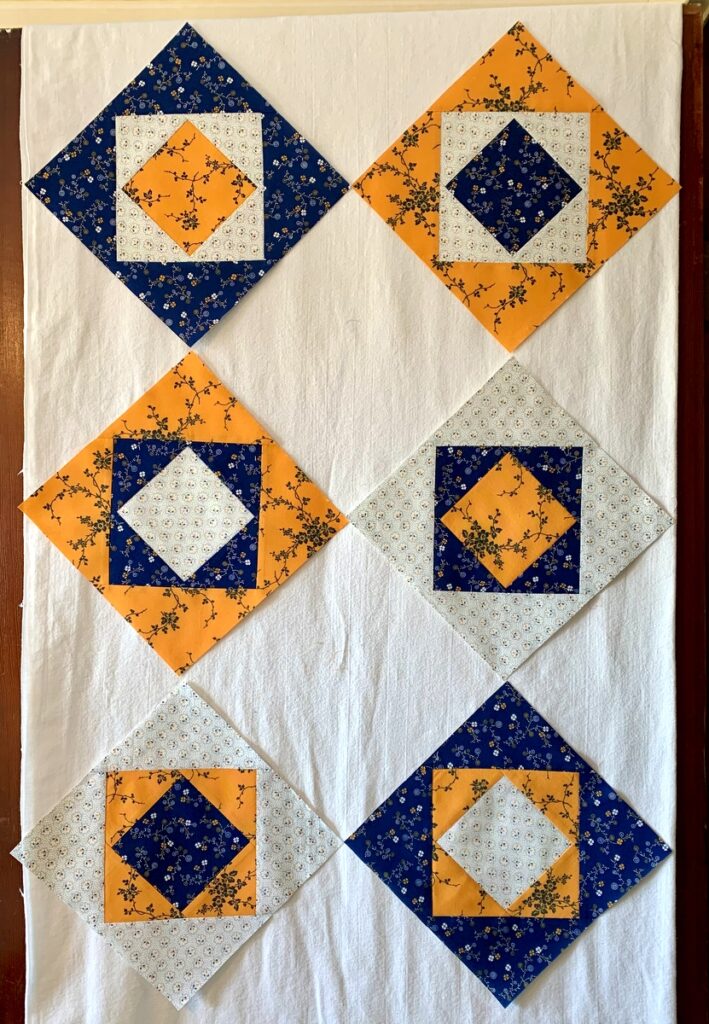
When I first started making these Economy blocks using leftover indigo and cheddar fabrics from a previous quilt, I quickly realized that the cheddar fabrics were dominating the blocks. Remember my first six? Here they are again:
 You’ll recall I thought of turning the blocks on point and alternating plain blocks of a creamy white background to lower the cheddar factor . . .
 . . . but I wanted to make a few more blocks before coming to any firm conclusions about what direction to head.
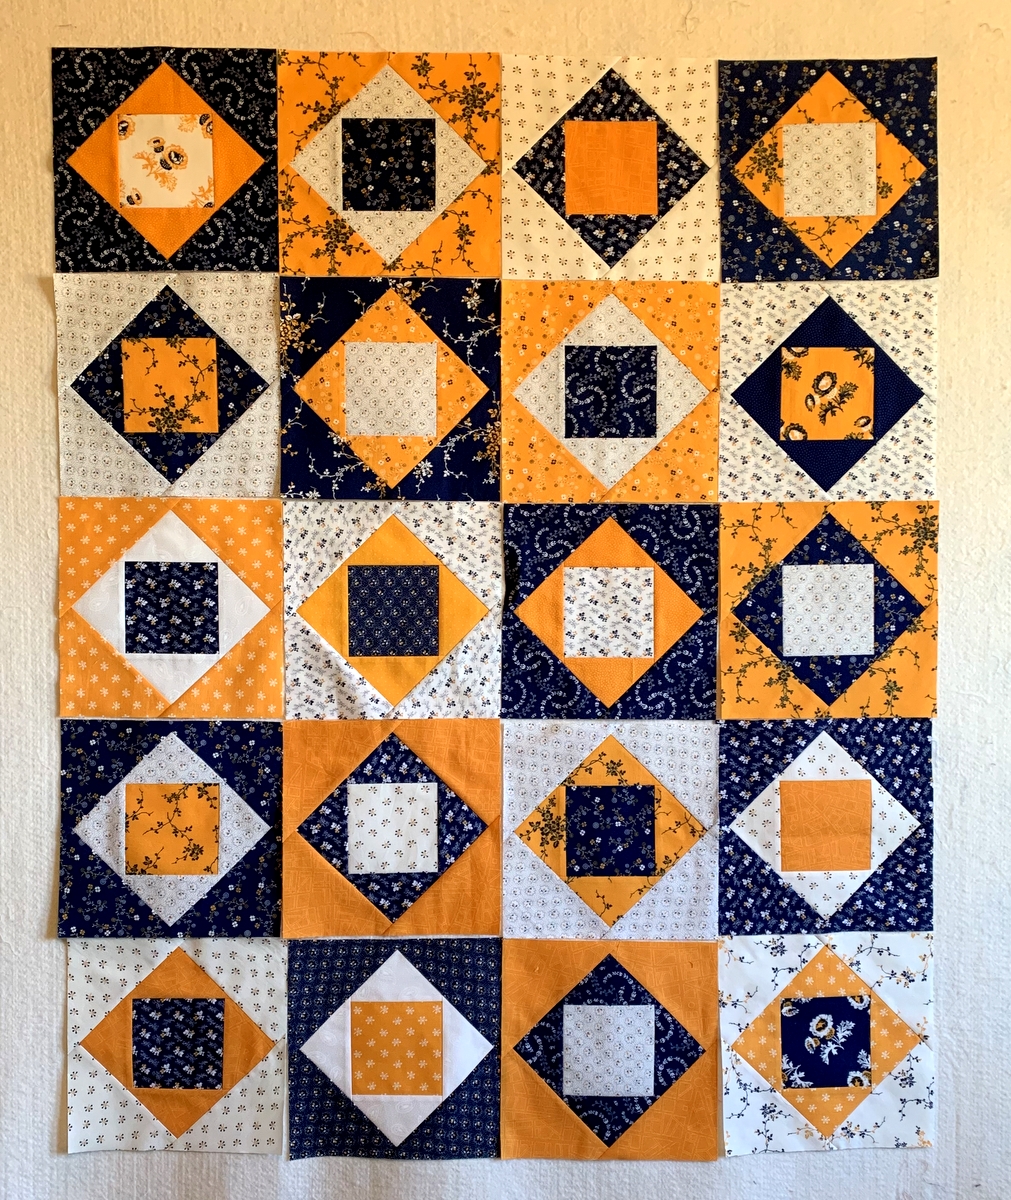
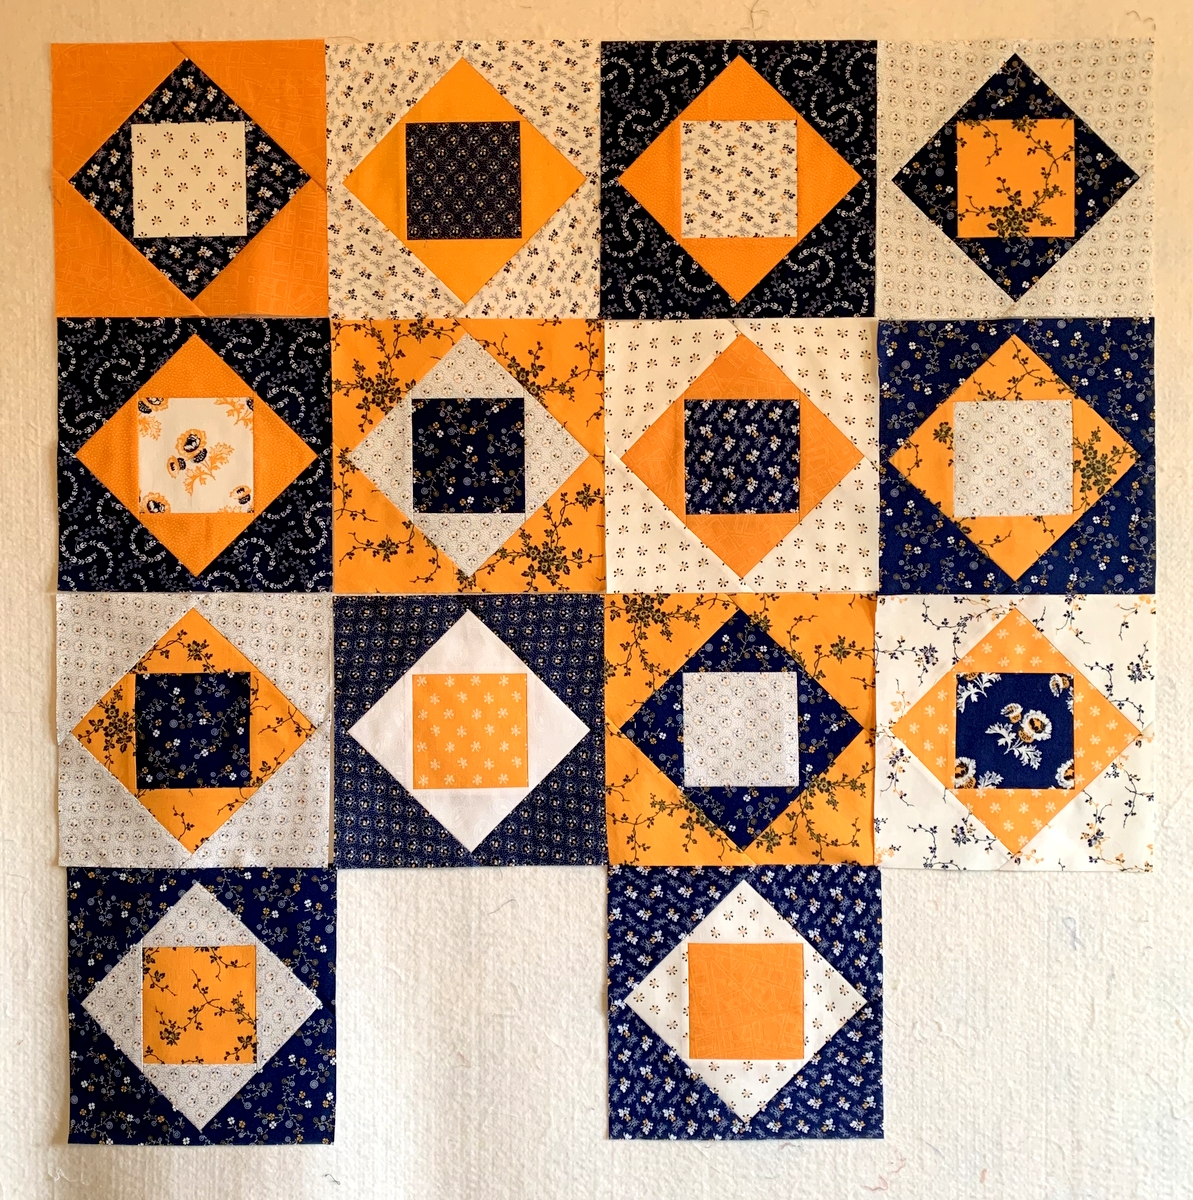
Well, now there are 14 blocks:
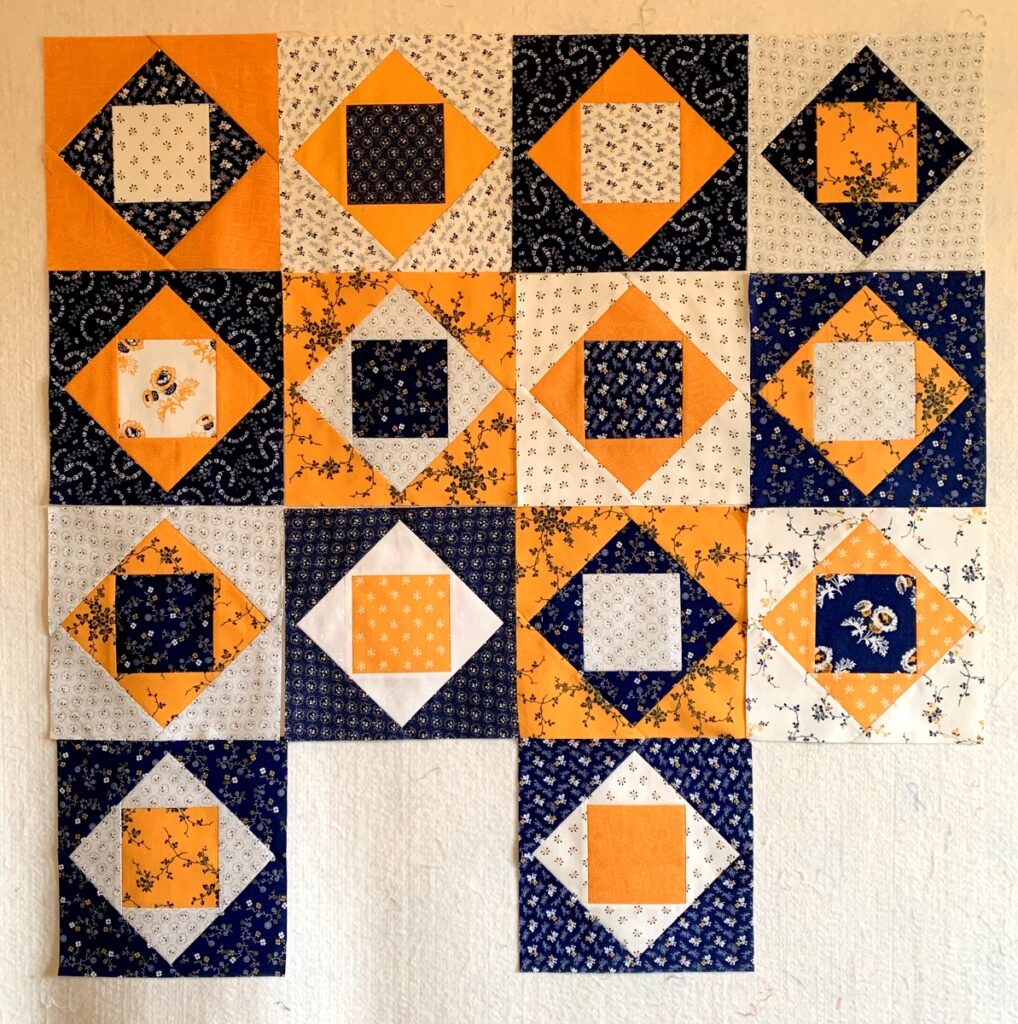 Let me say first that I love these blocks individually. But collectively? They still feel a bit overpowering. And I’ve figured out why. Yes, the cheddar is dominant but there’s something else: my palette of indigo, cheddar, and cream represents dark, medium, and light values. Nothing in between! No medium lights, no medium darks. There is nothing in the overall palette to soften the sharp contrast between dark, medium, and light.
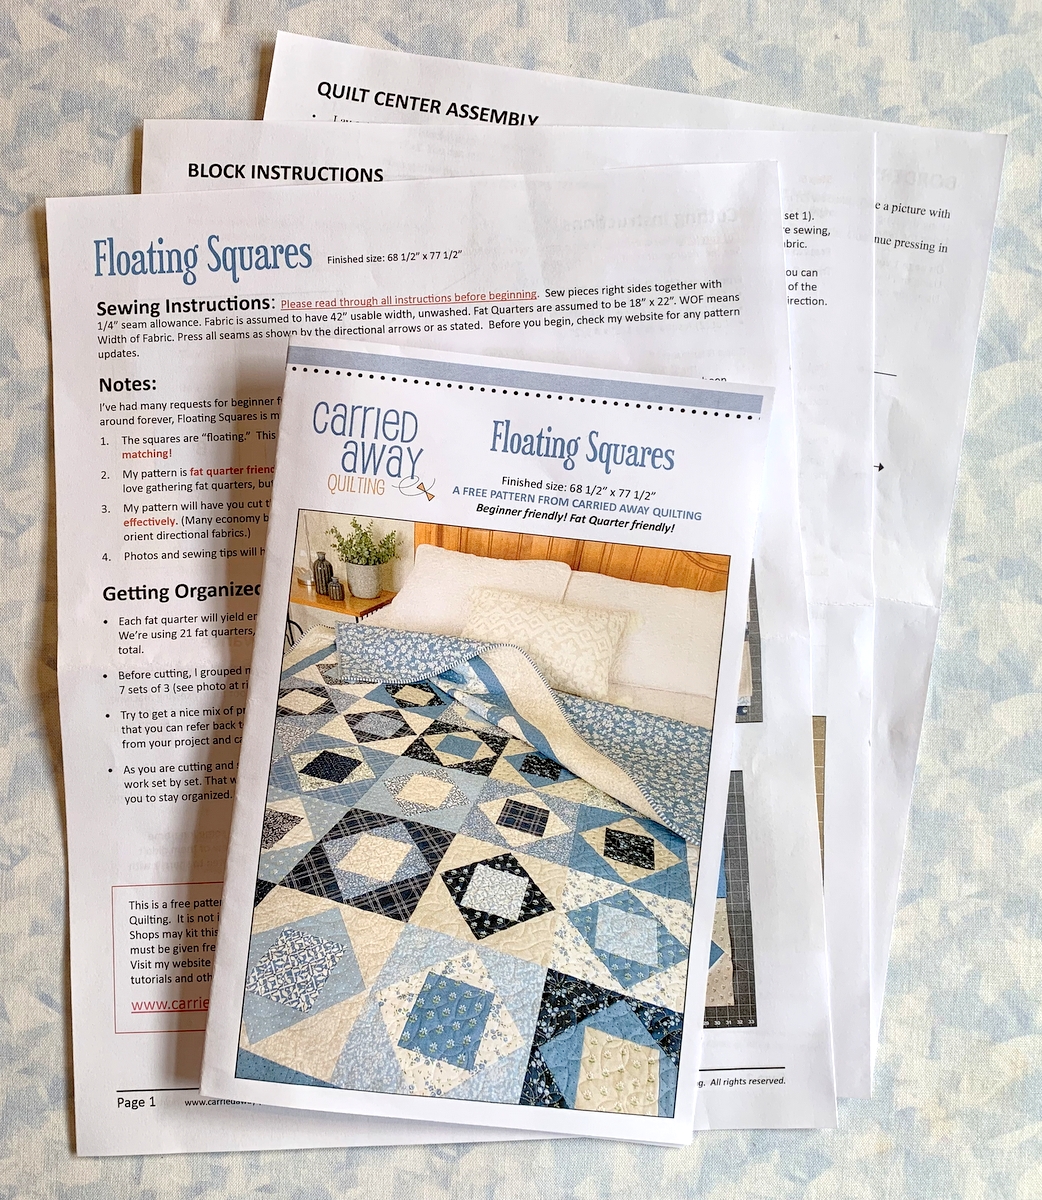
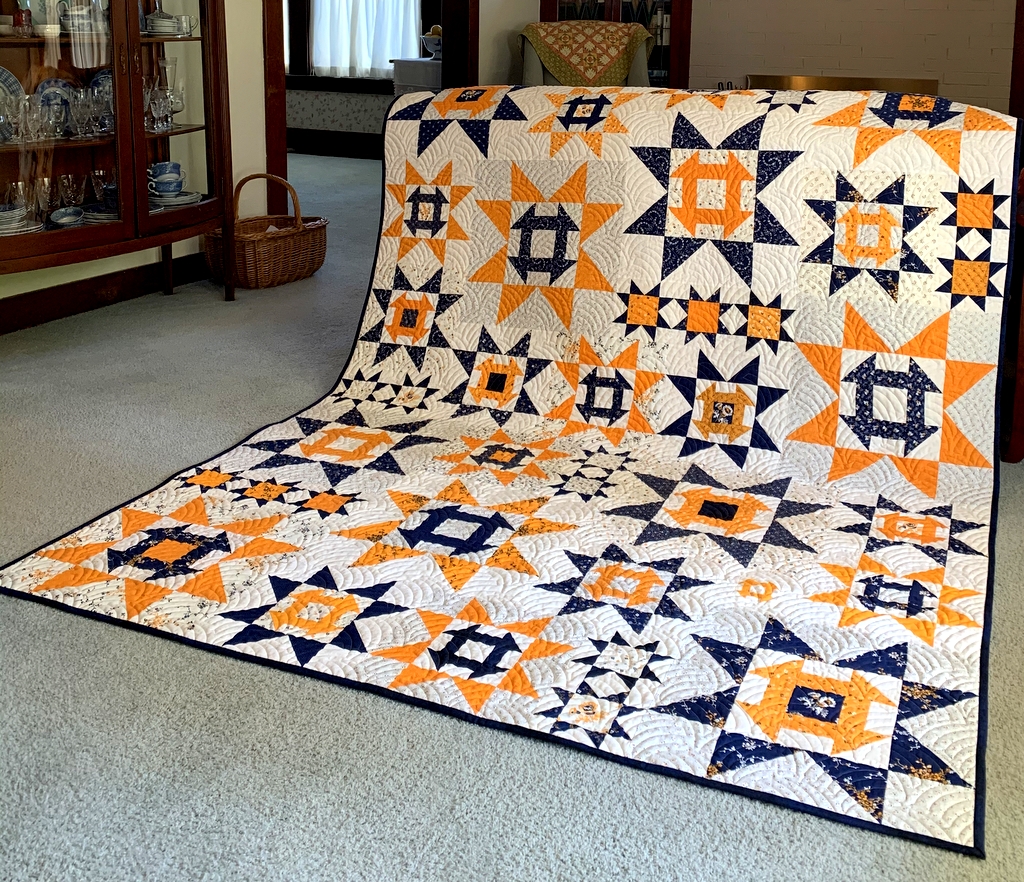
Now that’s not necessarily a bad thing — but it is something I hadn’t considered when I chose the fabrics. If you take a look at the fabrics Taunya of Carried Away Quilting used on her pattern cover quilt . . .

. . . you’ll notice that the overall effect of the quilt is soft because of the variation of values used across the quilt. I see several medium lights and medium darks in addition to the usual dark, medium, and light values.
I will not be able to achieve that softness with my fabrics so I need to consider my options. I’ve already considered putting my blocks on point and alternating with plain blocks of creamy white. If you go back to the first photo, you’ll notice the block on the left includes a creamy tone-on-tone paisley print in the first set of triangles. I believe there’s enough of that fabric from my stash to make alternating blocks as well as setting triangles.
Another possibility is to separate the blocks with sashing strips of the same creamy white. Not a bad idea. Certainly worthy of consideration.
Yet a third is to add one more row of triangles to my floating squares, using indigo or cream where the cheddar triangles would normally go. That would relegate the cheddar to the center squares and first set of triangles. Also not a bad idea because it would tone down the cheddar factor considerably. But it would also create a larger block, one that finishes at around 13″ rather than 9″. Of course putting the 9″ squares on point would do the very same thing.
I’m going to make a few more blocks (because it’s so much fun!) and continue to ponder my options. Lest you think I’m disappointed at the possibility of changing course with the quilt design, let me assure you I am not. Even experienced quilters can be caught off guard. This has been a valuable lesson for me in considering fabric values — and sometimes these kinds of lessons result in quilts that surpass original expectations.
Regardless of the outcome, I am going to love this quilt.

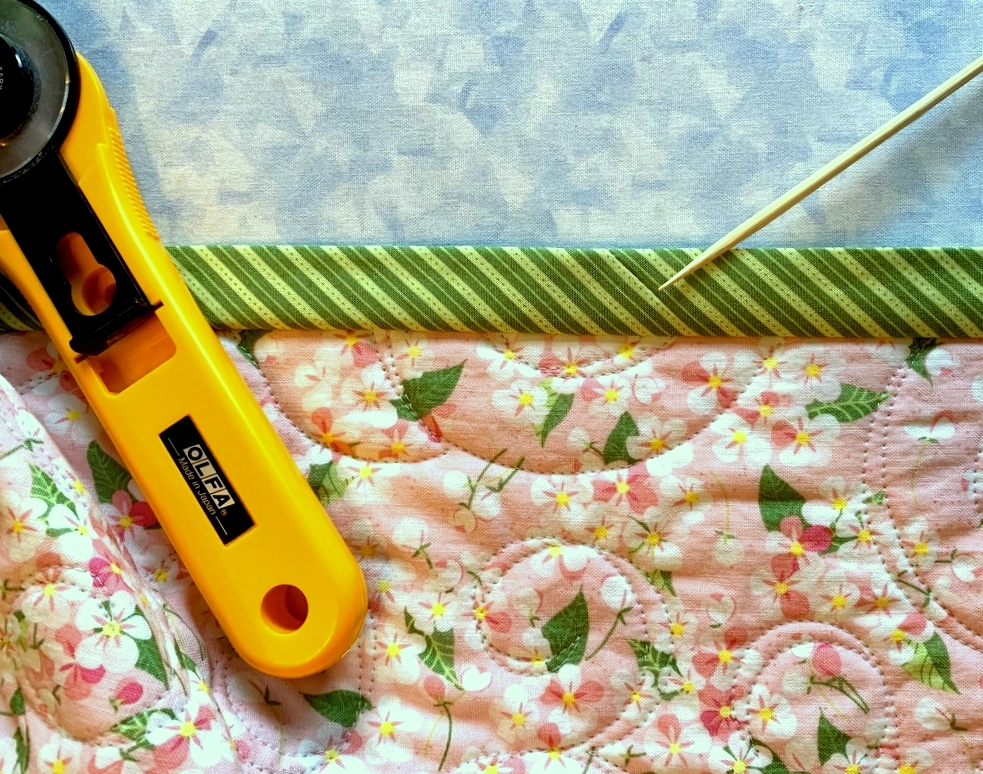
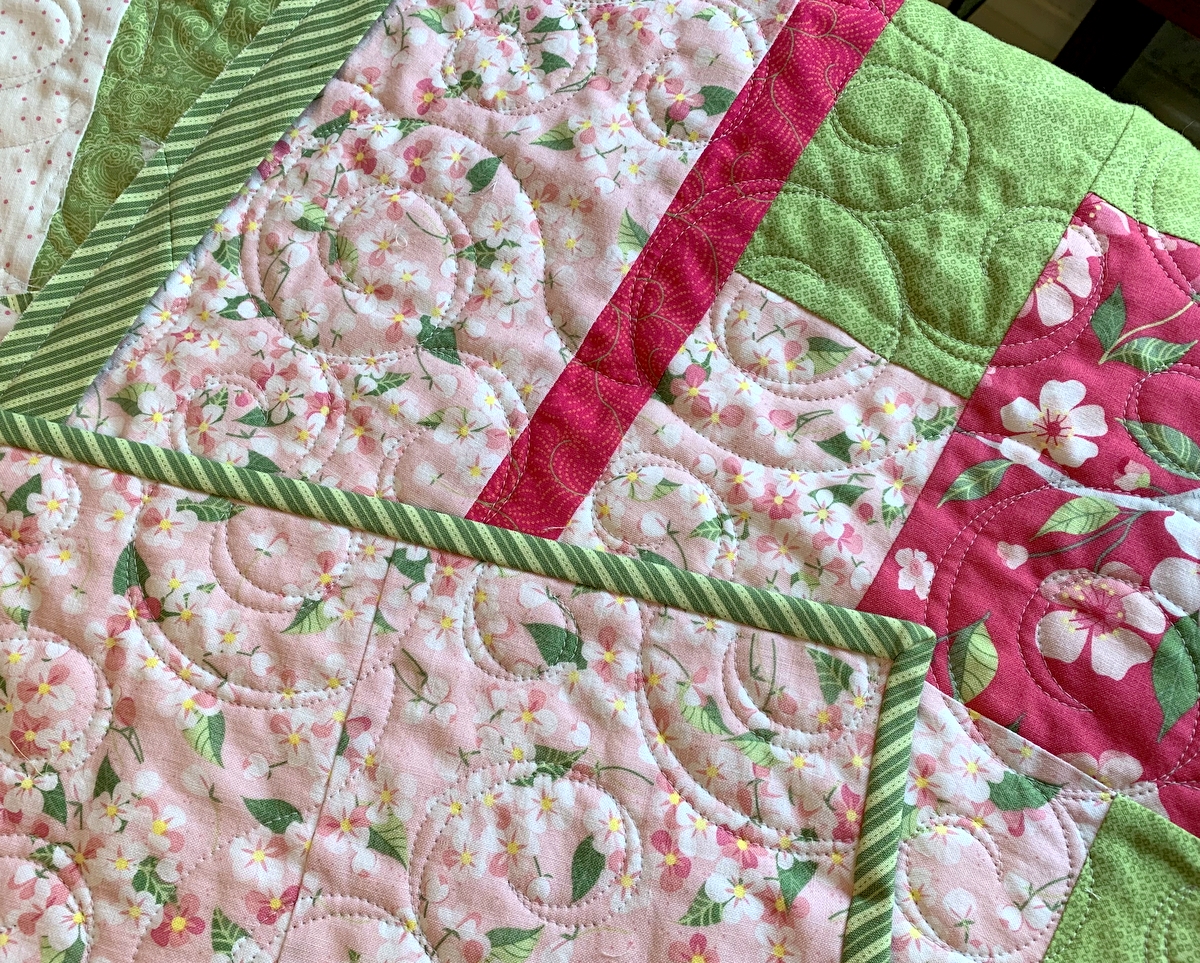
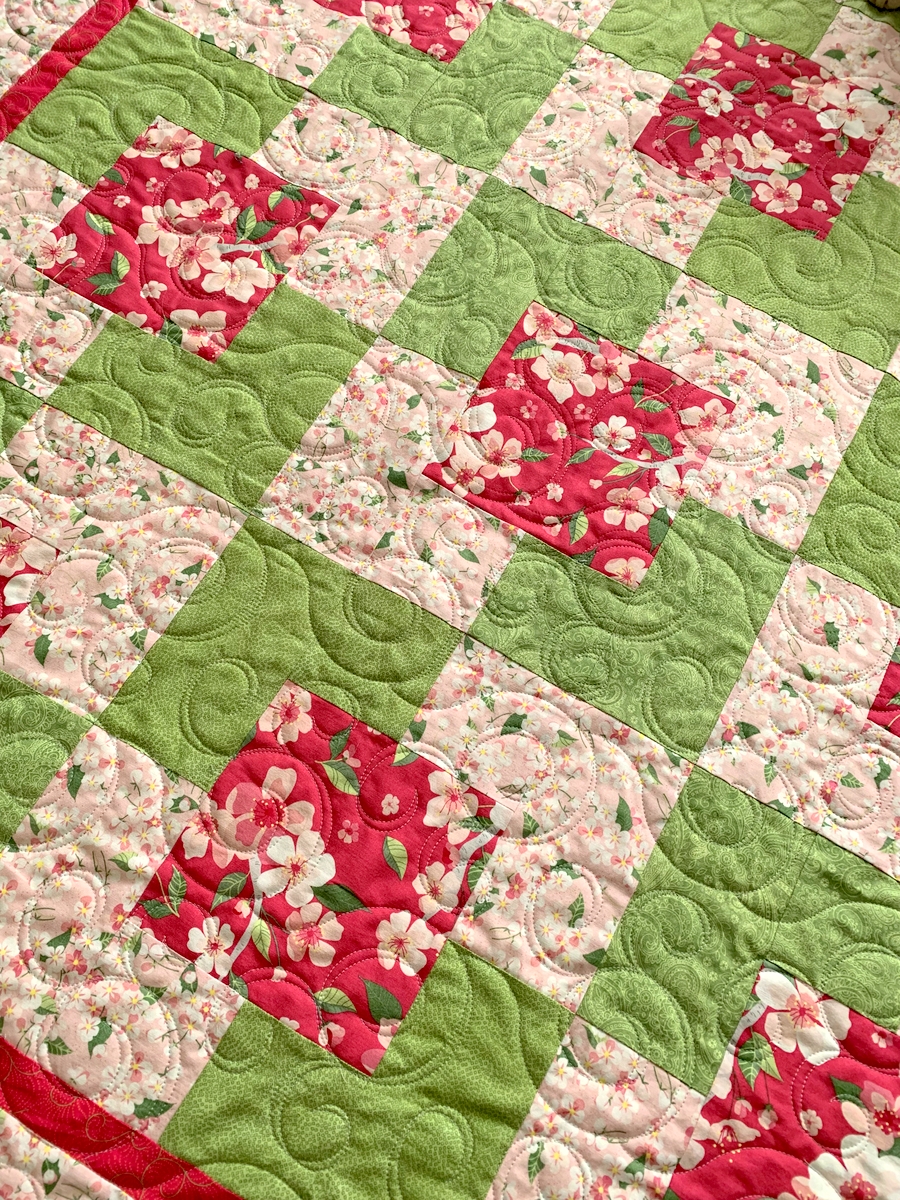
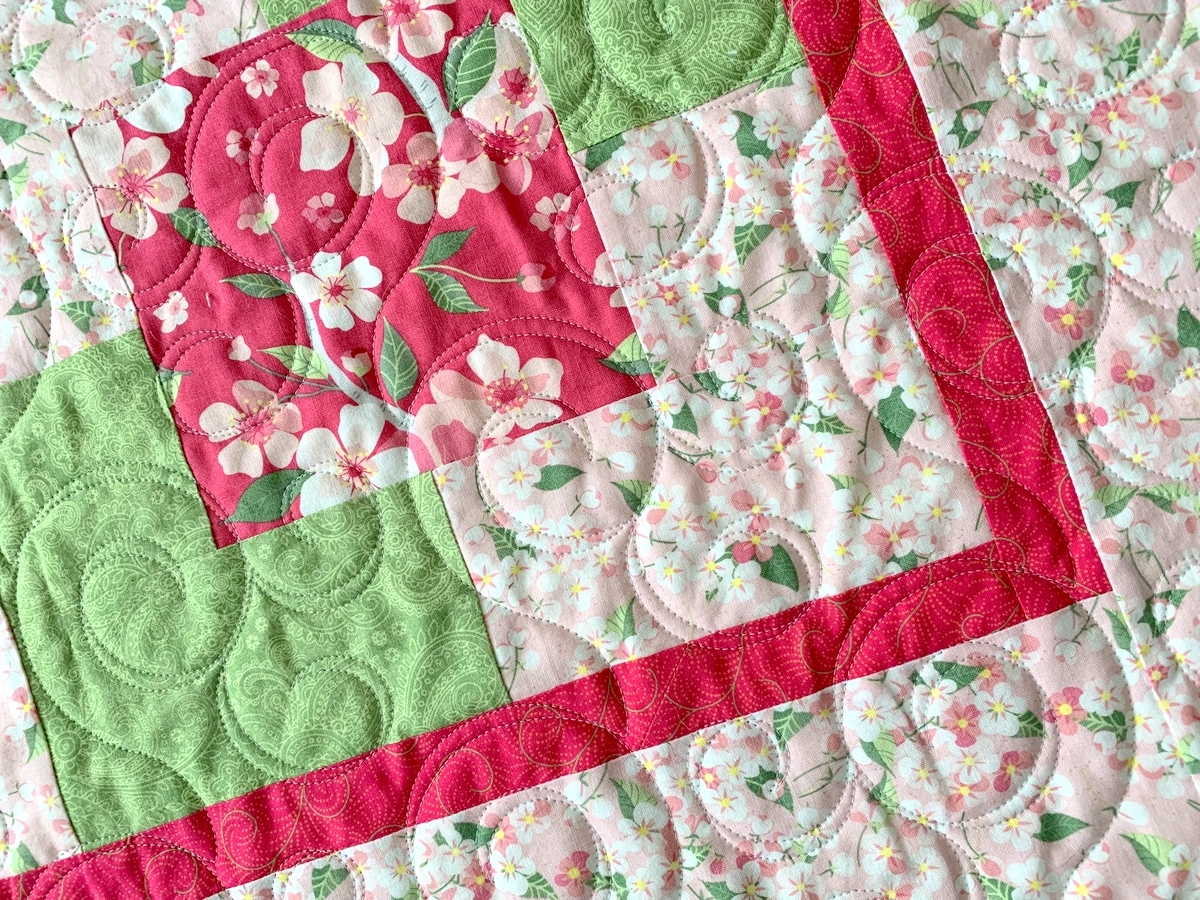
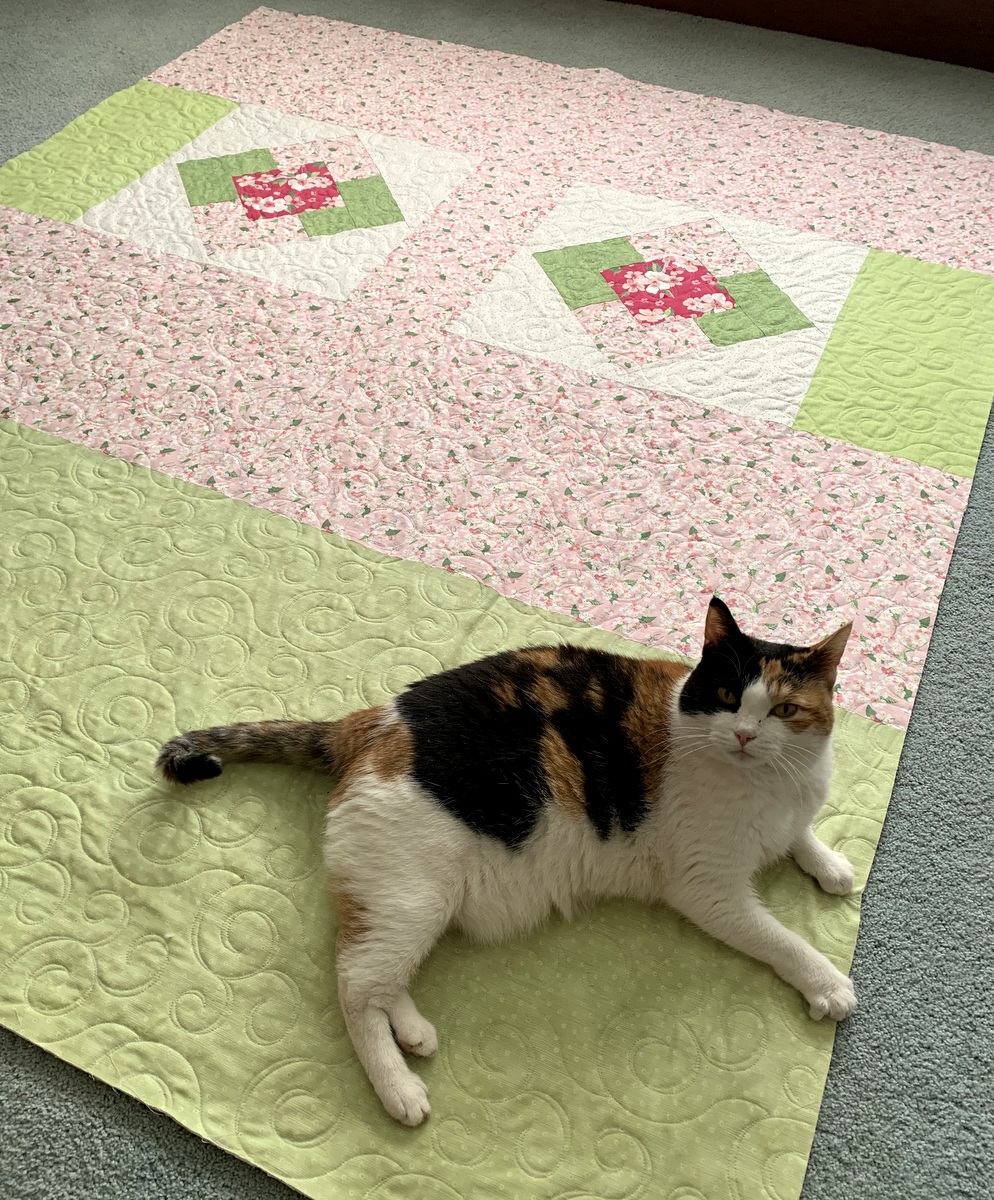
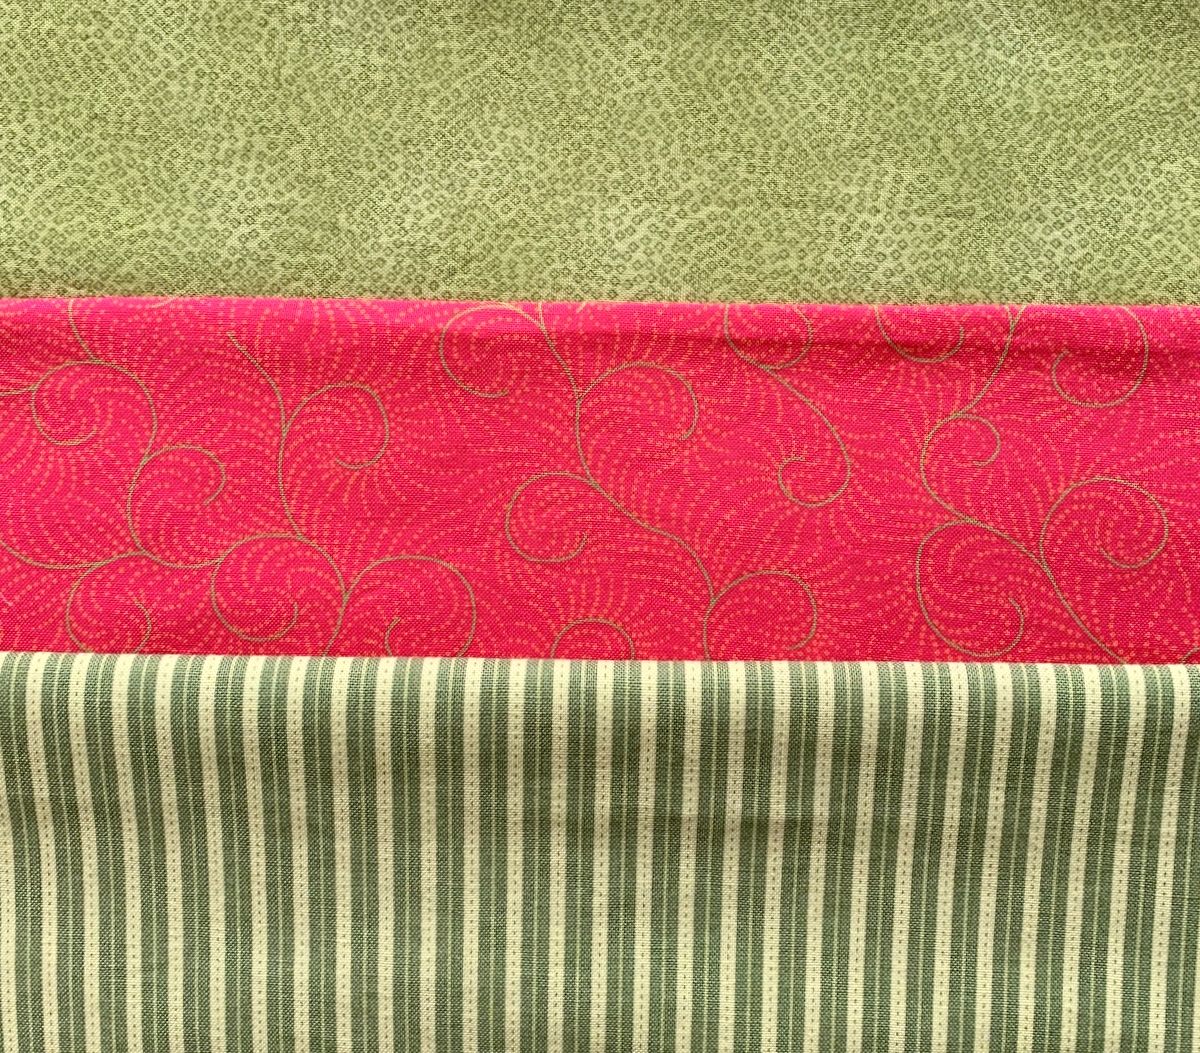
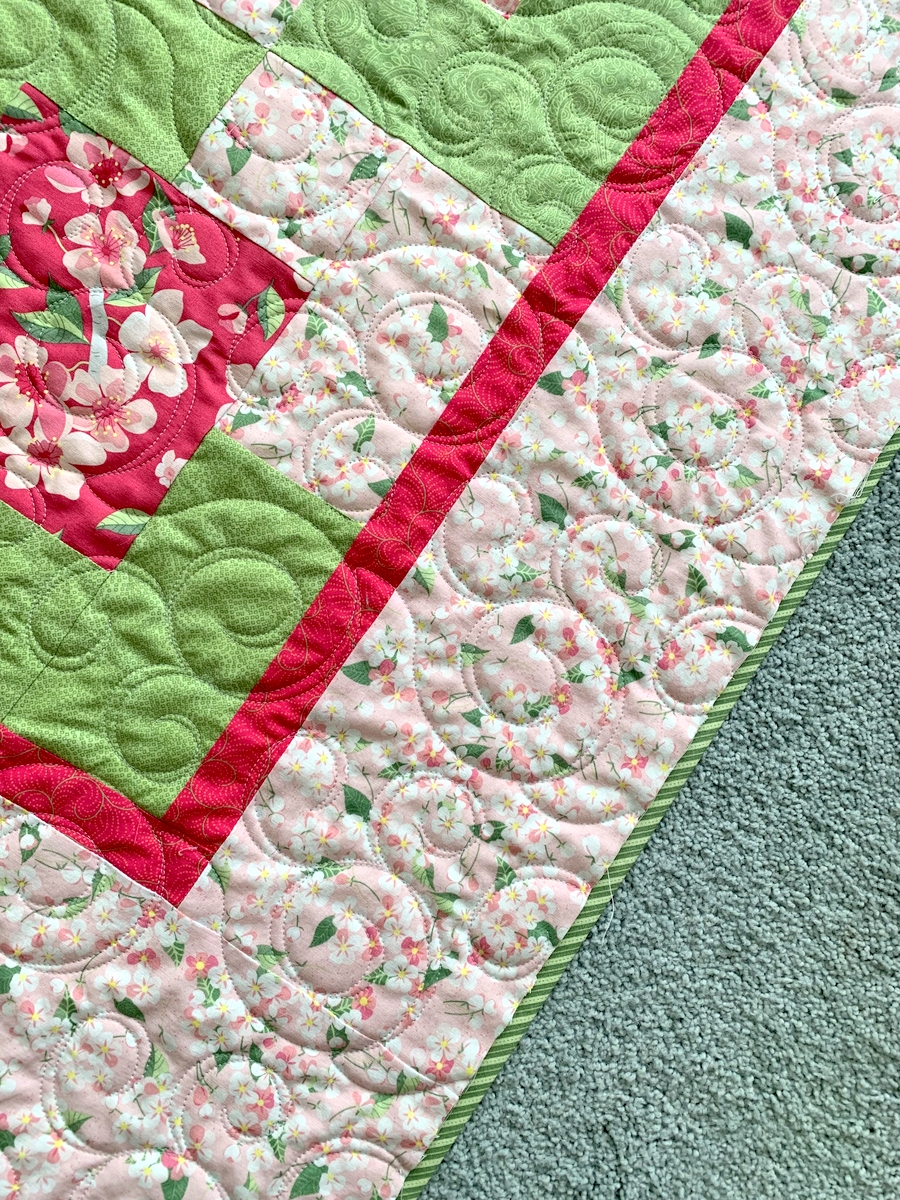
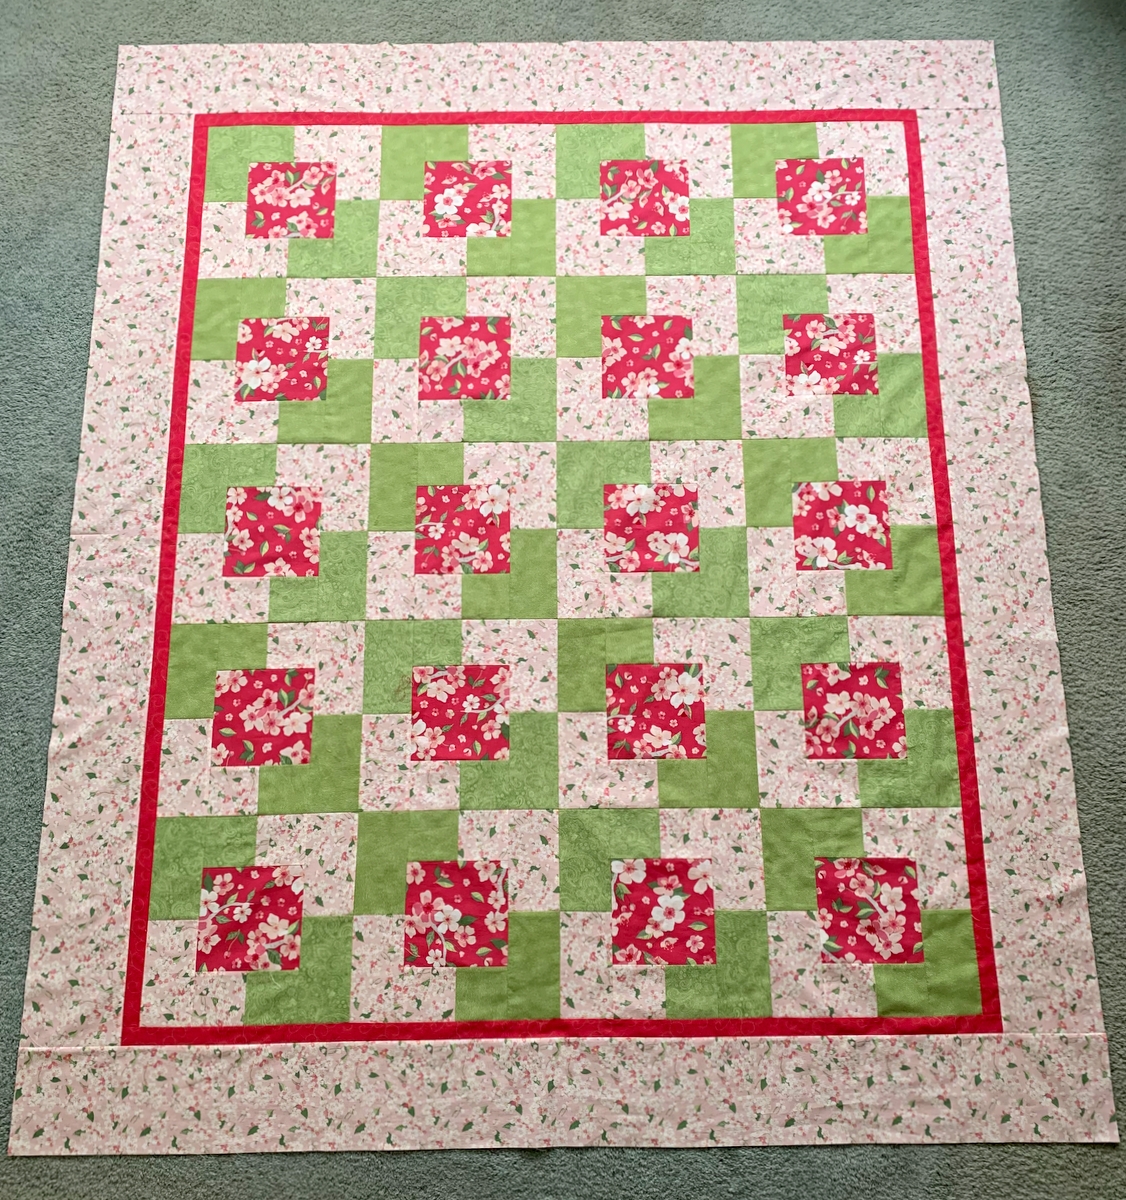
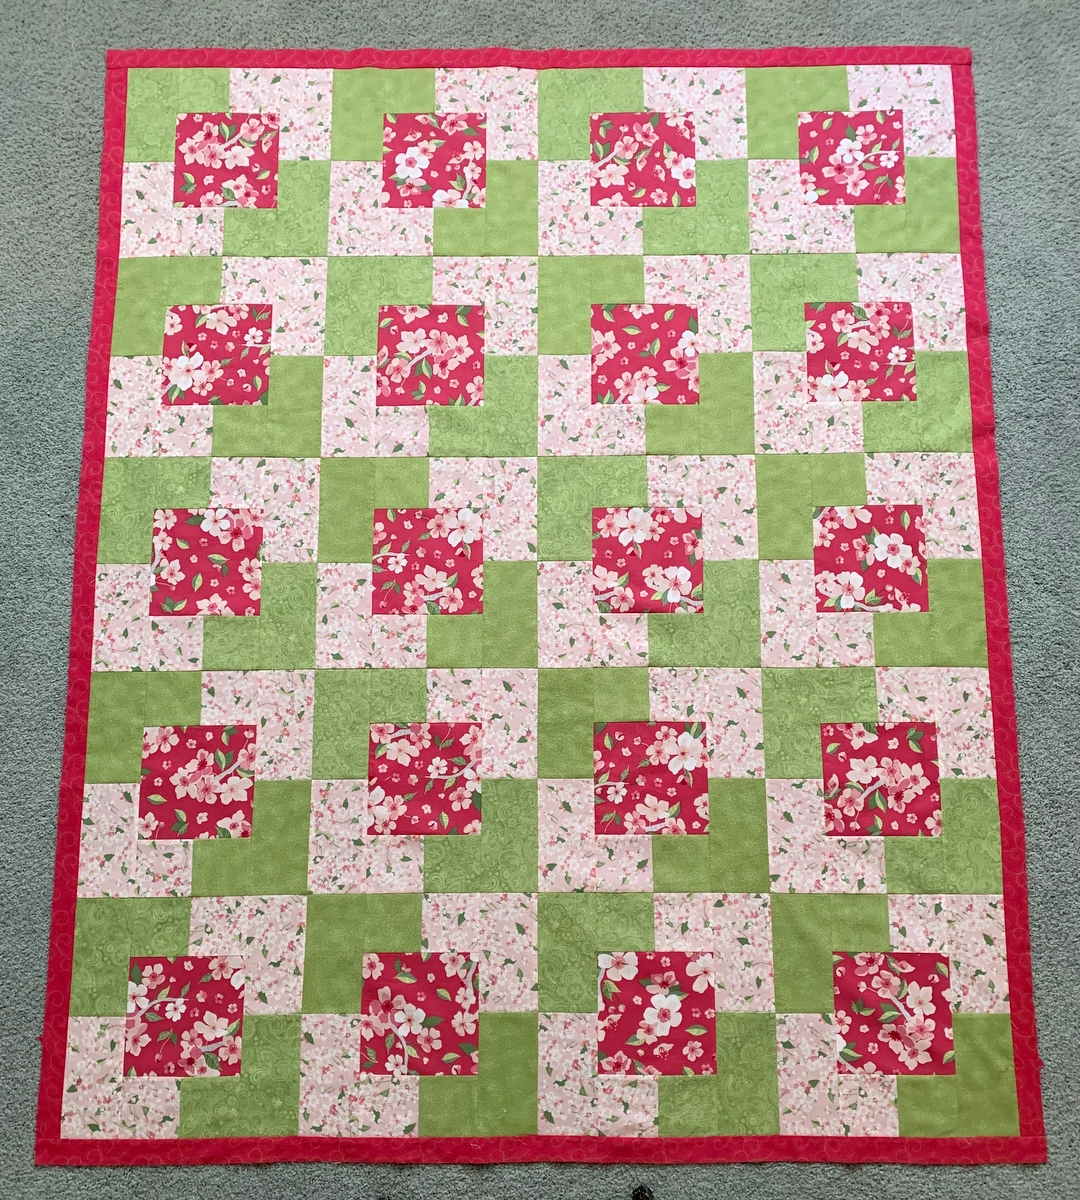
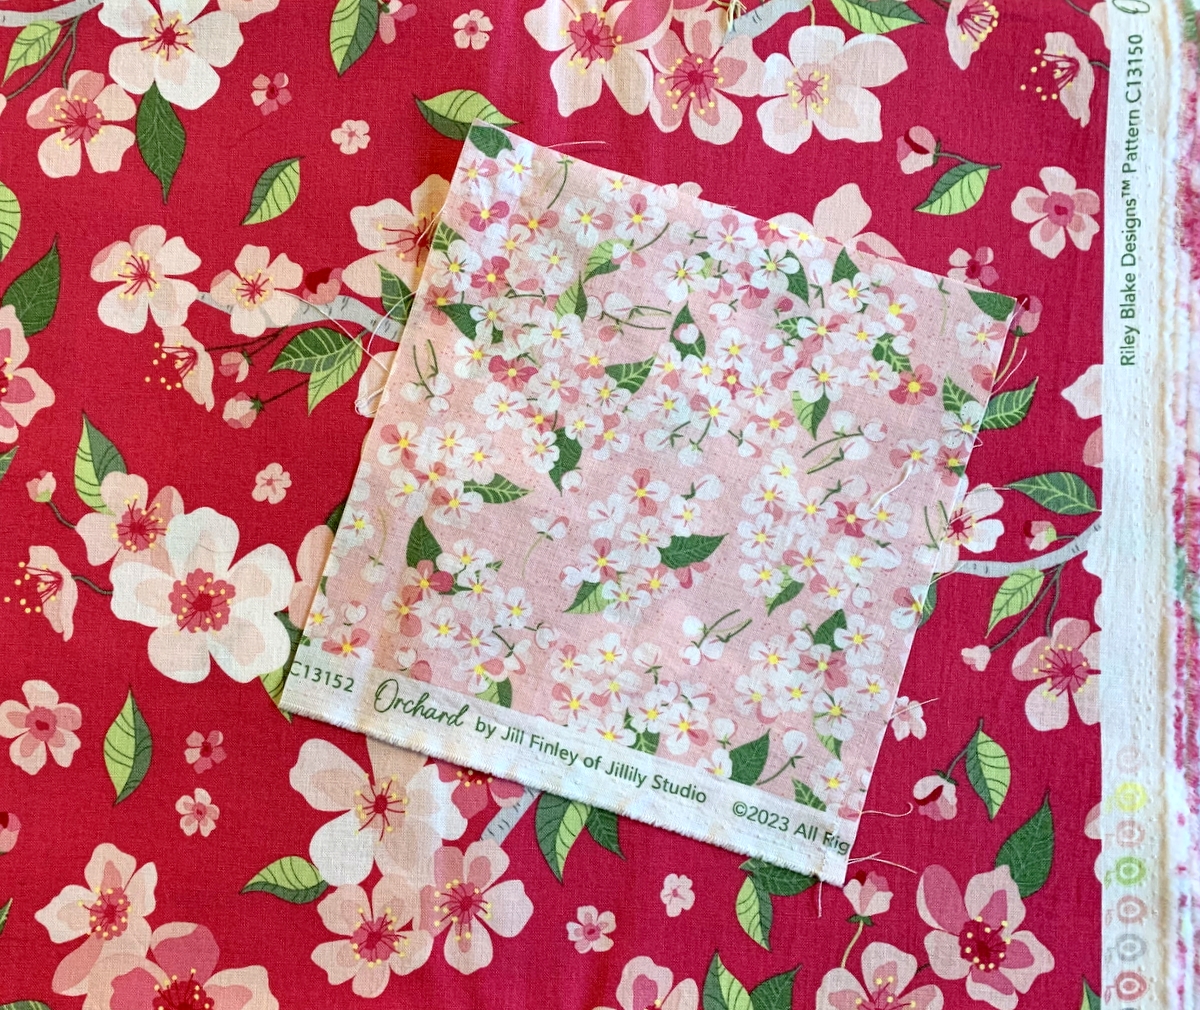
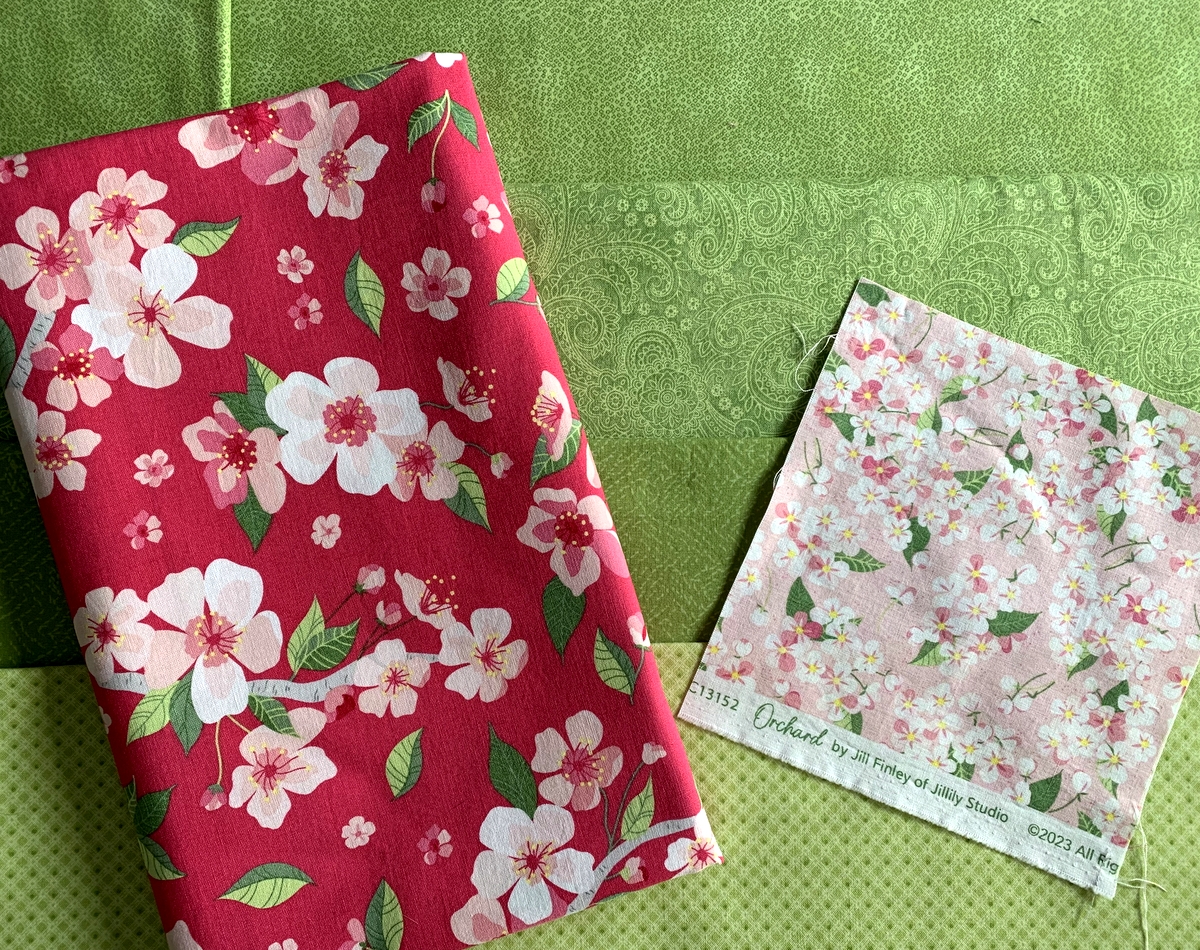
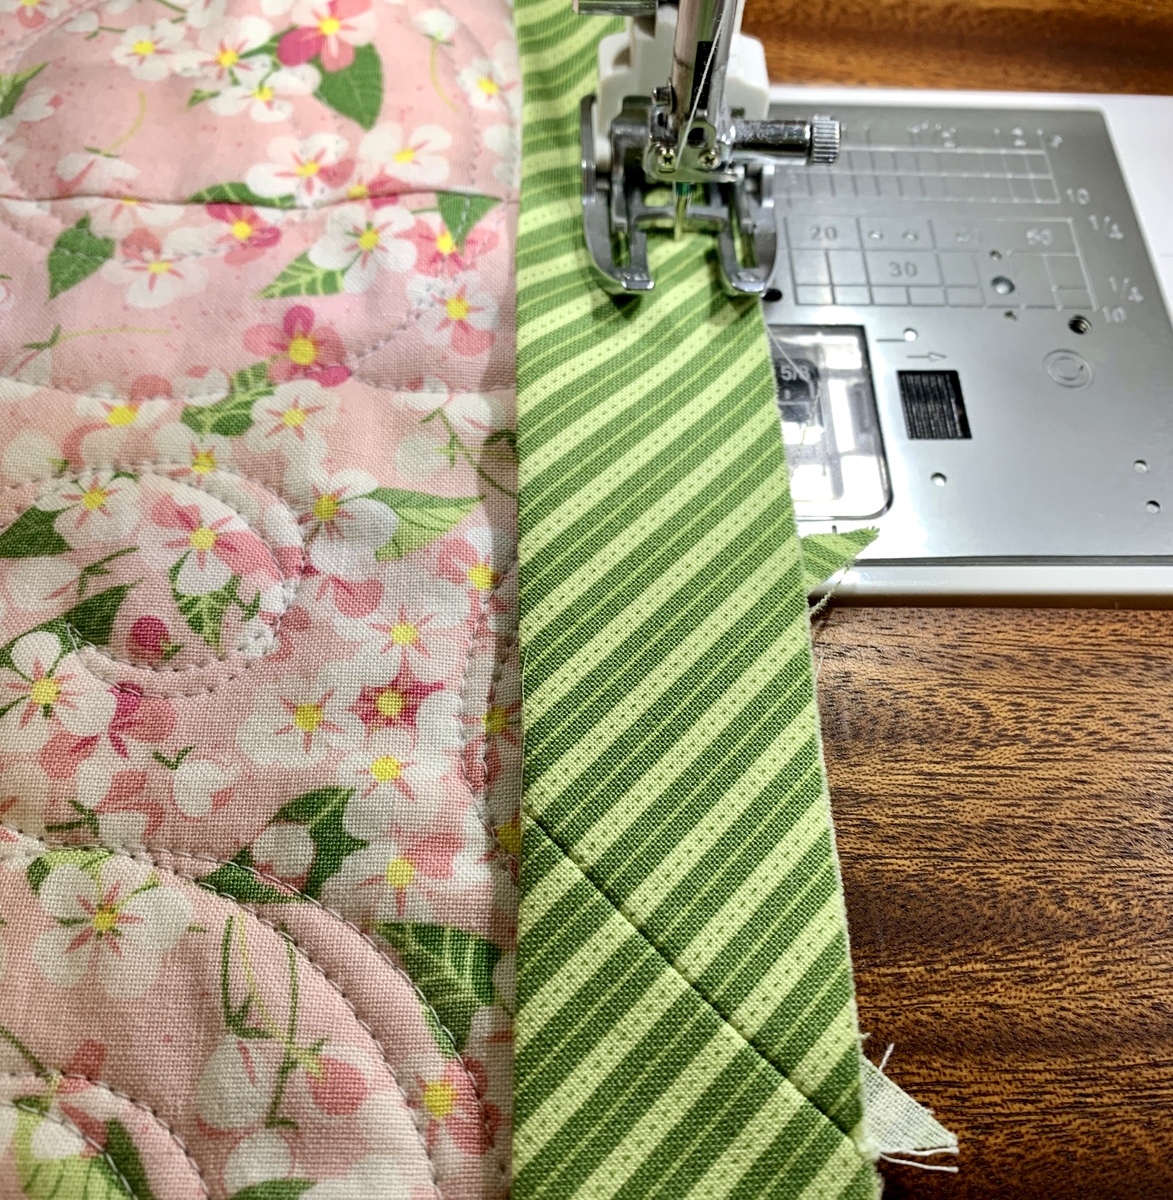 I love reaching this stage in quiltmaking. My cherry blossom quilt has been pieced, quilted, and trimmed. Now it’s time for the binding. For this quilt my bias binding strips were cut 2½” wide and I’m sewing the binding on with a ⅜” seam. I usually favor a quarter-inch binding but I wanted this lovely green stripe to stand out a bit more. The stripes remind me of blades of grass — yet another reminder of spring and very fitting for the name I have given this quilt, Celebrating Spring.
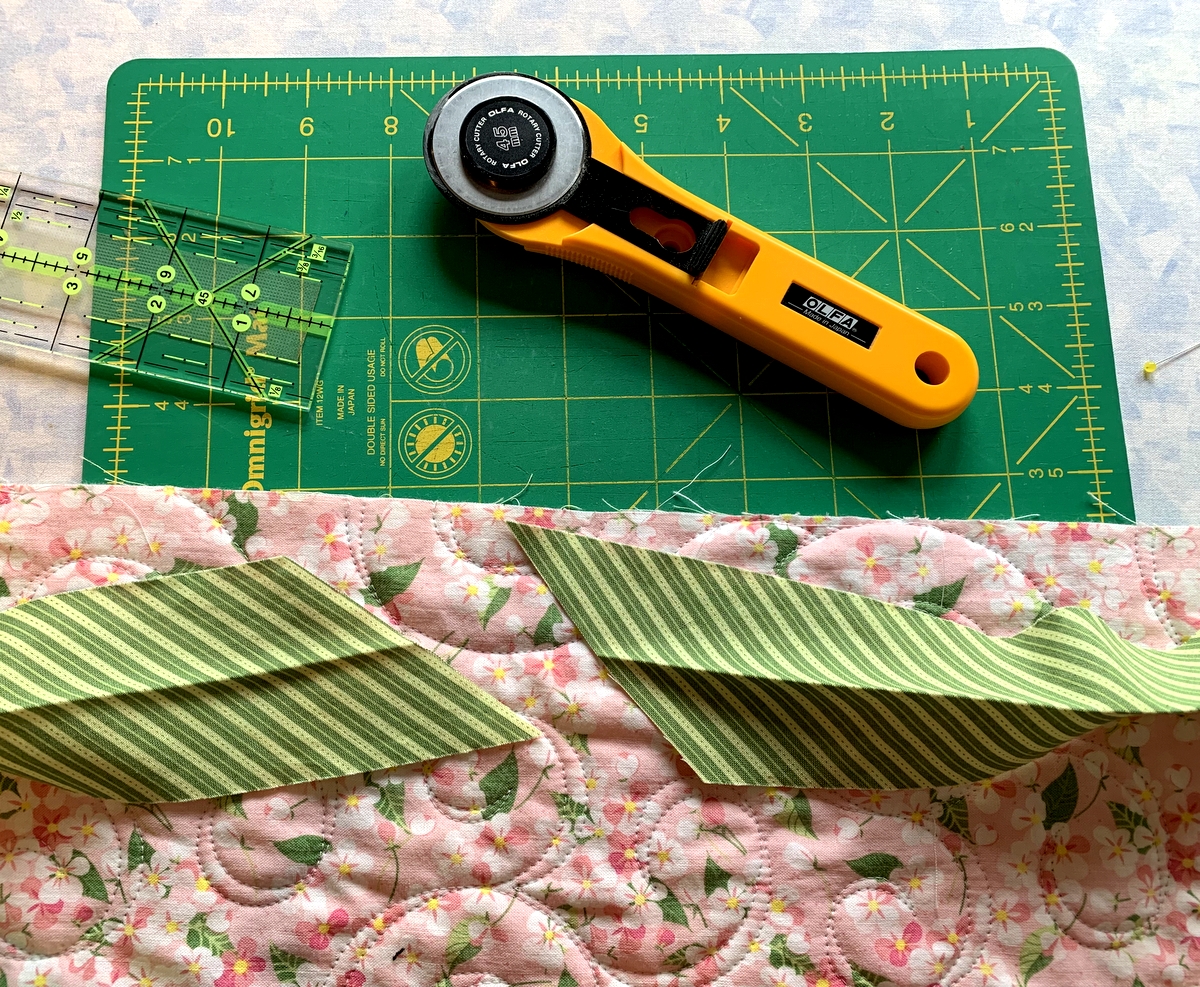 By playing around with binding scraps beforehand, I determined that the tails, when cut this way, would produce an almost invisible seam without interrupting the design. See what you think:
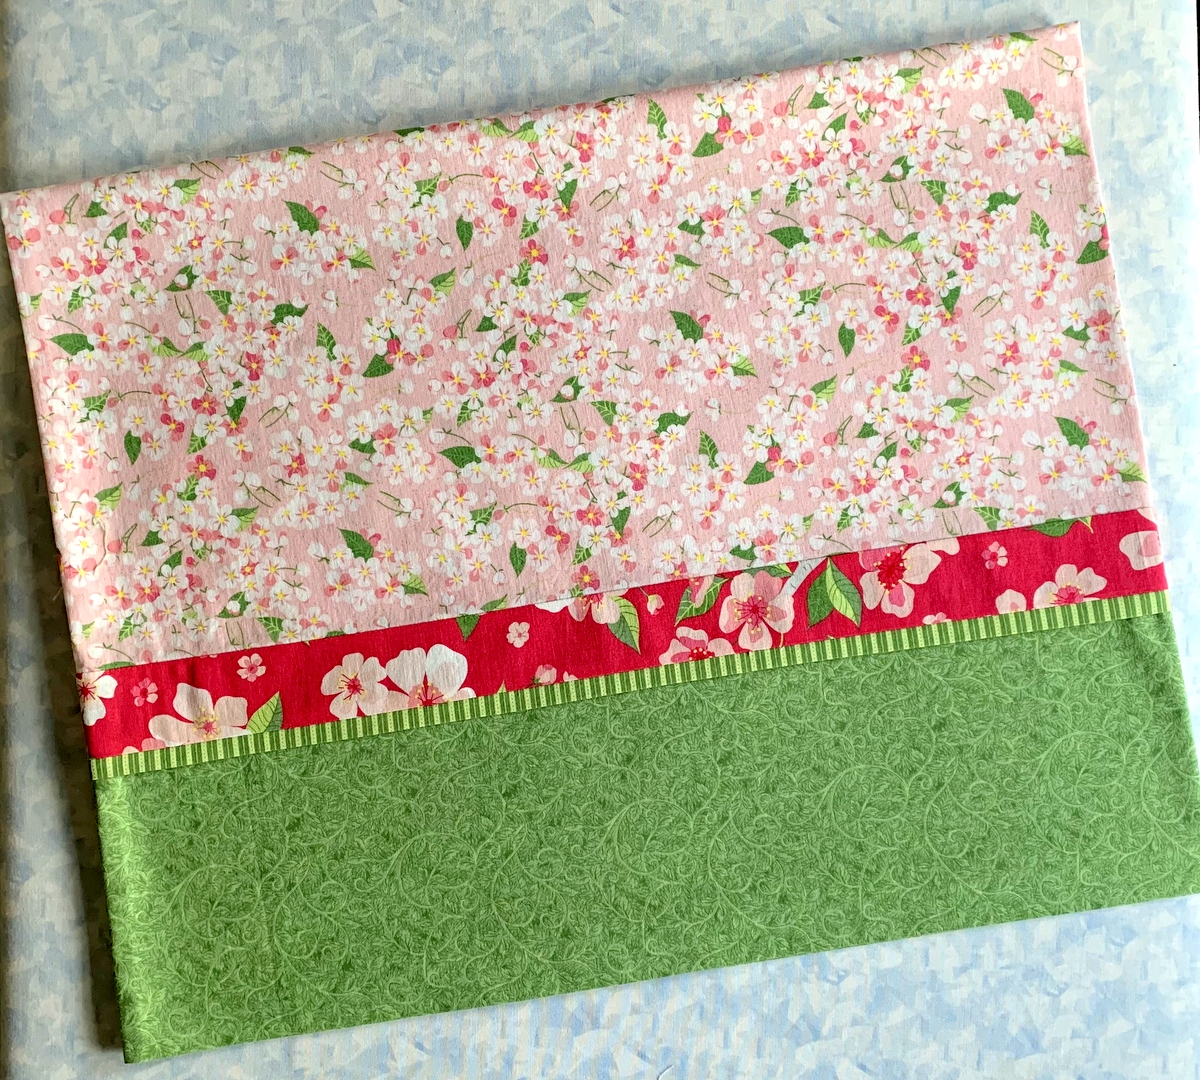
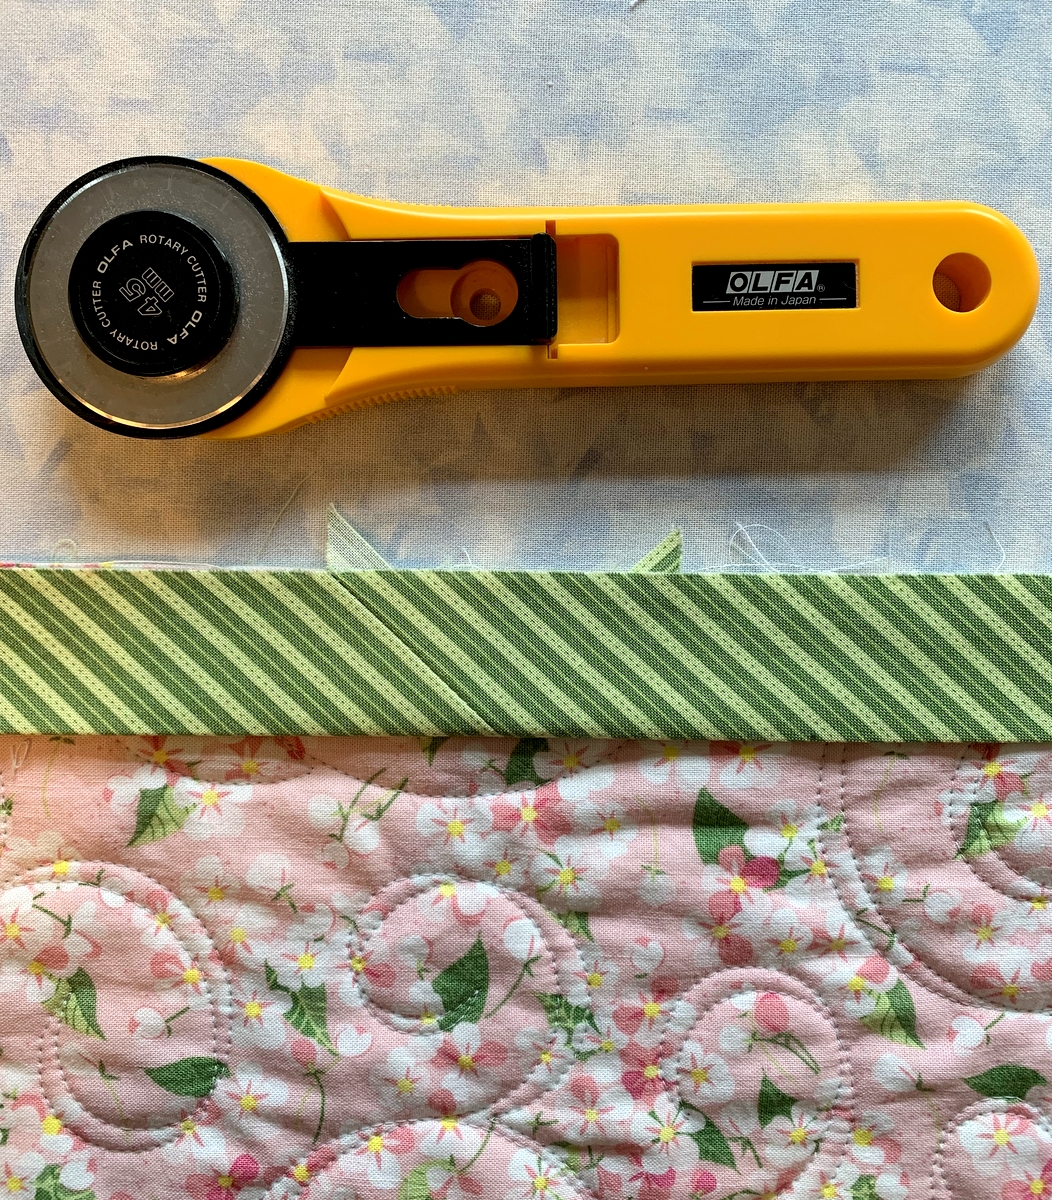 The seamline should be subtle but obvious. If you don’t see it right away, look at the left “dog ear” — that triangle sticking up along the raw edge.
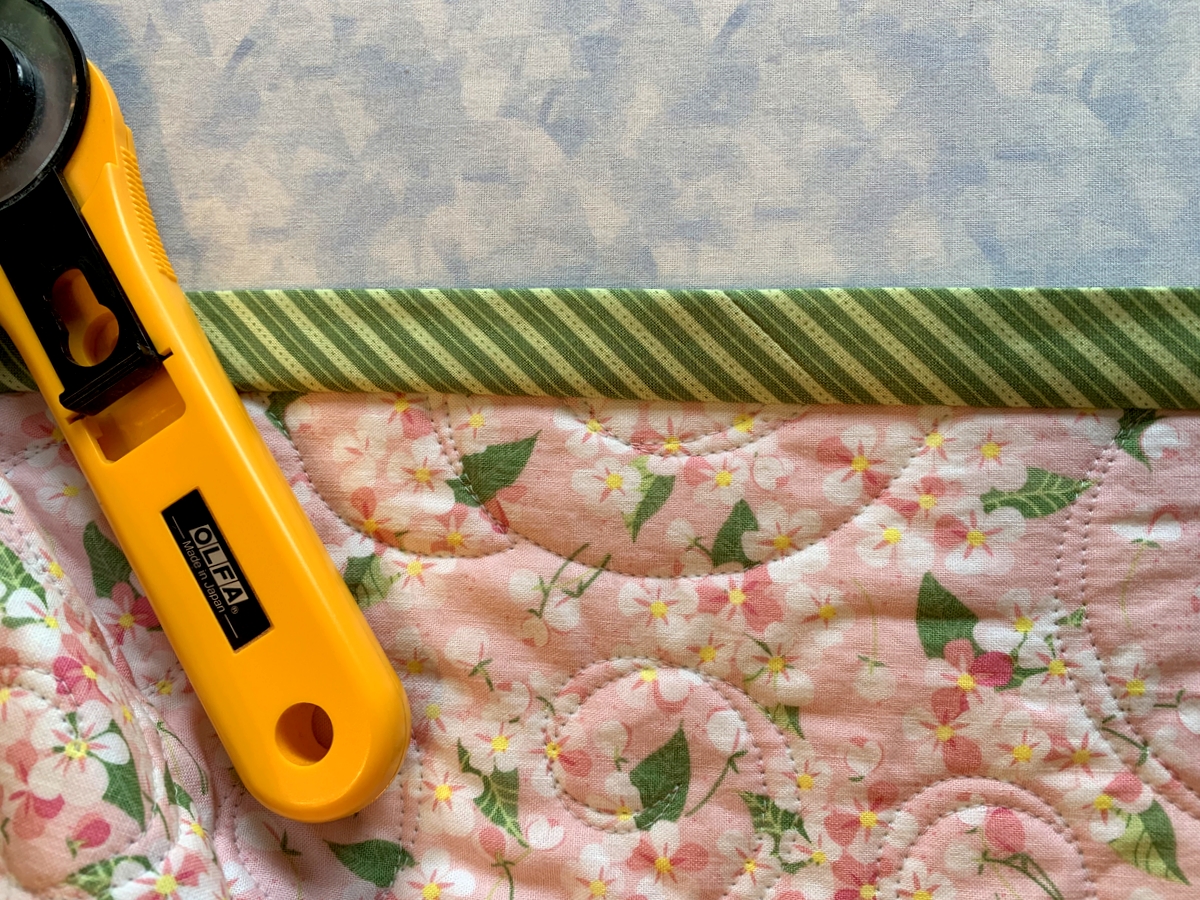 Just in case you don’t see it, look at the very tip of the bamboo stiletto: