Like most cats, my Princess Cordelia — known to most as Coco — is an expert napper. She has plenty of roosting spots around the house, including on our bed, on the couch, on the chair and ironing board in my sewing room, and wrapped around the Dear Husband’s head (I’m not kidding). Until very recently, the one place that was off limits to Coco was the guest room.
All that changed when my twin Diane came to visit in November and came down with Covid. I felt so sorry for Diane that I allowed Coco to keep her company. Coco quickly added the guest bed to her list of favorite spots to catnap. Although I love seeing cats on quilts (check out #catsonquilts on Instagram), I didn’t want Coco on the quilt in my guest room. She won’t let me trim her nails, and the last thing I want to see is claw marks marring the lovely canvases of my quilts.
I quickly put an old bath towel on the guest room bed, and Coco has been quite content to snooze on it:
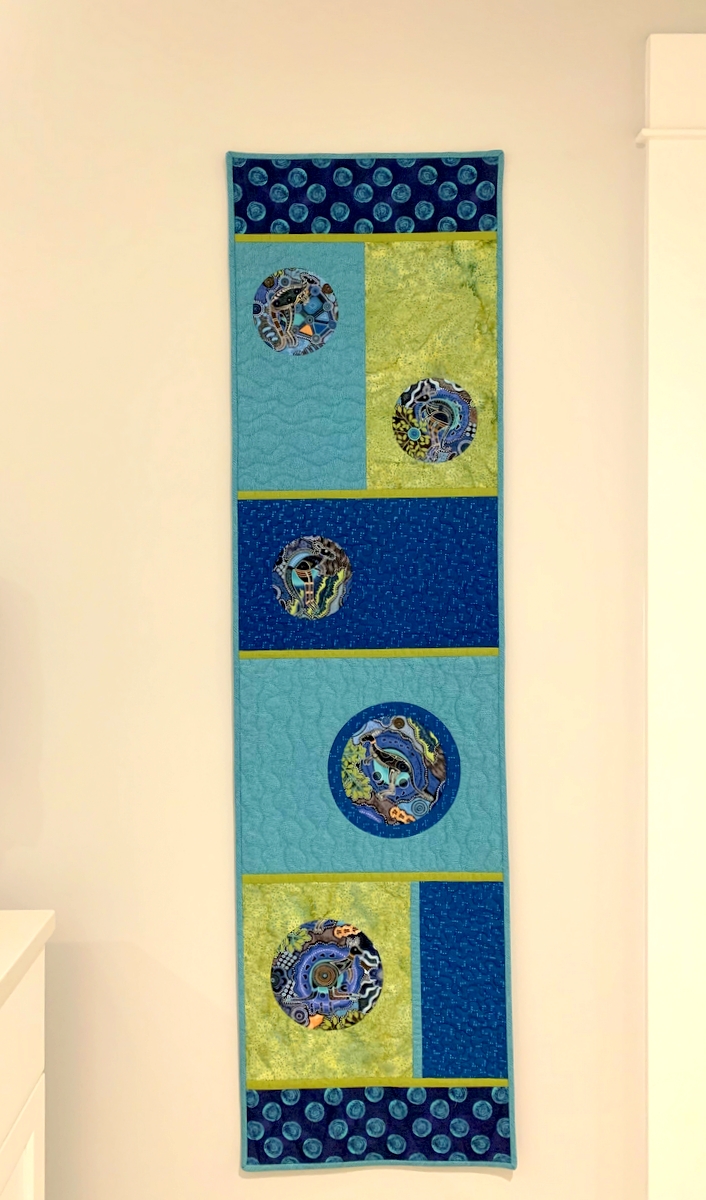
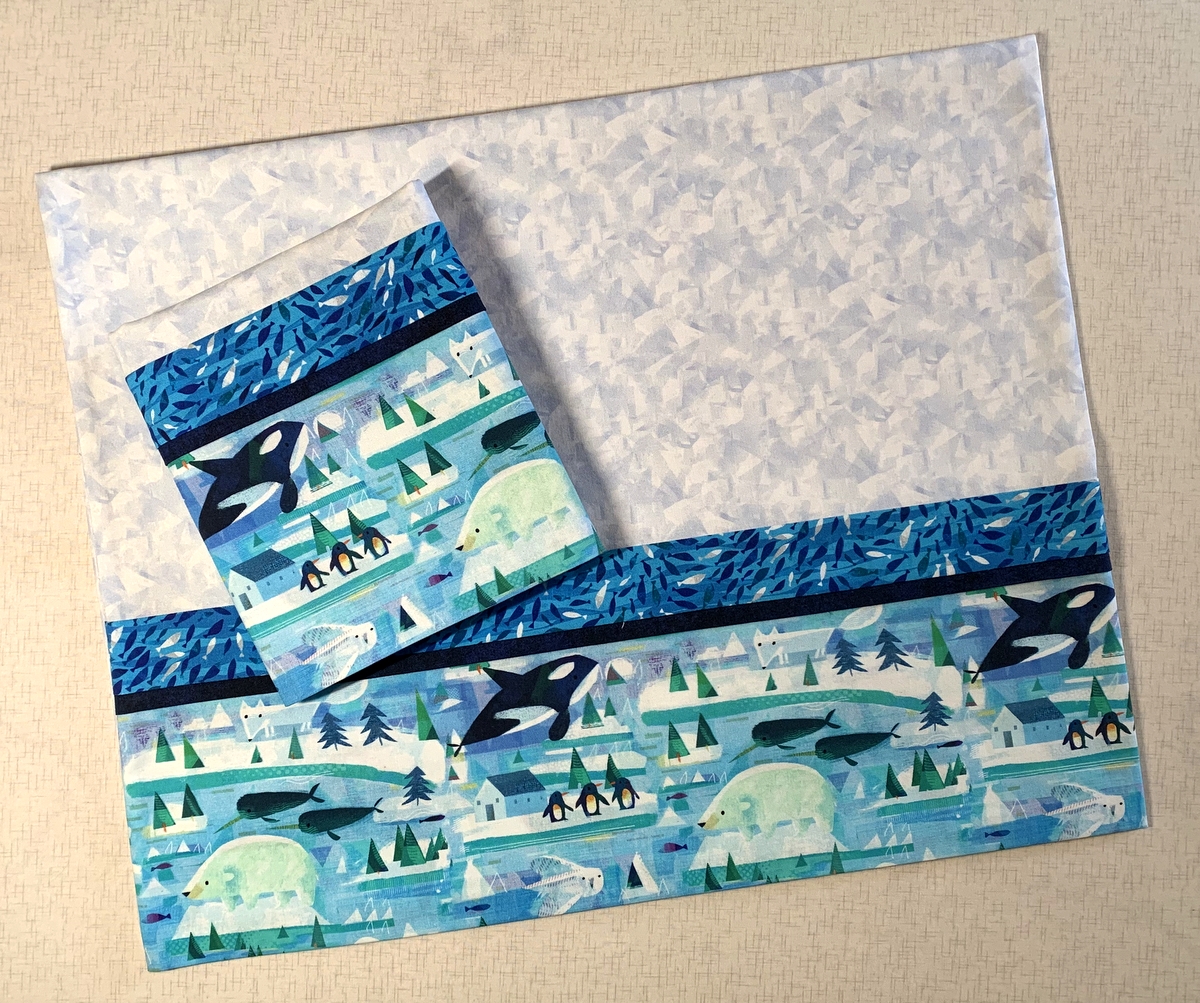
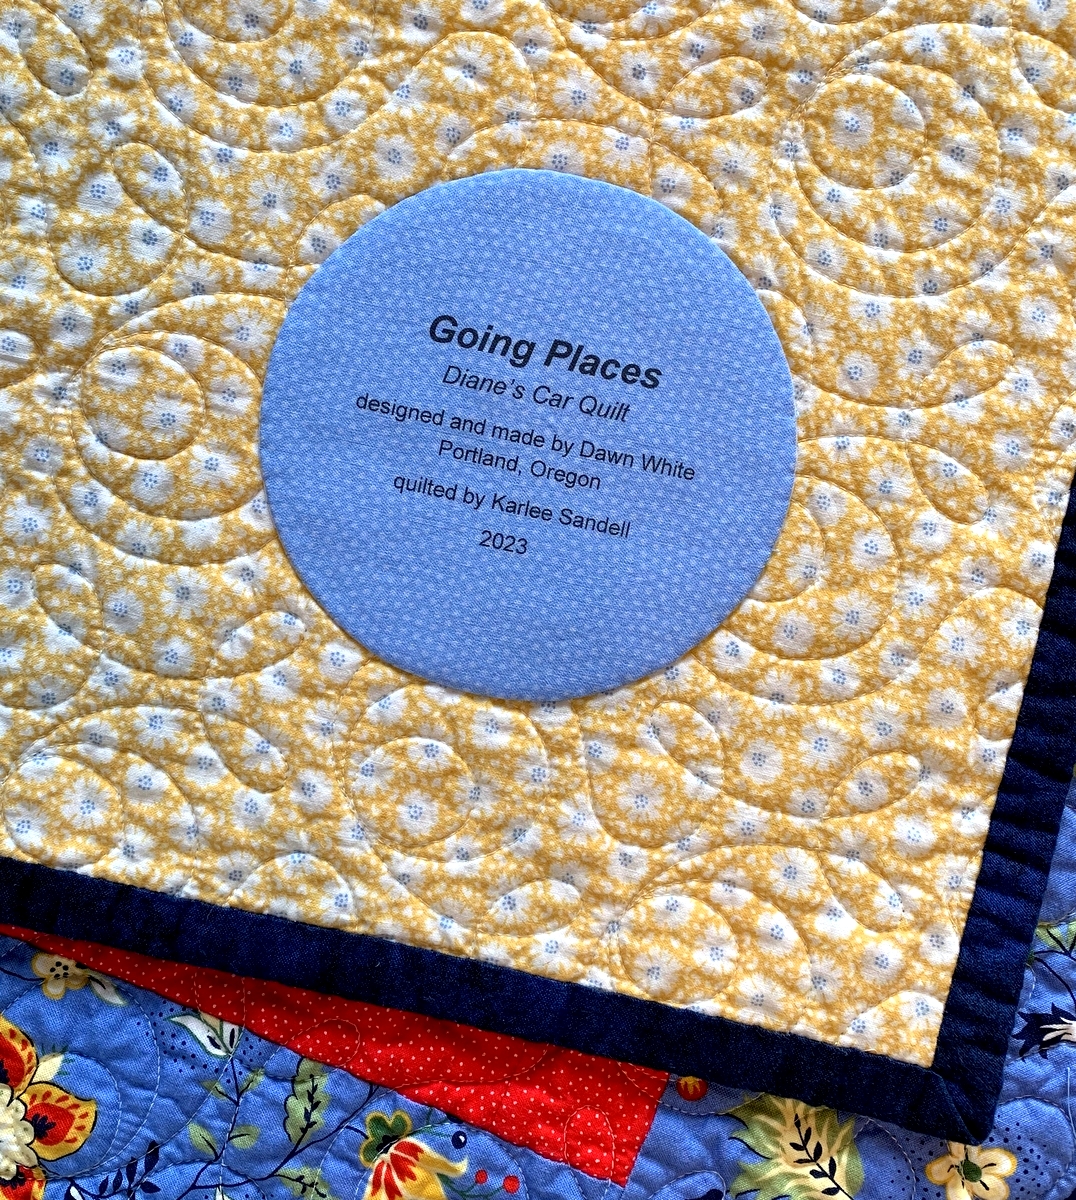
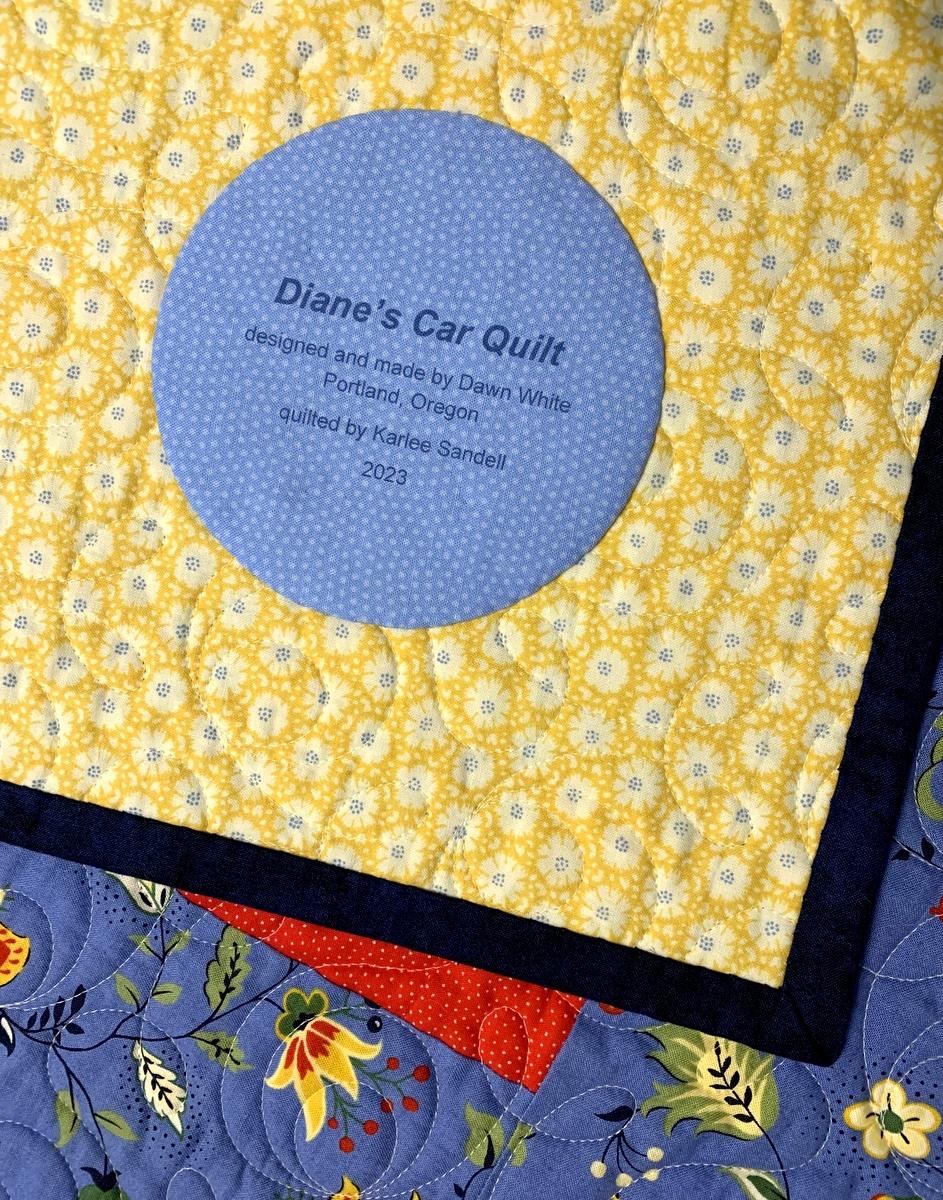
 Still, I thought it would be nice if she had her own quilt, so I whipped this up yesterday:
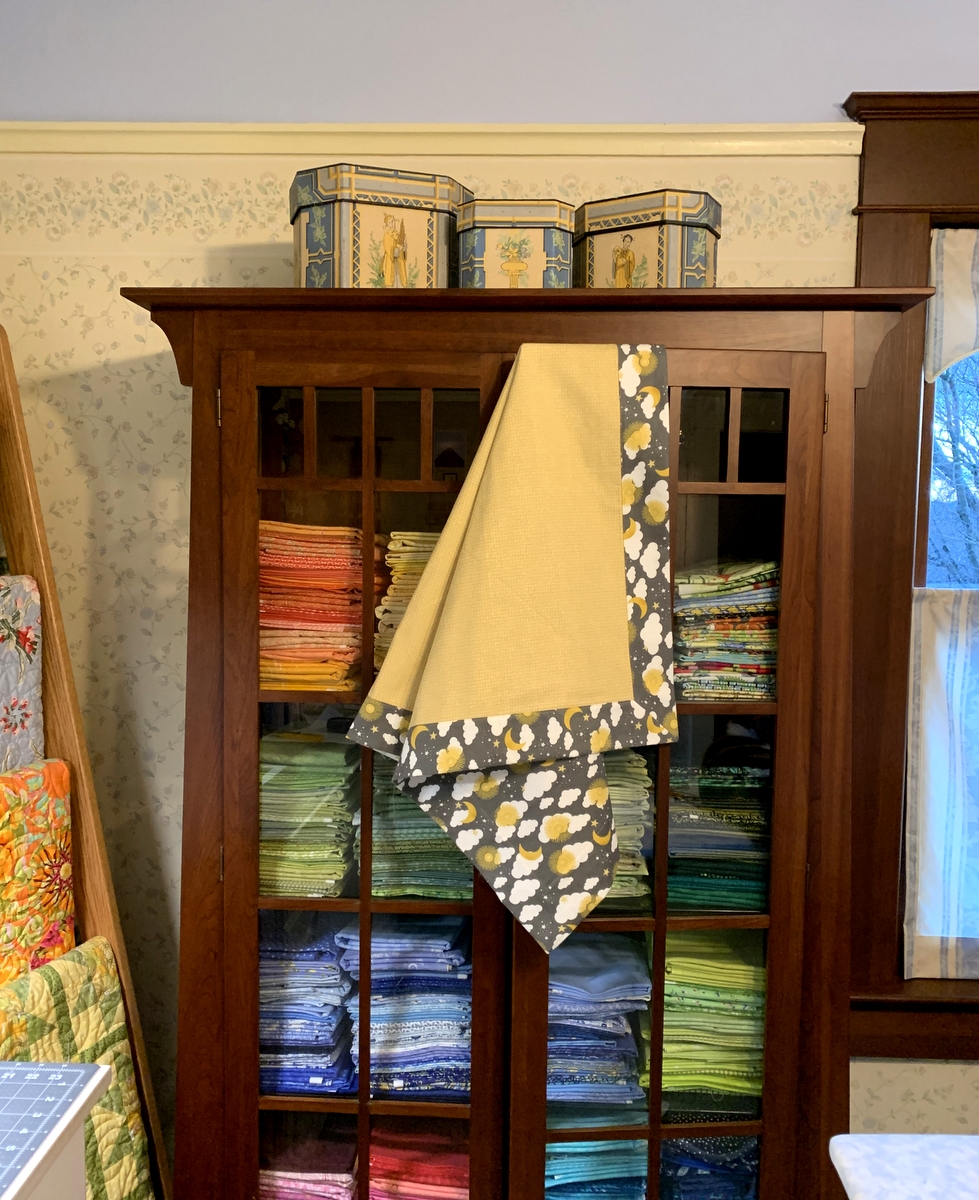 Of course it’s not a real quilt. It’s a flannel blanket made after consulting a few of the Self-Binding Baby Blanket tutorials abounding on the Internet. After completing the blanket, I stitched four straight lines in a starburst pattern in the interior to hold the two layers together because I wasn’t sure if the blanket would keep its shape after being laundered.
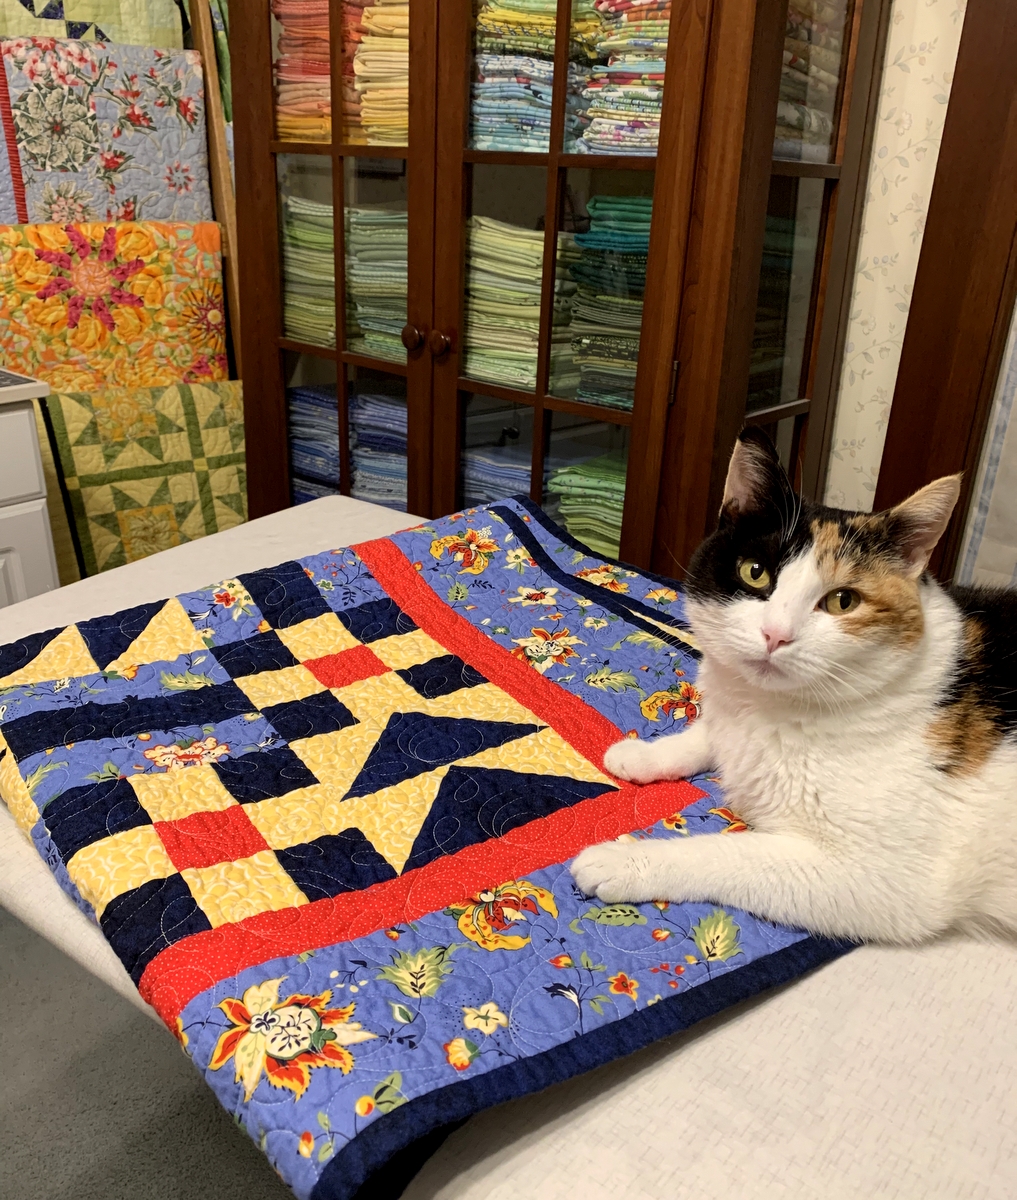
Here’s a shot of the blanket taken yesterday evening, in anticipation of a visit from Coco:
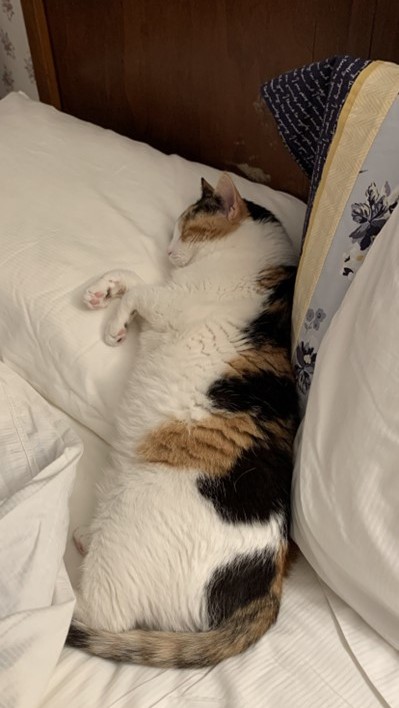
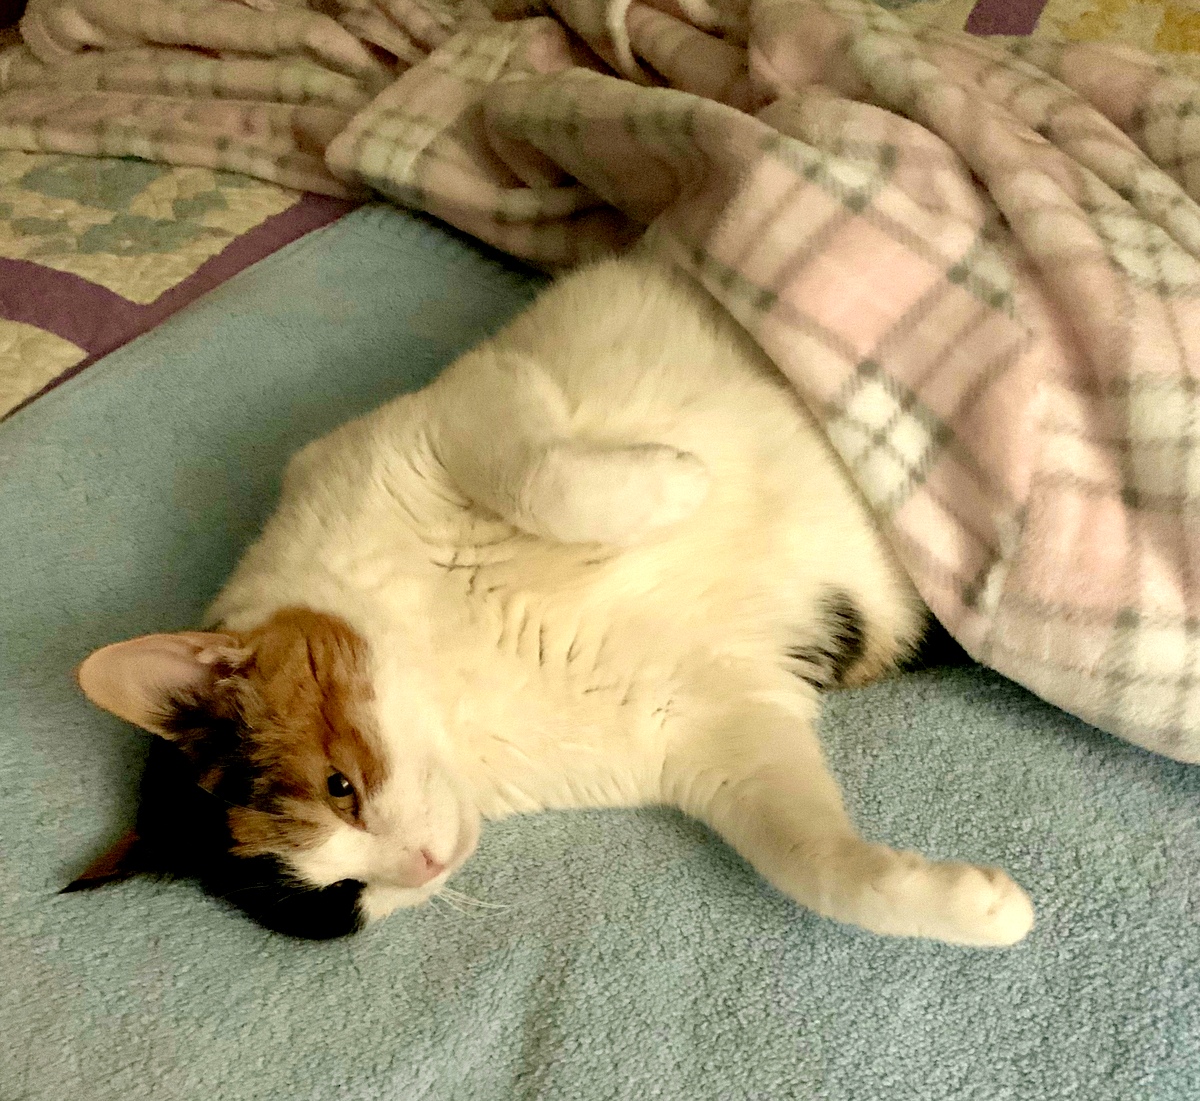
There was evidence this morning (an imprint of her plump body) that she had napped on the blanket sometime in the night.
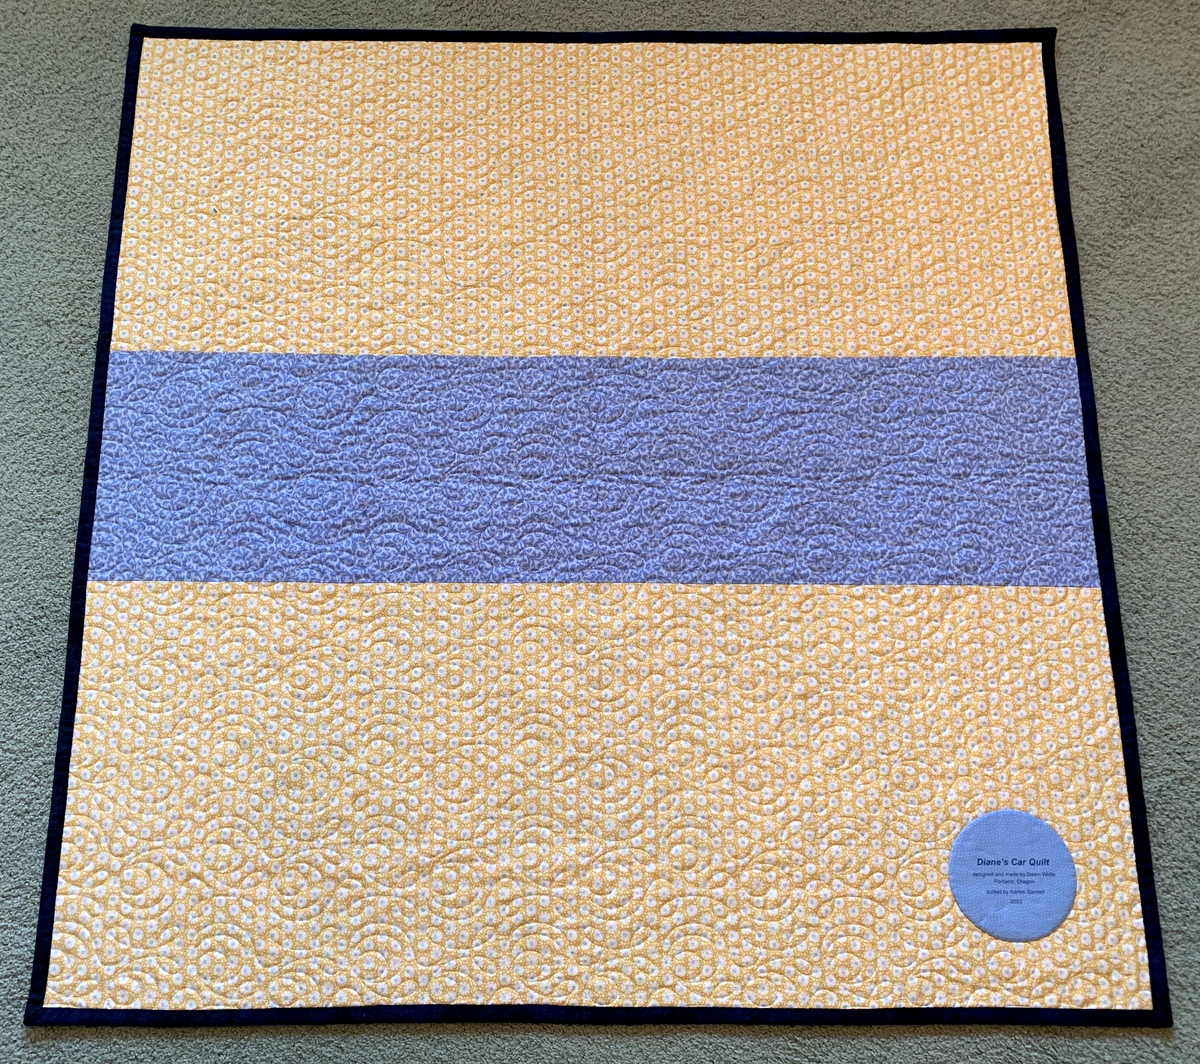
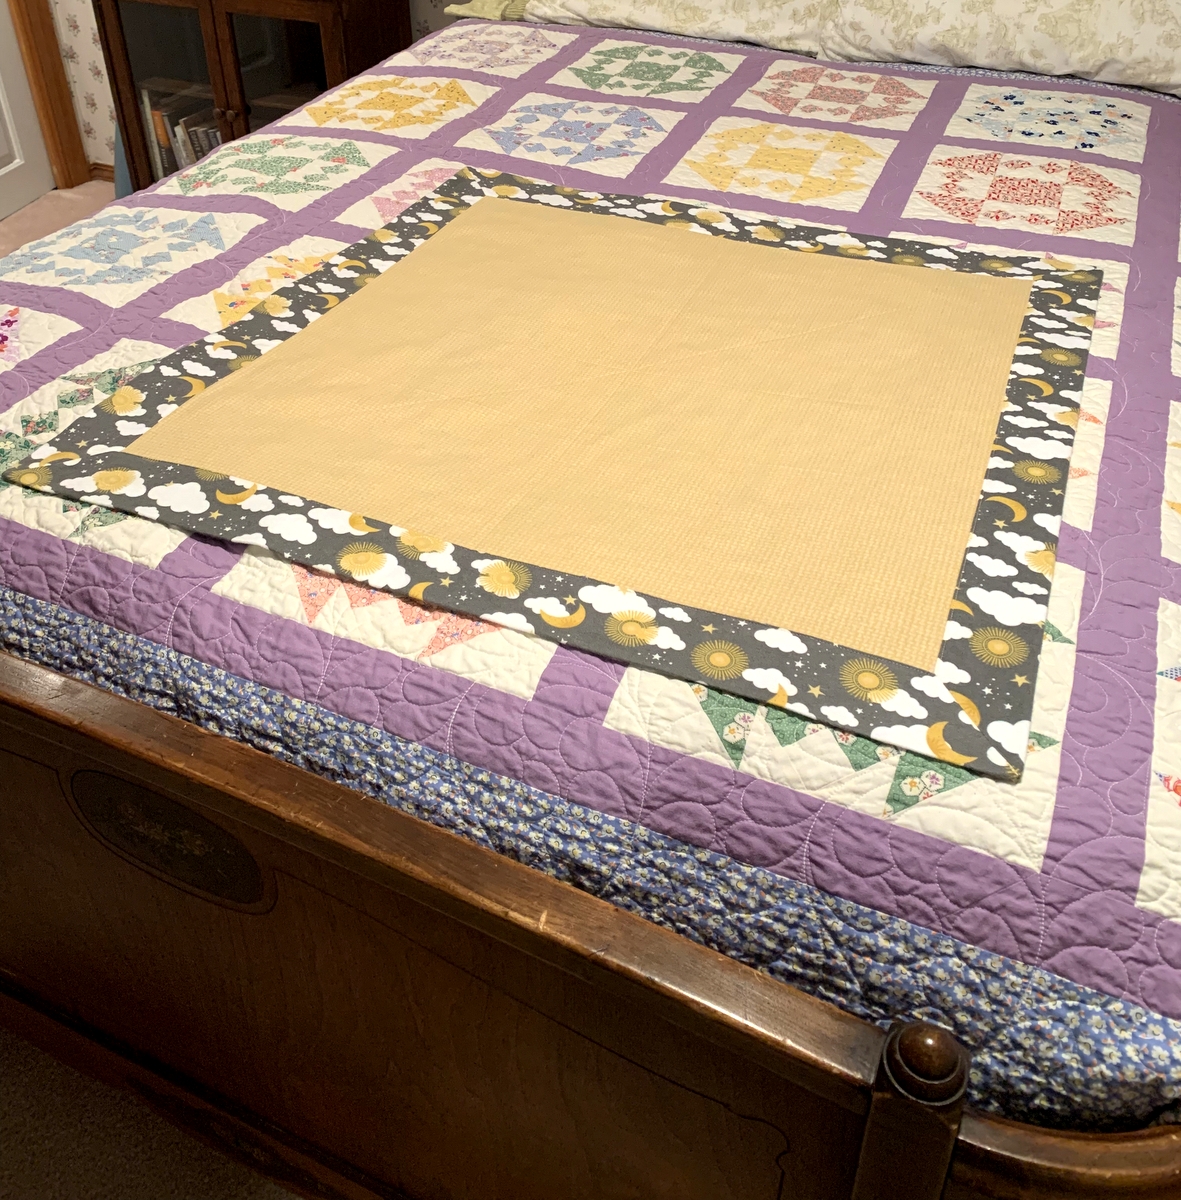
Today Coco’s Quilt (which is how I keep thinking of it) went into the washer and dryer. I am happy to report that the little quilt kept its shape beautifully. As expected, it did shrink because I didn’t prewash the flannel fabrics beforehand. It finished at 30.5″ square before laundering and 29″ square after.
As I made the blanket, I made notes to myself on suggestions and instructions I would add if I were to make another one. I’ll write those up and offer them in a subsequent blog post. In the meantime, I’m waiting for Coco to curl up on her new quilt. It’s just a matter of time.