Great Expectations

I was so sure I would get lots of hand appliqué done on my Hazel’s Diary Quilt blocks during my two-week visit to my sister’s home over Thanksgiving. Instead I found myself occupied with other things. Fun things, to be sure. We experimented with new recipes and baked and went shopping and watched Poldark on Masterpiece Theater and decorated Diane and Ed’s home for the holidays. And we played endless games of Scrabble.

It’s that last thing that kept me from getting more handwork done. My husband and my sister share this obession. Many times the three of us could be found sitting in the living room with our noses in our iPads, playing Scrabble with each other and not uttering a word. Diane’s husband Ed — who does not play Scrabble — looked on, bemused.

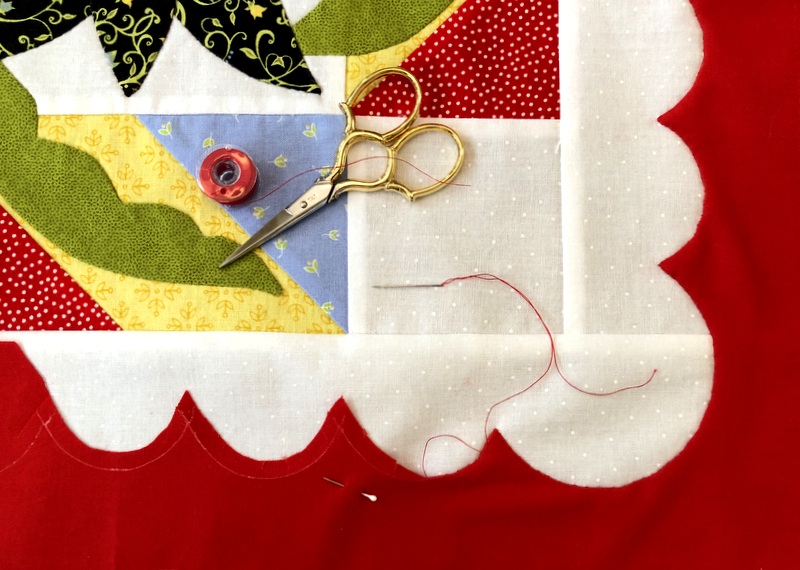
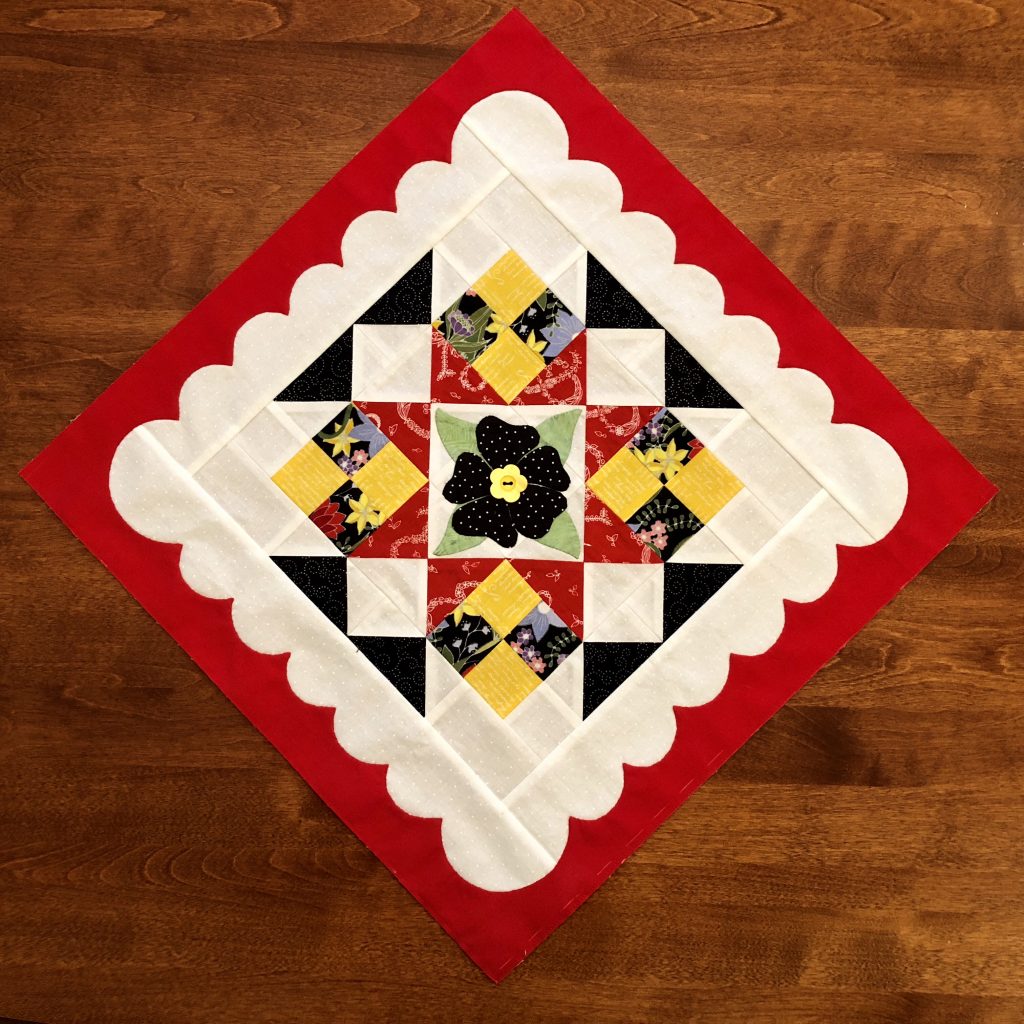
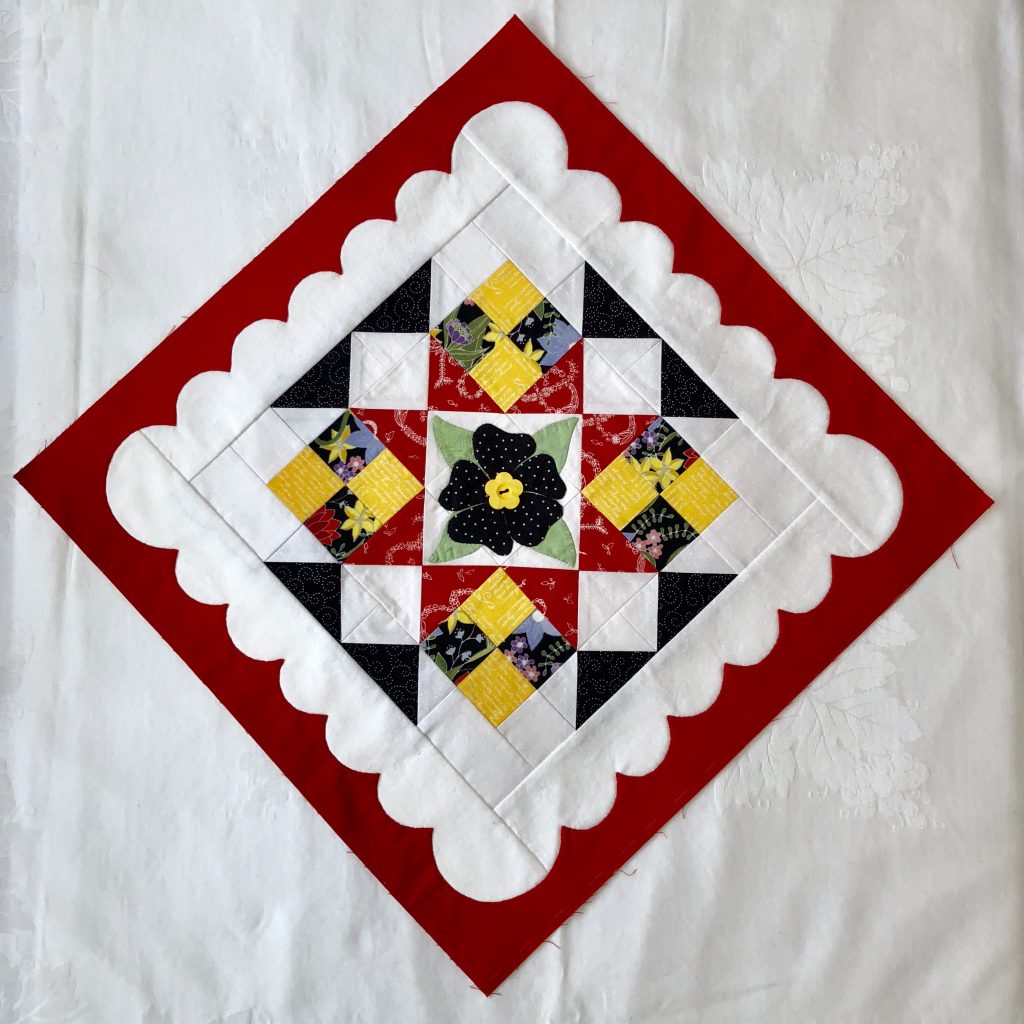
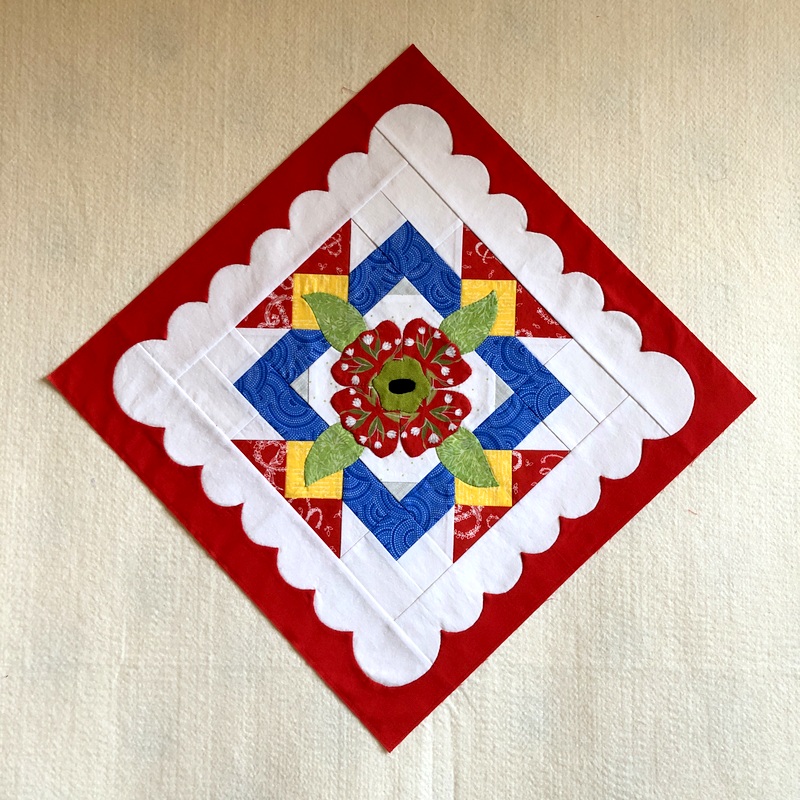
I did manage to complete one red scalloped frame (pictured in this post) and got started on another one:

Since returning home almost a week ago, I’ve picked it up a couple of times but keep putting it down. It may look fine from a distance but I’m not at all happy with some of the points and curves. I don’t know whether to keep going or rip it out and start over.

Best to put it away for a while. Not the entire project, though! I still have one more block that needs appliqué in the center (and I still want to remake the last block I pieced since I don’t like my original fabric choices). Maybe needleturning some small shapes will get me going again on those red scalloped frames.

I know: the more I do it, the easier it will become. I need practice — and patience.


Posted in appliqué, family, needleturn appliqué, Scrabble, update | 3 Comments

In the Lap(kin) of Luxury

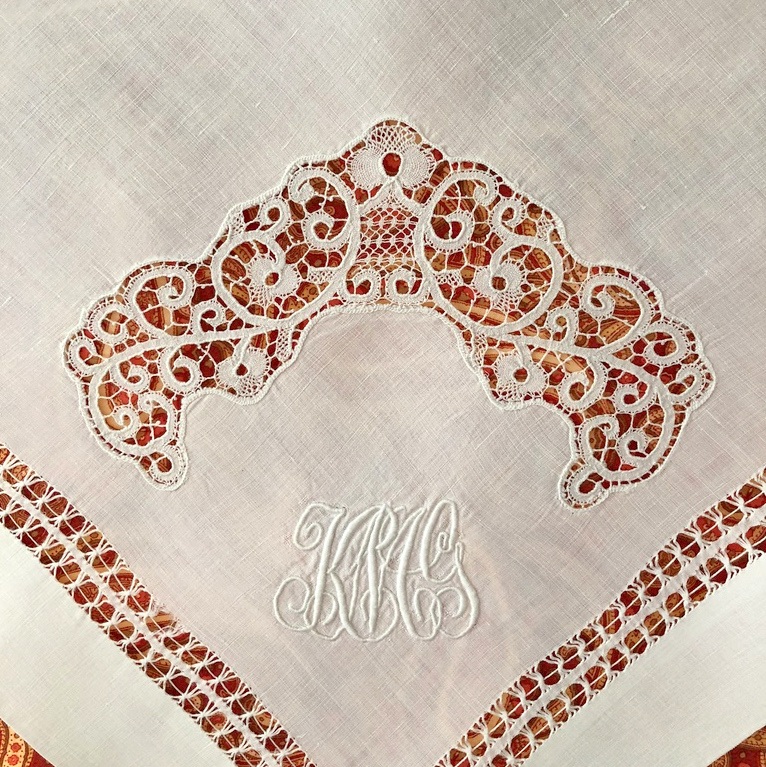
Many years ago my sister Diane and I found a set of four oversize napkins at a vintage linen shop in Portland. The proprietor told us they were called “lapkins.” Measuring around 27″ square, each lapkin is beautifully monogrammed with the initials KMG and has a lace insert and faggoting around the edges. We imagined them tucked away in a hope chest as part of a young bride-to-be’s trousseau or laid out at an elegant dinner party where splendidly clad ladies and gentlemen sipped champagne from crystal goblets.

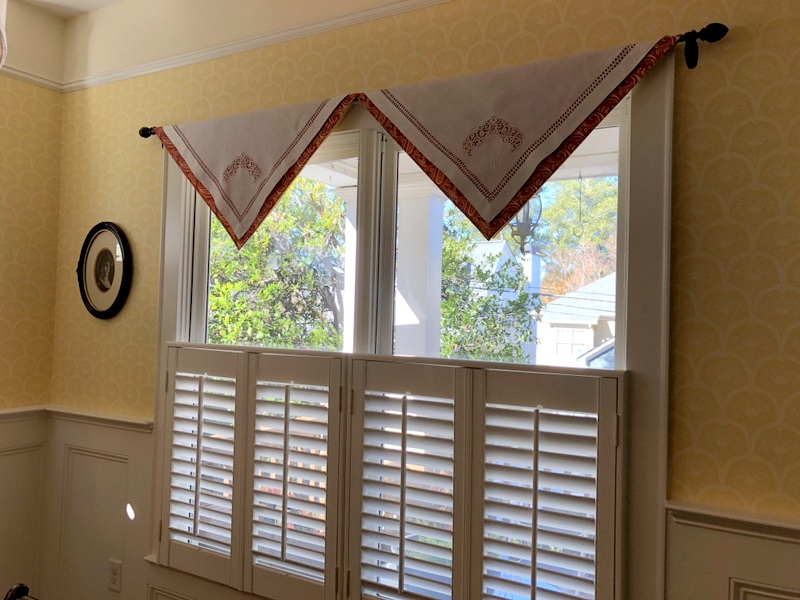
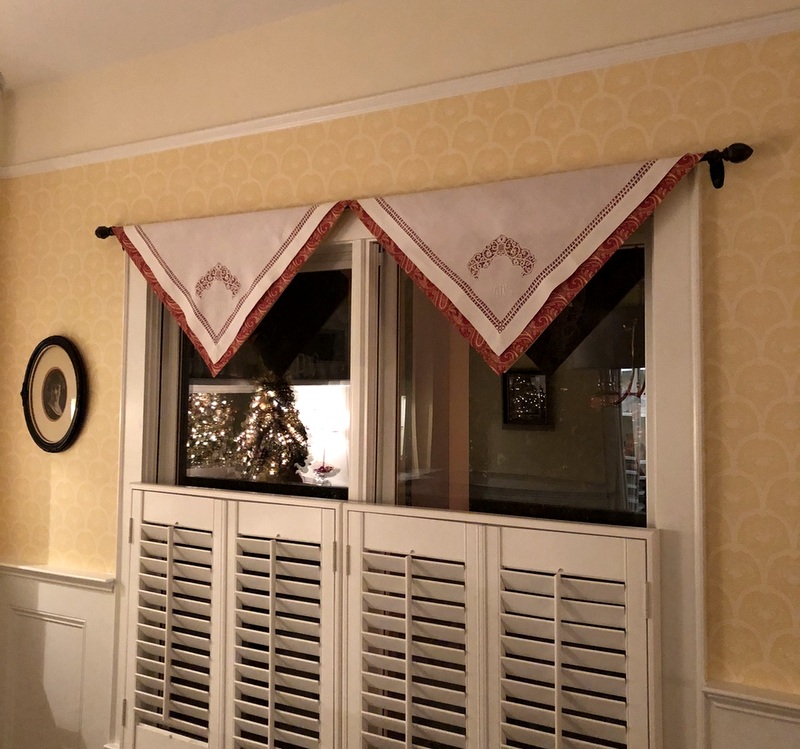
We split the set. My two napkins are still neatly folded away in my linen closet. Diane’s, however, are part of an updated window treatment in her dining room. That window treatment was my home dec project during this two-week visit to her home over Thanksgiving:


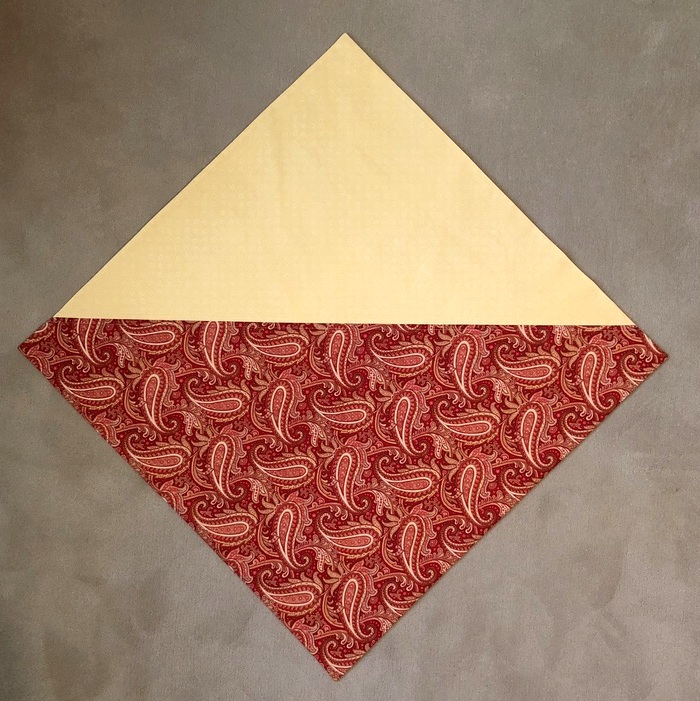
As projects go, it seemed simple: all I had to do was make two squares of fabric that could be draped on point over a curtain rod before the napkins were added. But Diane wanted the fabric seen from the outside to be yellow to match the paint color on the exterior of the house. (Does this sound a little obsessive-compulsive? Like something I would do? It’s a twin thing.)
The solution was a two-tone square:

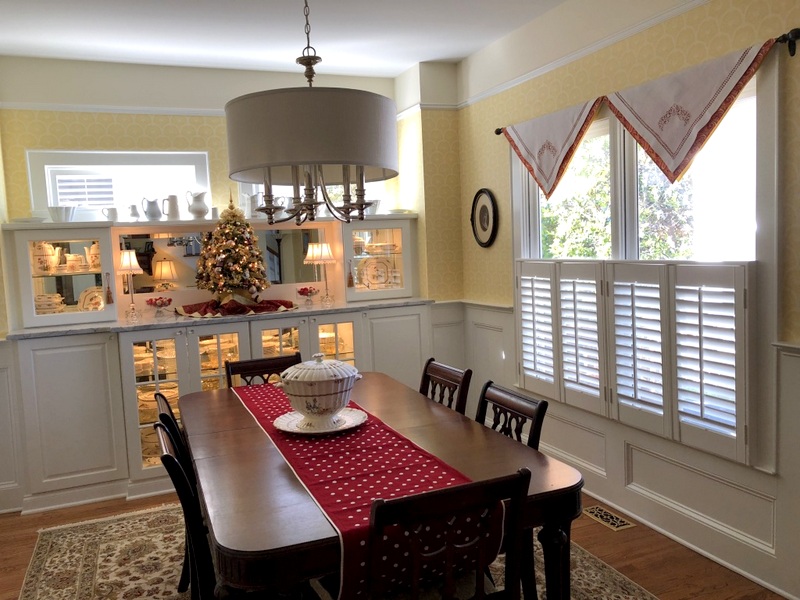
I had brought these fabrics with me — part of my stash of quilting cottons — thinking the colors would work well in Diane’s dining room. Isn’t that a gorgeous paisley? Although most of the paisley print is covered by the lapkins, enough can be seen to tie the window treatments in with the rest of the dining room decor:
The dark print is also a good foil for the detail on the lapkins:


Here’s a look at night, with some sparkly Christmas decorations reflected in the windows:

Now I’m inspired to get my lapkins out of my linen closet and transform them into a window treatment in my own home.


Posted in family, home dec, update | 10 Comments

Making and Baking

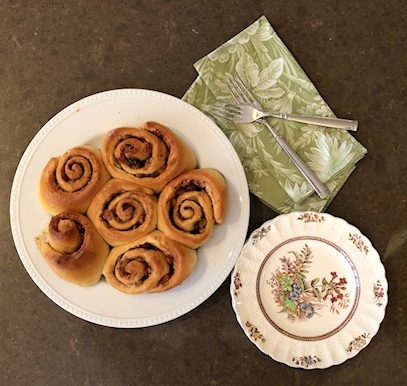
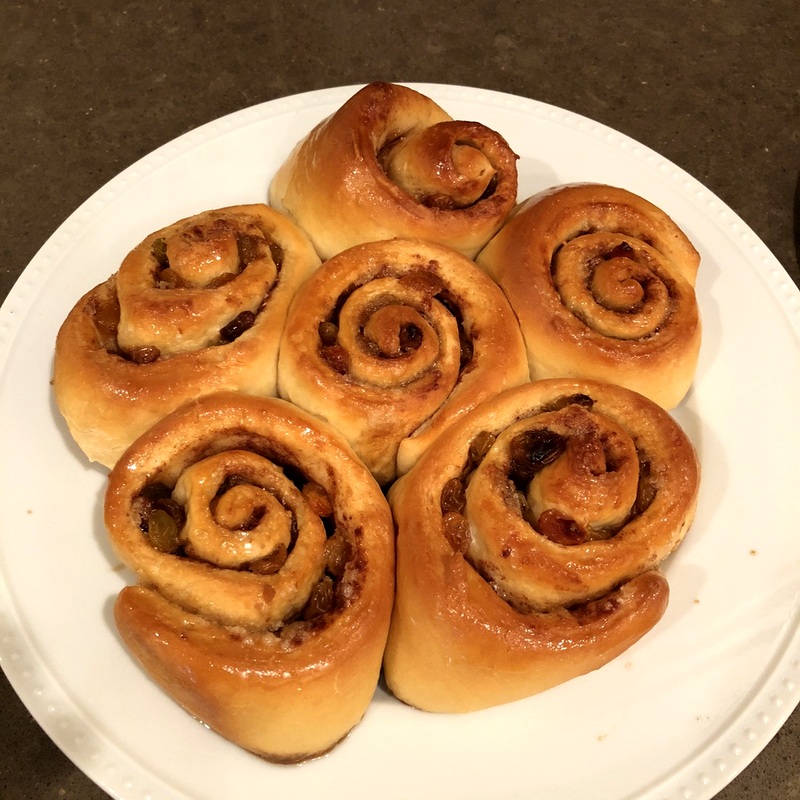
Friends, I wish you could smell what I am smelling now. My sister’s home is redolent with the yeasty smell of cinnamon rolls that just came out of the oven. We wasted no time in seeing if they tasted as good as they looked. (Boy howdy, did they ever!)

And guess what? Diane and I made them together. It was a first for me. I’m not much of a baker, although I surely do love baked goods. We began the process last night by making a sponge of flour, water, and sourdough starter she received from a dear friend in Maine:

By morning the sponge had doubled in size. Our proofing station was a stack of cutting boards arranged close enough to the undermount cabinet lights to get the necessary warmth for the sponge to rise.

This morning, we got the baking center prepped . . .

. . . and proceeded to transform the sponge into a ball of dough by adding flour and kneading . . .

. . . and kneading some more:


After 25 minutes of kneading, the ball of dough was finally glossy. We rolled it out into a 12″ x 24″ rectangle . . .

. . . and started to embellish it:

Here it is ready to roll. Rolling, rolling, rolling:

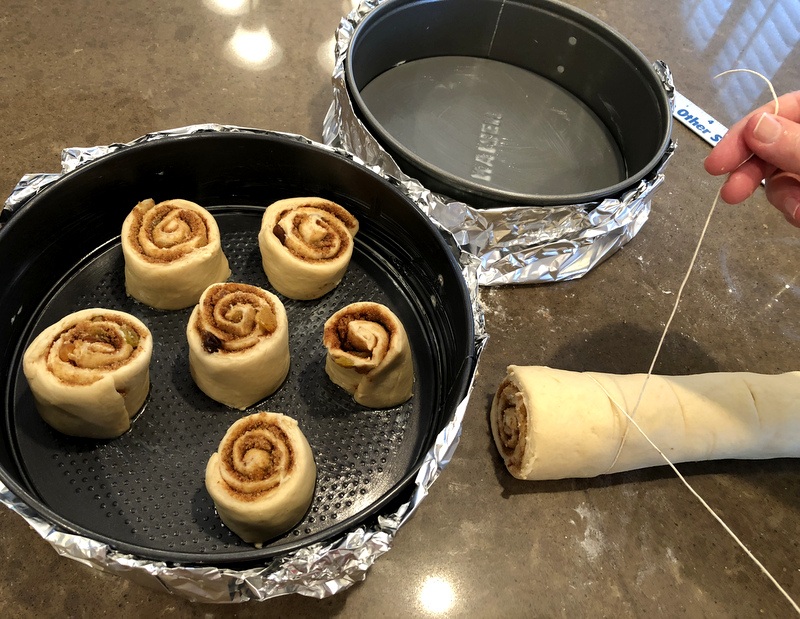
Once we had a 24″-long log, it was time to cut it into 12 pieces — with string! Take a look:

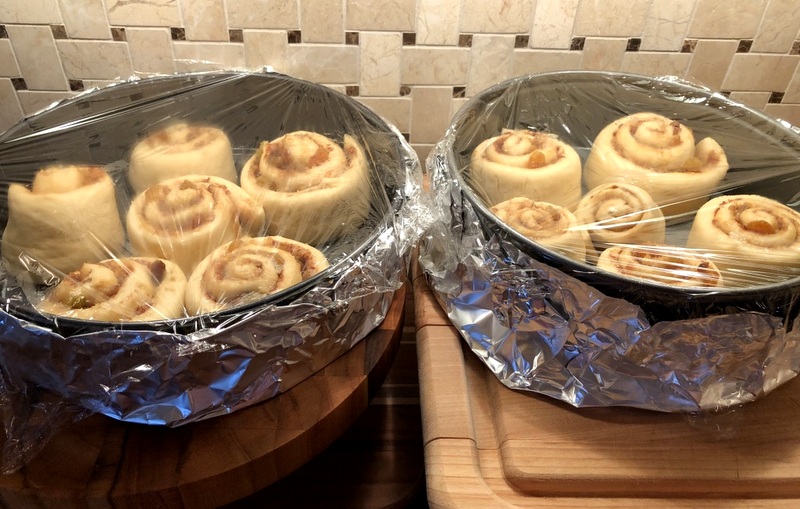
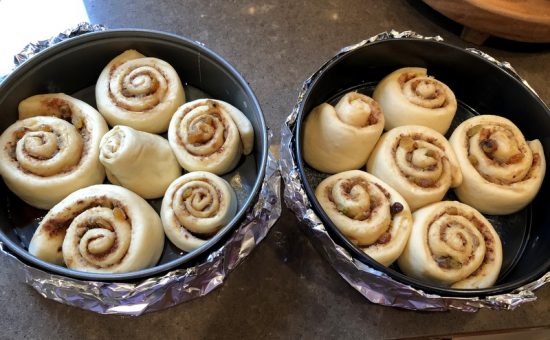
Then it was time for a second rising under the warm light . . .

. . . until they were ready for the oven:


And finally, this beautiful sight:

So that’s it for the baking.

And what about the making? Well, between countless games of Scrabble and Diane’s and my discovery of the PBS series Poldark, progress on home dec for Diane and appliqué for my Hazel’s Diary Quilt has slowed. Not to a standstill, however. Look for an update in a couple of days.


Posted in family, update | 5 Comments

Grateful

What a lovely Thanksgiving feast we had yesterday! Although my sister Diane and her husband Ed have hosted upwards of a dozen people at Thanksgiving in previous years, it was just the four of us this year. My husband Charlie and I look forward to our annual trip to Atlanta which has stretched to a two-week visit since I retired 10 years ago.

Diane sets a beautiful table. She got out the Rosalie Spode that belonged to her mother-in-law and some vintage glassware that could have come directly from the set of Downton Abbey:


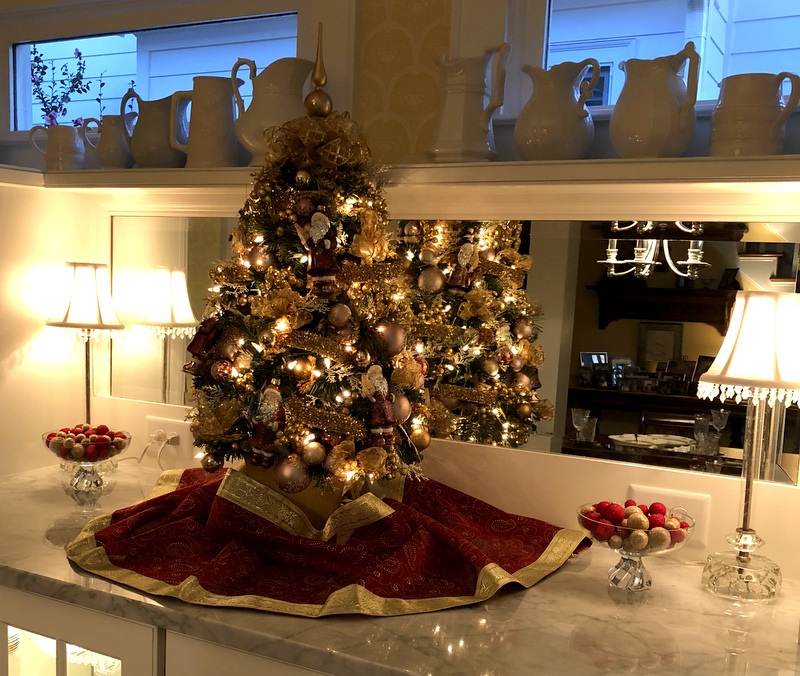
Normally the Christmas decorations don’t come out until after Thanksgiving but a few days ago Diane and I were shopping in downtown Norcross and she spotted a gorgeous one-of-a-kind Christmas tree at a home and garden shop called Good Things. The tree had to come home with us. Diane couldn’t wait to try it out on the built-in buffet in the dining room:

It made our Thanksgiving dinner extra festive.


I’m so thankful Charlie and I were able to spend this holiday with my family in Georgia. For those of you who celebrate Thanksgiving, I hope you also got to spend it with loved ones.

Now, 24 hours later, I am looking forward to the second best thing about Thanksgiving: leftovers!


Posted in family, home dec, update | 7 Comments

Hazel’s Diary Quilt: Block 9, Fancy Farm Girl

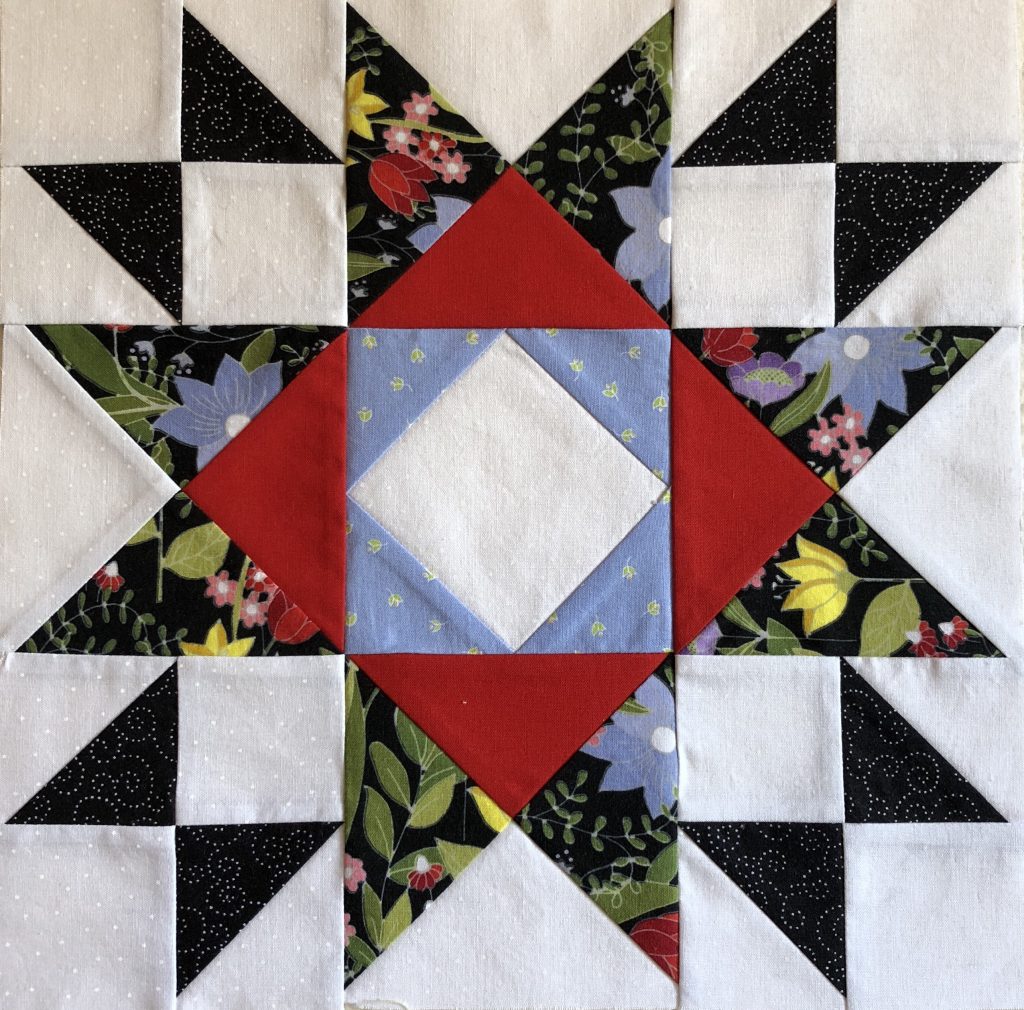
When I was at Quilt Camp earlier this month, I made Blocks 9 and 10 of Hazel’s Diary Quilt. Block 9, called Fancy Farm Girl, was quick and fun to make: in the center, a square in a square surrounded by hourglass blocks.

Take a look:

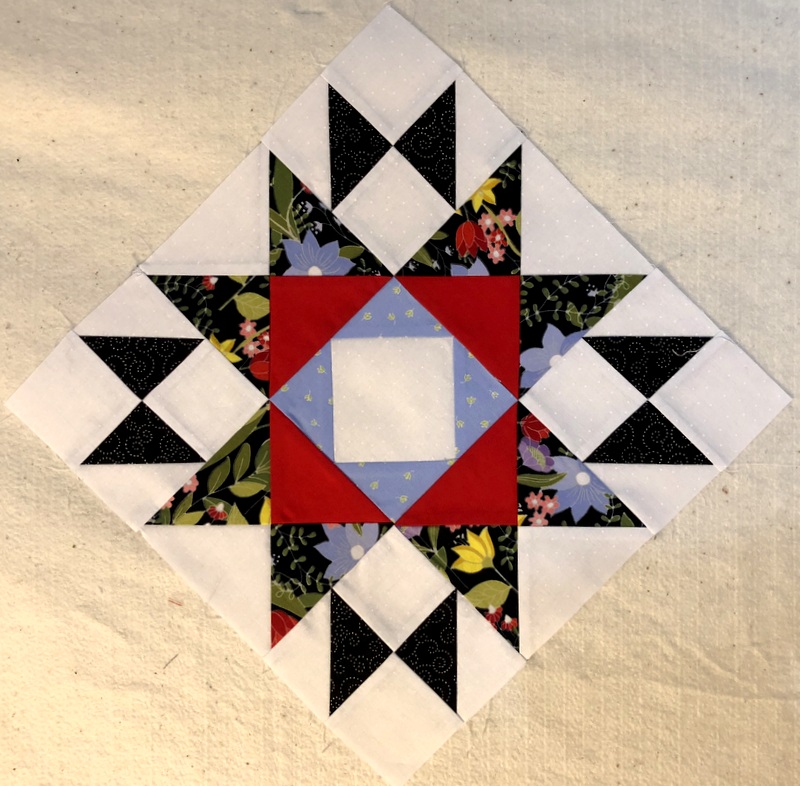
Here is the same block oriented on point as it will be in the finished quilt:


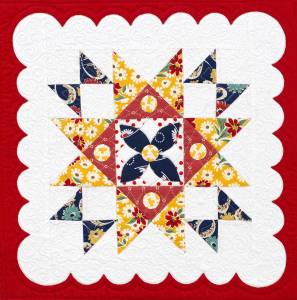
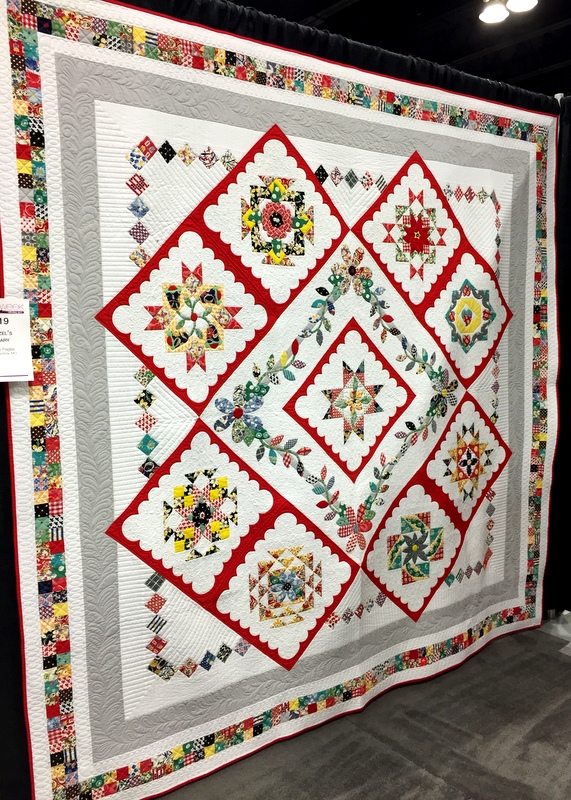
This block is still awaiting its appliqué in the center and the red scalloped frame around it. You can imagine what mine will look like by viewing designer Shelly Pagliai’s original version:


And what about Block 10? I did make it but I am so dissatisfied with my fabric choices that I am going to remake it. You’ll have to wait a bit for that reveal.

In the meantime I have been working on adding that red scalloped frame to the other blocks I have already made. Here is the scalloped frame added to Block 7, Aunt Ruby’s Choice:

This is my second scalloped frame and I am happy with the result. Here is another look at it against a white background:

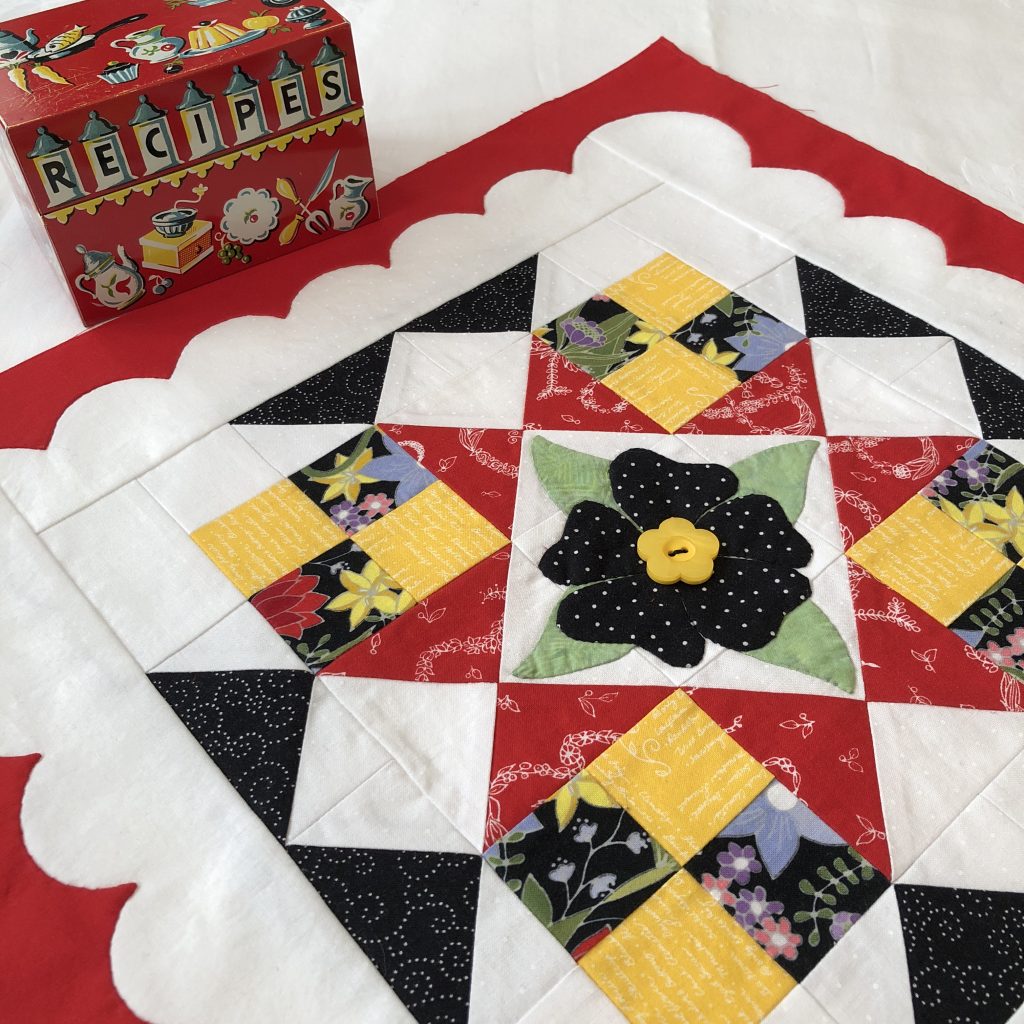
Given that Shelly’s quilt was inspired by her mother Hazel, who grew up on a farm in Missouri in the 1950s, I couldn’t resist showing the block with my own mother’s 50s-era recipe box, now in the possession of my twin sister Diane:

My fabrics aren’t as evocative of the 1950s as Shelly’s quilt but I am tickled that the fabrics I have chosen are so similar in color to Mother’s recipe box. She died in 2003, a couple years before my love affair with quilting began in earnest, but somehow I know she would approve. Do you think I can wrest that recipe box away from Diane?


Posted in appliqué, family, Hazel's Diary Quilt, needleturn appliqué, update | 9 Comments

Happy Birthday to Me!

Today’s the day. My twin Diane and I complete another trip around the sun. Though we live 3,000 miles apart, on this birthday I am at her home in Atlanta to celebrate with her and our Dear Husbands.

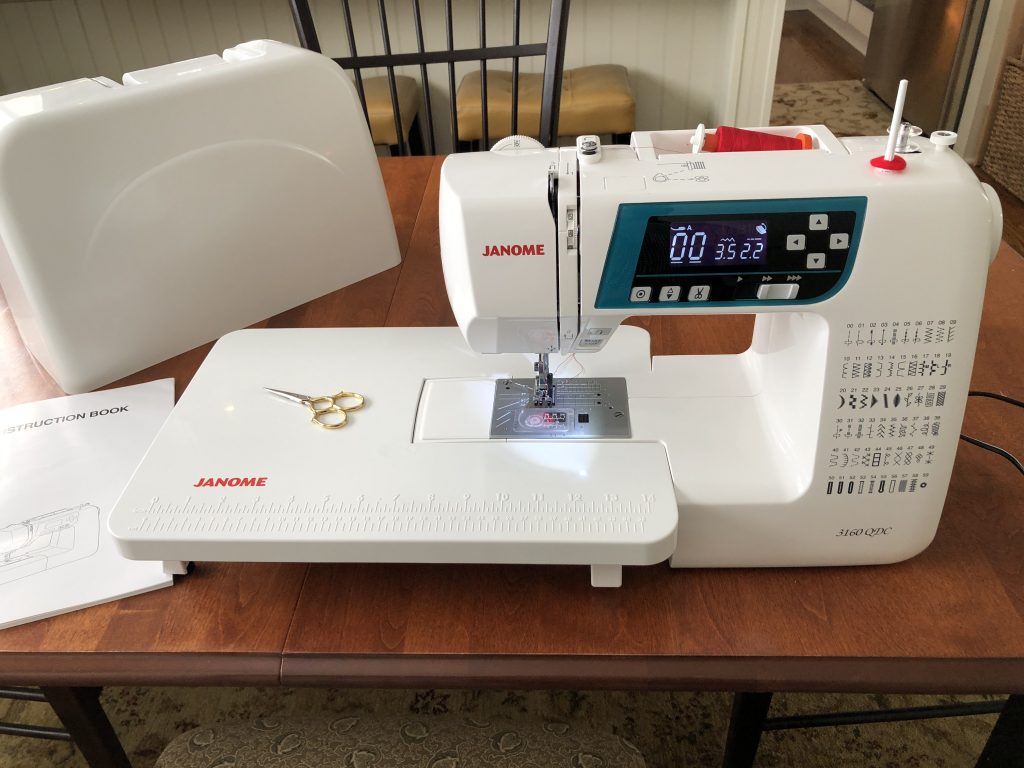
And look what was waiting for me when I arrived!


It’s not really a birthday present. I bought it in Portland a couple weeks ago and had it shipped to Diane’s home. I always do some sewing on my extended visits and the vintage Elna that I brought to her house decades ago has reached the end of its long life.

I chose this Janome 3160 because I sewed on one in June when I taught at a Pine Needle quilt retreat and absolutely loved the way it performed. Montavilla Sewing Center provided four new 3160s for the students to try out and all four machines were purchased before the retreat was over.

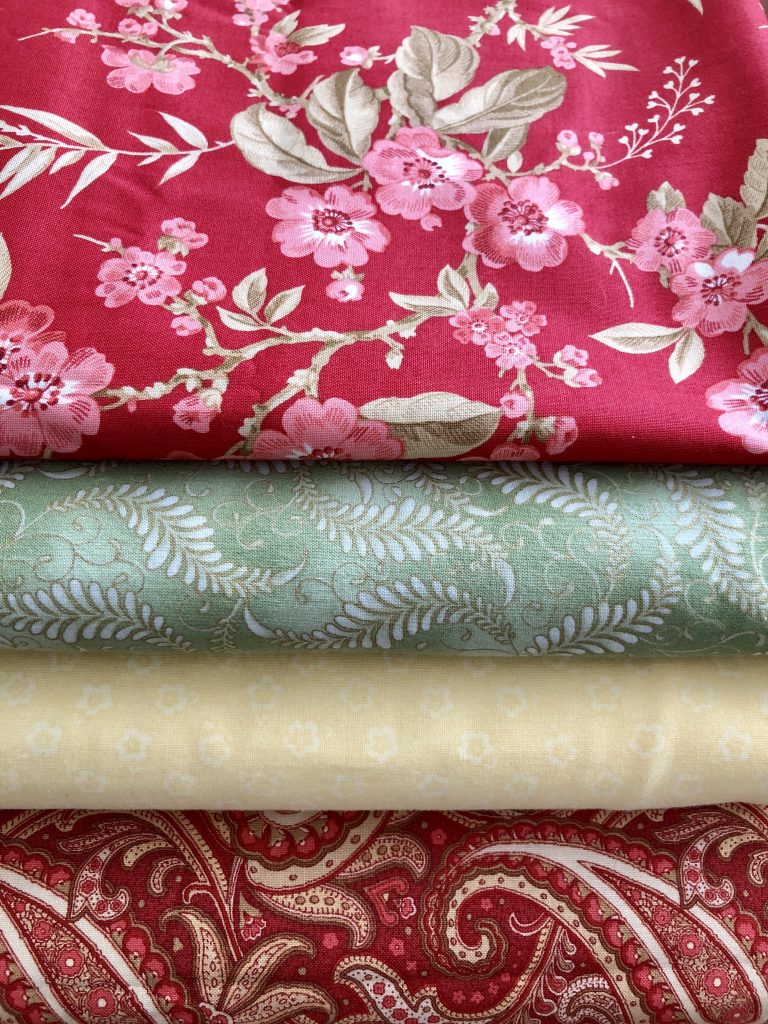
And what will be my inaugural sewing project? Well, Diane and I have a couple of small home dec sewing projects planned. I brought several pieces of fabric with me that are candidates for this project:

I also brought some of my Hazel’s Diary Quilt blocks to work on. Please drop by again soon for an update.


Posted in family, Hazel's Diary Quilt, home dec, update | 10 Comments

It’s a Keeper

When I left for Quilt Camp on Sunday I took only one project: Hazel’s Diary Quilt, the sampler quilt that I began in January.  I had two of nine blocks left to make. Both blocks got made — to be shown in my next post — but I also added the scalloped red frame to one of the earlier blocks, Coal Miner’s Granddaughter.

Friends, it took hours and hours but I am pretty happy with the outcome:

The block measures 18½” square but set on point, as in the photo above, it measures about 25″ at its widest.

In case you didn’t know, that scalloped red frame is done by needleturn appliqué. I followed the directions of designer Shelly Pagliai in her tutorial That Scalloped Red Frame, posted in 2015 while she was teaching her quilt design as a Block of the Month for the Kansas City Star.

Here’s a shot of Shelly’s original quilt measuring 95″ square:

Avanti!


Posted in appliqué, Hazel's Diary Quilt, needleturn appliqué, update | 5 Comments

A Busy Week . . .

. . . is coming up and I couldn’t be happier about it.

In just a few minutes I’m leaving for Quilt Camp — four days and three nights with a group of terrific women I’ve had the pleasure of “camping out” with for several years. In the past few years we’ve gone to Camp Tilikum in Newberg, Oregon, just about an hour away from home. It’s a popular spot for quilt retreats.

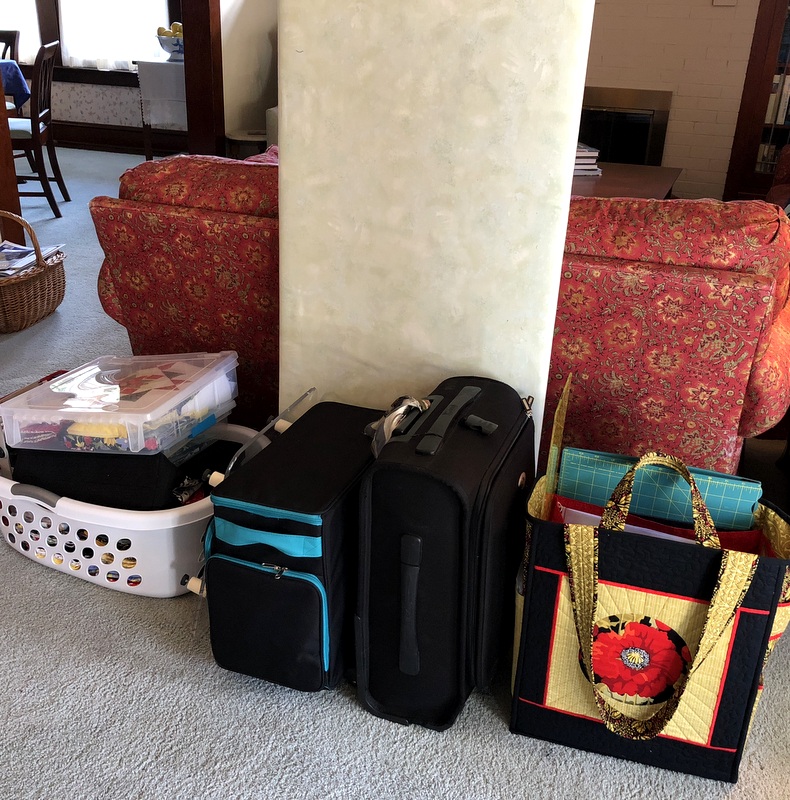
I’m packed and ready to go:

Project boxes and fabric tub? Check. Sewing machine and wraparound table? Check. Suitcase? Check. Billie Bag? Check. Big board? Check.

Camp ends at 4:00 pm Wednesday but I’m heading back early, picking up the Dear Husband and heading to the Oregon coast where I’m doing a trunk show and lecture for a quilt guild on Thursday and teaching Part 2 of my Junior Billie Bag workshop on Friday. The DH and I are staying an extra day for a mini-vacation.

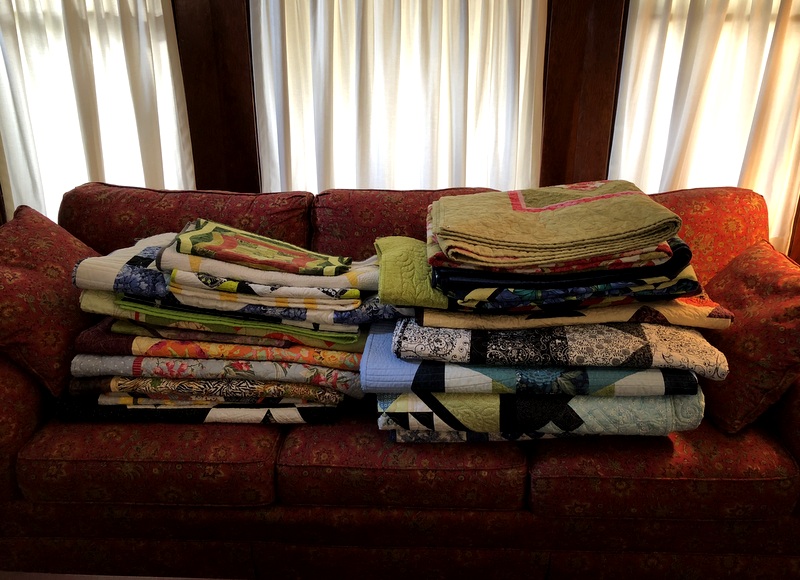
The quilts I’m taking for the trunk show are stacked on the couch, ready to be packed into bags when I get back:


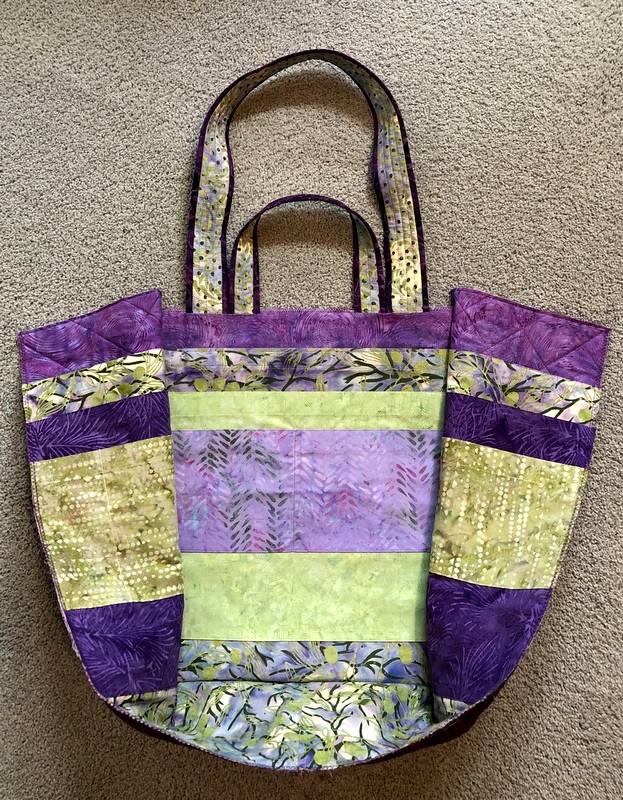
I can’t wait to see the progress my students have made on their Junior Billie Bags in the couple of weeks since the first workshop. Speaking of which, I couldn’t resist seeing what my current one is going to look like when it’s sewn together. I’ll be demonstrating this step at the second workshop so for now I simply pinned the side/bottom panel unit to one of the front/back panels:

One of the fabrics I chose for pockets on the side panels is a batik with directional bubbles. Just for fun I made the bubbles horizontal on one side and vertical on the other.  They may not be easy to see once the bag is all put together but I like knowing they are there.

No more work on this till after Quilt Camp. I’ll be working on Hazel’s Diary Quilt. Here’s hoping I make a lot of progress on it!


Posted in Billie Bag, family, Hazel's Diary Quilt, Junior Billie Bag, quilt retreat, tote bags, update | 2 Comments

Mixing It Up

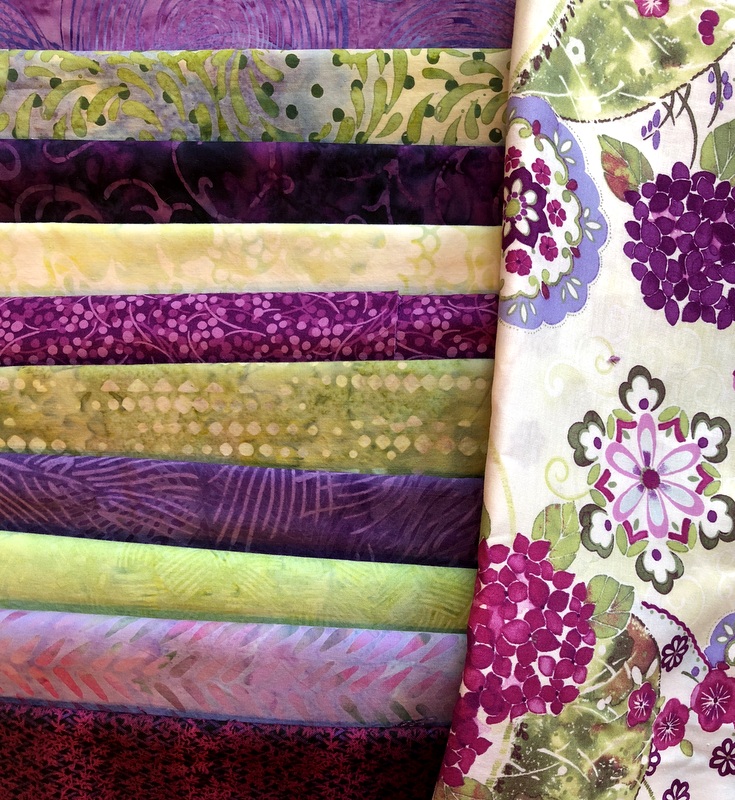
When I pulled fabrics a few weeks ago for my current Junior Billie Bag, these were my picks:

You can see at a glance this is a combination of batiks and regular woven cottons. Some quilters work exclusively with one or the other but I really like to mix ’em up.

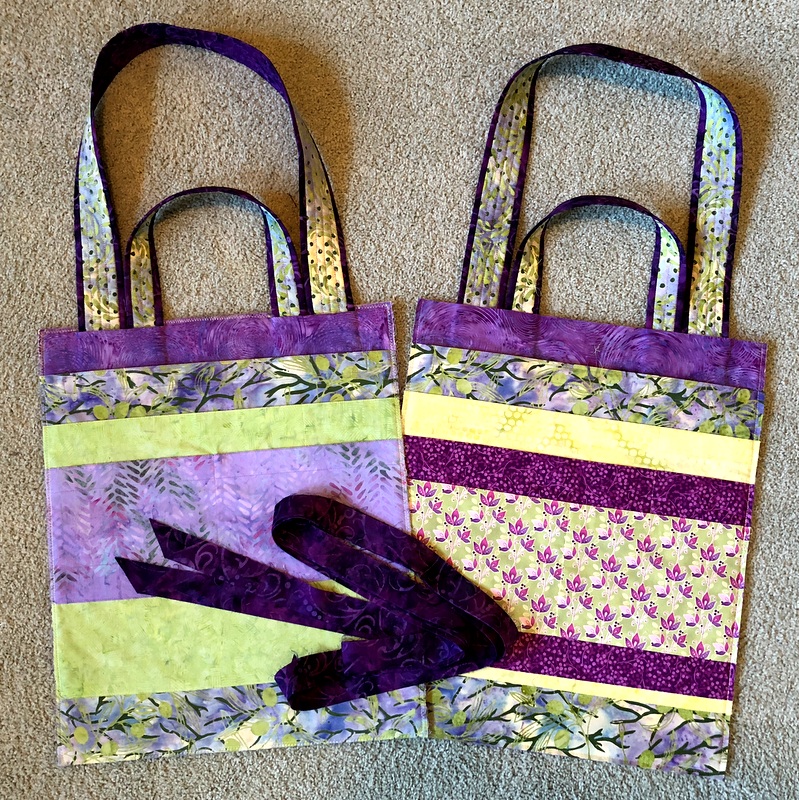
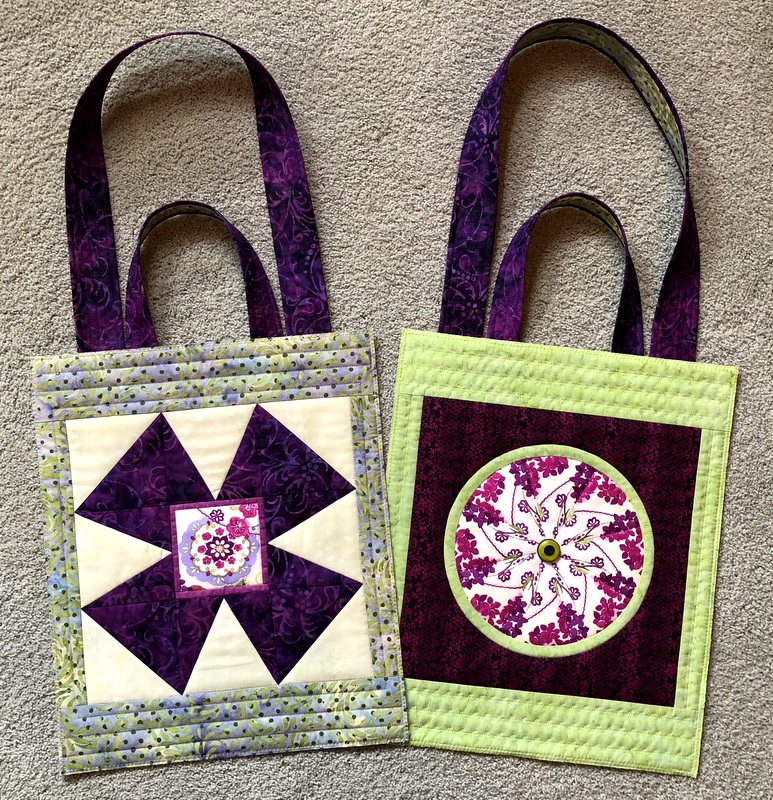
You’ve already seen the front and back panels of my JBB in progress:

Now here’s a look at the pockets on the inside of the front and back panels:


I also have the side panels/bottom unit done (not pictured) and my binding made. This bag is ready to become three-dimensional! That happens next week, when I demonstrate how it’s done for a marvelous group of students from the Oregon Coastal Quilting Guild.

When this bag is finished it will go on display at Montavilla Sewing Center in Lake Oswego. Why? Because I’m teaching a Junior Billie Bag workshop there in February and March of next year. When the class is over the JBB goes home with a dear friend of mine who loves the color purple.


Posted in Billie Bag, Junior Billie Bag, kaleidoscope quilts, tote bags, update | 8 Comments

Tutorial: A Nifty Way to Cut Binding Strips


One of the benefits of teaching quilting classes is learning from my students. The other day my friend and student Arden showed me a great method of cutting binding strips that she learned from Marjorie Rhine of Quilt Design NW. It’s very likely this method is known to many already but it was new to me so I wanted to share it with you.

Cut strips to your desired width. Strips can be of varying lengths, of course, but most quilters cut strips along the crosswise grain from selvage to selvage, also known as width of fabric or WOF.

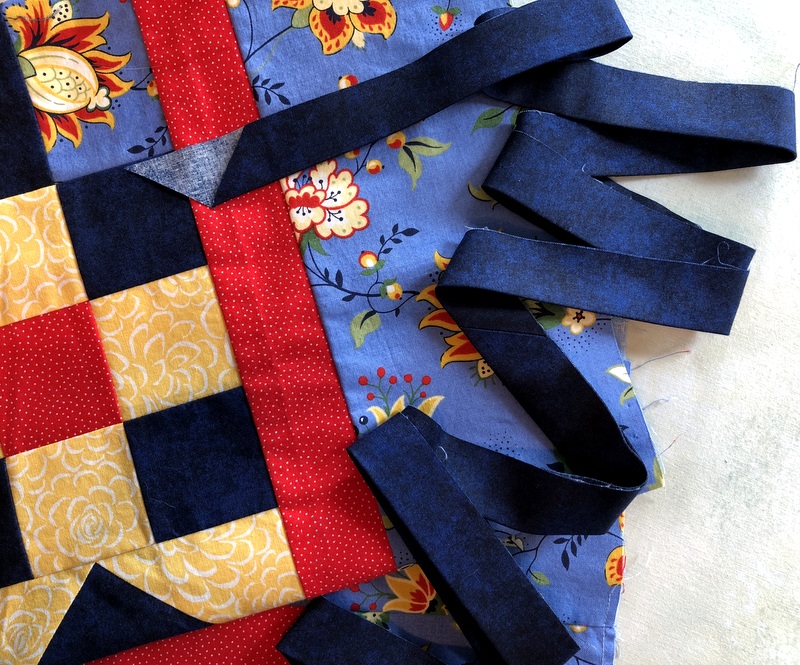
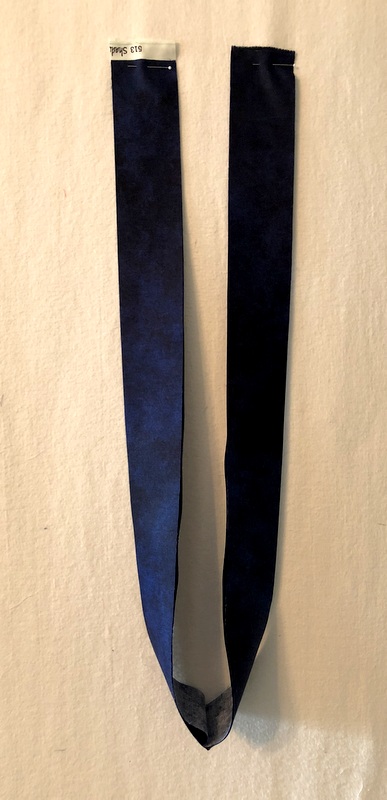
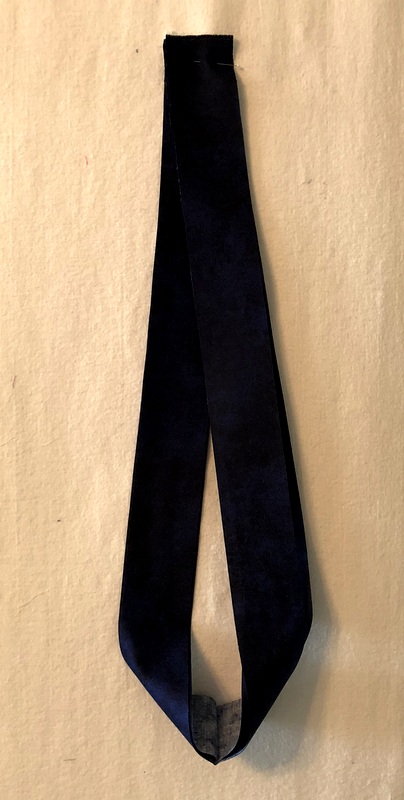
Lay one strip on top of a second strip, right sides up, aligning the edges. Bring the short edges of the doubled strips up next to each other, still with right sides up. I’ve pinned these to my design wall so you can see that the strips form a U shape and the ends of the strips are parallel at the top:

Layer the strips at the top so that you have four layers, all right side up:

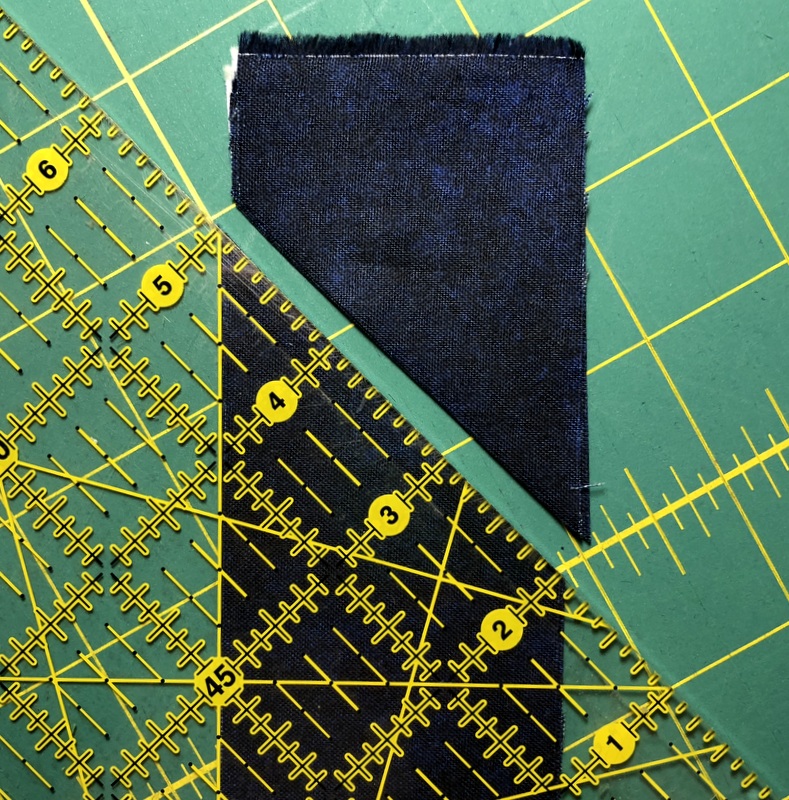
Take the strips to a cutting mat and cut through all four layers at a 45° angle:


You wind up with strips with parallel diagonal cuts at each end:


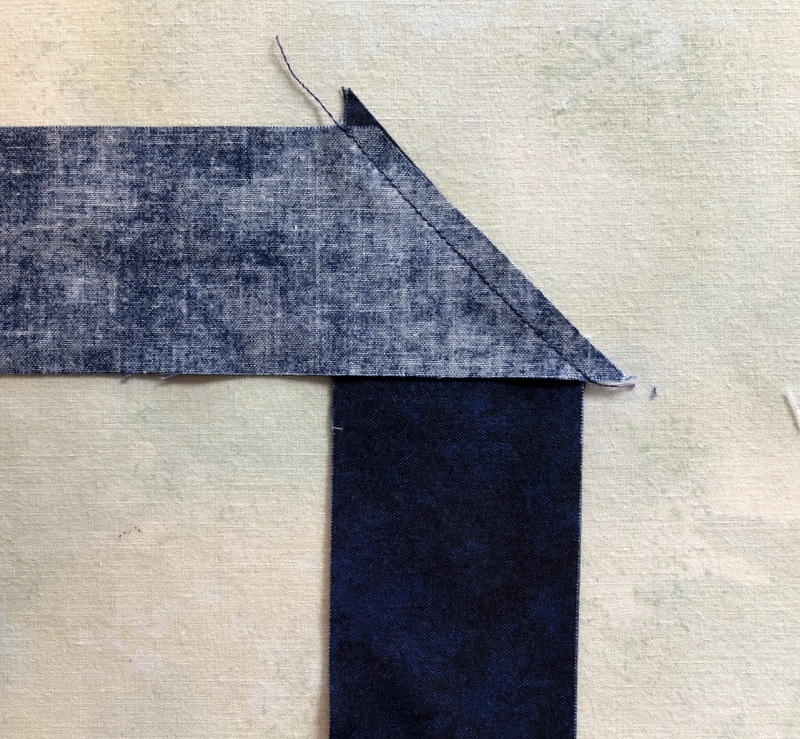
Place one strip in front of you and feed the second strip in from the left, aligning the edges and allowing for a ¼” offset at each end for the seam allowance:


Stitch from notch to notch:


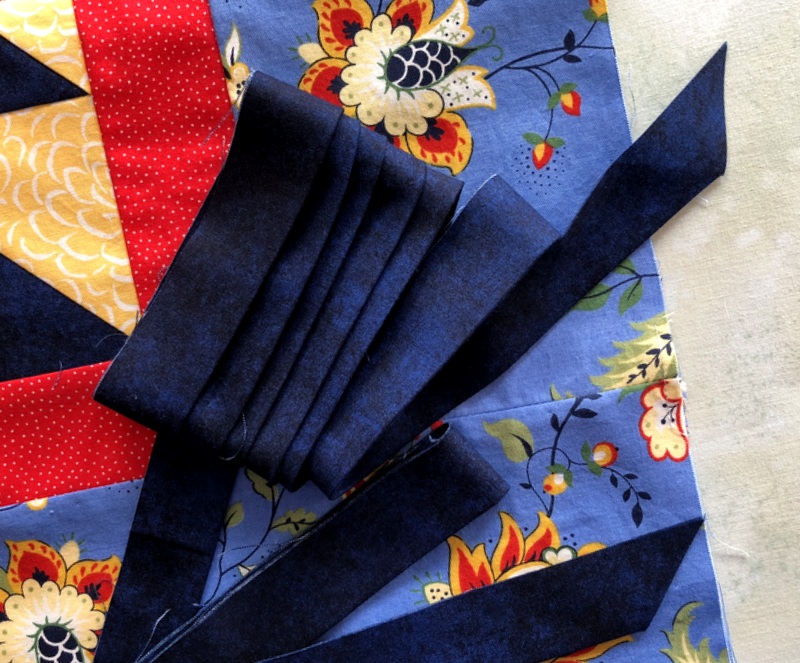
Join remaining strips the same way, press seams open, press in half lengthwise, and before you know it your binding is ready to attach:

As the Barefoot Contessa would say, “How easy is that?”


Posted in tutorial, update | 7 Comments