Monthly Archives: April 2014

Bewitched by Bertie

I tried to resist, really I did. For several years I was the only one in my quilt group, the Quisters, who didn’t do wool appliqué. Not that I wasn’t tempted or didn’t admire it. I just didn’t want another hobby on top of my quiltmaking obsession. Nor did I need another category of fabric — wool — vying for space with my quilting cottons.

All that changed when I saw Bertie’s Year on display at the Pine Needle’s Open House earlier this year:

Bertie's Year originals by bonnie sullivan
Bertie’s Year by Bonnie Sullivan


Designed and made by fellow Oregonian Bonnie Sullivan of All Through the Night (“Folk Art designs with a bit of whimsy”), Bertie’s Year is made up of a dozen 13″ x 17″ wool applique projects, one for each month of the year. The projects are bordered by different designs of half-square triangles made of Woolies flannel (designed by none other than Bonnie Sullivan for Maywood Studios). The monthly projects can stand alone or be combined into a quilt.

So am I going to make the entire quilt? Heavens, no! I’m just dipping my toe in the water. I’m going to make one month’s project to see how I like it. My Quisters promised I could raid their wool stashes, which are ample because they are also rug hookers.

The hard part was choosing the month. Every single one of the projects is absolutely charming. I finally decided to make the July project for the simple reason that it makes me smile every time I look at it. Here is Bertie perched on a slice of watermelon spitting a seed. He’s sporting a jaunty hat (probably made from a folded newspaper) and tucked under his wing is a little branch loaded with blueberries:

Bertie's Year July original by Bonnie Sullivan
Bertie’s Year — July

This little vignette speaks to me of summer, sunshine and good times with friends and family. Can you see now why I gave in to temptation?

This is how far I’ve gotten:

Bertie's Year July initial prep
Thanks for the Wool Scraps, Quisters!

The background is flannel the color of espresso and the appliqué pieces are wool scraps courtesy of my Quisters. Bertie is looking a little bare at the moment but that’s only temporary.

Of course I had to get a bundle of fat quarters in the Woolies flannels:

Bertie's Year July red flannels
Fabulous Flannel Fat Quarters


Bertie is coming along with me on an upcoming trip so I hope to have something to show you in the next few weeks. I am eager to get started!

Tell me, have you been bewitched by Bertie, too?


Posted in Quisters (Quilt Sisters), update, wool applique | 7 Comments

Reach for the Stars: Colleen’s Center Medallion

My good friend Colleen Coffman recently finished the center medallion of her Reach for the Stars sampler quilt, and it’s a showstopper! Take a look:

2014-4 Colleen's center medallion
Colleen’s Center Medallion, 24″ Square

Instructions for this queen-size quilt, designed by Terry Krysan, are being published in a seven-part series by Quilter’s Newsletter magazine.

Colleen’s focus fabrics are from the Morris Apprentice line by Barbara Brackman for Moda fabrics. Her beautiful fussy-cut corners featuring the artichoke motif are even more dramatic when the block is set on point, as it will be in the finished quilt:

2014-4 Colleen's center medallion on point
Colleen’s Center Medallion on Point


Colleen, you are off to a great start!


Posted in Reach for the Stars sampler quilt, update | 4 Comments

Reach for the Stars: Block 9 (Modified)

As Yogi Berra would say, “It’s deja vu all over again.” Block 9 of Reach for the Stars is finished, but not without a last minute change — just like Block 8, which I wrote about in my last post. I’ve been working on this sampler quilt since last fall, when Quilter’s Newsletter began a seven-part series with the Oct./Nov. 2013 issue.

As soon as I saw the original Block 9 (shown below) I knew I would be tweaking it a bit.

Block 9 photo from QNM
Designer Terry Krysan’s Block 9
Copyright Quilter’s Newsletter. Used with permission. Photo by Melissa Karlin Mahoney.

I liked the fussy-cut corners and center nine-patch but the asymmetry of the block bothered me. Since the quilt features stars in its center medallion and among its 14 blocks, I decided to include a star in this block.

Here is my revised Block 9 up on the design wall, with the nine units ready to sew together:

Block 9, ready to sew-001
Ready to Sew — But Wait!


I wasn’t quite ready to move the units to my sewing machine, however. There was something about that block I wasn’t loving. On a hunch I cut a little square of black fabric and stuck it the middle of the center nine-patch. I liked the effect so much that I remade the nine-patch. Then I sewed the units together.

Now take a look at my block:

Block 9 after
The Final Version (Finishes at 12″)

It needed that, yes?

And here it is on point, as it will be in the finished quilt:

Block 9 on point
Block 9 on Point


An overview of my progress so far:

2014-4 RFTS so far
Dawn’s Blocks to Date


Next up: sashing strips around each block and a second sashing strip around the center medallion. I should be able to get that done before the next issue of Quilter’s Newsletter arrives with information on Blocks 10, 11, and 12.


Posted in Reach for the Stars sampler quilt, update | 3 Comments

Reach for the Stars: Block 8 (Before and After)

I’m making headway (albeit slowly) on my version of Reach for the Stars, the queen-size sampler quilt featured in Quilter’s Newsletter magazine. Directions for the quilt, which contains a center medallion and 14 blocks, are unfolding over the course of seven issues.

If you’ve been following my progress you’ve already seen my center medallion flanked by my first seven blocks:

RFTS with 7 blocks
One Medallion, Seven Blocks


This morning I was ready to sew the segments of Block 8 together. There they were, up on my design wall:

Block 8 before
Block 8, Ready to Sew — But Wait!


I had followed designer Terry Krysan’s original block design shown here:

Block 8 photo from QNM
Terry Krysan’s Block 8
Copyright Quilter’s Newsletter. Used with permission. Photo by Melissa Karlin Mahoney.

My thought was that the four rectangles on the outside of the block would look good made from one of my two focus fabrics, the one that features a border stripe. But the more I looked at my block components, the more I thought something wasn’t quite right. Hmmm. How would it look if I extended the stripe to the outside edges of the white triangles? I folded a piece of the striped fabric across the top part of the block . . .

Block 8 auditioning change
Auditioning a Change

. . . and I liked what I saw. I’m so glad I made the decision to make new flying geese units before I sewed the block together.

Now Block 8 is done:

Block 8 after
Dawn’s Block 8 (Sashing to Come)


Here it is on point, as it will be in the finished quilt:

Block 8 on point
Block 8, in Proper Position on Point


I really like the way the striped fabric looks on the diagonal. Sometimes a quilt just tells you what it wants!


Posted in Reach for the Stars sampler quilt, update | 6 Comments

Template Tool for Triangles: A Tutorial

Last August I posted a tutorial about using template plastic as a sewing guide when making snowball blocks (you can see the post here). I noted that the template could be used with just about any block that calls for a triangle to be made from a square or rectangle.

Using a template eliminates the need to draw lines marking the diagonal — for snowball or square-in-a-square blocks, for example — or ¼” inch on either side of the diagonal, as you might for Half-Square Triangles made from two squares of fabric. Drawing lines on fabric may not seem like a big deal but it takes a surprising amount of time, especially if you are working on a big project.

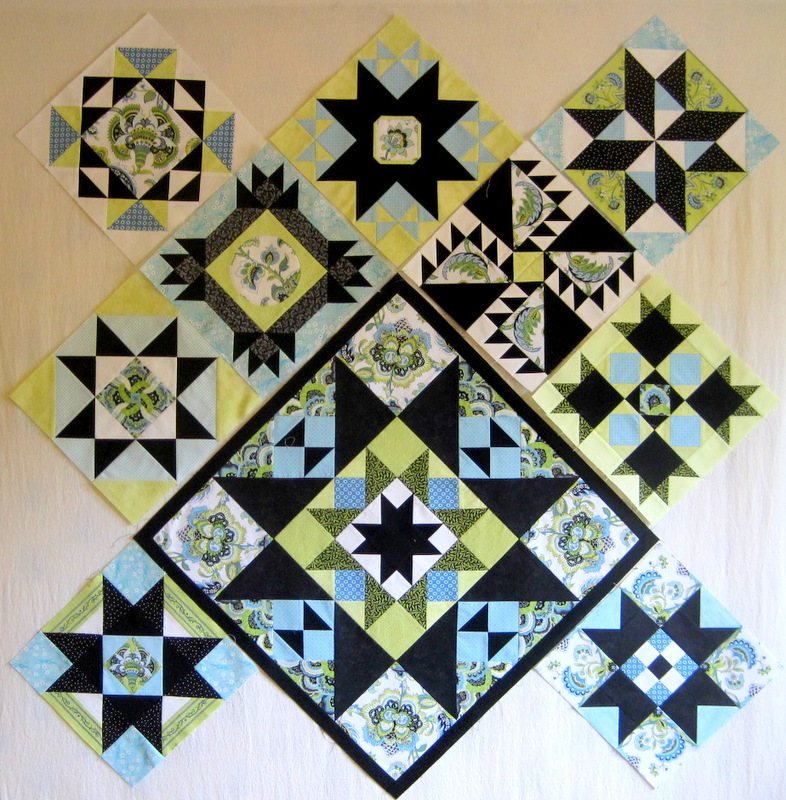
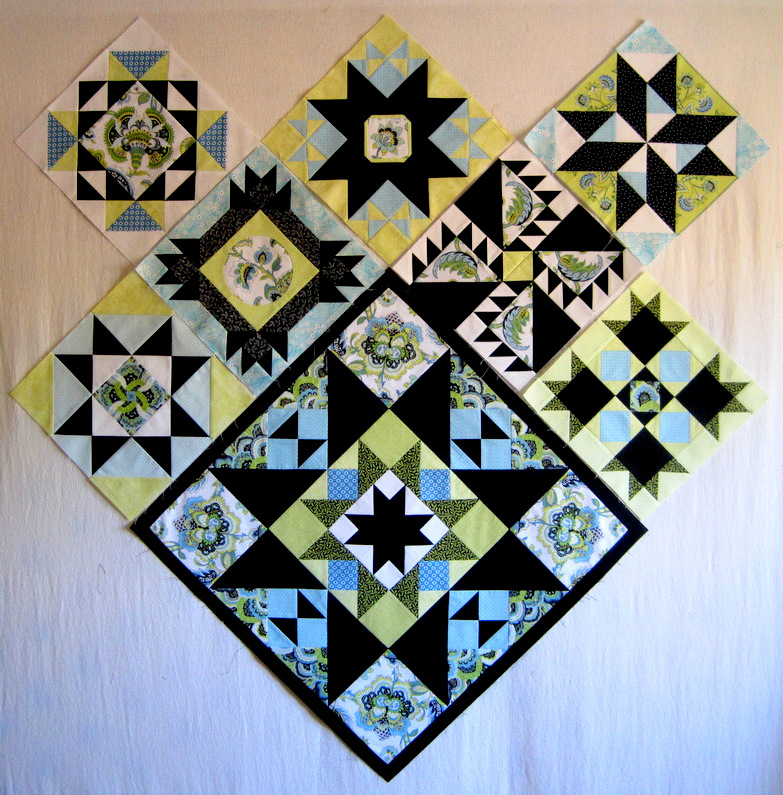
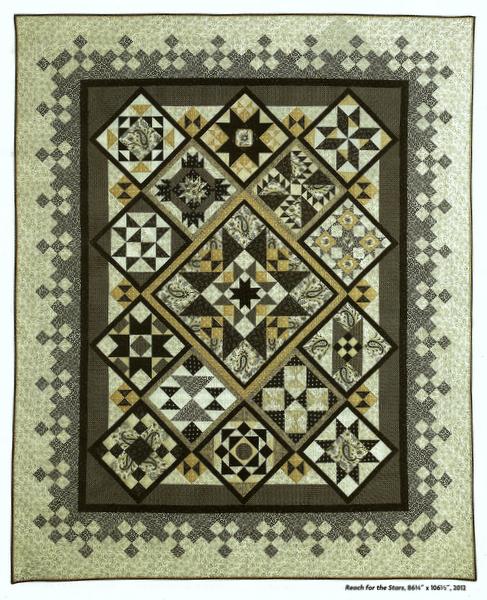
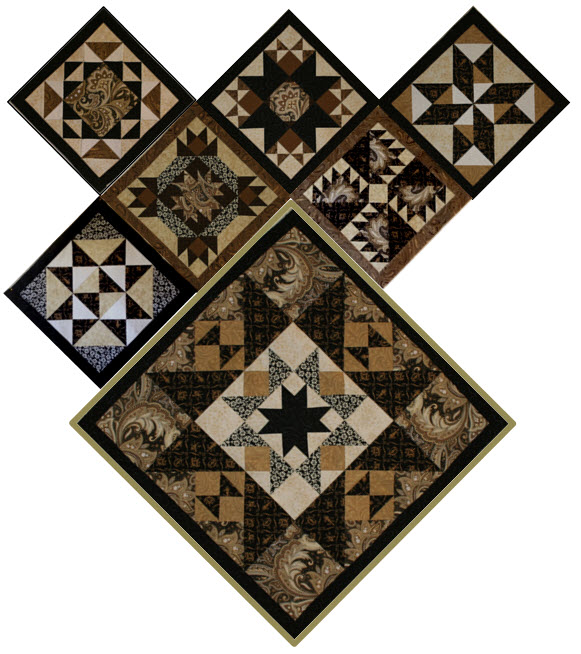
The template I made back in August measured 2½” x 4½”, the perfect size for the 6″ snowball blocks I was working on at the time. When I started working earlier this year on my version of Reach for the Stars, a medallion sampler quilt with triangles of all sizes in every single block, I made a larger plastic template with a couple of modifications.

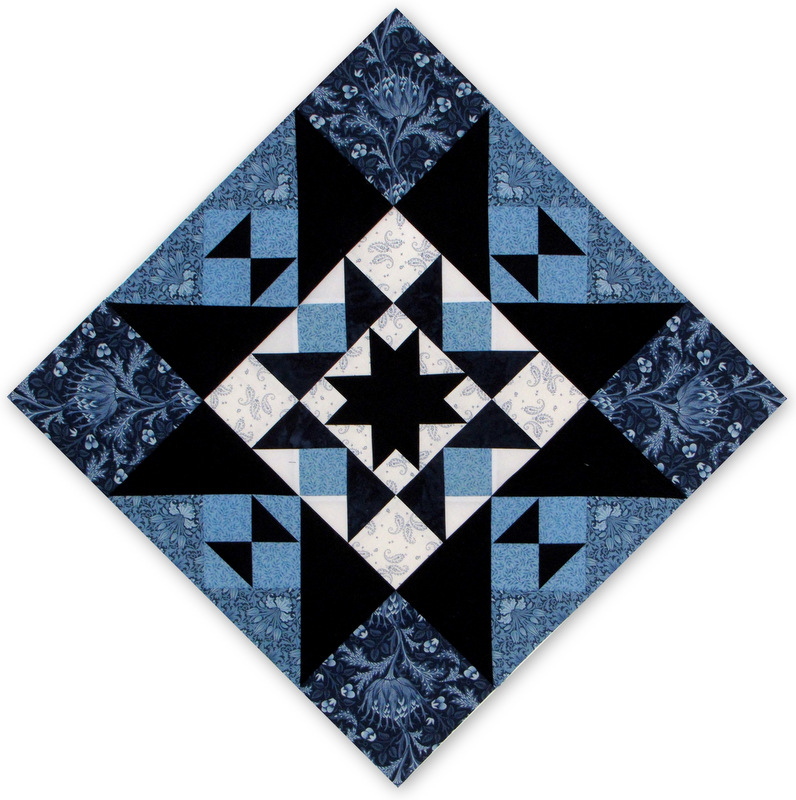
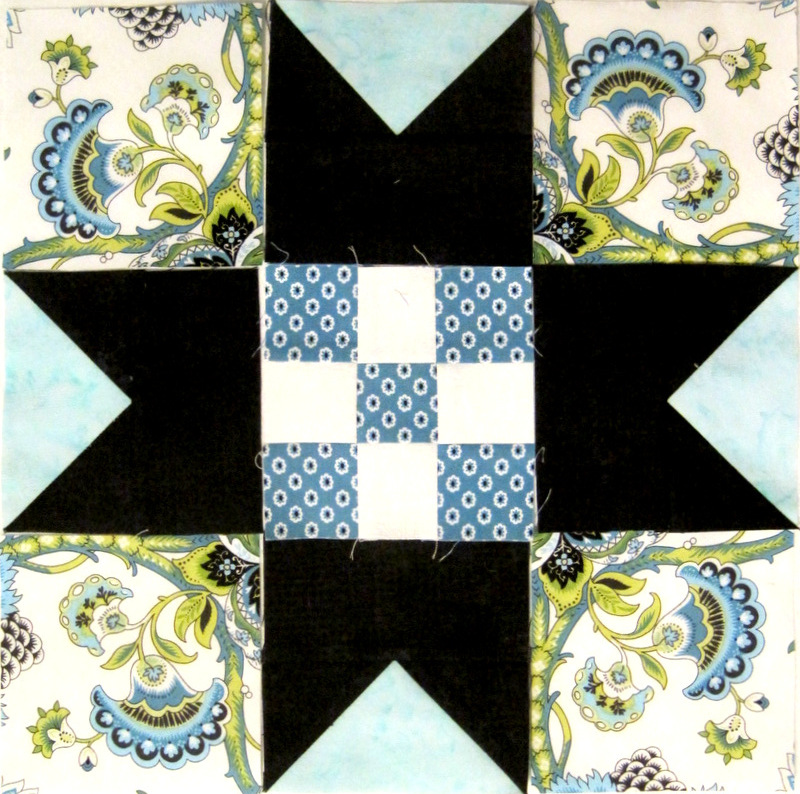
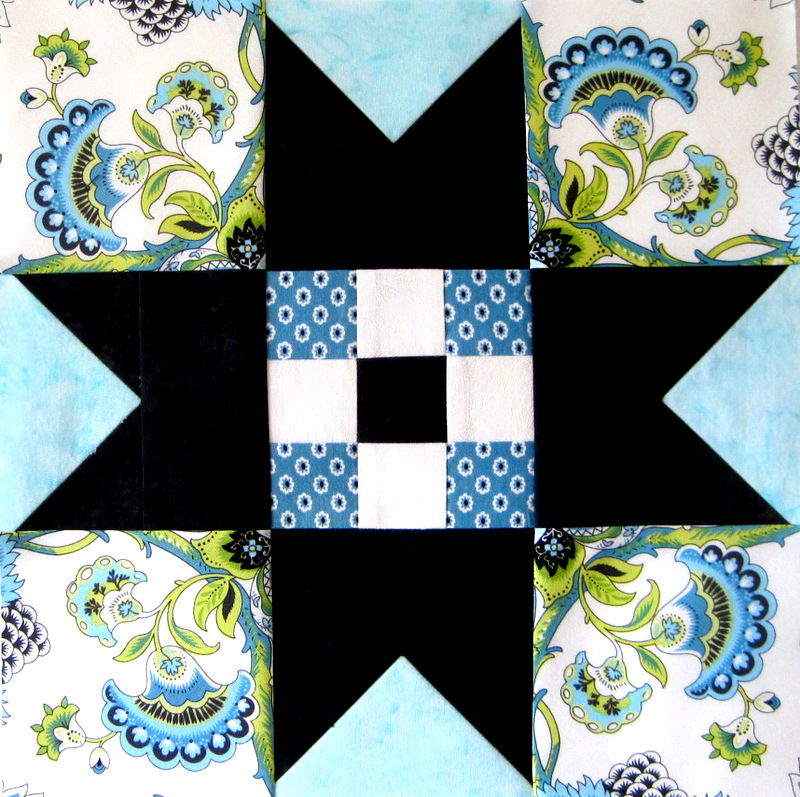
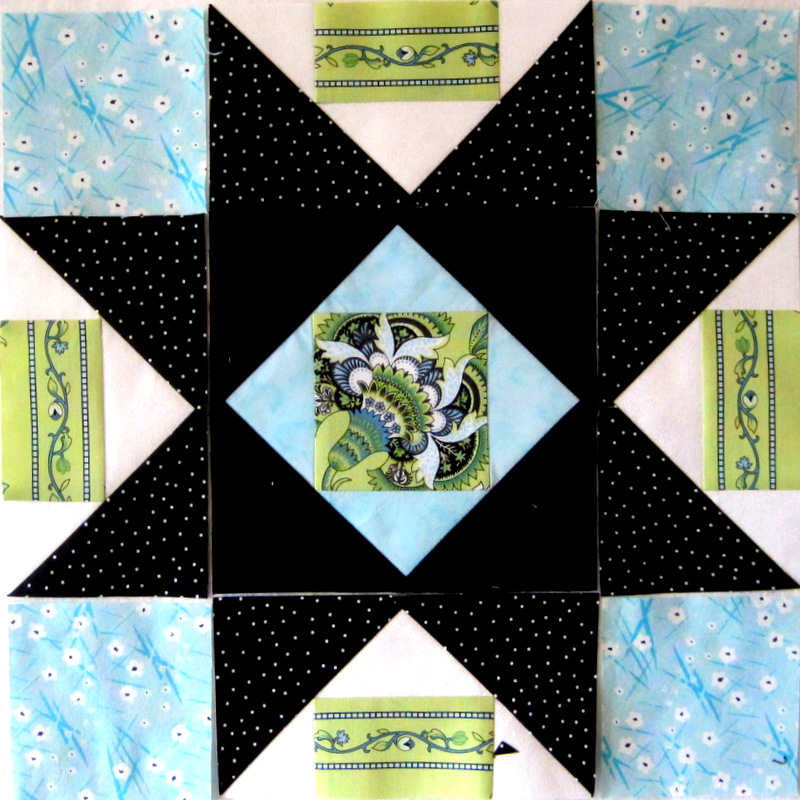
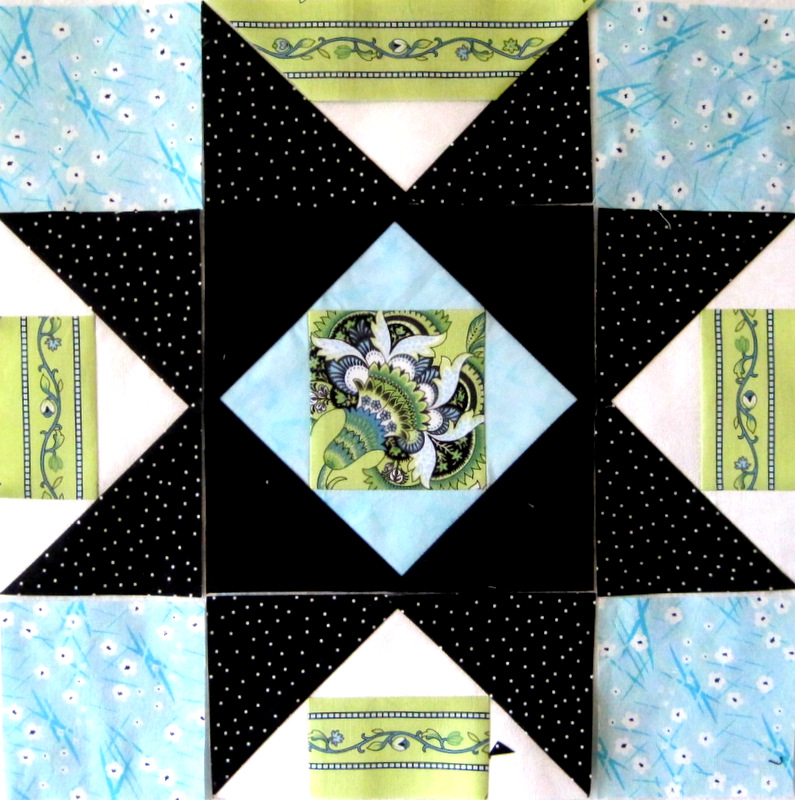
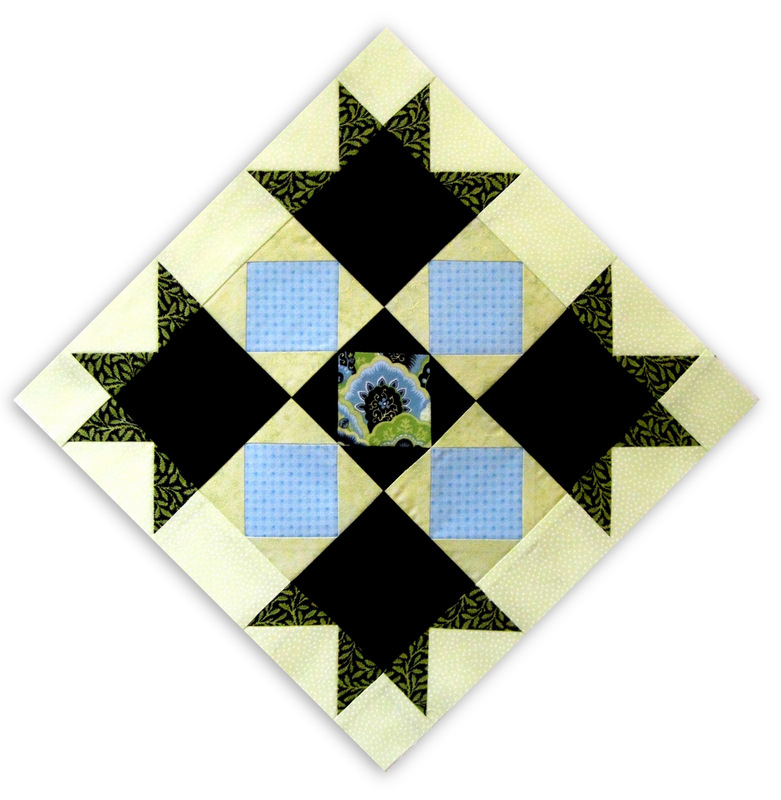
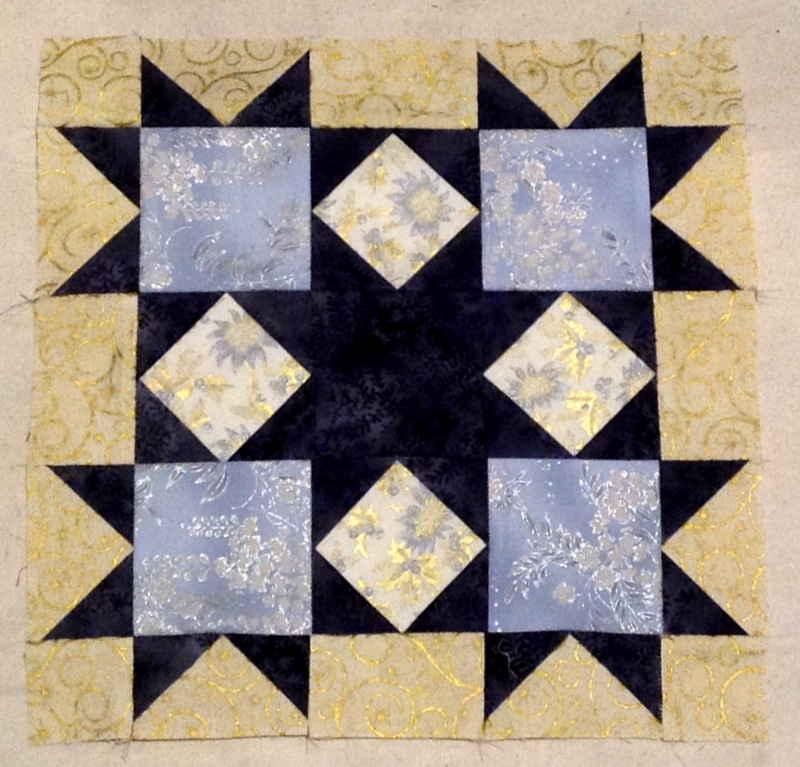
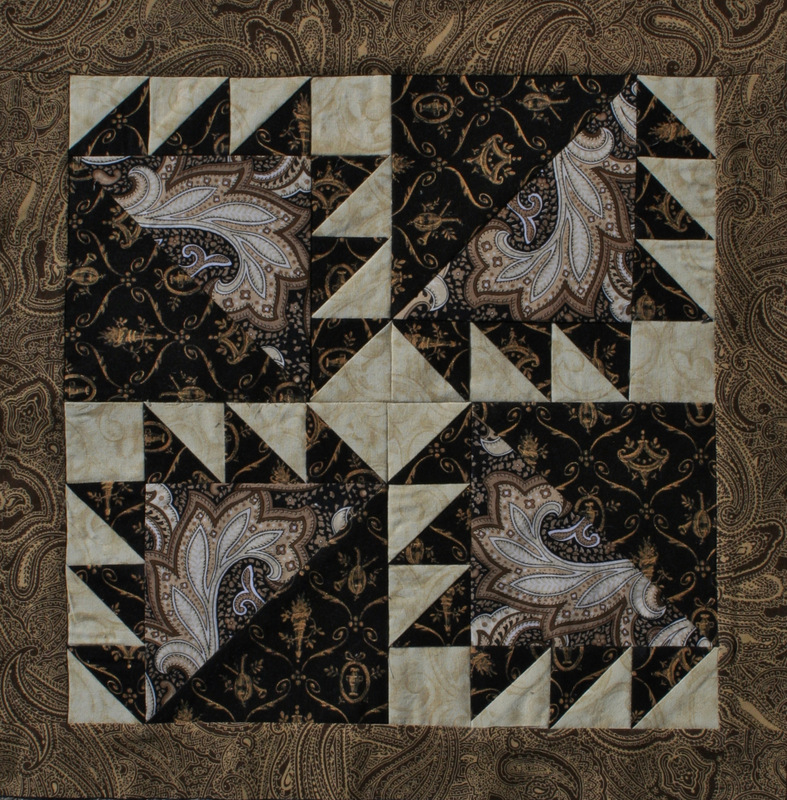
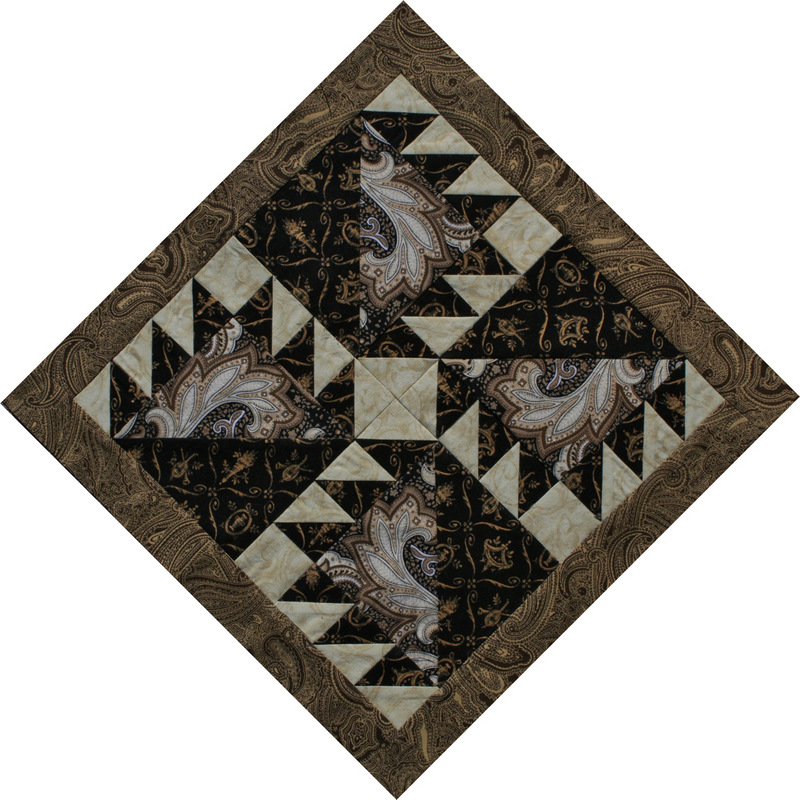
I’ll show you how I used it in Block 7 of my Reach for the Stars project:

2014-4 RFTS Block 7

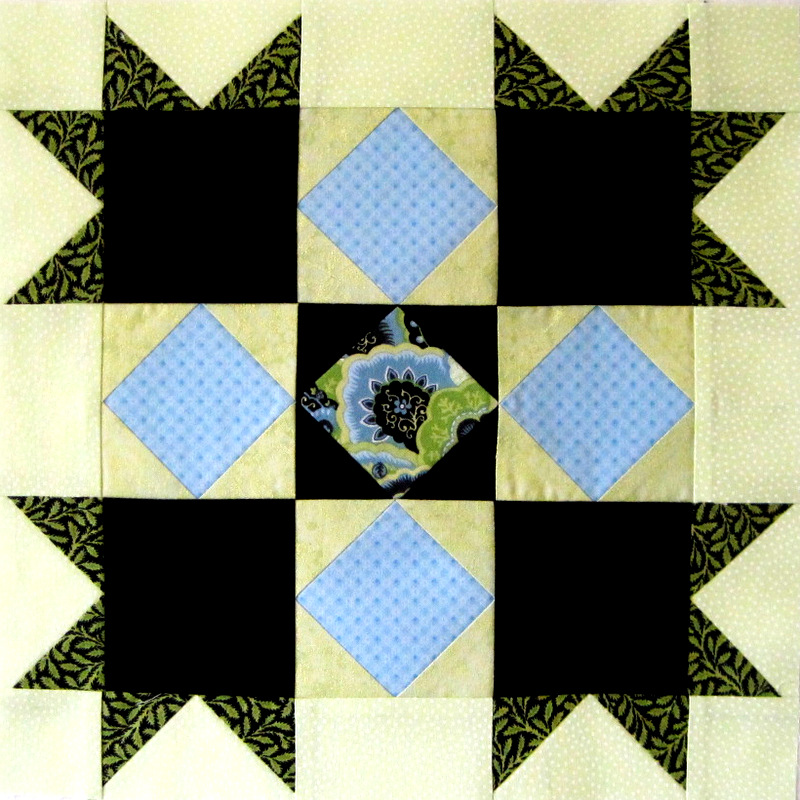
See the five square-in-a-square components in the center of the block? They’re the blue and green ones and the one in the very middle of the block.

For each square-in-a-square, I first sewed two squares on opposite corners, trimmed the seam, and pressed the seam toward the corners. Now I’m getting ready to sew the third square on:

template tool 1

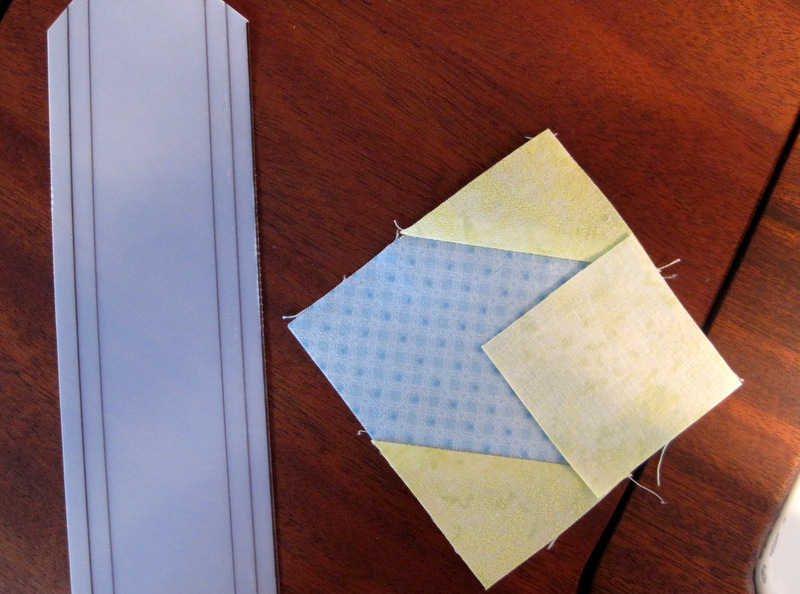
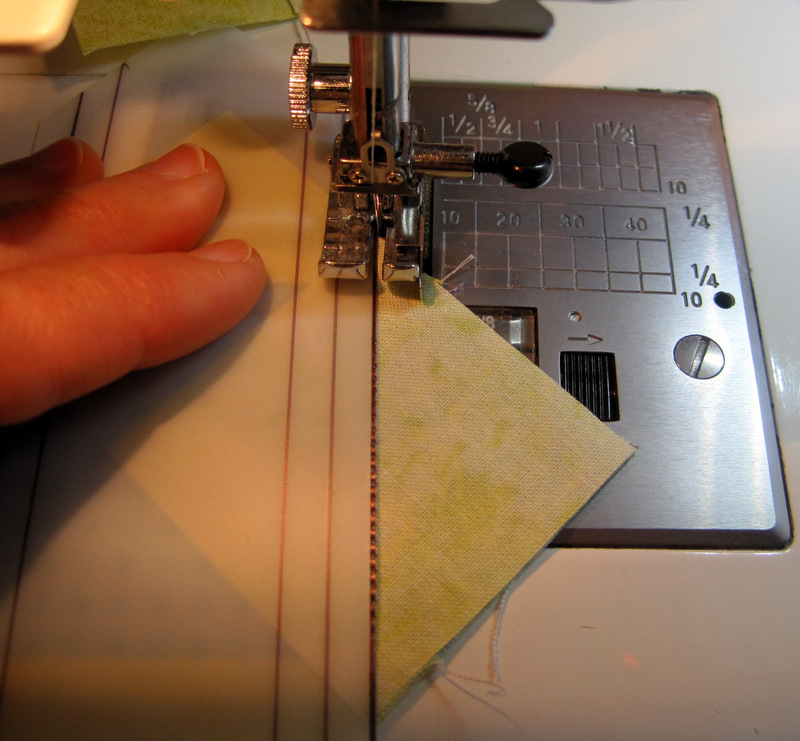
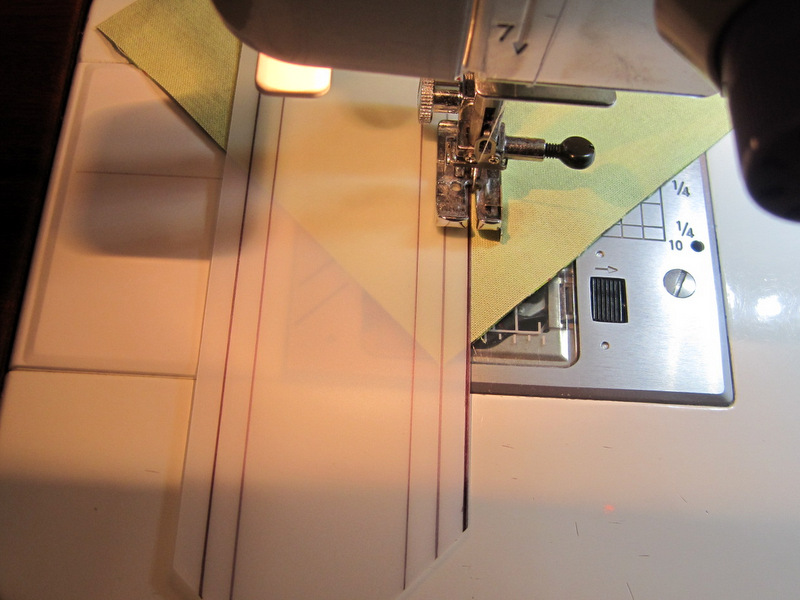
I lay the template on top of the fabric with the right edge of the template lined up with the diagonal of the square:

template tool 2

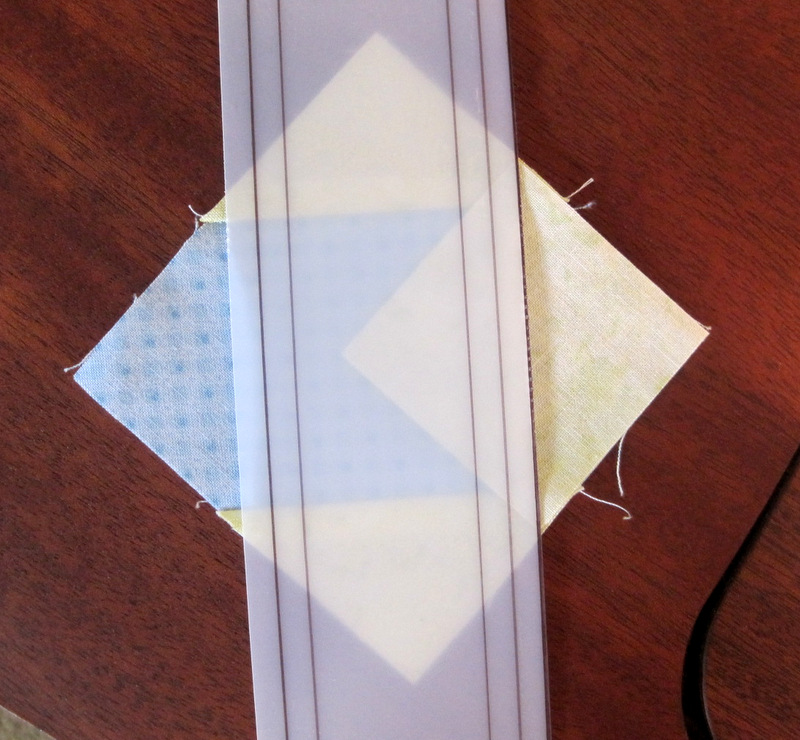
Because I can see through the plastic, I can easily see that my template is positioned correctly. Did you notice that the right edge of the template is marked with black ink? That helps me see the edge of the tool on light fabric. When I’m sewing on dark fabric, I used the other edge.

Now I’m ready to sew. With the needle down I position the fabric right next to the edge of the template . . .

template tool 3

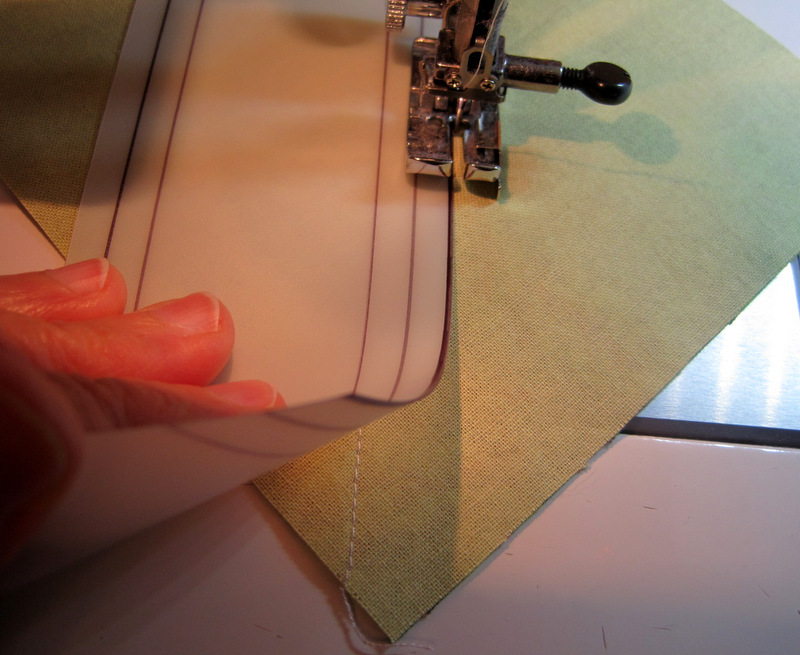
. . . and start sewing. As I stitch I can see that the edge of my template is in position along the diagonal of the square. My left hand on the template keeps it firmly in place:

template tool 4

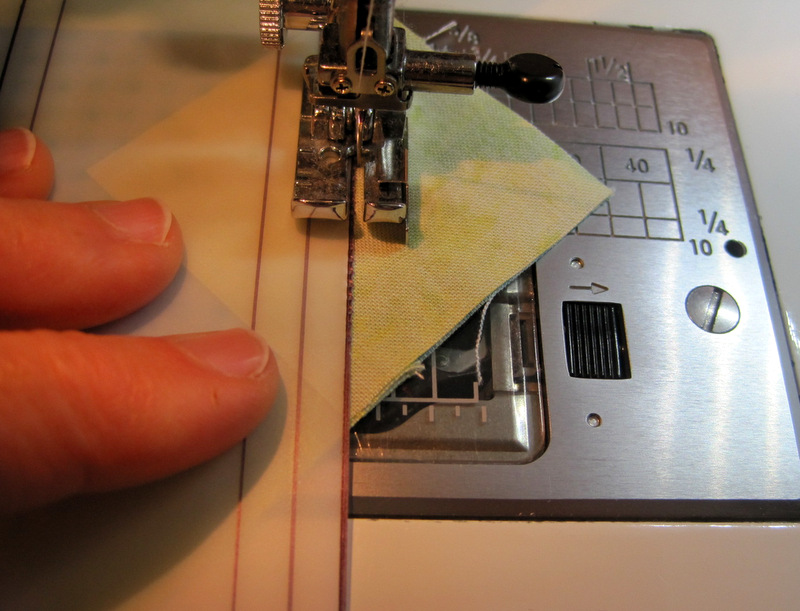
On bigger pieces I use both hands to keep the fabric and template in place.

Here is my square-in-a-square, with the two edges ready to be trimmed and pressed:

template tool 5

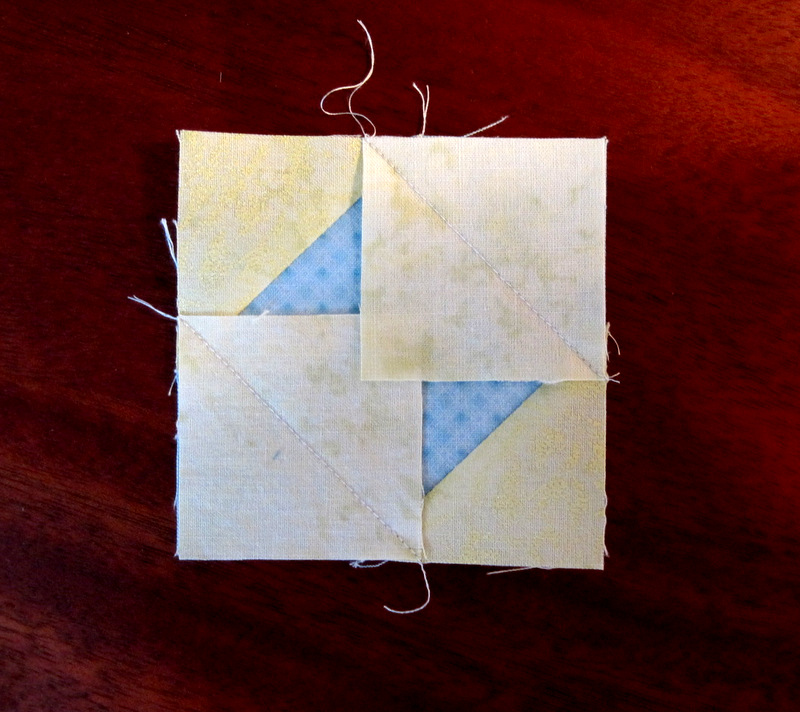
(Every now and then as I am sewing next to the template I let the needle get too close to the template and it takes tiny bites out of it. That’s why you see what looks like perforation marks on the edge. I can still use the template for quite a while but eventually I will need to make a new one. And change my needle.)

Now what about those lines on the inside of the template, you ask? They are exactly ¼” and ½” in from the edge on both sides. When I am sewing Half-Square Triangles (HSTs) made from two squares, the ¼” line is on the diagonal and the edge of the template is right where it needs to be. To illustrate, I have two 5″ squares, right sides together, ready for the first line of stitching:

template a

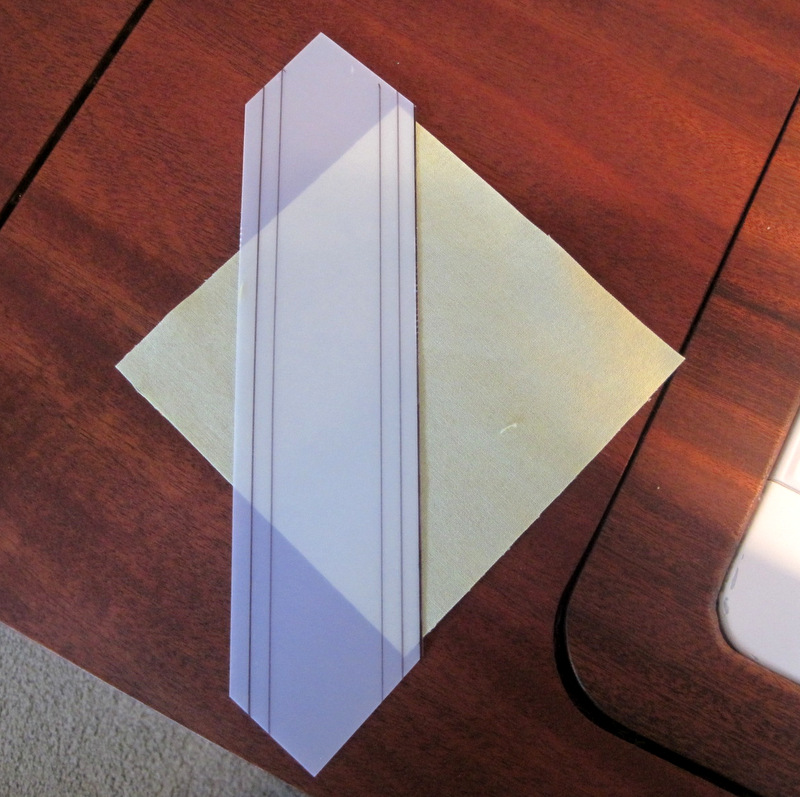
See how the ¼” line is on the diagonal of the squares?

Stitching the first line:

template b

When I flip the block around to sew the second line, that ½” line on the template is directly on top of my first stitching line. I am lifting up a corner to show you what I mean:

template c

Strictly speaking, that ½” marking isn’t necessary but I like it because it gives me one more way to test the accuracy of my stitching.

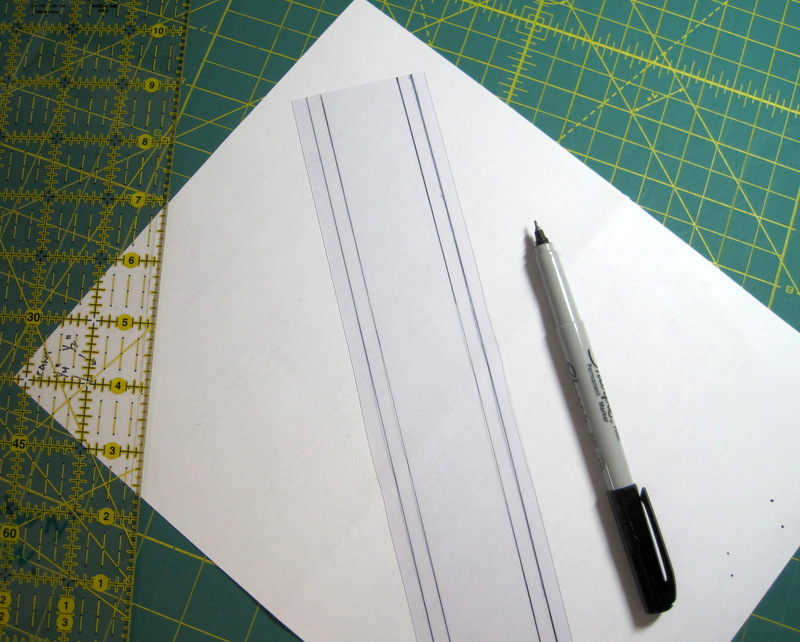
Would you like to make your own template? Here’s what you  need:

— a strip of template plastic (frosted or clear) about 2¼” x 10″
— a piece of scratch paper (8 1/2″ x 11″ is perfect)
— a clear acrylic ruler (my favorite size for this purpose is 4″ x 14″)
— an Ultra Fine-Point Sharpie (or other fine point permanent marking pen) in black

1. Lay the strip of plastic on the scratch paper and, using a ruler and Ultra Fine-Point Sharpie, draw a scant ¼” line from one long edge:

template 1

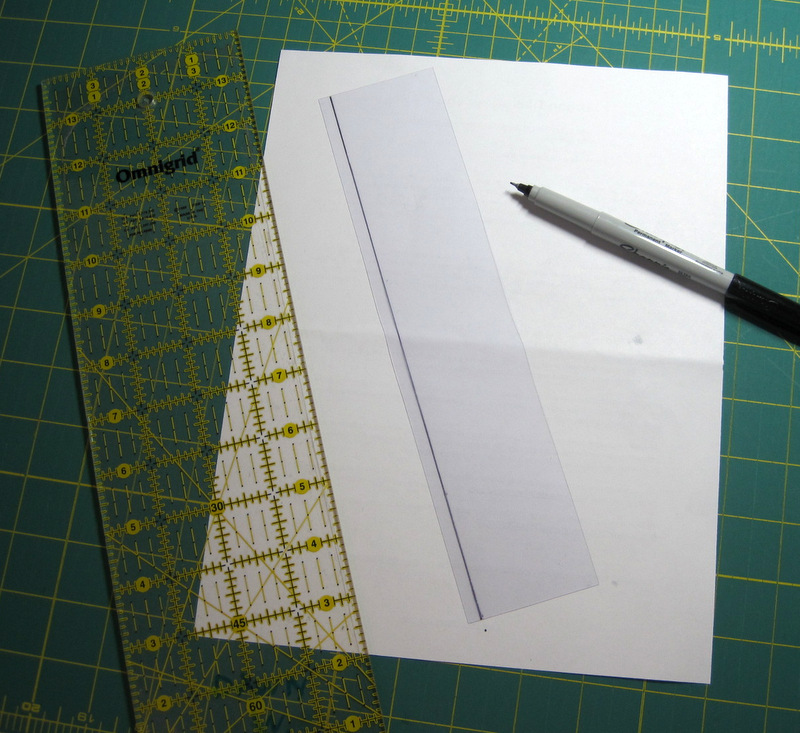
The measurement needs to be scant  because 1) the line you draw with the pen will add to the measurement and 2) when using the template you will be stitching right next to the edge of it.

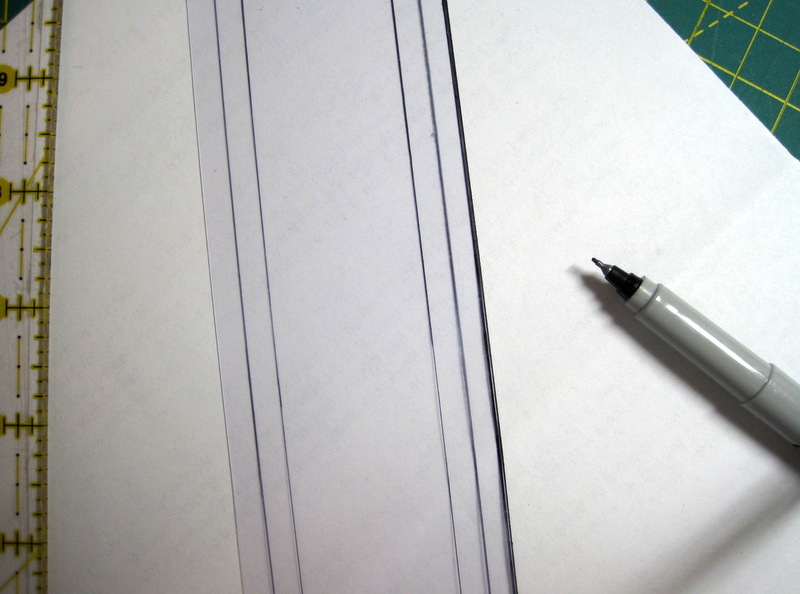
2. Draw a line exactly 1/4″ away from the first one:

template 2

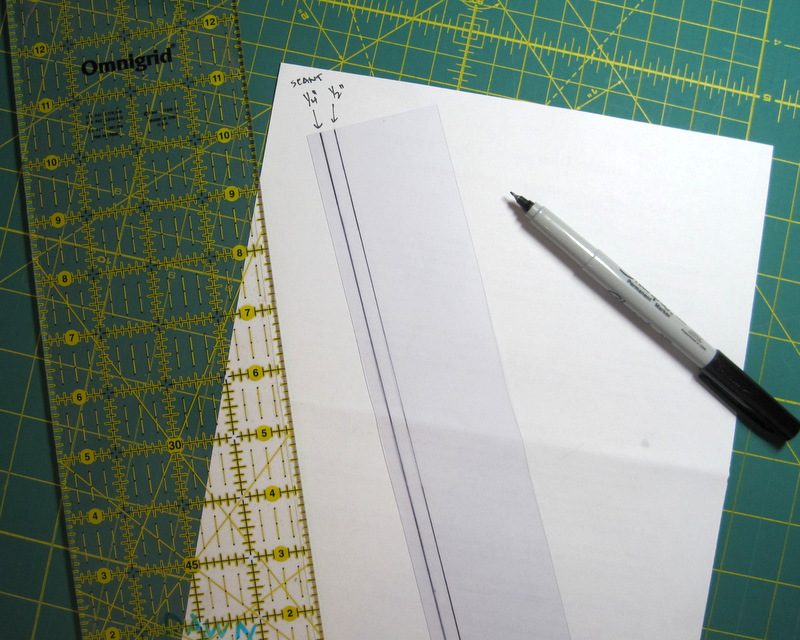
3. Repeat for the other side:

template 3

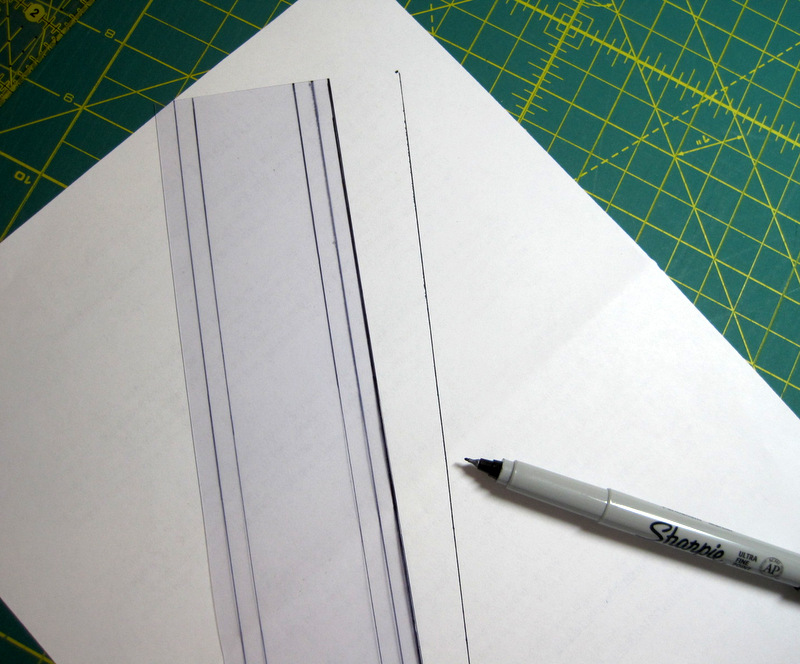
4. Lay the ruler very close to one edge and draw a solid line. You shouldn’t be able to see the edge of the plastic at all:

template 4

The reason for working on top of scratch paper:

template 5

Wasn’t that easy?

If you decide to make this template tool, please leave a comment to let me know how it’s working for you. Happy sewing!


Posted in Reach for the Stars sampler quilt, snowball blocks, stitch-and-flip corners, update | 31 Comments

Reach for the Stars: Halfway There!

With the completion of Block 7, I am halfway through my sampler quilt Reach for the Stars, featured in a seven-part series in Quilter’s Newsletter magazine. Here is my Block 7:

2014-4 RFTS Block 7
Block 7, 12 1/2″ Unfinished


Here it is on point, as it will be in the finished quilt:

2014-4 RFTS Block 7 on point
On Point, with Fussy-Cut Center

I opted not to put appliqué circles in the centers of my black squares, as called for in the original design. Instead I inserted a fussy cut image in the center square, making a square in a square.

And now for a full progress report: the first seven (of what will be 14) blocks surrounding my center medallion:

RFTS with 7 blocks
Sashing to Come

The center medallion will have a strip of blue sashing next to the black that’s already there, and the individual blocks will have black or green sashing, depending on their final placement in the quilt. The sashing will greatly enhance the finished look of the quilt, as you can see by looking at Terry Krysan’s original quilt:

Scan RFTS

Copyright Quilter’s Newsletter. Used with permission. Photo by Melissa Karlin Mahoney.
 

If you take a close look at the picture above, you’ll see that many of the blocks contain half-square triangles or square-in-a-square components. I used to spend a lot of time and effort marking sewing lines on my fabric pieces to make units like these. Not any more! In my next post, I’ll show you a little sewing aid I made out of template plastic that eliminates the need to mark sewing lines on my fabric pieces, speeding up block construction considerably. (You would think I’d get my blocks done faster but I still spend way too much time auditioning fabrics — and then second-guessing my choices. Time to start that process now for Block 8!)

Speaking of Block 8, Jennifer Gwyn of seamscrazyquilts.com has already finished hers (as well as her Block 7). Check out her site to see pictures of her lovely work in progress.

Thanks for stopping by!


Posted in Reach for the Stars sampler quilt, update | 4 Comments

Reach for the Stars: Jennifer V’s Blocks 5-7

More Reach for the Stars Show and Tell, this time from Jennifer Varney of Hudson, New Hampshire. Reach for the Stars is a queen-size sampler quilt with directions coming in seven consecutive issues of Quilter’s Newsletter magazine. Designed by Terri Krysan, the quilt features a center medallion and 14 blocks, all set on point.

Jennifer V (one of four Jennifers I know of currently making this quilt) has chosen to arrange her blocks in straight sets because she wants a smaller quilt with fewer blocks. You can see her center medallion and first five blocks in this post from March, which also shows the original quilt made by Terri Krysan.

Jennifer decided to remake Block 5, not because of a cutting error that would have been cleverly disguised with the sashing that goes around the block but because she wasn’t happy with one of her fabric choices. Here is her new Block 5:

Jennifer Varney's Block 5 (redone)
Jennifer Varney’s Block 5

Love that touch of sparkle from the metallics!

And here are her two latest blocks:

Jennifer Varney's Block 6
Jennifer Varney’s Block 6
Jennifer Varney's Block 7
Jennifer Varney’s Block 7

Terri Krysan’s design for Block 7 includes five fussy-cut circles appliquéd in the 3″ squares that make up the centers of the five stars. Jennifer V has opted not to add the circles and I may not either. There’s already a lot going on in this block. I’ll decide when I get to that point.

By the way, we have two new official converts to Reach for the Stars! My friend Colleen is almost done with her center medallion (her feature fabrics are from the Morris Apprentice line by Barbara Brackman for Moda) and our mutual friend Linda is jumping on board with Barbara Brackman’s latest line of Arts and Crafts-inspired fabric, Morris Modernized, featuring the designs of C.F.A. Voysey, the “informal successor” to William Morris. Rest assured I will post pictures when Colleen’s and Linda’s blocks are ready to be revealed!

In the meantime, if my sewing plans for this weekend are realized, I’ll be ready to reveal my own Block 7 very soon.


Posted in Reach for the Stars sampler quilt, update | 2 Comments

Reach for the Stars: Sherri’s Blocks 5 and 6

Oh boy! I get to show you two new blocks in Sherri Crisp’s version of Reach for the Stars, the series sampler quilt unfolding in consecutive issues of Quilter’s Newsletter magazine. Sherri, who’s from Knoxville, Tennessee, is one of a small but growing group of quilters whose progress is being charted here and on Jennifer Gwyn’s website/blog, seamscrazyquilts.com.

First, behold Sherri’s  Block 5 . . .

Sherri's Block 5
Block 5 by Sherri Crisp

. . . and now look at it on point, as it will be in her finished quilt:

Sherri's block 5 on point
Sherri’s Block 5 on Point

Don’t you love the pinwheel effect?

Here is Block 6 as a square . . .

Sherri's Block 6
Block 6 by Sherri Crisp

. . . and here it is on point:

Block 6 on point (2)
Block 6 on Point


And here are all of Sherri’s blocks to date in position around the center medallion:

RFTS Sherri's medallion and blocks 1-6
Sherri Crisp’s medallion and blocks

Simply spectacular, Sherri!


Posted in Reach for the Stars sampler quilt, update | 4 Comments