Friday Finishes

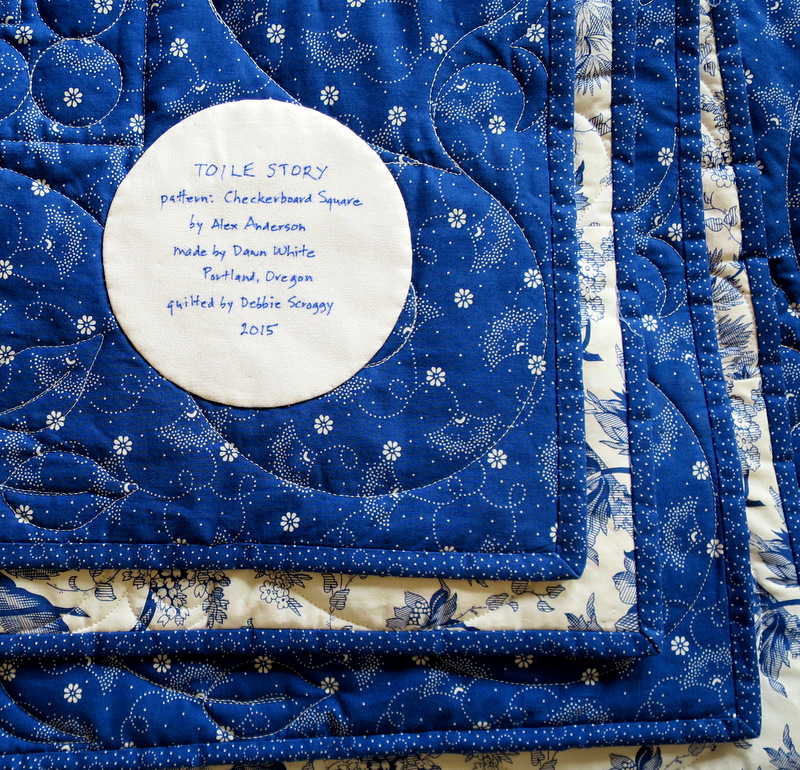
Happy Friday the 13th! It’s a lucky day for me as I have not one but two finishes to report. Minutes ago I finished sewing the label on Toile Story:

2015-2 Toile Story label

Over the last few days I hand stitched 343″ of binding. My stitches are about three to the inch, meaning I took somewhere in the neighborhood of 1,000 stitches to finish the binding. And I enjoyed every one.

Toile Story measures 76″ x 91″. I may have to take it somewhere outside my home to get flat pictures of the front and back. Look for photos in a future post.

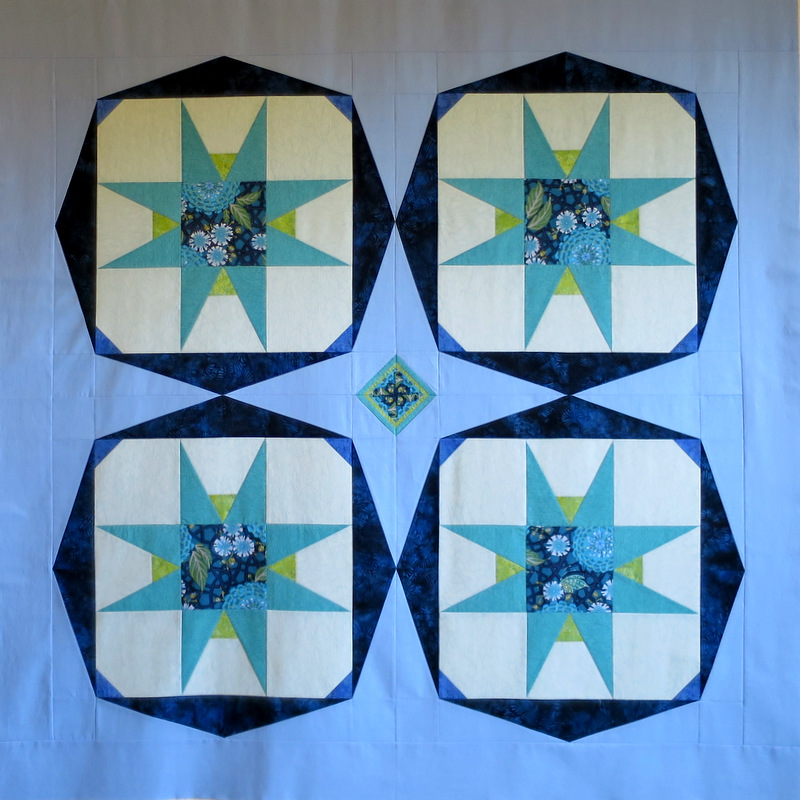
My second finish is this quilt top, which now measures 56½” square:

2015-2 Cutting Corners w borders

Adding plain borders to float the blocks was a good call. There was one thing I had to do before I could call the top done, though. I was bothered by something in the upper right block.

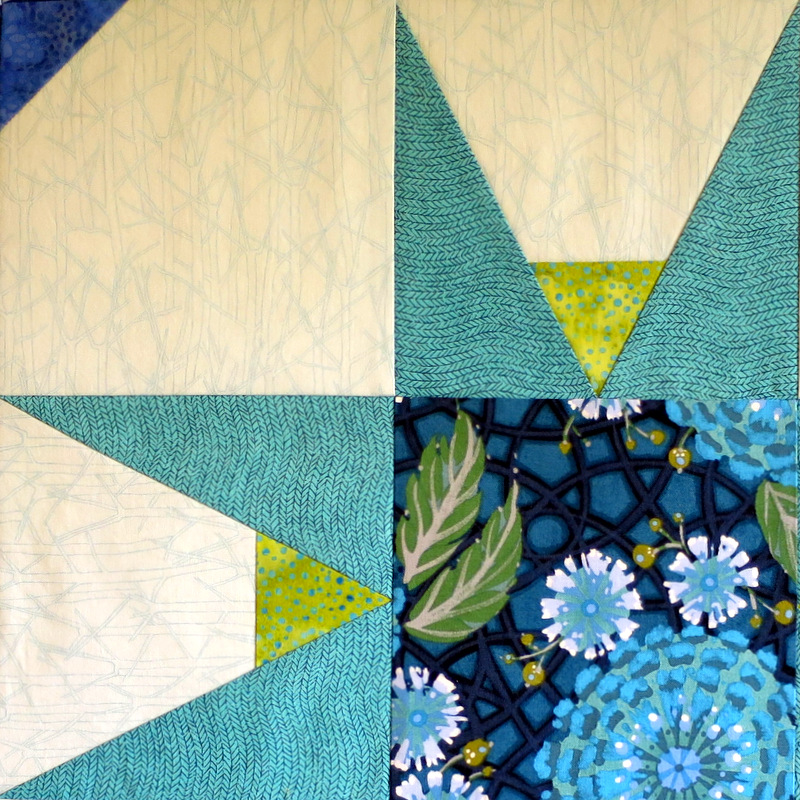
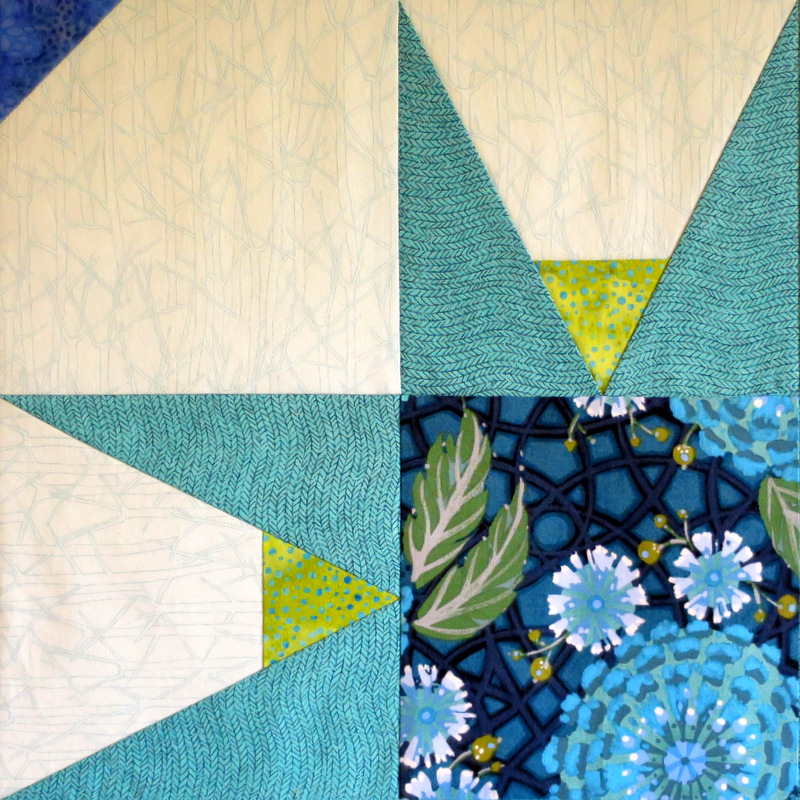
In this photo look at the upper left corner of the floral square:

2015-2 block before QC

See that little white spot? It’s part of the floral design but to me it looked like a hole in the fabric. Quilter’s caulk to the rescue:

2015-2 QC

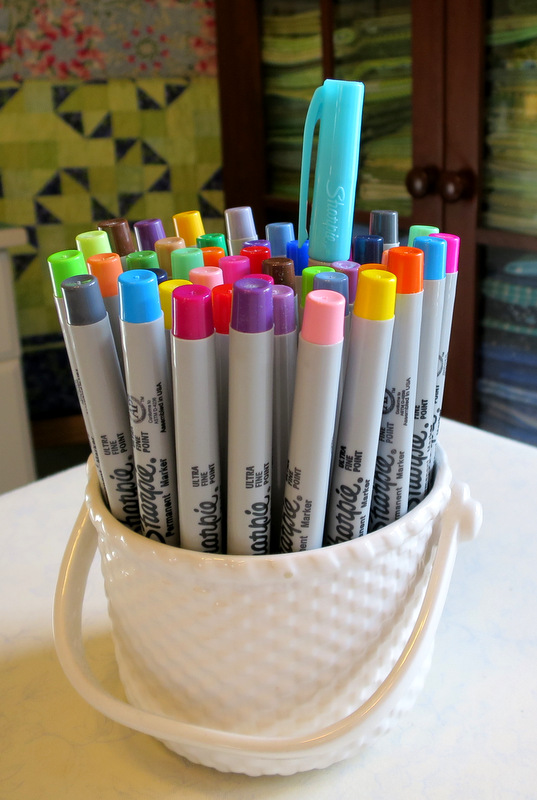
One of my quilt teachers told me about quilter’s caulk, otherwise known as Sharpie Ultra Fine Point permanent marking pens. You can’t use colored ink to fill a gap or seam, which is the definition of the verb “to caulk,” but you can use it to color correct a seam or some other part of an item made with fabric.

With just a touch of my aqua Ultra-Fine Point Sharpie I made that hole disappear:

2015-2 block after QC

To see how I’ve used Quilter’s Caulk on other projects, check out this previous post from 2012.

Tomorrow is Valentine’s Day. I hope you are doing something special with a loved one. My valentine is taking me to dinner at the historic Multnomah Falls Lodge in the Columbia Gorge. Lucky me!


Posted in quilter's caulk, update | 5 Comments

Star Steps

Step 1. Make an 18½” star block. Why? Oh, just for fun. And to use up focus fabric left over from another project.

2015-1 Long Pointed Star 800


Step 2
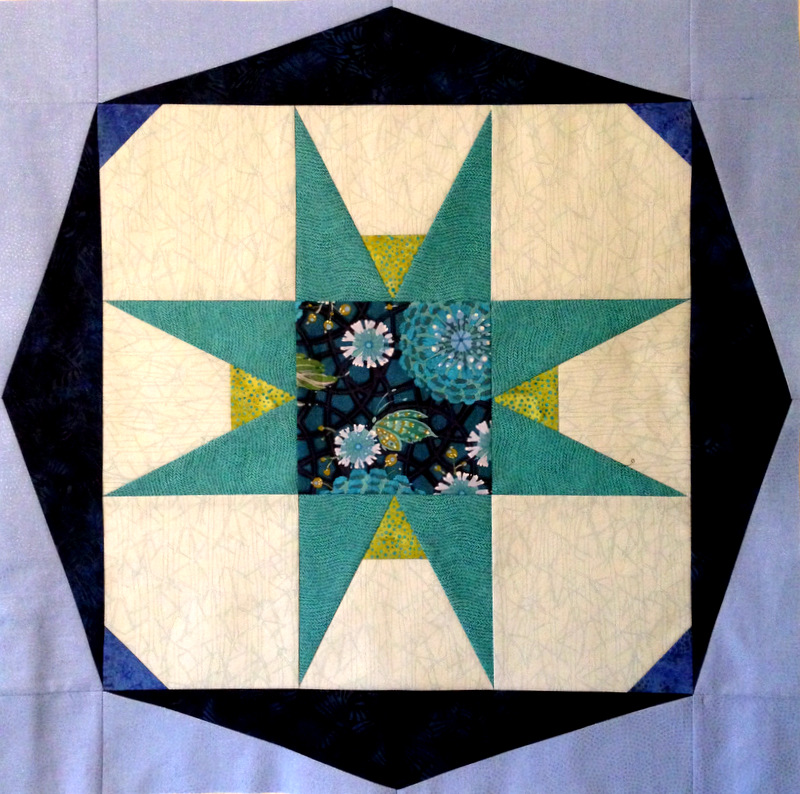
. Put a ring around it. Now it measures 24½”.

Seeing Stars block


Step 3
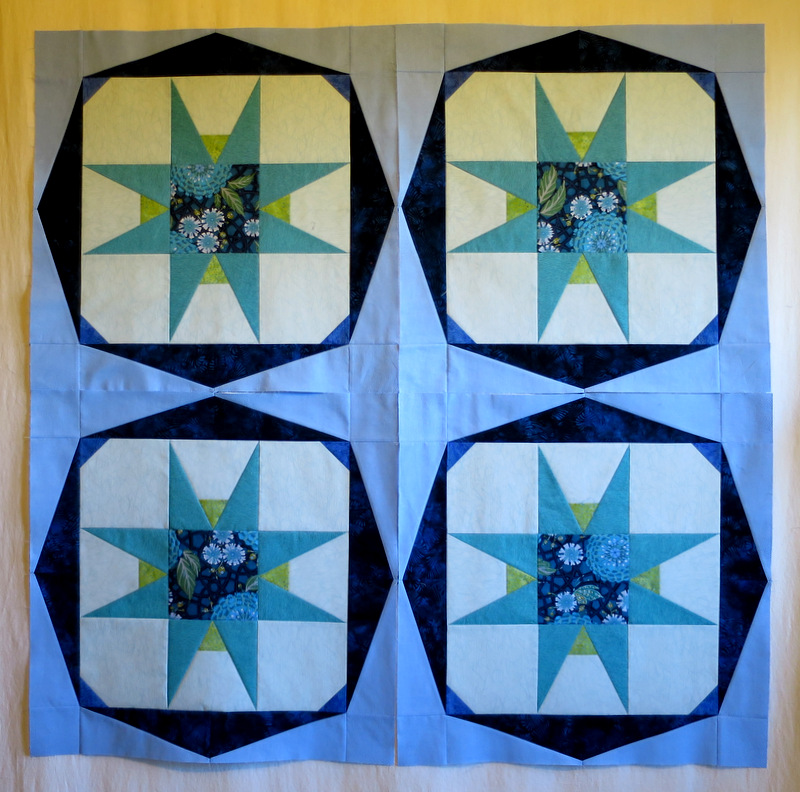
. Make three more blocks and put all four up on the design wall:

Billie's Star


Step 4
. Decide that it needs “something in the middle” to draw attention to the secondary star formed when the blocks are put together.

That’s where I was when last I posted about this project. Here’s where I am now:

Billie's Star 1
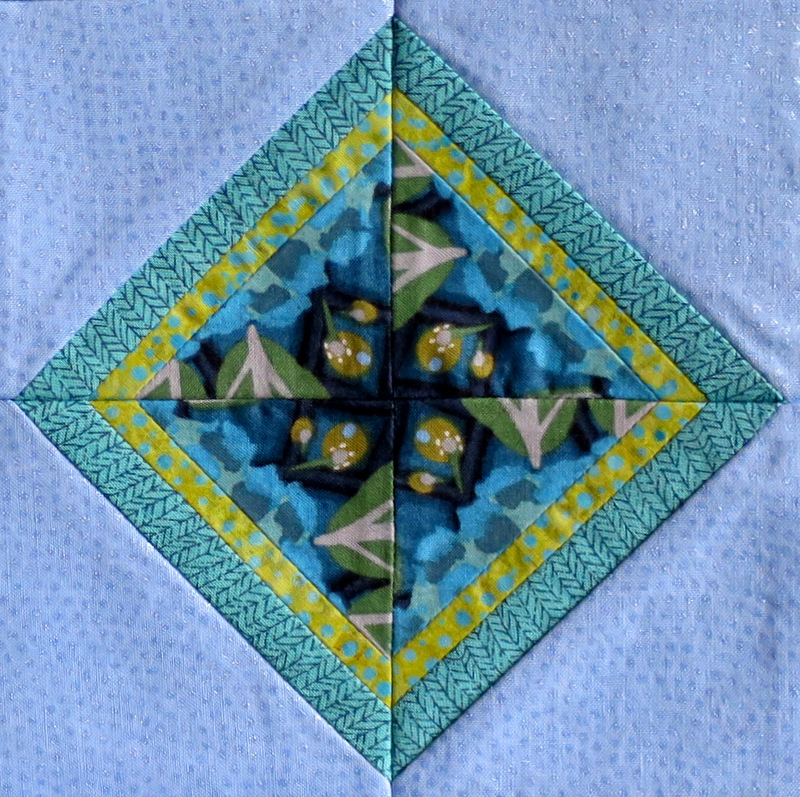
Isn’t that a fun addition? Using triangles instead of squares, I made a 4-Patch Wonder block (my term for four fabric repeats layered, cut, and rotated to form a symmetrical design) and then added ¼”and ⅜”-wide sashing strips.

Here’s a close-up of that little faux-kaleidoscope block. With the sashing strips it measures 4″ square:

Billie's Star center
So what’s Step 5? Borders! I want to float those blocks so I’ll add border strips in the same blue background fabric. When I’m done my quilt top will measure 56½” square. Then it’s on to Step 6: piecing a backing.

And I vow not to start something else “just for fun” until I’ve finished the three quilts that got moved to the back burner when I started Seeing Stars.


Posted in 4-Patch Wonder, faux-kaleido quilts, update | 6 Comments

Design Dilemma

Earlier this week my twin sister Diane called me with a home dec design dilemma. The small chest that sat between two red leather chairs in her living room was so narrow that people sitting in the chairs couldn’t see each other around the lamp at the back of the chest. Her solution was a clever one: she claimed a matching chest from another room and placed it back to back with the first one. Then she had a piece of glass made to fit the top. The only problem was that you could see under the glass where the two chests met in the middle.

Could she commission me to make a table runner to cover the middle section? Of course she could. She wanted something very simple — no piecing required, just a rectangle about 9″ wide and long enough to extend down both sides of the chest. We talked about colors to match her living room — deep red, tan, forest green. I was ready to charge off to a fabric store to look at home dec fabrics.

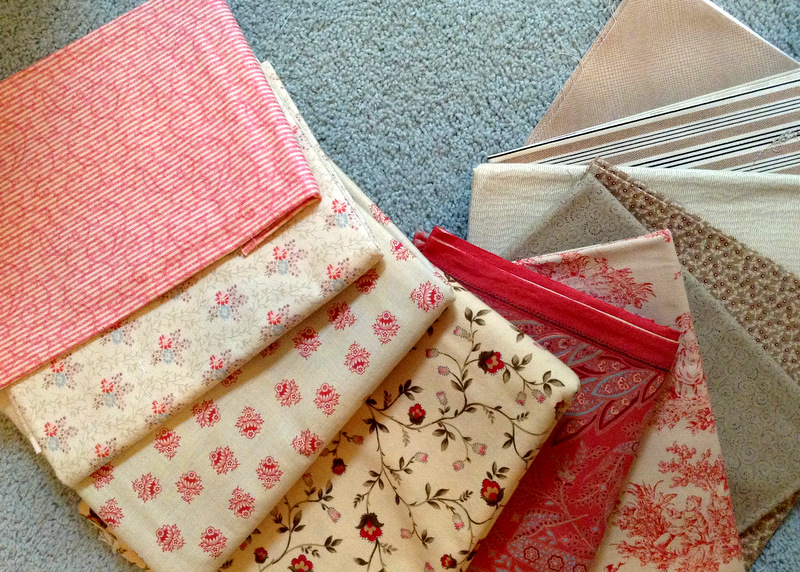
Diane was incredulous. “Don’t you have some fabric in your stash that will work?” she asked. Well, of course I did. A little stash diving resulted in this group of fabrics sent from Portland to Atlanta via iPhone for Diane’s inspection:
fabric choices

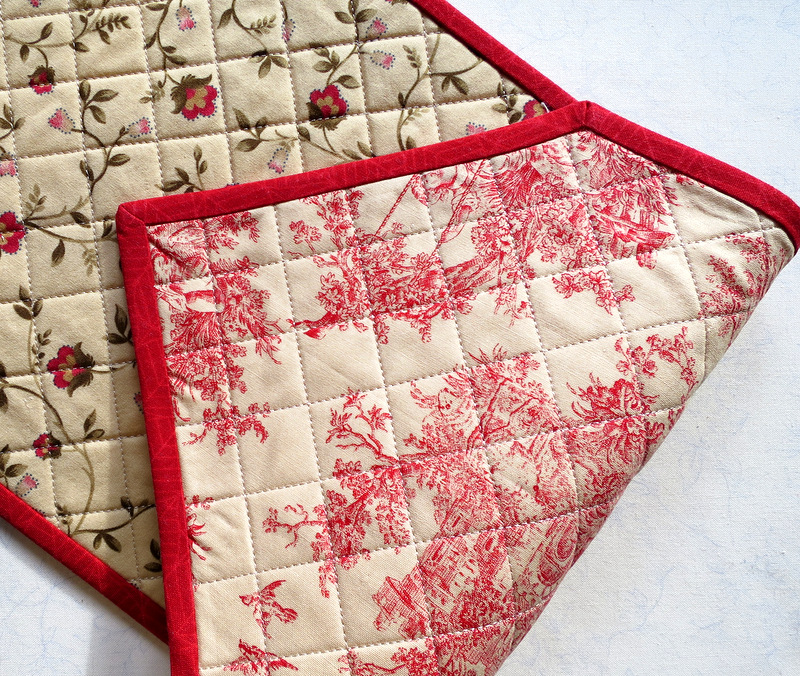
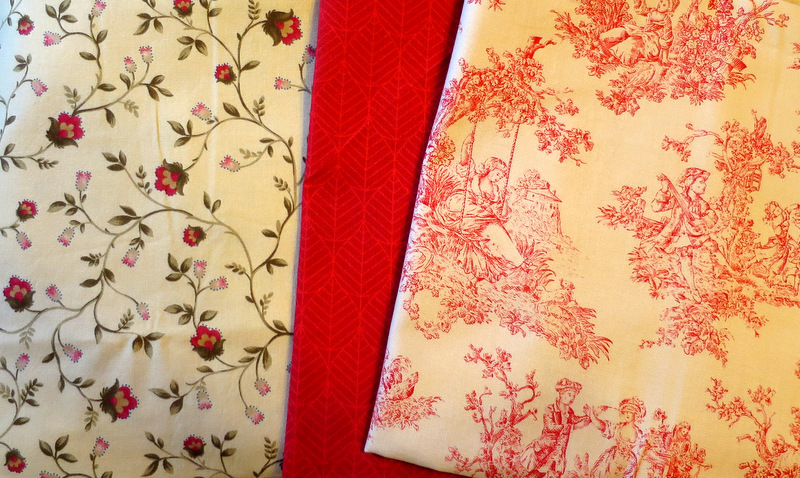
She liked the print in the center of the photo — the one with the red flowers and vines on a tan background — and the red and tan toile on the right side. No need to choose between them. By making the table runner reversible, we could use both fabrics.

I pulled a red leaf print from my stash for the binding:
the winning combo
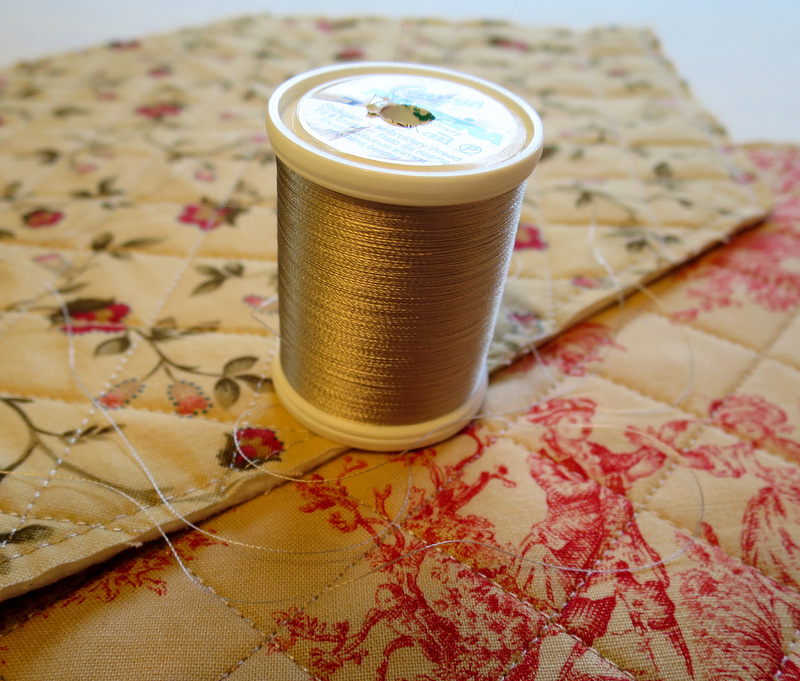
The only thing I needed to buy was topstitching thread. It had to be just the right color to look good on both fabrics, as the backgrounds are similar but definitely not the same. In no time at all my quilt sandwich was ready. I decided to quilt a diagonal 1″ grid across the surface of the table runner, using my walking foot and this light taupe rayon thread by Madeira that has a beautiful sheen:
topstitching thread
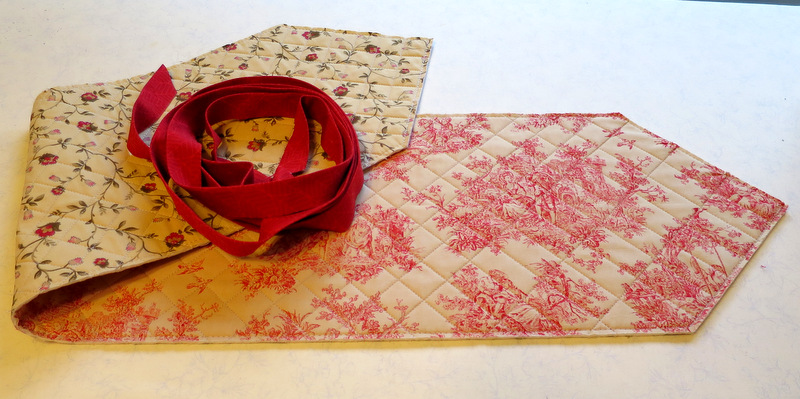
I cut the binding strips on the bias, by the way, because I knew the leaf print would look better that way. Here is the runner quilted and ready to bind:
ready to bind
Notice that the table runner isn’t just a rectangle? It wouldn’t be much more work, I reasoned, to make the ends pointed, and it would be so much more elegant. It didn’t occur to me until later that I would have six corners to miter and that four of those corners would be angles greater than 90 degrees. No worries, though. Heather Peterson of Anka’s Treasures has an excellent tutorial on her blog, Trends and Traditions, that shows how to bind outside corners greater than 90 degrees.

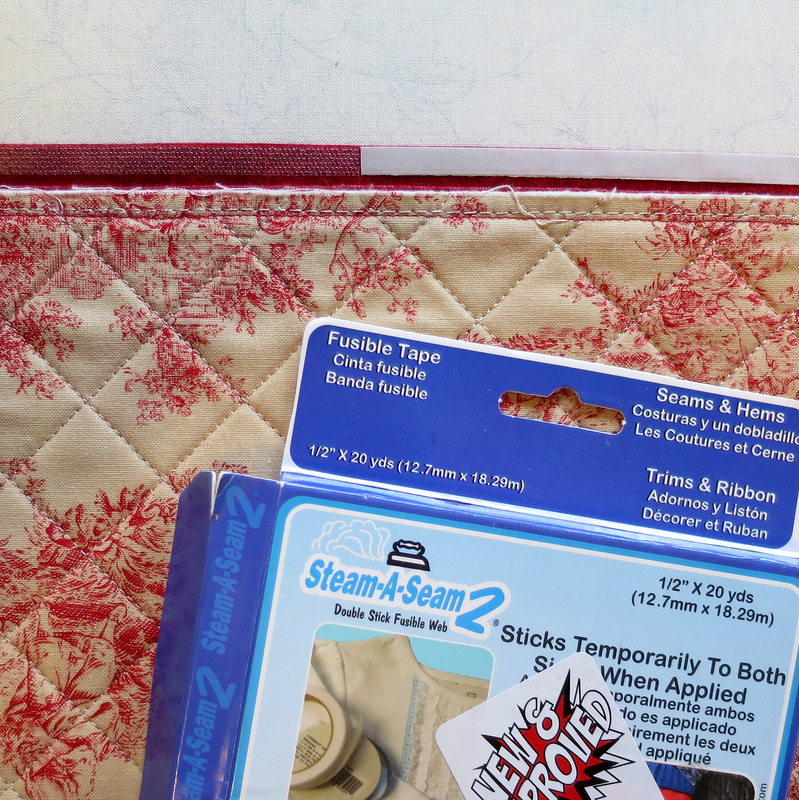
Once the binding was stitched on, I tacked it down on the other side using Steam-a-Seam 2, a double stick fusible webbing. At the top of the photo you can see how the webbing is positioned right along the folded edge of the binding:
fusing the binding

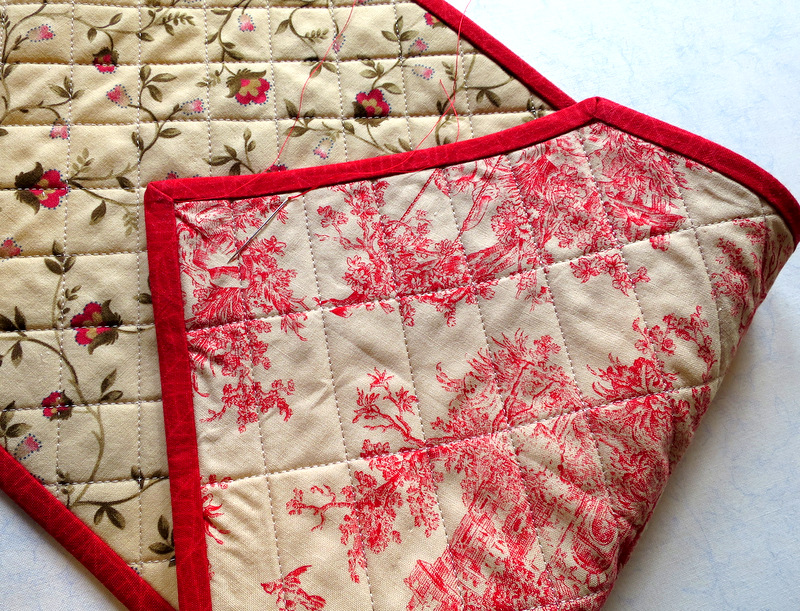
(Steam-a-Seam 2 comes in ¼”-wide rolls. All I had on hand was ½”-wide. Easy enough to cut it in half to make ¼”-wide strips.) The fusible webbing made short work of finishing the binding. All that was left was tacking down the mitered corners by hand. I was on the last miter when I noticed I had missed three rows of quilting:
tacking down the binding (2)
Now doesn’t this look better?

stitching corrected
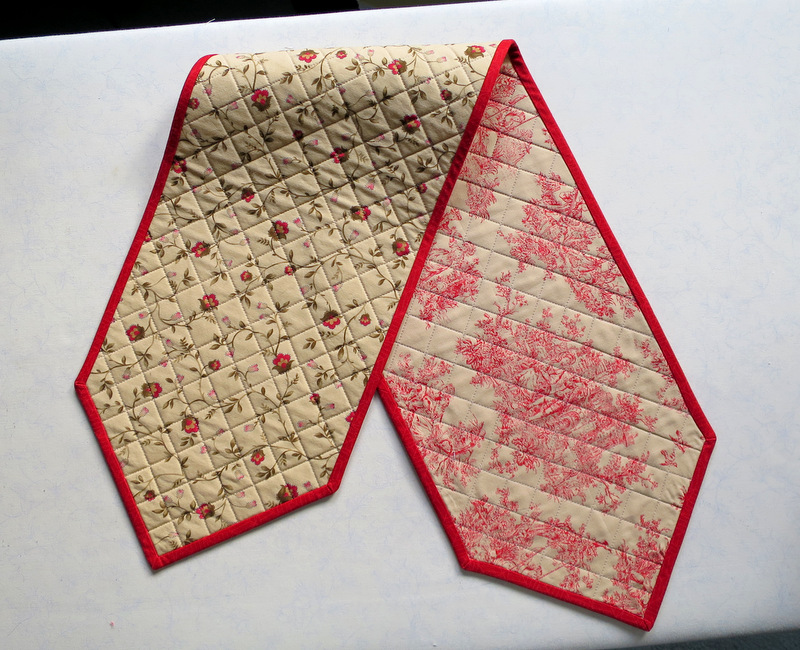
Here is Diane’s reversible table runner (measuring 9-3/8″ x 41″), ready to be boxed and mailed:
runner completed

This little project was a pleasant diversion from binding Toile Story. I do enjoy binding quilts by hand but was ready for a little break. Diane said she wasn’t in a hurry to receive this but was hoping to get it before she hosts a cocktail party later this month. She’ll be very surprised to get this in the mail so soon — unless she sees this post first.


Posted in family, home dec, mitered corners, update | 3 Comments

Toile Story

You’ve heard of a tall story, haven’t you?

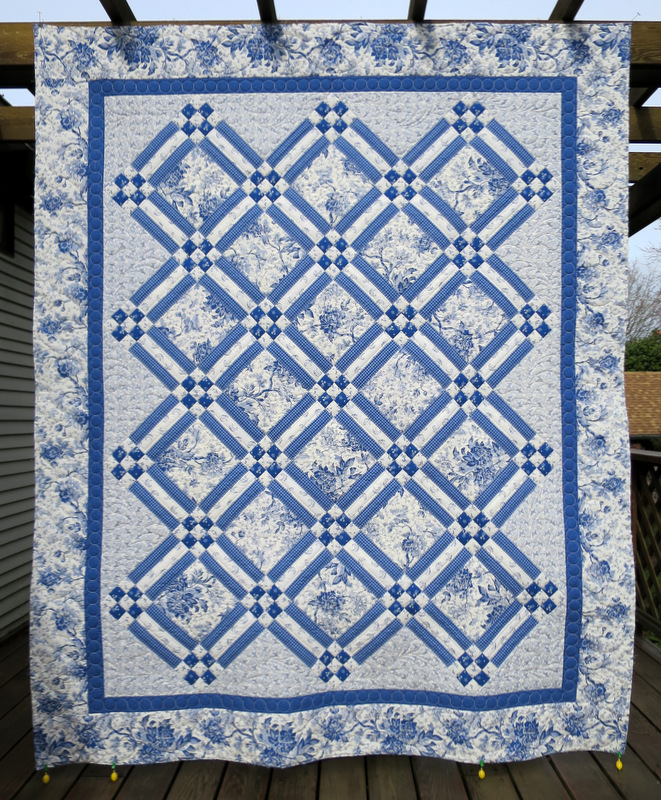
Well, today I have a Toile Story for you. That’s the name I’ve given my checkerboard square quilt, just back from the quilter. Here it is hanging from the arbor on my back deck, in one of the few shots I was able to get today when the breeze died down:

2015-2, Toile Story

(Those tablecloth weights hanging along the bottom of the quilt helped a tiny bit with the breeze. Also helping was the Dear Husband, who was behind the quilt trying to keep it from billowing backward.) Toile Story measures 73″ x 89″ after quilting and trimming.

You may remember from an earlier post that the pattern Checkerboard Square was designed by Alex Anderson using her Never Enough Romance line for P&B Fabrics. I bought the fabric (and cut the quilt out) in 2008 but more than five years passed before I put it together. I finished piecing the back on the last day of 2014.

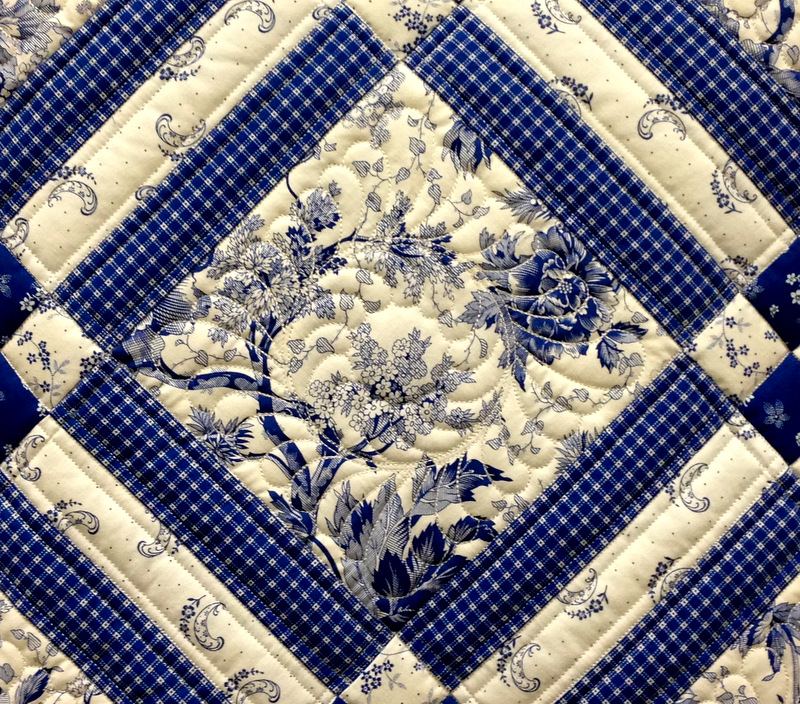
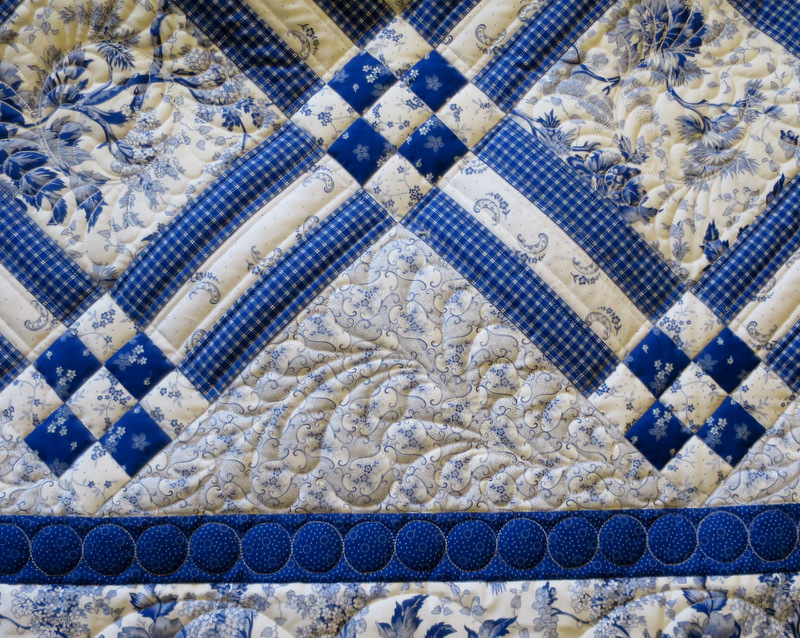
Toile Story was beautifully quilted by Debbie Scroggy of All Quilted, LLC. Let me show you some details of Debbie’s fine work. Notice that every single seam was stitched in the ditch and the rail fence blocks were all quilted ¼” from the seams. The toile centers of each block were quilted with a feathered wreath design:

feathered wreath in centers
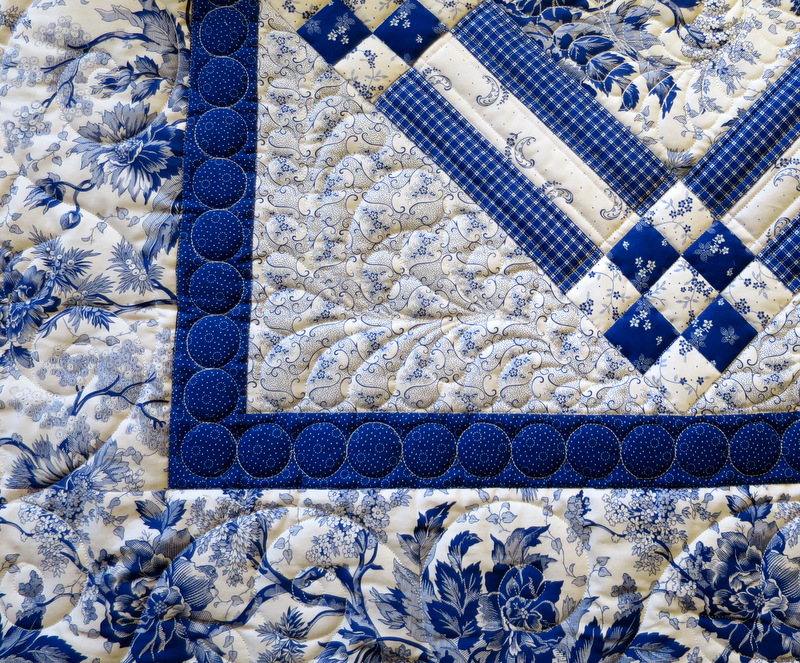
The circles quilted in the royal blue inner border echo the centers of the feathered wreaths in the toile blocks as well as the design printed on the border fabric itself:

circles

corner feather

Debbie and I planned that. The photo above also shows the feather motif quilted in the corner triangles. The side triangles have feathers as well:

side triangle feathers
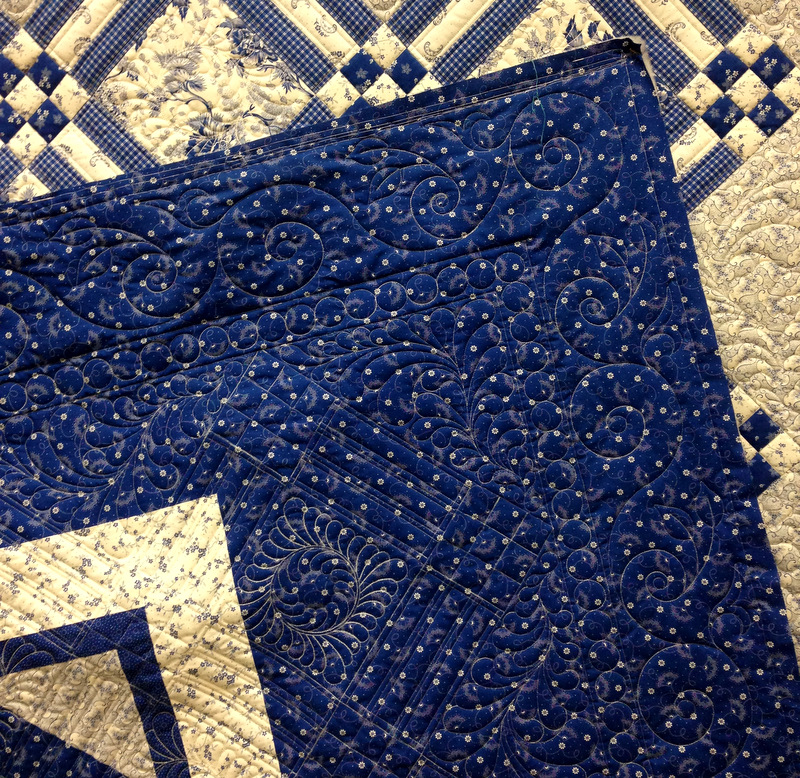
For the outer border I asked Debbie to quilt “something viny, with leaves.” The motif she chose echoes the round shapes quilted in the interior of the quilt and remains secondary, as I wanted it to be, to the strong lines of the toile fabric design. It’s easier to see the vines and leaves on the back:

details on back

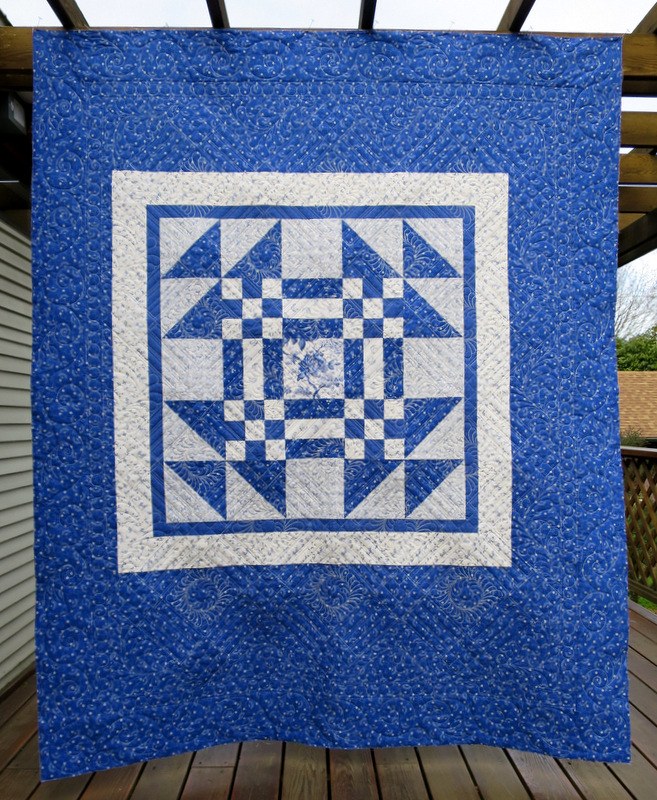
The back of Toile Story features an oversized Goose in the Pond block, deliberately situated above and to the left of center:

back of Toile Story
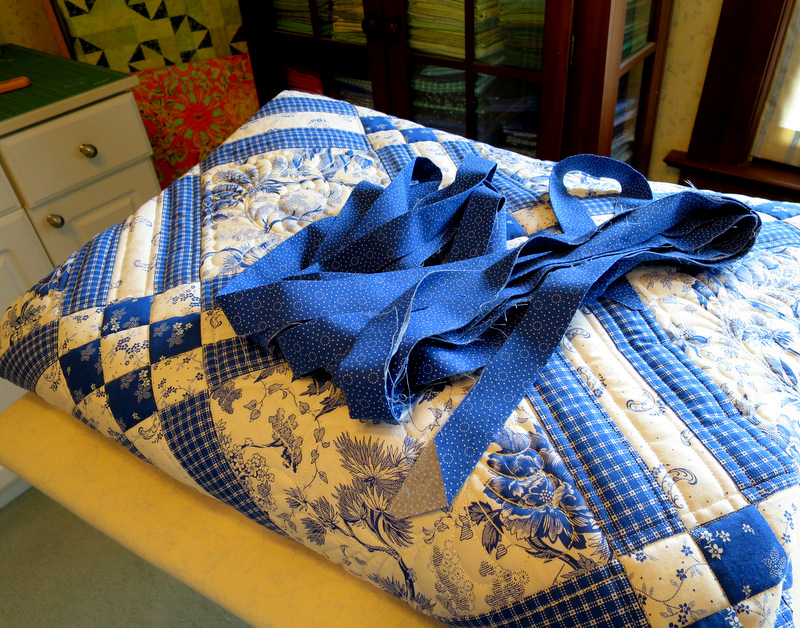
Before I can legitimately claim Toile Story as a 2015 finish, I have to bind it and label it. I’m ready to get started . . .

ready for binding. . . and that’s no tall story.


Posted in update | 17 Comments

Stars x 4

A few days ago I gave in to the temptation to play around with a large star block using some fabric leftover from another project. Now I have four blocks, each measuring 24½”:

Billie's Star

I’ll bet you think I’m ready to sew these blocks together. Not so fast! See how the blue fabric in the center forms a secondary star? I think something needs to go in the center of that block. And I have an idea what it needs to be.

I hope you’ll come back for a visit to see what I did. In the meantime, have a splendid weekend.


Posted in update | 1 Comment

Still Seeing Stars

The star block I started playing with last week has expanded, now measuring 24½”:

Seeing Stars block
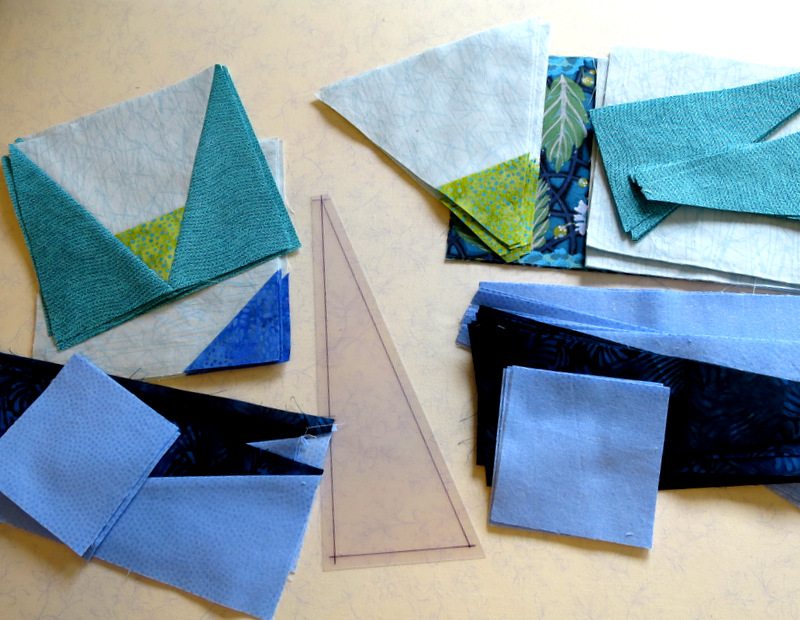
I cut enough fabric to make three more blocks and fashioned a plastic template to help me line up the points on the ring around the star:

star blocks in process

What’s going on here? I have no idea. We’ll just have to see where it takes me.


Posted in update | 4 Comments

Reach for the Stars: Jenn Varney’s Quilt

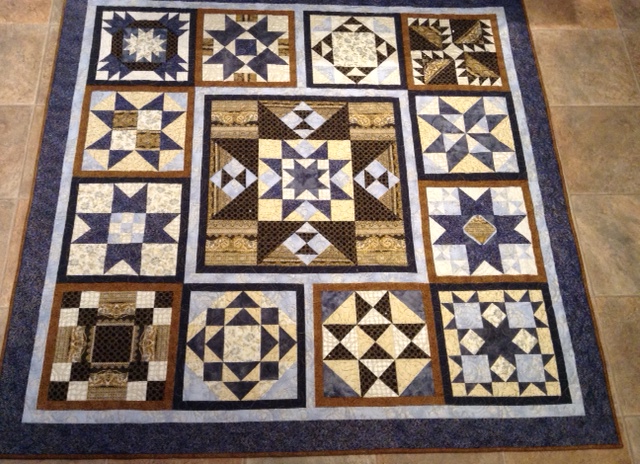
Ladies and gentlemen, we have another Reach for the Stars quilt finish! Jennifer Varney of Hudson, New Hampshire is one of several quilters across the country I met virtually last year as we each worked on our own version of a star sampler quilt designed by Terri Krysan and featured as a series project in Quilter’s Newsletter. Over the course of 2014 our little band of stargazers shared pictures, compared notes, and cheered each other on.

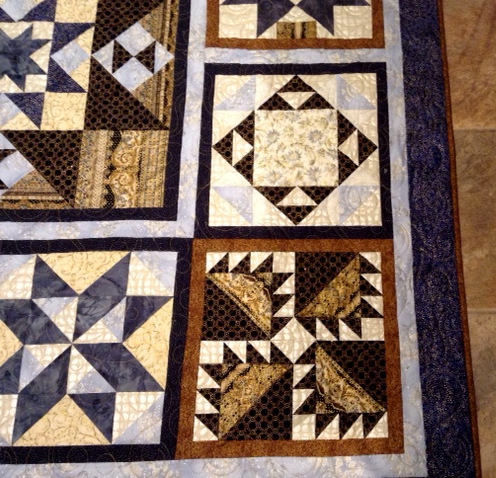
We all made changes — some great, some small — to the design. Jenn chose to make a smaller quilt with fewer blocks and to use a straight set rather than putting her blocks on point. Here is her finished quilt:

JV's RFTS quilt-001
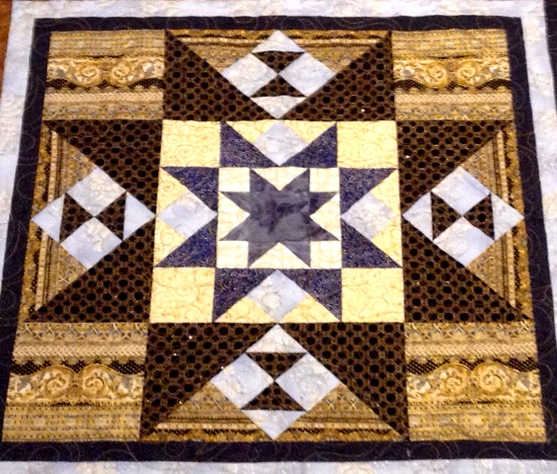
The muted browns and blues are offset by shots of metallic gold, giving the quilt such a rich look. The center medallion shows this off especially well:

JV's center medallion
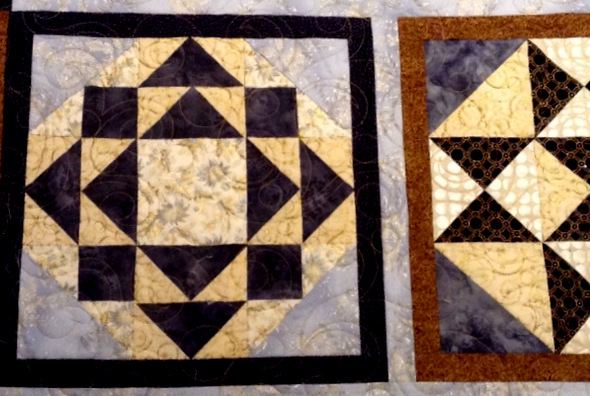
Lorri Wurtzler of Seventh Heaven Quilting in Nashua, New Hampshire did the longarm quilting. I hope you can see Lorri’s lovely quilting in this close-up . . .

JV's RFTS block detail
. . . and this one:

JV's RFTS quilt detail
By changing the setting, Jennifer reduced the number of blocks (not counting the center medallion) from 16 to 12. If my math is correct, her quilt measures about 60″ square, perfect for a lap quilt or throw. And wouldn’t it look terrific on a wall?


Posted in Reach for the Stars sampler quilt, update | 8 Comments

WIP Wednesday: Seeing Stars

Yesterday was a play day. Instead of pulling a UFO from the sewing room closet — my original intention — or finishing the pieced back for my Olivia Twist bed runner, I made a star block using some of the leftover focus fabric from Olivia Twist. I have enough of the fabric (A Garden for Olivia by In the Beginning Fabrics) to make another quilt. Apparently that is what I am doing.

This is what I have so far:

2015-1 Long Pointed Star 800
Obviously I have stars on the brain. After finishing my star sampler quilt, Catch a Falling Star, you would think I’d be ready for something new. I’m actually playing around with a new quilt design. Right now my block measures 18½” but it will finish at 24″.

Linking up with Lee at  Freshly Pieced.


Posted in update | 6 Comments

Reach for the Stars: Front and Back

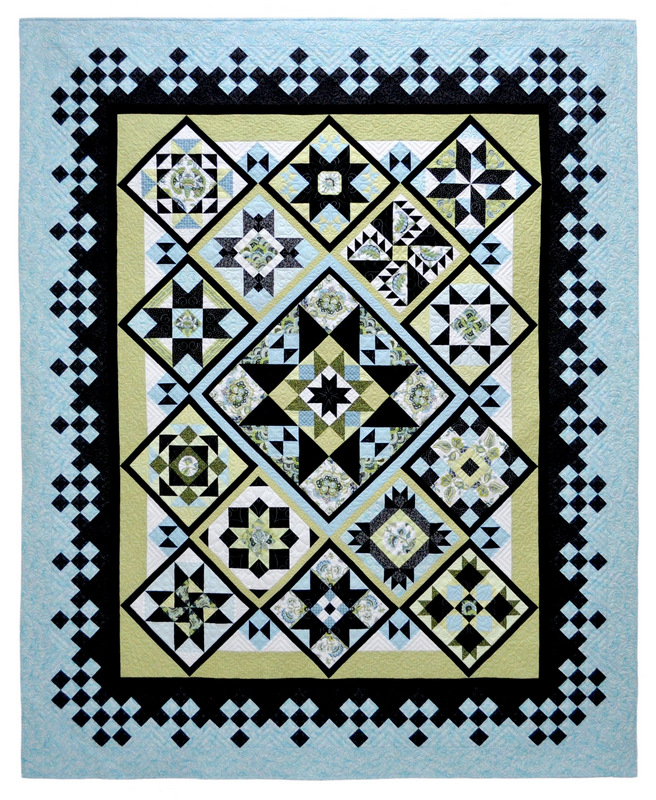
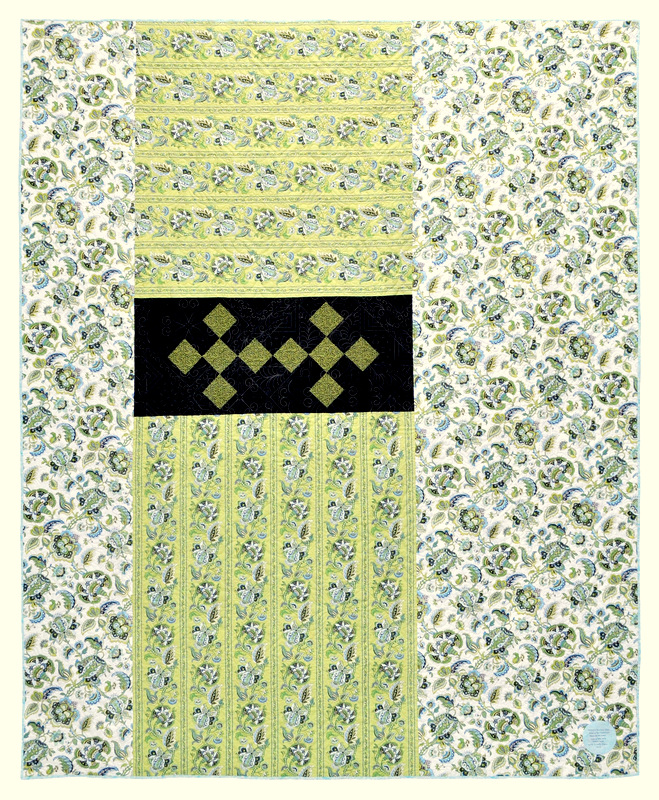
I’m excited to show you a full frontal shot of Catch a Falling Star (CAFS), my sampler quilt based on Terri Krysan’s Reach for the Stars quilt. CAFS was photographed last week by Bill Volckening, quiltmaker, collector, author, historian, and blogger, to name a few of his pursuits. I have no wall or floor space in my home large enough to capture the entire quilt, which measures 84″ x 105″ after quilting, in a photo. Fortunately, there was plenty of room in Bill’s studio.

Here is Catch a Falling Star from the front: CAFS front BV photo 800and from the back:

CAFS back BV photo 800In a future post I’ll take you on a little tour of Catch a Falling Star, block by block. I’ll show you some close-ups of Loretta Orsborn’s lovely quilting and share a couple of fun facts about the making of the quilt.


Posted in Reach for the Stars sampler quilt, update | 11 Comments

Two Steps Forward . . .

. . . and one step back. That’s how the last few days have played out in my sewing room.

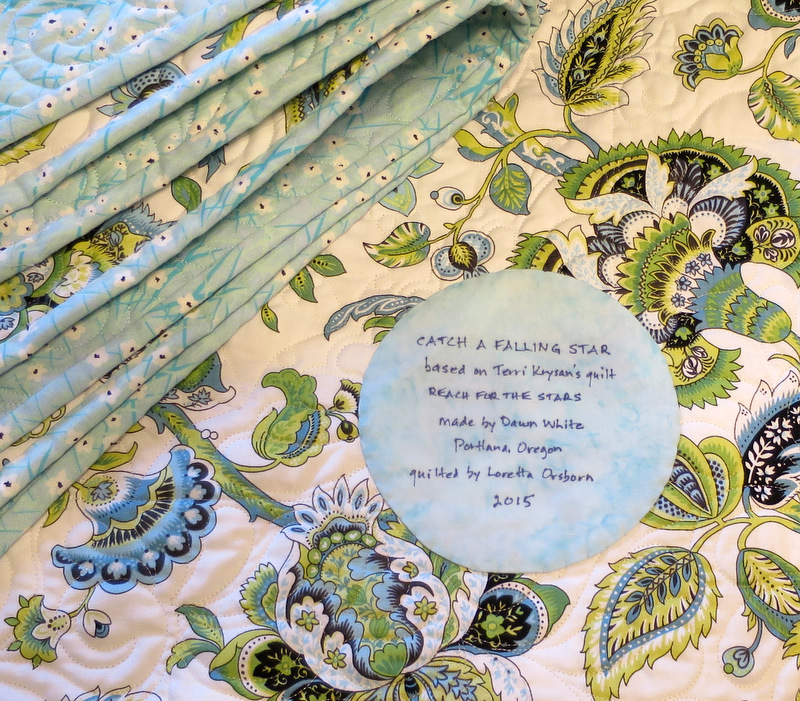
Two steps forward: the binding and label on Catch a Falling Star (my Reach for the Stars sampler quilt):

2015-01-14 22.54.34

Still to come: attaching a sleeve on the back (one step back). I’ve decided to enter Catch a Falling Star in a couple of local quilt shows this year, hence the need for a sleeve. Before the sleeve gets attached, though, this quilt is going to be photographed in a studio. That’s something I can’t do at home because I don’t have a suitable space for a full flat shot. Several readers have asked for a look at the entire quilt as well as more photos of Loretta Orsborn’s lovely quilting, and I promise they are forthcoming.

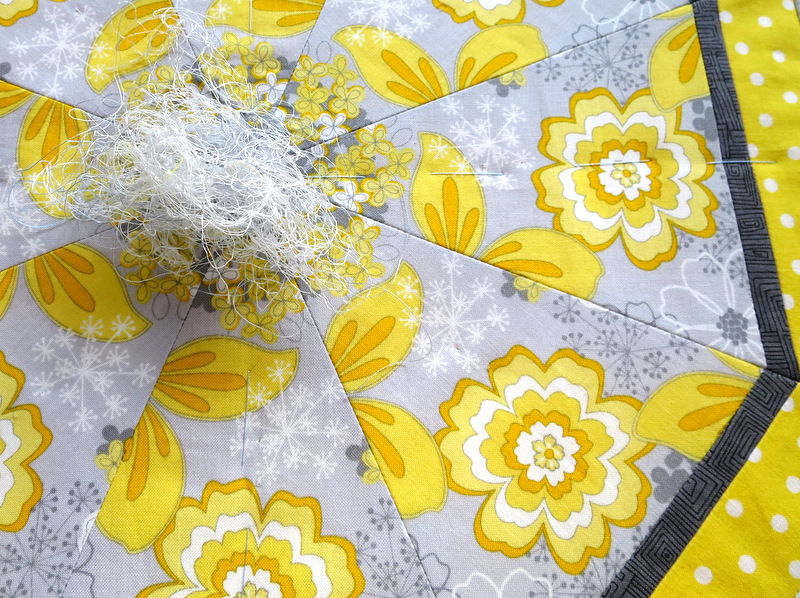
A couple days ago I decided to finish my Sun Flowers wall hanging. I pieced a backing and pin-basted the layers. Two steps forward. Without a quilting plan in mind I started stitching in the ditch on the horizontal seams. Then I stitched the vertical seams and sashing strips on one of the kaleidoscope blocks. At that point I decided what I really wanted to do with this little quilt was stitch diagonally across the surface. Those horizontal and vertical stitching lines had to go.

I picked out all of the quilting. BIG step back:

2015-01-14 01.33.45

It was actually a good thing I picked out the quilting because I had pin-basted the layers rather hastily and the back was not entirely smooth. With the quilting stitches removed, I was able to adjust the layers, and this time I thread-basted them. I put the quilt on my design wall and started thinking about my quilting plan.

Now I’m second-guessing my decision on the diagonal quilting. It seems to me it might distract from the kaleidoscope blocks, which are the star of the show. One thing’s for sure: this quilt is not going under the needle on my sewing machine until I have a plan firmly in place.

In the meantime, I’m going to start piecing the backing for another quilt. One step forward.


Posted in kaleidoscope quilts, Reach for the Stars sampler quilt, update | 4 Comments