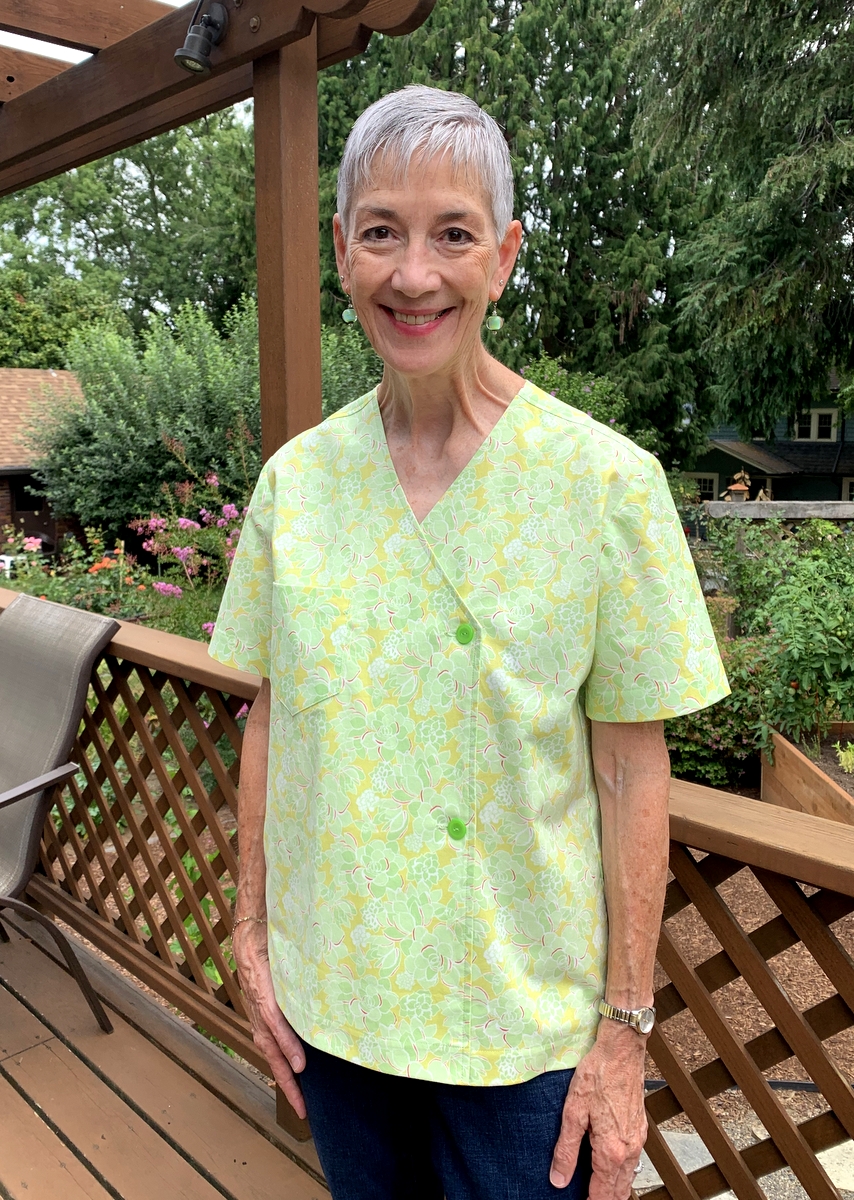
Back in the Saddle Again
Four weeks without a blog post! That’s a record for me. I take the month of August off from teaching my quilt classes at Montavilla Sewing Center in Lake Oswego. I didn’t intend to take a month off from my blog but this past August was not a typical month. The latter half was filled with several mini family reunions, although the occasion that brought us together was a sad one: a memorial service in Portland for my beloved brother-in-law Ed, who died in June following a lengthy battle with cancer. Ed and my twin sister Diane were married for 52 years, 41 of which were spent in the Atlanta area.
Diane flew out to Portland in July to make arrangements for the service and then came back in August for the service itself. Ed grew up in Portland, one of eight children, so we knew there would be a large number of his family members in attendance (spanning three generations) as well as several from ours. It was a lovely service. I had the honor of reading a beautiful eulogy written by Ed and Diane’s dear friend Lisa, who was not able to attend. An equally lovely reception followed.
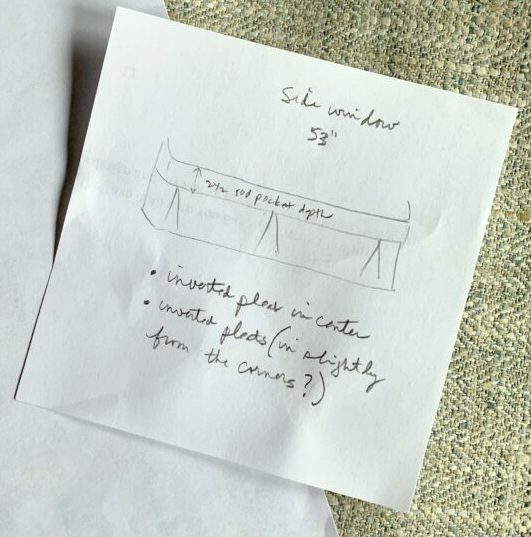
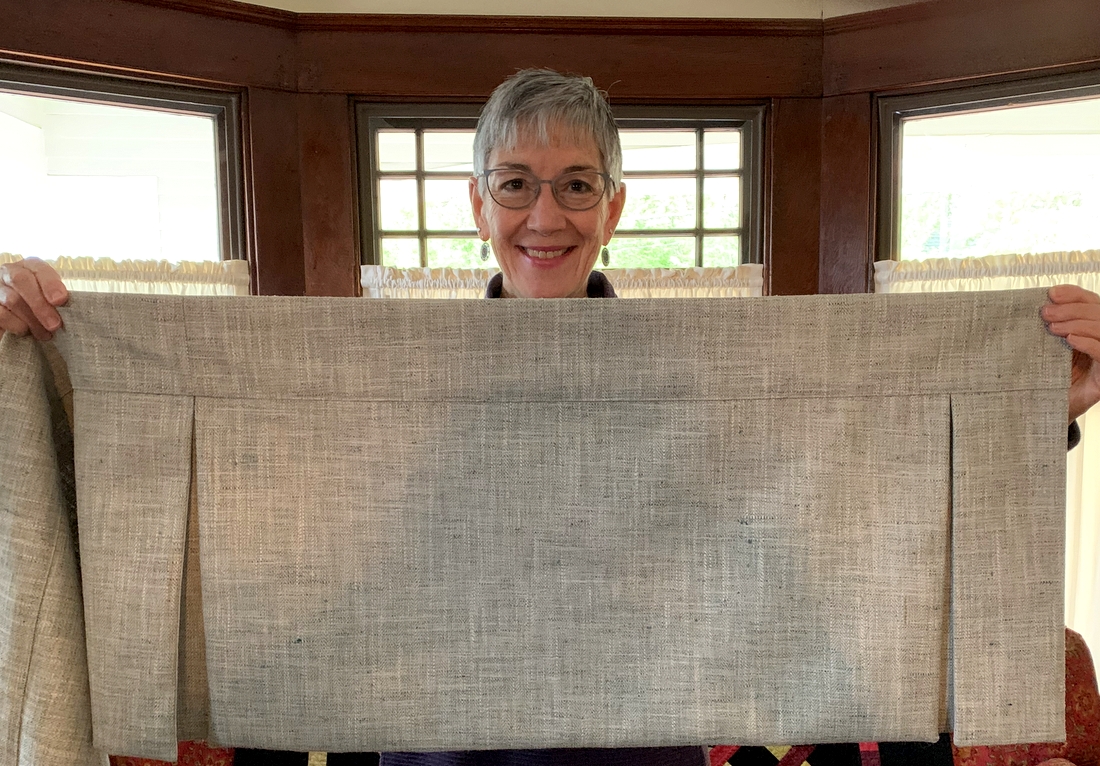
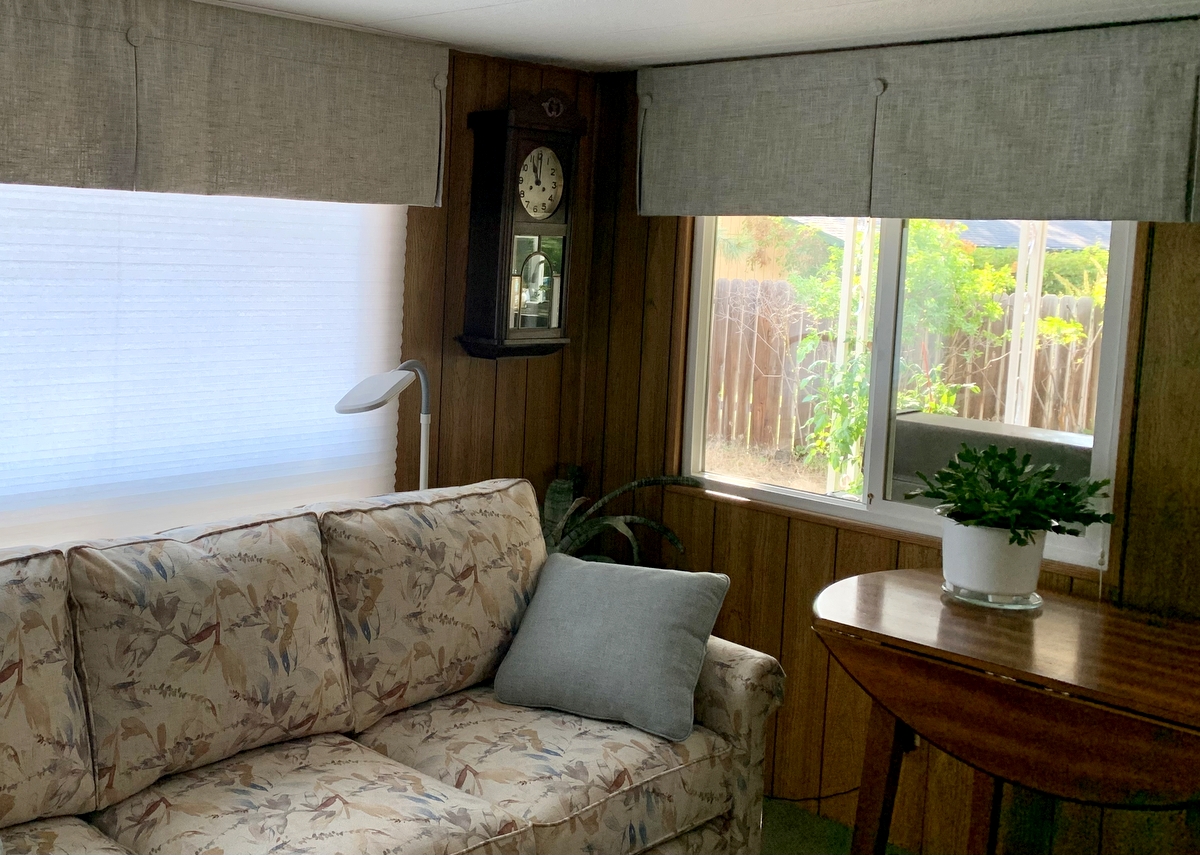
Diane stayed two weeks after that. We went for long walks in the neighborhood and played a lot of Scrabble. And we made a quick trip to Bend to see our stepmother Shirley, just home from an unexpected stay in the hospital. When I was in Bend in late July delivering Shirley’s living room valances, which I wrote about here, Shirley asked if I would make simple valances for the windows in the master bath and guest bathroom. I gladly said “yes” and we talked about fabric ideas.
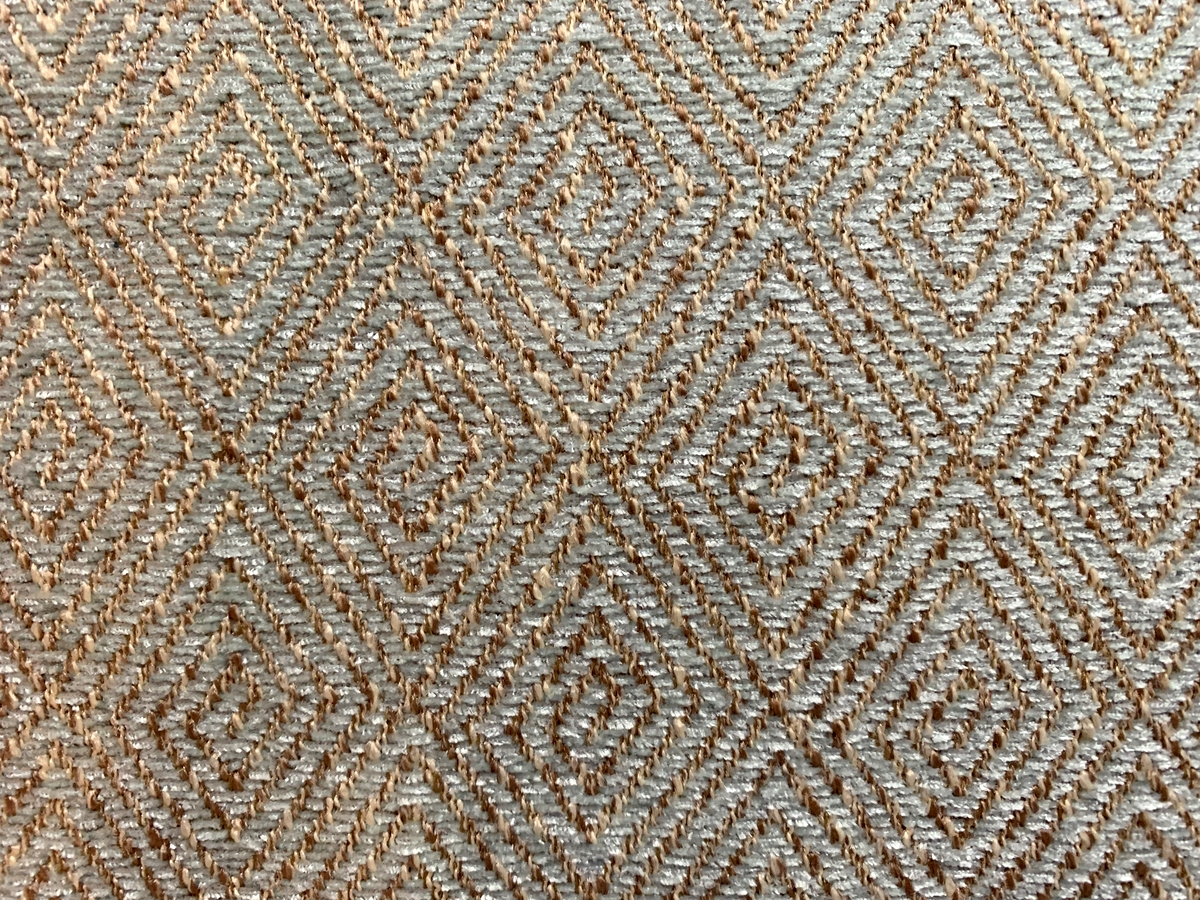
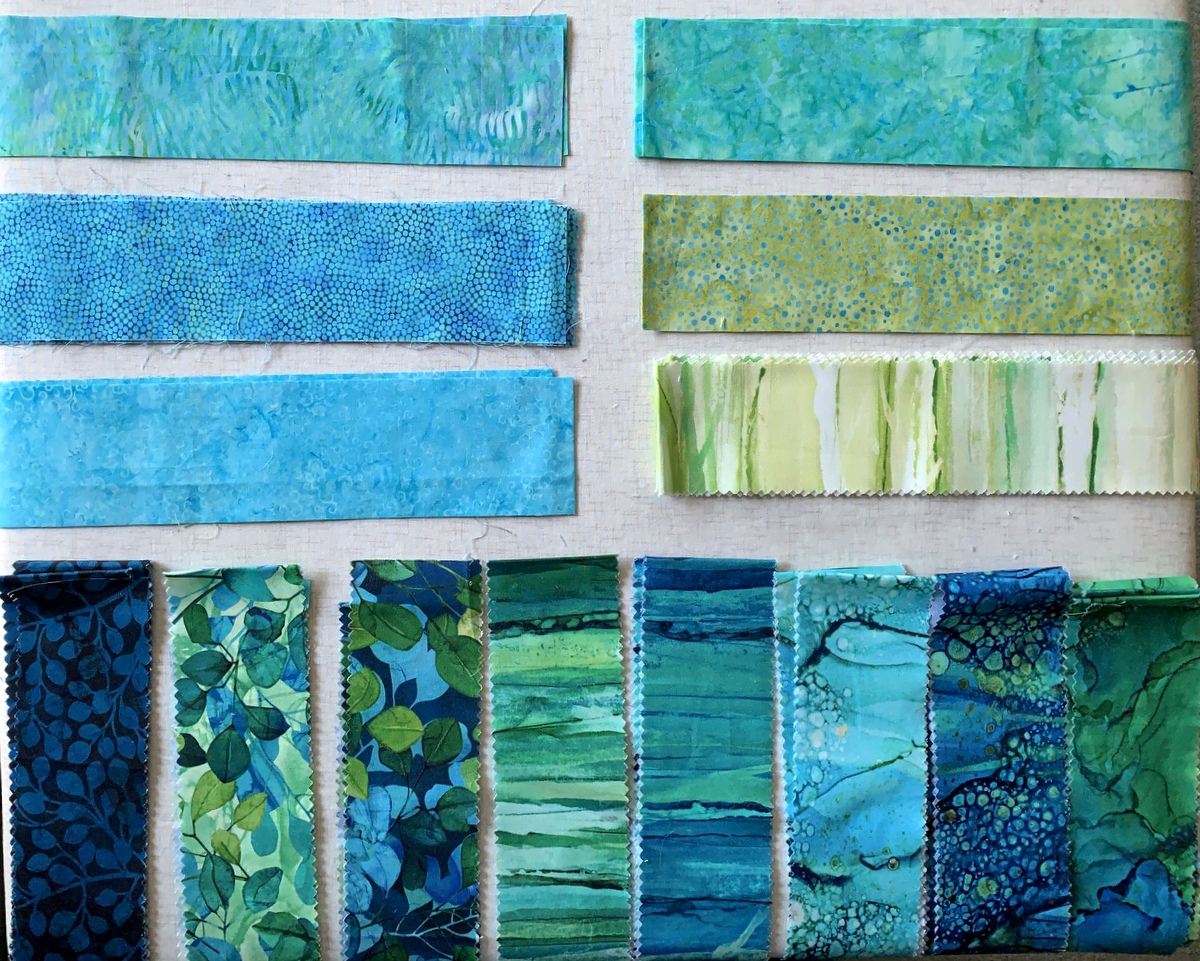
On this most recent trip to Bend, Diane and I made a visit to the Quilt Basket quilt shop and came back with fabric for two valances plus a third piece for simple café-style curtains for Shirley’s office. These are our fabric selections:
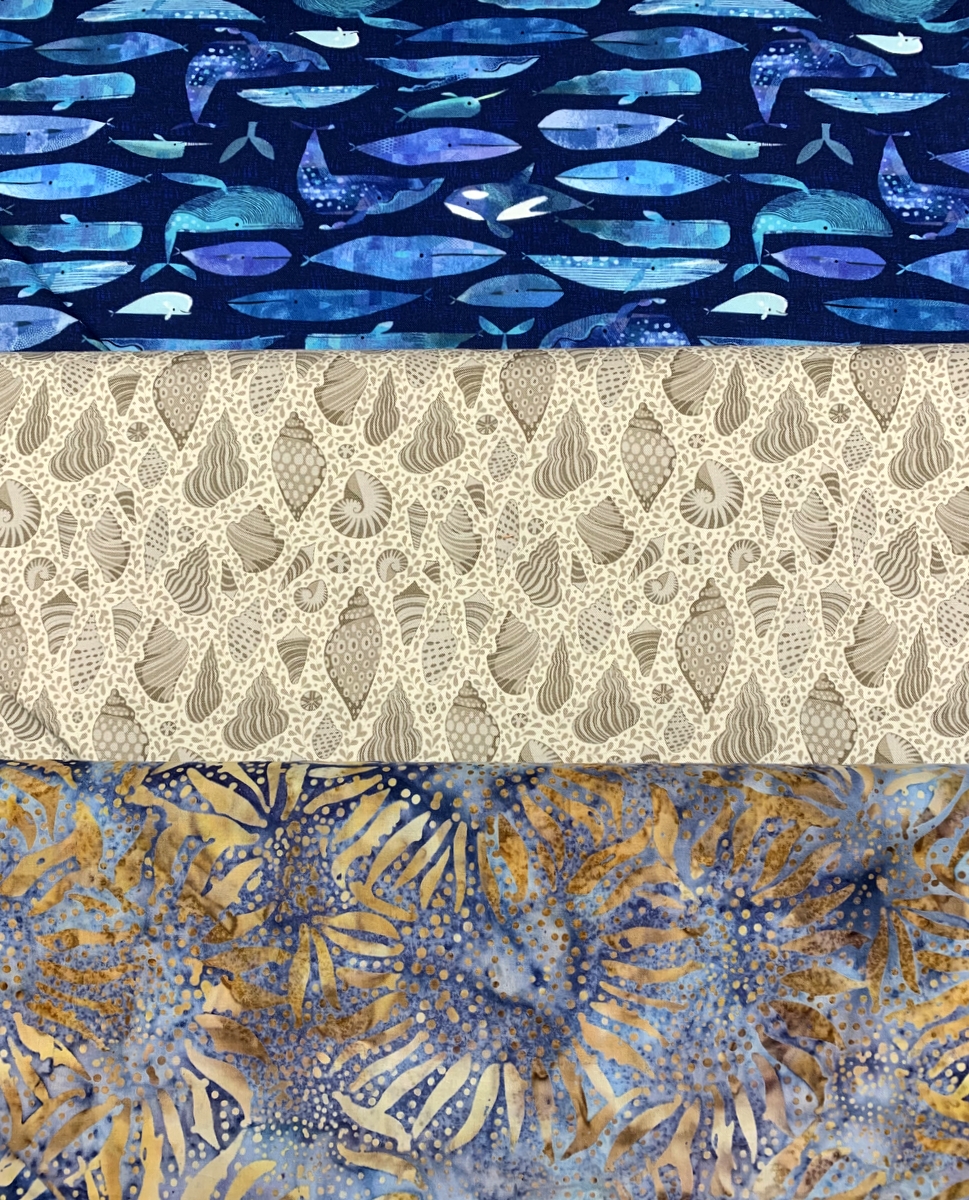
Shirley has a beach theme going in both bathrooms. The top fabric is for the guest bath, the middle fabric is for the master bath, and the bottom fabric, a batik, is for the office. Shirley waited patiently for well over a year for me to get her tailored living room valances completed and installed. I have promised her she won’t have to wait nearly as long for these next ones!
But here’s the thing: one week from today is my high school’s 55 + 1 reunion. As a member of the planning committee, I volunteered to make a continuously looping slide show based on hundreds of photos from four past reunions. I’m well into the project but . . . well, let’s just say I have miles to go before I sleep.
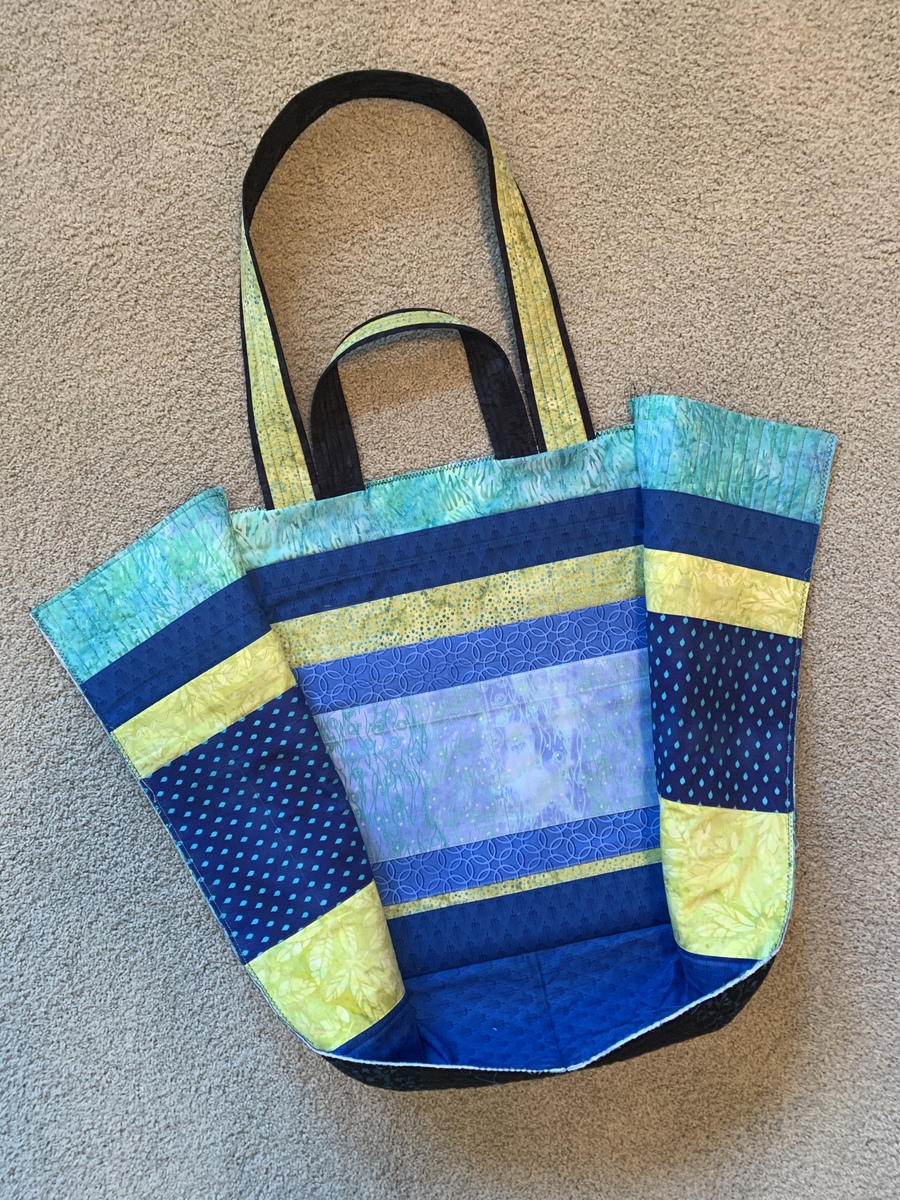
And one month from today is the first session of a three-part workshop at Montavilla Sewing on the Junior Billie Bag, the quintessential quilter’s tote designed years ago by my quilt teacher and mentor Billie Mahorney. I always make a JBB in advance of the workshop to demonstrate each step of its construction. I need to get started on that pronto!
Here’s a look at one I made in 2019 . . .

. . . and here’s a peek of the inside of it while it was under construction:
By the way, a few spots in the class are still open, if there are any quilters in the Portland metropolitan area who have been thinking about making a Junior Billie Bag for themselves. Clicking on this link will take you to the Montavilla website where you can find registration info and my class supply list. Class dates are Oct. 6, Oct. 20, and Nov. 3. There are two weeks between sessions so students can work on their Junior Billie Bags without feeling rushed.
It’s good to be back!