Category Archives: update

In the Christmas Spirit

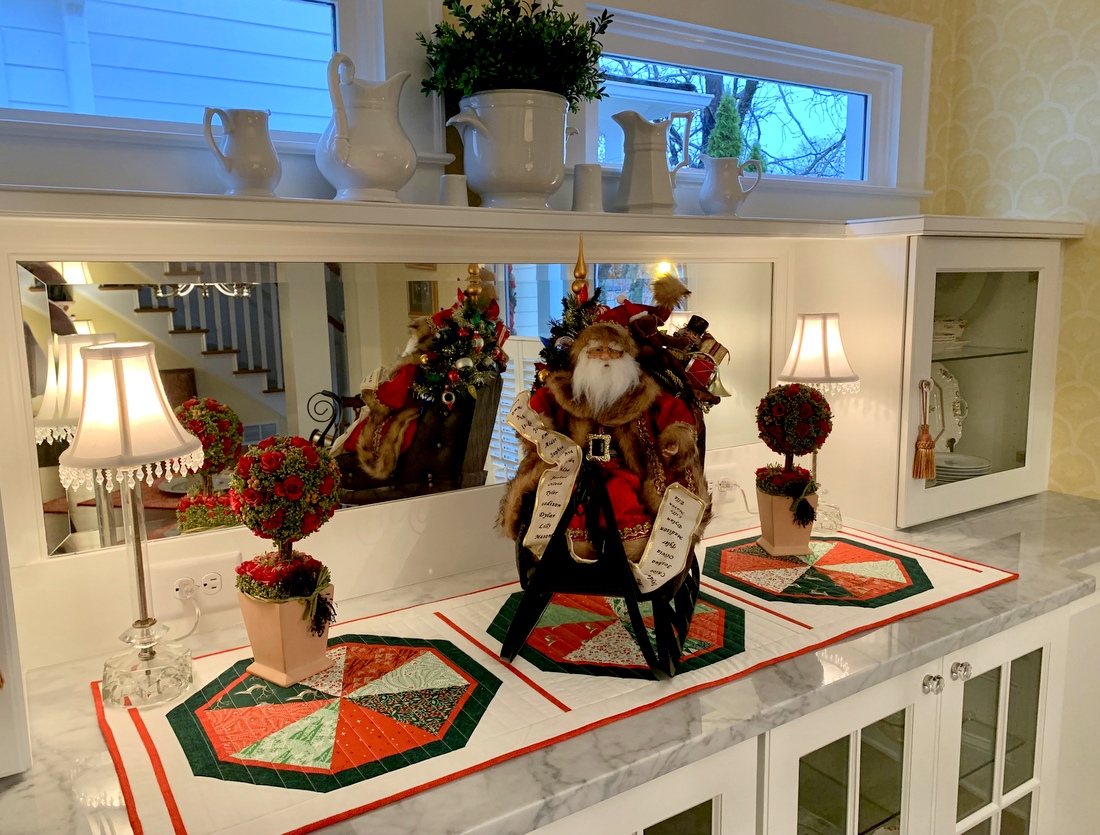
Isn’t this a sweet holiday scene? My sister Diane sent this photo to me a few days ago. The table runner was made last year by moi from my own pattern, Season to Taste, and gifted to Diane. I think the runner looks sensational on the built-in buffet in her dining room, don’t you? (I still have plans to make a second winter version of Season to Taste using a different color palette. Just haven’t gotten around to it yet.)

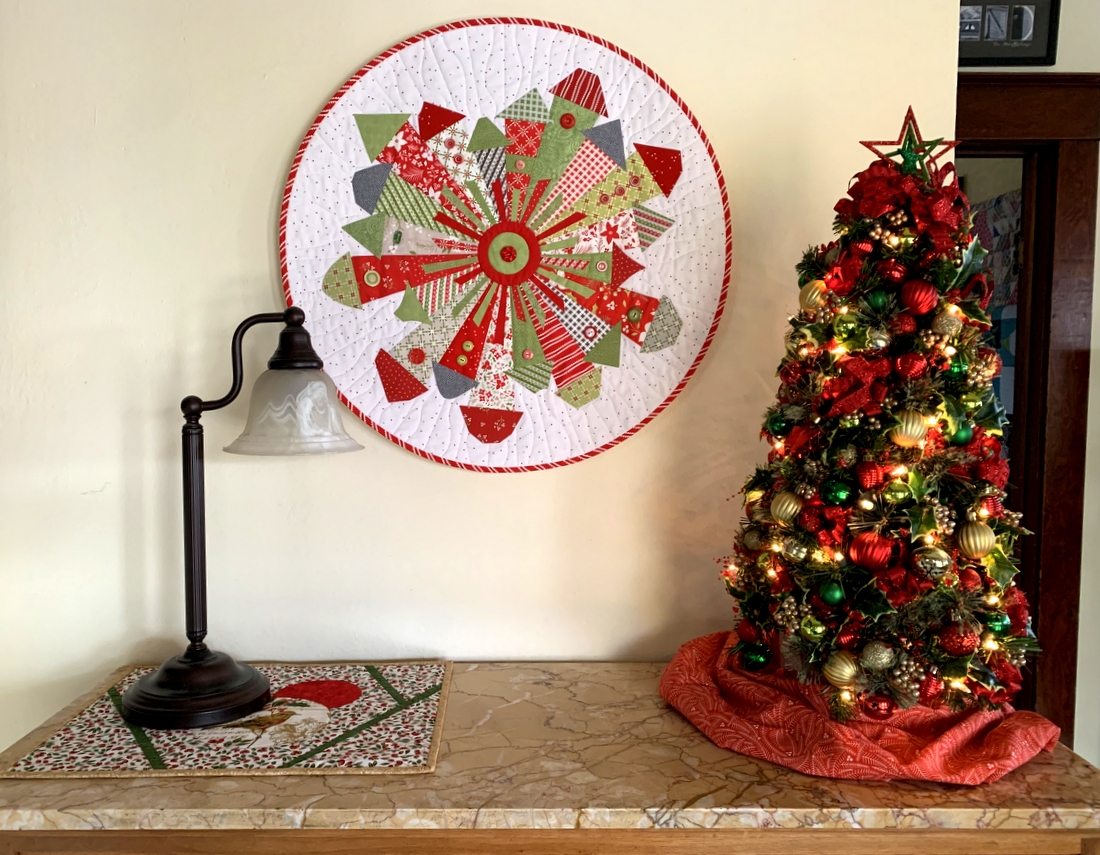
Christmas decorations at the Portland White House have become increasingly minimal. The Dear Husband and I have segued in recent years from a live tree decorated with strings of lights and lots of ornaments to a small imitation tree that sits on the sideboard opposite the front door. This year I added my mini quilt made from the pattern Dresden Neighborhood by Persimon Dreams:

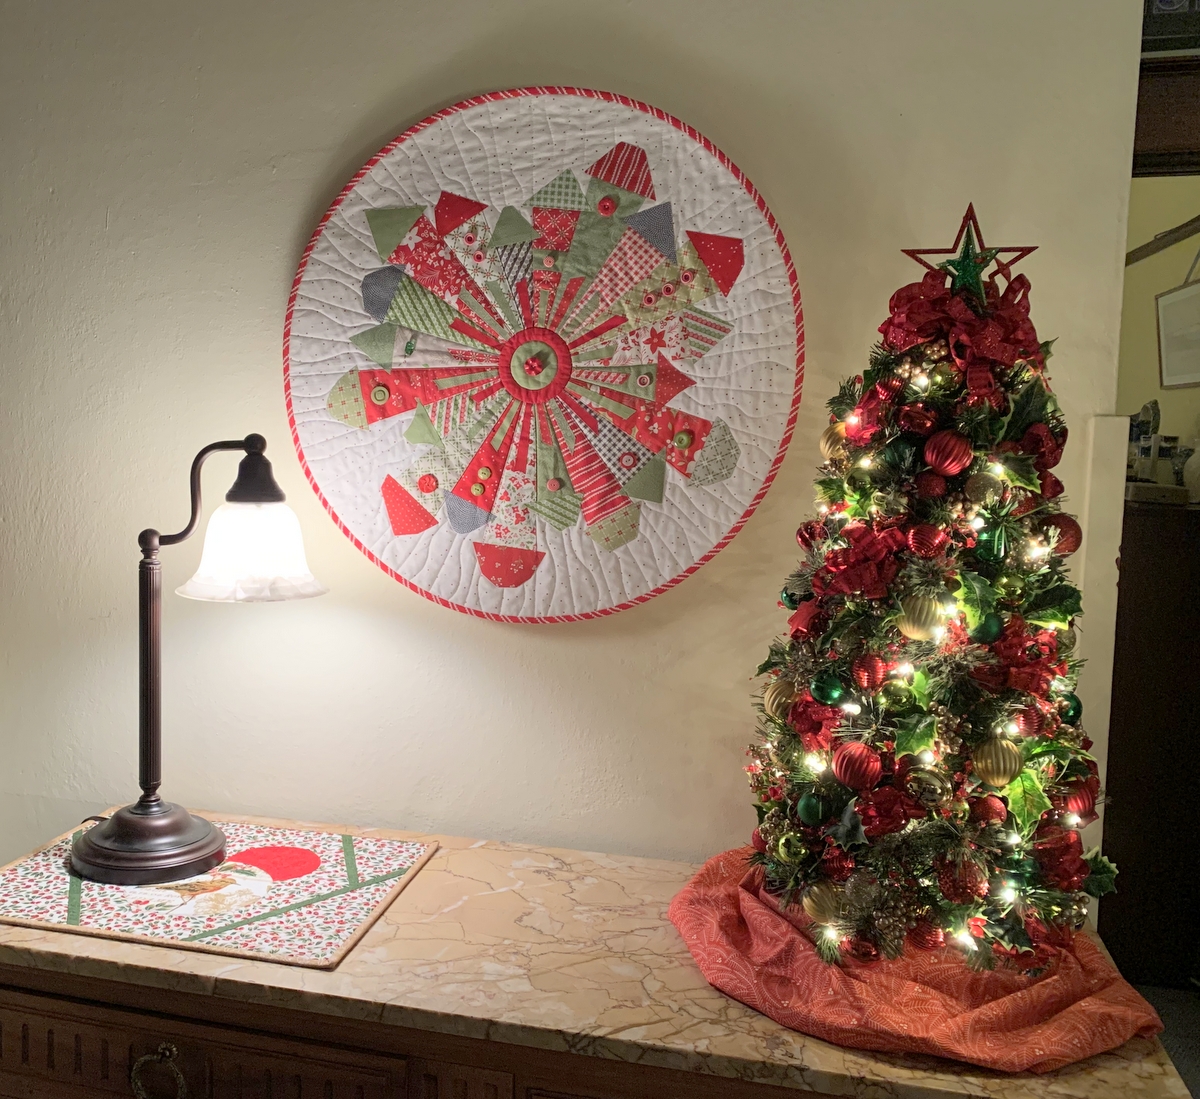
The little scene looks lovely at night. I struggled to get a photo that would do it justice. This was the best I could do:

The tree and quilt can be seen from the street through the glass in our front door. I especially like how the icicle lights on the curved arch on our front porch are reflected in the door and windows:

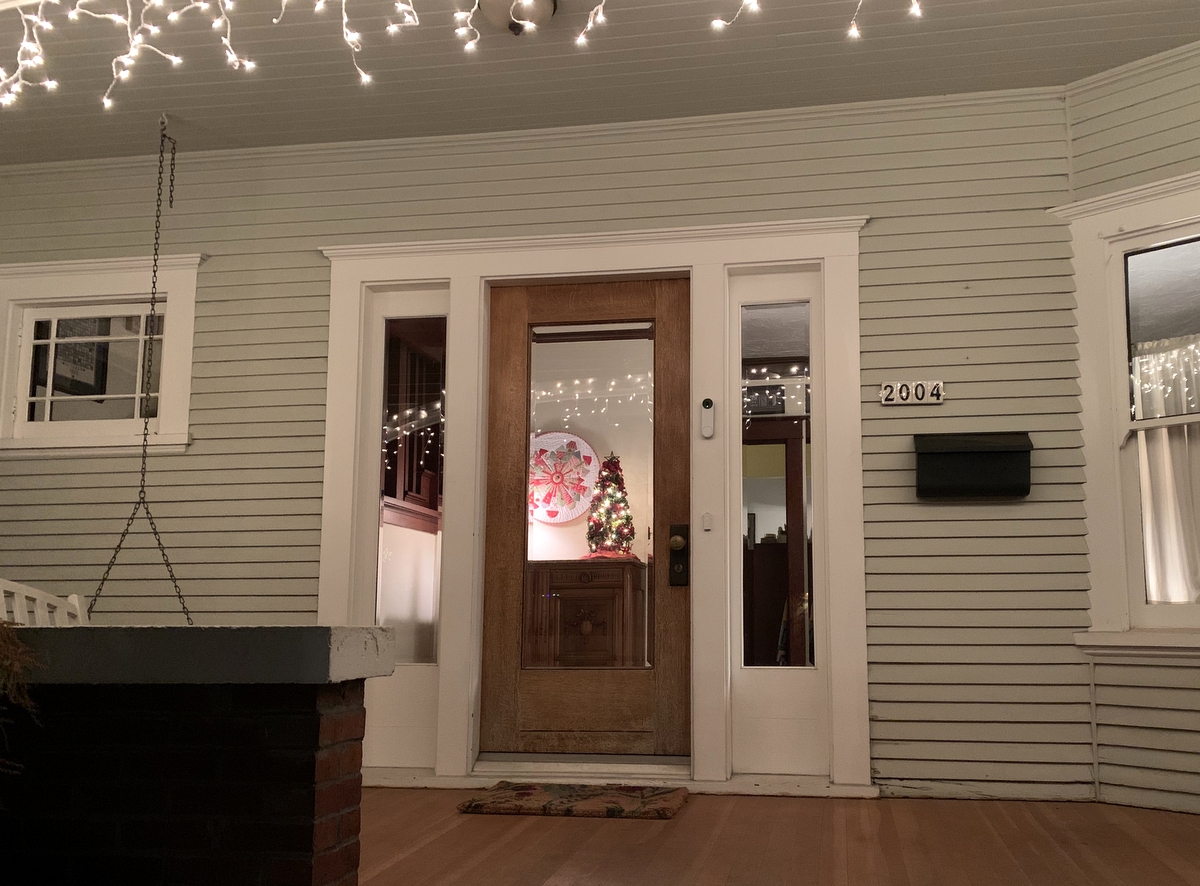
Now I just need to find a wreath of fresh greens to hang above the house numbers.

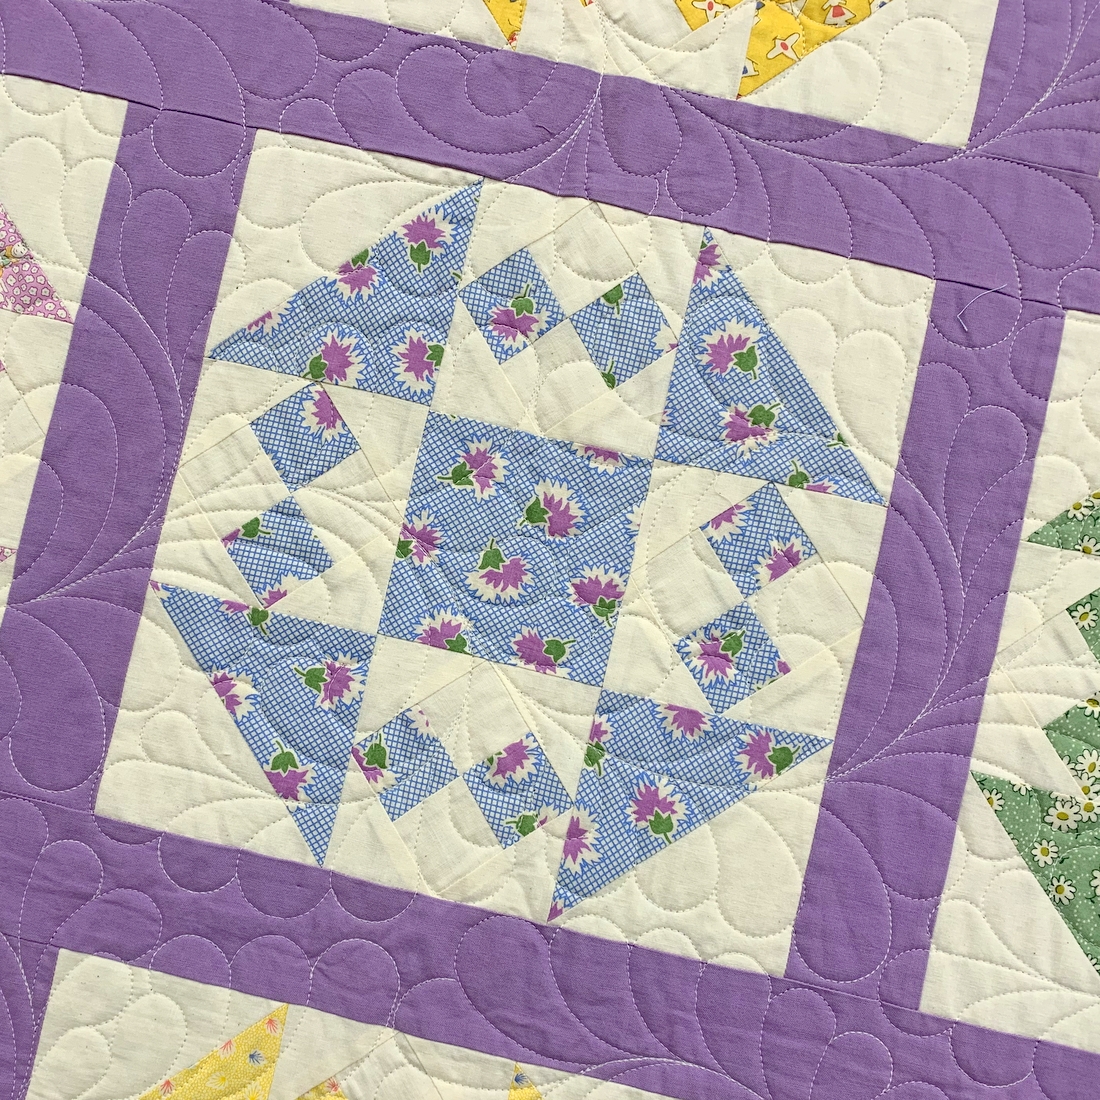
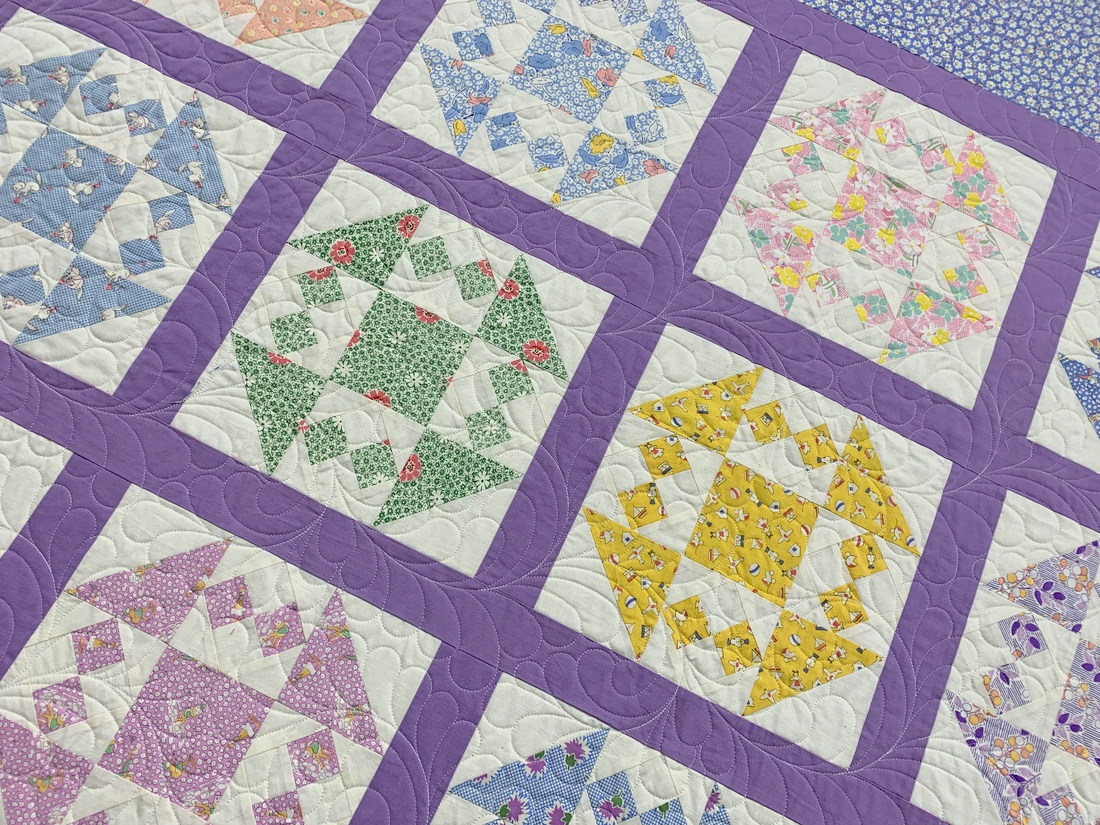
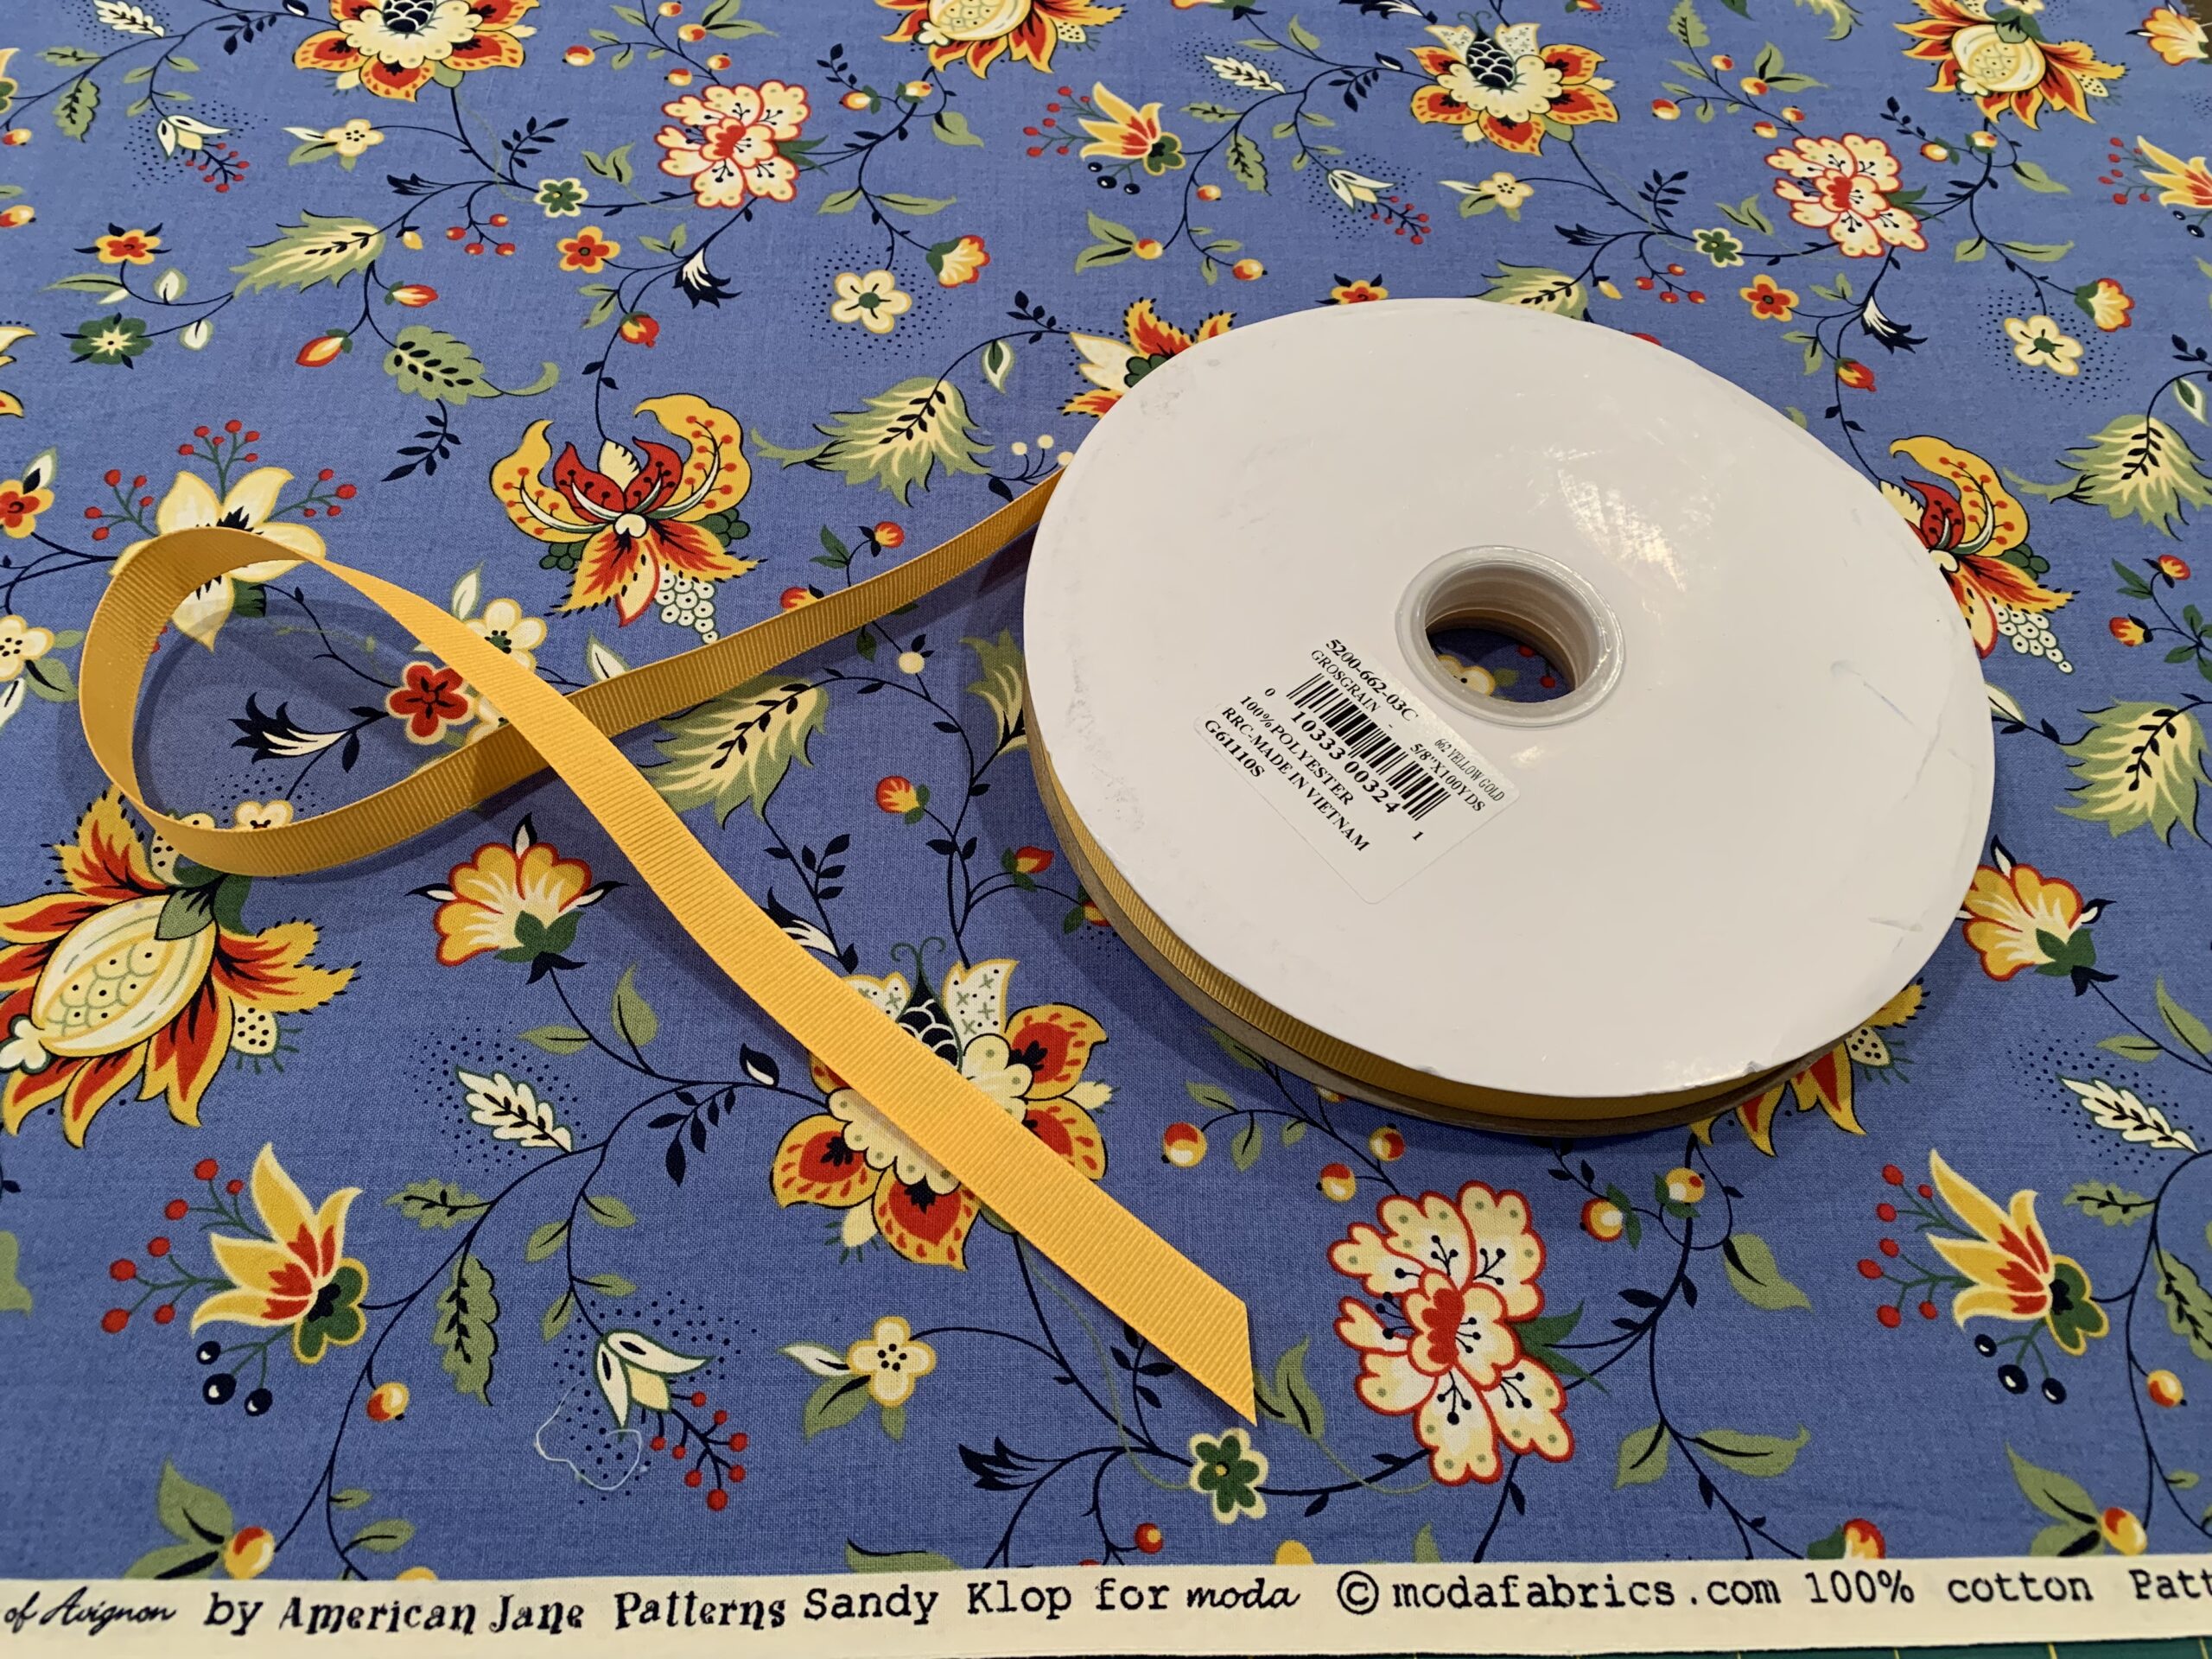
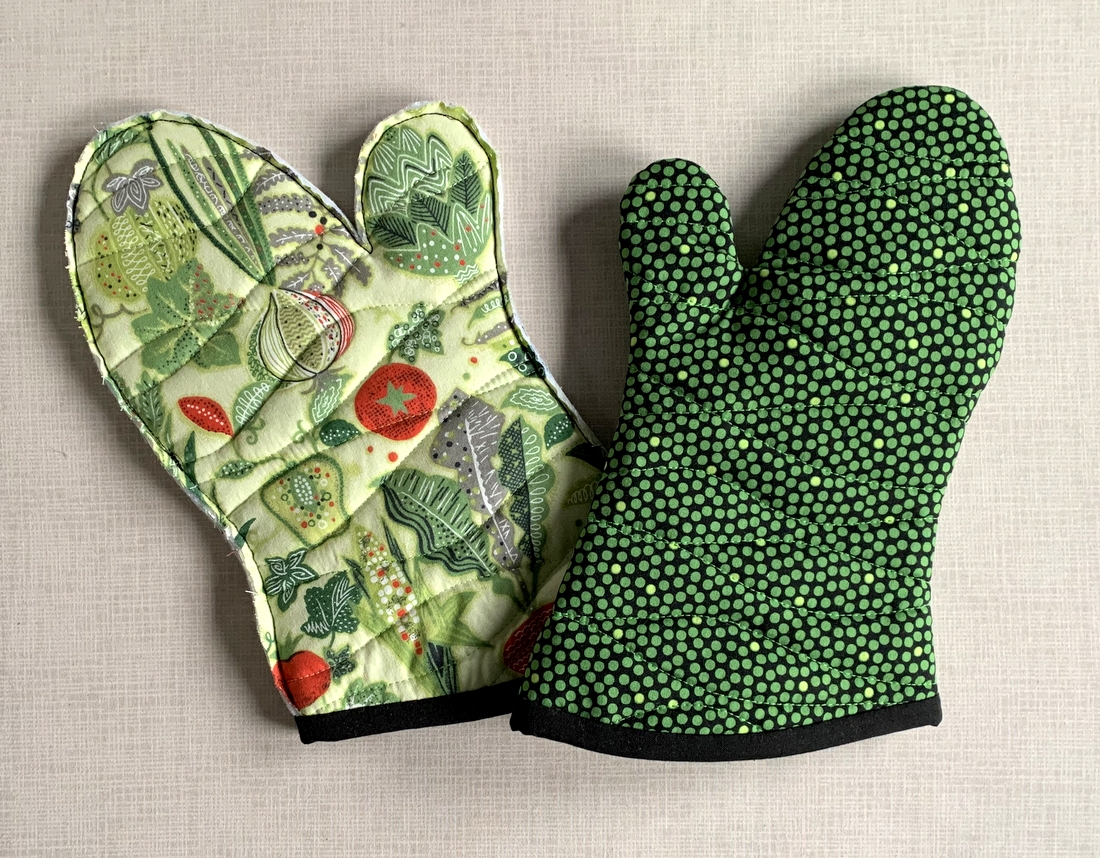
There’s something irresistible about the combination of red and green, even if you don’t celebrate Christmas. It’s no coincidence that red and green figure prominently in my stash of quilt fabrics!


Posted in family, home dec, table runner, table topper, update, wall hanging, wonky Dresden neighborhood | 7 Comments

Way To Go!

When it came time to choose a quilt motif for my Vintage Vignettes quilt, I just knew that feathers would be the way to go. Karlee at SewInspired2Day did a beautiful job on her longarm quilting machine with this edge-to-edge design called “Abundant Feathers.” I chose the same design a couple years ago for another quilt, Lilacs in September, and loved the result.

Here’s another close-up . . .

. . . and here’s a shot of the entire quilt, measuring 80″ x 92″ after trimming:

The outer border is a generous 8″ wide. I haven’t settled yet on what fabric to use for the binding. I could use the border fabric to completely float the blocks or I could go with a solid to provide a subtle frame.

Take a look at this close-up of the border fabric next to one of two blocks with almost the same colors (this was taken pre-quilting):

If I went with a solid for the binding, my choices would be the medium light blue of the background, the darker blue in the flowers, yellow or orange. Believe it or not, I’m leaning toward the orange (think creamsicle!). I’ll probably wind up hauling the quilt to my closest local quilt shop, cool cottons, which has an extensive collection of solid colors, to properly audition my choices. I love an excuse to visit a quilt shop!


Posted in '30s reproduction fabrics, update, vintage quilts | 8 Comments

Satisfying Sewing

During my recent two-week stay at sister Diane’s home in Georgia last month, the only sewing I did other than new valances for her garage was this pair of napkins with machine-mitered corners:

The days leading up to our departure were so busy I didn’t take the time to organize a quilt project as I usually do, so I wound up throwing this fabric in my suitcase with the idea of making napkins. We use only cloth napkins at the Portland White House, and some of the older ones are pretty faded. This fleur de lis print will go very well with my blue and white transferware dishes.

I usually make my napkins with a 1/4″-wide hem using a method involving folding the fabric at the corners to form the miters. In fact, one of my very first tutorials — from 10 years ago! — describes this method. Folded miters work very well with narrow hems — say 1/4″ to 3/8″ wide. For anything wider, a miter stitched by machine is a better choice.

Because I had decided to finish these napkins with a 1/2″-wide hem, I looked for tutorials online to refresh my memory on how to machine-stitch mitered corners. I found a few that described the process with photos but every tutorial was lacking what I consider important information.

I want to make a couple more napkins now that I’m back home, and this time I’m going to take process shots so I’ll have them on hand the next time I decide to make some.

Is there interest out there in a tutorial? Let me know!


Posted in family, mitered corners, table napkins, tutorial, update | 17 Comments

Valancing Act, Part 2

The simple tailored valances I made for my sister Diane’s garage are in place:

They were put up with spring tension rods because we knew the white trim around the windows would offer a crisp contrast with the blue floral valance fabric. (And you already know how I love blue and white.)

Here’s a close-up of one window:

Diane is horrified that I’m posting these pictures before she spackled the holes from the old curtain rod and touched up the paint. I assured her my readers would use their imaginations and pretend not to see them.

She loves the new valances, in no small part because of what she calls the “happy fabric.” We are definitely on the same page in that regard.

We both loved the valances I made last year:

It sure is a shame the ruffles got all floppy from the humidity (described in my last post).

Perhaps you are wondering what’s going to happen to those valances. Let me reassure you they will be repurposed in some fashion. The fabric really is beautiful:

I’ve already cut off the ruffled tops and rod pockets, leaving two rectangles measuring roughly 16″ x 66″. There’s enough there to make a couple of beautiful pillows or some other home dec or crafty item. If you have any suggestions, feel free to direct them my way.

And for those of you who saw my pictures from a year ago and thought Diane and Ed’s garage looked pristine and unused, here’s proof that they actually park their cars in it:

I hope those of you who celebrate American Thanksgiving had a delicious repast yesterday. We sure did, and now we get to enjoy the next best thing:  leftovers!


Posted in family, home dec, update, valance | 2 Comments

Valancing Act

No, that’s not a typo. I’m in the valance-making business again! Just a few weeks after finishing valances for my stepmother’s living room windows, I’m here in Georgia at my twin sister’s home making valances for her garage windows.

But wait, you must be thinking. Didn’t I make valances for Diane’s garage windows last year at this time? Yes, I did. Alas, our noble effort (captured in this post) did not stand the test of time. We think the humidity in Georgia caused the ruffles at the top of the softly gathered valances, made out of a linen-like decorator fabric, to flop over. Most unseemly! Diane coped by tucking the ruffle out of sight behind the valances, which was definitely not the look either one of us was going for.

Chatting several months ago about what our options were for replacements, Diane mentioned how much she loved the valances I had made for my own kitchen windows:

She was wild about the fabric (from the “A Breath of Avignon” line by Sandy Klop for Moda) but I was sure I didn’t have enough left to make more valances. So that was that.

Then, while surveying my stash last week to see what project of my own I might work on during the Dear Husband’s and my annual two-week visit in November, I spotted another piece of that very fabric. I tossed it into my suitcase, and Diane was beyond delighted to learn there was enough for valances.

So . . . I brought a project for me (more on that later) and a project for her. What’s with the projects? Well, my sister and our husbands like to watch college football. It’s definitely not my thing so I am perfectly content to be working away on a sewing project in the kitchen dining area while the three of them are ensconced in the living room watching grown men hurtling themselves at each other in the pursuit of making or preventing touchdowns.

Diane really liked the design of my tailored kitchen valances, which feature a flange of yellow fabric just under the rod pocket:We didn’t have suitable fabric at her house so she ordered a spool of ⅝” grosgrain ribbon in a bright yellow gold to take the place of a flange. We had a good laugh when the ribbon arrived:

Diane thought she had ordered 10 yards. Turns out she ordered 100 yards — roughly the length of a football field!

I got started by making a rough sketch of the valance . . .

. . . followed by a freezer paper pattern:

In this next photo the grosgrain ribbon is ready to be stitched to the first valance:

It will be lined with blackout fabric, a necessity to keep the valance fabric from fading from light hitting it from the outside.

As home dec projects go, this is a simple one. Please stop by again soon to see the result!


Posted in family, home dec, update, valance | 7 Comments

Back from the Quilter: Arctic Stars

My latest quilt is back from the quilter and I can’t wait to show you how lovely the quilting is on it!

As you can see, there’s a huge amount of negative space on my Arctic Stars quilt. I supersized a block from the original pattern — Star Stream Quilt by Chasing Tigers — and added three smaller star blocks. That’s it! The rest is background fabric with a subtle design that reminds me of crushed ice. The challenge was to find a quilting motif that adds texture to the quilt without overpowering it.

When I make a quilt with a lot of straight or diagonal lines, I often search for a quilting motif with curves to add a softening effect. I initially considered a cloud motif but changed my mind when my longarm quilter, Karlee of SewInspired2Day, suggested “Bubbles” by Lorien Quilting. Oh, yes! It was totally the right call. Here are close-ups of the three small star blocks finishing at 9″ square . . .

. . . and the single large star block finishing at 18″ square:


Finally, here’s a peek at the back of the quilt, featuring one of the more colorful companion prints in the fabric line (“Icy World” by Gareth Lucas for Windham Fabrics) as well as the original focus fabric I used to fussycut the centers of my stars:

The quilted top has been trimmed to 50″ x 64″ and is now ready for the binding. I thought about using the background fabric for binding, allowing the stars to float completely, but then decided I wanted to frame the quilt, so to speak, using the same navy fabric used for the star points. It may look like a solid navy but it’s actually a mottled tone-on-tone. I like and use this fabric so much that I actually buy it by the bolt (“Shadowplay” by Maywood).

I doubt that I’ll get the binding and label done before we leave on Tuesday for our annual two-week Thanksgiving trip to Georgia so be on the lookout for my “It’s a Wrap!” post in early December.


Posted in family, update | 4 Comments

Ugly Oven Mitts?

I made my twin Diane a pair of oven mitts almost two years ago that she hasn’t used:

Her reason? “They are too beautiful.” I threatened to make her a pair of ugly ones but she said it’s not in my DNA to make anything ugly. I have to admit she’s right. Here’s the thing: Diane really needs a pair of oven mitts. So I decided to make her another set that she will actually use.

Here are the mitts I just made for her:

She’s going to receive them next week as a hostess gift when the Dear Husband and I make our annual two-week trip to Georgia. We’ll celebrate our birthday together as well as Thanksgiving in the company of both our Dear Husbands.

Red is a prominent accent color in Diane’s kitchen (hence my fabric choice in her first set of mitts) so I made sure the lining of the new mitts included a touch of red. The mitt on the left is ready to be turned right side out:

The lining fabric ups the cuteness factor but you can’t really see it unless you peek inside the mitts:

I’ll be taking over Diane’s kitchen to make a few meals so you can be sure these oven mitts will get broken in. Then she’ll have to use them, right?

Her first set of mitts provided the inspiration for my tutorial “Oven Mitts that Fit,” introduced on my website in April of 2021. You might want to make a pair for yourself. They also make great gifts, something to consider with the holidays coming up. Here are the links to the three-part tutorial:

Oven Mitts that Fit: Prequel to the Tutorial (April 13, 2021)
Oven Mitt Tutorial from First Light Designs, Part 1 (April 18, 2021)
Oven Mitt Tutorial from First Light Designs, Part 2 (April 19, 2021)

By the way, these oven mitts launder beautifully! They’re made with 100% cotton fabrics, 100% cotton batting, and Insul-bright, an insulated heat-resistant batting.

The ones I made for myself two years ago are still in great shape despite being used every single day and making several trips through the washer and dryer. And yet . . . I’m tempted to make myself a pair like Diane’s because I really love the fabrics.


Posted in family, oven mitts, tutorial, update | 4 Comments

Fast Finish: Arctic Stars Quilt Top

Here it is, my newly finished Arctic Stars quilt top:

I am absolutely loving the simplicity of the design, the bold graphic punch of the single shooting star with its three satellite stars, and the way the fussycut centers of the four stars show off the whales, polar bears, walruses, and other denizens of artist Gareth Lucas’s “Icy World” fabric line.

My plan was a finished top measuring 59″x 72½” but after adding the outer borders the quilt top felt . . . vast. All that negative space! I trimmed 4” from each side to reduce the top to 51 x 64½” and will undoubtedly shave another inch or two off after the quilt comes back from the longarmer.

But first it needs to get to the longarmer. Next up is a simple pieced back made from some other fabrics in the “Icy World” line that weren’t used on the front. I’ll start that tomorrow. Right now Game 3 of the World Series is calling me . . .


Posted in update | 8 Comments

Now You Know . . .

. . . where I’m going with this latest project.

Remember Baby Isabella’s Quilt, the one I made earlier this year based on the pattern Star Stream Quilt by Sally Davies of Chasing Tigers? Here’s a reminder of the finished baby quilt . . .

. . . and the original pattern that inspired my version:
Ever since making the baby quilt, which finished at 40″ x 44″, I have wanted to make a throw-sized version. It will finish at 59″ x 72″, a great size for tossing across your lap. To make it that size I am using one large star supersized to 18″ from the original pattern’s 8″ star and three smaller stars measuring 9″ as opposed to the original pattern’s 4″ stars. Those are the blocks you saw in my last post.

I should have the completed quilt top ready to show you by tomorrow, which also happens to be Halloween. Boo!


Posted in baby quilt, update | 3 Comments

Arctic Stars

My newest quilt project already has a name: Arctic Stars. The focus fabric is from the “Icy World” line designed by Gareth Lucas for Windham Fabrics. I bought several prints from the line when it came out earlier this year, not really having a plan for the fabrics but unable to resist the charming folk art vibe:

Those blues and greens just soothe my soul!

The block you see above will finish at 18″ square. I made three more blocks today that are half that size:

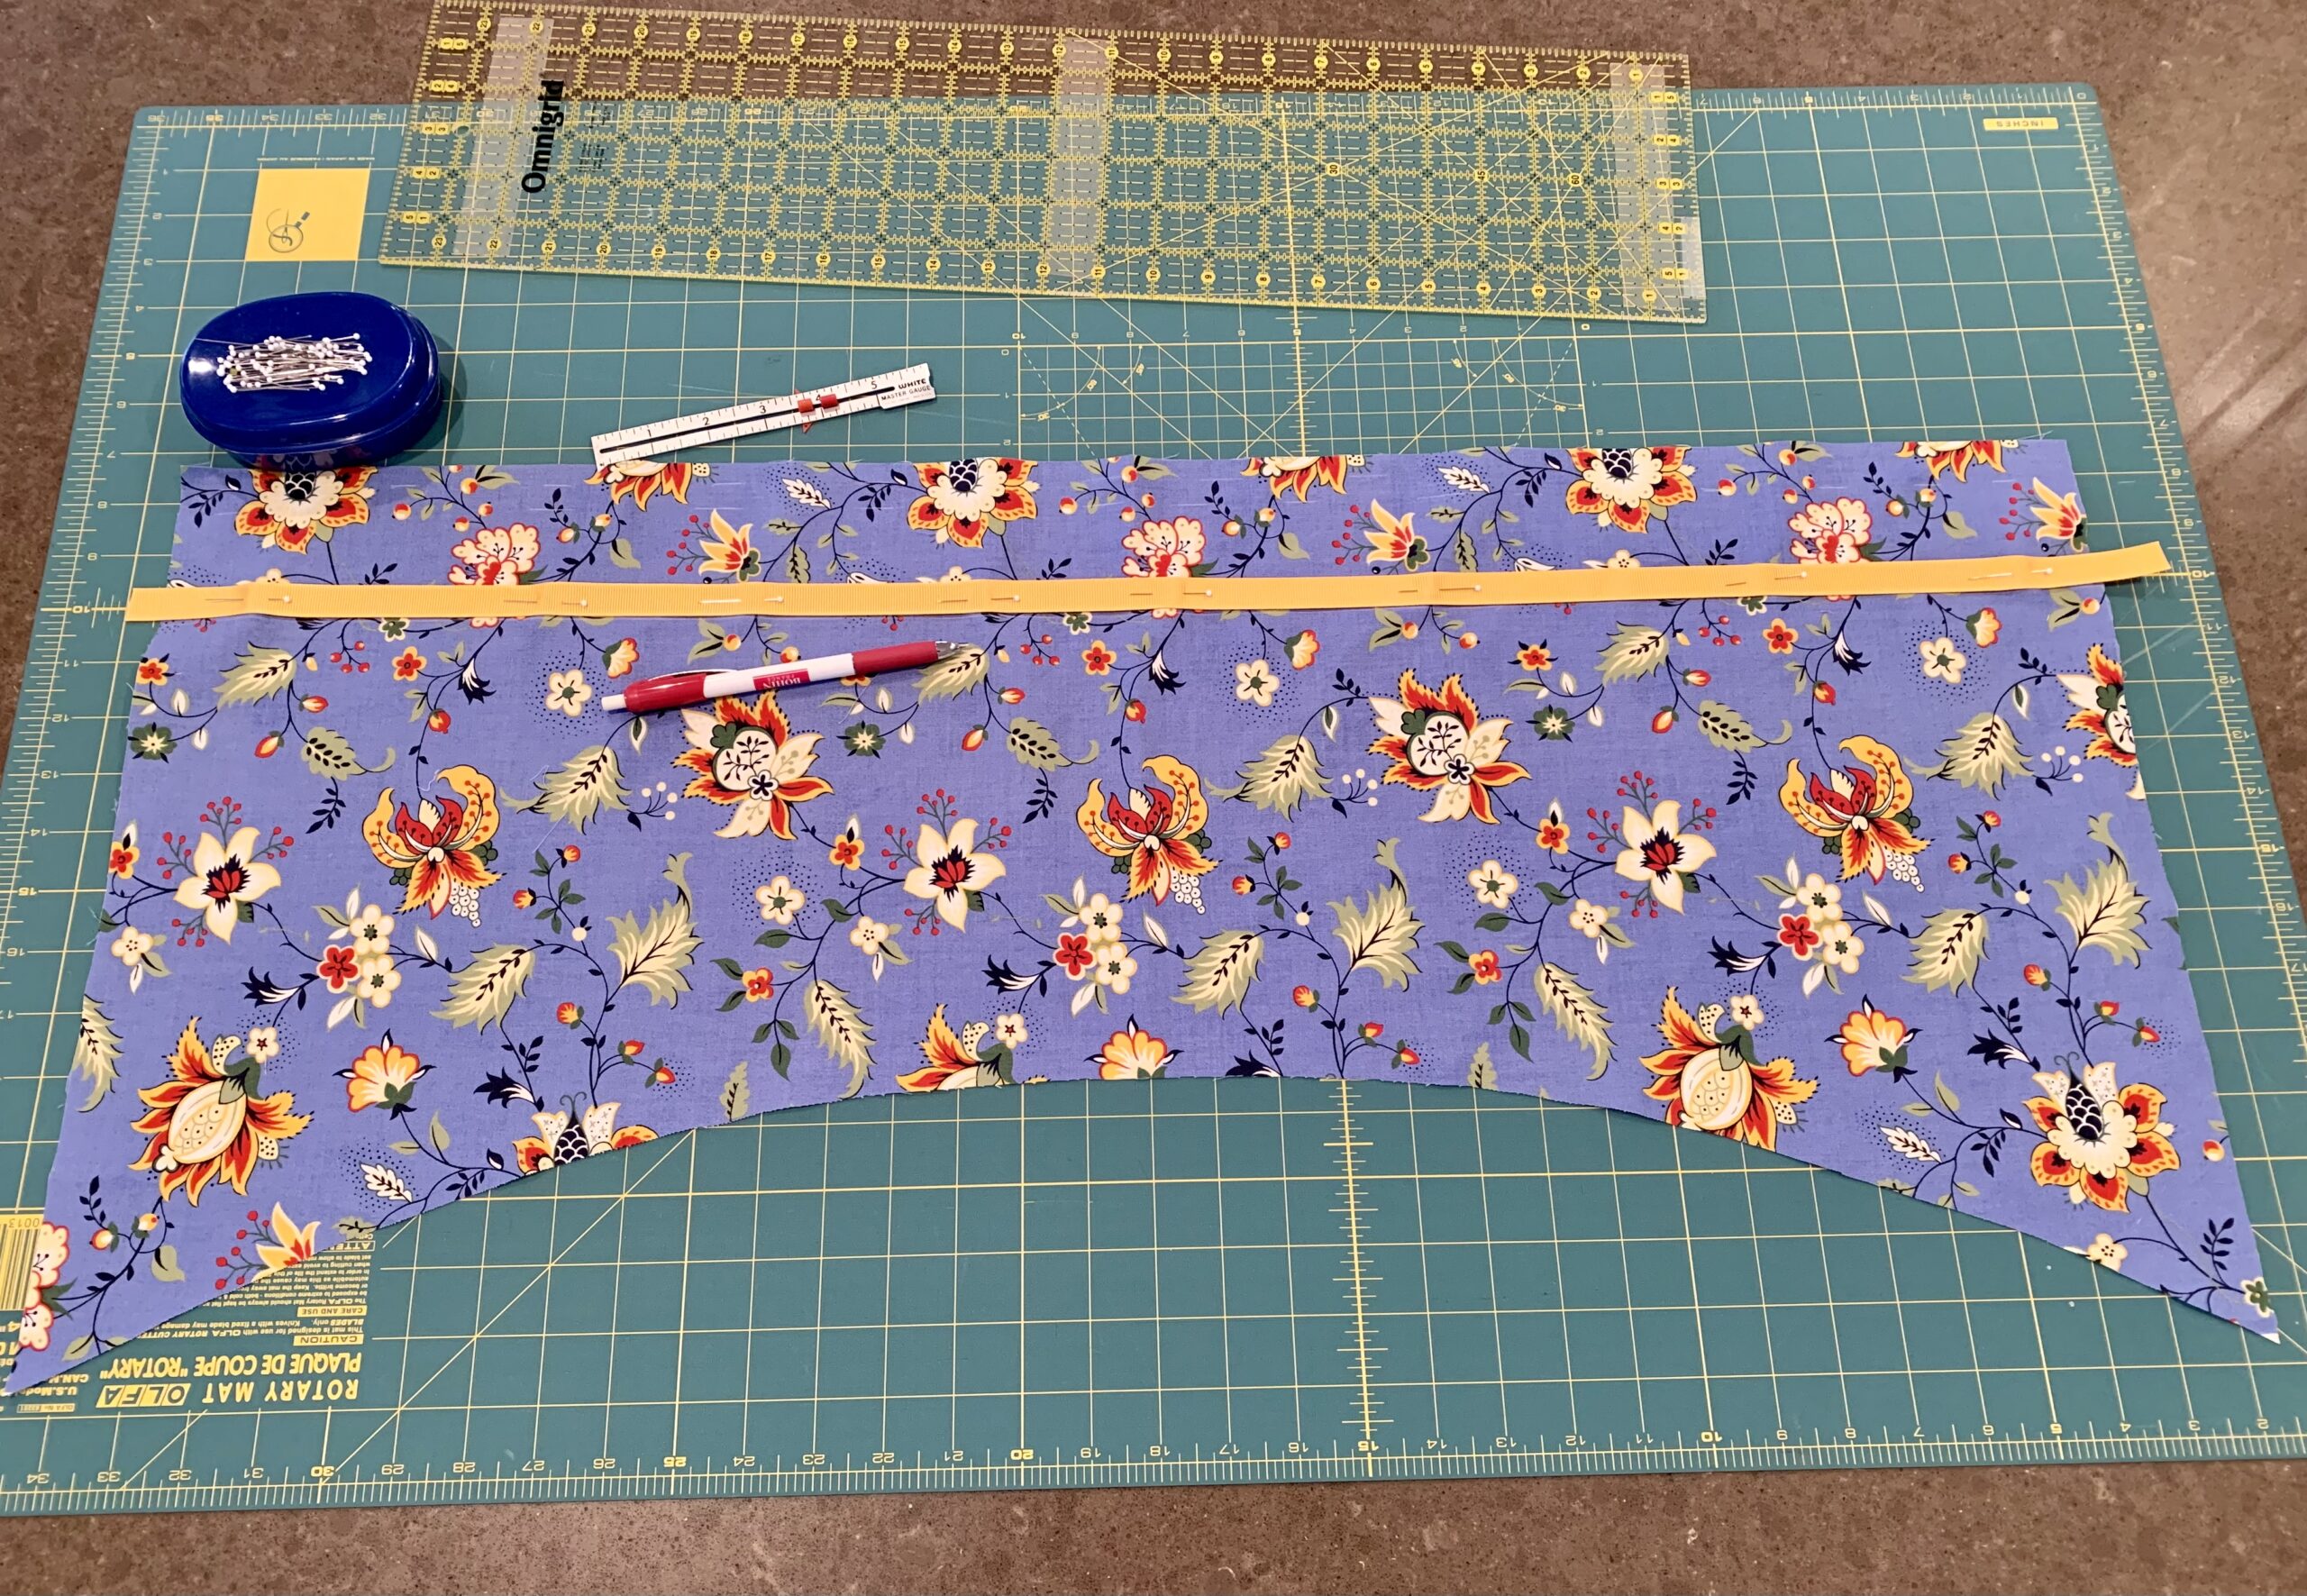
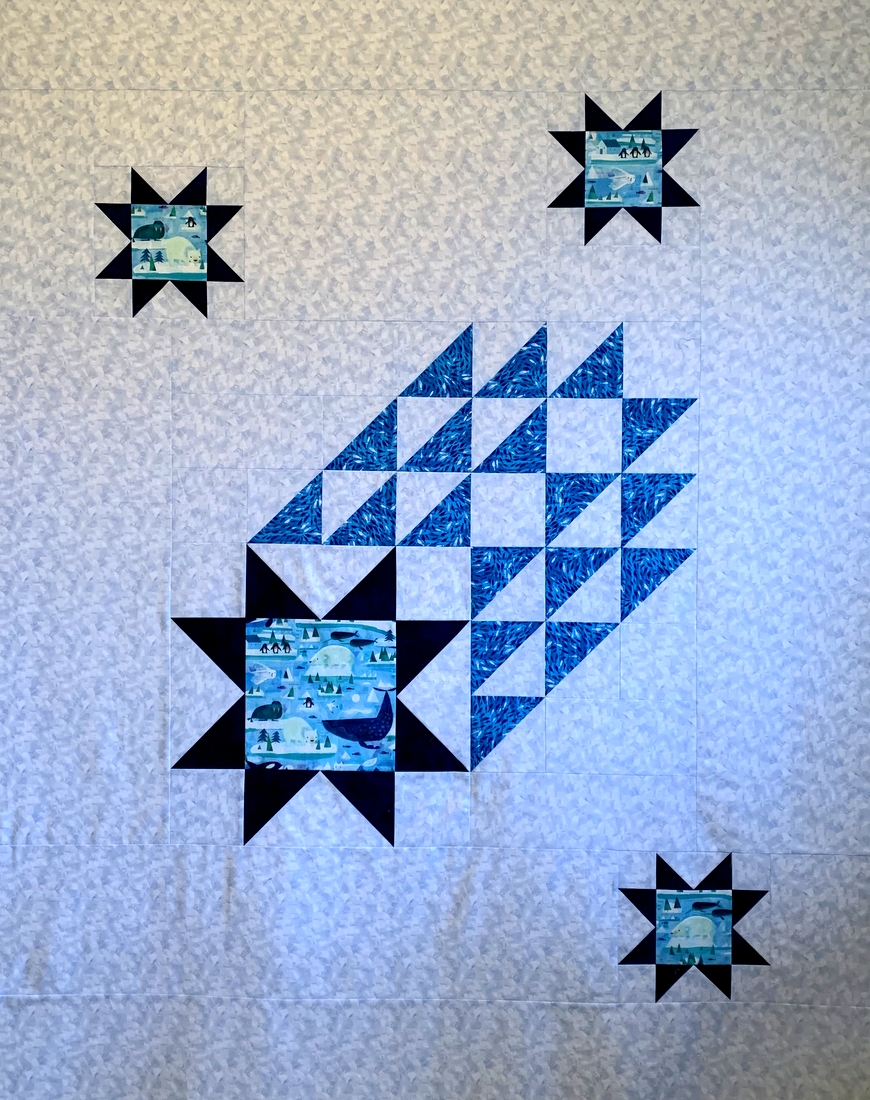
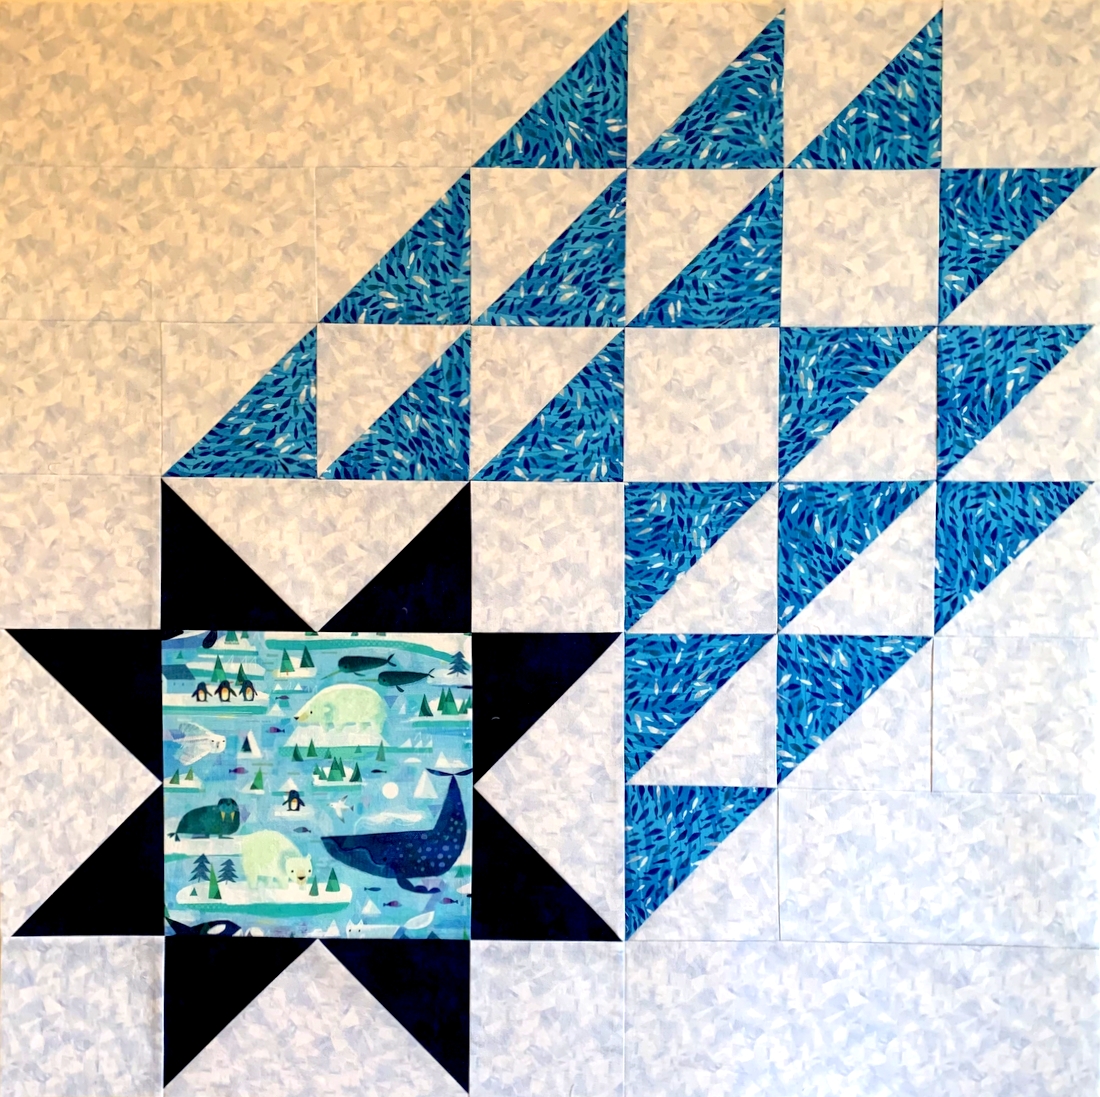
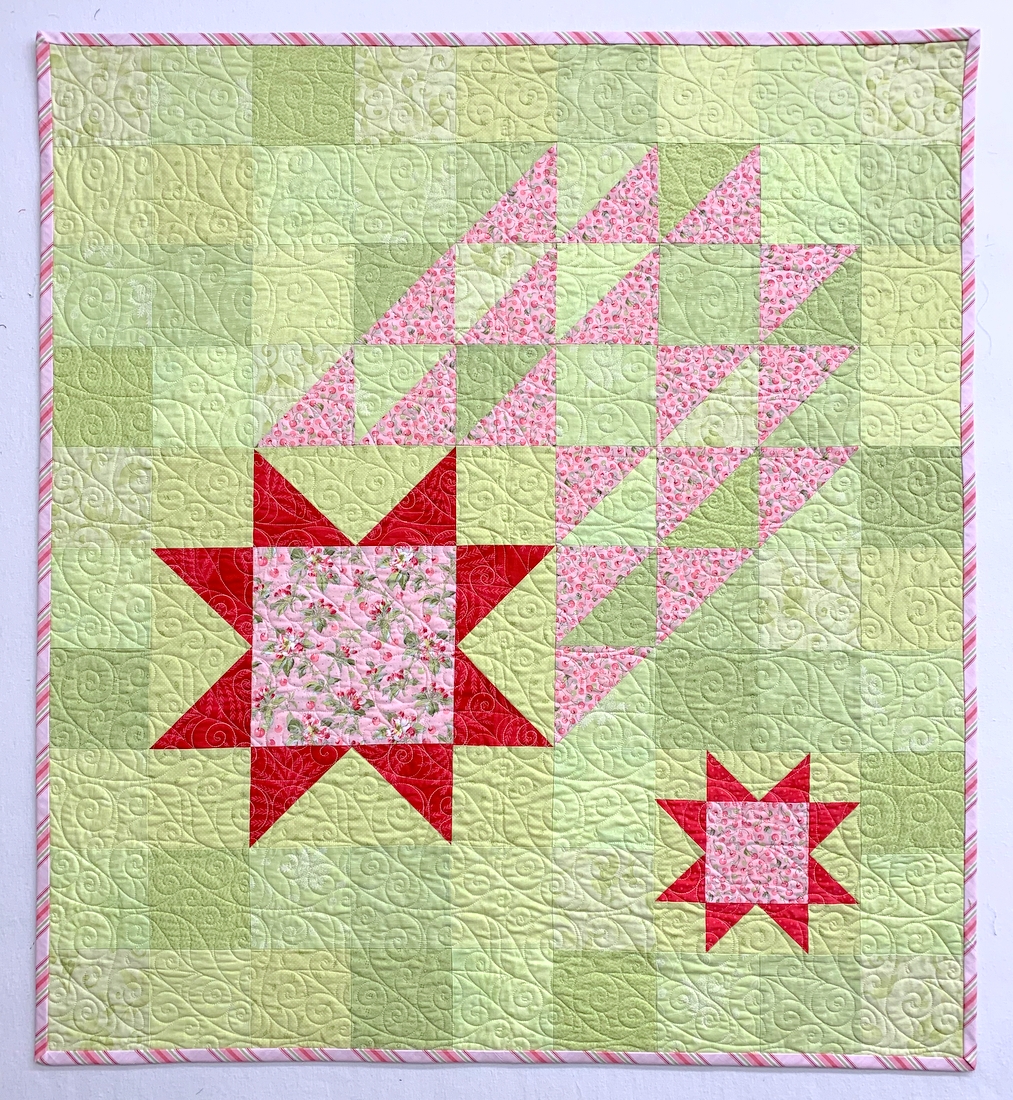
Do I have a plan for the fabrics now? Why, yes I do!

Stay tuned.


Posted in update | 4 Comments