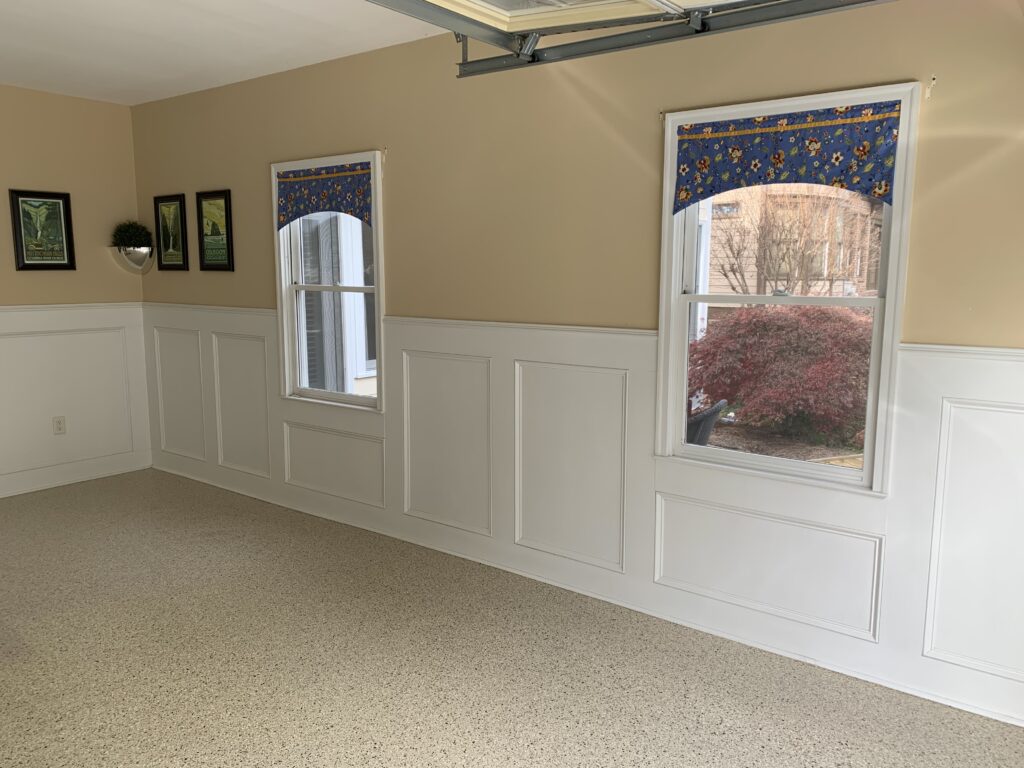
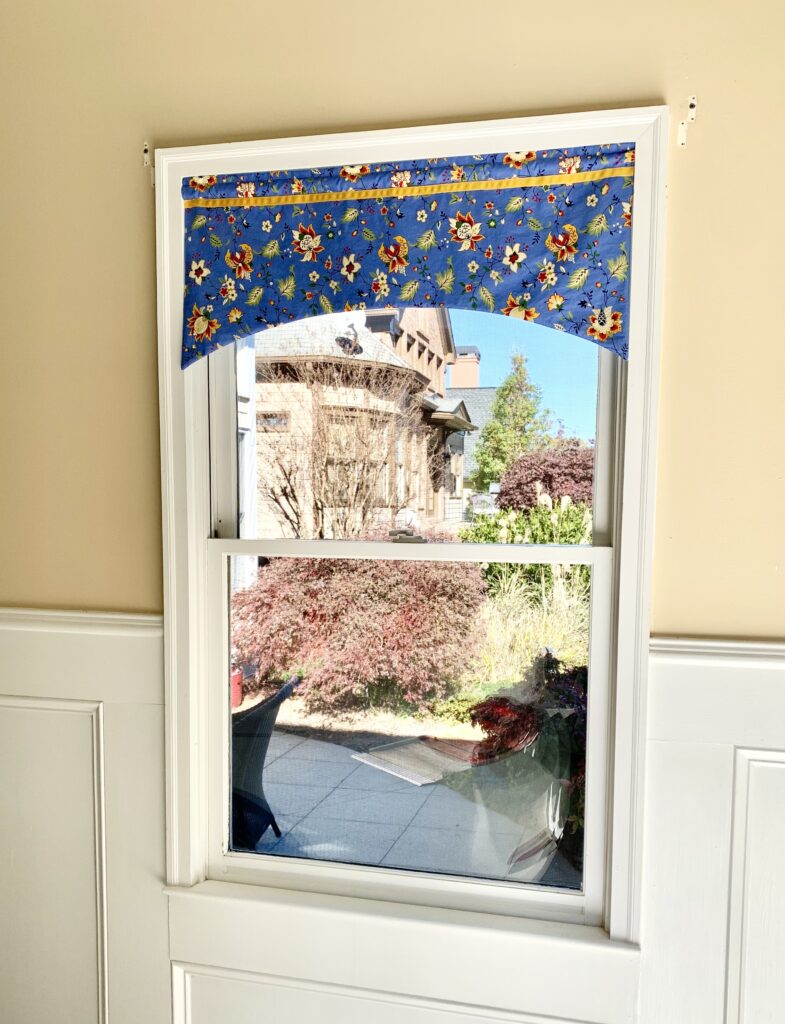
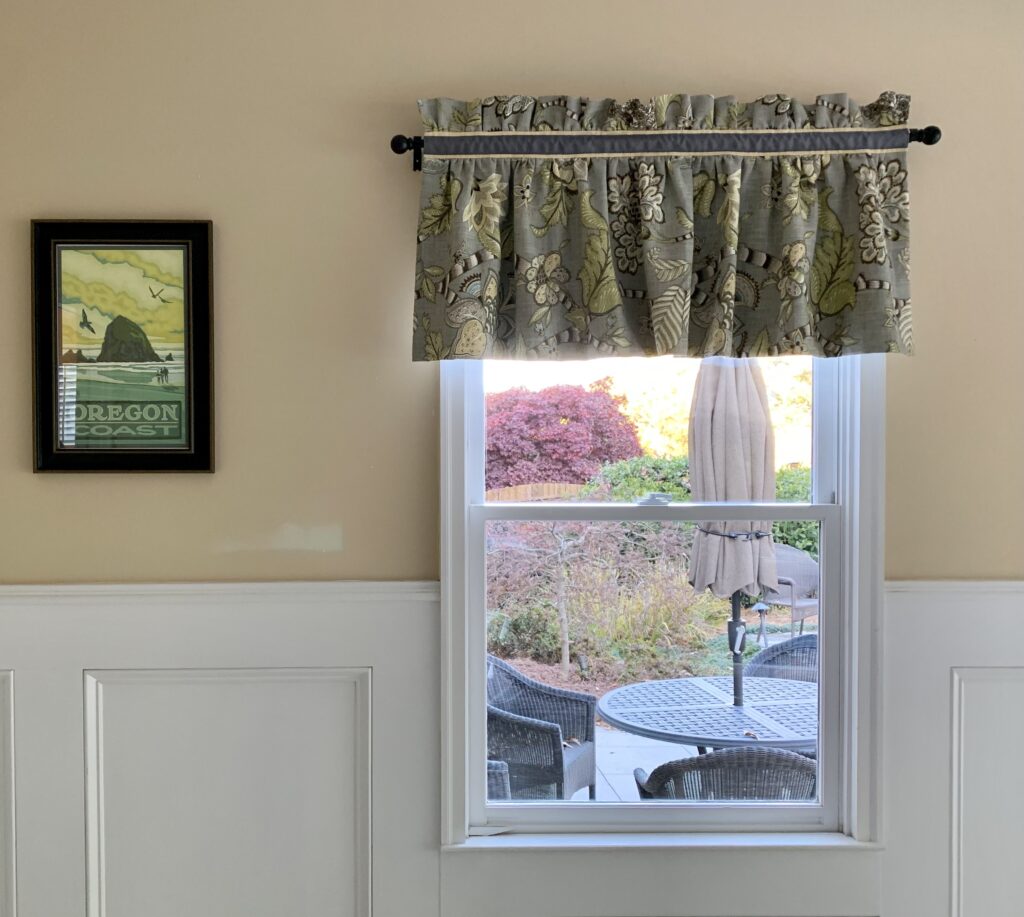
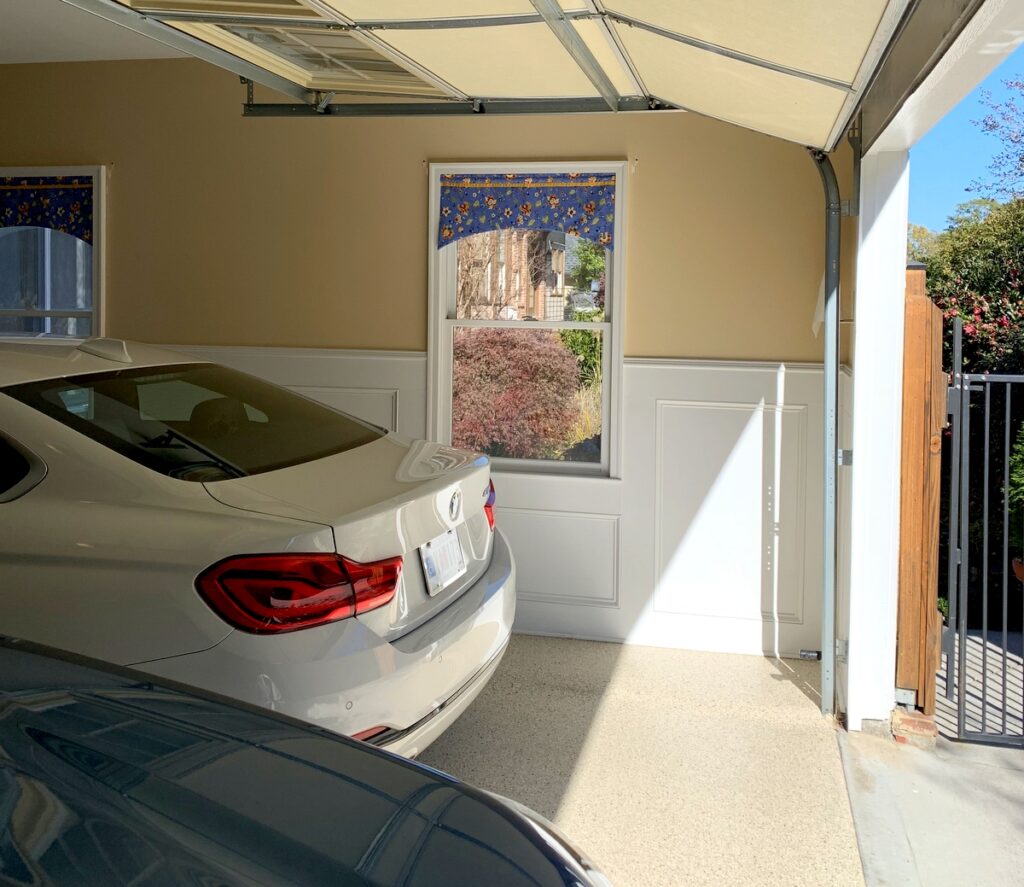
During my recent two-week stay at sister Diane’s home in Georgia last month, the only sewing I did other than new valances for her garage was this pair of napkins with machine-mitered corners:
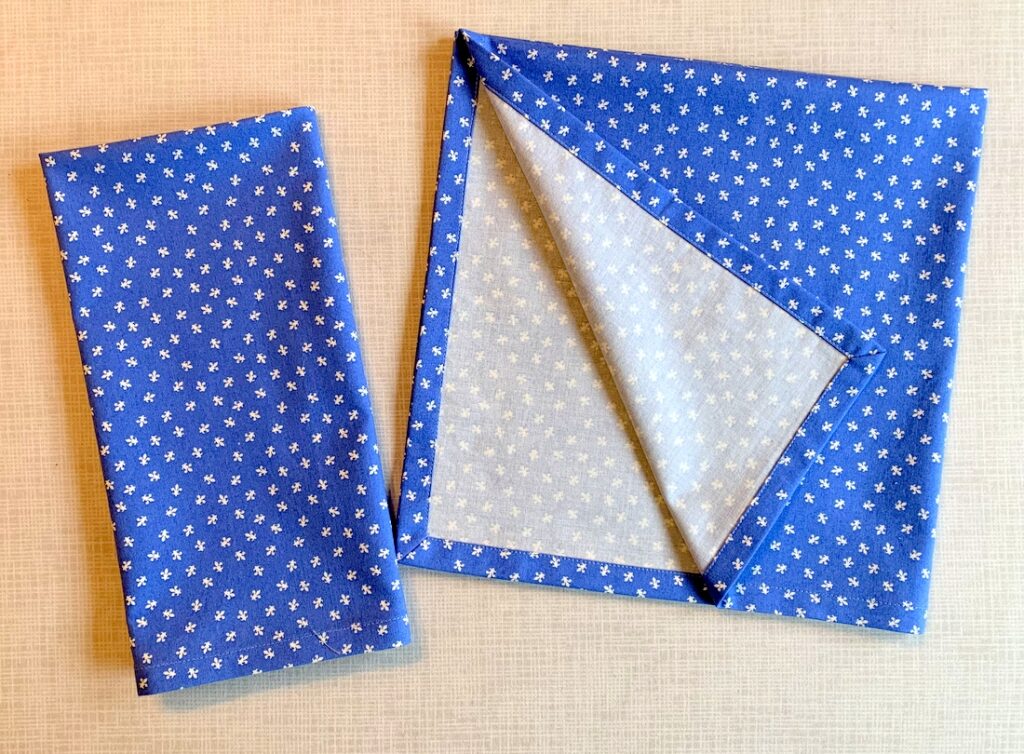 The days leading up to our departure were so busy I didn’t take the time to organize a quilt project as I usually do, so I wound up throwing this fabric in my suitcase with the idea of making napkins. We use only cloth napkins at the Portland White House, and some of the older ones are pretty faded. This fleur de lis print will go very well with my blue and white transferware dishes.
I usually make my napkins with a 1/4″-wide hem using a method involving folding the fabric at the corners to form the miters. In fact, one of my very first tutorials — from 10 years ago! — describes this method. Folded miters work very well with narrow hems — say 1/4″ to 3/8″ wide. For anything wider, a miter stitched by machine is a better choice.
Because I had decided to finish these napkins with a 1/2″-wide hem, I looked for tutorials online to refresh my memory on how to machine-stitch mitered corners. I found a few that described the process with photos but every tutorial was lacking what I consider important information.
I want to make a couple more napkins now that I’m back home, and this time I’m going to take process shots so I’ll have them on hand the next time I decide to make some.
Is there interest out there in a tutorial? Let me know!

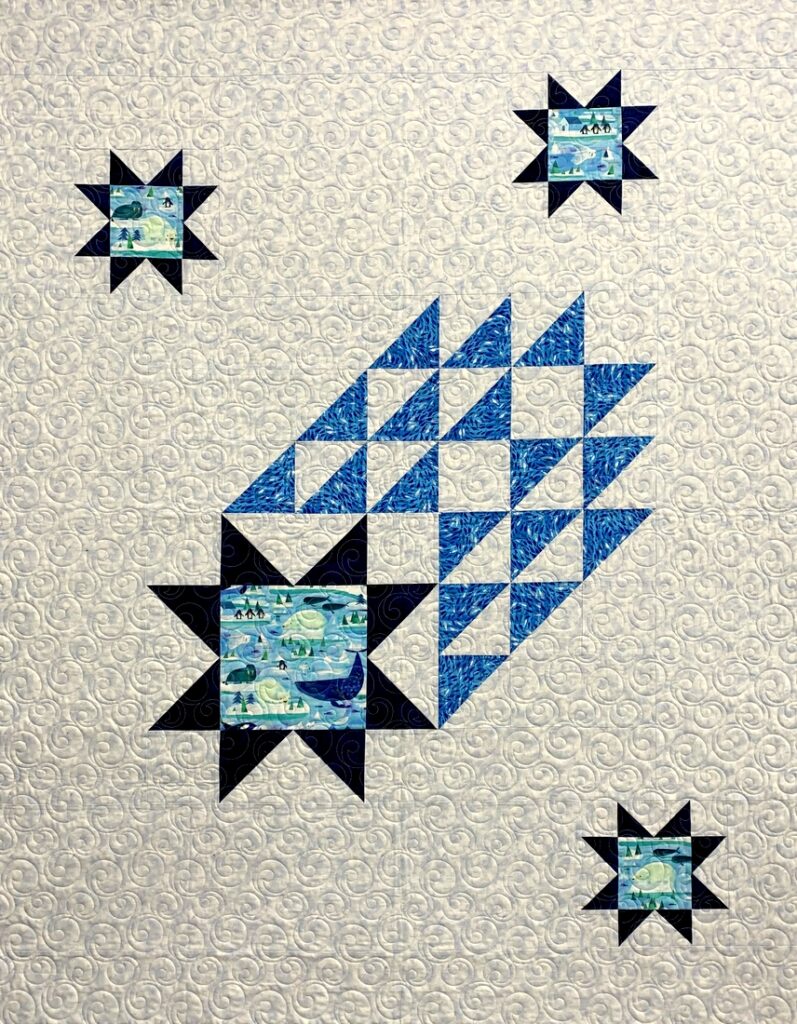
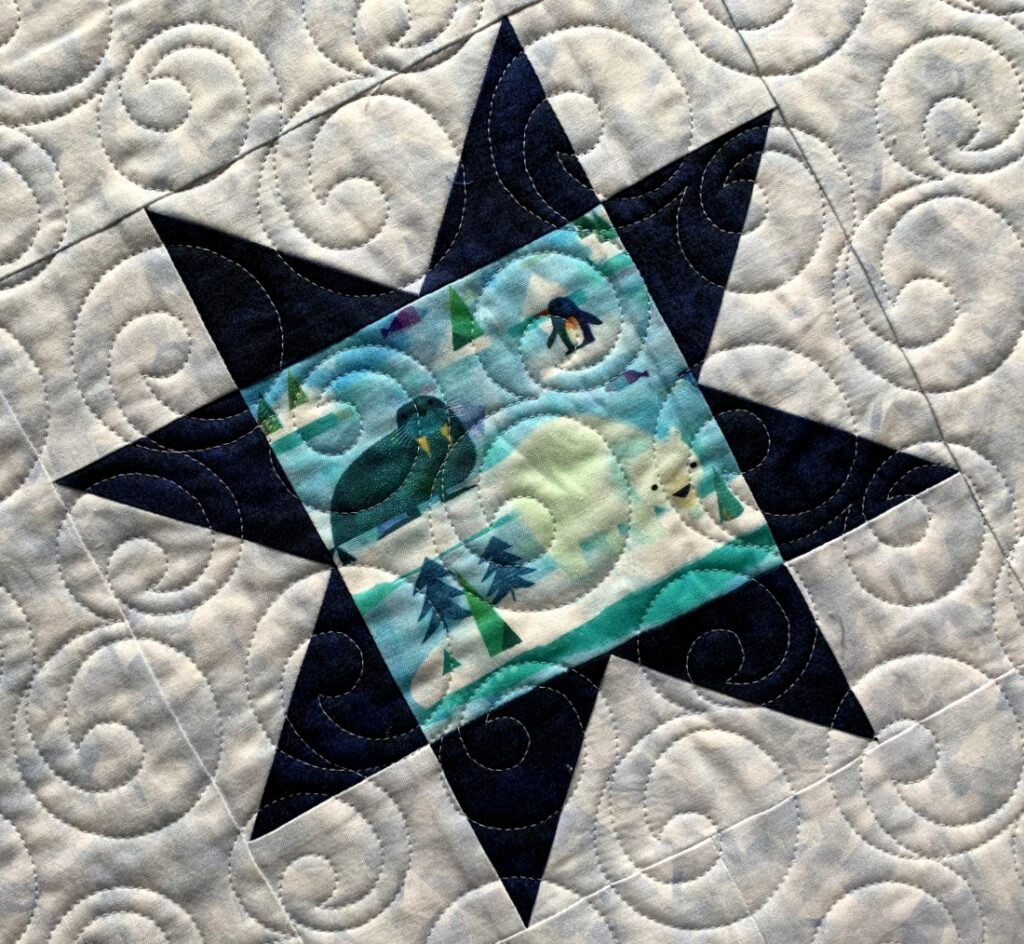
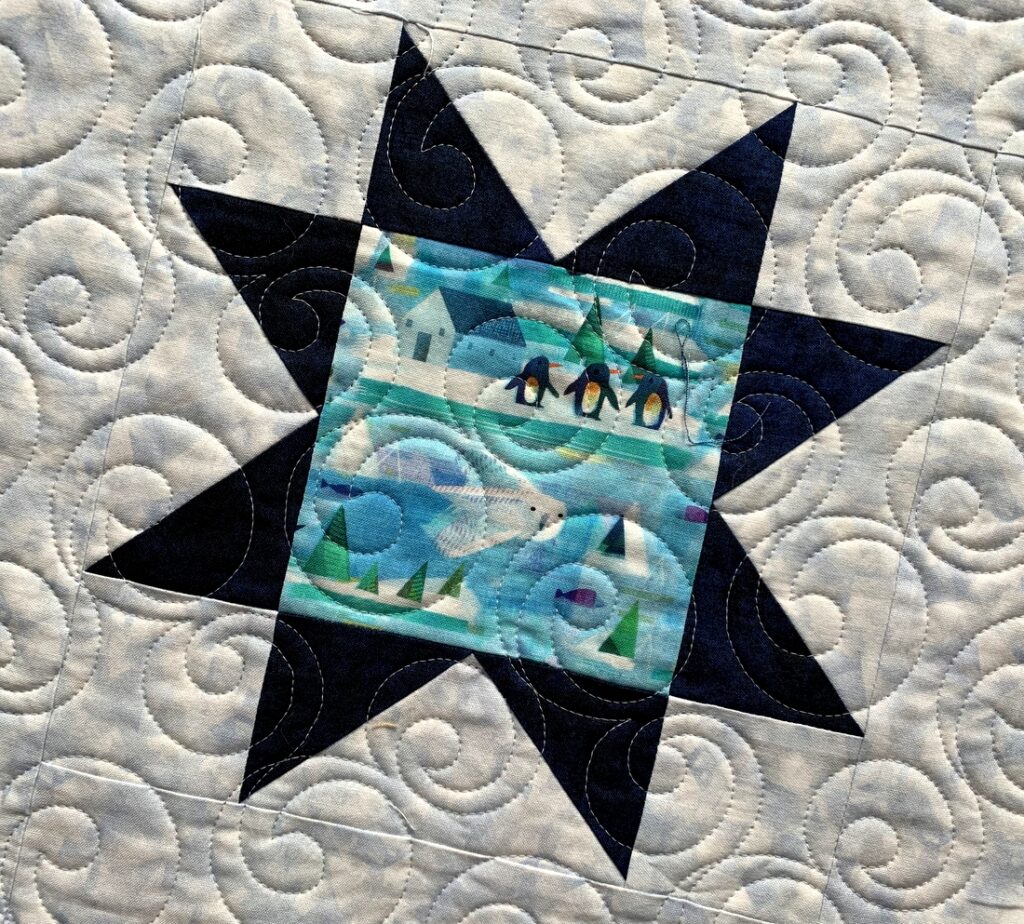
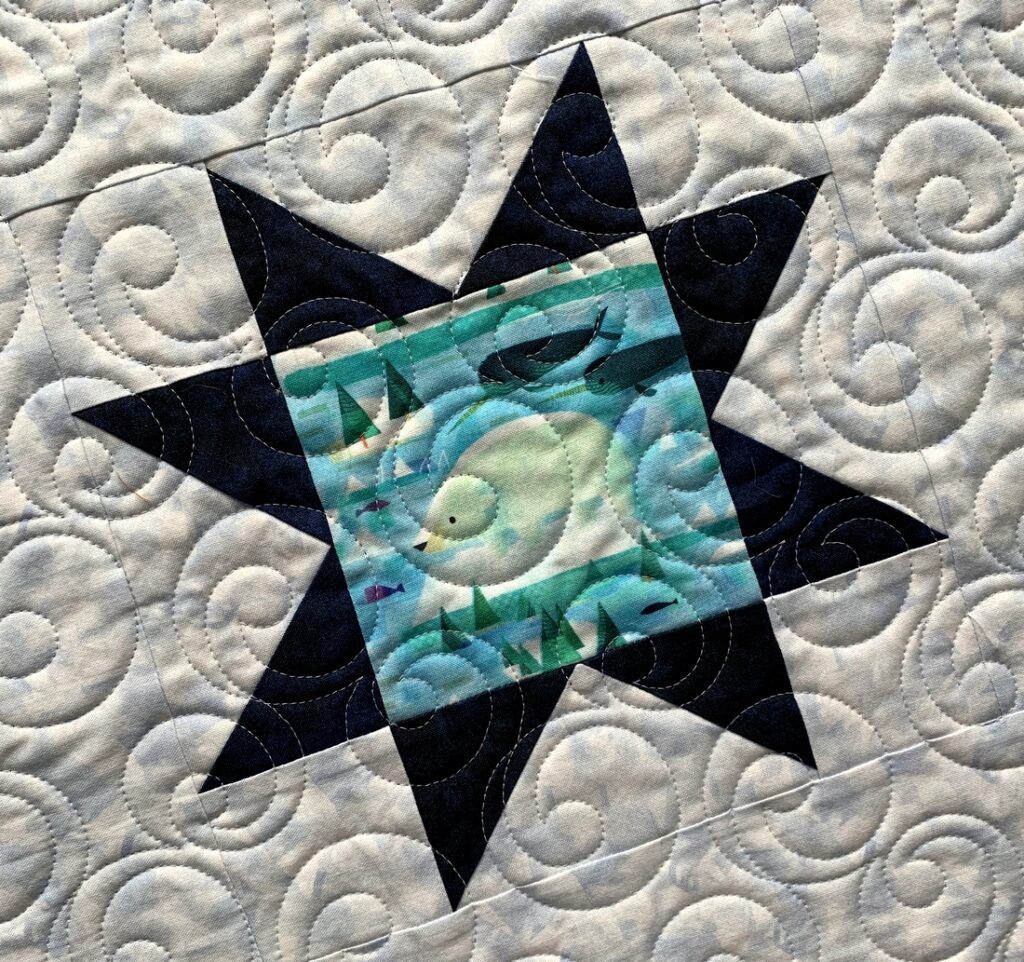
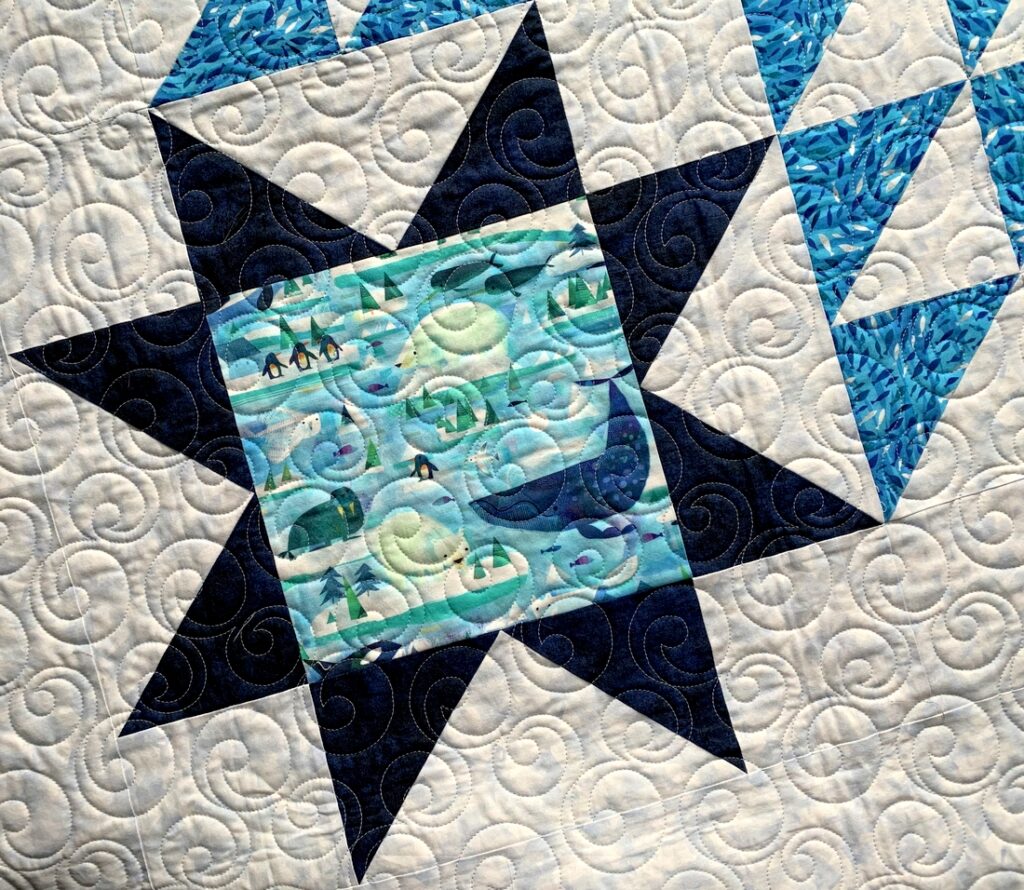
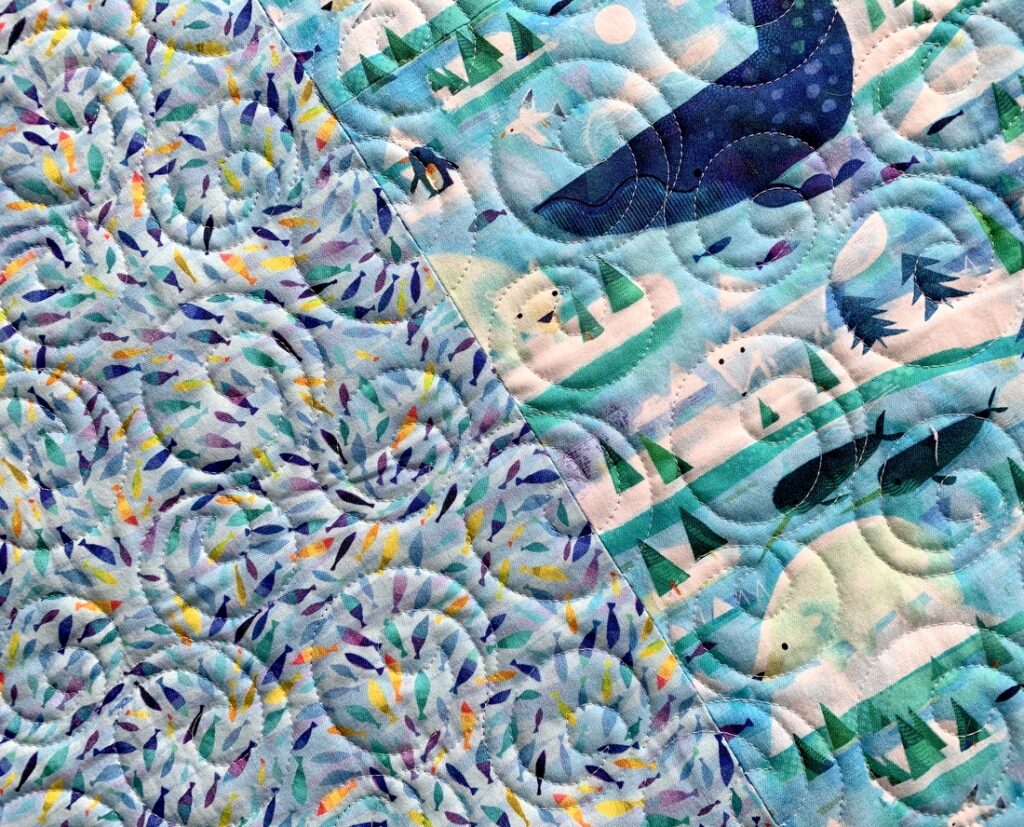
 Do I have a plan for the fabrics now? Why, yes I do!