Rx for Rulers

If you’ve been quilting a while, you probably have a good-sized number of acrylic rulers on hand, the ones you use every day for cutting fabric and trimming blocks plus the specialty rulers you use on occasion. And let’s not forget the ones you bought (but maybe haven’t used yet) because they promised a faster, easier, more accurate way of cutting fabric or making a block.

With a few exceptions, these rulers tend to slip and slide on fabrics. How many of you have experienced a shift in position just as you were running your rotary cutter along a ruler’s edge? My hand is in the air.

Enter a product that may already be in your first aid kit or medicine cabinet. It’s a flexible clear 1″-wide surgical tape called Nexcare made by 3M. My friend and fellow quilter Kathy Anderson told me about it and now I’m passing the word on to all my friends who quilt.

Here’s what the package looks like. If you look carefully, you can see I have applied it to my go-to 4″ x 14″ Omnigrid ruler.
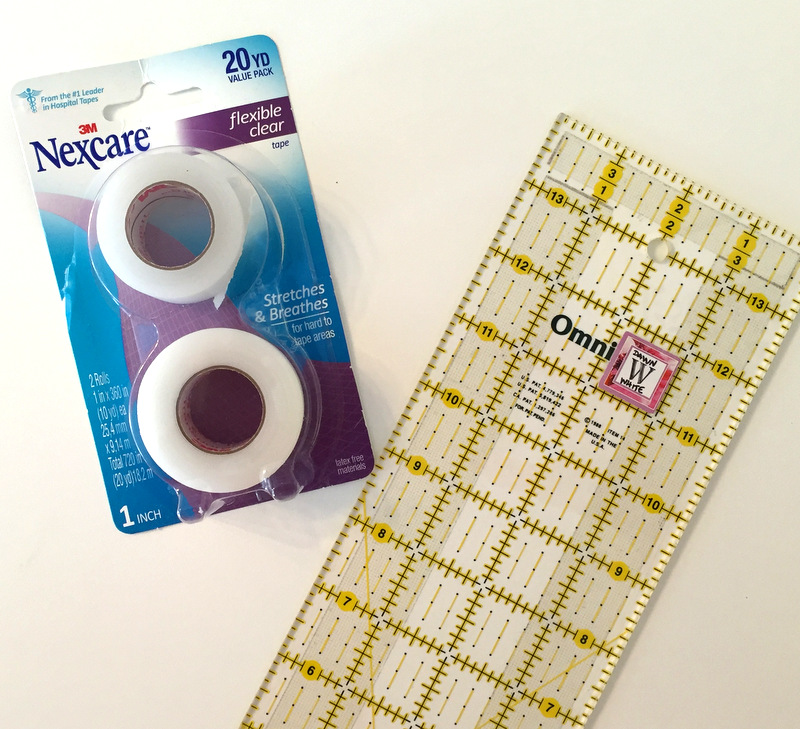
Rx for rulers 1

For years I used a product called Invisigrip on the back of my rulers. Made by Omnigrid, it’s a roll of clear film that comes attached to a paper backing. You cut it into strips, peel the paper backing away, and apply the film to the back of rulers. Invisigrip works very well at keeping rulers from sliding on fabric but it does have a couple of disadvantages.

First, the film can loosen from the back of the ruler over time and need replacing. Second, after a package has been open a while, it becomes stale. That is, it becomes impossible to separate the film from the paper backing, rendering the rest of the roll unusable. I tried sealing the roll in a Ziploc bag between applications but it still got stale.

I found myself buying a new package almost every time I got a new ruler. Over the years I have spent a fair amount of money on this product. NexCare tape is much less expensive — I think I paid around $4.50 for this double-roll package containing 20 yards — and it is very easy to apply.

All you have to do is unroll the length of tape you need, cut it with scissors, and apply it to the back of the ruler. But, being a bit of a neatnik when it comes to my sewing tools, I like to use my rotary cutter to cut straight lines so the tape lines up with the lines on my rulers. In the photos below I’m putting it on the back of a specialty ruler that I use a lot, the Quick Curve Ruler.

I place the ruler wrong side up on my cutting mat. (I put the ruler on a piece of fabric here just so you can see the markings better.) Below the ruler I unroll a length of tape the same length as the ruler, following the marking lines on the cutting mat, and press the tape onto the mat:
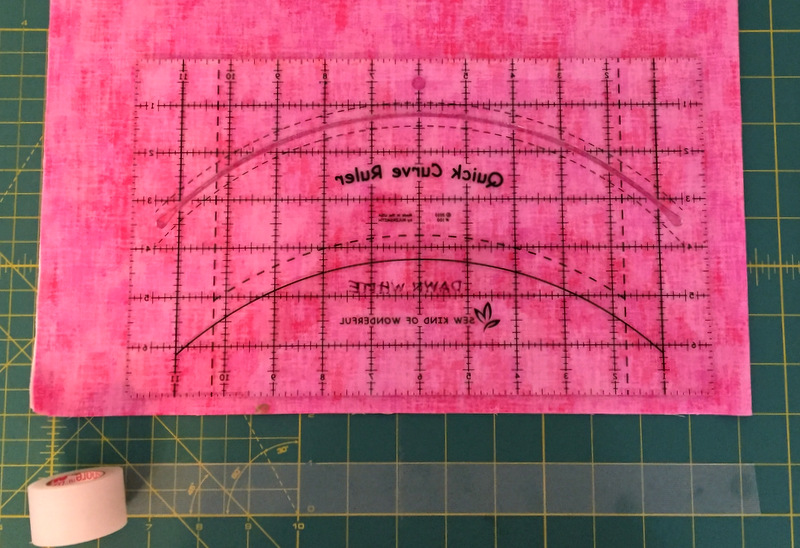
Rx for rulers 2

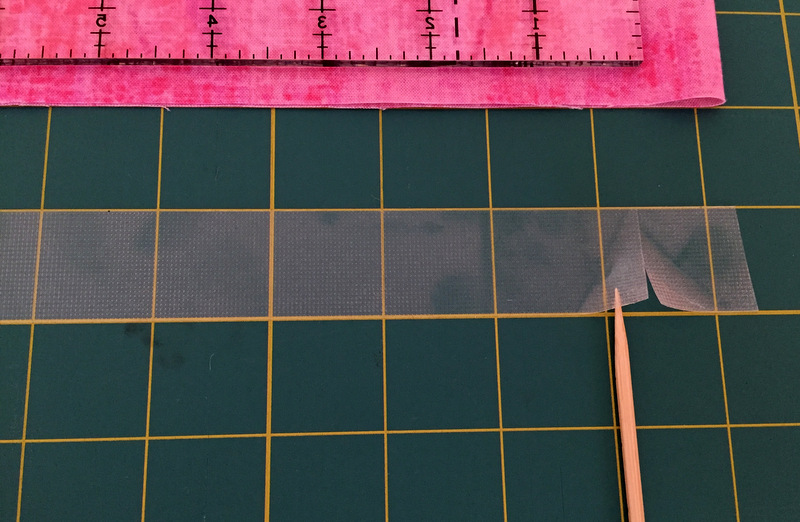
Next I trim the ends of the tape with my rotary cutter, allowing a ¼” margin between the end of the tape and the edges of the ruler. I use a stiletto (a bamboo skewer, actually) to lift up the edges of the tape where it was trimmed . . .
Rx for rulers 3

. . . and then peel the strip of tape off the mat.

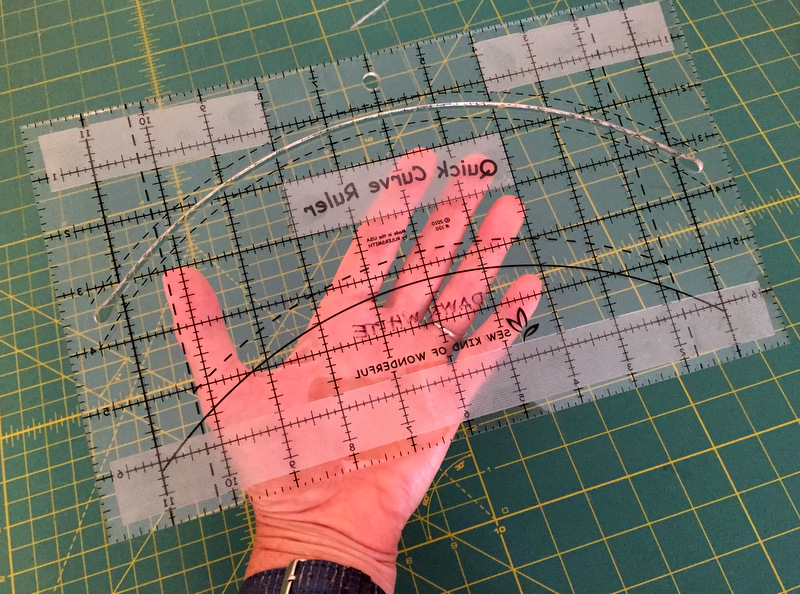
Using the markings on the ruler itself as a guide, I lay the strip of tape on the ruler, positioning it a quarter of an inch from the edges, and press it in place with my fingertips. Here you can see that I added strips to the top of the ruler, leaving the area around the hanging hole clear, and added an extra stabilizing strip under the curve cut-out.
Rx for rulers 4

You can put strips around all four sides of the ruler if you wish. You can put them anywhere, for that matter. Because the cutting channel on the Quick Curve Ruler comes within a half-inch of the sides, I opted not to put strips there, adding the stabilizing strip in the center instead.

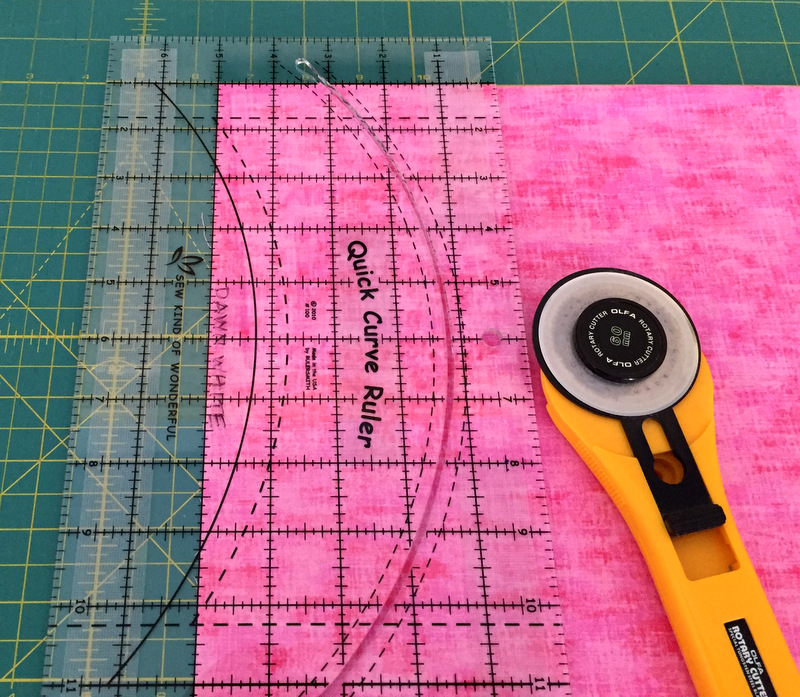
When I’m ready to use the ruler, I can see clearly through the tape:
Rx for rulers 5
Pretty nifty, don’t you think?

Updated added June 21, 2019: Since posting this tutorial I have learned that Nexcare tape tears evenly because it has a slight grid embedded in it. If you want to avoid the steps of placing the tape on a mat and cutting it with a rotary cutter and if you’re not particular about the exact length of the piece that you are applying, simply tear off the amount you think you need and put it on the back of the ruler. Easy peasy.




Posted in Quick Curve Ruler, tutorial, update | 33 Comments

Quilting up a Storm

I wish I could say that I have been quilting up a storm — but no, that happens to be the name of the raffle quilt I didn’t win:

Quilting Up a Storm OCQG raffle quilt 2016
Quilting Up a Storm ( 51½” x 66½”), made by members of the OCQG

Isn’t it a beauty? It was made by  members of the Oregon Coastal Quilters Guild, inspired by the artwork of Dennis McGregor. The quilt was on display for the two full days of the guild’s 26th annual quilt show, Quilts by the Sea, held earlier this month in Newport, Oregon.

The next best thing to winning the raffle quilt was admiring it in person, along with the 235 or so other quilts on display at the show. Here are a few of the ones that caught my eye:

For Kennedy, made by Cindy McEntee and quilted by Lisa Taylor:

For Kennedy made by Cindy McEntee quilted by Lisa Taylor
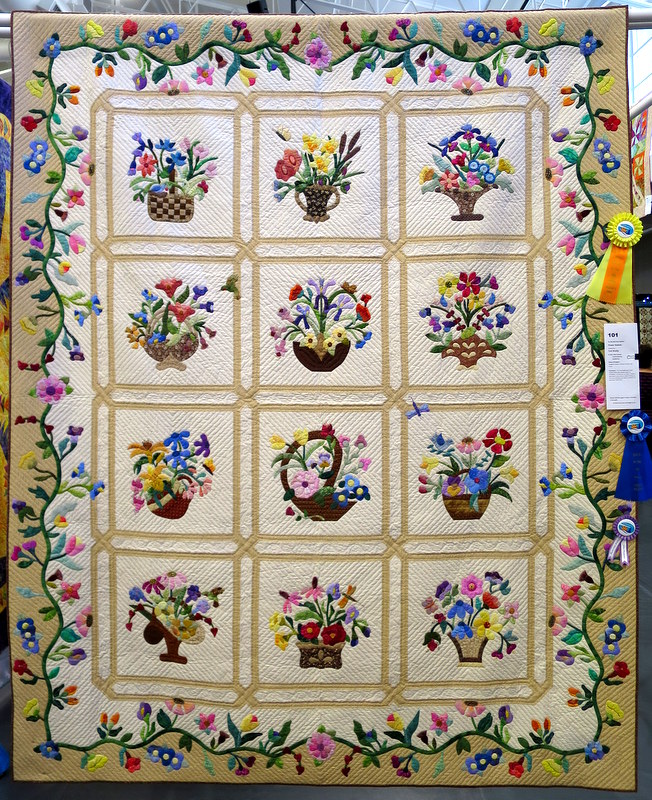
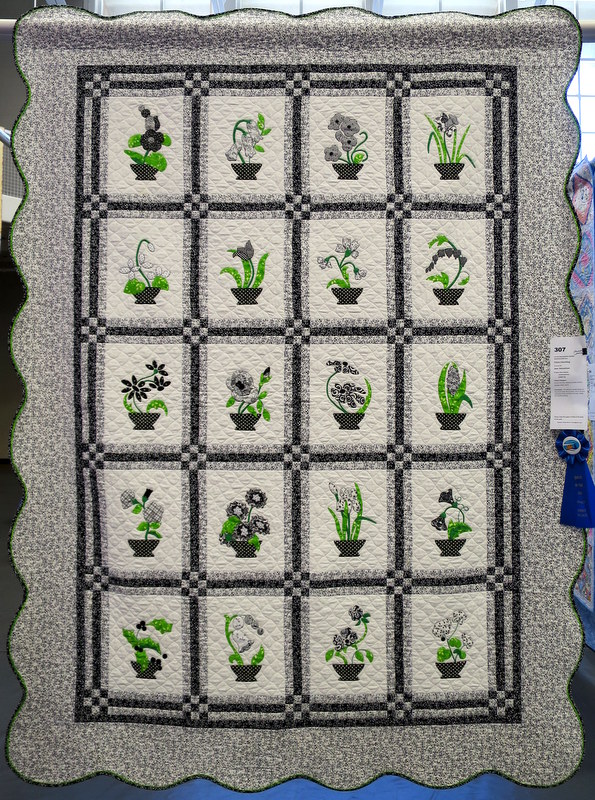
Flower Baskets, made and hand-quilted by Toni Brodie:

Flower Baskets by Toni Brodie
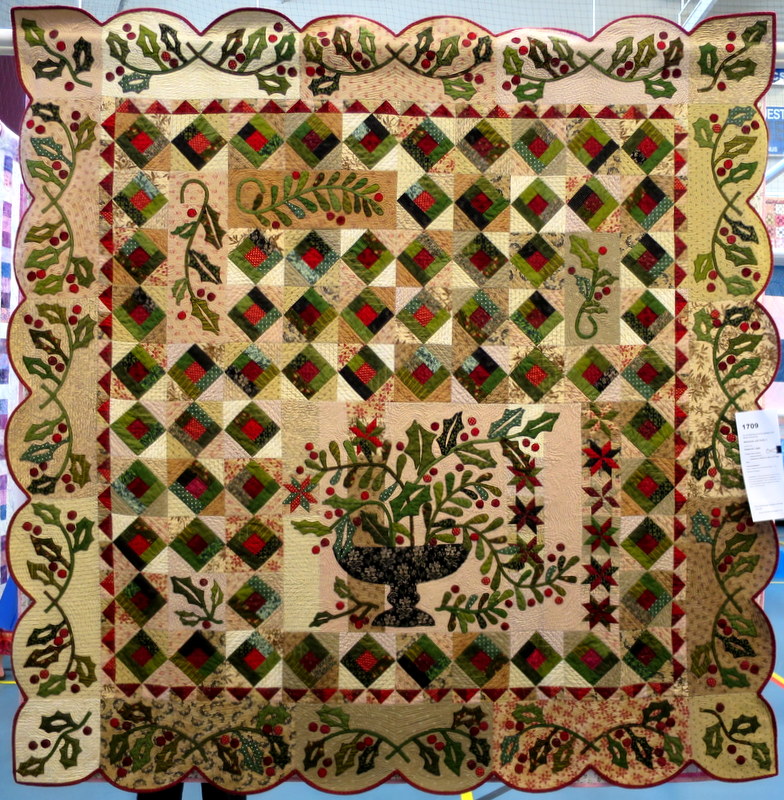
Mistletoe & Holly, made and quilted by Deborah Cagle:

Mistletoe & Holly made and quilted by Deborah Cagle Salem ORDeborah is one of my fellow Quisters (Quilt Sisters). She made this quilt as a gift for our friend Peggy, also a Quister, and then made a second version for herself — all in the space of one year!
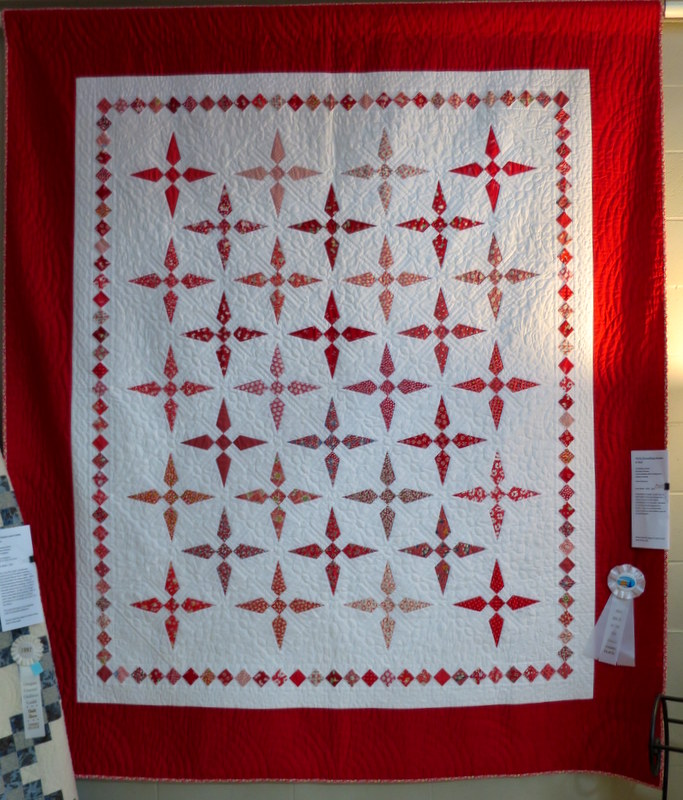
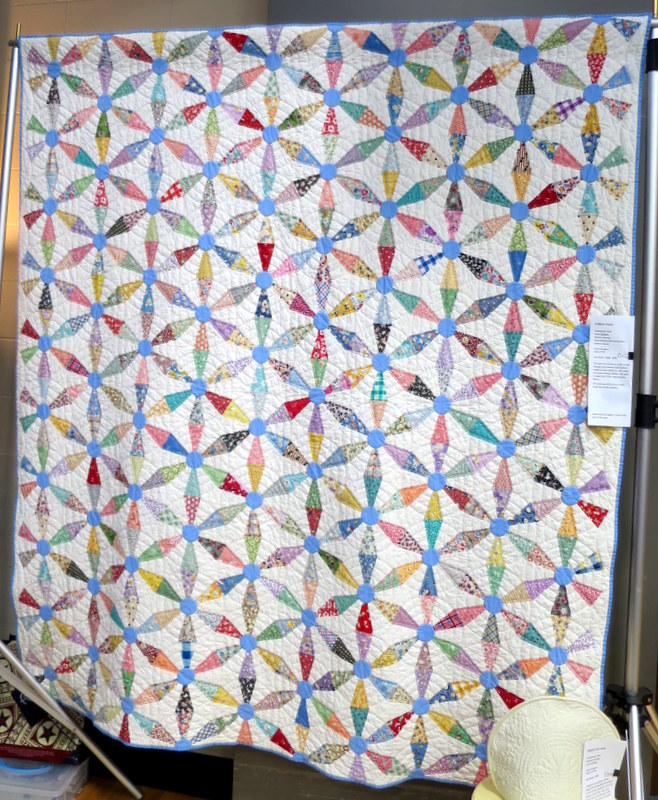
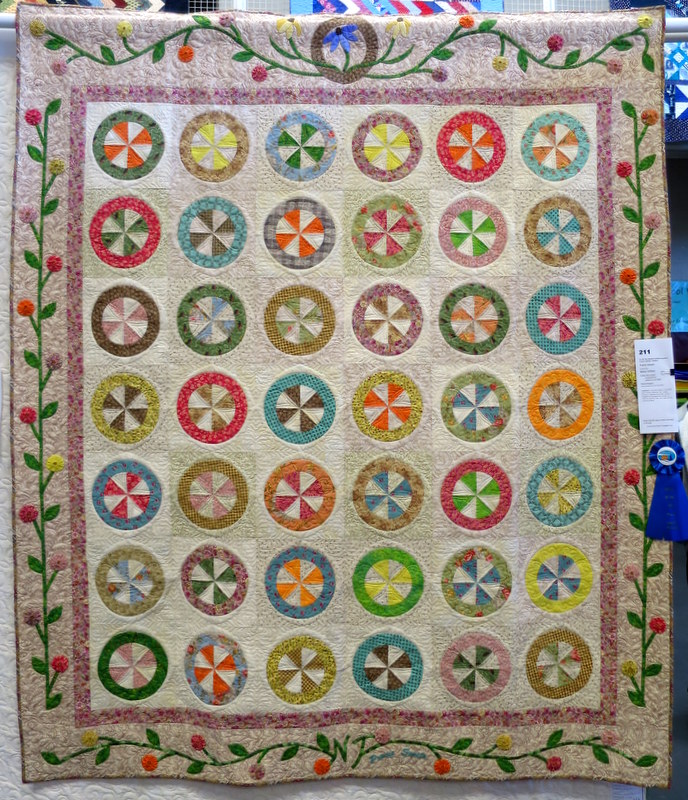
This quilt, Thirty-Something Shades of Red, was made by Velma Freudenthal, the guild’s featured quilter:

Thirty-Something Shades of Red by featured quilter
Endless Chain, also made by Velma Freudenthal:

Endless Chain by featured quilter
Prairie Sweets, made by Nancy Terhaar and quilted by Lisa Taylor:

Prairie Sweets by Nancy Terhaar quilted by Lisa Taylor
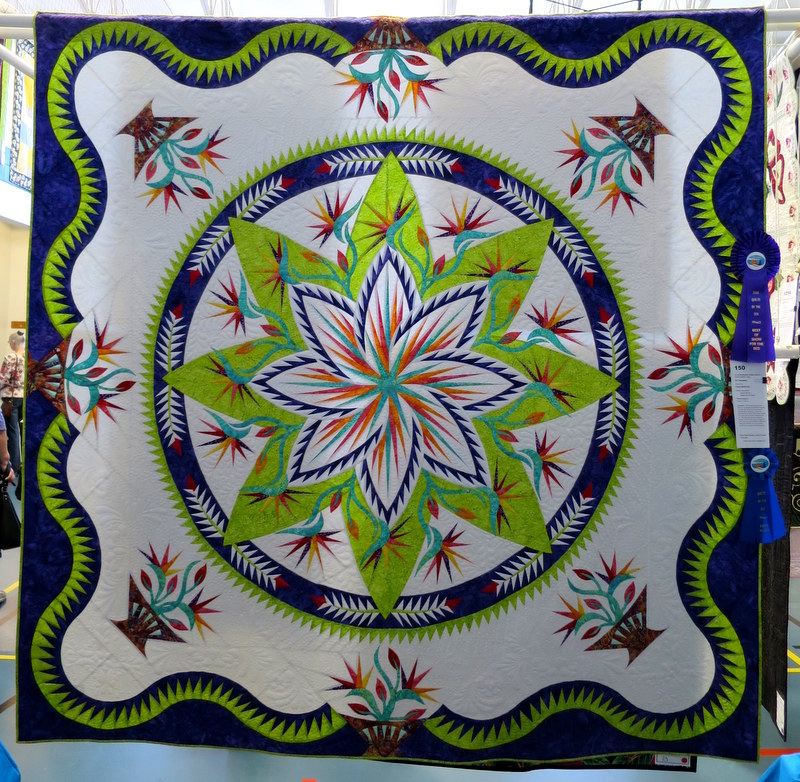
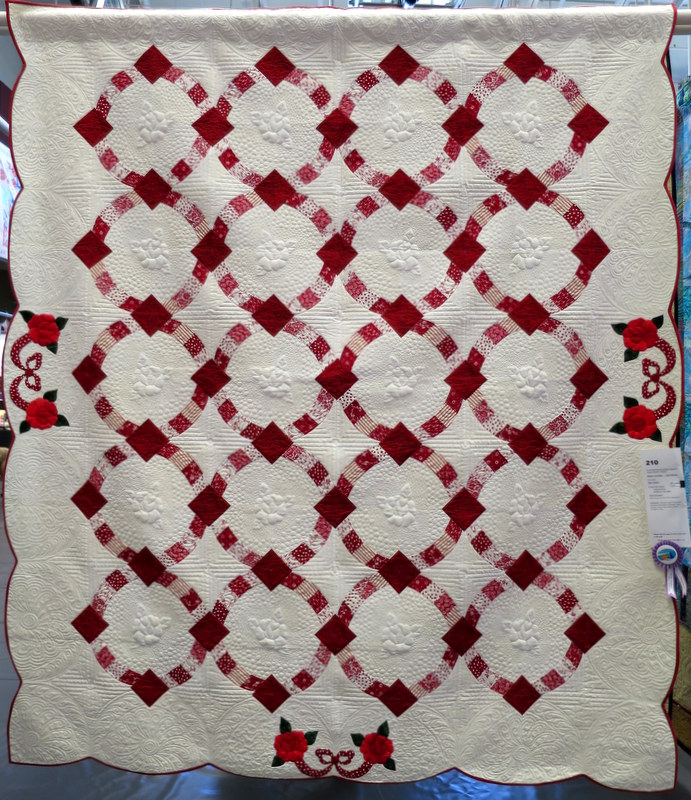
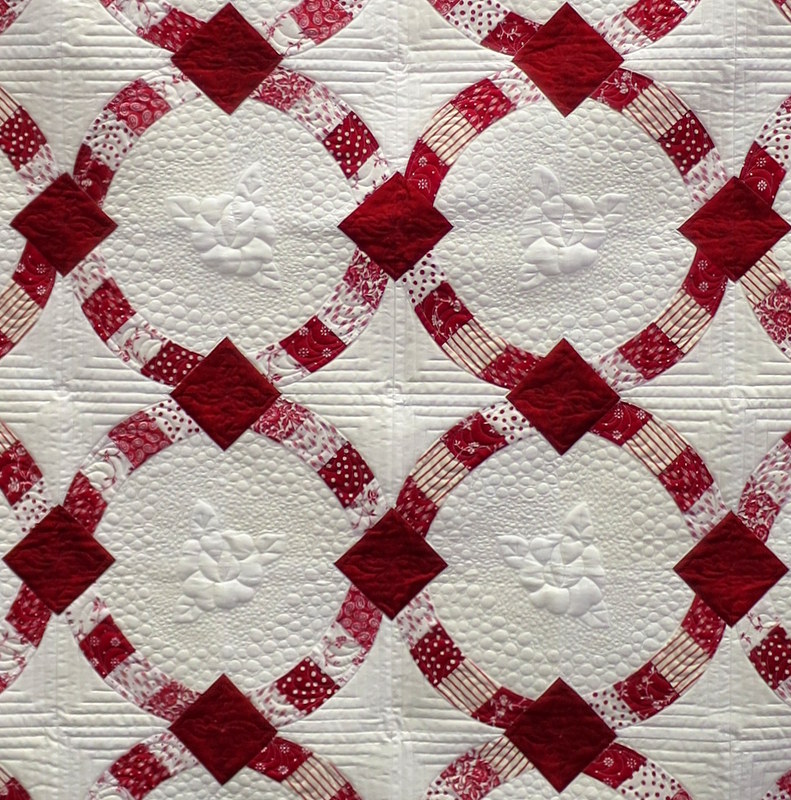
Roses are Red . . . and White, made by Nan Scott and quilted by Lisa Taylor:

Roses are Red . . . and White by Nan Scott quilted by Lisa Taylor

Detail of Roses are Red . . . and White:

quilt shows Sisters and Newport 2016 182
Prints Charming
, made and quilted by Jean Amundson:

Prints Charming by Jean Amundson
Detail of Prints Charming:

detail of Prints Charming by Jean Amundson


Koi in the Garden
, made by Sue Clark and quilted by Lisa Taylor:

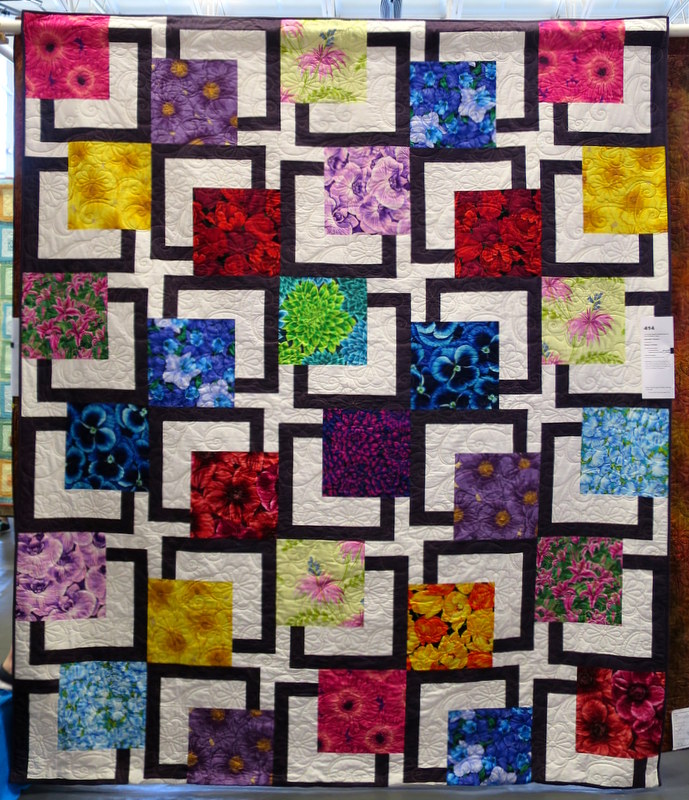
Koi in the Garden made by Sue Clark quilted by Lisa Taylor


Gennifer Flowers
, made by Nancy Terhaar and quilted by Lisa Taylor:

Gennifer Flowers by Nancy Terhaar


Soldier’s Waltz
, made by Maureen Gallant and quilted by Lisa Taylor:

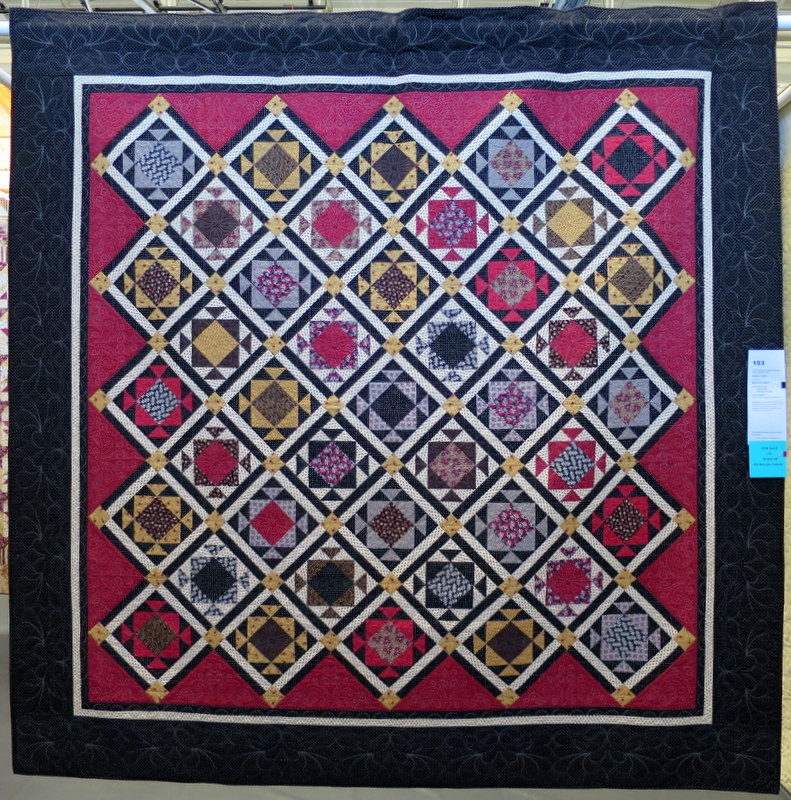
Soldiers Waltz by Barbara Gallant quilted by Lisa Taylor
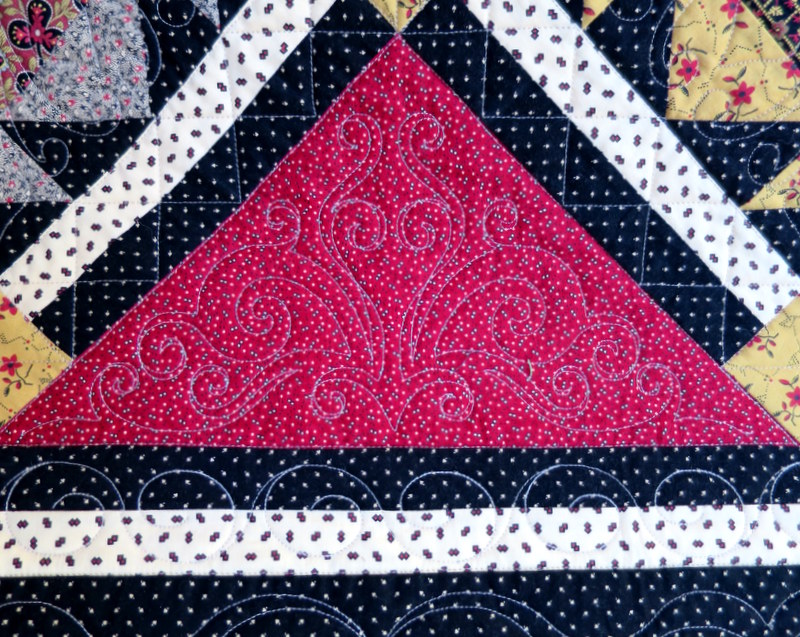
Detail of quilting on Soldier’s Waltz:

Soldiers Waltz by Barbara Gallant detail of quilting by Lisa Taylor


Star, 
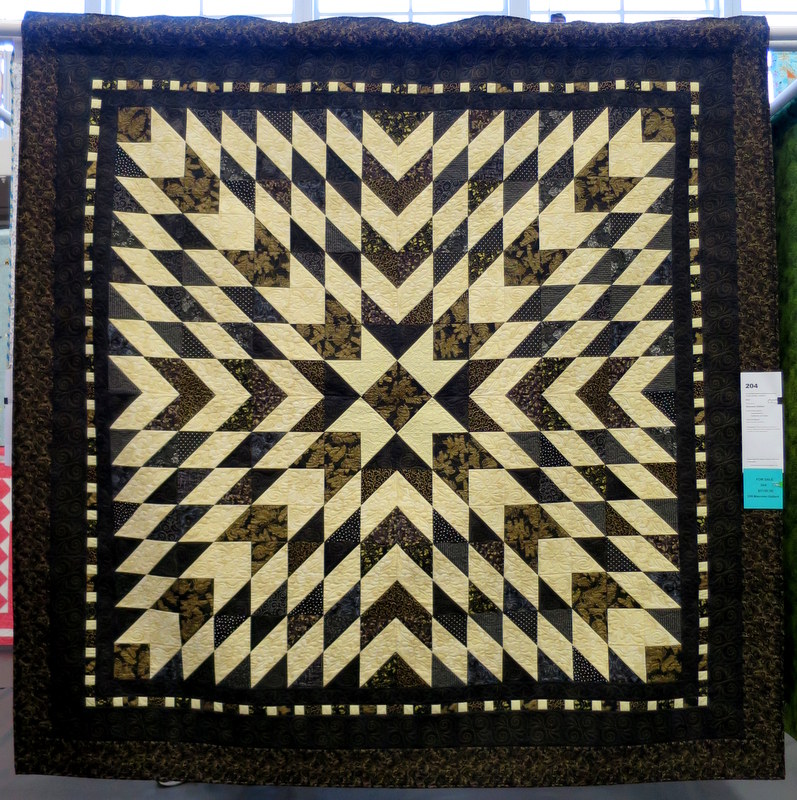
also made by Maureen Gallant and quilted by Lisa Taylor:

Star by Maureen Gallant quilted by Lisa Taylor

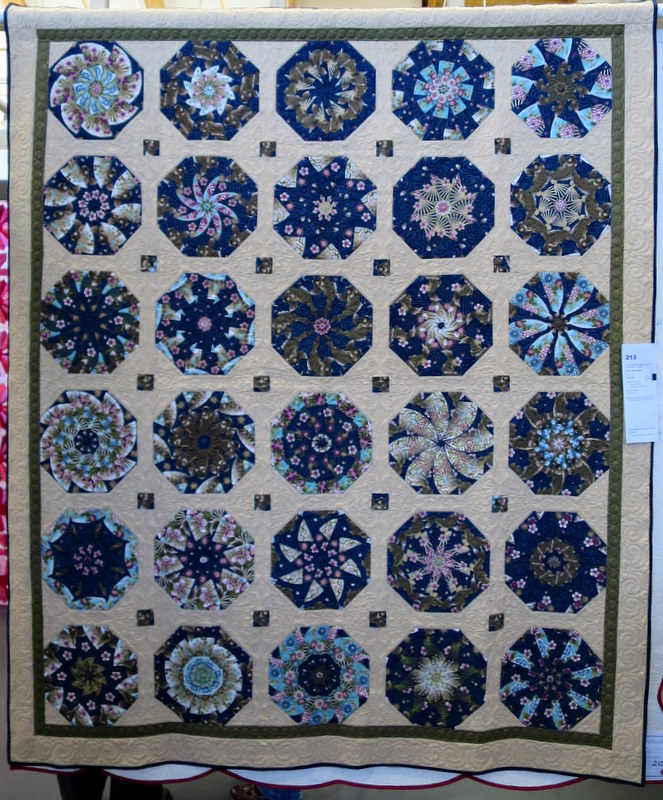
Carpenter’s Square
, made by Judy McCoy and quilted by Jennifer Rinehart:

Carpenter's Square by Judy McCoy quilted by Jennifer Rinehart

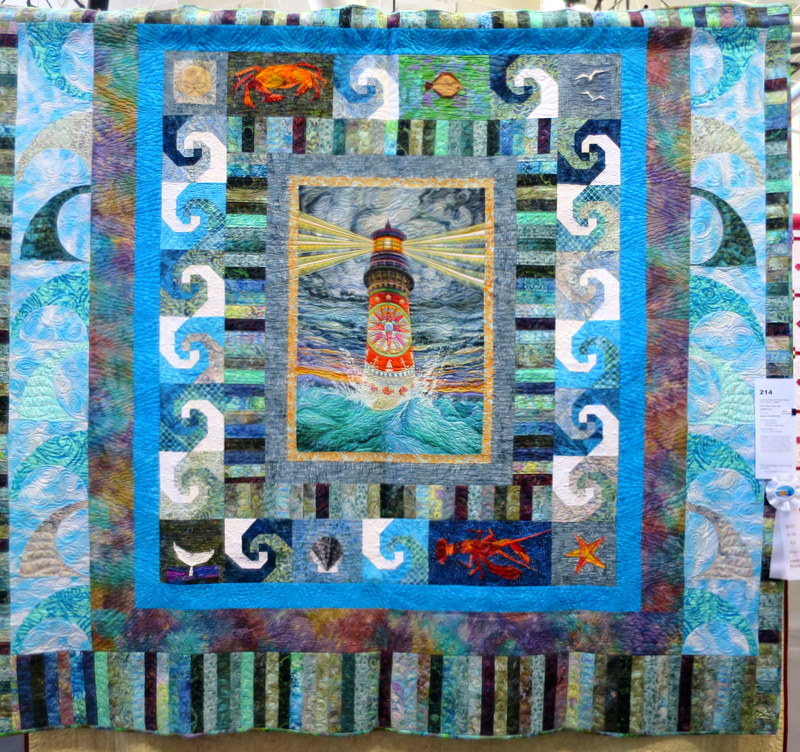
View from the Lighthouse
, made by Jacque VanDamme and quilted by Cindy Young:

The View from the Lighthouse by Jacque VanDamme quilted by Cindy YoungDid you recognize the lighthouse in the center of the quilt? It’s the same panel by Dennis McGregor used in the Oregon Coastal Quilters Guild’s raffle quilt. The original painting was commissioned by the guild for its 25th anniversary show last year.
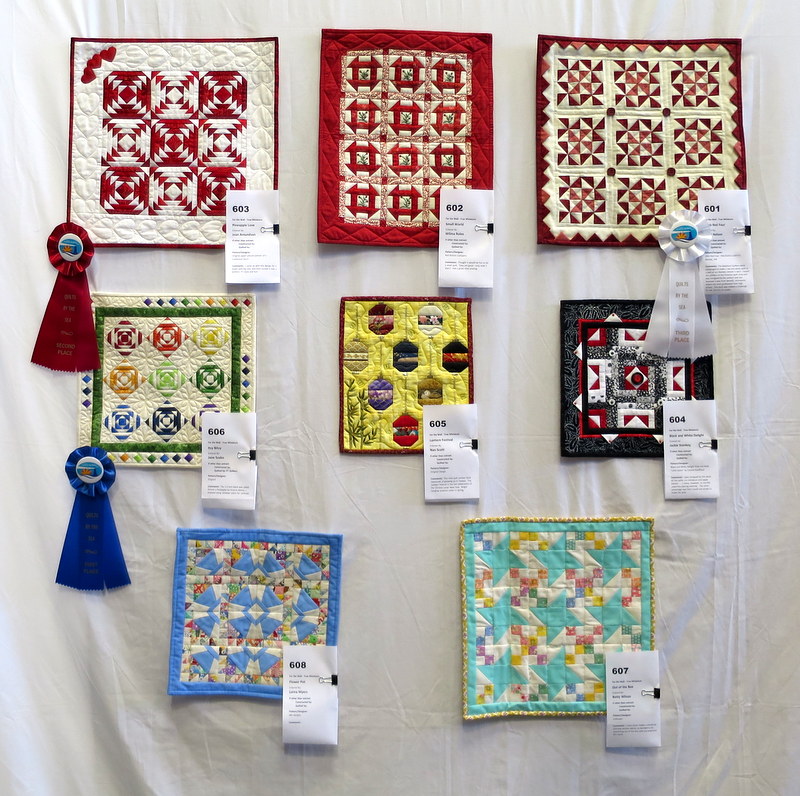
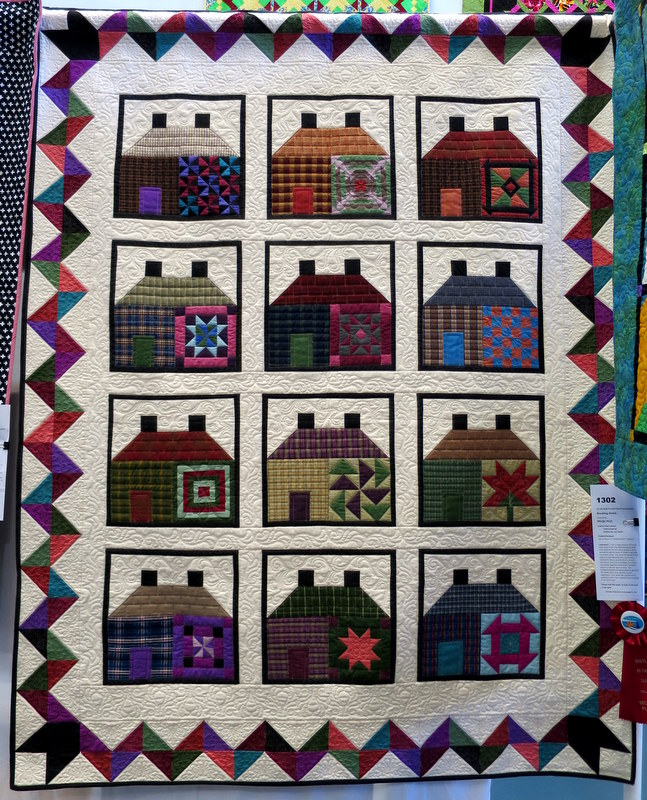
The guild had a display of mini quilts that included these charming ones:

wall of mini quilts OCQG Aug 2016
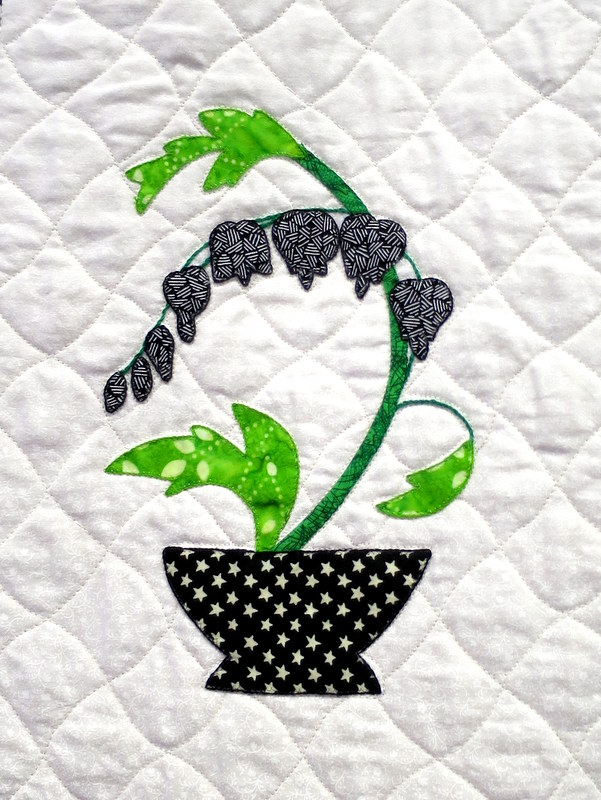
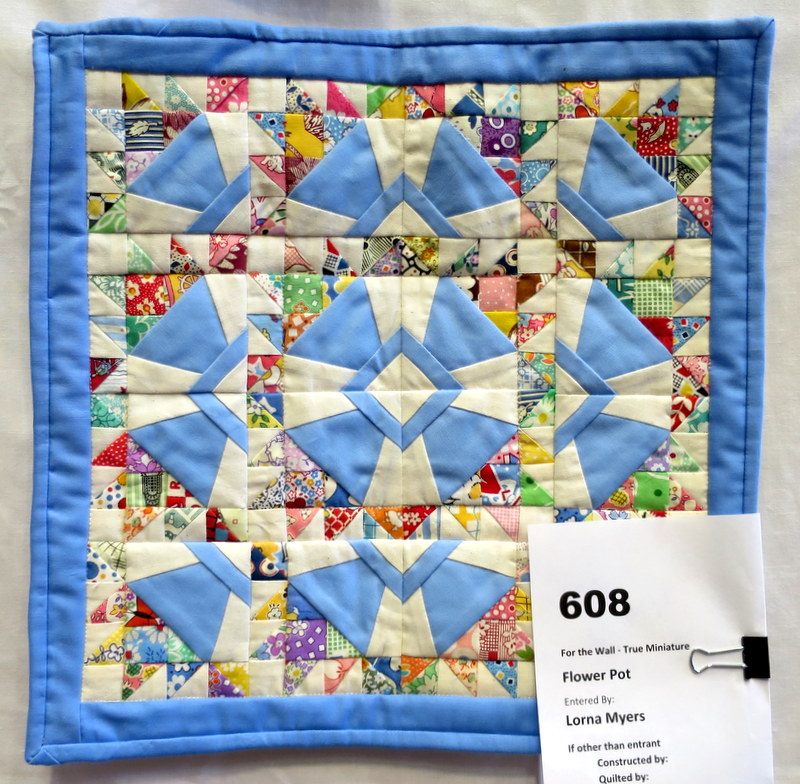
Here’s a close-up of Flower Pot, made by Lorna Myers:

Flower Pot by Lorna Myers (mini)
Rounding out this post are a few more of the quilts I liked:

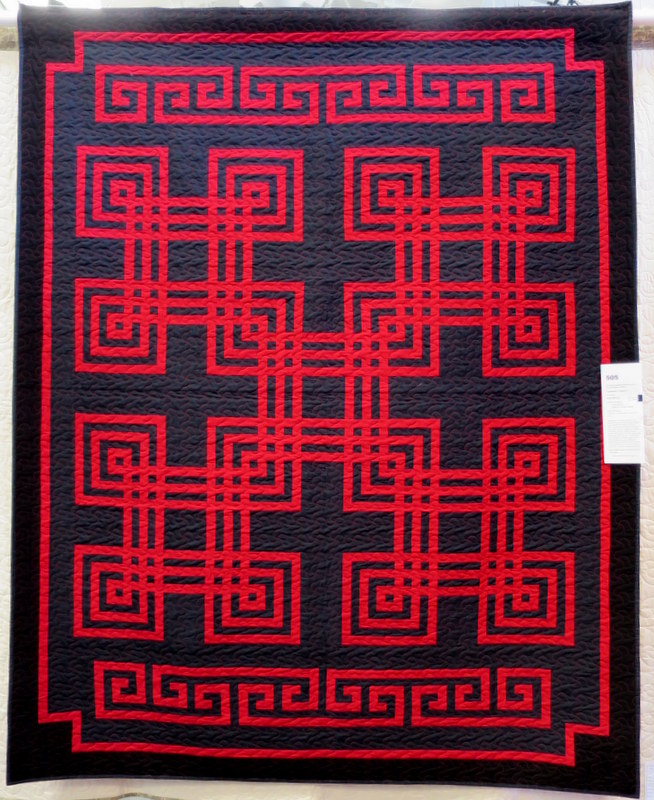
Breaking Amish, made by Marge Hoyt and quilted by Lisa Taylor:

Breaking Amish by Marge Hoyt quilted by Lisa Taylor


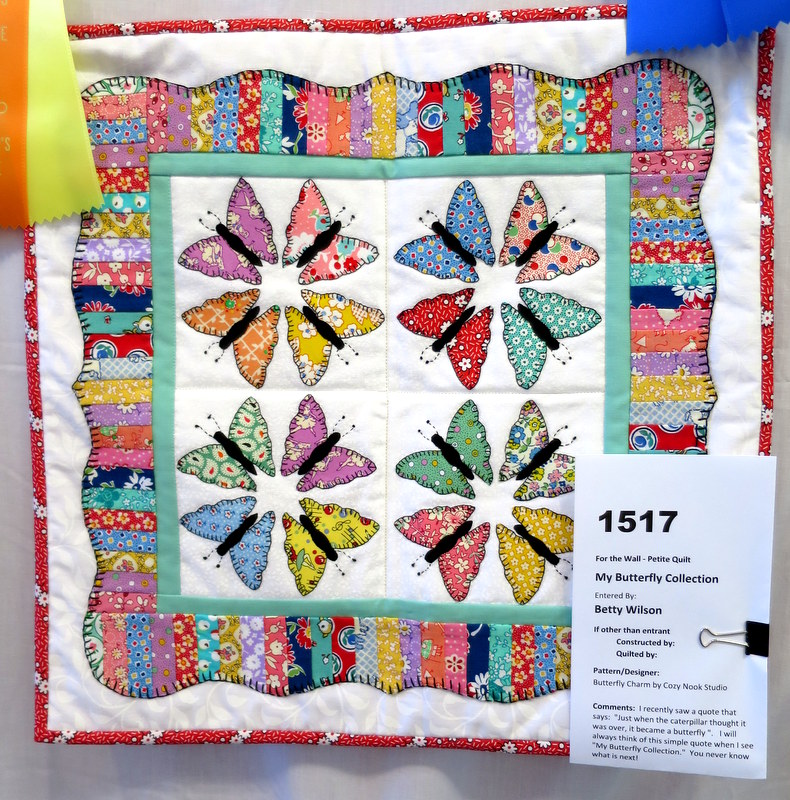
My Butterfly Collection
, made by Betty Wilson:

My Butterfly Collection by Betty Wilson


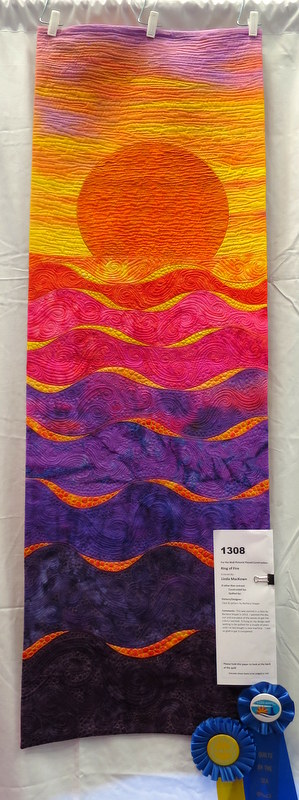
Ring of Fire
, made and quilted by Linda MacKown:

Ring of Fire by Linda MacKown
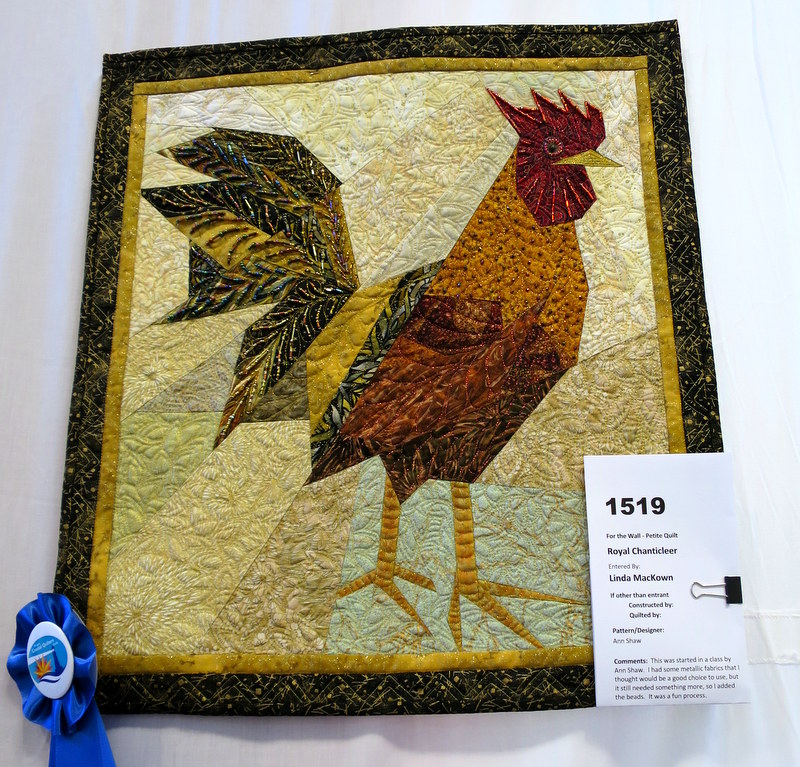
and Royal Chanticleer, made and quilted (and beautifully embellished) by Linda MacKown:

Royal Chanticleer made, quilted, embellished by Linda MacKown
It was a terrific show, beautifully organized and presented, and my Quisters and I enjoyed our brief getaway to the Oregon Coast. I have a feeling this will become an annual event.


Posted in Quisters (Quilt Sisters), update | 10 Comments

Where I’m @ on Rewind

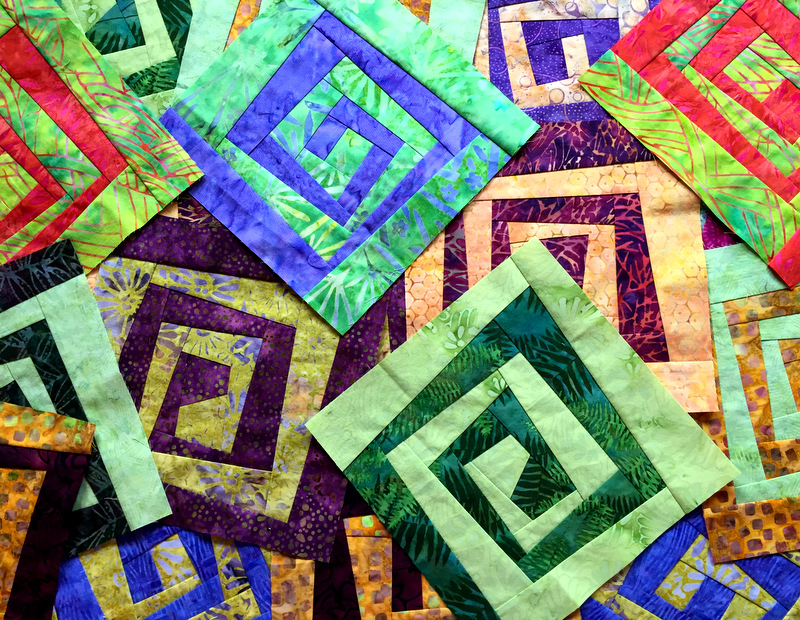
Rewind blocks mid august
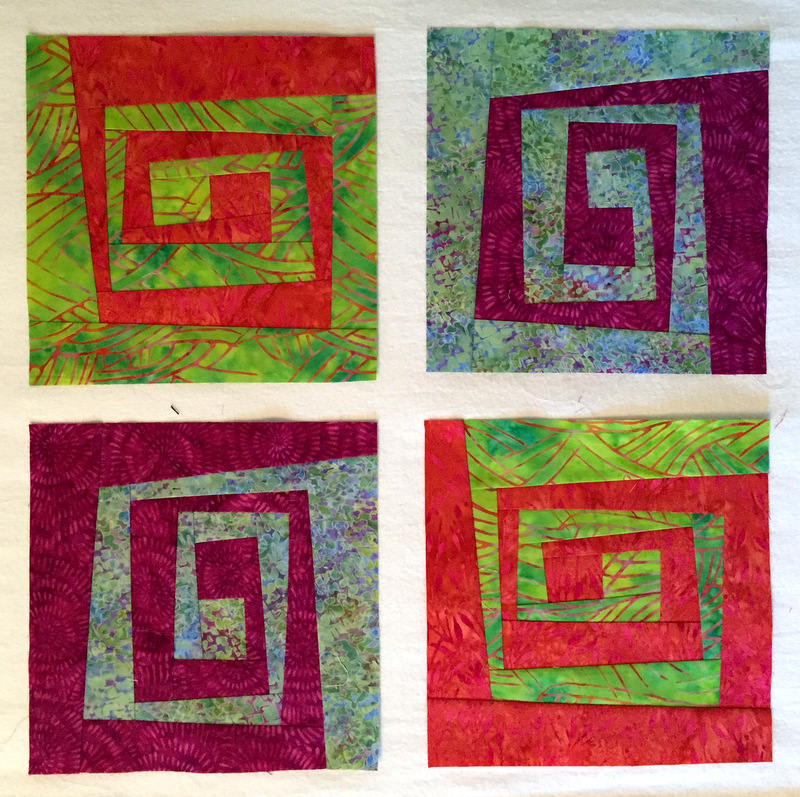
Isn’t that a pretty jumble of batiks? I’m almost half done with the wonky Greek key blocks for my Rewind quilt, the one designed by Karla Alexander that I started in a class with her last month in Sisters, Oregon as part of Quilter’s Affair 2016.

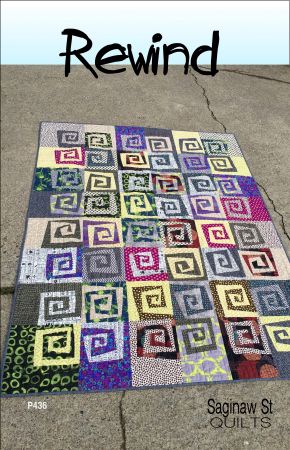
I need 48 blocks to make the design pictured here:

RewindP436FB_lg

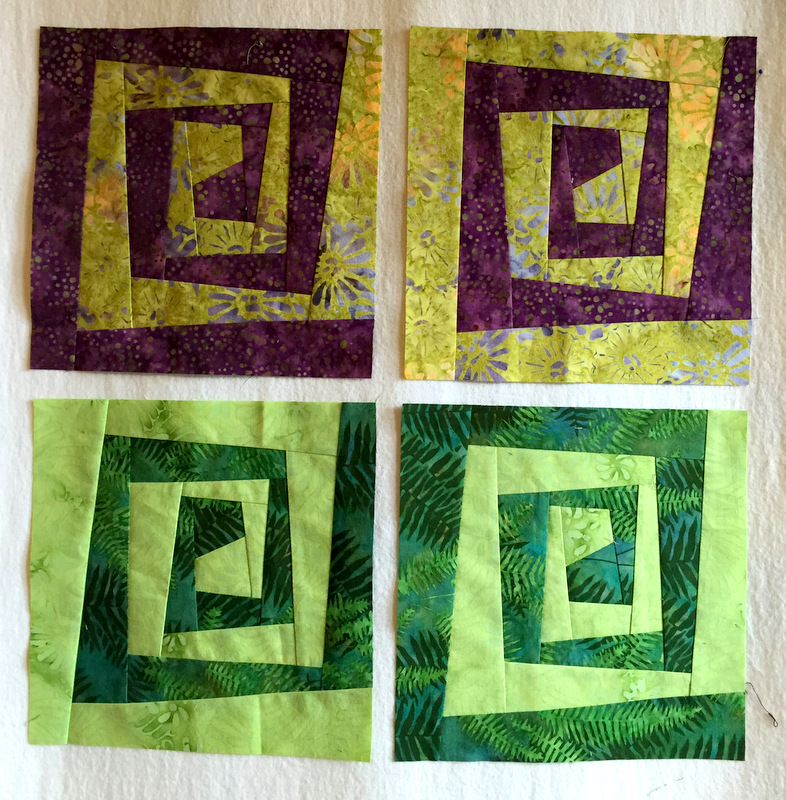
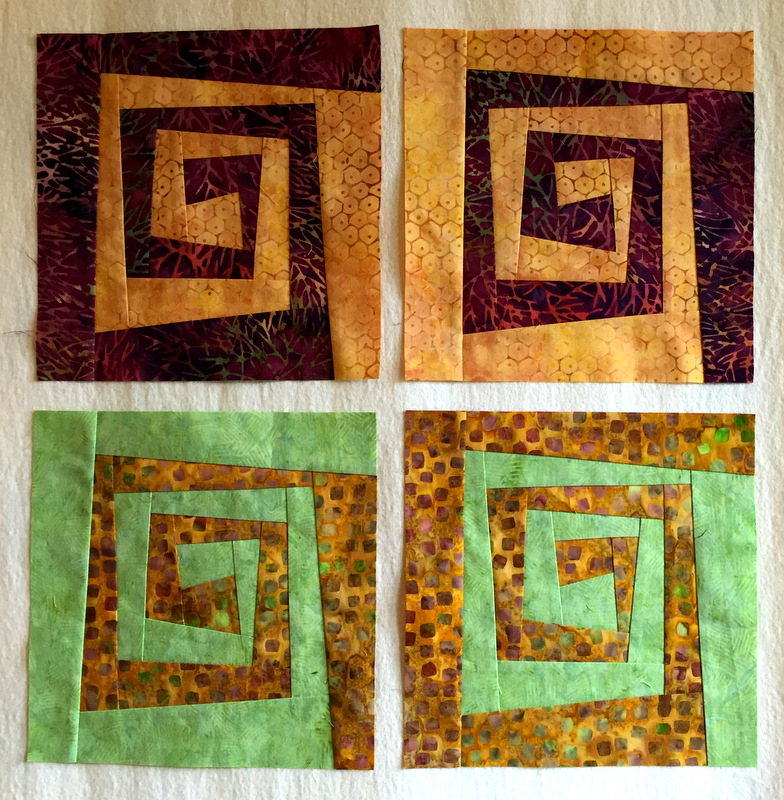
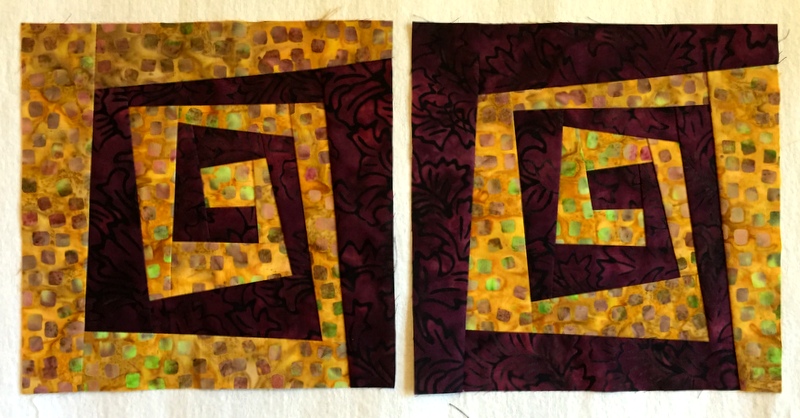
I’m working in sets of four, stacking my squares and drawing my cutting lines freehand the way Karla showed us in class. Here are my two most recent sets:

Rewind blocks freeform

More freeform Rewind blocks

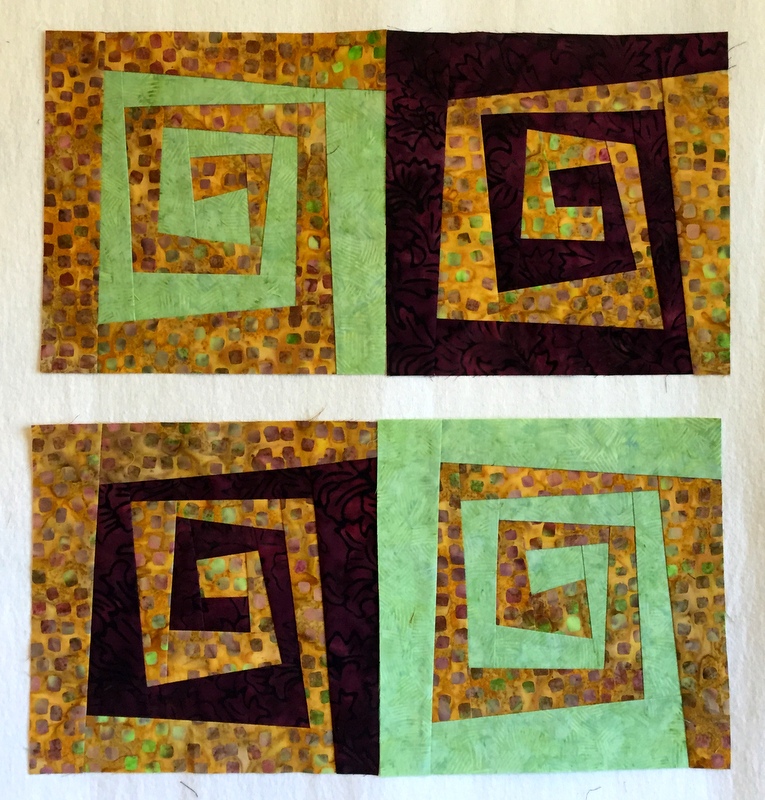
In the pair of green/gold blocks directly above, take a look at the gold print, which reminds me of spots on a giraffe. Do you see how the giraffe fabric is the dark in those blocks and the green is the light? I used that same giraffe print in one of my early pairs, and in those blocks it was the lighter of the two:

2016-08-12 11.30.28

Here are the two sets of blocks together, with the giraffe print reading dark/light in the top row and light/dark in the second row:

Rewind blocks with giraffe fabric
My quilt is going to be called Where It’s @.  I’ll bet you can figure out why.


Posted in Quilter's Affair, update, wonky Greek key | 3 Comments

Short Seattle Sojourn

The Dear Husband and I got back yesterday from a three-day trip to Seattle, occasioned by the Detroit Tigers coming to town to play the Seattle Mariners in a three-game stand. The DH, a Michigander by birth, roots for the Tigers. I root for the Mariners, but both of us appreciate a good play in baseball, regardless of which side makes it.

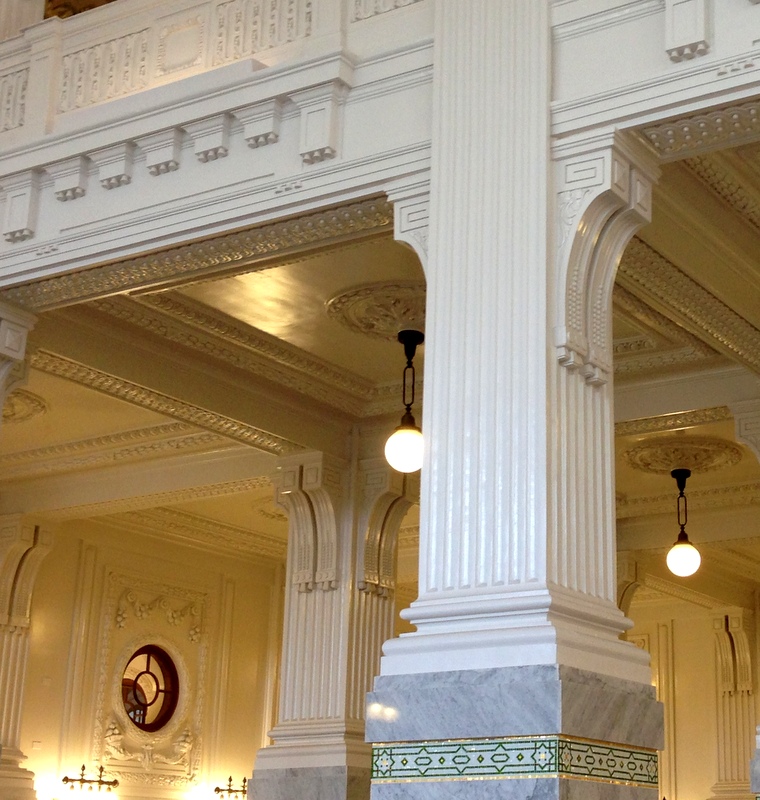
We boarded Amtrak in Portland Monday morning for the relaxing 3½-hour train ride to Seattle’s King Street Station. It’s been three years since the grand waiting room in King Street Station was restored to its original 1906 glory but I never tire of taking in the view:

Seattle King St Station aug 2016
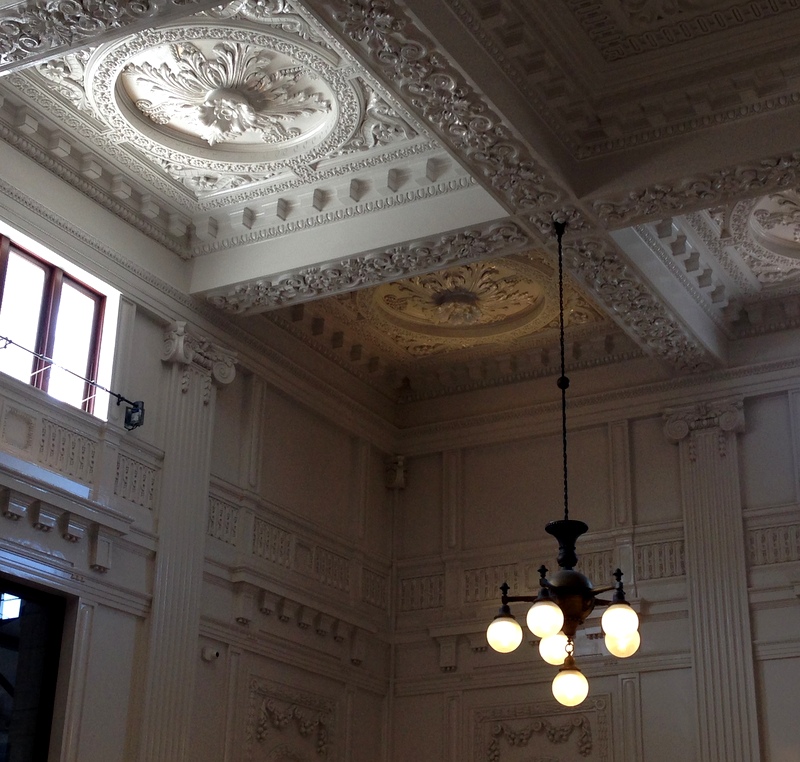
Here’s a close-up of the ornamental plaster ceiling . . .

Seattle King St Station ornamental plaster ceiling aug 2016
. . . and the fluted Corinthian columns:

Seattle King St Station fluted Corinthian column aug 2016
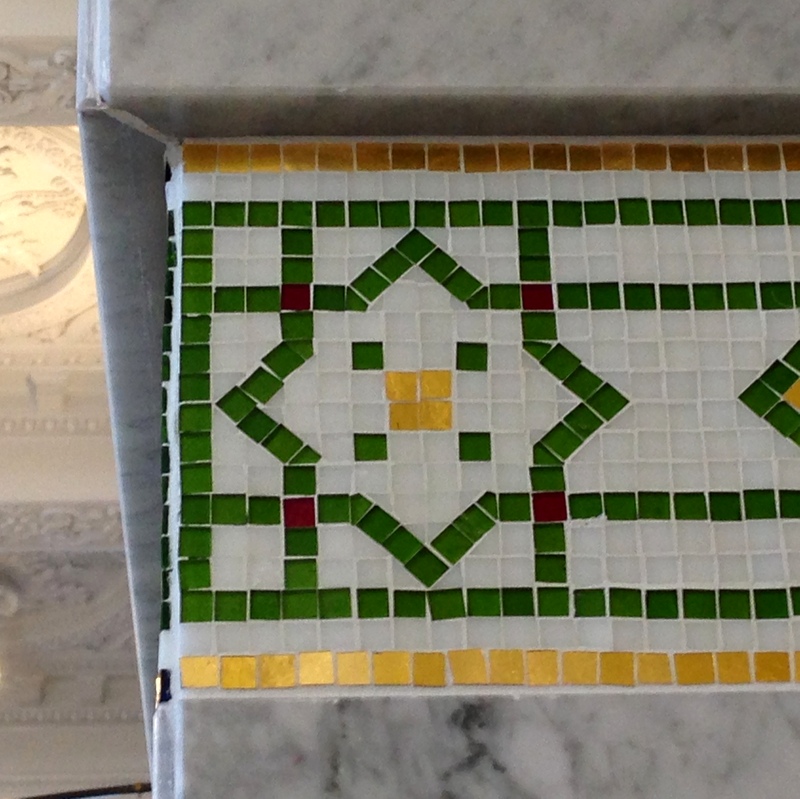
Did you happen to notice the glass mosaic tiles on the column in the picture above? That design on the edge of the column would make a striking quilt block, don’t you think?

Seattle King St Station tile detail aug 2016If the design shows up on a quilt of mine, you’ll know where I got the inspiration.
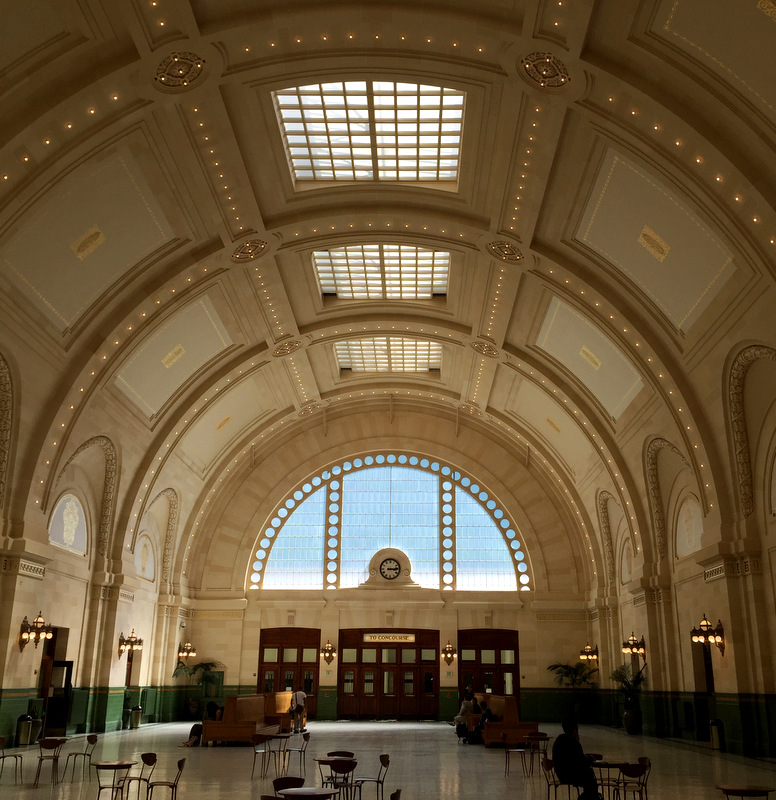
More quilt inspiration can be found at Union Station, right next door to King Street Station. Originally a train station, the building was restored about 15 years ago after sitting empty for three decades. It’s now the headquarters of Sound Transit, providing express bus, commuter rail, and light rail service in the region, but the grand hall can be rented out for weddings and other events:

Seattle Union Station interior aug 2016
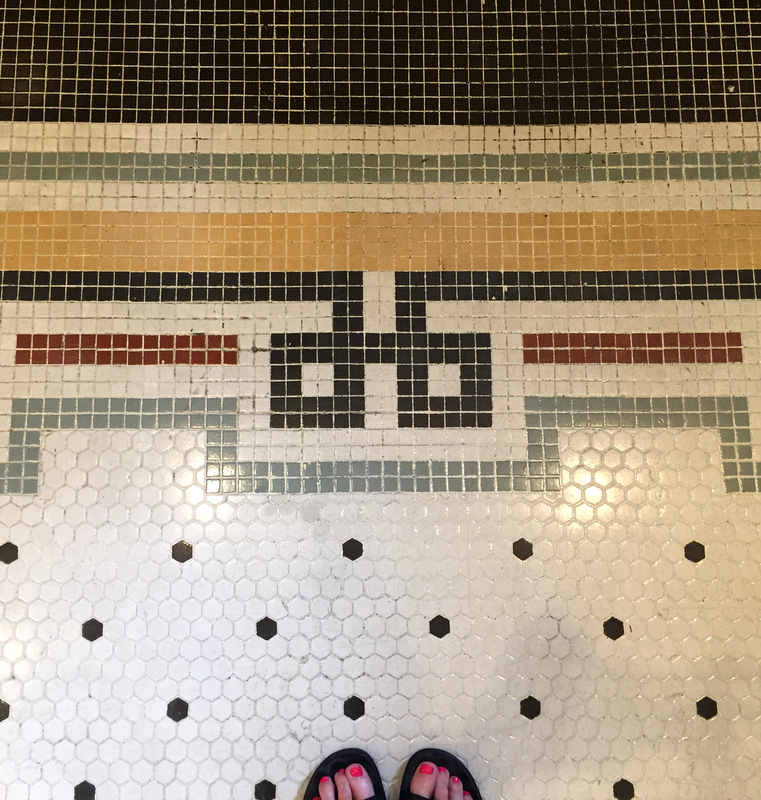
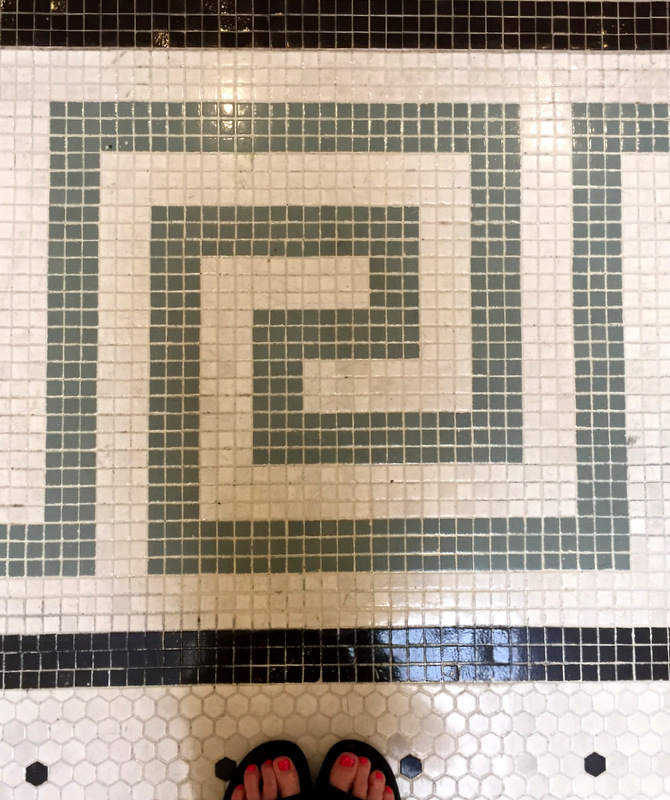
What about that quilty inspiration? Look no farther than your feet:

Seattle Union Station tile floor detail aug 2016

Seattle inside Union Station aug 2016

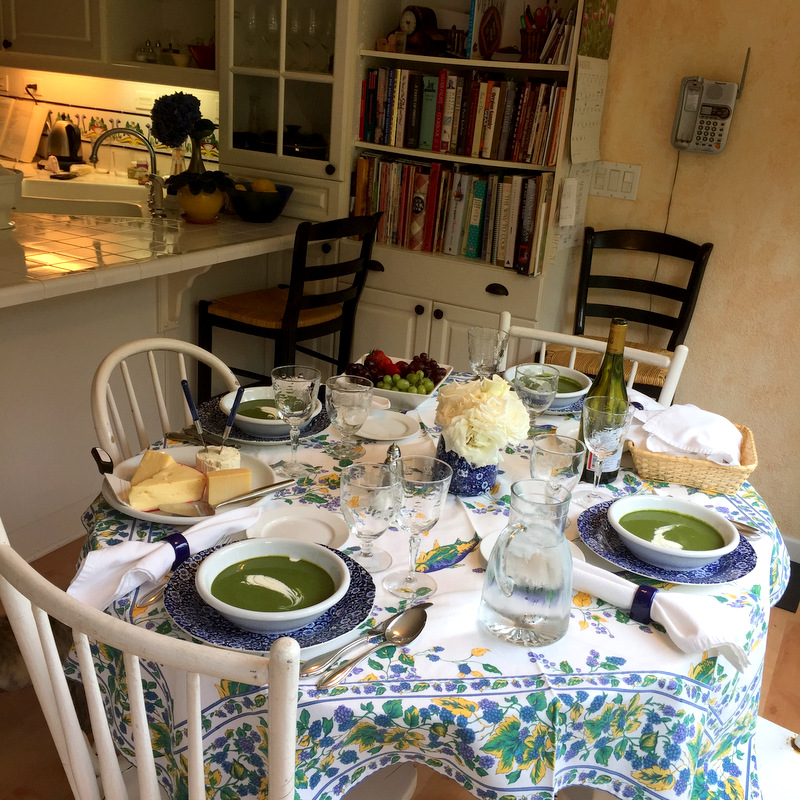
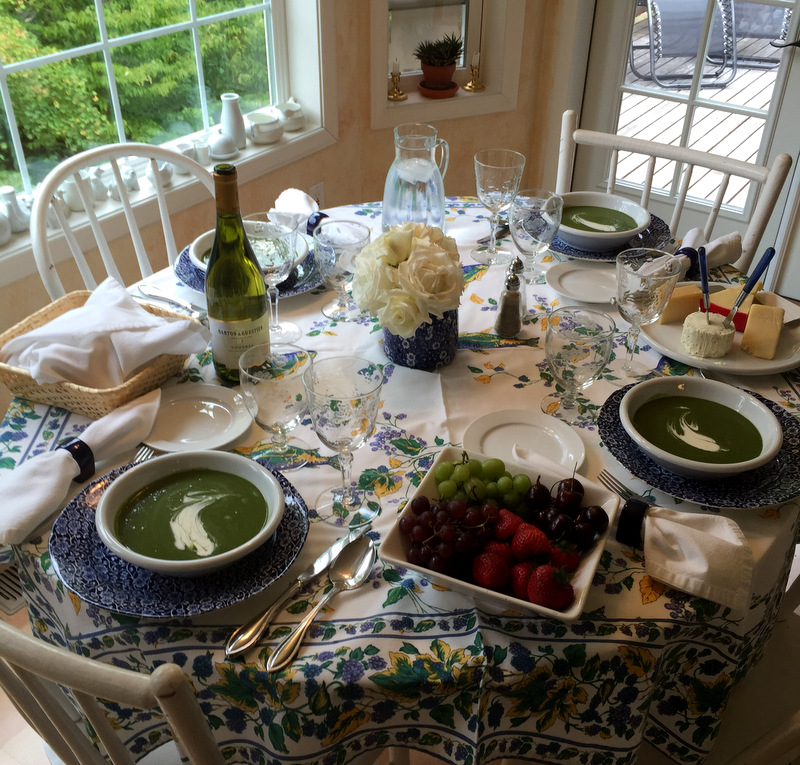
On Tuesday we visited my best friend from college, who served us an elegant lunch in her gracious home. We were in a suburb of Seattle but I felt like we had stepped into a bistro in Provence:

Seattle lunch at sandy's in kirkland wa aug 2016
Here’s a look from the other side of the room:

Seattle lunch at sandy's in kirkland aug 2016
Isn’t that a beautifully set table? Sandy served an elegant cold spinach soup made from a Julia Child recipe. We sipped wine (Vouvray) and water from vintage glasses, which of course made them taste that much better. The roses on the table are from Sandy’s gorgeous garden.

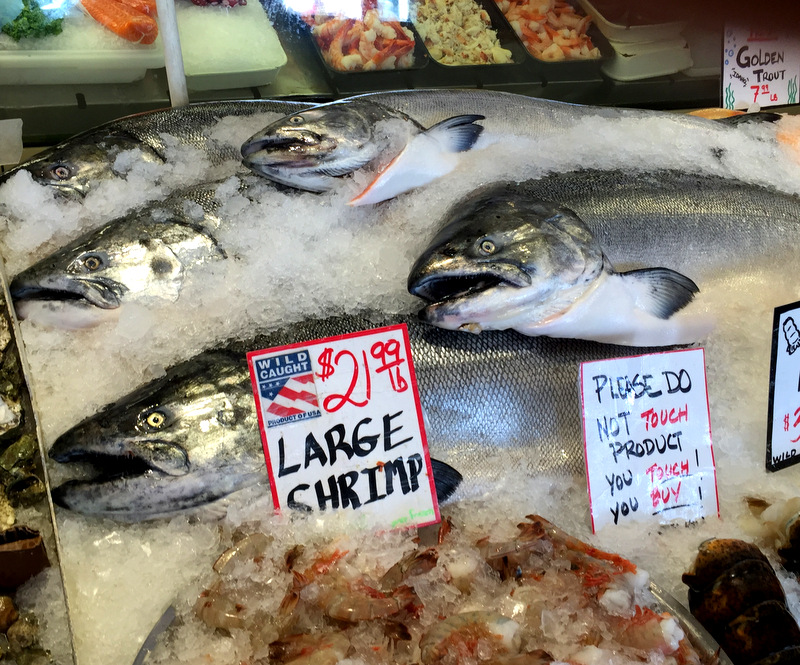
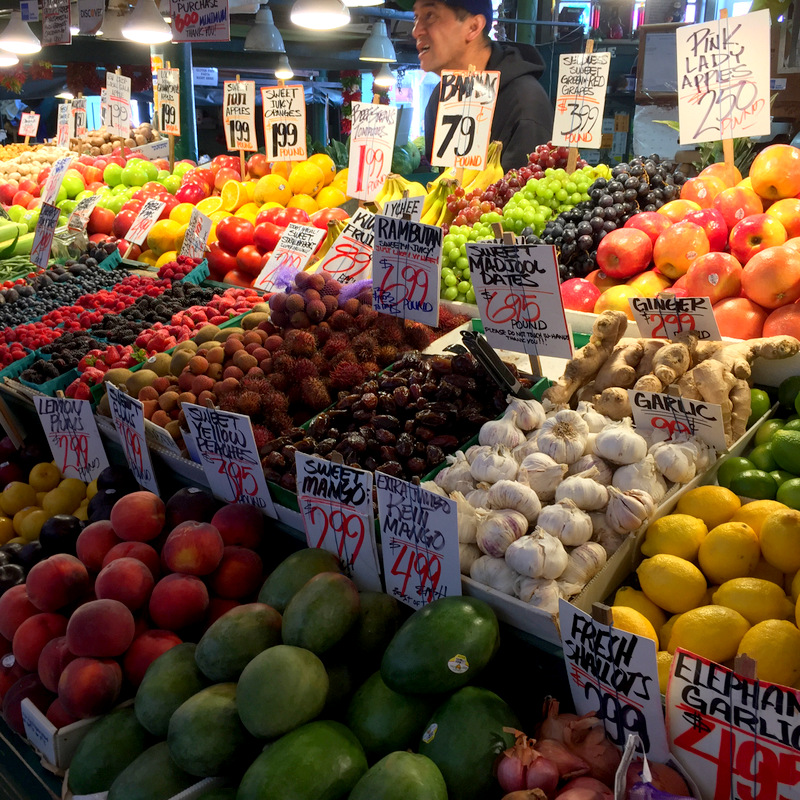
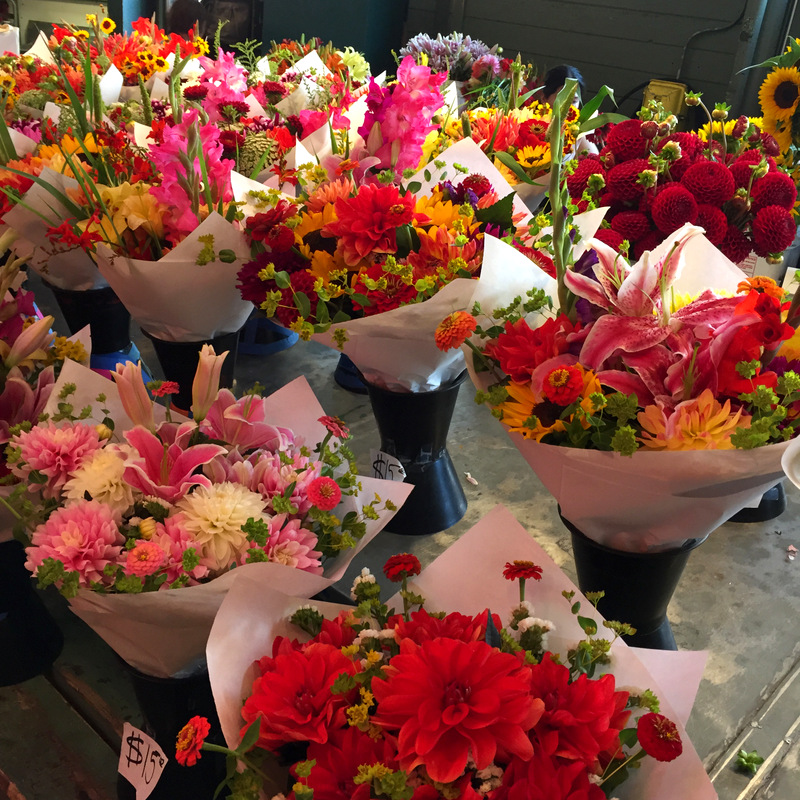
No trip to Seattle would be complete without a stroll through Pike Place Market, so the DH and I did that on our last full day:

Seattle pike place mkt aug 2016

Seattle pike place market fish aug 2016

Seattle pike place mkt produce aug 2016

Seattle pike place mkt flowers aug 2016
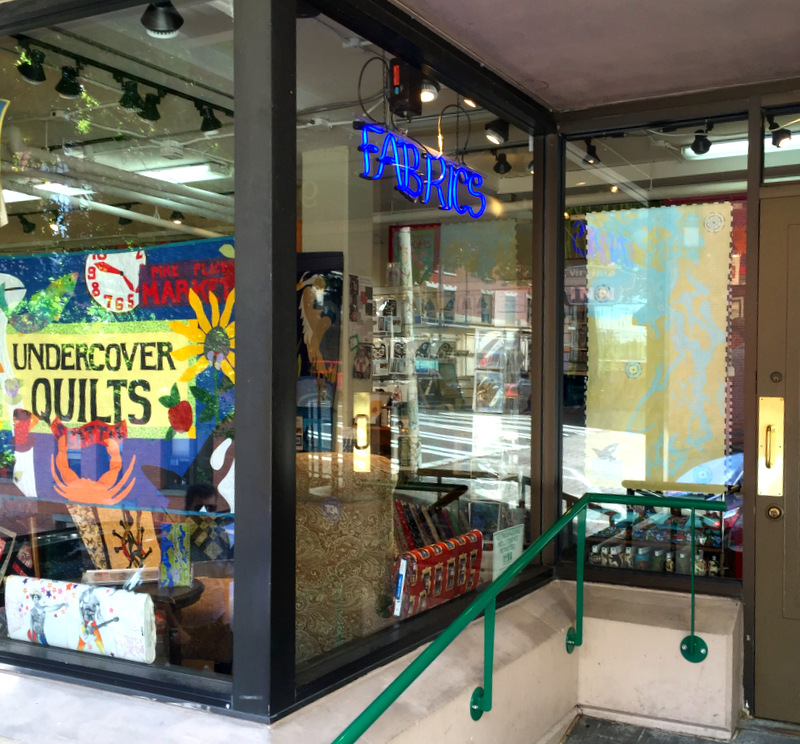
I always make it a point to visit Undercover Quilts, which recently moved to a new location at the north end of Pike Place Market:

Seattle at Underground Quilts aug 2016
Did I support my local quilt shop? Why, yes, I did.

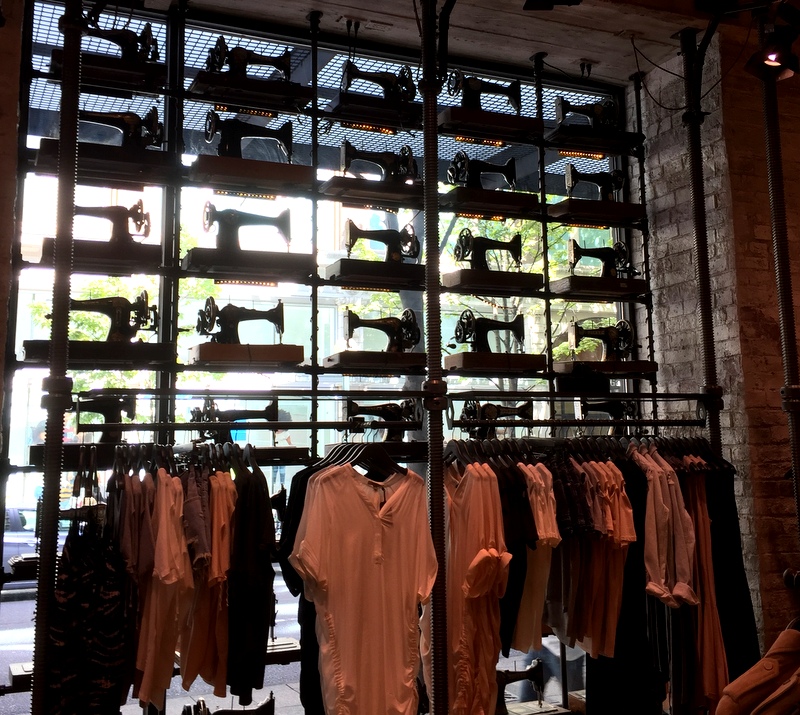
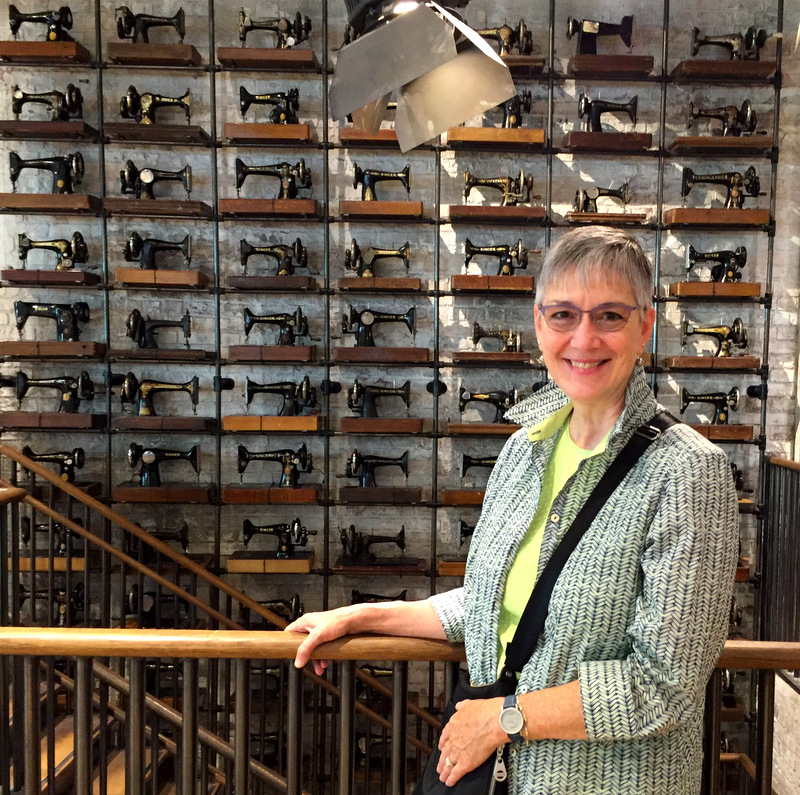
A few blocks away I stopped in at AllSaints, a clothing store on Fifth Avenue — not to shop for clothes but to admire the décor. Over 500 vintage sewing machines line the exterior windows and interior walls of this store:

Seattle allsaints store aug 2016

I was in my element!

Seattle at AllSaints aug 2016

Mindful that our sojourn to Seattle was for baseball, I took this picture of Safeco Field from our hotel room, directly across the street from the stadium:

seattle safeco field aug 2016
On Thursday morning, we were homeward bound on Amtrak. It was a terrific little getaway, and we’ll do it again next year when the Tigers come back to Seattle to play baseball. Oh, by the way, the Mariners won all three games.

A couple of days before leaving for Seattle, I went over to the Oregon coast with my quilt group, the Quisters, to see the 26th annual Quilts by the Sea show presented by the Oregon Coastal Quilt Guild. In my next post I’ll show you some of my favorite quilts from that show.


Posted in family, Quisters (Quilt Sisters), update | 14 Comments

A Quilt Finish: Dragonfly Kisses

. . . and here it is, bound and labeled:

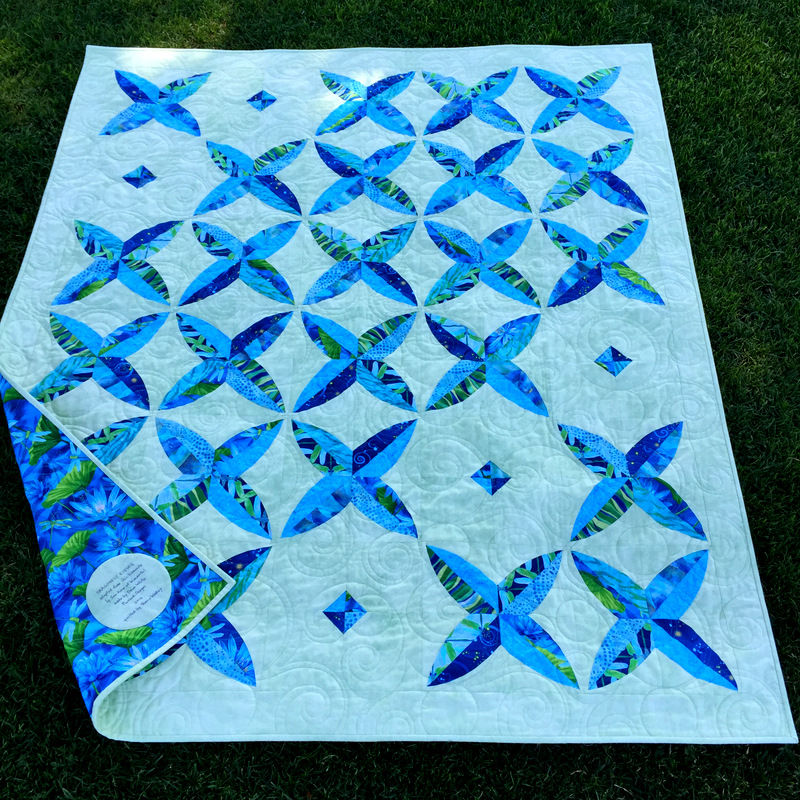
2016-8, Dragonfly Kisses

Dragonfly Kisses measures 50″ x 59″, a good size for a throw. The design is a variation of Chic Diamonds by Sew Kind of Wonderful. I believe this is the seventh or eighth quilt I have made using the Quick Curve Ruler, also made by SKW.

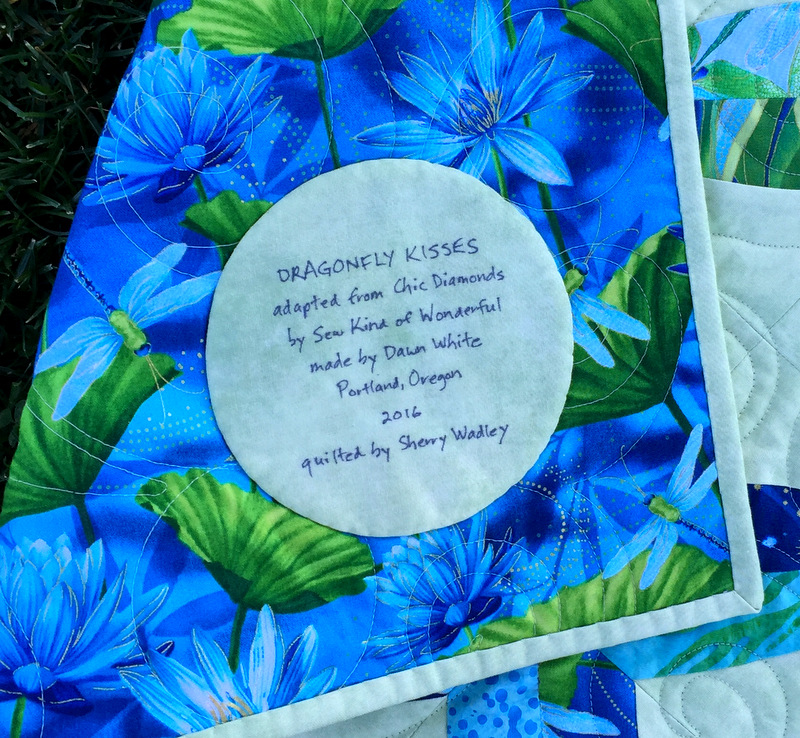
Here’s a close-up of the label, made with my favorite method using a compact disc for a pattern:

2016-8, Dragonfly Kisses label

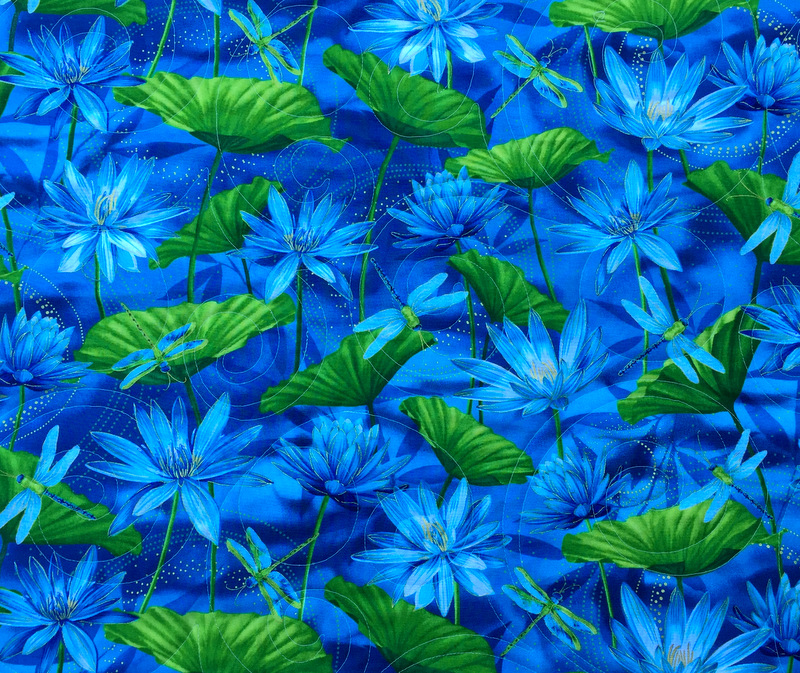
See that dragonfly just to the left of the label? There’s one in the lower right corner, too. That fabric is one of six I used from the “Dance of the Dragonfly” fabric line, due in quilt shops this month. The fabric line was designed by Maria Kalinowski for Kanvas Studio in association with Benartex. (Something tells me I need more of this fabric, which comes in an equally beautiful plum/olive green colorway.)


Posted in Quick Curve Ruler, quilt labels, update | 12 Comments

WanderLust, at Home in Oregon

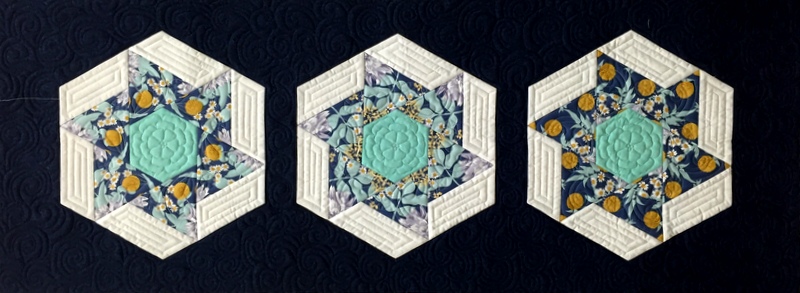
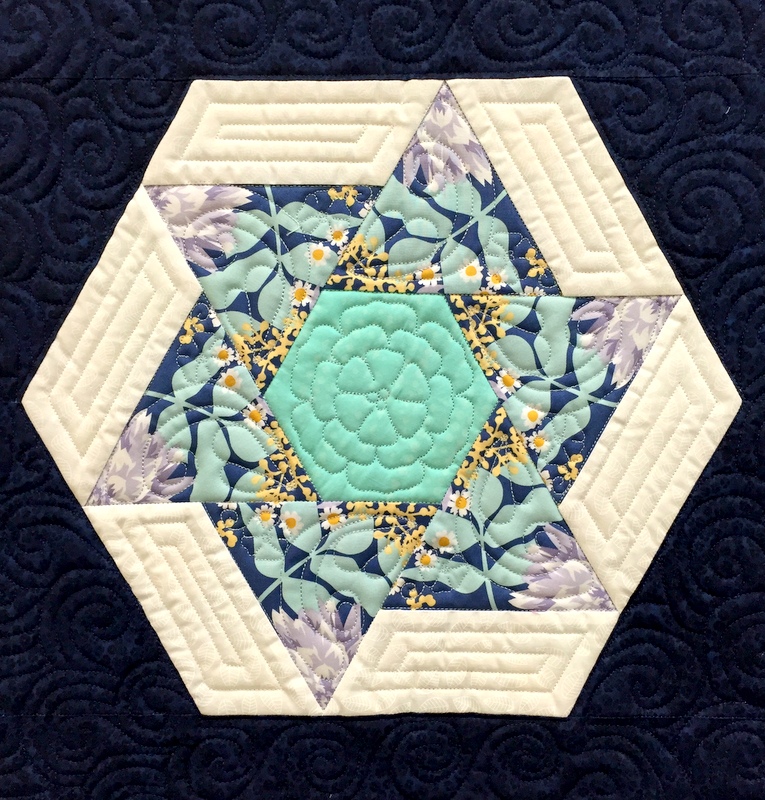
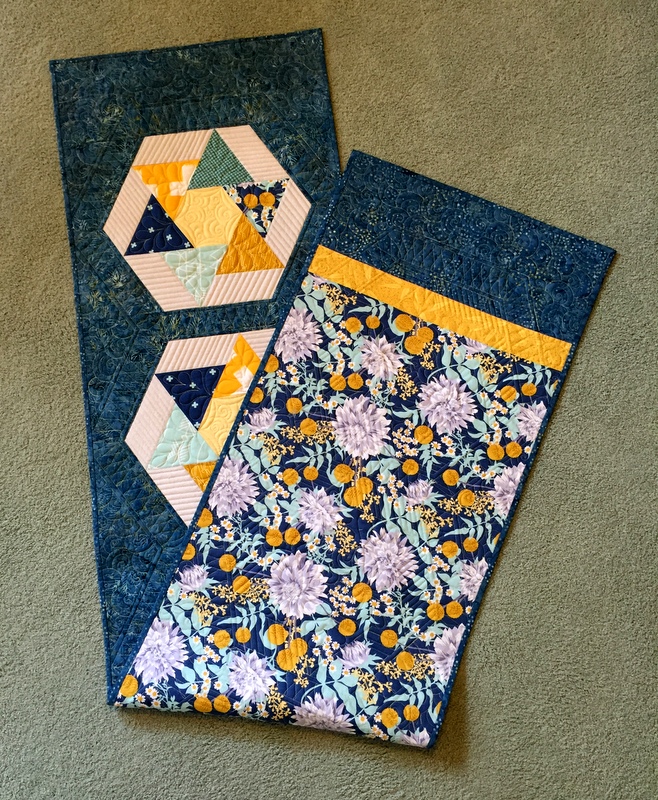
My “kaleido-spinner” runner, based on Heather Peterson’s Spinners block, is back from longarm quilter Debbie Scroggy of All Quilted LLC. Once again I marvel at how much depth quilting adds to a pieced top:

WanderLust 3-bl

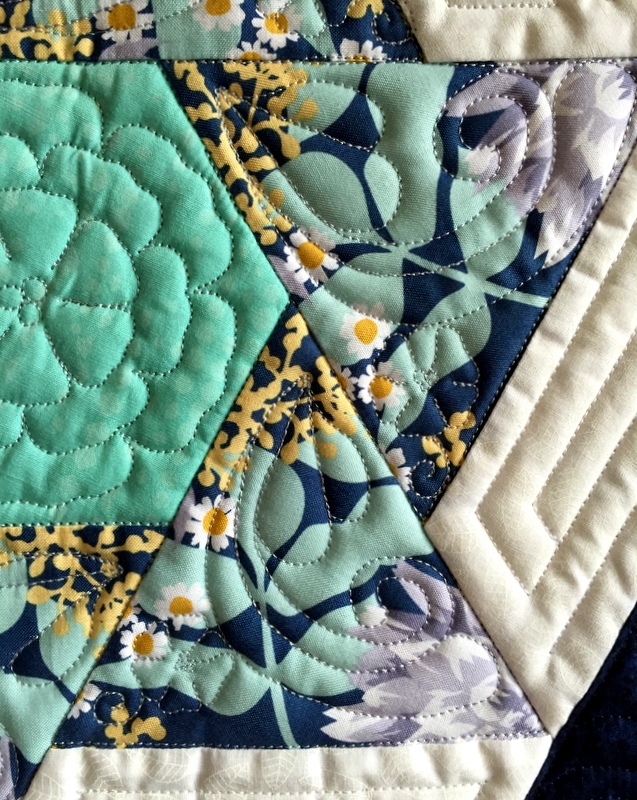
Debbie used a combination of computerized quilting (center hexagons and triangles), ruler work (white strips), and free motion quilting (dark blue background) on my quilt. Look how cleverly the quilting in one corner of each triangle echoes the floral quilting motif in the center hexagon:

WanderLust 3-bl quilting detail

You really have to look for that little blossom. I appreciate the way the quilting adds texture and interest to the quilt without overwhelming it.

Debbie quilted spirals, one of my favorite motifs, in the dark blue background. I added some fill light to this photo to give you a better look:

WanderLust 3-bl spirals

I call this quilt a “kaleido-spinner” because of the effect created by using repeats of the floral fabric in the triangles that spin around the center hexagons.

In my last post, I showed you the five-block bed runner I made using the same block design and the same floral fabric. This is a different shot of the runner:

WanderLust back and front

I named the quilt WanderLust as a nod to the floral fabric, from the Free Spirit line “Wander” by Joel Dewberry. The runner was given to my sister in Idaho, which is why my previous post is titled “WanderLust, at Home in Idaho.”

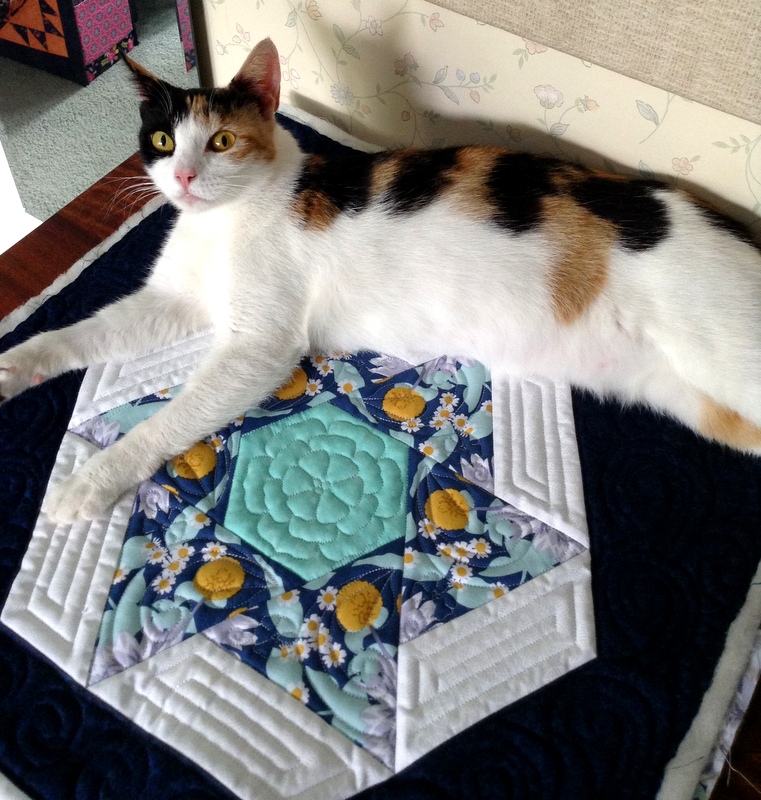
I like the name so much I’m going to call this runner WanderLust, too. It’s staying here in Oregon. Coco has already staked a claim on it:

WanderLust 3-bl Coco


Posted in bed runners, cats, free motion quilting, home dec, update | 9 Comments

WanderLust, at Home in Idaho

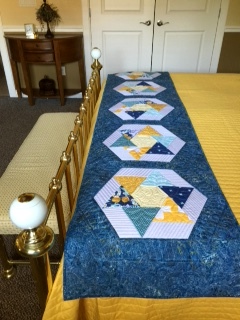
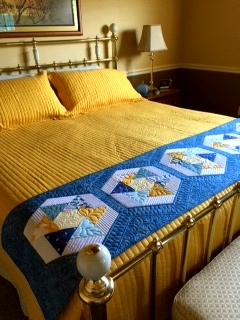
Remember WanderLust, the king-size bed runner I finished last month? It was based on Heather Mulder Peterson’s Spinners block, from her book On the Run Again.  I finally got the bed runner in the mail to my sister Reigh in Idaho, and she has just sent me photos of it in her bedroom.

It looks terrific, don’t you think?

WanderLust 1 of 3
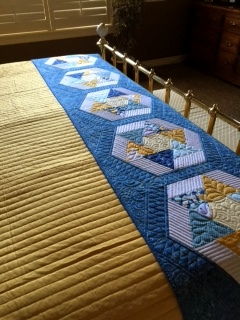
Here’s another view, with the diffused light from the shuttered windows setting in relief the beautiful free motion quilting of Coleen Barnhardt:

WanderLust 2 of 3

When I initially thought about giving the bed runner to Reigh, I was remembering a slate blue comforter she had from Pottery Barn. I’m guessing the spread pictured here is a new one, selected to match the gold fabrics in the runner.

WanderLust 3 of 3-002

A folded quilt looks nice at the end of a bed but I must say I really like the look of a bed runner. Don’t you?


Posted in bed runners, free motion quilting, home dec, update | 9 Comments

Dragonfly Kisses, Quilted

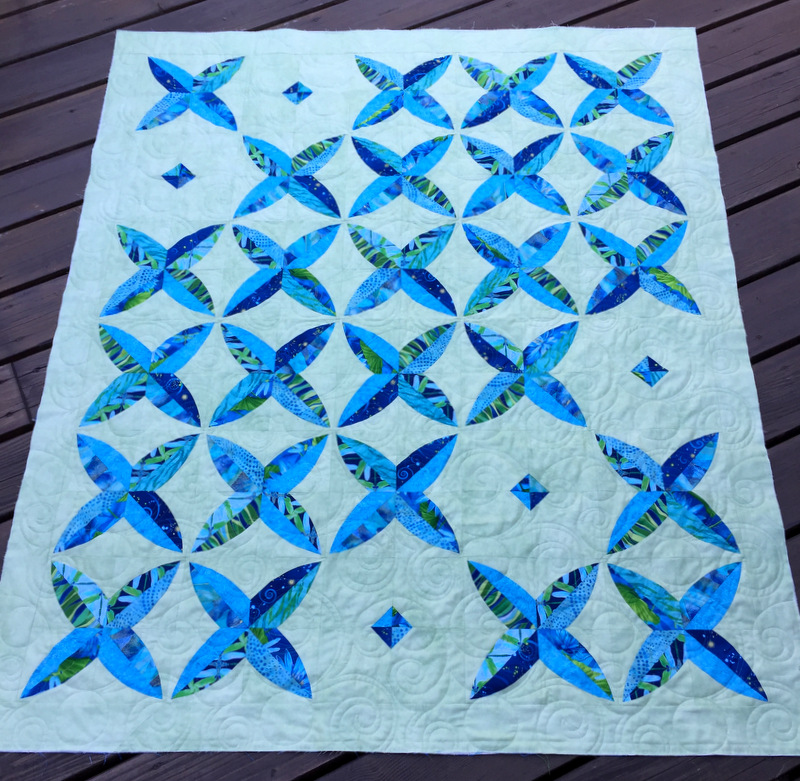
Dragonfly Kisses is officially a quilt. Longarmer Sherry Wadley delivered it to me last night, just a week after I finished piecing it. I’m always amazed at how much lovelier — and livelier — a quilt top is after it’s been quilted. It goes from being flat to having instant dimension.

In the case of Dragonfly Kisses, I wanted an allover design scaled on the spacious side, as I wanted the focus to be on the quilt design (my variation on Sew Kind of Wonderful’s new Chic Diamonds pattern) and on the gorgeous metallic-tinged fabrics from the aptly named Dance of the Dragonfly line by Kanvas Studios and Benartex.

The quilt has a lot of background space (negative space, in modern parlance), and I do think that some fairly dense custom quilting would have resulted in a beautiful quilt, but that wasn’t the look I was going after on this one.

Sherry and I chose a quilting motif whose circles and swirls are reminiscent of gentle ripples in water. I also chose a pale green thread that would almost vanish into the background fabric, providing just a touch of texture. Mission accomplished. (Thank you, Sherry!)

Here’s a look at the front of the quilt . . .

Dragonfly Kisses, quilted
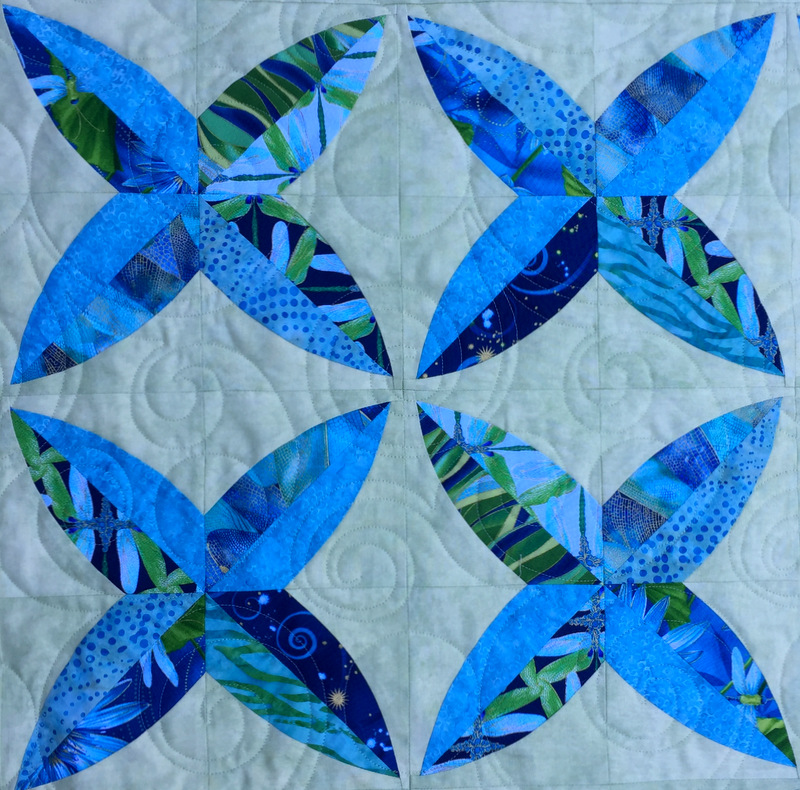
. . . and a close-up of the quilting:

Dragonfly Kisses, closeup
The basic block, made with the Quick Curve Ruler, finishes at 9″ square so the four blocks above measure 18″ square. That should give you a better idea of the scale of quilting. Before I sent Dragonfly Kisses off to be quilted, it measured 51″ x 60″. The quilting process drew it up an inch all around, so now it measures 50″ x 59″.

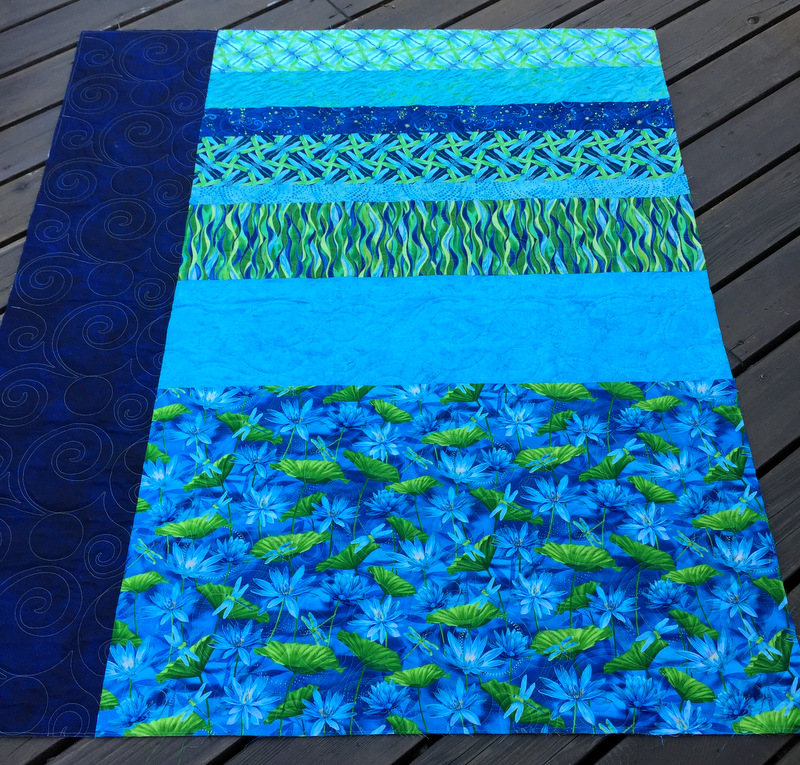
Here’s the back of the quilt, with five of the six fabrics from the Dragonfly line spliced with the three batiks I used . . .

Dragonfly Kisses, back
Here’s a close-up of the beautiful lily pond fabric, where you can actually see those dancing dragonflies:

Dragonfly Kisses, close up of back

Now it’s on to the finish work: attaching the binding, sewing it down, and adding a label. My goal is to have this done by the end of the week. This could well happen if I don’t get too distracted by some of my other works-in-progress.


Posted in Quick Curve Ruler, update | 8 Comments

Dragonfly Kisses

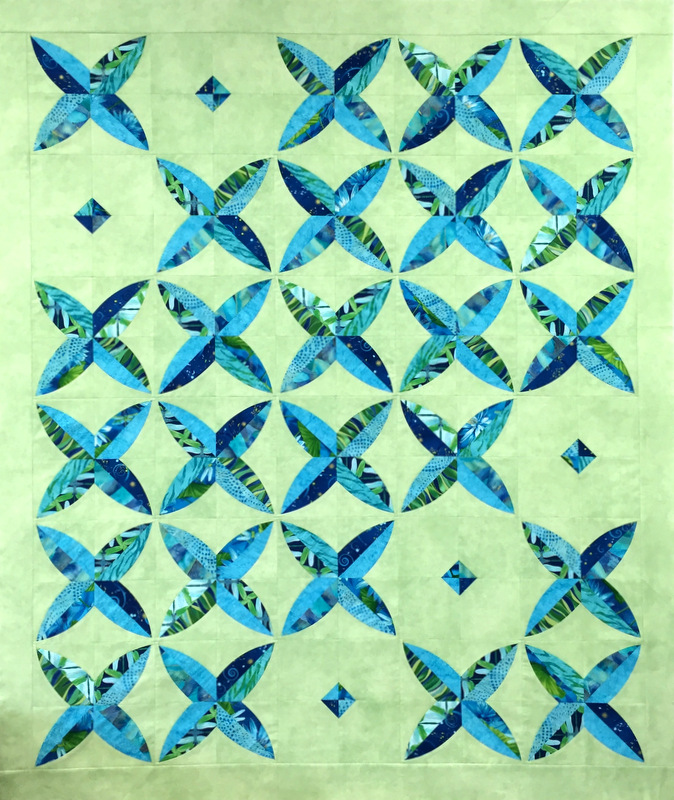
Yesterday I finished piecing Dragonfly Kisses, based on the pattern Chic Diamonds by Sew Kind of Wonderful:

Dragonfly Kisses 51 x 60

I originally thought about using white or pale blue for the background but am so glad I went with the pale mint instead. It’s so refreshing, don’t you think?

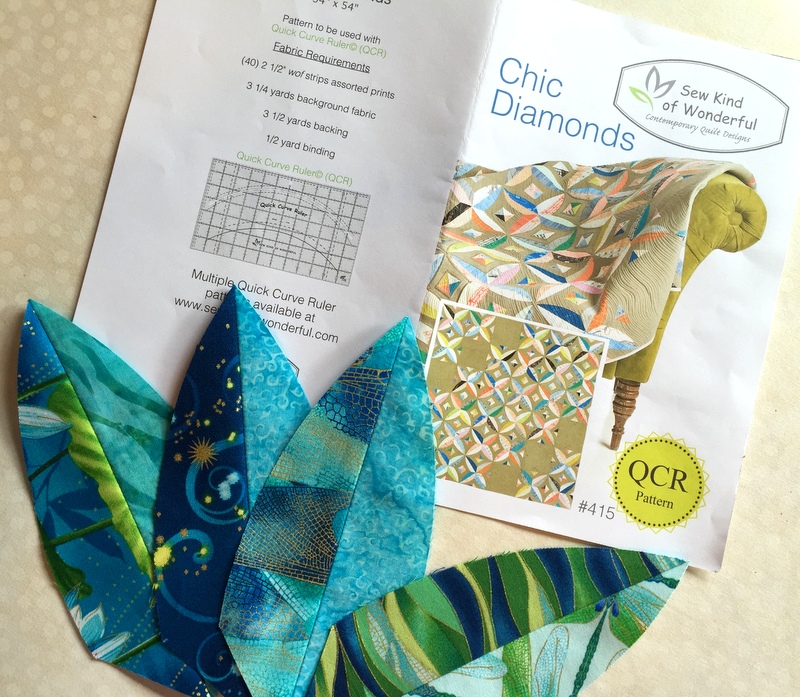
Chic Diamonds pattern cover with blades
Chic Diamonds
was designed as a jelly-roll friendly pattern, since the pointed pieces (I call them blades) are made from 2½” strips that are sewn in pairs and then trimmed using the Quick Curve Ruler. Triangles cut from the strip pairs are saved and used in each block. Six blocks in the design are intentionally left blank as a design element, perhaps to give the eye a place to rest.

I decided early on not to use all the triangles, wanting to make my quilt less busy so a viewer’s eyes would be drawn to the X blocks (the kisses). I used only 20 triangles rather than the 240 called for in the pattern. And I put my triangles in the middle of the blank blocks rather than in the blocks with the blades. (Thanks to my friend Deborah for giving me that idea.) I like to think those triangles form the “chic diamonds” in my quilt.

The original design uses a 6 x 6 setting, finishing 54″ square. I went with a 5 x 6 setting using five blank blocks instead of six. I like the asymmetry of the look. And I added a narrow border of background fabric to float the outer blocks a bit, giving a bit more airiness to the design and making the top slightly bigger. It now measures 51″ x 60″ — a nice size for a throw or lap quilt.

Now to piece the backing. The dragonflies that gave my quilt its name are hard to spot among the narrow pieced blades so I’ll use my remaining strips of that fabric line (Dance of the Dragonfly by Kanvas Studio and Benartex) on the back.

I’m excited to report that I’ll be teaching Chic Diamonds (both the original design and my variation) at the Pine Needle Quilt Shop this fall. And rumor has it the Pine Needle is going to have kits available of Dragonfly Kisses!


Posted in Quick Curve Ruler, update | 6 Comments

Pondering and Sewing

While I ponder how to move forward on my Chipmunk Love quilt, based on the “Star-Crossed Lovers” class with Colleen Blackwood that I took last week in Sisters, Oregon, sewing continues on two other WIPs (works in progress).

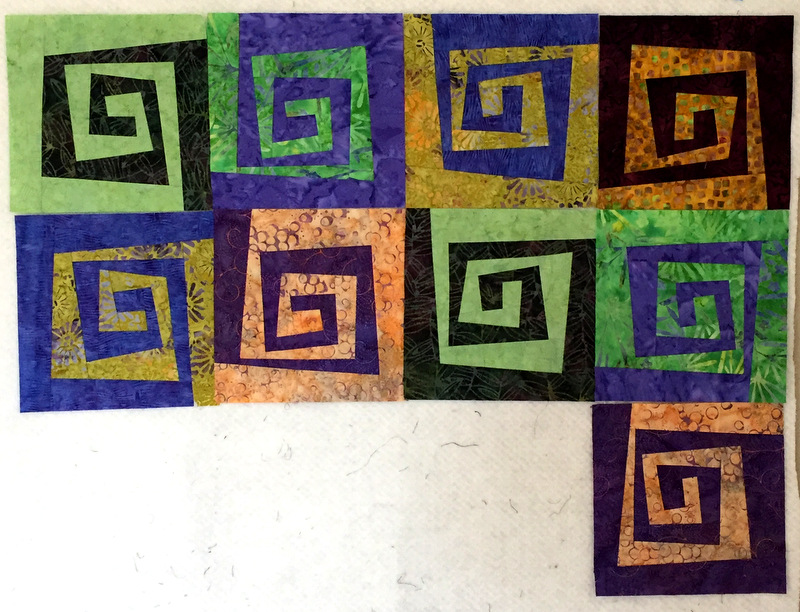
I’ve made a few more wonky Greek key blocks using the pattern from the other class I took in Sisters last week, Karla Alexander’s “Rewind” using her new pattern of the same name. Here are the blocks I made before we came home . . .

Rewind first 9 blocks
Blocks Measure 8½” Untrimmed

. . . and the ones I have made since then:

Rewind blocks free form
Four More

These last blocks along with two from the first group were made by cutting the strips free-form rather than following Karla’s template.

Despite the wonkiness, all of the blocks look a little like the @ sign on a keyboard. Because of that I’ve decided to name my quilt Where It’s @. 

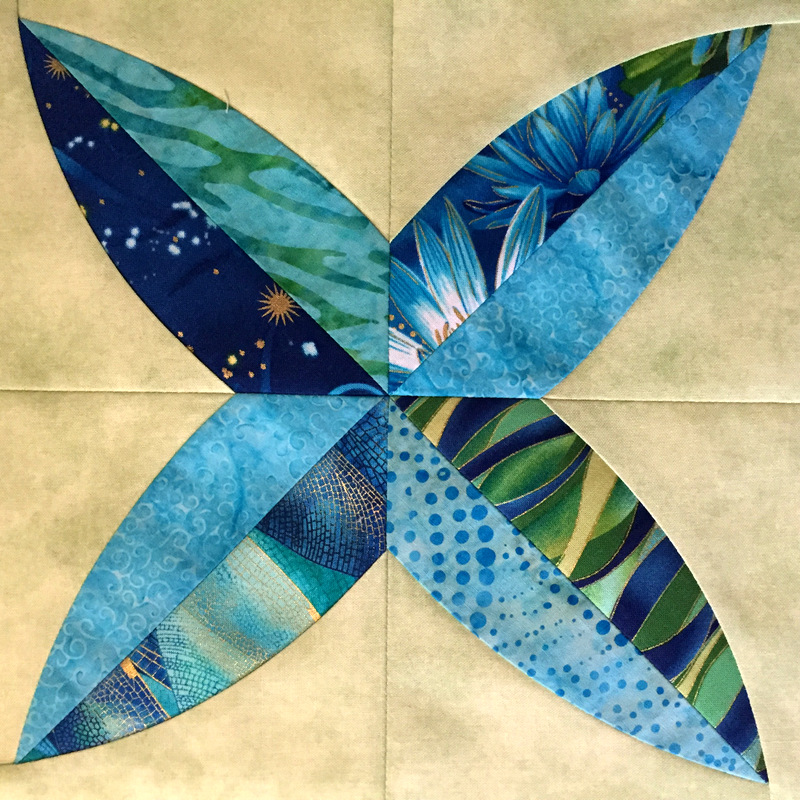
I’m also working on a quilt based on Chic Diamonds, a new pattern from those talented sisters at Sew Kind of Wonderful. This design calls for the original Quick Curve Ruler, and it’s been enjoyable working with these easy no-pin curves. Here’s one of my blocks:

Chic diamonds block
Block Measures 9½” Unfinished

Aren’t those fabrics gorgeous? The prints on the dark side of each blade are from a brand new line of fabric called Dance of the Dragonfly. Designed by Maria Kalinowski for Kanvas Studio in association with Benartex, the fabrics are due in stores next month. The Pine Needle, where I teach, will be carrying several fabrics from the line. I paired the prints with batiks for my blocks.

I’m doing something a little different with the Chic Diamonds design. Here’s a hint: I’m naming my quilt Dragonfly Kisses. I’ll post a photo when I have the top together, which should be very soon.


Posted in Quick Curve Ruler, Quilter's Affair, update, wonky Greek key | 7 Comments