Feedbag Face Masks

I have my twin sister Diane to thank for the name.

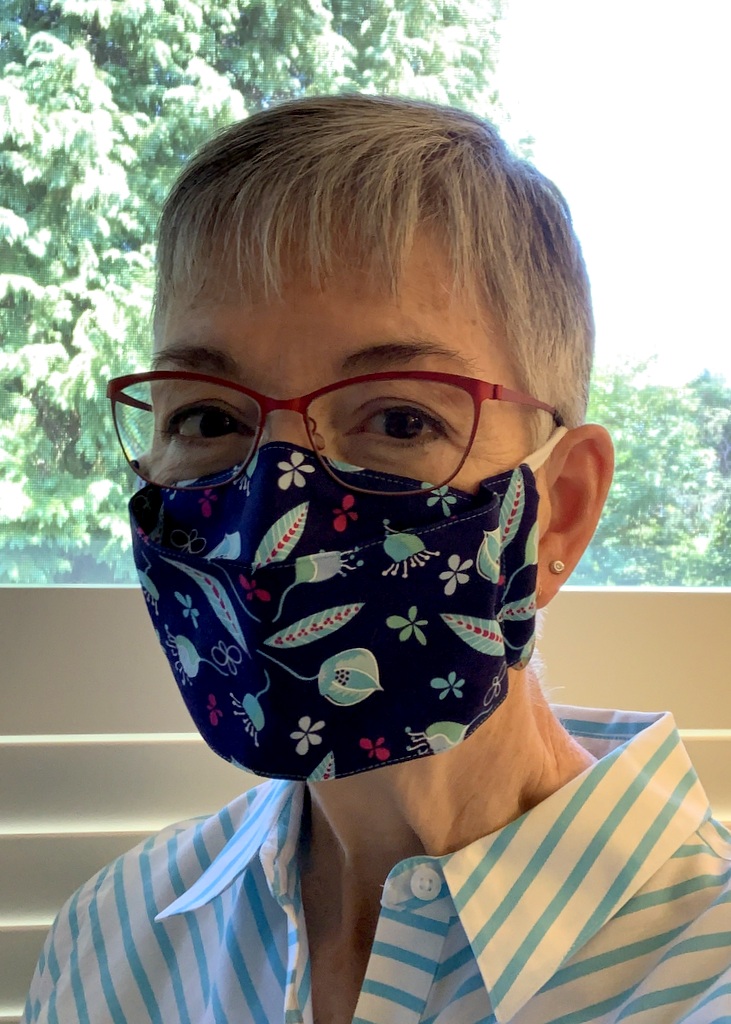
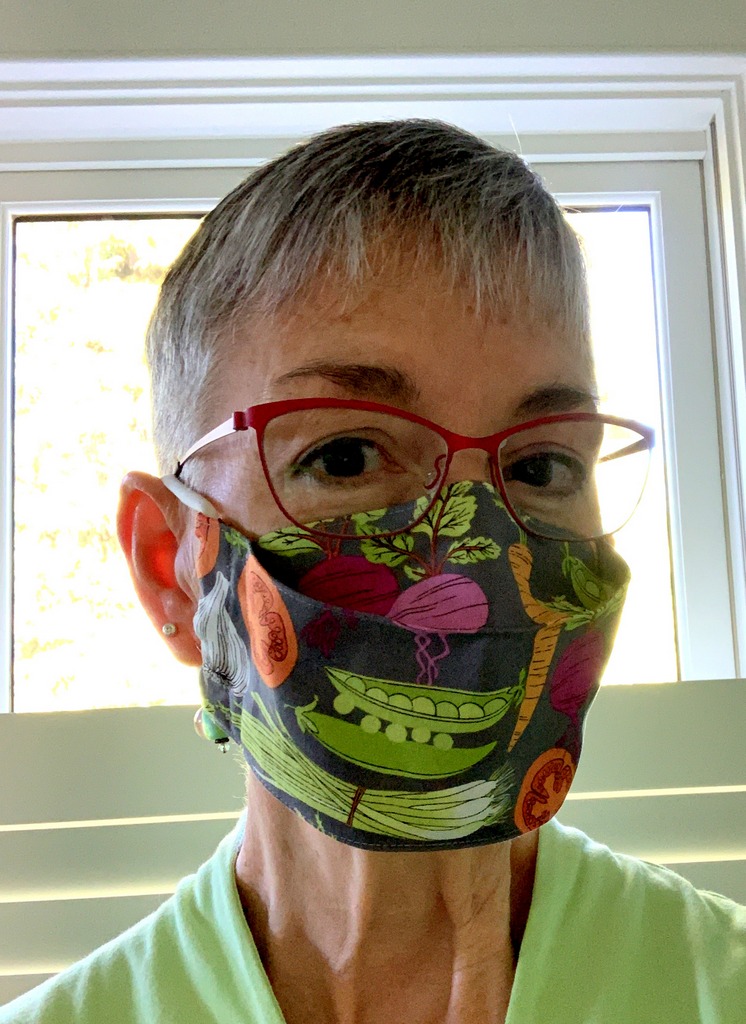
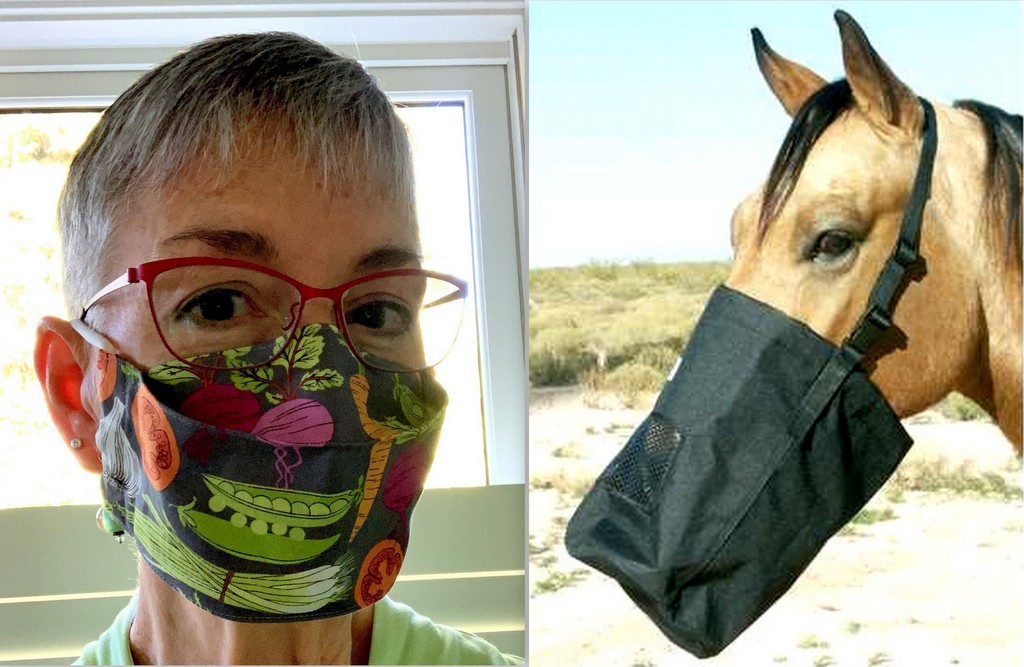
In my last post I wrote about a new-to-me face mask pattern I tried out using a vegetable print that made me look like I had green peapod lips and teeth. In addition to commenting on the unfortunate location of the veggies on the face mask, Diane said I looked like I was wearing a feedbag. I have to admit she had a point:

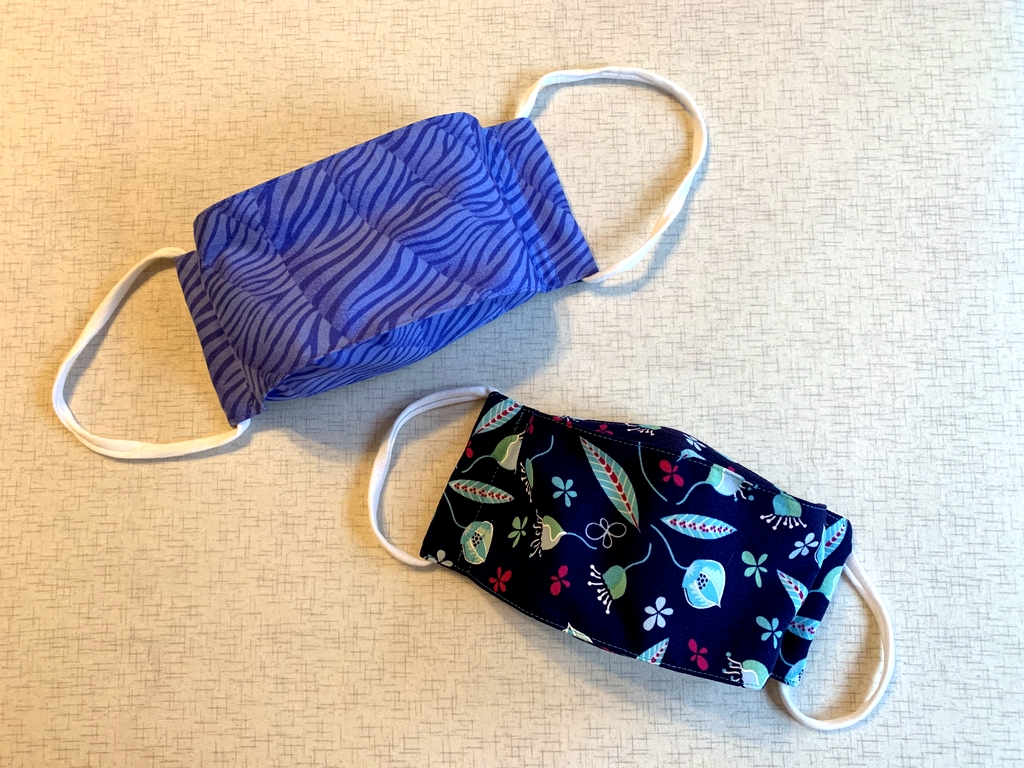
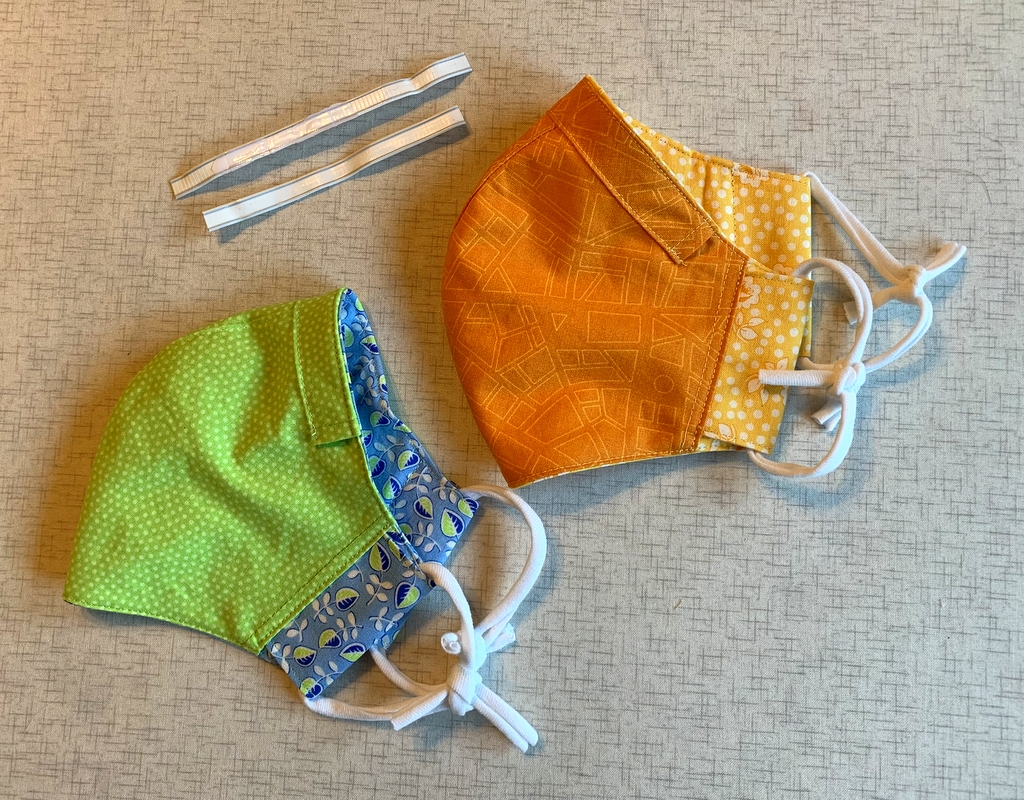
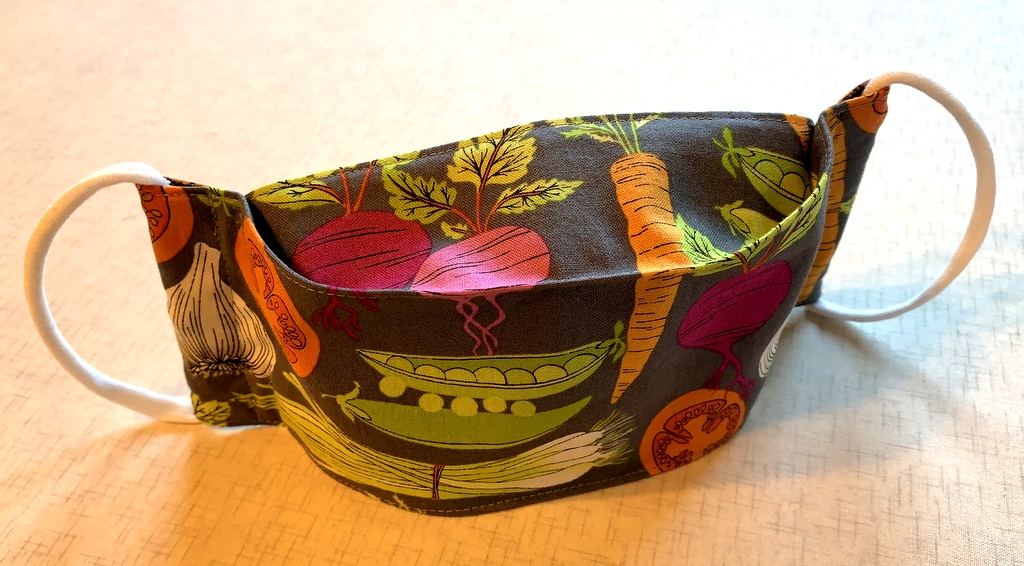
It’s a wonderful pattern, though! The proper name of the pattern is the 3D Face Mask from SeeKateSew, and it’s such a great design that I’ve made a couple more masks:

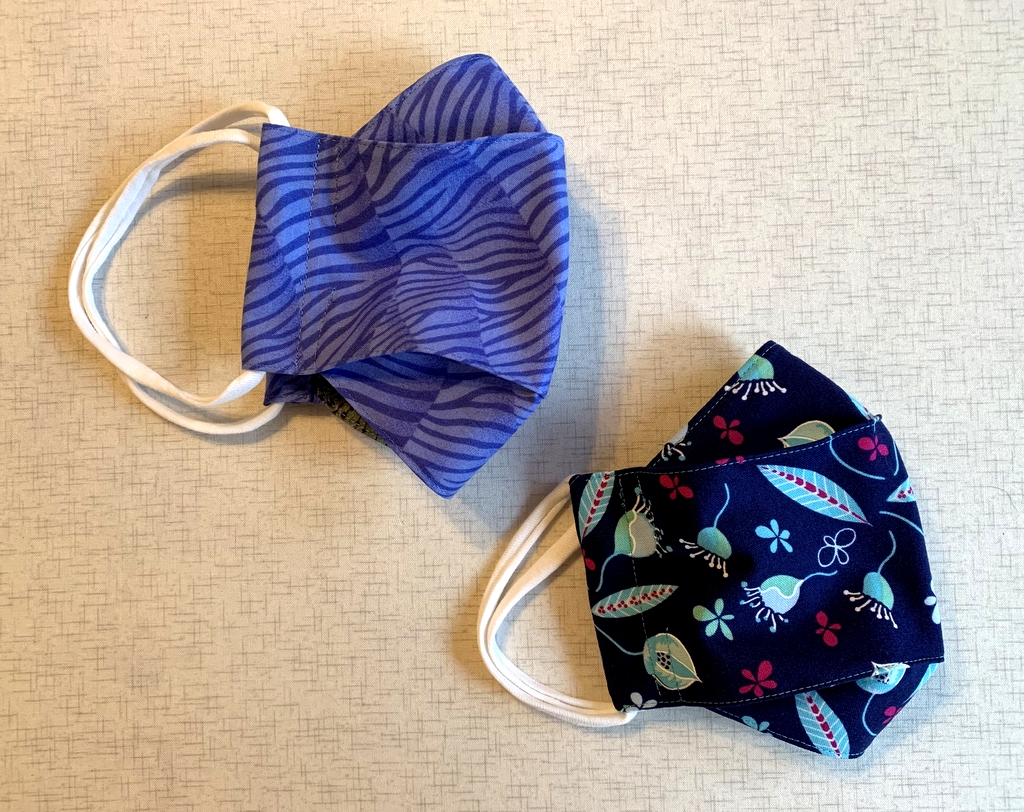
These are for the Dear Husband and me. I’ll bet you can tell from the size of the ear loops which one is his and which one is mine:

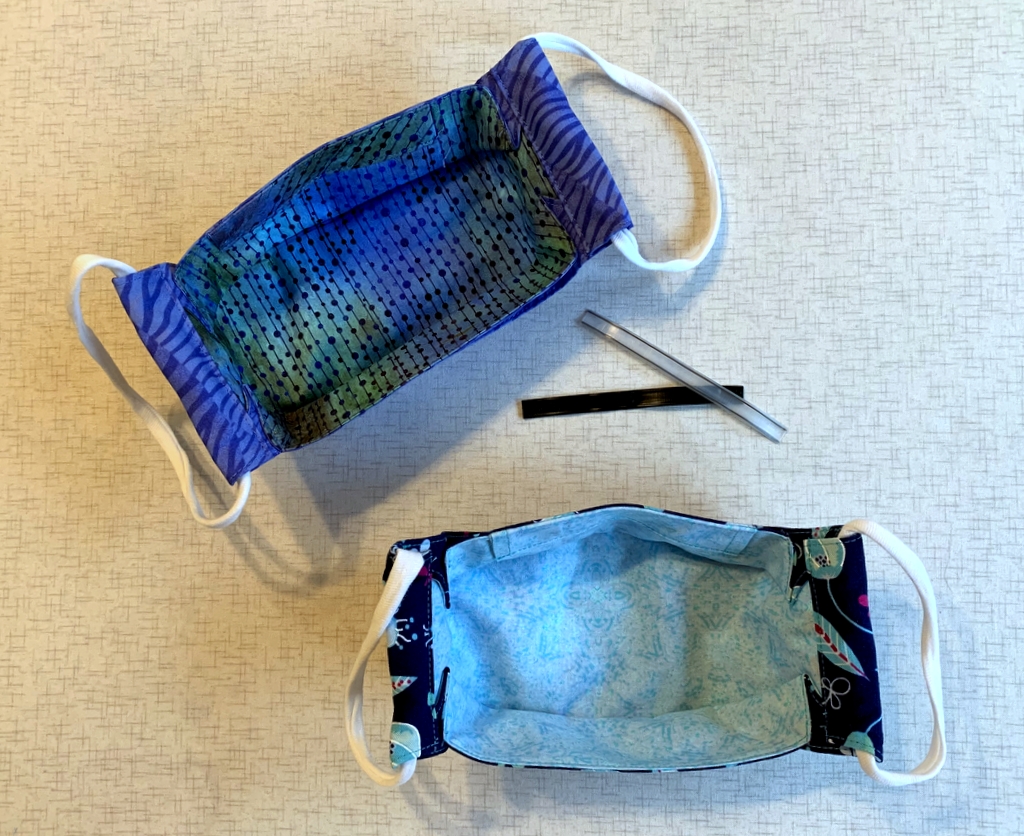
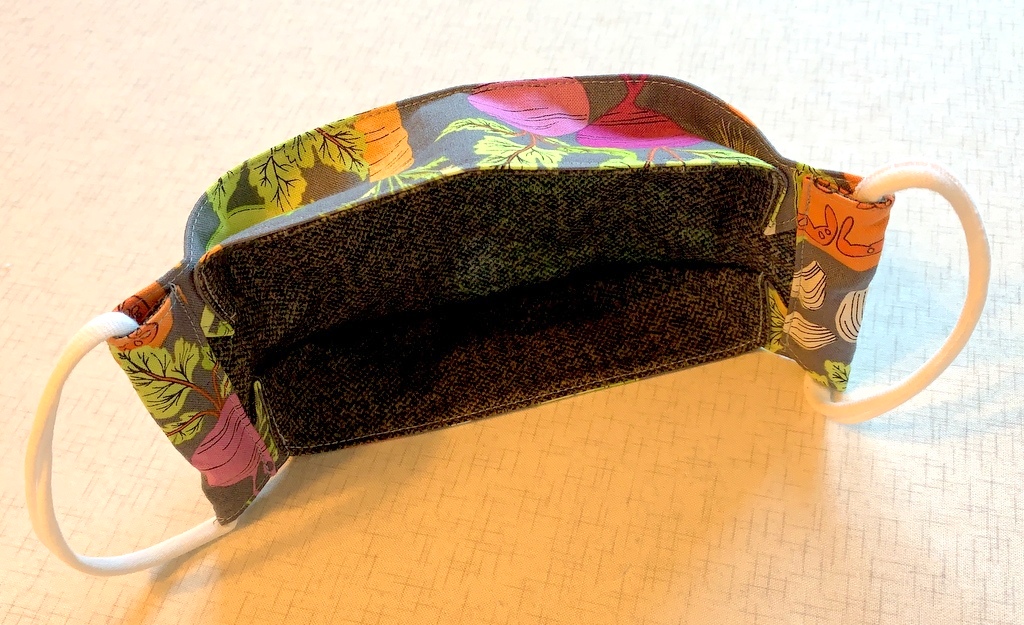
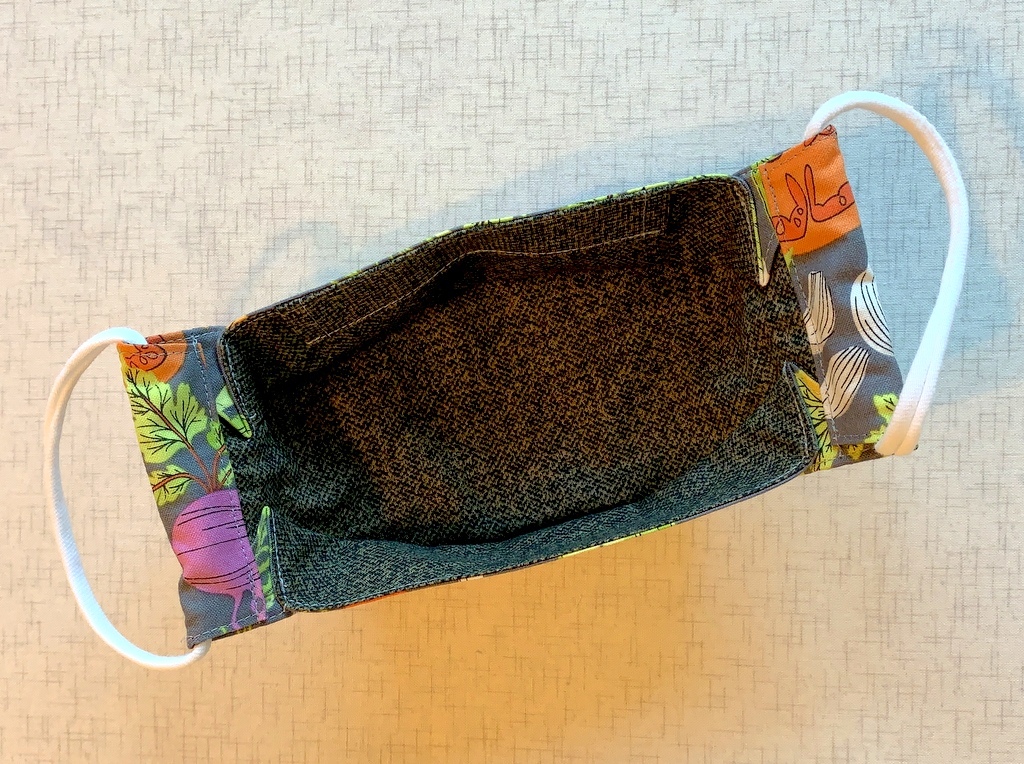
Here’s a look at the inside of the masks (note the plastic strips from coffee packages that work very well as nosewires when inserted in the fabric casings):

It’s pretty clear that face masks are going to be part of our wardrobes for the foreseeable future. Who knows how long it will be before the coronavirus pandemic comes under control? Though the reason we need to wear these masks is truly awful, there is a bit of enjoyment to be had in coming up with fun fabric combinations to make them. I’ve certainly enjoyed the photos posted on Instagram of masks created by other makers, and I’ve enjoyed dipping into my own stash to cut some small pieces of treasured fabrics.

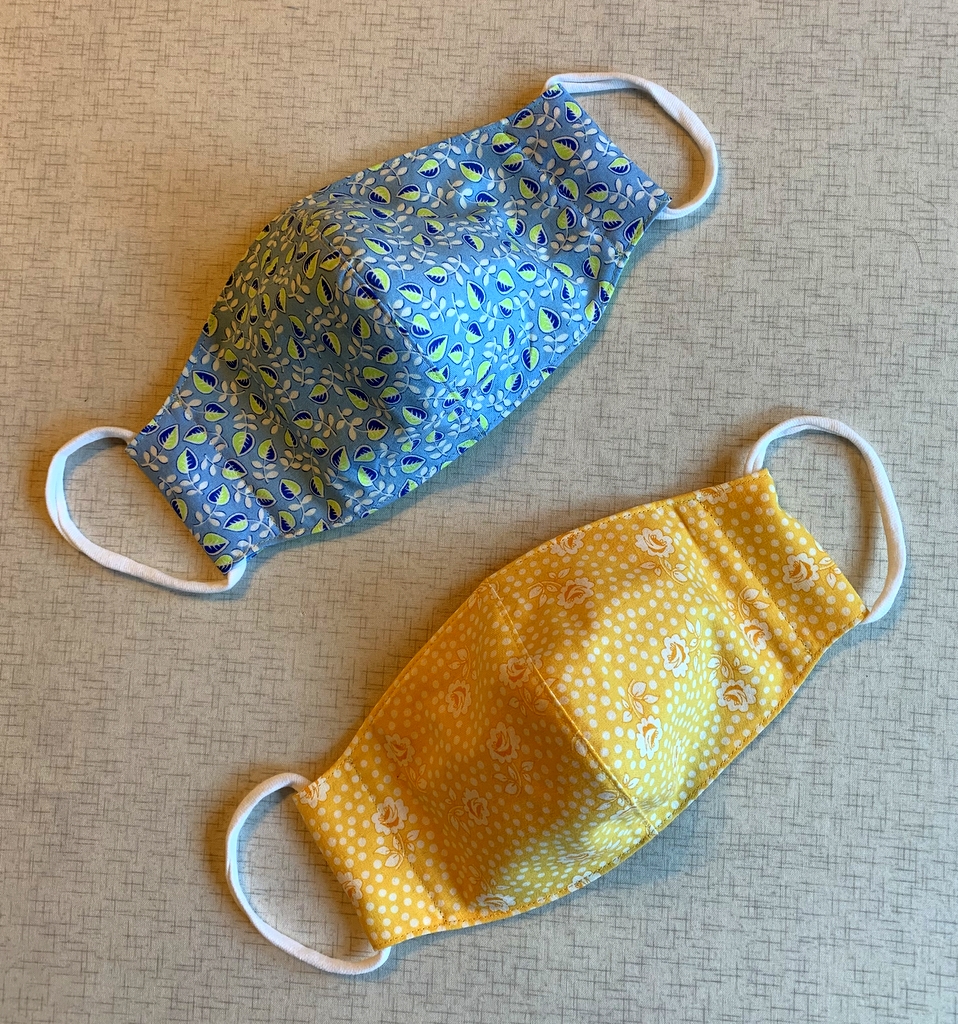
Even though I really like SeeKateSew’s pattern, I’m still a big fan of the mask pattern designed by PJ Wong. I recently made masks for my friends Sue and Anne using PJ’s pattern:

Look how bright and cheerful the masks are on the inside:

Okay, friends, time to wrap up this post and head to the grocery store. You know what that means:  time to strap on the old feedbag!


Posted in face masks, update | 7 Comments

Face Mask Fail

Well, maybe “fail” is too strong a word. Maybe I should just say the final result wasn’t what I expected. . .

To be clear, the problem had nothing to do with the pattern. It’s a very good one.

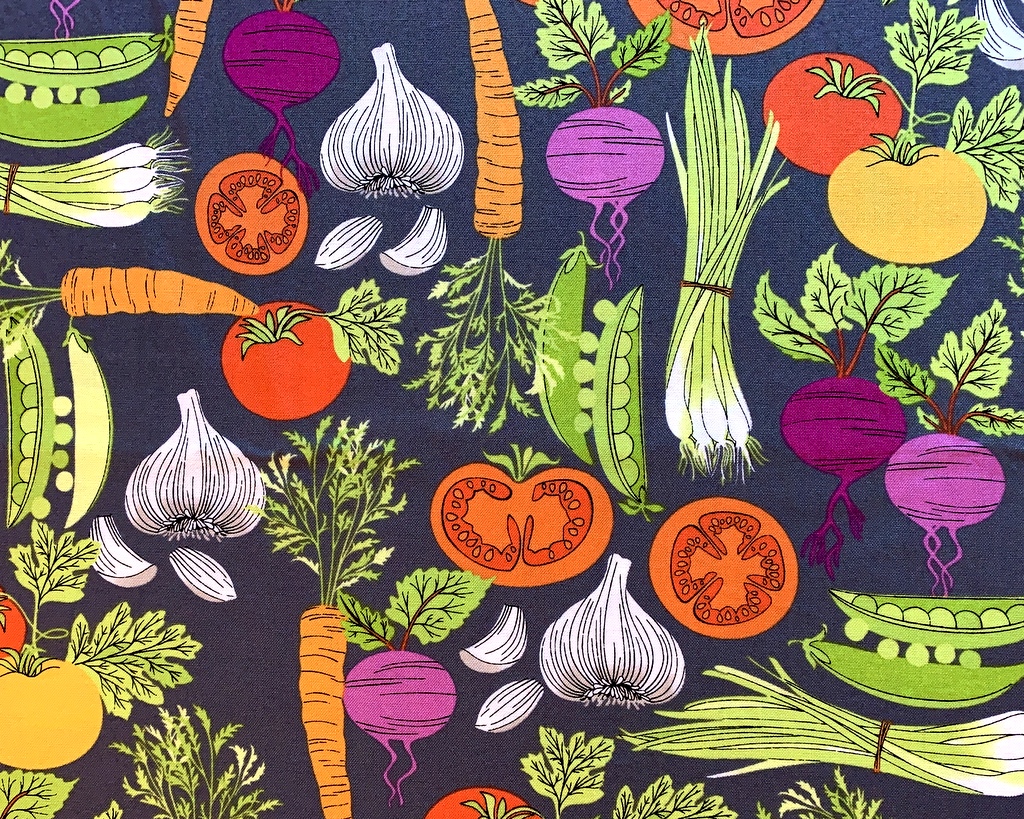
I’ve been intrigued by the three-dimensional face masks I’ve seen some folks wearing. The boxy shape seems to fit the face well and allows for plenty of breathing room. I  decided to make a new mask for the Dear Husband using the 3D Face Mask from SeeKateSew, billed as “the most comfortable face mask.” I picked this print from Andover Fabrics that I bought last year to make the DH a new apron (which hasn’t happened yet):

He’s the gardener of the family and I thought this fabric would make a fun mask for him to wear when he’s outside working in our yard or tending our community garden plot.

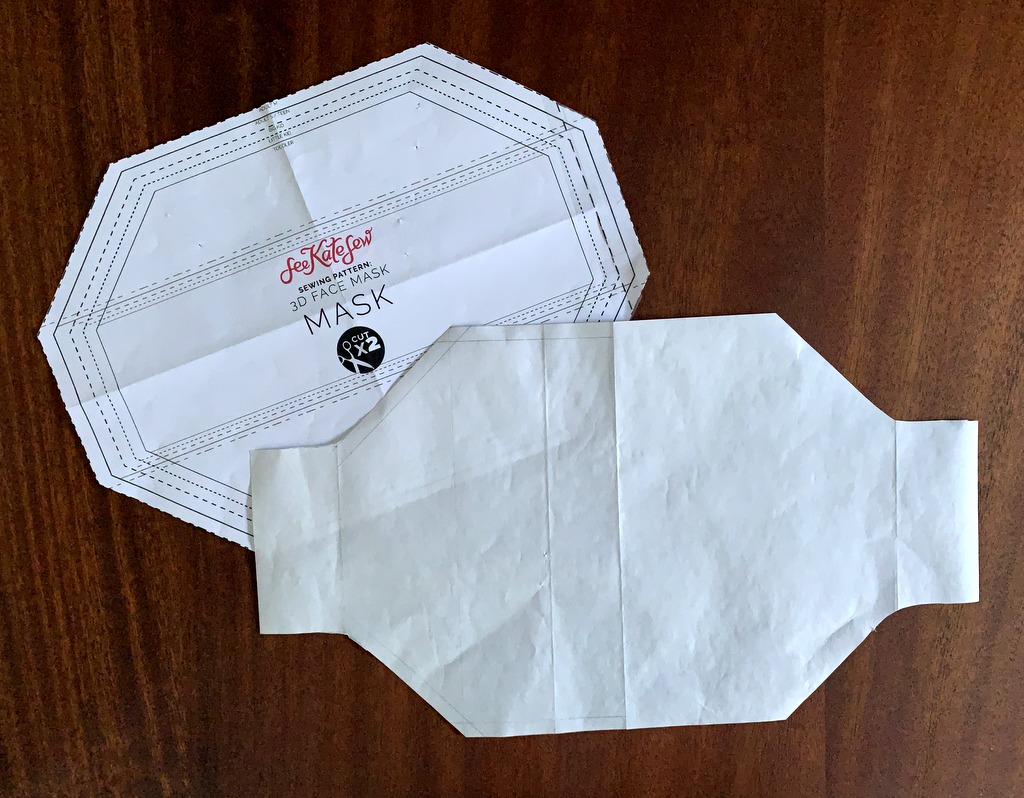
I did make one adjustment to the pattern:

That’s my freezer paper pattern in the foreground, with extensions on the side to allow for a generous ¾” casing for the ear loops rather than the narrow ⅜” casing the pattern provides. The freezer paper pattern can be used over and over again — no pinning because the freezer paper is pressed directly onto the fabric, where it is easily peeled off after the fabric has been cut.

The printed directions by SeeKateSew are very clear, as is her website tutorial. The mask came together very easily. Here’s what it looks like from the front:

Here’s a look at the inside . . .

. . . and here you can see I added a sleeve at the top for a removable nose wire:

When the mask was done I could tell it would be too small for my husband. “No problem,” I thought. “I’ll adjust the pattern to make a bigger mask for him. I’ll keep this one for myself.”

Then I tried it on:

Do you see what I see?

Those peas! They look like teeth . . . and the peapods? They look like lips. Green lips.

And see the roots on that bunch of green onions?

Chin whiskers!!!


Posted in aprons, face masks, family, update | 21 Comments

Beautiful Blenders

As I was tacking down the binding on my Scattered Stars quilt a couple of days ago, I was reflecting on how much I like one of the “modern” cheddars in my cheddar and indigo quilt and was rueing the fact that only a few inches of that fabric remained in my stash.

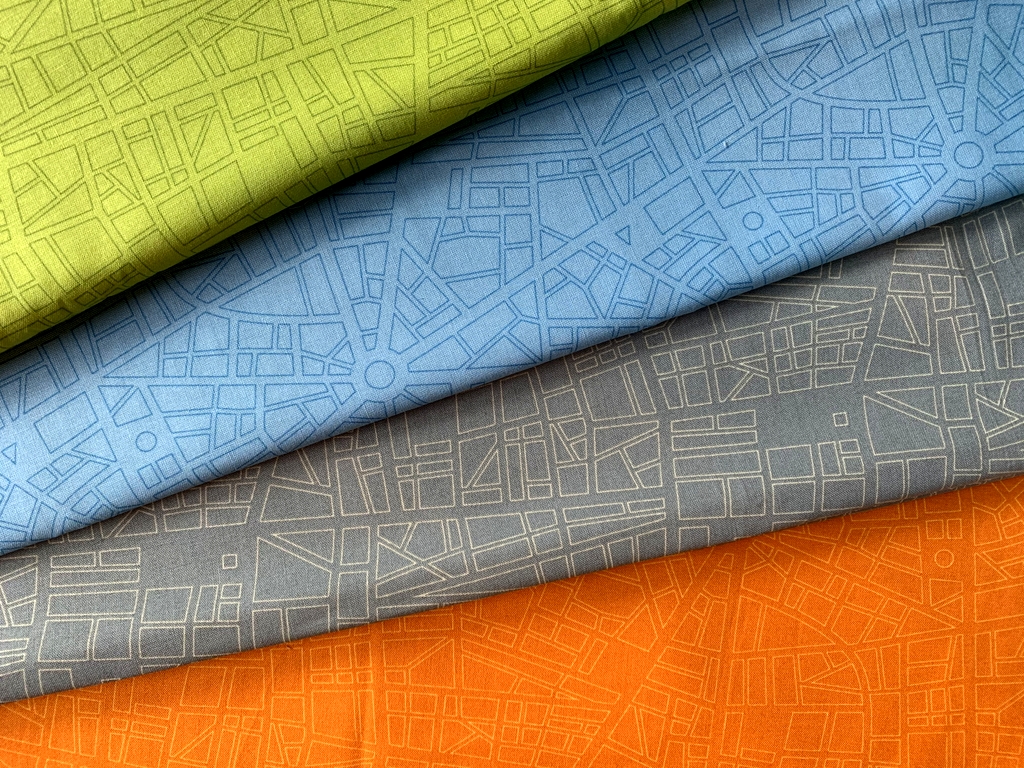
The fabric is Barcelona City Map in saffron from the “Barcelona” line by Zen Chic for Moda. The line came out several years ago so I didn’t hold out much hope I would find any left but I decided to check the Internet anyway.

Much to my delight, I found an on-line shop called Lark Cottons that still has some — and the shop is in my own city of Portland, Oregon! While perusing the Lark Cottons website I made another happy discovery: Barcelona City Map came in a variety of other colors — and Lark Cottons still has some of those in stock.

Well, you probably know what’s coming: not only did I replace my stash of the saffron/cheddar color, I ordered three other colors:

And more good news: I didn’t have to wait for a package to arrive in the mail. Lark Cottons offers curbside pickup so these beauties were in my hands the very same day I ordered them.

They will be excellent additions to my rather extensive stash of blenders. I rarely use solid colors in my quilts, preferring the subtle texture and visual interest that printed fabrics bring. I’m also drawn to maps and geographical features on fabric so you can see why these appealed to me so much.

Color me happy with these beautiful Barcelona blenders!


Posted in cheddar and indigo, Churning Stars quilt block, update | 8 Comments

Vexation!!

I don’t even want to think about the number of hours I spent attaching the binding to my Scattered Stars quilt. What should have taken a couple hours at most stretched into (shall we just say) several hours over the space of several days.

I trace my problems to three decisions — none of which I regret. I can say that now that the binding is on to stay! I’ve already started tacking it down on the back side. Here you can see I’ve turned the first corner and the binding looks fine:
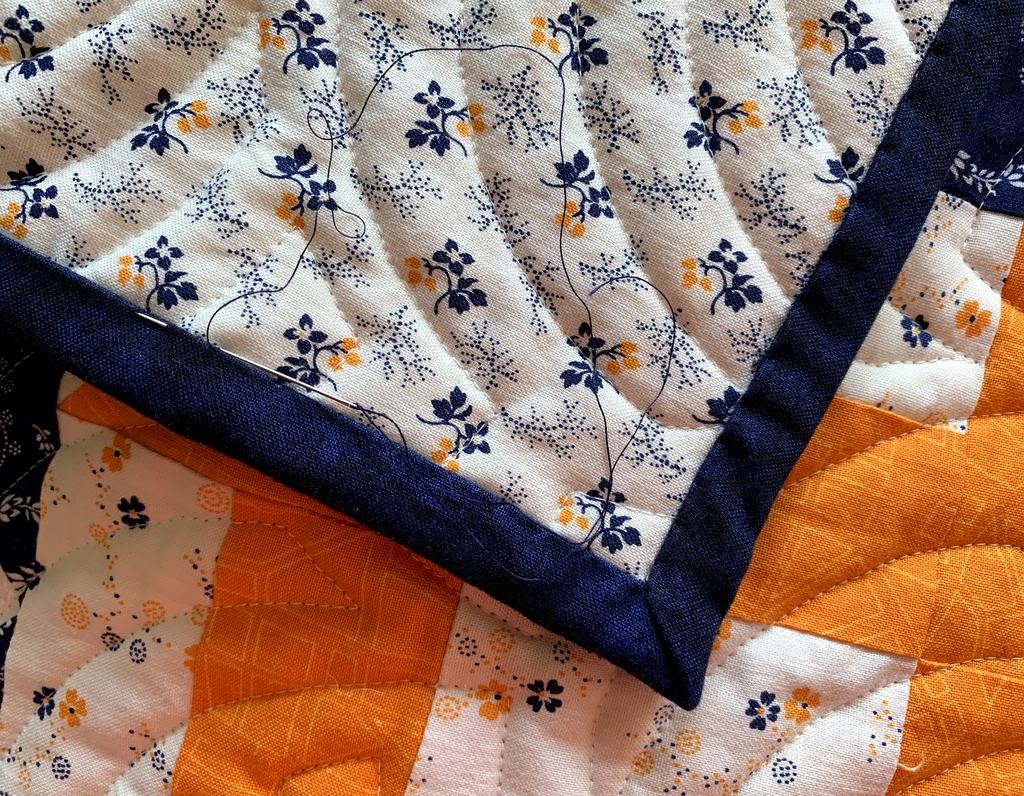
But getting to that point. Oy!

My first decision was not to add a border to Scattered Stars. That meant the points of my outer stars, being exactly ¼” from the edge of the quilt, would butt right up against the binding, leaving no room for error in attaching it. The danger would lie in cutting off the points by taking a seam allowance that was too deep. Fortunately, I had staystitched ¼” away all around the outer edges of the quilt top so I knew my star points were right where they needed to be.

My second decision was to have my binding finish at ½” wide. That required trimming the quilt a quarter-inch beyond the raw edges of the top so there would be a full half-inch from the stitching line to the outer edge. In the foreground of this picture you can see my line of staystitching, the quarter-inch seam allowance,  and the additional quarter inch of batting (the quilt is folded so that the back of the quilt is in the background):
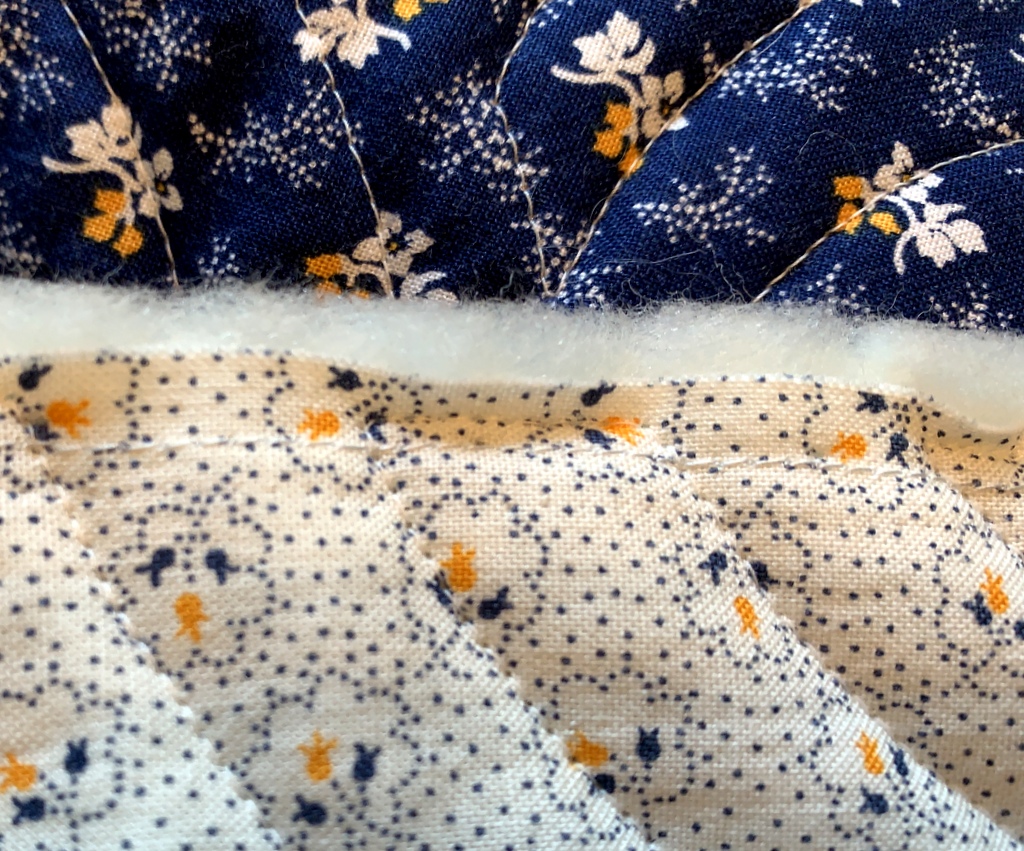
Now take a look at that batting. It’s wool. That was my third decision. Wool batting is lighter weight than most other batts made from cotton or cotton/poly blends. Scattered Stars is only twin-size but all those seams in all those star blocks added quite a bit of extra weight. I knew wool batting would lighten the load, so to speak.

But here’s the thing about wool batting: it’s really quite poufy. Look at this side view:
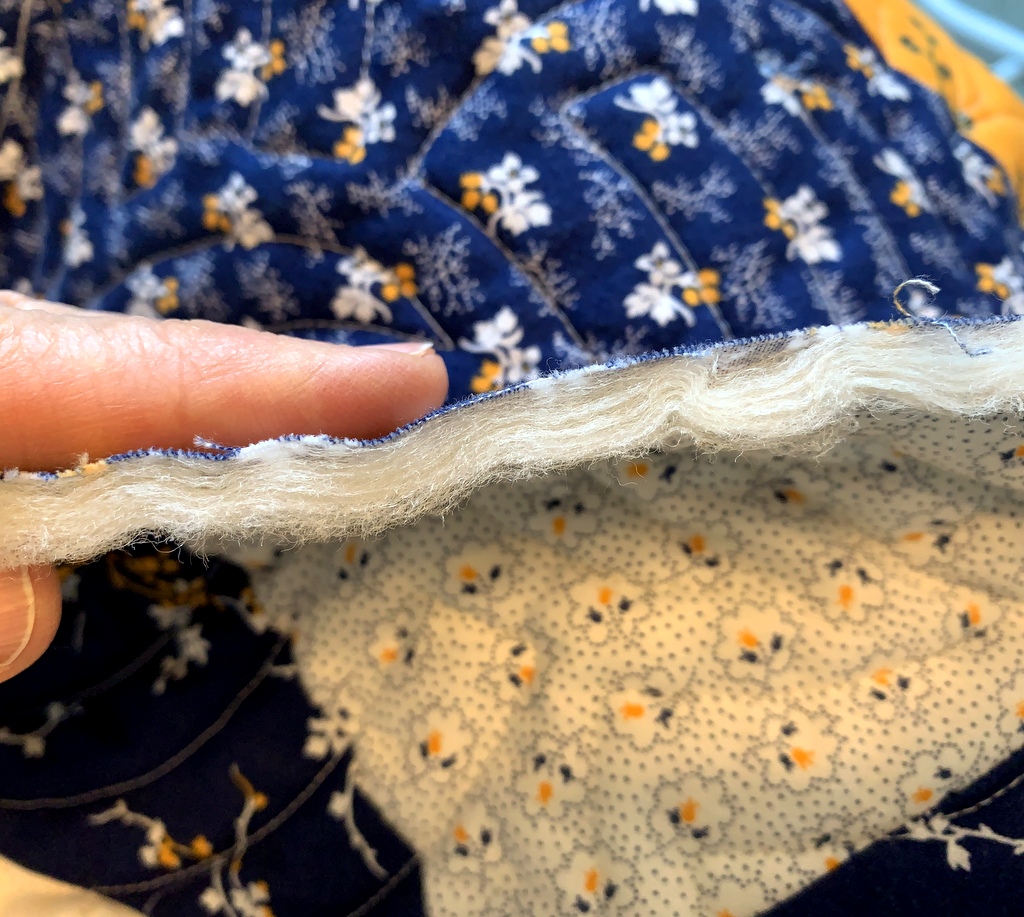

It appears to be made of many ultra thin layers.

I can’t say for sure but that puffiness may have been a factor when stitching the binding on. I had pinned sections of binding at a time, removing the pins as I went, so I was quite sure all of my edges were properly aligned. But somehow the seam allowance on my quilt top shifted slightly to the left as I was sewing. In some places, not all — but I didn’t notice it was happening because my binding fabric was on top.

I actually sewed all four sides of the quilt before I discovered there were several places where I had caught much less than a quarter-inch of the quilt in my seam. If it had happened in just a couple of places I could have taken the stitching out and readjusted the fabric but it happened all around the quilt. Nothing to be done but rip out the entire binding and start over.

The second time I pinned even more carefully and sewed a section only about 20″ long to test my stitching. I checked my seam . . . and the same thing happened. I was using my walking foot so the layers were feeding evenly through my sewing machine but that one layer of fabric was still pulling to the left. Out came the stitching again.

Want to guess what I wound up doing? The only other thing I could think of:  basting the binding to the quilt. By hand:
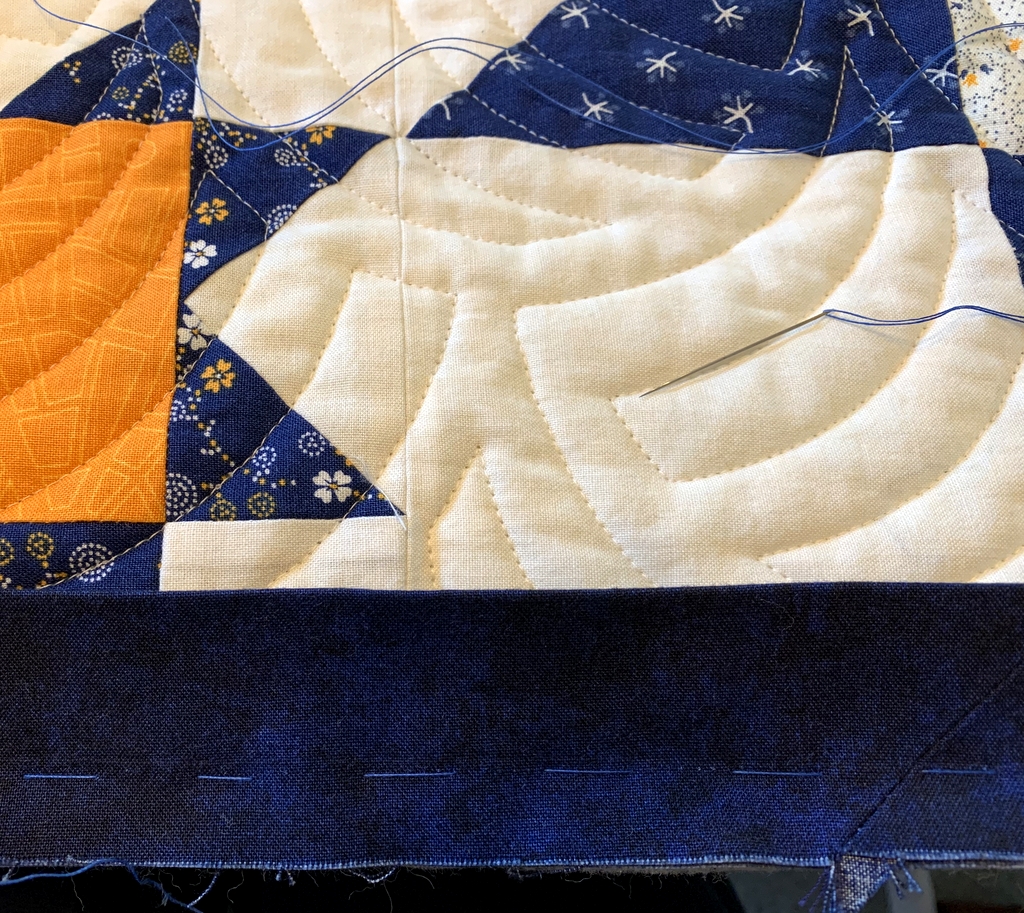
I aligned my basting stitches on the staystitching line underneath, thus guaranteeing I had the necessary quarter-inch of fabric underneath . . .
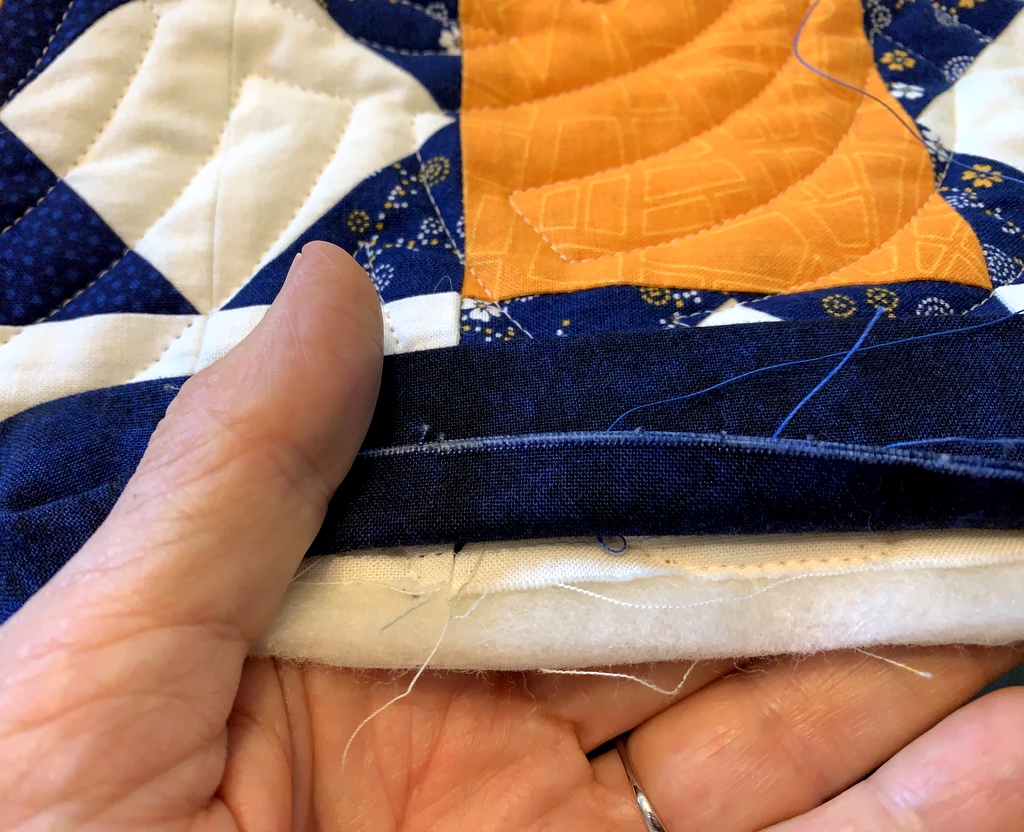
. . . and also guaranteeing I hadn’t chopped off any star points:
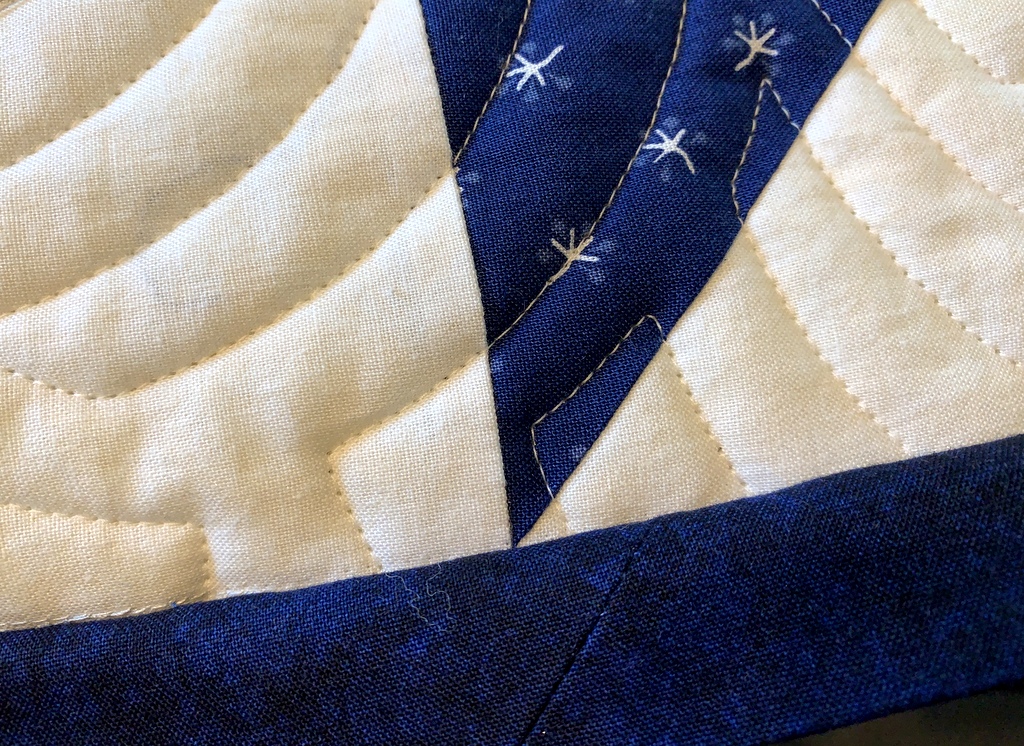
Then it was just a matter of machine stitching right over my basting stitches. No shifting of fabric this time. What a relief!

I’ve chosen wool batting for many of my quilts and have also used it when applying binding that finished at ½” so I really can’t figure out why I had such a problem this time. I’m just glad the binding is finally on to my satisfaction and I can move toward a finish.

Oh, there’s one more thing I did before starting to tack the binding to the back of the quilt. I pinked the outer edges of the seam allowance to remove a bit of the bulk:
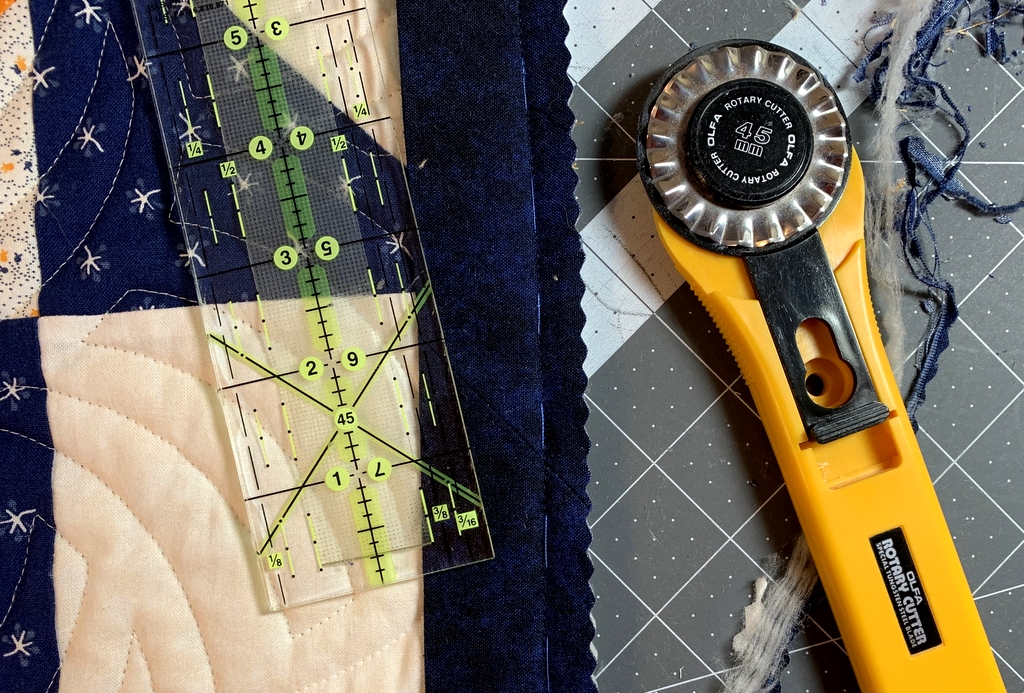
Pinking the edges also eliminated the raveling that often accompanies cut edges of fabric. I have a pair of trusty pinking shears but for long straight stretches I like to use my rotary cutter with a pinking blade. I think this pinking blade is actually meant for paper — I found it in the scrapbooking section at a craft store — but it works very well on fabric.

Since I’m one of those quilters who actually enjoys tacking down binding, this next step will be a pleasure. Then it’s on to the last step, the label.



Posted in cheddar and indigo, Churning Stars quilt block, update | 10 Comments

Quilting Loveliness

How about a few more photos of the quilting on Scattered Stars, my cheddar and indigo quilt? I’ve been feasting my eyes on it since bringing it home from the quilter on Wednesday. It’s only fair to share it with you, right?

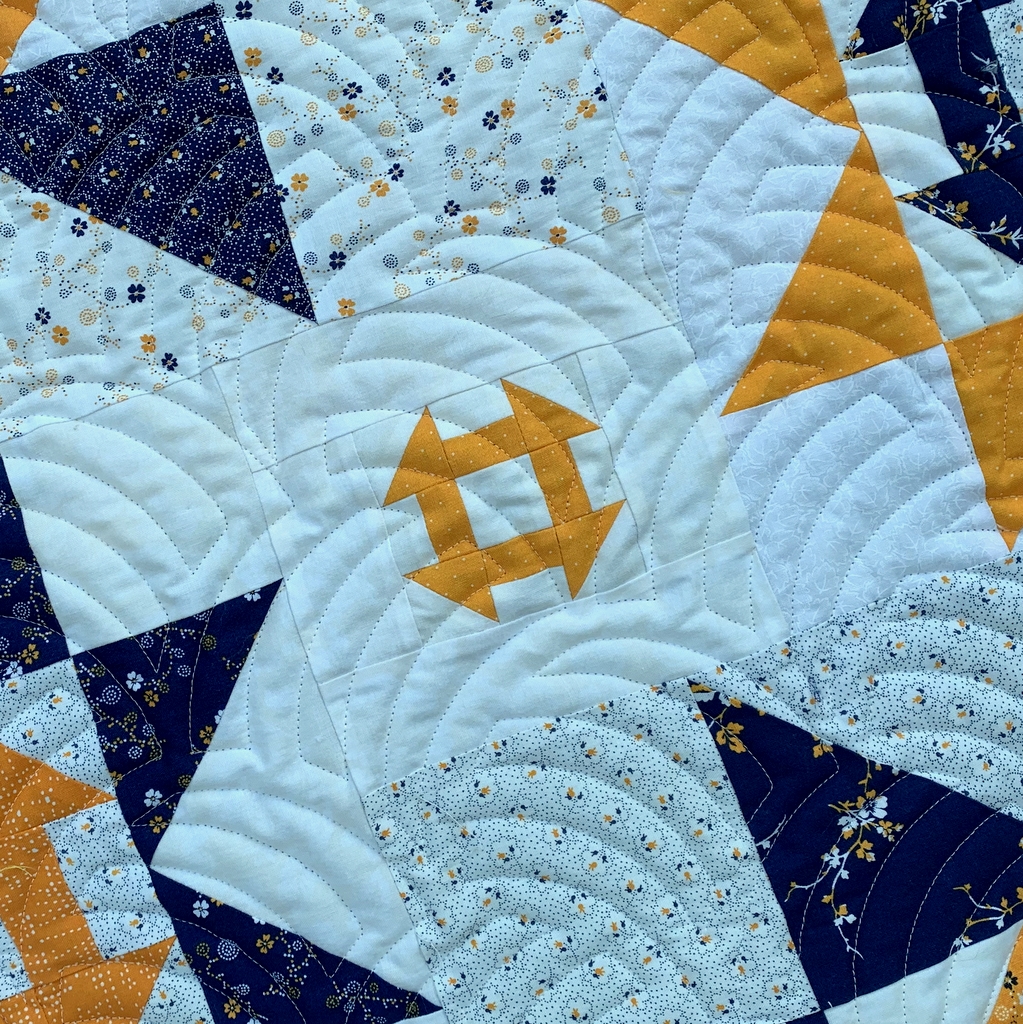
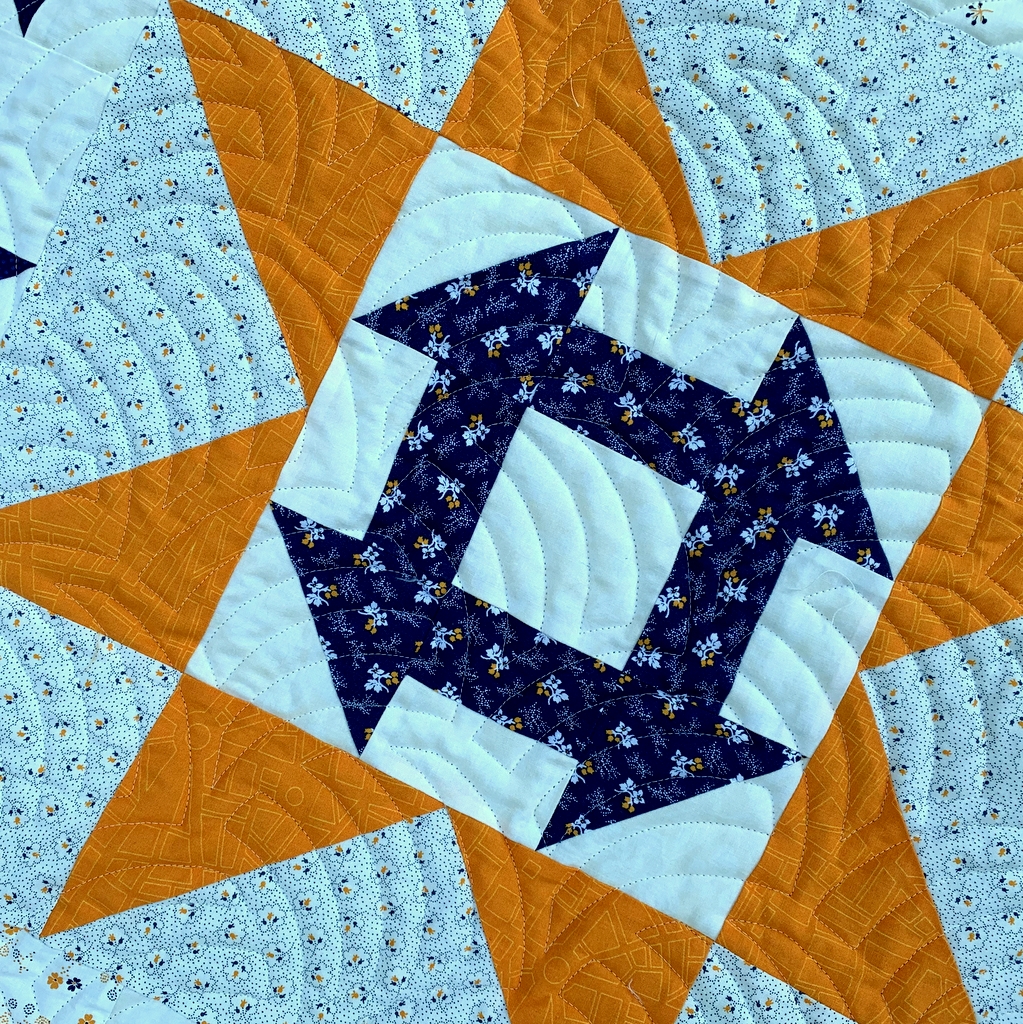
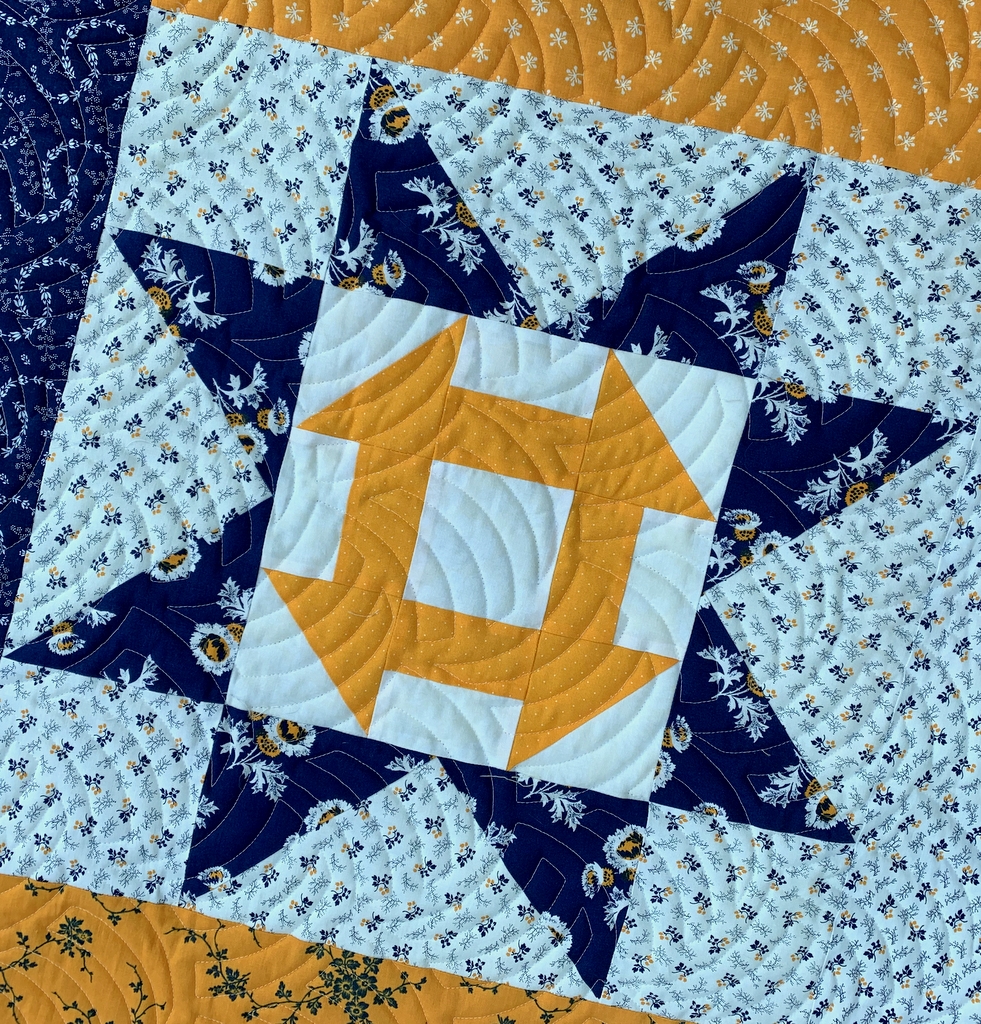
Let’s start with the tiniest block in the quilt, this 3″ Churn Dash nestled inside a 6″ block:

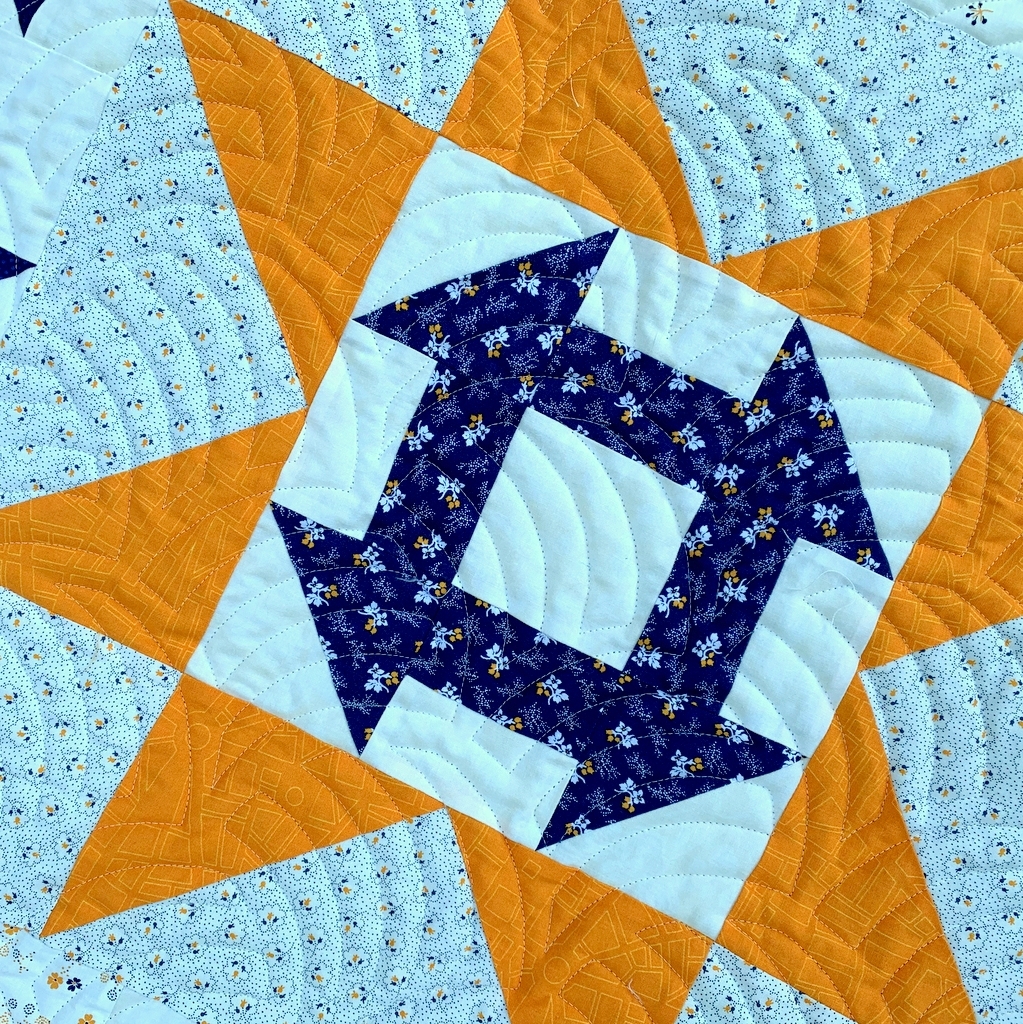
The photo shows off the beautiful quilting by Karlee Sandell of SewInspired2Day. At first glance you might think the quilting motif is Baptist Fan but it’s actually a more contemporary design called Woven Wind.

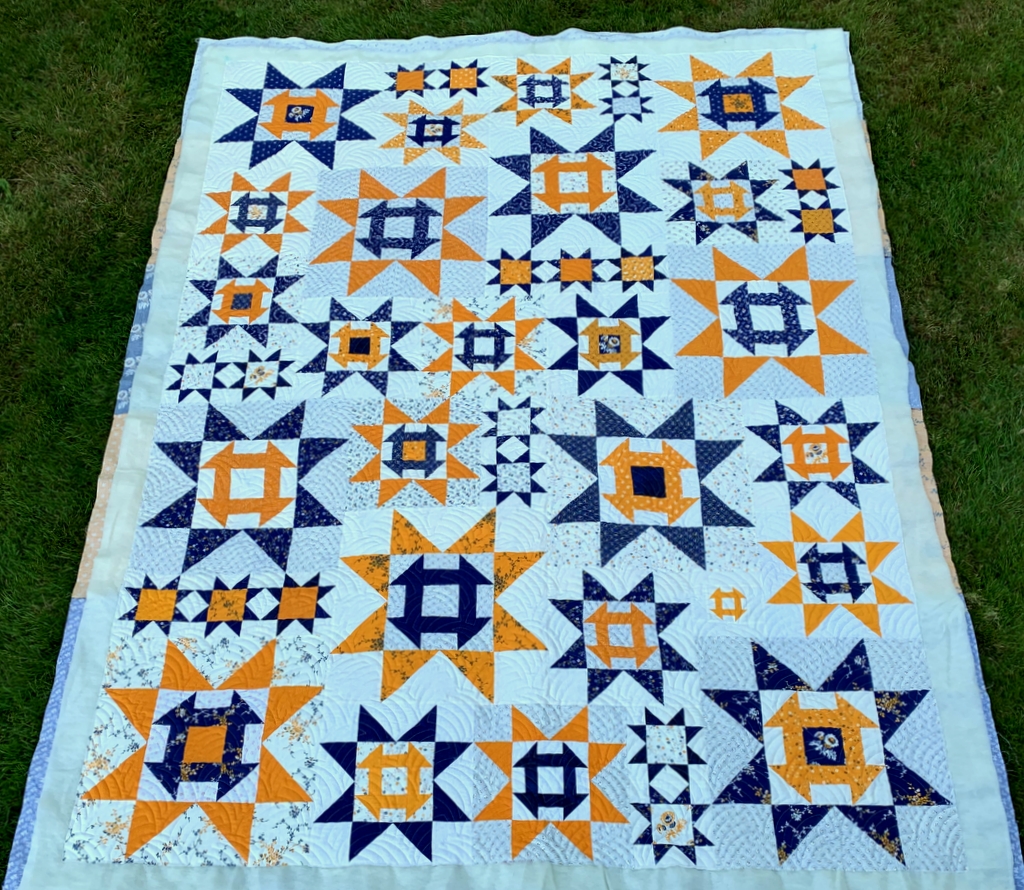
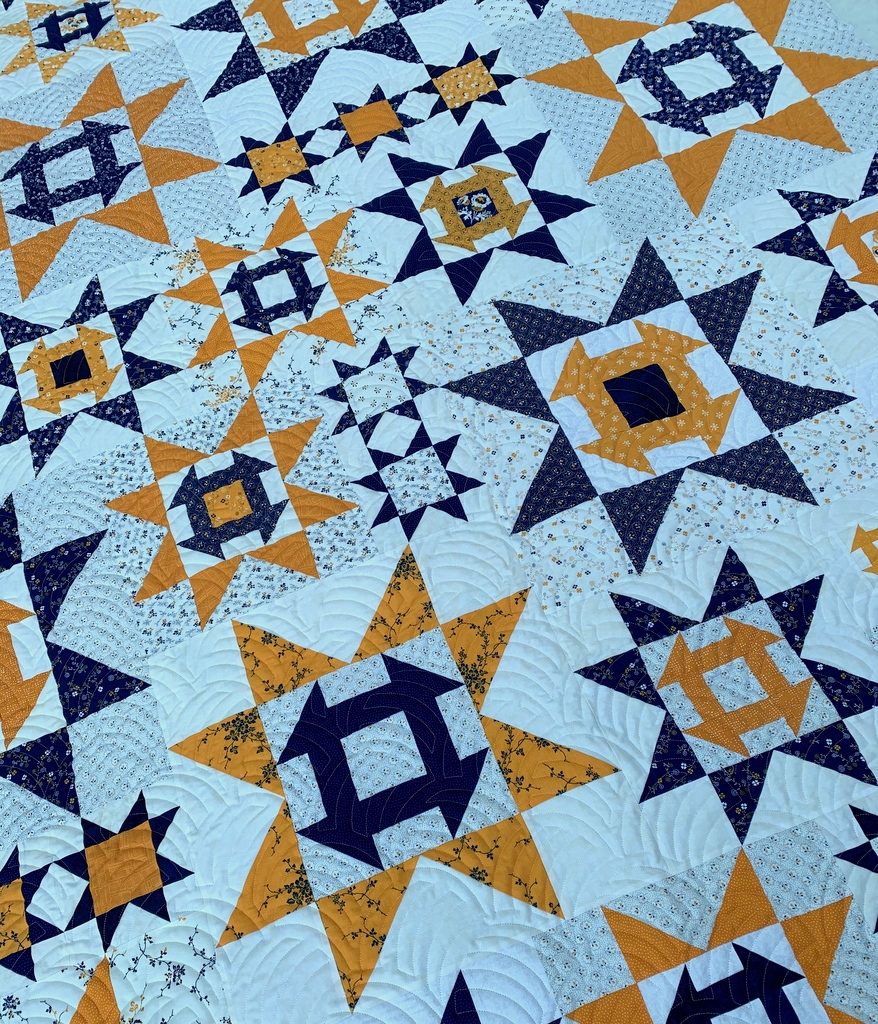
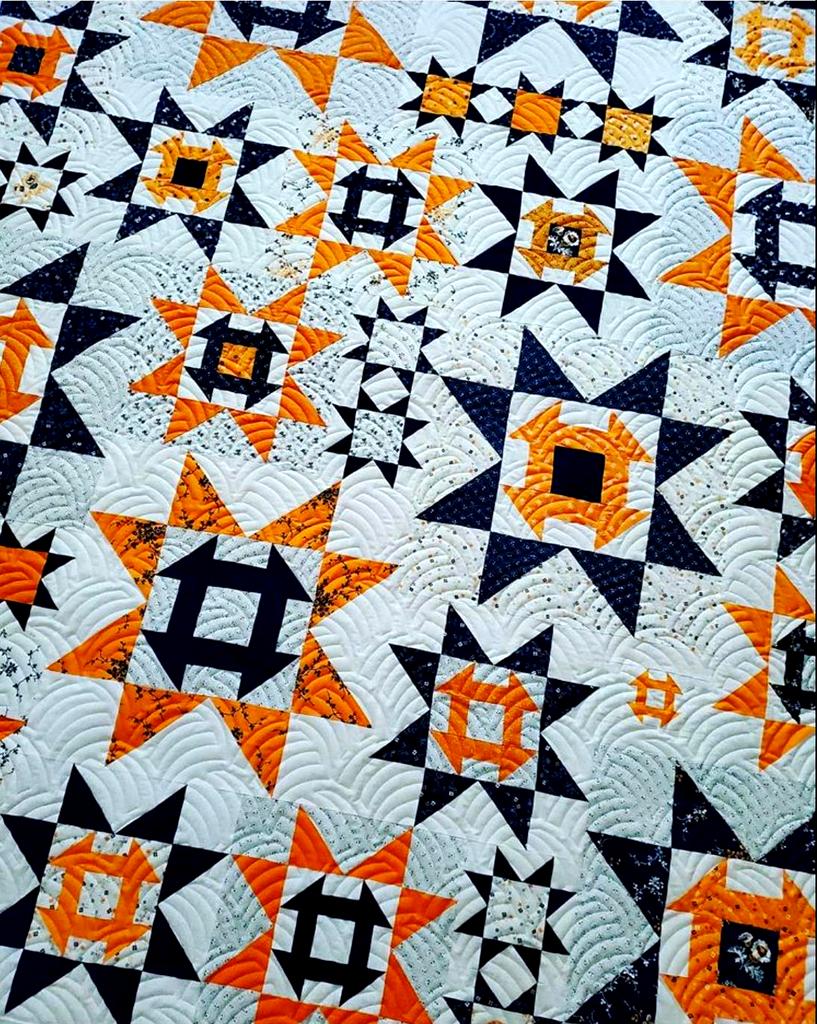
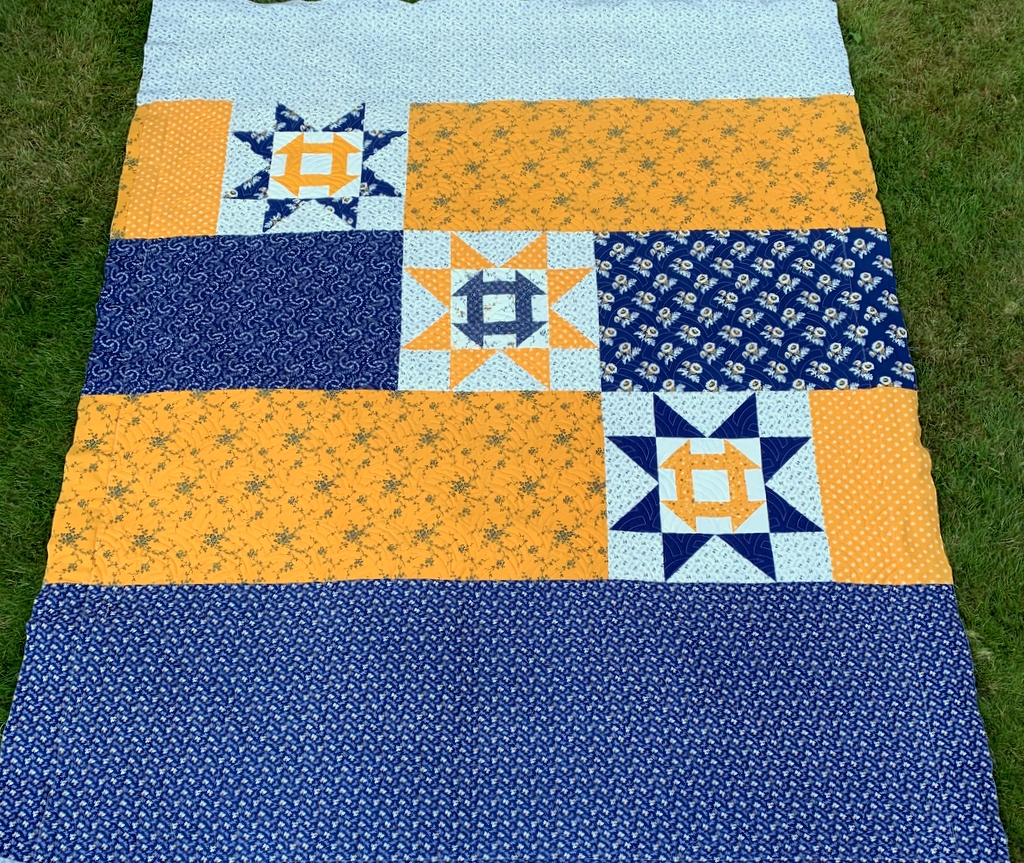
Here’s a look at the entire front of the quilt . . .

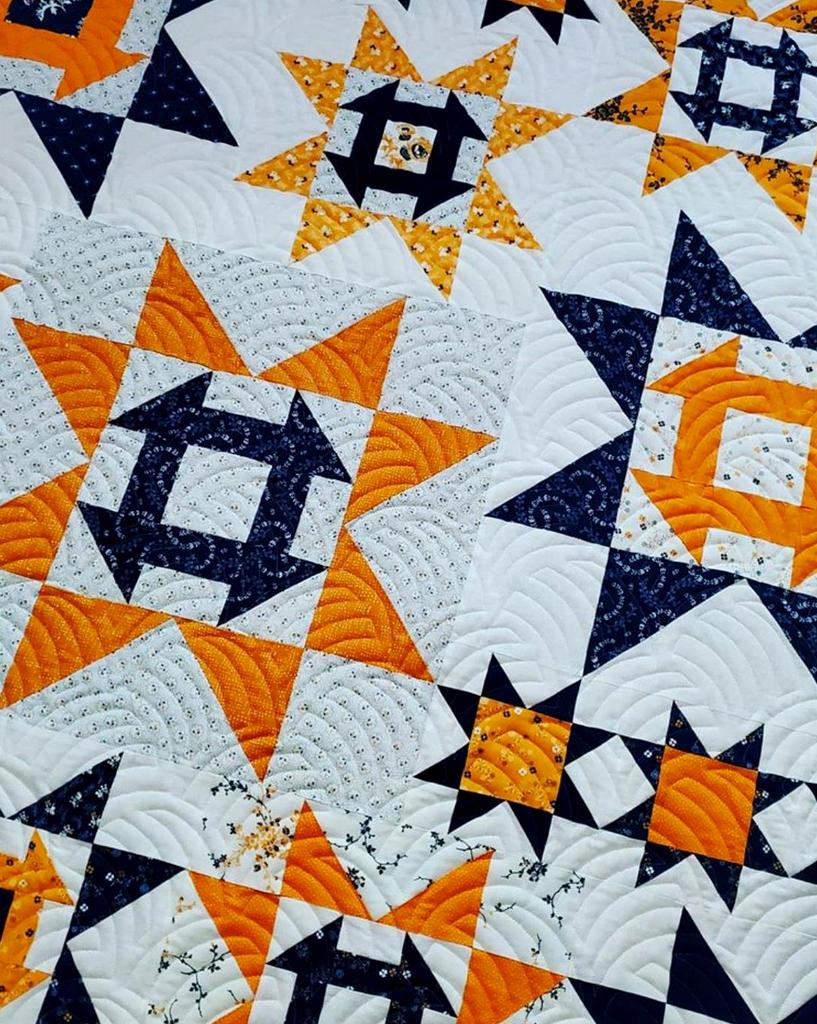
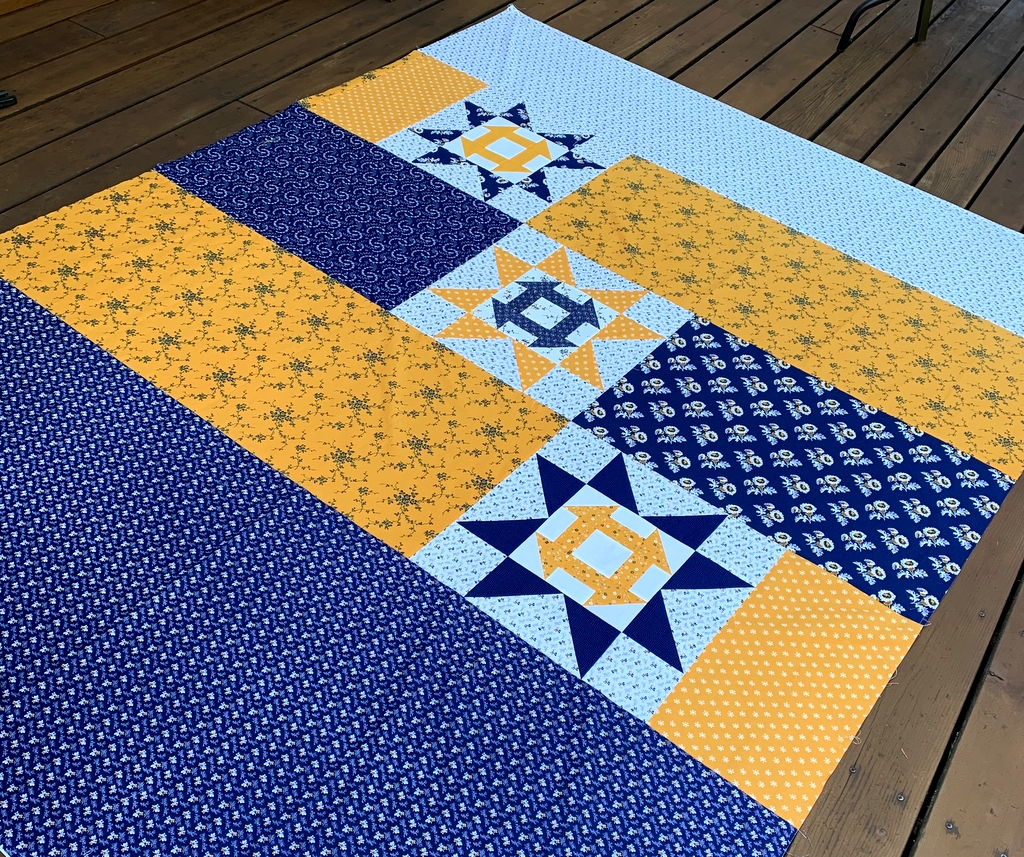
. . . and an angled look across the front:

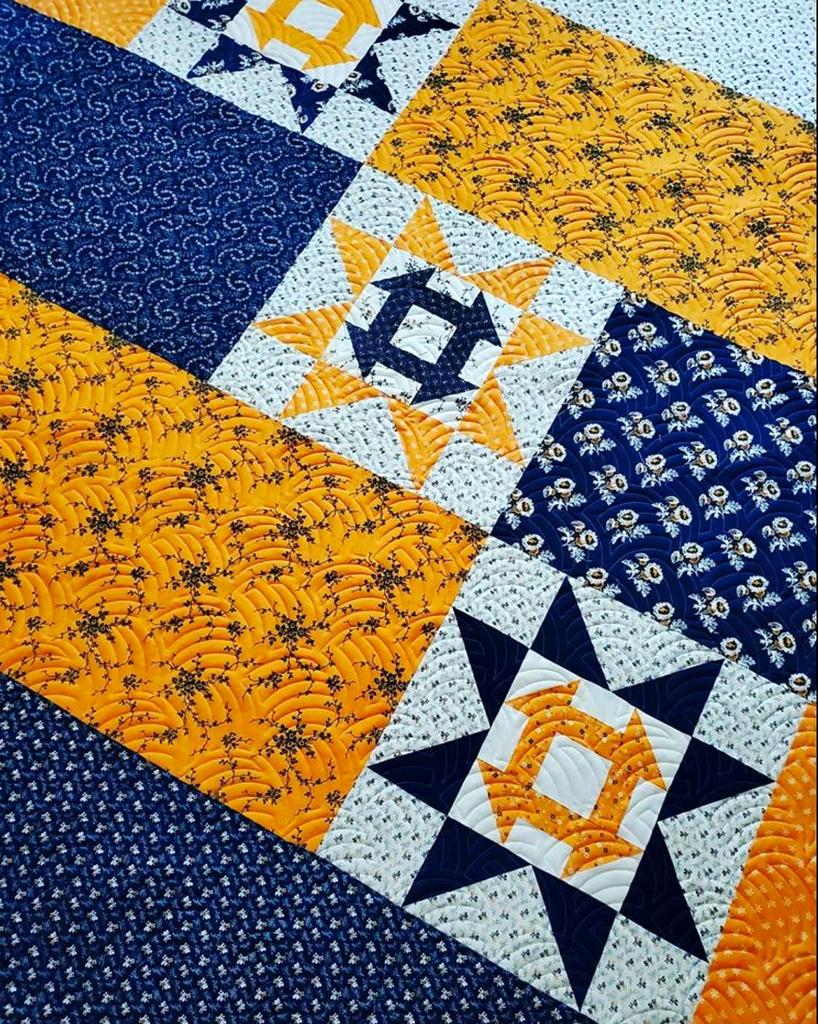
Most of the fabrics are from the “Cheddar and Indigo” line by Penny Rose that came out in 2015. The prints are very traditional but I had fun mixing in some contemporary prints, including this cheddar print — it’s a map of Barcelona! — from the line of the same name by Zen Chic for Moda . . .

. . . and this cheddar print by Victoria Findlay Wolfe from her “Futurum” line for Marcus Fabrics:


That navy print in the Churn Dash block above is a vintage fabric that’s so old there’s no information on the selvage. I can’t even remember where I found it.

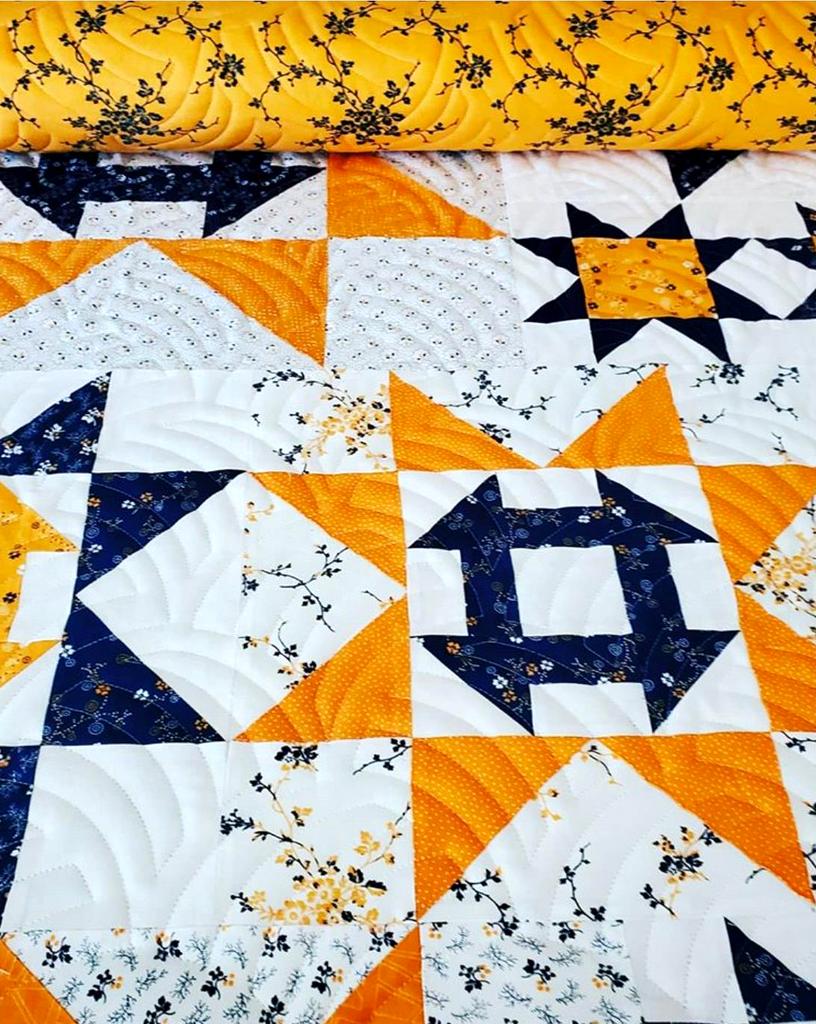
Here’s a look at the back of Scattered Stars:


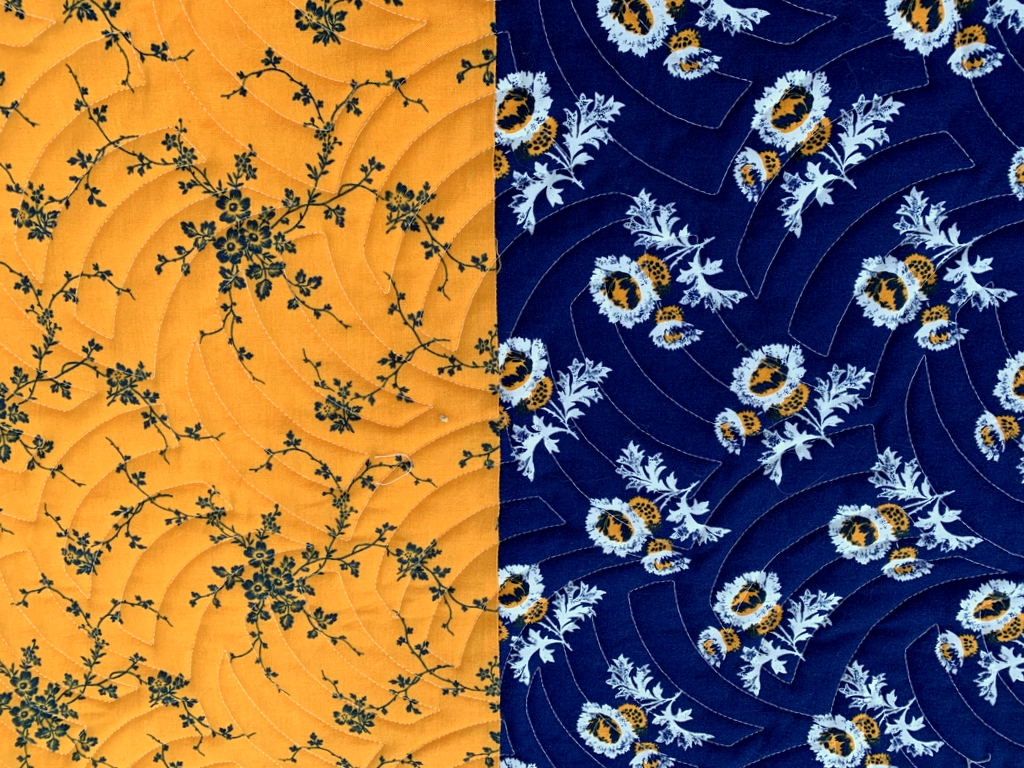
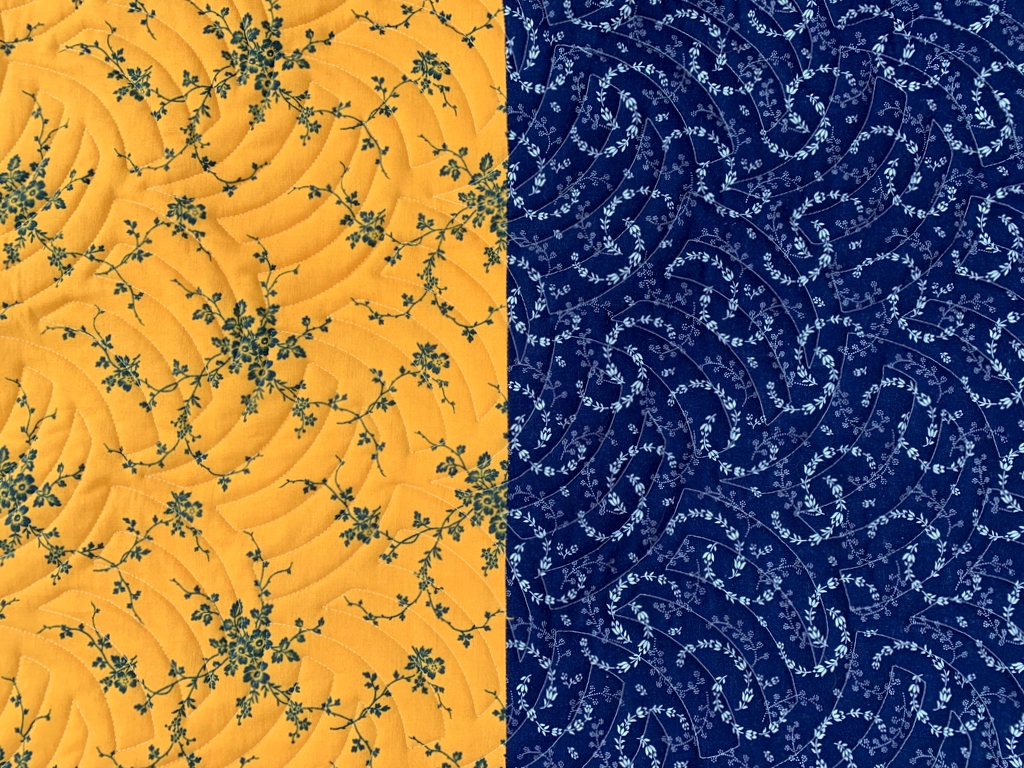
It’s nearly impossible to see the quilting in that photo so here are a couple of close-ups:

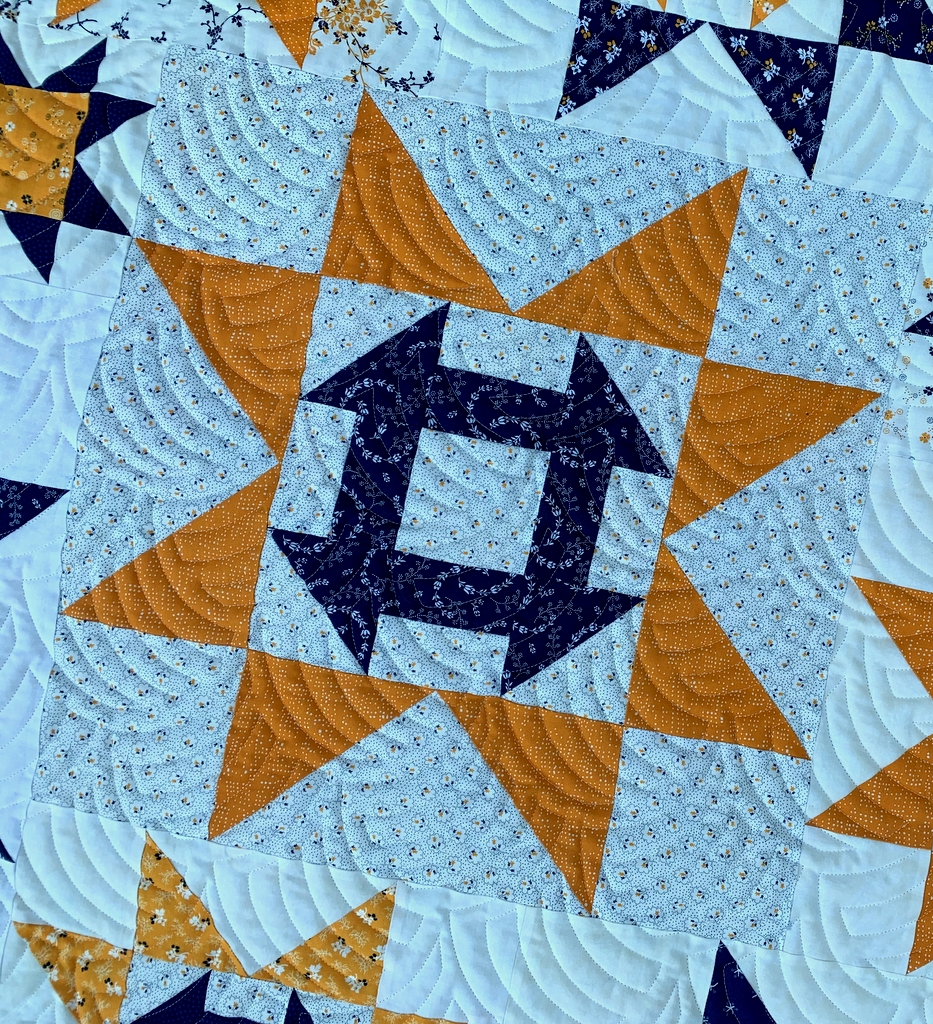
You can really see the Woven Wind quilting motif in the large indigo print above right. And in the next photo, notice how the quilted curves in the center of the block serve to soften those sharp angles and straight lines:


I think you can tell I really love how this quilt is turning out! I trimmed it today and plan to attach the binding tomorrow. The forecast for Portland the next couple of days is sunny with temperatures in the high 90s. I can’t imagine sitting for hours with a quilt in my lap so I may have to wait till cooler weather arrives to tack the binding down on the back.

In the meantime I can work on the label. I should have a finished quilt to show you by the end of the month.


Posted in cheddar and indigo, Churning Stars quilt block, update | 7 Comments

Oh My Stars!

Scattered Stars is quilted!

Mere hours after dropping off the top and backing to longarm quilter Karlee Sandell of SewInspired2Day yesterday, she had them loaded on to her longarm machine and quilted. Karlee posted photos on her Instagram feed last night and kindly gave me permission to post them here.

Take a look at this:


Isn’t the quilting marvelous? In my last post I hinted that the motif I had chosen was a contemporary version of a very traditional one. It reminds me of the time-honored Baptist Fan motif — but with an edge. The design is called Woven Wind, and I chose it not only because of its similarity to Baptist Fan but also because I felt all those sharp points in my blocks needed some curves to soften them a bit.

And there’s one more reason: my quilt is a quirky combination of traditional and contemporary elements. I started with two very traditional quilt blocks — the Churn Dash and the Sawtooth Star — combined into one block (the Churning Stars block) but then created a quilt of different sizes of blocks with no border. I used a group of very traditional indigo and cheddar fabrics but also threw in some contemporary cheddar and indigo-colored prints. The traditional-but-contemporary quilting motif reinforces my other design choices in making the quilt.

Here are a couple of close-ups of Karlee’s quilting:

The quilting looks terrific on the back too:


I’m off to fetch my quilt so I can see this quilting loveliness in person. More photos to come!


Posted in cheddar and indigo, Churning Stars quilt block, update | 8 Comments

“Big and Bold”

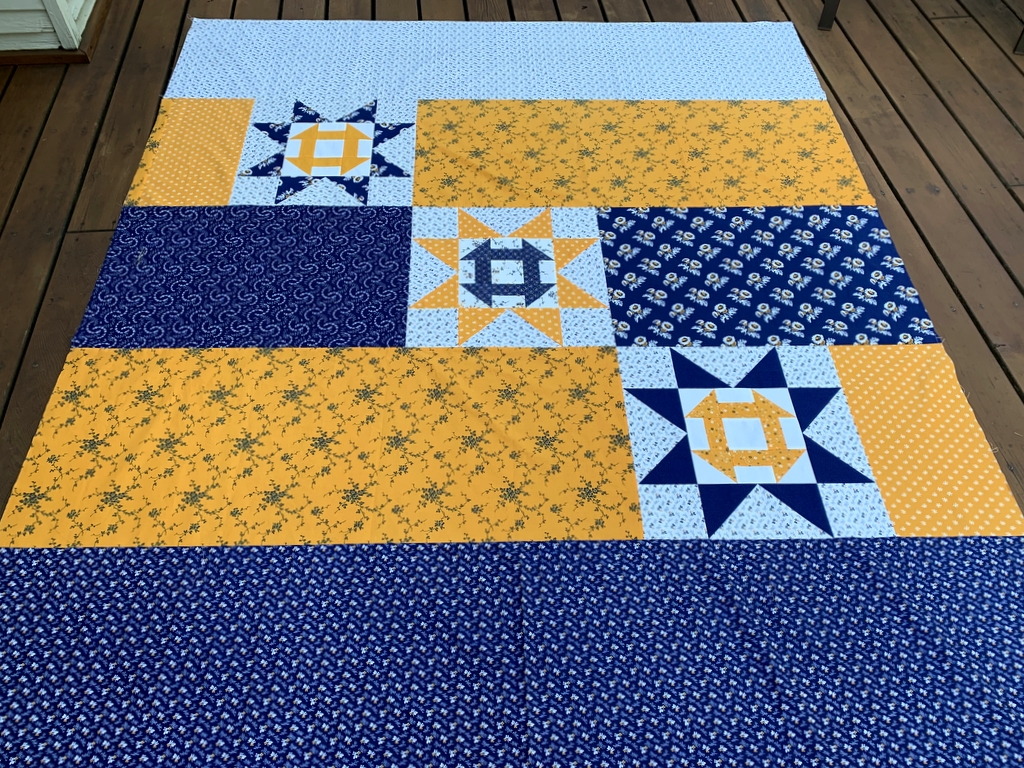
That’s what I have to say about the back of my Scattered Stars quilt:

It’s pretty simple as pieced backings go. I started with three 18″ blocks and filled in the spaces around them with strips of leftovers from my stash of cheddar and indigo fabrics. A chunk of cheddar fabric makes quite a colorful statement, doesn’t it?! Big and bold, no doubt about it.

Here’s a view from a different angle:

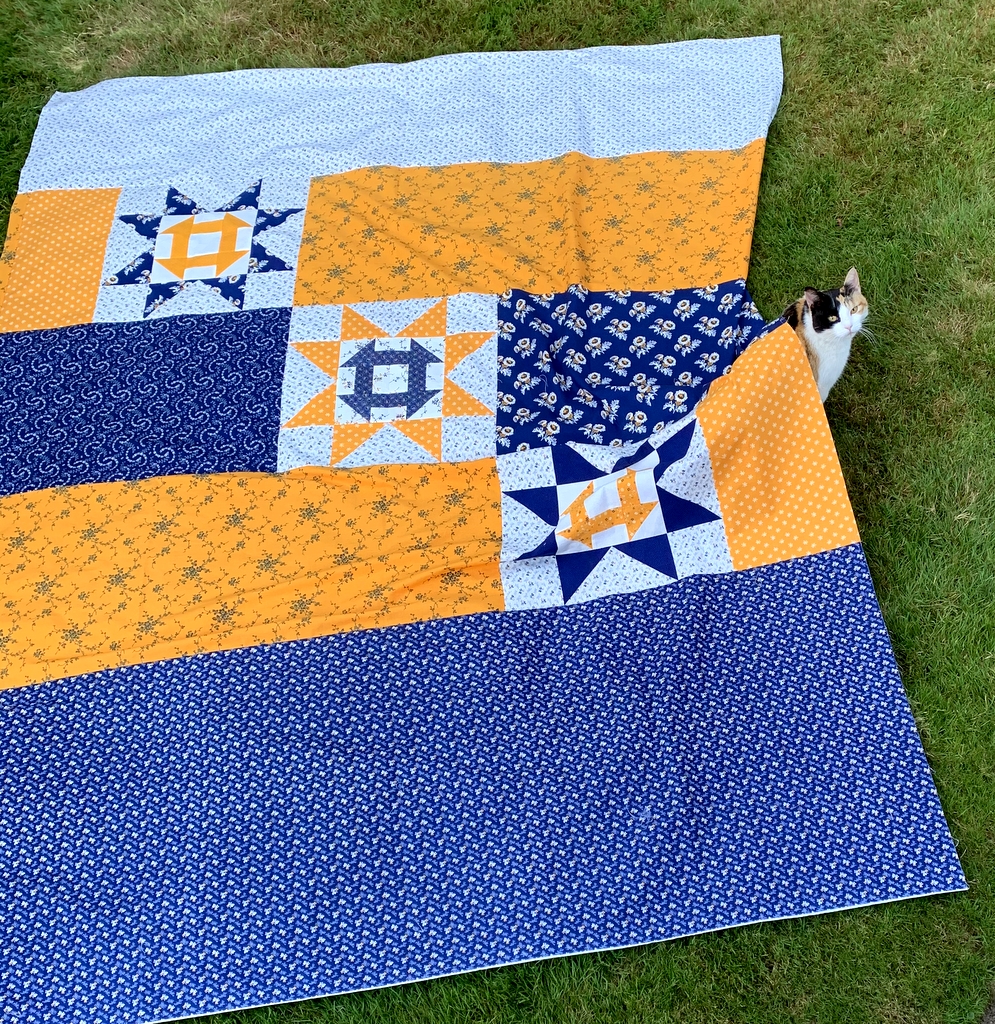
You can see what these blocks might look like on point. Intriguing, right? That’s what I thought when I first spotted the charming quilt called Churning Stars in Jenifer Gaston’s book Primitive Style: Folk-art Quilts and other Finery (Martingale Press, 2015). Her quilt inspired me to make a quilt of my own using cheddar and indigo fabrics. I think of these as Churning Star blocks in acknowledgment of Jenifer’s design.

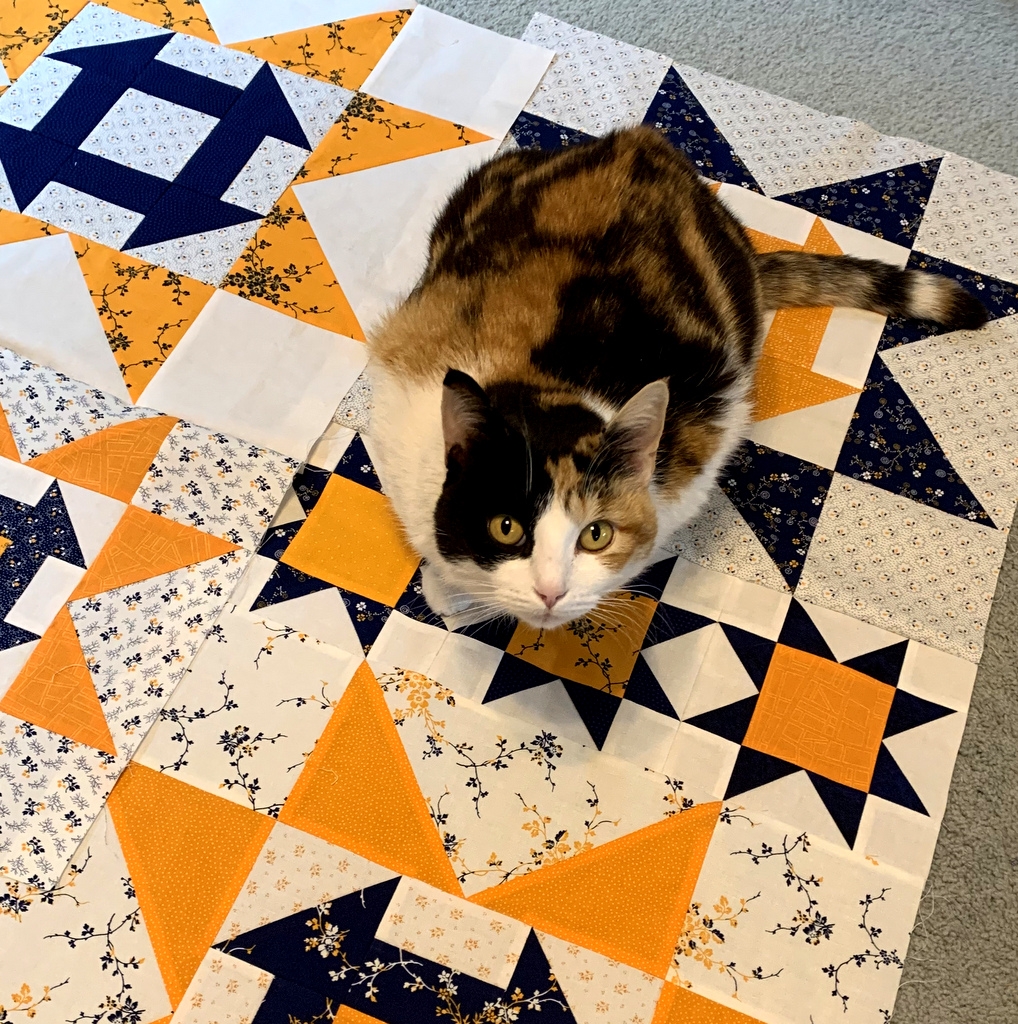
The photos above were taken late this afternoon on the back deck. This evening after a lovely al fresco dinner I took the backing down to the lawn to see if I could get a better shot from the deck. I was just about ready to snap the photo when a certain feline appeared out of nowhere and wiggled underneath. See that lump on the right side, under the bottom star?

Yes, it’s Coco the Photobomber:

After she wandered away I managed to get a quick shot of the front of my quilt:


I’m so happy with the way it turned out!

My plan is to deliver the top and backing to the longarm quilter tomorrow. I have a quilting motif in mind that I think will be perfect for my Scattered Stars. Here’s a hint: it’s a contemporary motif that is strongly reminiscent of a very traditional quilting design.


Posted in cats, cheddar and indigo, Churning Stars quilt block, update | 10 Comments

One More Churning Star Block

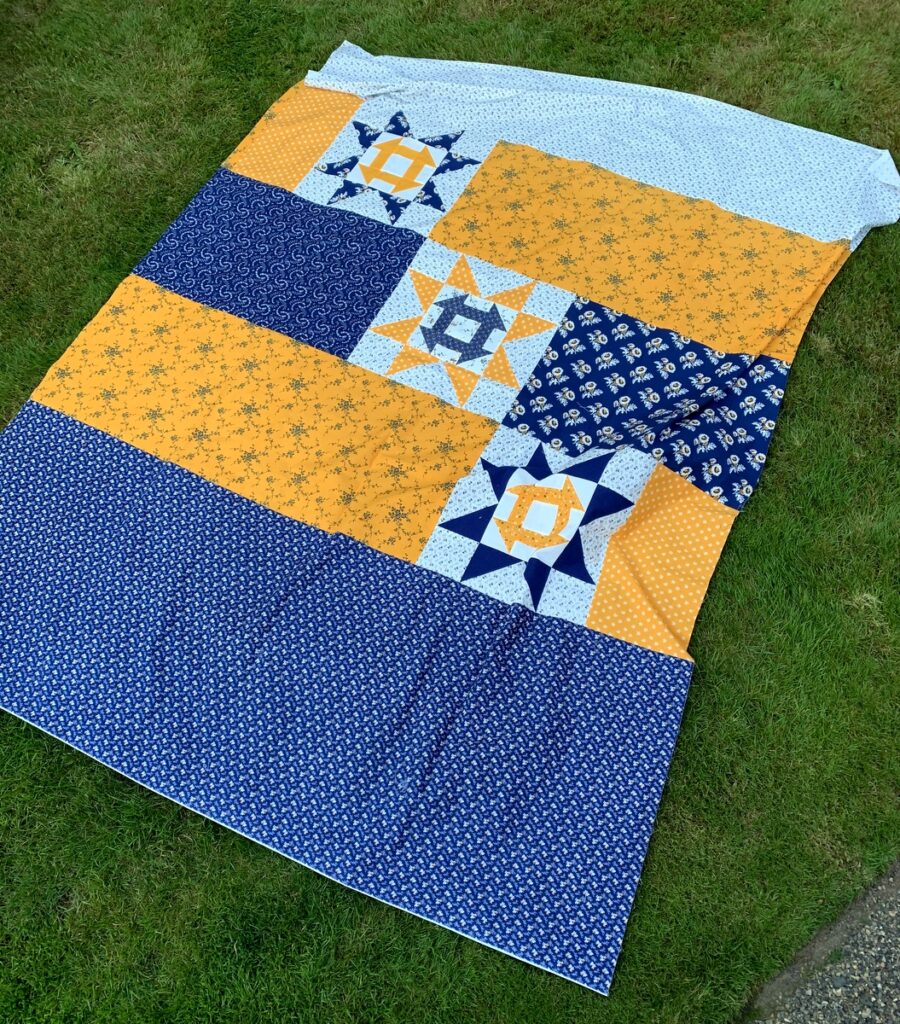
I thought I was done making blocks for my Scattered Stars quilt. Nope, not quite. I wound up making one more 18″ square block:


Here’s why. I’d been thinking over the last few days about how to piece the backing and knew that I wanted to incorporate these two 18″ blocks left over after making the front:


They didn’t make the final cut, not because I don’t like them — I love both of them! No, it’s because of the print I chose for the background: the scale is larger than the prints I used in the background of the other blocks. When I had all the blocks up on my design wall, moving them around and determining final placement, these blocks simply overpowered the ones around them. I had made 12 18″ blocks and only needed 10 so it was an easy decision to pull these two.

(If you look at my final layout, you’ll see there is only one other block with that same background fabric and it’s a 12″ block so it doesn’t overpower its neighbors. Look slightly more than halfway down, slightly to the left of center.)

So. . . I had the two 18″ blocks to play with. Two big blocks on the back of a quilt would probably look okay but I think groups of three are more attractive. That’s why I had to make one more block using the same larger scale background print to unify the three blocks. Then I had to decide how to arrange them on the back. Something simple, nothing fancy. Final decision: I’m going to stagger them. After matching 48 pairs of star points on the front this much was sure — no more matching star points!

Here’s my mockup of the back:

That little square on the lower left side is where the label will go. Maybe I’ll incorporate a small Sawtooth Star block into the label. We’ll see.
Now that I’ve decided what to do for the back, it shouldn’t take much time to sew it together. I’ve been distracted of late by domestic chores, both enjoyable (trying new recipes) and not so enjoyable (cleaning the oven) and by the ever-present lure of books.  But sewing and quilting are never far from my mind so I should have something to show you before too much longer. No sewing right now, though. It’s time to head into the kitchen to make Roast Chicken with Caramelized Shallots.


Posted in cheddar and indigo, Churning Stars quilt block, update | 5 Comments

Signing On

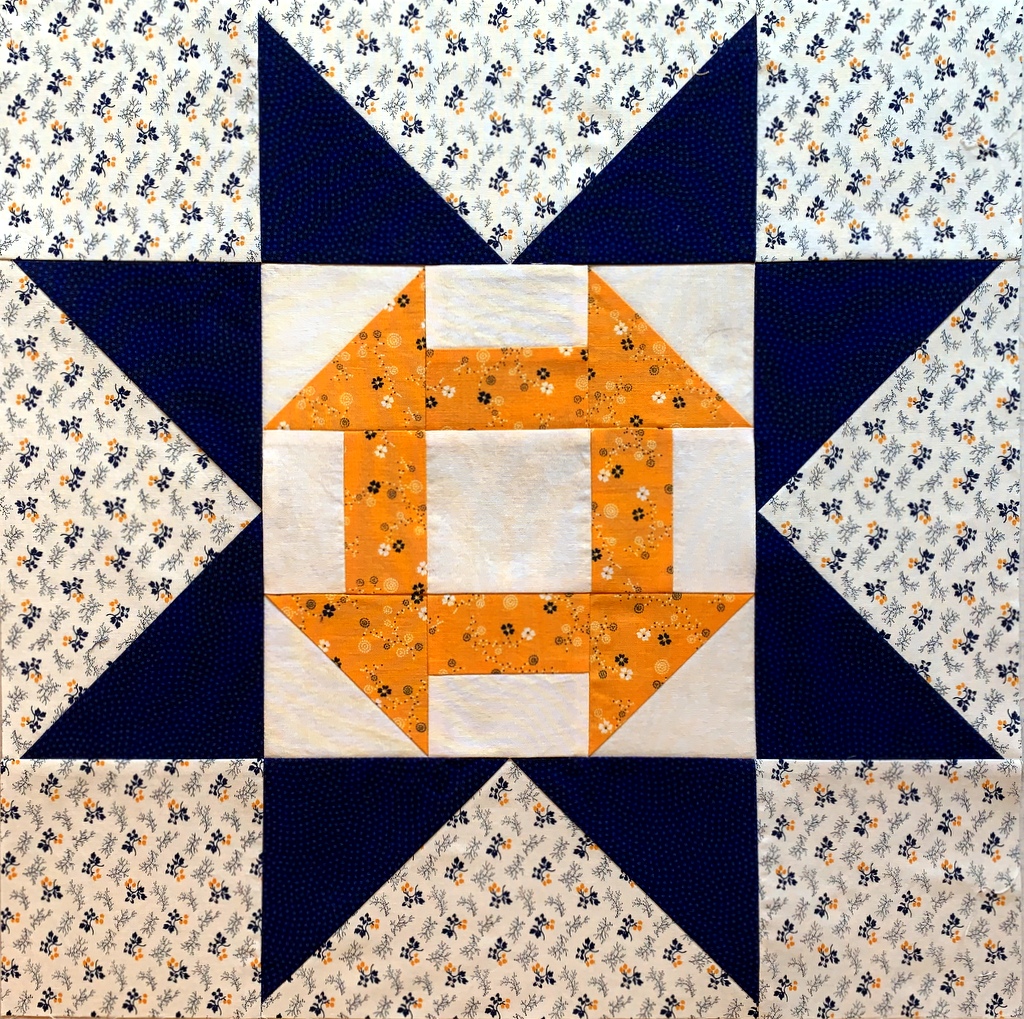
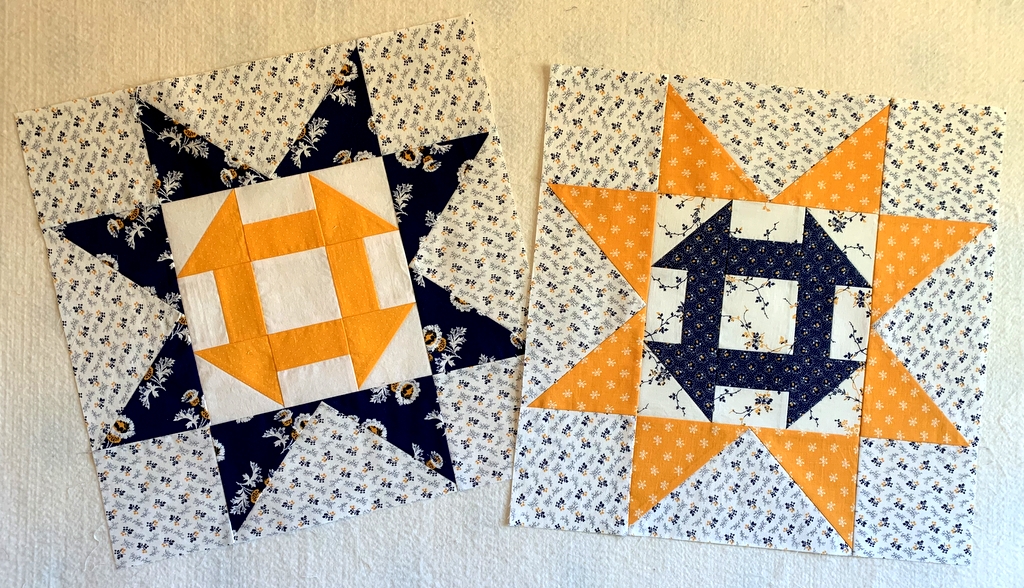
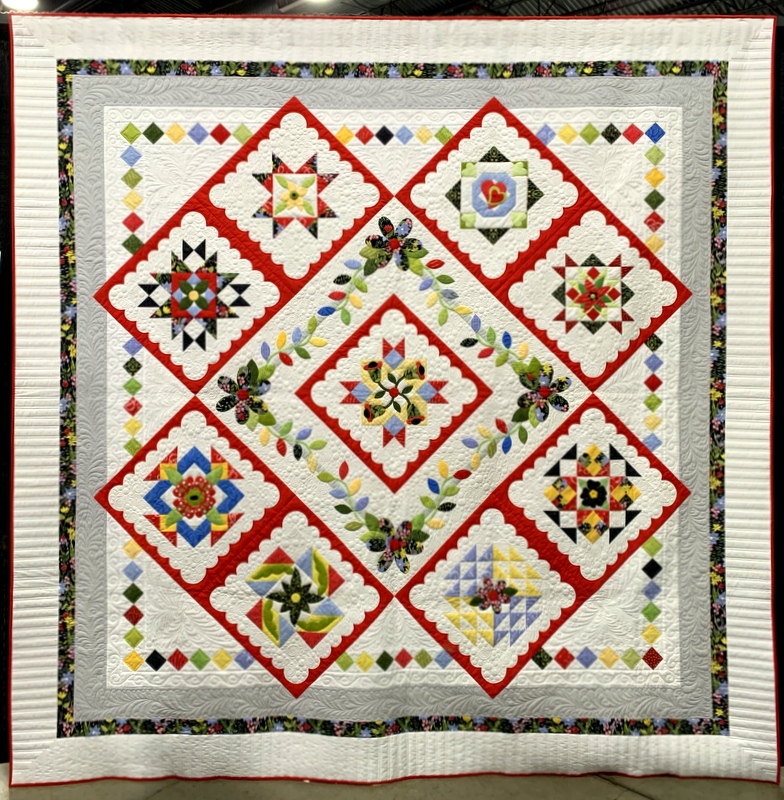
A few weeks ago Shelly Pagliai of Prairie Moon Quilts made a request on her blog for signature blocks for a quilt she is planning. She wants to make a very large quilt out of very small blocks — they will finish at only three inches! Here’s my block:

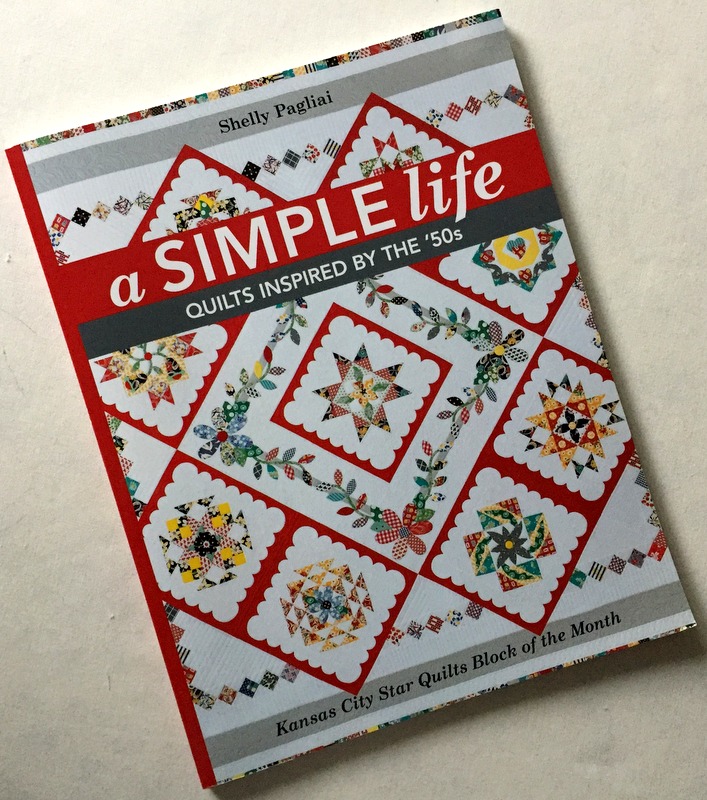
I’ve never met Shelly but I’m a big fan. In some ways I feel like I know her. She is the author of this book . . .

. . . which includes the instructions for Hazel’s Diary Quilt, pictured on the cover.

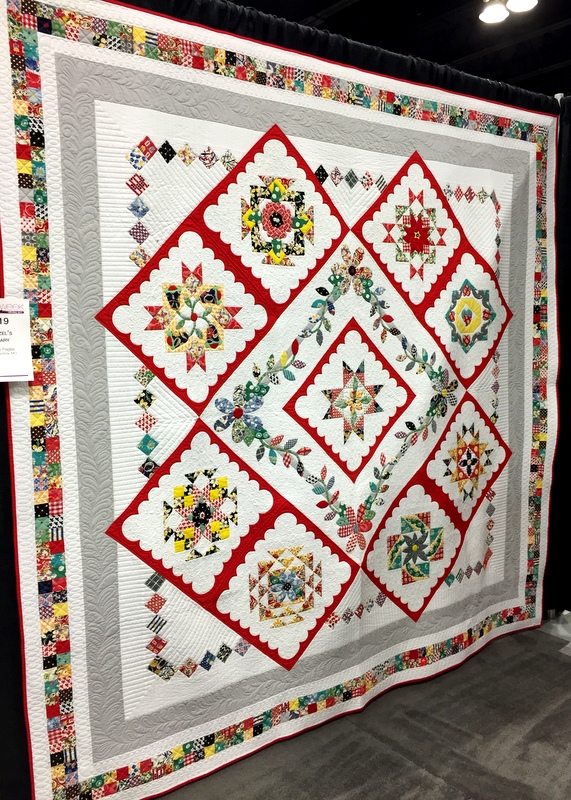
I was lucky enough to see Shelly’s original quilt on a trip to Paducah, Kentucky in 2017:


Her quilt inspired me to make my own version, Give Me the Simple Life, completed in 2019:

While working on this quilt I was struggling with a particularly difficult needleturn appliqué shape — if memory serves it was a very small five-pointed star — so I dashed off an email asking for advice. Shelly answered my email quickly and offered a suggestion that helped immensely. I’ve always been grateful.
Since I’ve made one of her quilt designs I thought it would be fun to make a block for her signature quilt. Other than the size of the block, Shelly’s only requirements are that the background fabric be a bright color and the signature portion be solid white.
I chose one of the bright yellow prints I used in Give Me the Simple Life for the background fabric. I don’t have a solid white in my stash so I used the wrong side of a very tiny white-on-white dot fabric for the signature portion. It happens to be the same white fabric I used for the background in Give Me the Simple Life (although I used the right side!). I’m pretty sure it will pass muster.

Soon my little block will be winging its way from my home in Portland, Oregon to Shelly’s home in Wien, Missouri 1,863 miles away. And who knows? Maybe in a post-pandemic world I will get to meet her.


Posted in appliqué, Hazel's Diary Quilt, needleturn appliqué, update | 9 Comments

A Couple of Surprises

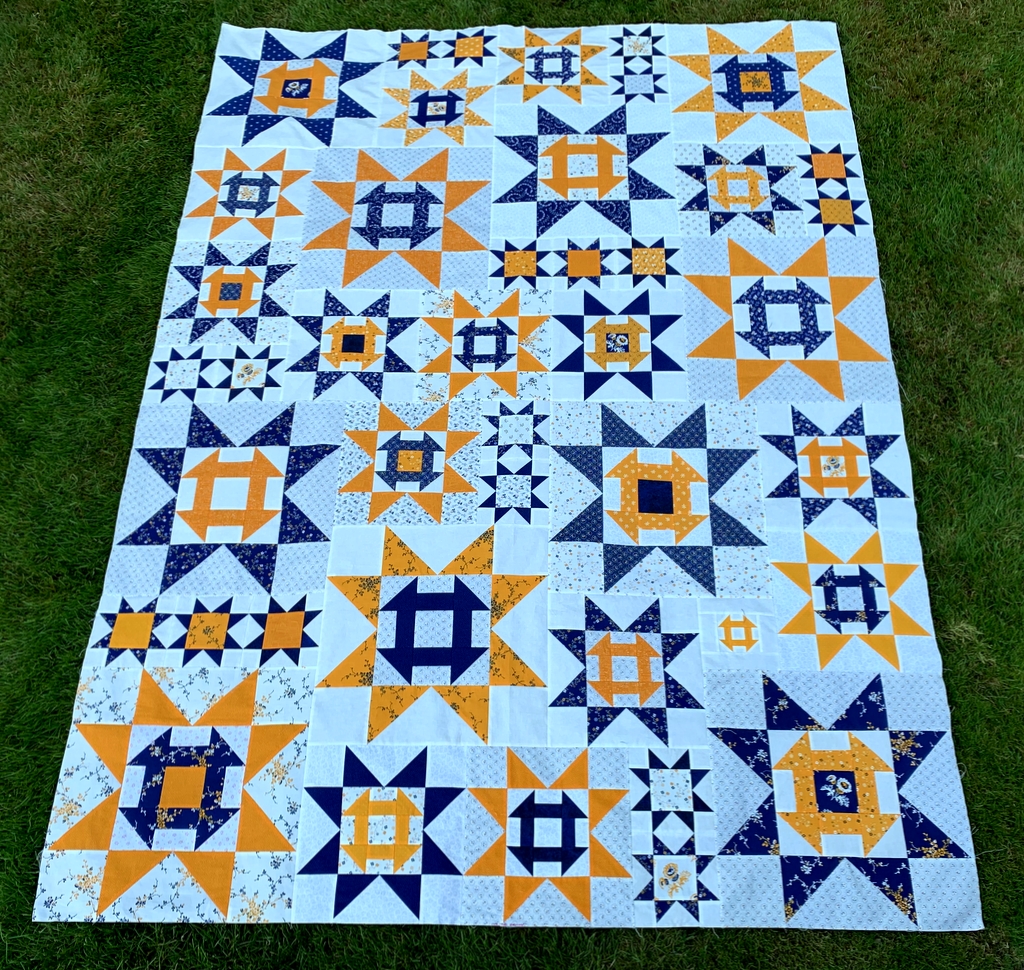
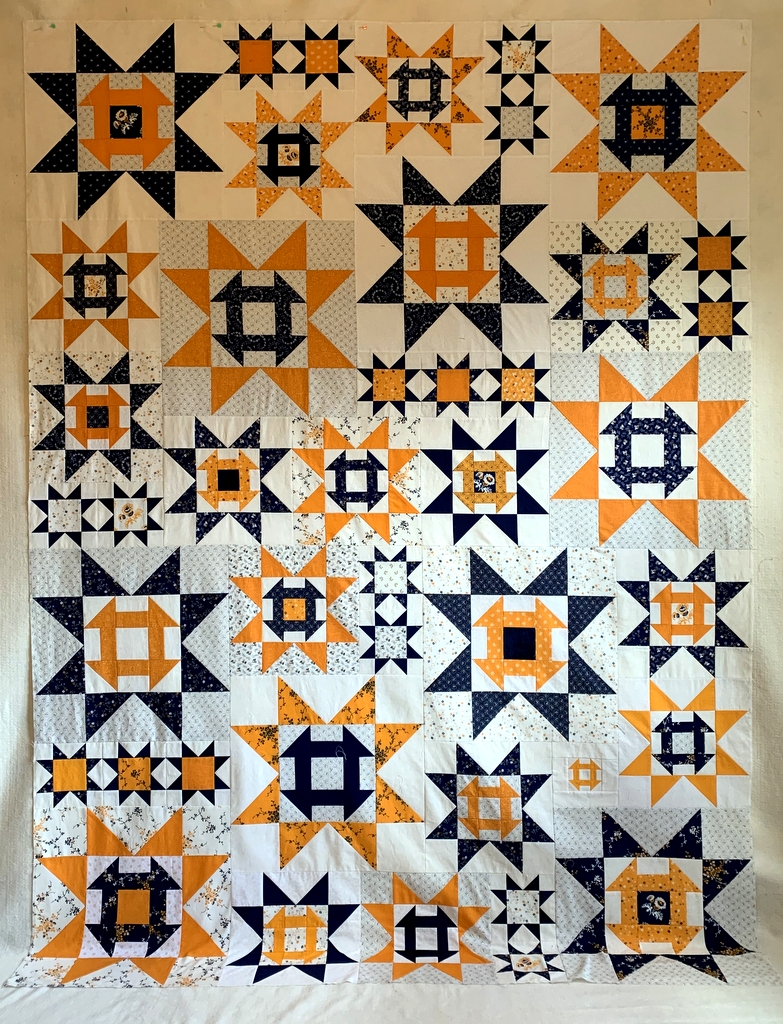
I finished sewing the blocks together for Scattered Stars, my cheddar and indigo quilt, this evening. Take a look:

Light from the window on the right side of the room isn’t spreading evenly across the surface and the bottom part of the quilt top is puddling on the floor but I think you can get a good idea of what this quilt is going to look like.

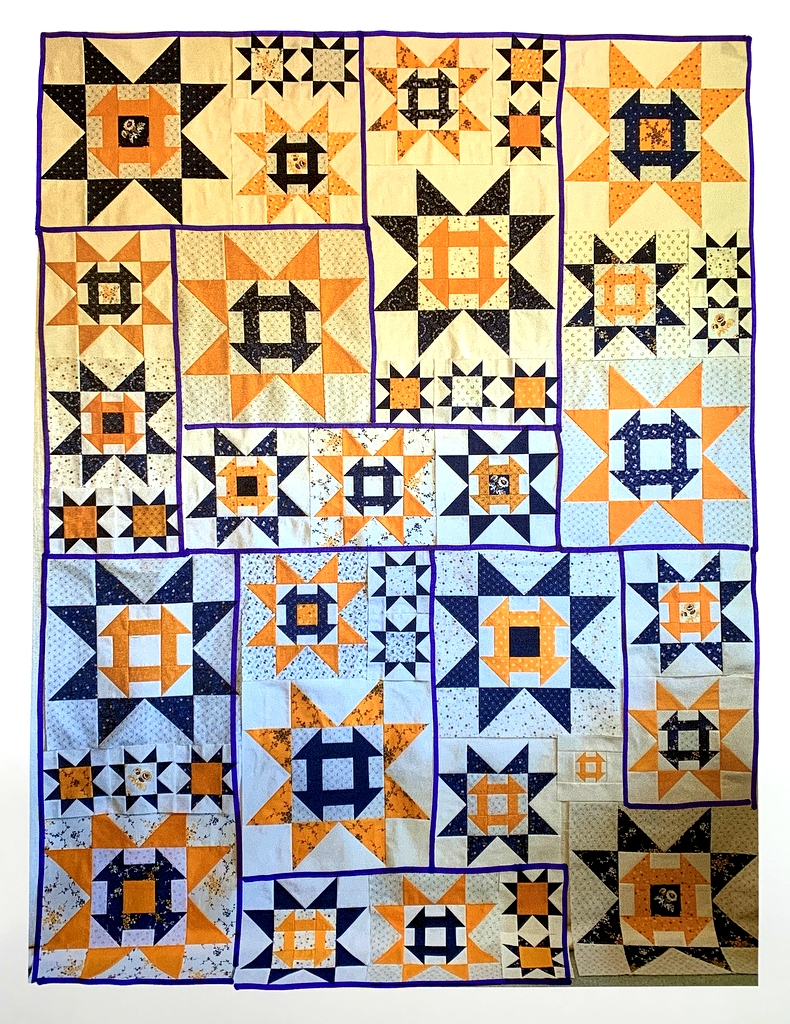
With three sizes of blocks (six, 12 and 18 inches) scattered across the quilt, I figured there’d be plenty of partial seams. They’re not especially difficult but I wanted to plan for them so I didn’t sew an entire seam and then have to rip out part of it. The plan was to sew the blocks into smaller sections that could then be joined together.

I started by printing a photo of my layout and marking the sections with a Sharpie:After studying the diagram I realized there are only two partial seams in the entire quilt. What a pleasant surprise! (One of the places is in the lower right side of the quilt around “that singleton block” — the one with the 3″ Churn Dash in it. Can you spot the other?)

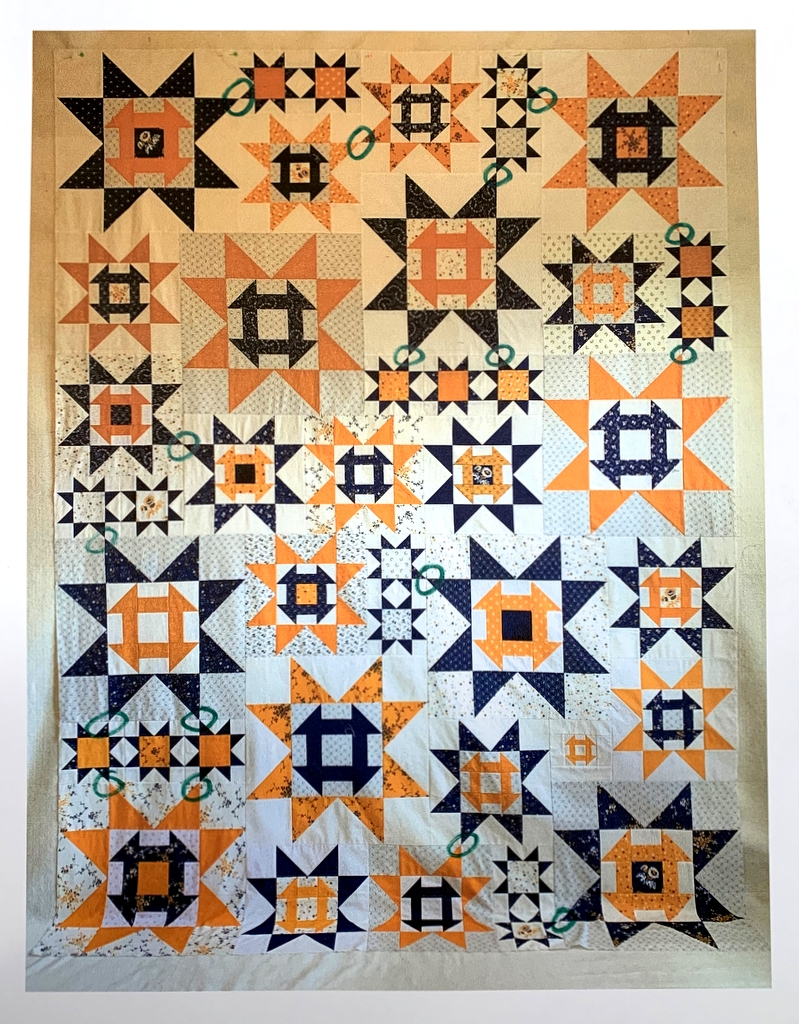
I sewed the six-inch blocks together first — six pairs and two trios — and then the 12-inch blocks — three pairs and one trio. The star points meet in these blocks and I knew I’d have to pin the intersections — all 28 of them — carefully. When those were done to my satisfaction (yes, there were a few that had to be redone) I started creating the sections.

That’s when I realized there are several other places where star points meet — stars of different sizes. That surprise wasn’t quite as welcome. Turns out there were 17 of those, all needing to be carefully pinned. I’ve circled them in the next photo:I admit a few of those had to be redone as well.

It took the better part of three days to get these blocks together. Coco was a frequent visitor in my sewing room during this time. Here she is staring at me intently, willing me to stop what I’m doing and fix her dinner:

The top measures 66½” x 90½” which is just about right for a twin size quilt so I’ve decided not to add borders. I’m thinking about finishing it with ½”-wide binding.

Next up: a pieced backing using a couple of 18″ blocks that didn’t make the cut for the front.


Posted in cats, cheddar and indigo, Churning Stars quilt block, update | 12 Comments