When my husband and I fly from Oregon to Georgia for our annual two-week Thanksgiving visit with my twin sister and her husband, I almost always make something for their home. It’s a small way to thank Diane and Ed for the generous hospitality they show Charlie and me on these visits, and it satisfies my urge to make something when I’m away from my sewing room for an extended time. You know how it is: a maker’s gotta make.
I knew ages ago what this year’s project would be. That’s because Frugal Fabrics, a home dec fabric store in the Atlanta suburb where my sister lives, announced at the beginning of the year that it was closing. Diane and I have found beautiful fabrics there in past years that have made their way into home dec projects in her house.
Before the shop closed its doors for the last time, Diane bought a gorgeous piece of fabric called “Brandywine Paisley” by Duralee Fabrics. She bought what was left on the bolt – about 6½ yards – without any idea what she would do with it. (At $2 a yard, I would have done the same thing. I have a thing for paisley prints.) We consulted via text messaging and concluded the fabric would be perfect as new pillow shams in her master bedroom.
Fast forward to my arrival in November. After Thanksgiving was over, Diane and I designed the shams, starting with the notion of a simple envelope with braided trim on the “flap” of the envelope on the front. She likes her shams up against the headboard with sleeping pillows arranged in front so it was important that the flaps be short enough for the braided trim to show.
If Diane were a quilter, she would have freezer paper in her house. She’s not and she doesn’t, so I made a pattern for the flap out of two sheets of parchment paper:
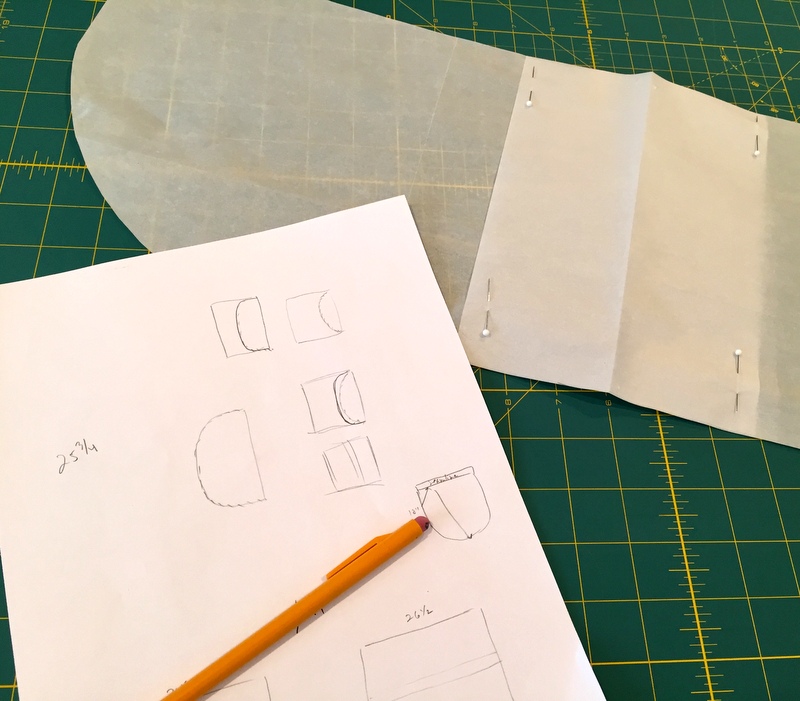
I had to pin the two sheets together because scotch tape doesn’t stick to parchment paper!
Being somewhat obsessive-compulsive, I wanted the design on the fabric to match where the flap meets the sham. That meant the flap needed to be a separate piece that could be attached to the back of the sham in just the right place for the design to match up on front after the pillow form was inserted. All of this called for some careful fussy cutting – in triplicate, because there are three shams. It took me the better part of one afternoon just to cut the fabric.
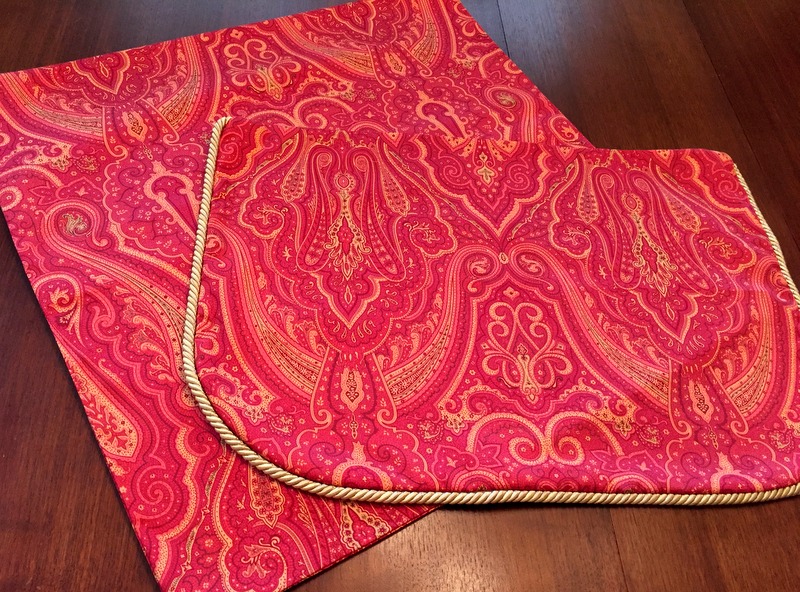
What you see below is one sham in two pieces. The body of the sham is essentially a square with rounded edges and a lapped opening on the back where the pillow form is inserted:
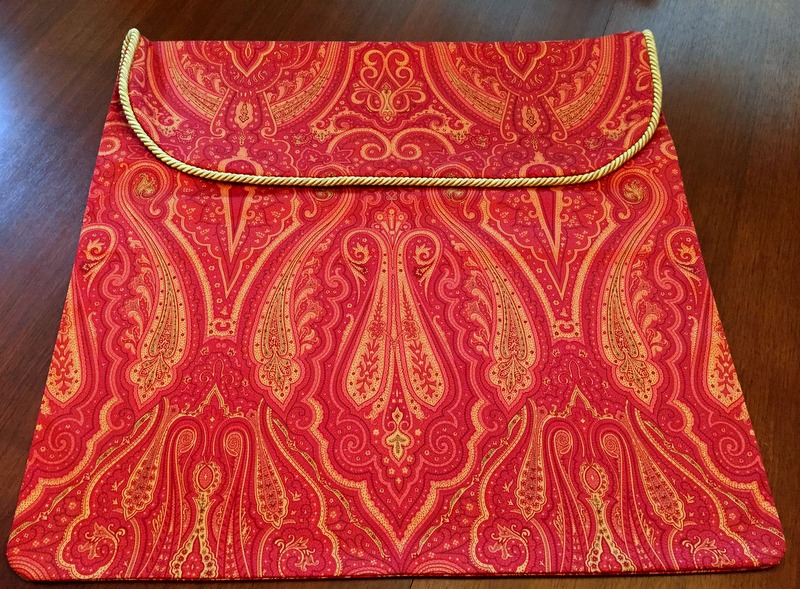
This is what the sham looks like flat:
While I was working on the shams, Diane was auditioning pillowcases I’ve made for her over the years (all made from this tutorial). She found three pair that looked especially good against the shams:
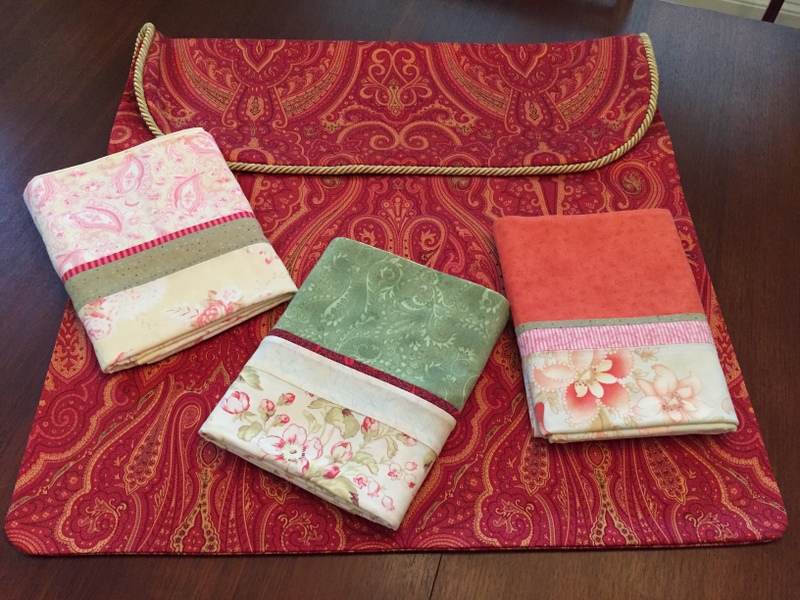 She decided to use the pair in the middle first because the reds and greens in the fabrics are right in keeping with the Christmas decorations that started coming out that week.
Here’s a look at the shams in place in the master bedroom:
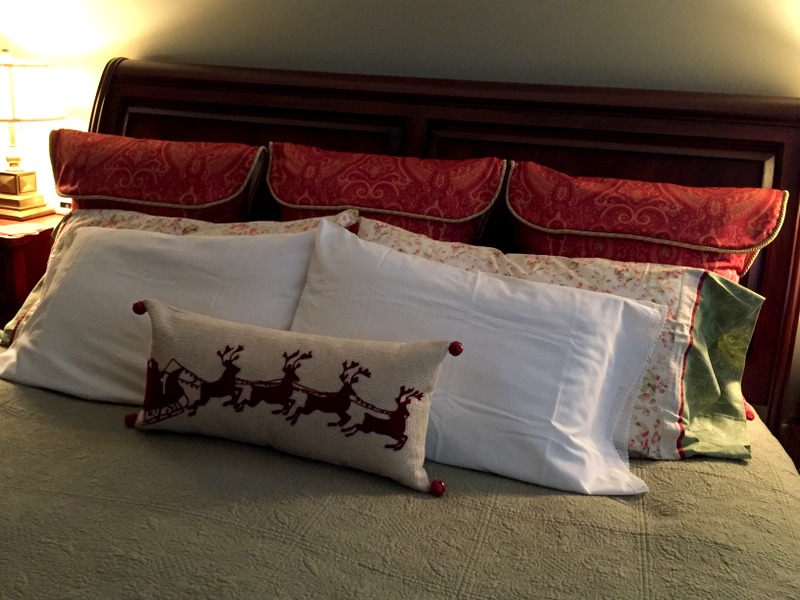
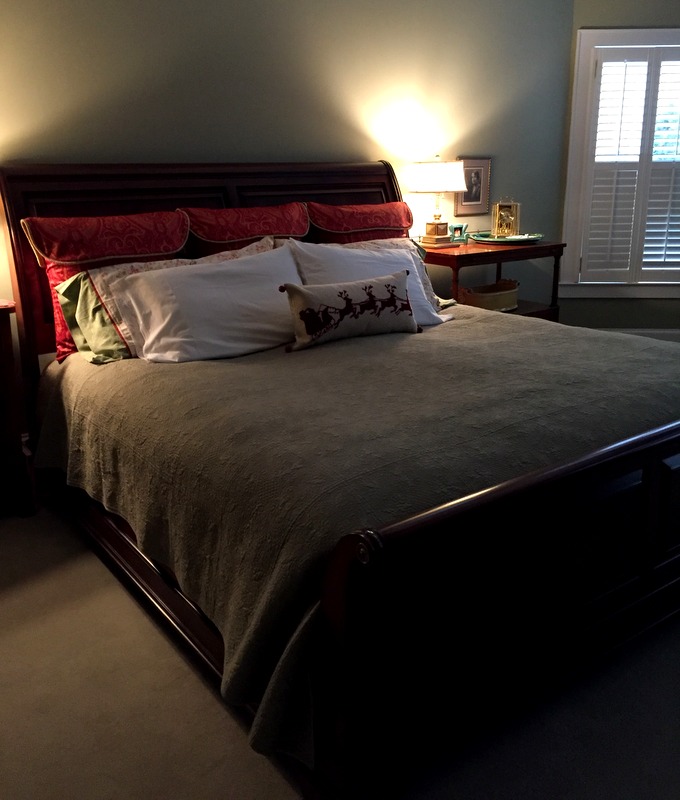
Don’t they look nice? I love the addition of the Christmas pillow. Here’s a view from across the room:
I’m back home in Portland now, ready to get back to work on a couple of projects I want to finish before the end of the year. And the end of the year is only 27 days away!

