On Hold: Star-Crossed Lovers

Do you ever have a vision for a quilt project that doesn’t quite pan out? That’s what happened last Thursday, when I took a class called “Star-Crossed Lovers” in Sisters, Oregon. I love teacher Colleen Blackwood’s design, pictured here:
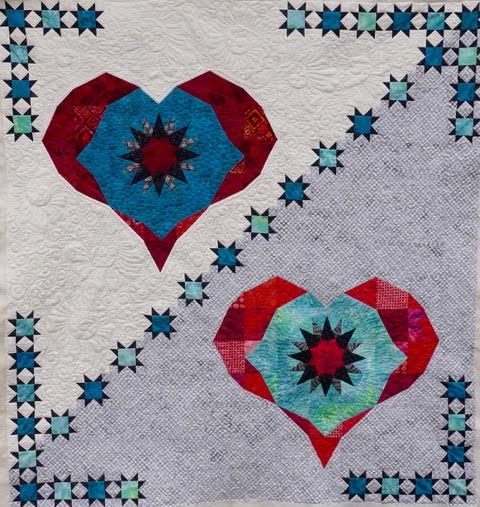
Star Crossed Lovers Colleen Blackwood
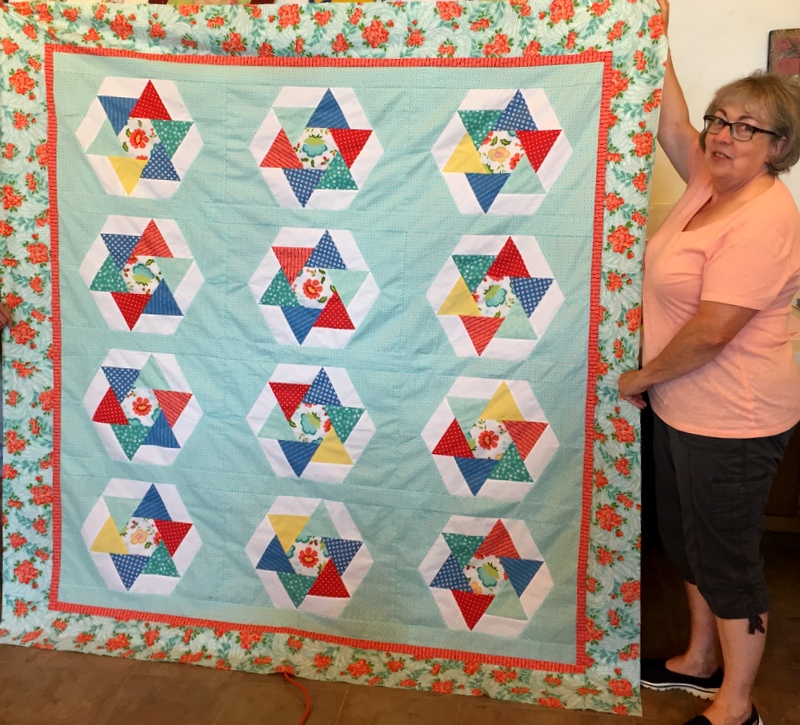
Star-Crossed Lovers (56″ x 60″) designed by Colleen Blackwood

The quilt you see above is hanging in a quilt shop in Washington State so my classmates and I didn’t get to see it in person but Colleen had another version on hand:
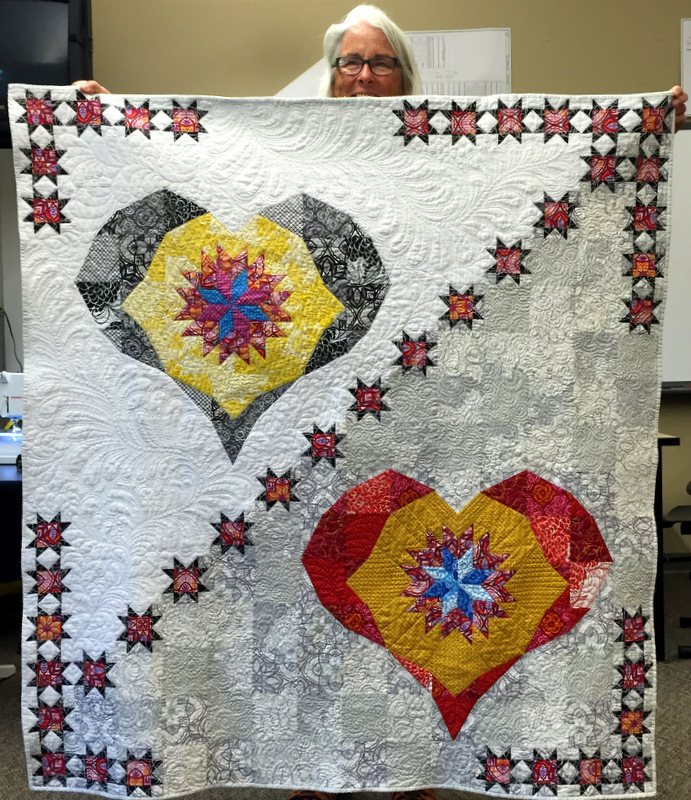
Star Crossed Lovers Colleen Blackwood 2
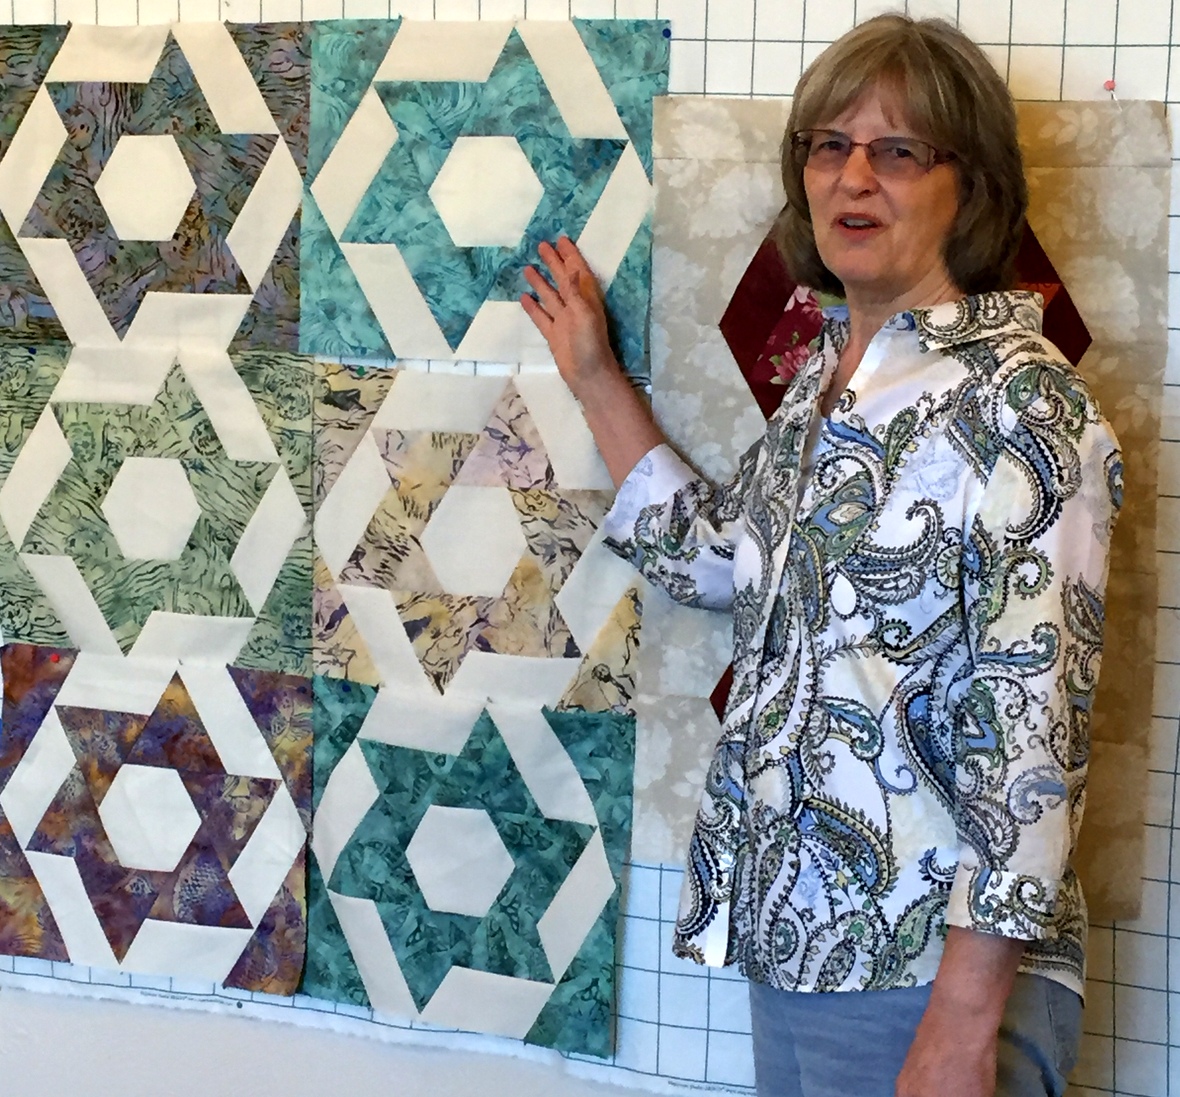
Colleen Blackwood with Version #2

(Both quilts were expertly quilted by Colleen on her domestic sewing machine.)

Note that each heart-within-a-heart contains a block that finishes at 12″ square. The background fabric for the inner heart is the same as the block background, so the block floats in the inner heart.

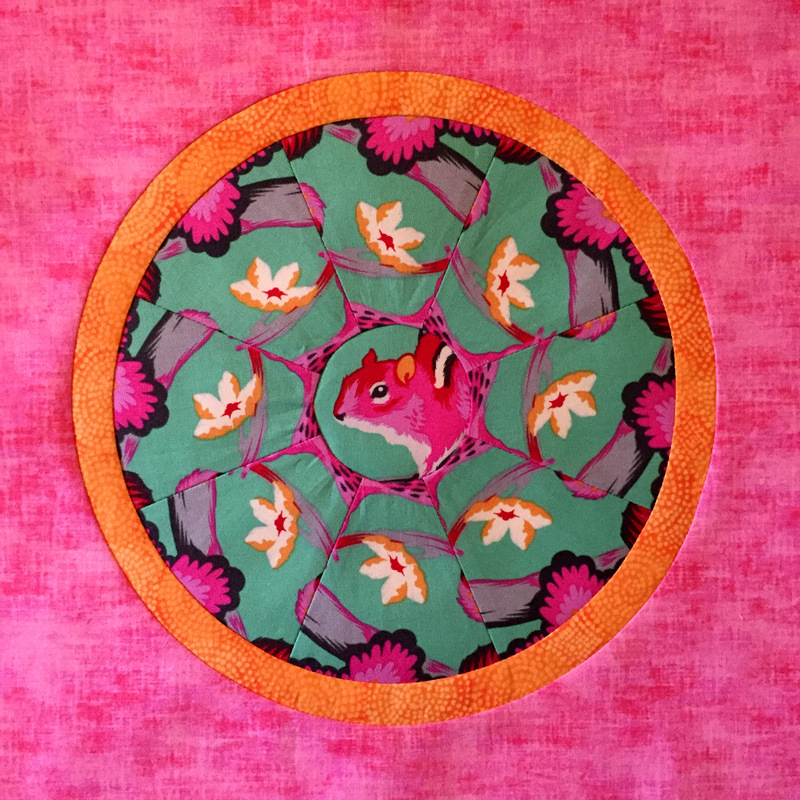
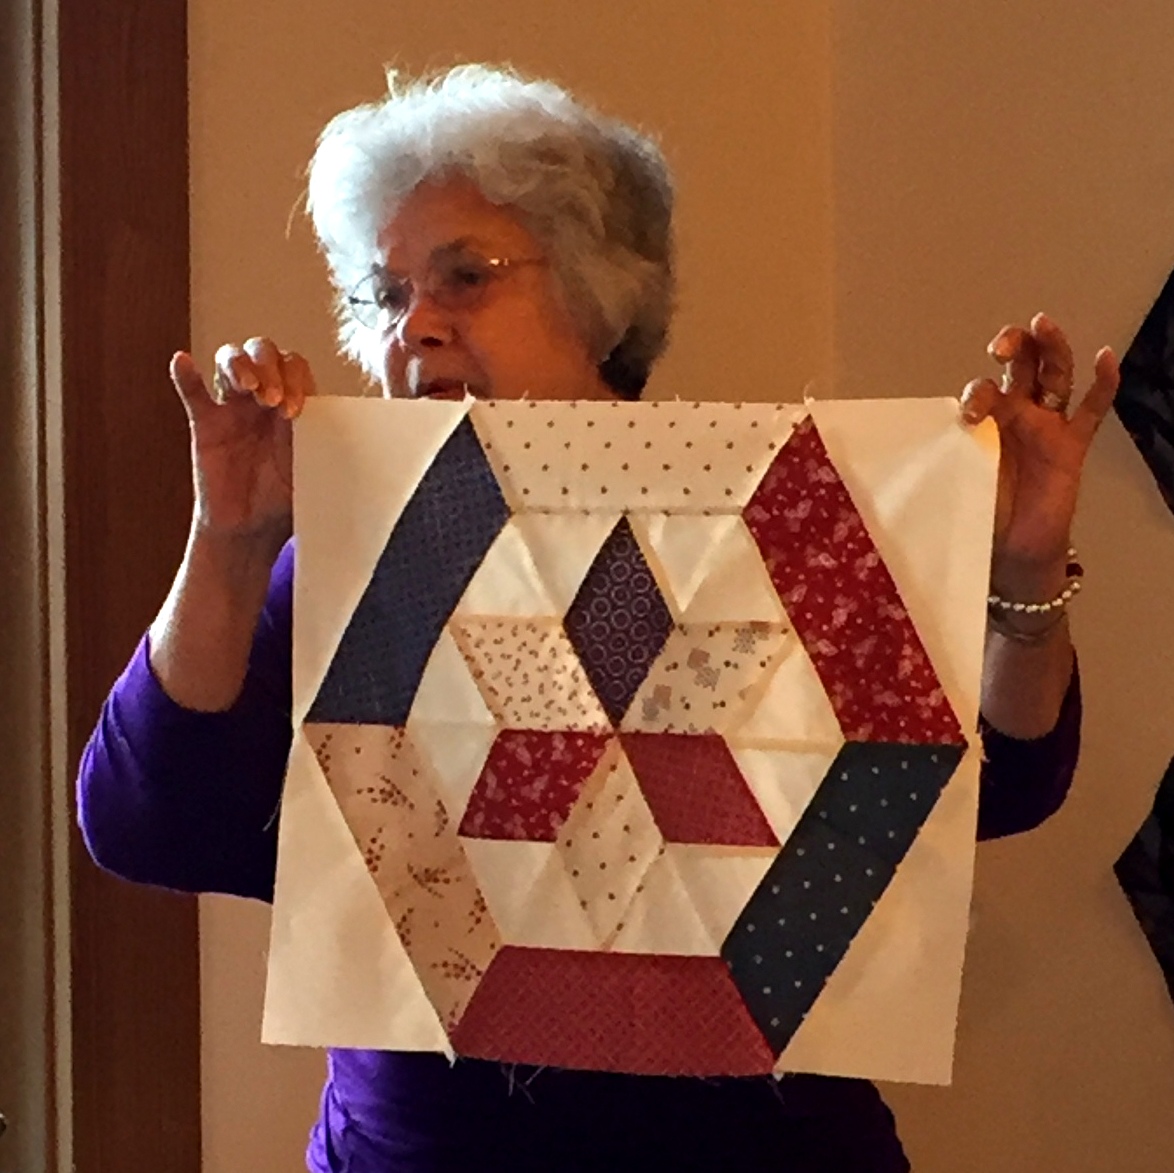
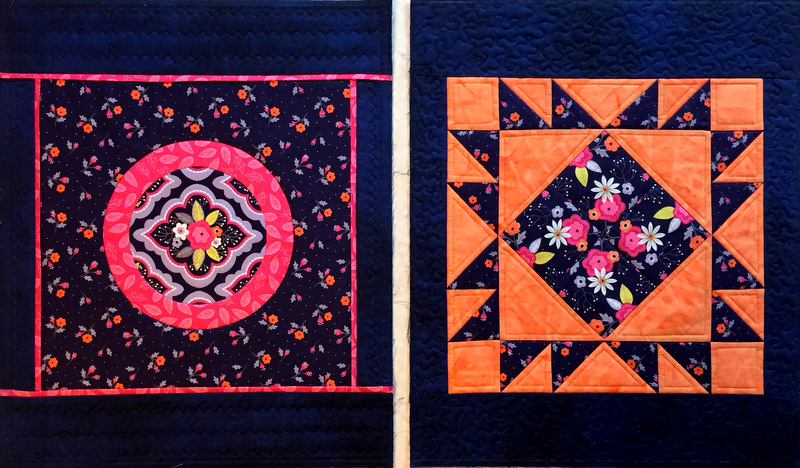
We students had the option to make our blocks in advance. I created two kaleidoscope blocks using Tula Pink’s Chipper fabric, making Chipper (the chipmunk) the focal point in both of them. I converted the octagonal kaleido blocks into circles, centering them in the 12″ square blocks. Here is the first block . . .
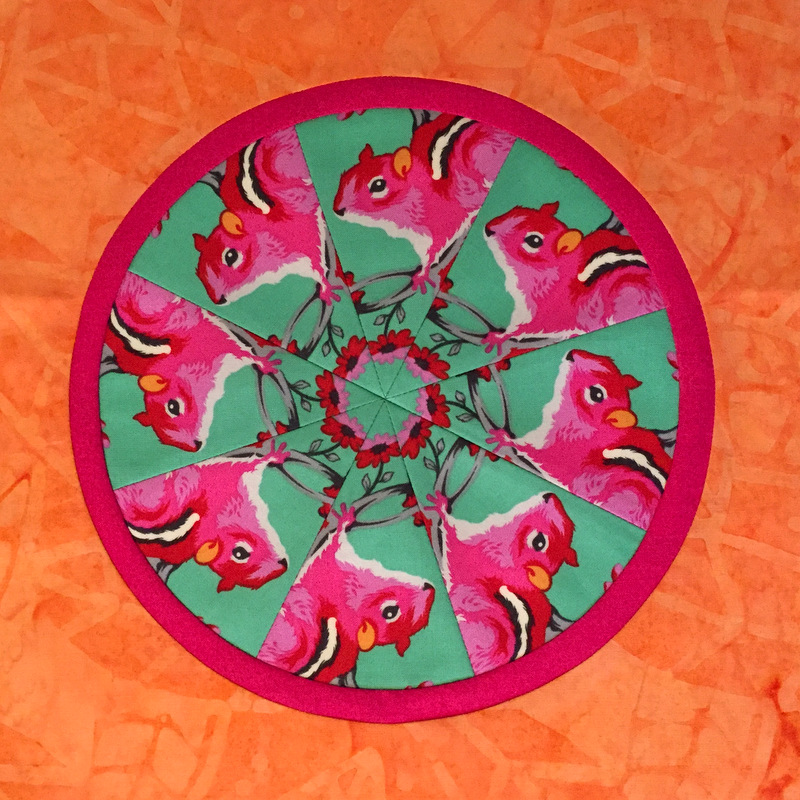
Chipmunk Love #1
Dawn’s First Block

. . . and the second one:

Chipmunk Love #2
Dawn’s Second Block

My plan is to have one heart go from pink to orange and the other from orange to pink. Starting with the pink block, I chose several orange fabrics for a scrappy outer heart. In class I labored away cutting my fabrics — inner heart, outer heart, and background — and sewing the first large heart-within-a-heart block.

Later that evening, as I was sewing the last of the orange segments to the inner heart, I realized I had a problem. Two of them, in fact.
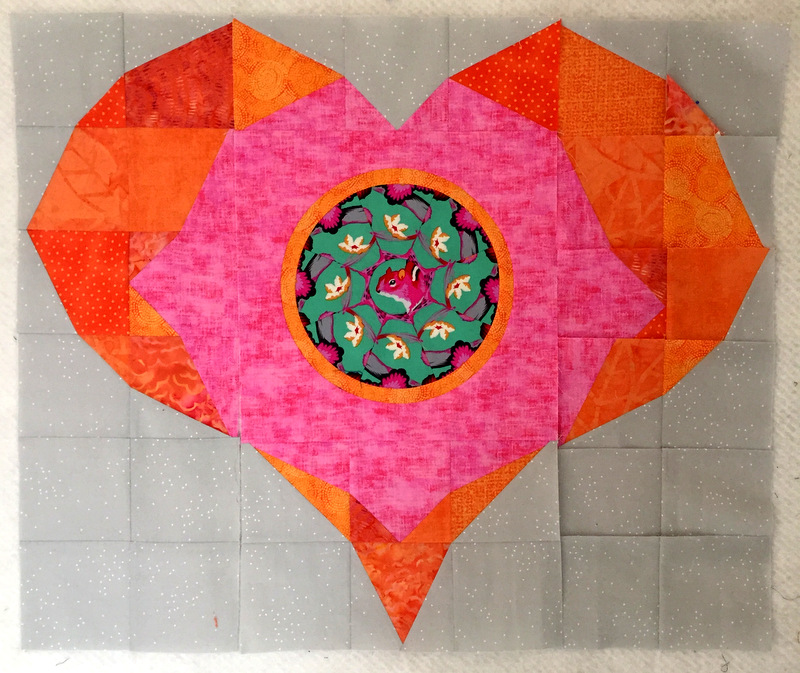
Star Crossed Lovers dawn's first attempt
Dawn’s first heart block, partially made


The first problem: there’s not enough contrast between the pink and orange fabrics; they are too similar in value. The orange polka dot fabric, which I initially thought might be too dark, seems just right to me now. I’m planning to remake the outer heart using just that fabric.

The second problem: my Chipper circle looks a little too small. It measures 9″ in diameter, not filling the 12″ squares as Colleen’s blocks do. So now I am thinking about reducing the scale of the hearts. Except for the center block, the entire quilt is constructed of squares that finish at 4″. If I reduce those squares to 3½”, the Chipper circles will appear larger in the inner hearts. But reducing the squares to 3½” means all of those sawtooth stars (43 of them) would have to finish at 3½” too. Do I really want to deal with that?

Another thought is to keep the center blocks the same size (12″) but add a second ring of color around the kaleidoscope blocks by inserting another circle. If I do that, it will preserve the original scale of Colleen’s design.

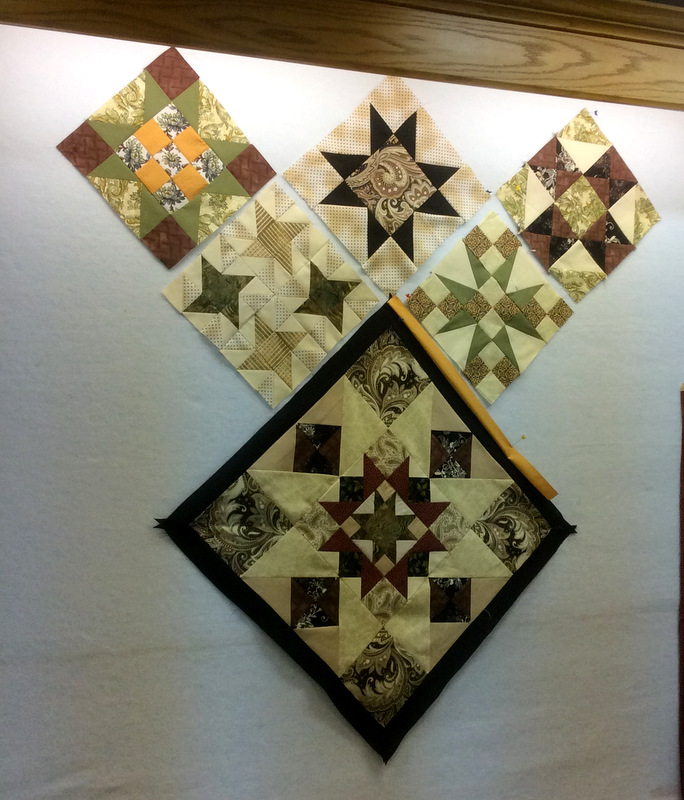
I put a lot of thought and effort into making my two chipmunk blocks and even have a quilt name picked out: Chipmunk Love. As much as I would like to continue working on this quilt, I’m reluctant to proceed until my path is clear. Now that I’m back at home, I’ll put the blocks up on my design wall and make sure I take a look at them a few times a day.

What a dilemma! Do you have any suggestions for me?


Posted in kaleidoscope quilts, update | 7 Comments

On Rewind at Quilter’s Affair

Yesterday I took Karla Alexander’s “Rewind” class in Sisters, Oregon. Rewind is the name of her brand new pattern for Saginaw Street Quilt Company, designed just for this class. Karla is teaching  at Quilter’s Affair, the week of classes (July 4-8) put on by the Stitchin’ Post quilt shop.

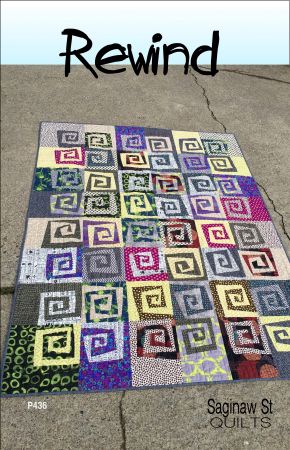
In my last post I showed you the cover of Karla’s pattern:

RewindP436FB_lg

I spent yesterday within 10 feet of the original quilt and plum forgot to take any photos of it. I expect it will be on display this Saturday, July 9, at the Sisters Outdoor Quilt Show, and I promise to take pictures of the real thing.

My friend Deborah and I took Karla’s class together, and we enjoyed every minute of it. Karla showed us how to make the Rewind block using the paper template and sewing guides included in the pattern.

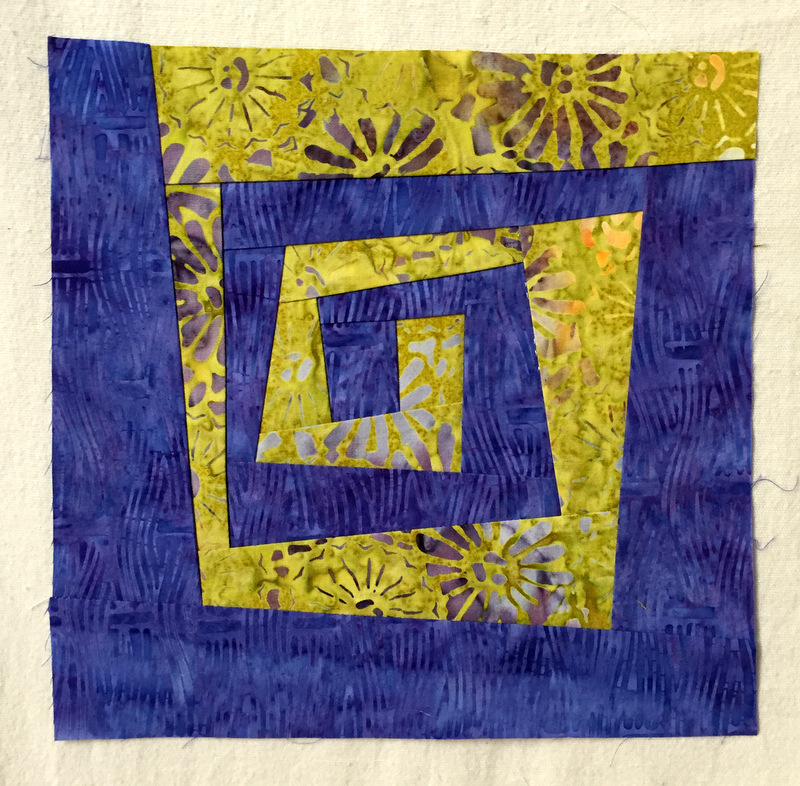
Here is my first block . . .

Dawn's first Rewind block
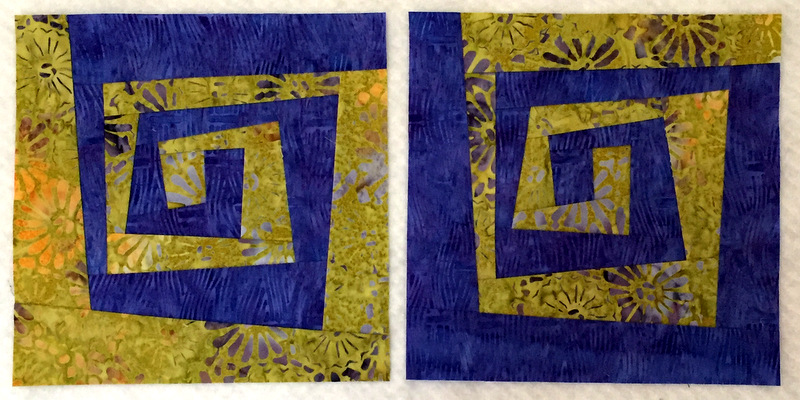
. . . along with the second block, the reverse of the first:

Dawn's first two Rewind blocksThese two blocks have been trimmed to 8½” square.
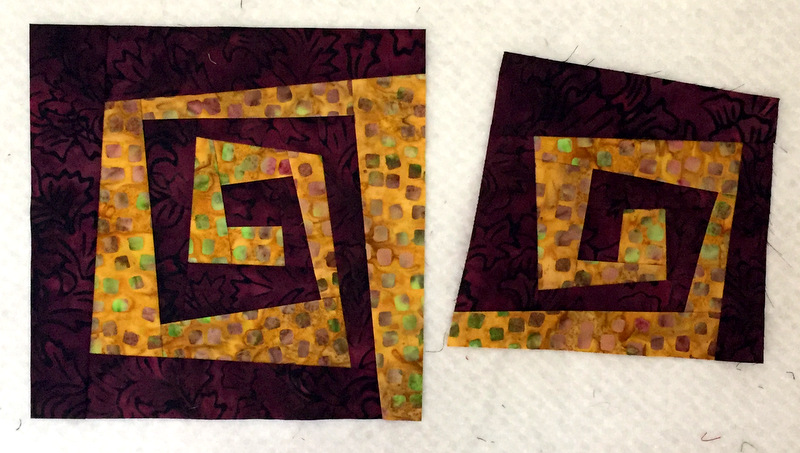
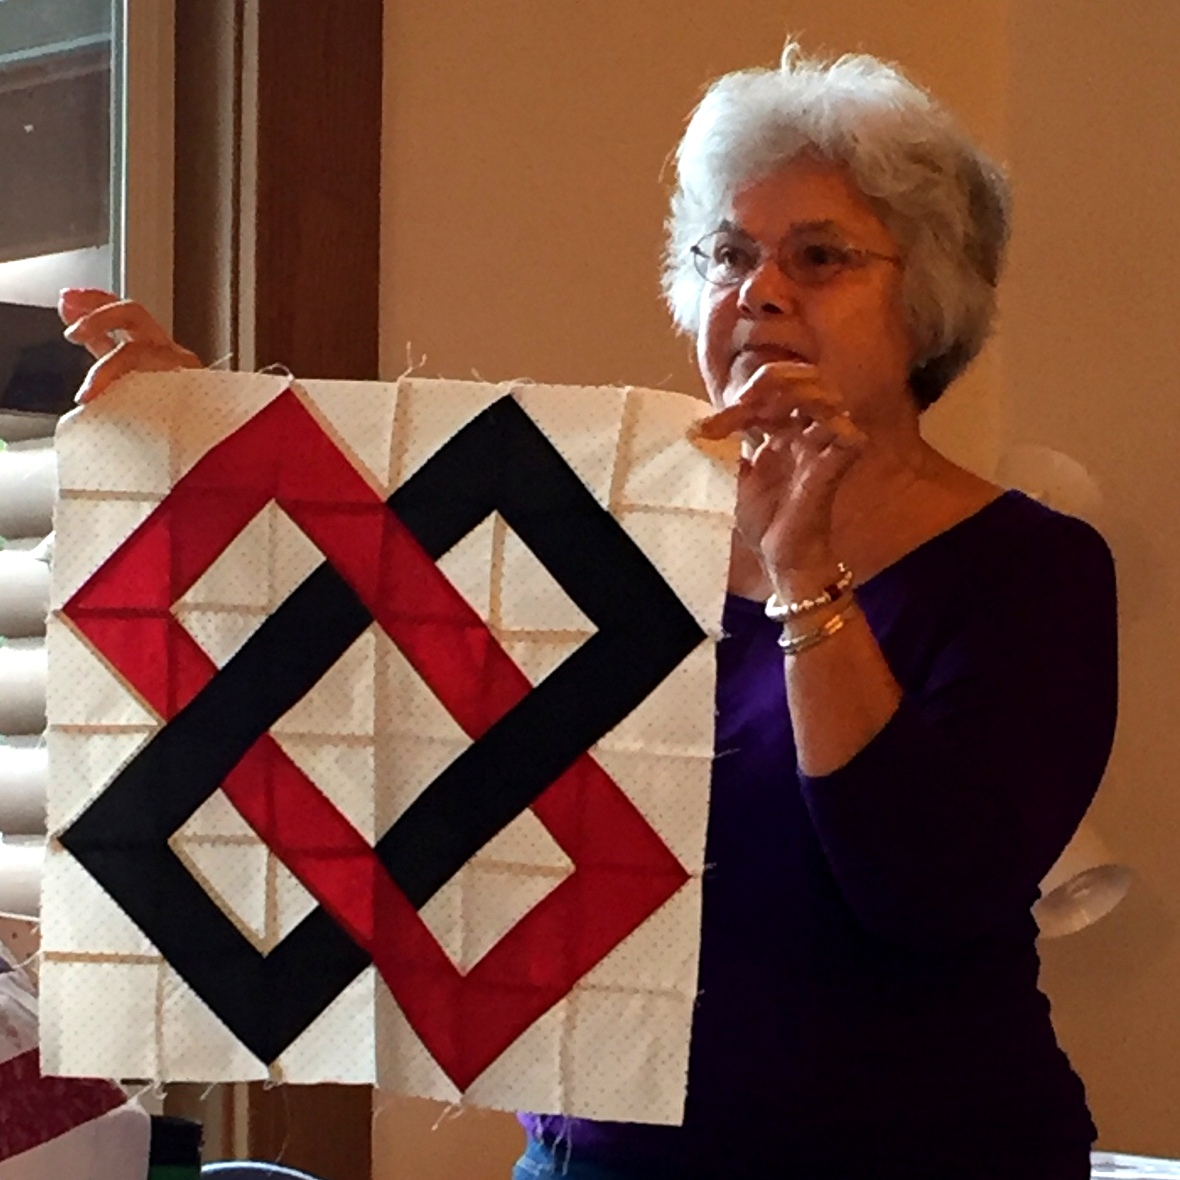
Do you see how the block looks like a wonky Greek key? Someone in class described the block as a cross between a Snail’s Trail block and a Log Cabin block, also an apt description.

Here are my third and fourth blocks:

Dawn's Rewind blocks 3 and 4
Yes, the fourth block isn’t done. I should have finished it in class but I sewed a strip on the wrong side and trimmed it before realizing my mistake. After unsewing the strip, I discovered it was too short to use in its proper spot. Now I have to wait till I get home to cut a new strip and finish the block.

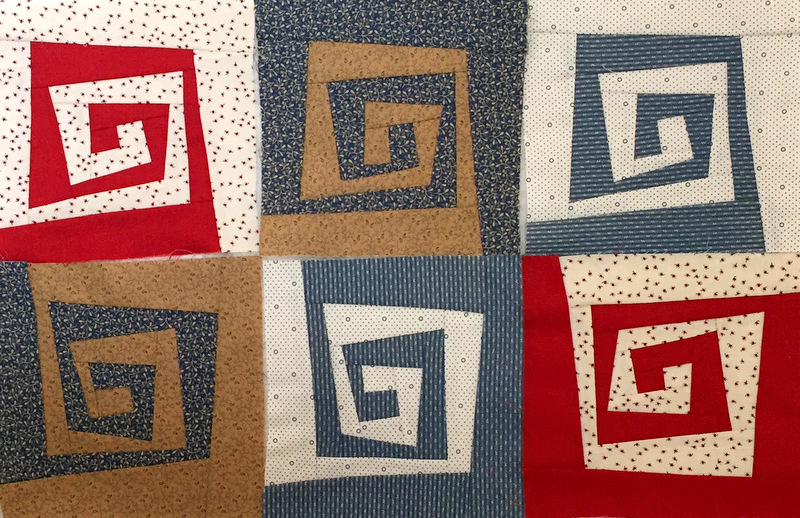
Deborah was speedy! She completed six blocks in class:

Deborah's Rewind blocks
Isn’t it fun to see the same design using completely different fabrics? Deborah’s palette is a controlled red-blue-tan-white in light to medium/dark values.

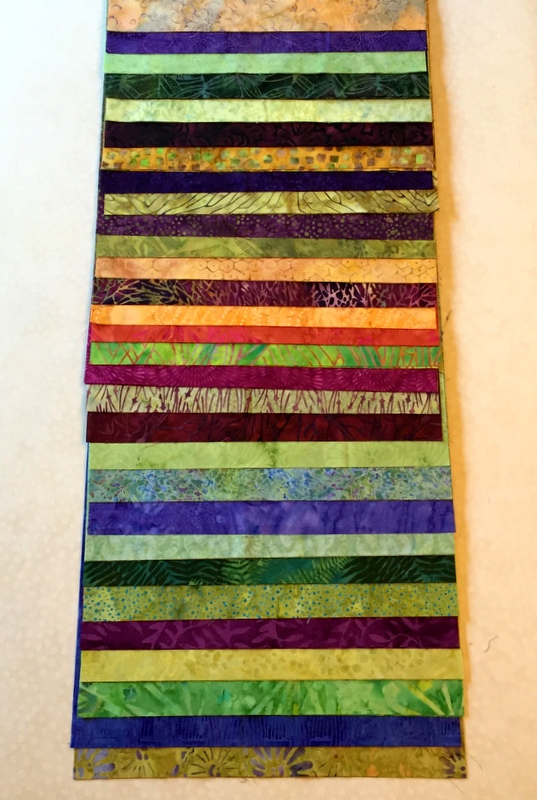
For my quilt I chose a colorful mix of batiks:

Rewind fabric pull

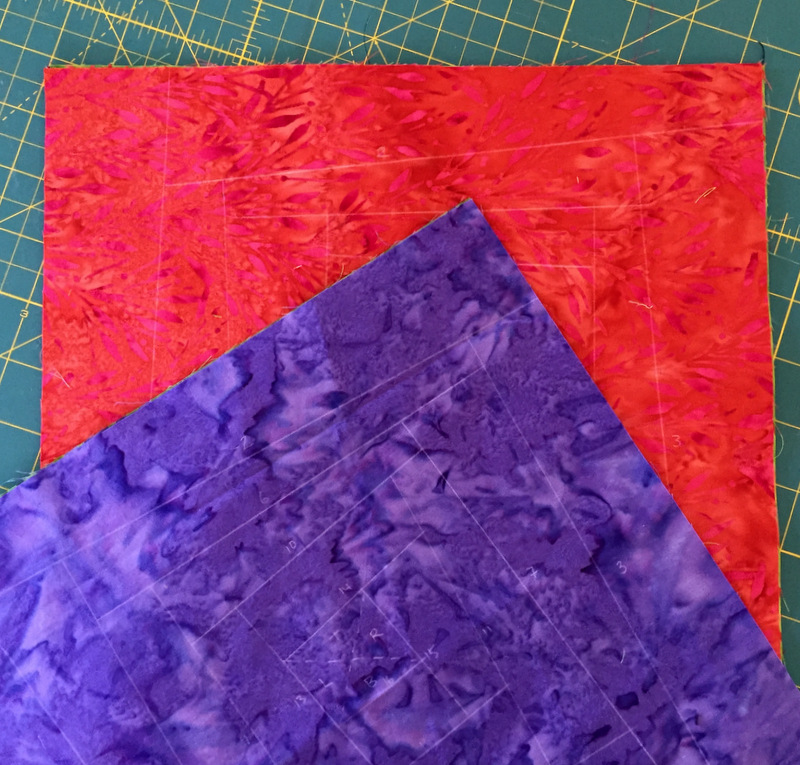
After we got the hang of using her template, Karla showed us how to cut our blocks free-form, i.e. without a template but with a ruler to get straight lines. Here I have two of my “darks” with the cutting lines marked in white:

Rewind squares free form

I would love to work on this all week but tomorrow brings another day . . . and another class: “Star-Crossed Lovers” taught by Colleen Blackwood. I hope you will check back to see what it looks like.


Posted in update | 7 Comments

Gearing Up for Quilter’s Affair 2016

On Sunday I’m heading over to Central Oregon with my quilt group, the Quisters, for a week of sewing,  including taking classes at Quilter’s Affair.

Do you know about Quilter’s Affair? It’s the week of classes put on by the Stitchin’ Post  quilt shop in Sisters, Oregon, leading up to the biggest outdoor quilt show in the world. The show is always held on the second Saturday in July; this year it falls on July 9.

For Quilter’s Affair, the Stitchin’ Post brings in teachers from the U.S. and abroad to join a group of talented local and regional experts. I’m taking a class taught by fellow Oregonian Karla Alexander of Saginaw Quilts. I’ve met Karla, heard her lecture, and admired her designs, so it’s high time I took a class from her.

She’s teaching five classes at Quilter’s Affair. I’m taking the one based on her pattern Rewind:

RewindP436FB_lg

Many of Karla’s designs are made by cleverly stacking, cutting, and sewing fabrics. Rewind is no exception. I was attracted to this pattern because of its resemblance to the classic Greek key design. Whereas the traditional Greek key is dignified, with straight lines and symmetry, Karla’s key (if I can call it that) is quirky and lighthearted, thanks to free form cutting, a freewheeling color palette, and funky fabrics.

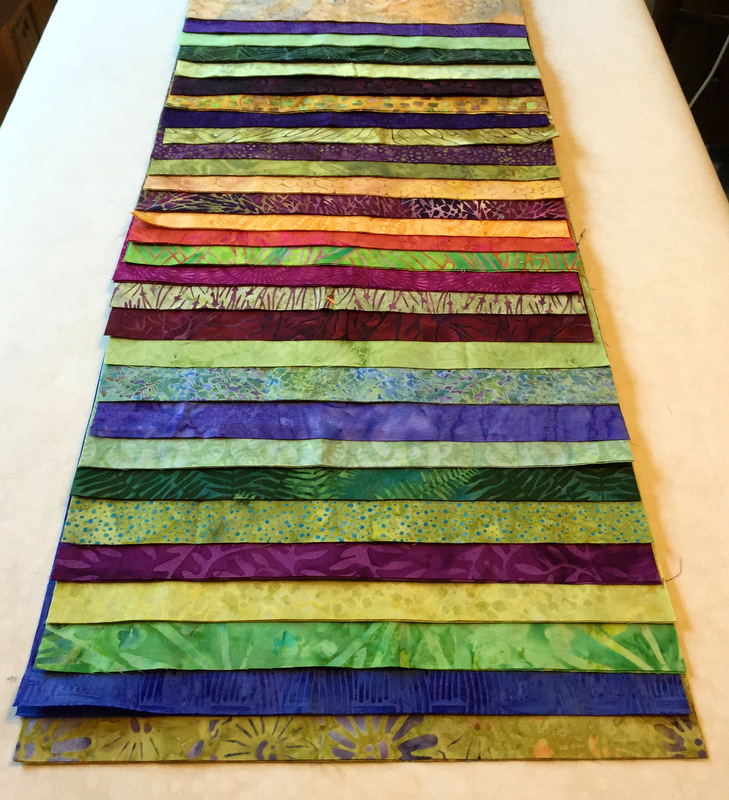
I decided to raid my batik stash for this quilt. Instructions were to start with a family of colors and pick an equal number of lights and darks. I started with green — no surprise there — and randomly pulled other colors that go well with it. After cutting my 12″ squares, I layered them so that each fabric looks good with its neighbor on either side.

Here is my fabric pull:

fabric pull for rewind

Most of these squares are doubles, with a few singletons. For the class project 48 squares are needed. I wound up with 60, which gives me some leeway. In some cases a fabric works as a light with one neighbor but as a dark with the other. It will be interesting to see if this affects the construction process.

Taking this class will be extra fun because my fellow Quister Deborah is taking it, too. I wonder what fabrics she chose. Quilter’s Affair, here we come!


Posted in Quilter's Affair, Quisters (Quilt Sisters), update, wonky Greek key | 6 Comments

Revisiting Reach for the Stars

Reach for the Stars, the spectacular sampler quilt designed and made in 2012 by Terri Krysan of Lakeville, Minnesota, continues to enchant quilters all over the world. Terri’s quilt was pictured on the cover of the Oct./Nov. 2013 issue of Quilter’s Newsletter. My guess is that hundreds, if not thousands, of versions have been made — or at least started — since then.

Directions for the quilt were presented in a series beginning with that issue of Quilter’s Newsletter and ending with the Oct./Nov. 2014 issue. My version, named Catch a Falling Star, was completed early in 2015. During the year I spent making my quilt, I became part of an on-line community of Reach for the Stars makers that continues to this day.

About a year ago I heard from Annette Holder in Jonesboro, Arkansas, who was just starting her RFTS quilt and had a construction question. A couple of weeks later, Annette sent this picture of her center medallion and first five blocks:

annette holder's medallion and first five blocks

In addition to the center medallion, Reach for the Stars contains 14 pieced blocks. Annette replaced some of the blocks in Terri’s original quilt with some more to her liking. (I did the same.)

Just a few days ago Annette sent me photos of her completed quilt top. It is gorgeous! See for yourself:

image1

Here’s a view from a different angle:

image2

Beautiful, Annette! I can’t wait to see it quilted.

Earlier this year I had the pleasure of meeting Judi Schwenk, a quilter from Vancouver, Washington — just across the bridge from my home in Portland, Oregon. Judi’s version of RFTS is called Shadows in the Fog:

Judi Schwenk's RFTS quilt

Perfectly named, considering the misty blues and muted lavenders and greys in the quilt. Here’s a close-up of the center medallion, which also gives you a glimpse of the lovely swirly quilting motif:

Judi Schwenk's RFTS detail

This is a stunning achievement, given that Judi is a relatively new quiltmaker.

Chris Tabuteau of Melbourne, Australia is also a beginning quilter. She, too, created a fabulous version of Reach for the Stars. Chris bought a set of 40 Barbara Brackman Richmond Reds fabrics “on a bit of whim,” as she recalls. She thought a sampler quilt would allow her to use most of the fabrics and develop some sewing skills.

An avid gardener, Chris replaced some of the star blocks with her own very stylized adaptations of flower blocks. The result is Cottage Garden:

Chris Tabuteau RFTS
Can you believe this is Chris’s third quilt? This close-up shows her accurate piecing as well as the fine work of her longarm quilter:

Chris Tabuteau RFTS corner detail

Chris also pieced a lovely back, a finished quilt in itself . . .

Chris Tabuteau RFTS back

. . . and made a set of pillowcases from the very last of the scraps:

Chris tabuteau RFTS pillow

Thank you, Annette, Judi, and Chris, for sharing your beautiful creations!


Posted in Reach for the Stars sampler quilt, update | 10 Comments

Friday Finish: Mini Rings Quilt

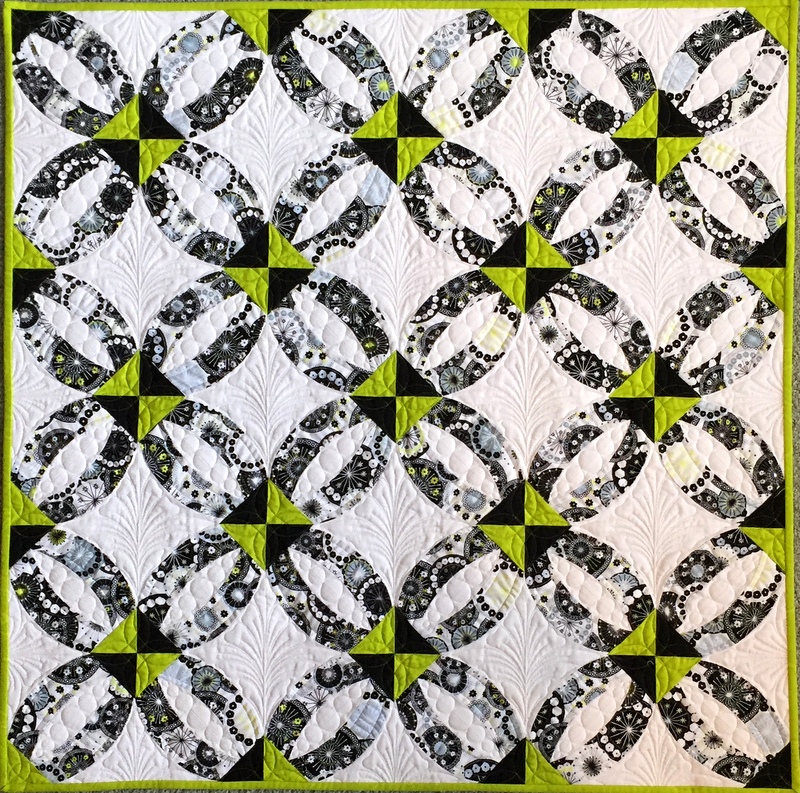
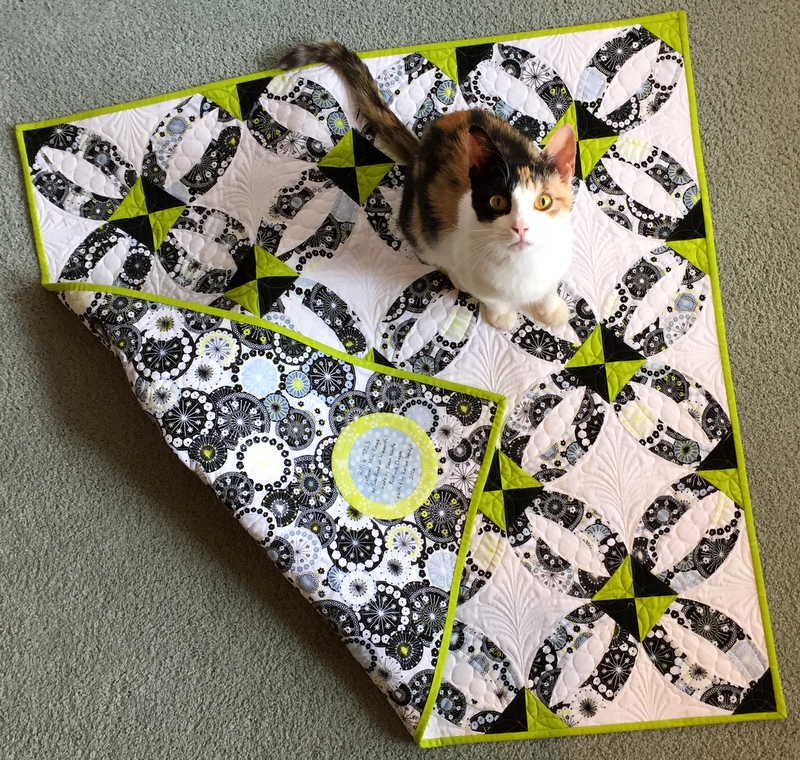
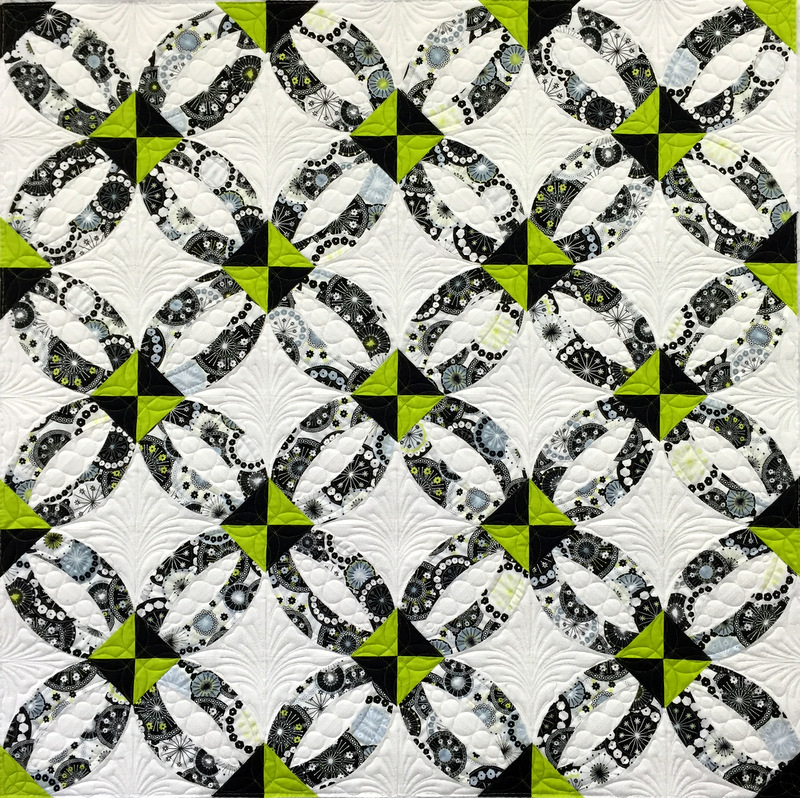
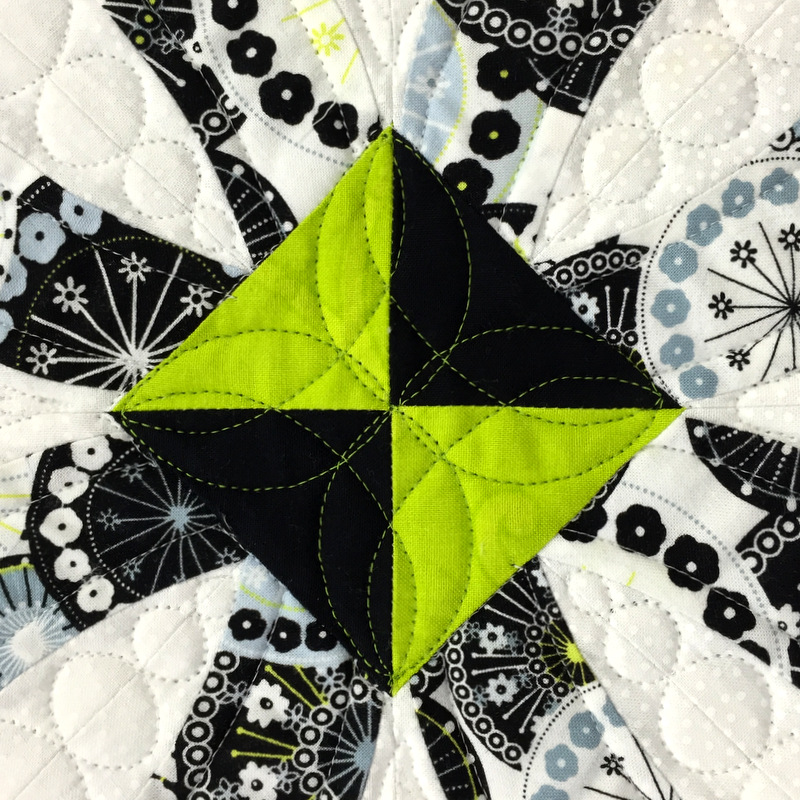
2016-6 Ring Toss, croppedMy quilt Ring Toss, based on the double wedding ring block, is finished. It measures 32¼” square. The pattern is  Mini Rings by Sew Kind of Wonderful and was made with the mini Quick Curve Ruler.
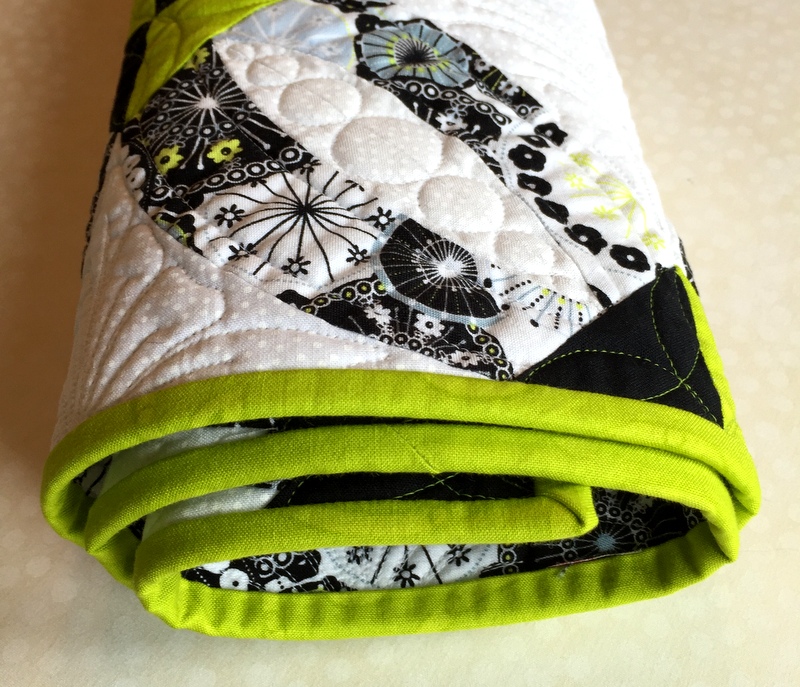
As much as I liked this little quilt after getting it back from the longarm quilter (Karlee Sandell of SewInspired2Day), I like it even more now that it’s bound:

2016-6, Ring Toss binding detail

One of my friends wondered why I chose green for the binding over black. Black would have provided a strong dramatic frame for the quilt, it’s true. So why green?

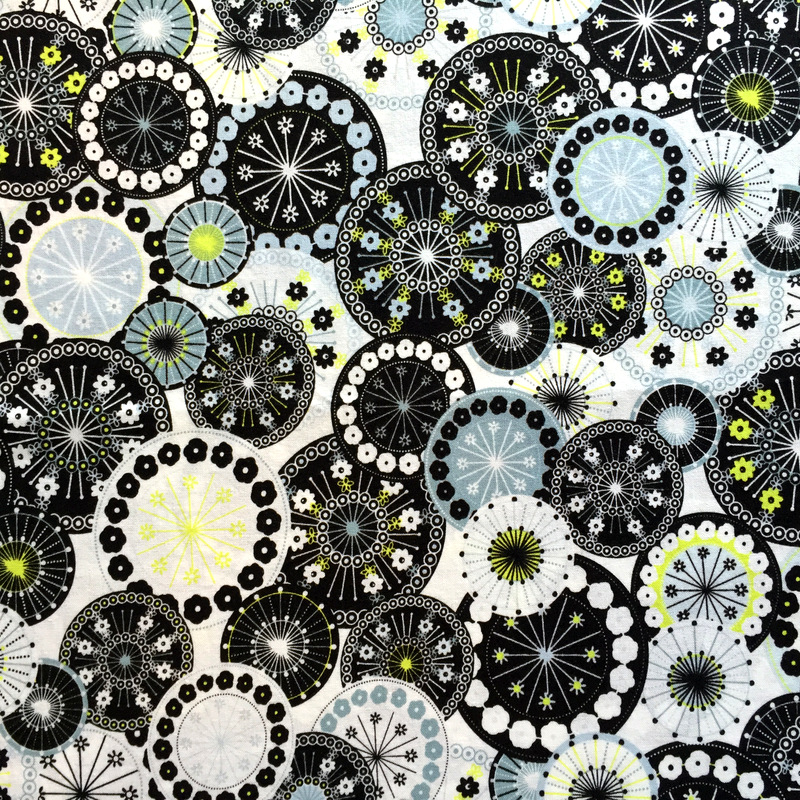
First, I wanted to draw attention to the playful nature of the focus fabric used in the rings. That fabric (from the Doodle line by Alice Kennedy for Timeless Treasures) is mostly black and white with touches of lime green and light blue. The overlapping circles in the fabric remind me of ferris wheels and fireworks. A bright color seemed more appropriate than black for the happy mood I wanted to emphasize.

Second, instead of piecing a backing for the quilt with different fabrics, as I usually do, I used one piece, the same print used on the front. From a distance, the fabric reads primarily as black and white. If I had pieced the back I would have added quite a bit of lime green to liven it up. Since I wanted the quilt to be bright and cheerful from both sides, green binding was the obvious choice.

Oh, and then there is that third reason, which I think I’ve mentioned a few times before: green is my favorite color.

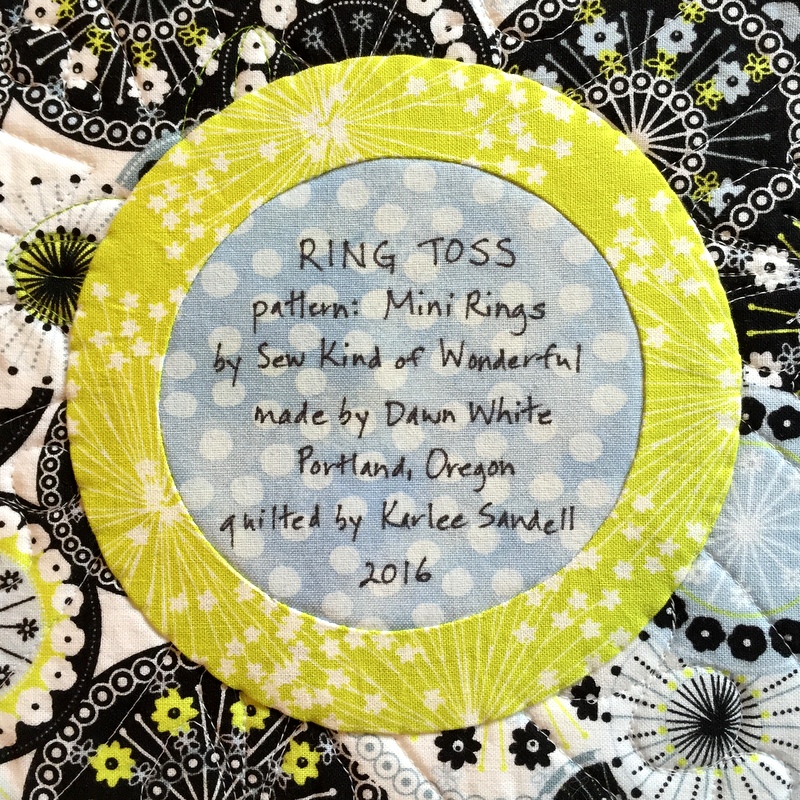
In keeping with the block design, fabric design, and quilt name, the label features  — what else? — a double ring:

2016-6, Ring Toss label

Do you think I should have named it Coco’s Quilt?

Coco's quilt


Posted in cats, QCR Mini, Quick Curve Ruler, update | 8 Comments

Ring Toss: Quilted!

Ring Toss, my little quilt made from Sew Kind of Wonderful’s Mini Rings pattern, is back from the quilter already. Take a look:

Ring Toss, quilted 1
I asked Karlee Sandell of SewInspired2Day.com to quilt this for me, and I couldn’t be more pleased. I had been thinking of Karlee as an up-and-coming longarm quilter because she is quite new to the field, but it’s quite clear she has already arrived.

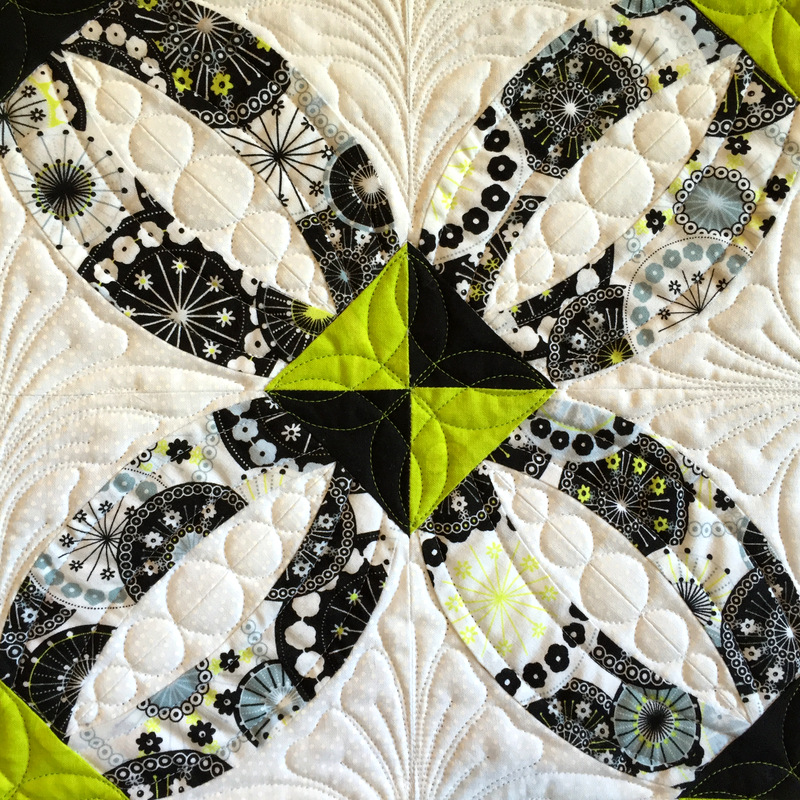
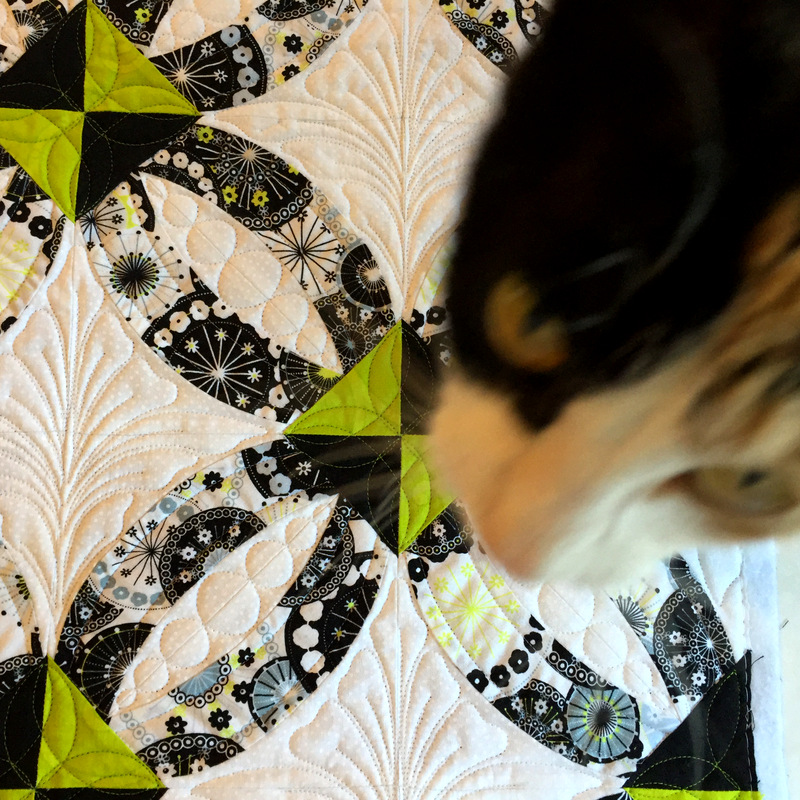
Here are some close-ups of her lovely quilting, first on an X block . . .

Ring Toss, quilted X

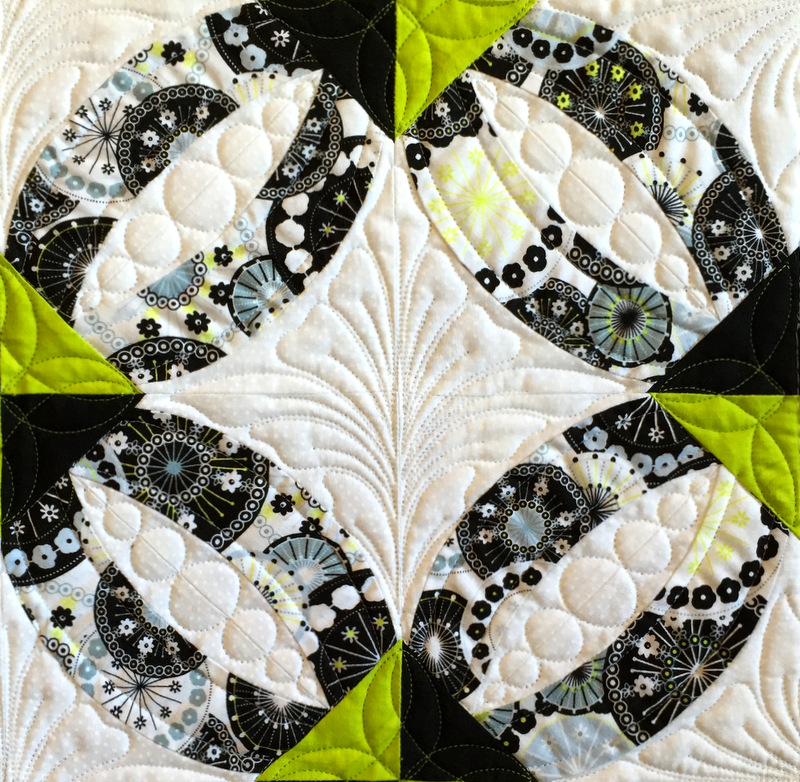
. . . and then on an O block:

Ring Toss, Quilted O
The acanthus motif fills the center of the O block beautifully. And don’t you love the quilted “pearls” in the elongated oval between the rings?

For the green and black triangles that form an on-point square where the rings meet, Karlee designed her own quilting motif, intertwining rings that reinforce the theme of the quilt:

Ring Toss, quilting detail 1
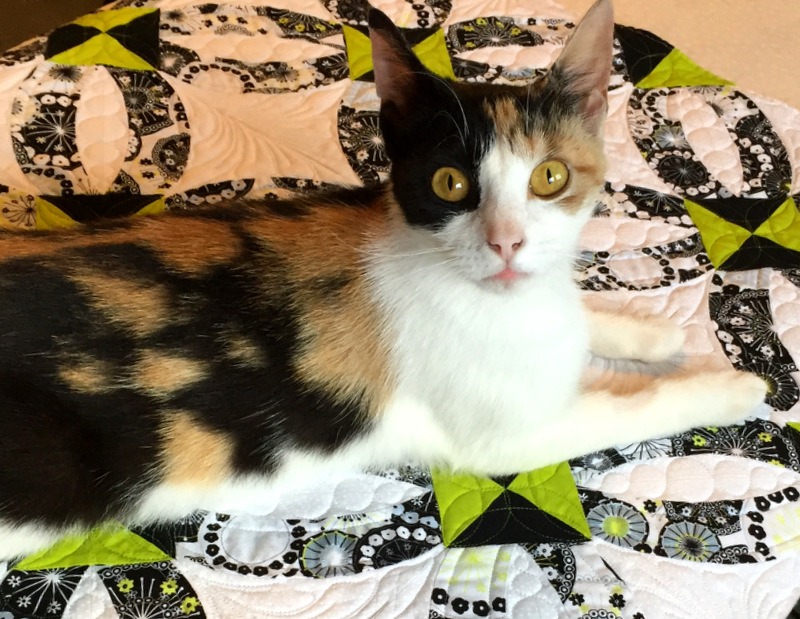
I have been trying all morning to photograph this quilt. Every time I place the quilt on a flat surface, my new cat Coco photobombs it:

Ring Toss, photobombed by Coco

Ring Toss and Coco

Doesn’t she look innocent?

Ring Toss measures 33¼” square after quilting. Now it’s on to the binding and the label. I’m going to use the same lime green fabric for the binding that’s in the quilt; I think it will frame it nicely.


Posted in cats, QCR Mini, Quick Curve Ruler, update | 14 Comments

Mini Rings: Off to Be Quilted

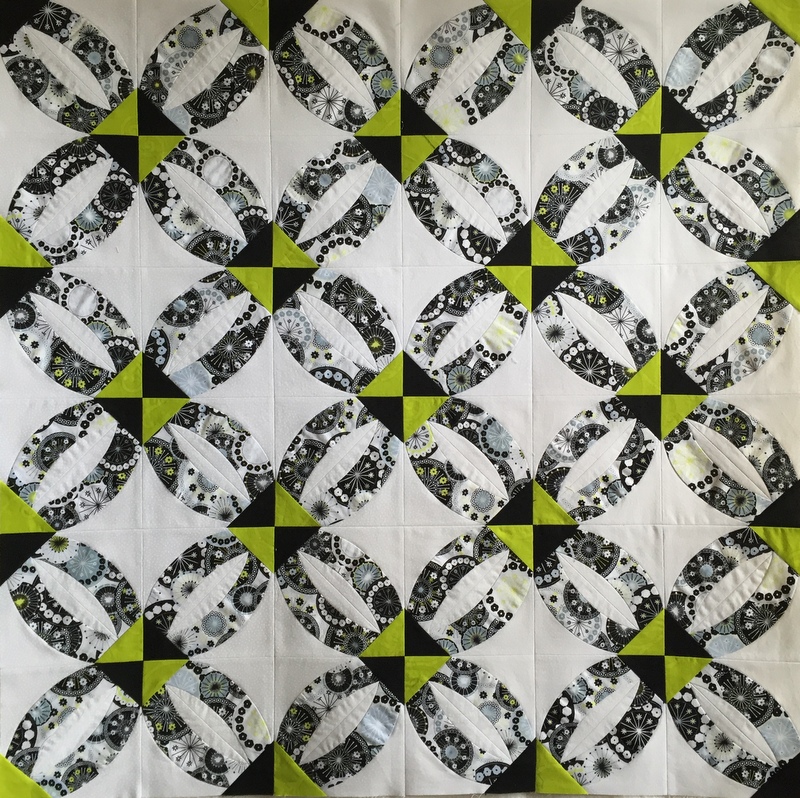
Mini Rings top done
The Mini Rings quilt top I started last month is done and — as of today — off to be quilted. The top, measuring 34″ square, was made with a focus fabric from a Timeless Treasures line called Doodle, designed by Alice Kennedy.

The quilt is small enough that I could have quilted it myself on my domestic machine but I chose not to do that. You probably know that quilting is my least favorite part of the quiltmaking process. I decided I wanted the quilt to reflect the deft touch of a talented free motion longarm quilter. We seem to have a growing number of them in the Portland area.

I used a single piece of the focus fabric on the back, a portion of which is shown here:

Doodle

Primarily black and white with touches of lime green and cool blue, the print features overlapping circles ranging from 1¼” to 2¾” in diameter. What do you see when you look at them? I see fireworks and ferris wheels, which makes me think of carnivals.

And that led me to the name for my quilt:  Ring Toss. Isn’t that perfect? Or should I call it Mini Ring Toss?


Posted in QCR Mini, Quick Curve Ruler, update | 4 Comments

Pine Needle Retreat 2016

Talk about a room with a view!

Hood Canal

This photo of Hood Canal in Washington State — those are the Olympic Mountains in the background — was taken from the deck of the house I stayed in last week. I was in Union, Washington to teach at a four-day quilt retreat organized by the Pine Needle. The deck of the house I shared with Geri, the owner of the Pine Needle, was built right over the water. I fell asleep to and woke to the sound of water gently lapping at the rocks on the shore.

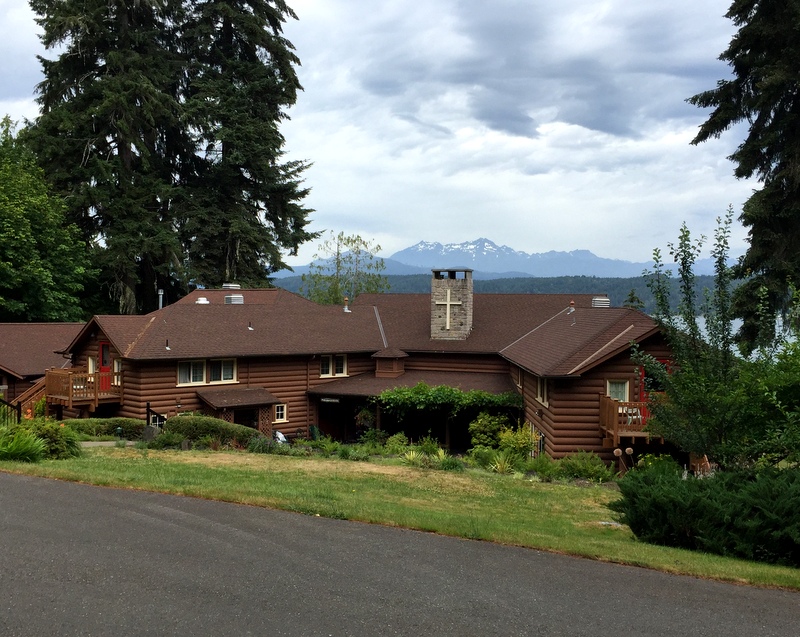
The retreat itself was held at St Andrews House, a retreat and conference center run by the Episcopal Church of Western Washington:

St Andrews House, Hood Canal
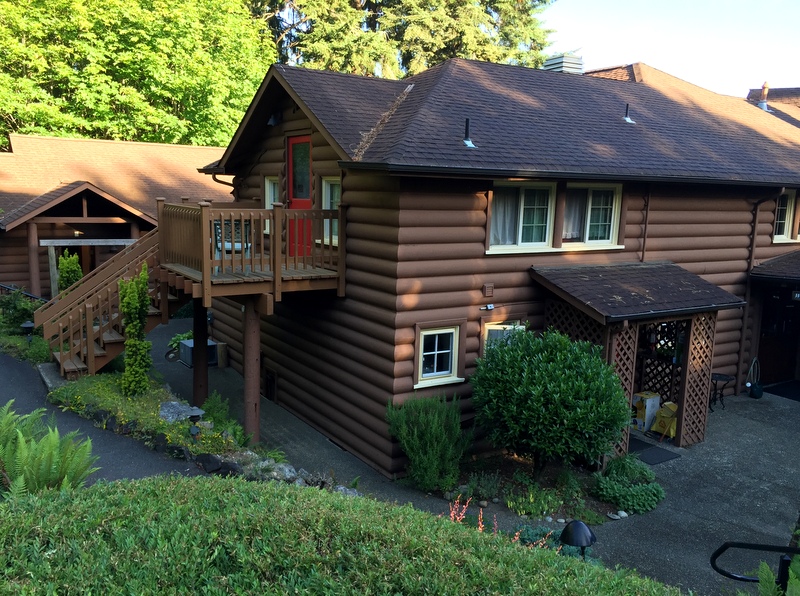
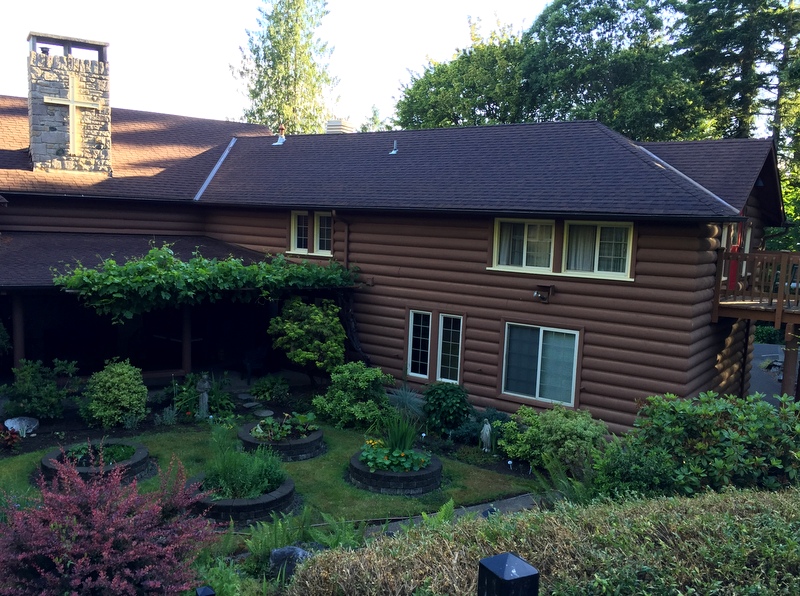
Isn’t that a serene setting for a retreat? Here are a couple of closer views of the building:

St Andrews House Hood Canal 1

St Andrews House Hood Canal 2

A covered deck runs the entire length of the house on the water side, affording spectacular views of Hood Canal (technically a glacial fjord) and the Olympics.

The pattern I selected for the retreat was Spinners, from the book On the Run Again by Heather Mulder Peterson (Anka’s Treasures, 2014). Spinners is one of 11 designs in the book, so participants got a bonanza of designs when they signed up.

One of the things I love about teaching is seeing what fabric combinations students bring to the sewing table. Here are the first few blocks:

Spinners first blocks
On our last morning, we had an impromptu show and tell of our projects. Unfortunately, our California girls (Candyce, Jan, and Janice) had to leave very early to catch a flight home, and a couple of other participants had already packed their projects away, so I don’t have photos of those. Still, we have plenty of examples to show you.

Diana came to the retreat planning to make one test block. She liked her first block so well she decided to make an entire quilt! Here are her first six blocks:

Spinners Diana

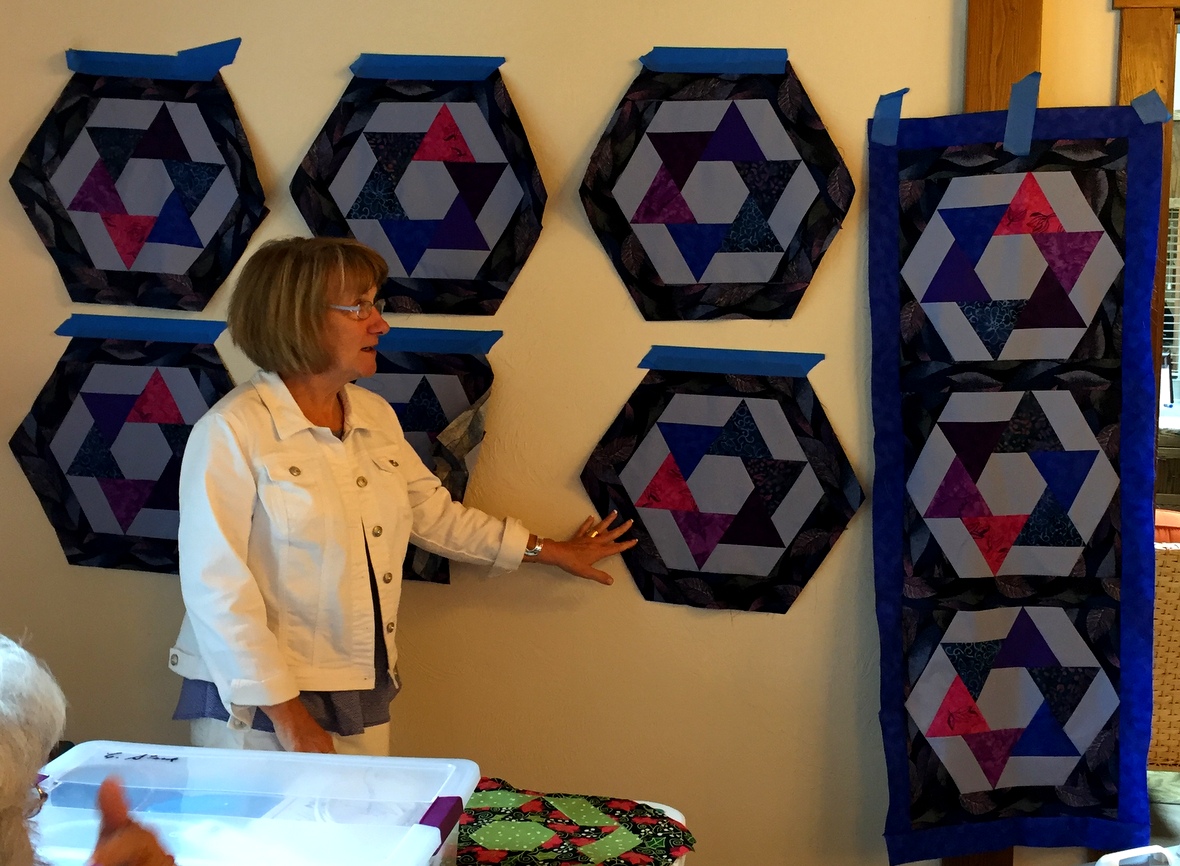
Linda completed her quilt top! She fussy cut the center hexagons. The narrow containment border and wider floral border set off her blocks beautifully:

Spinners Linda Lake

Sophia was very productive! Not only did she complete a Spinners top . . .

Spinners Sofia
. . . she also made another block from Heather’s book, the block called Happy Dance . . .

Sofia with Happy Dance . . . and this one called Chatter Box:
Sofia with block
Donna made a set of placemats using the table topper design from the book — and had enough fabric leftover to make a table runner:

Spinners Donna

Those placemats will add a lively jolt of color to Donna’s table.

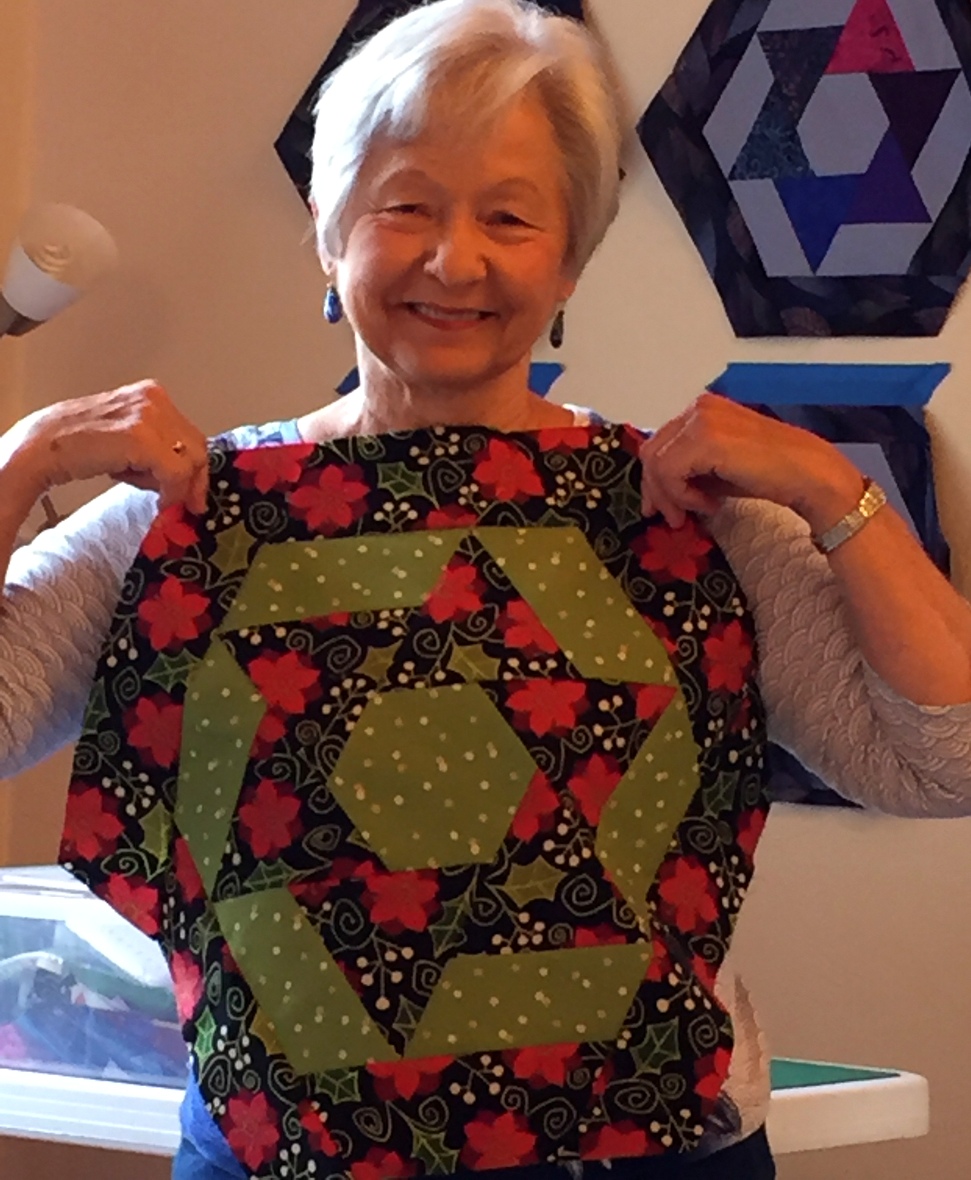
Carol S. also chose the table topper design, using a delightful holiday fabric featuring poinsettias and holly:

Spinners Carol Stark
She made several, to be given as gifts. Lucky recipients!

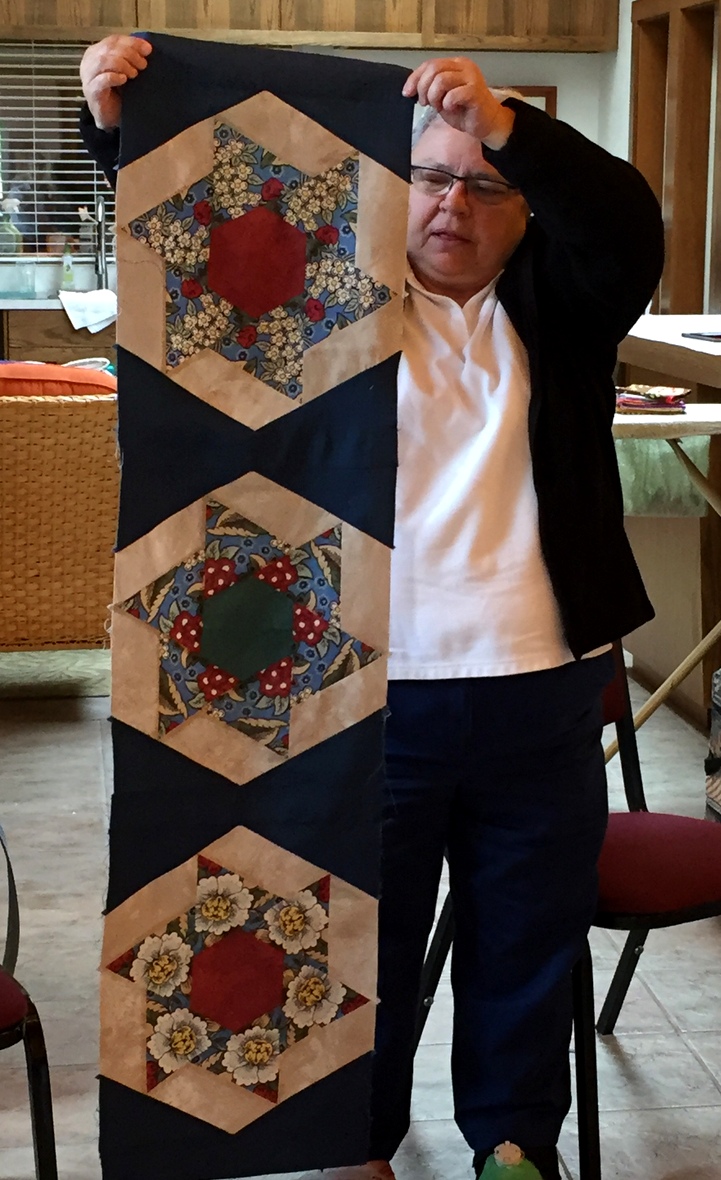
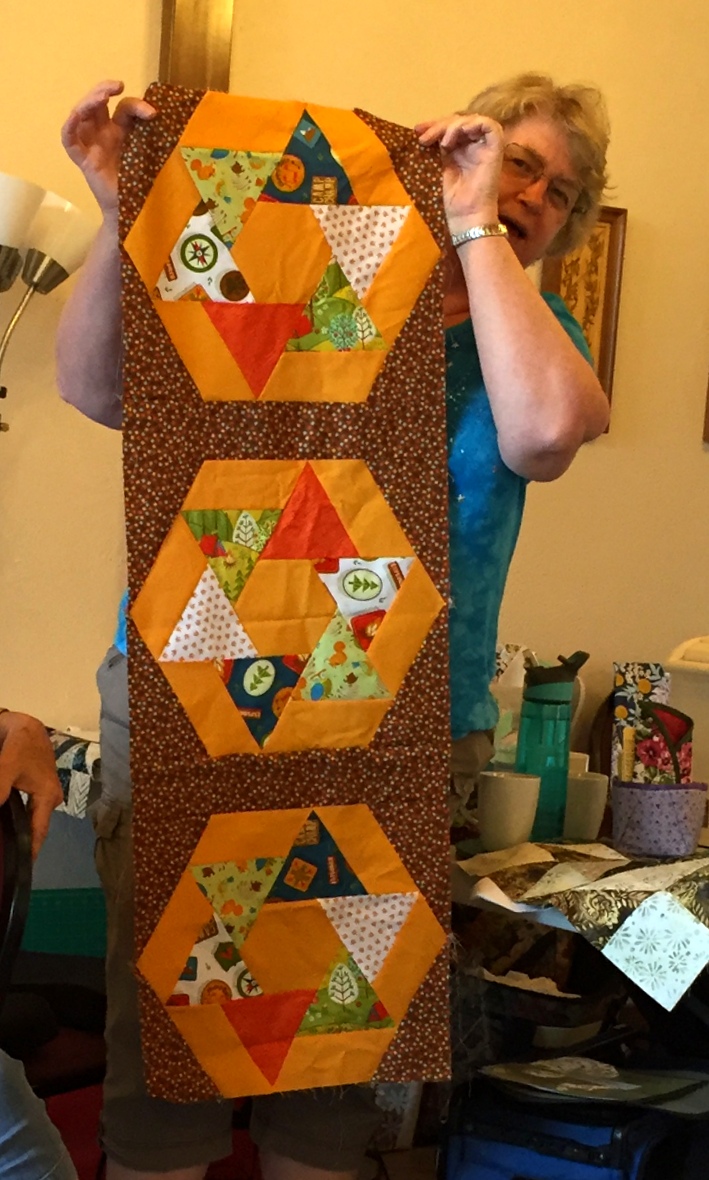
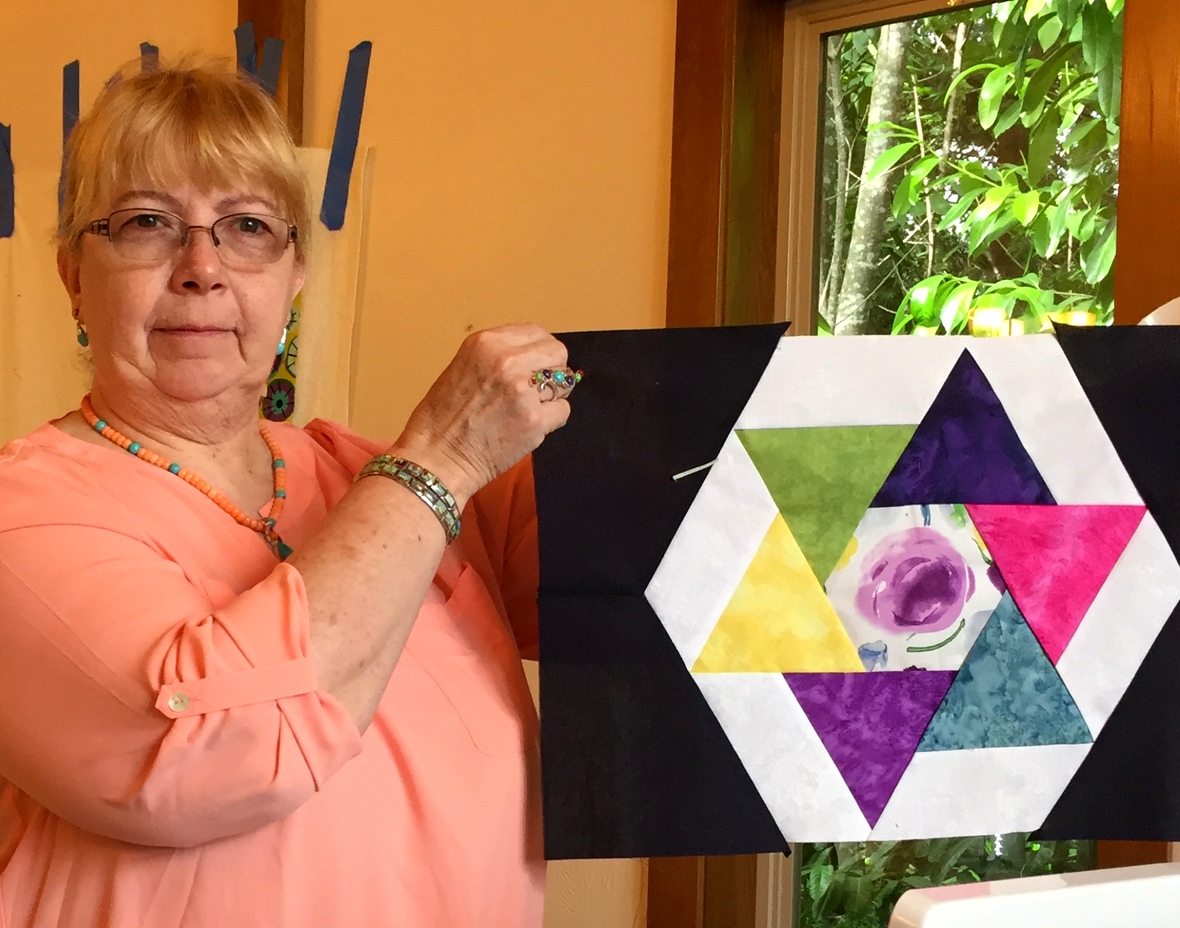
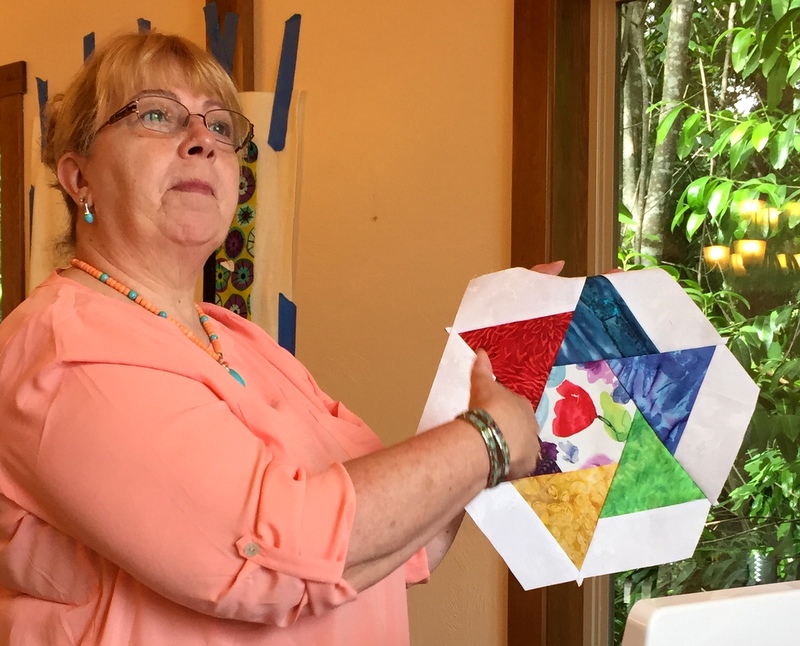
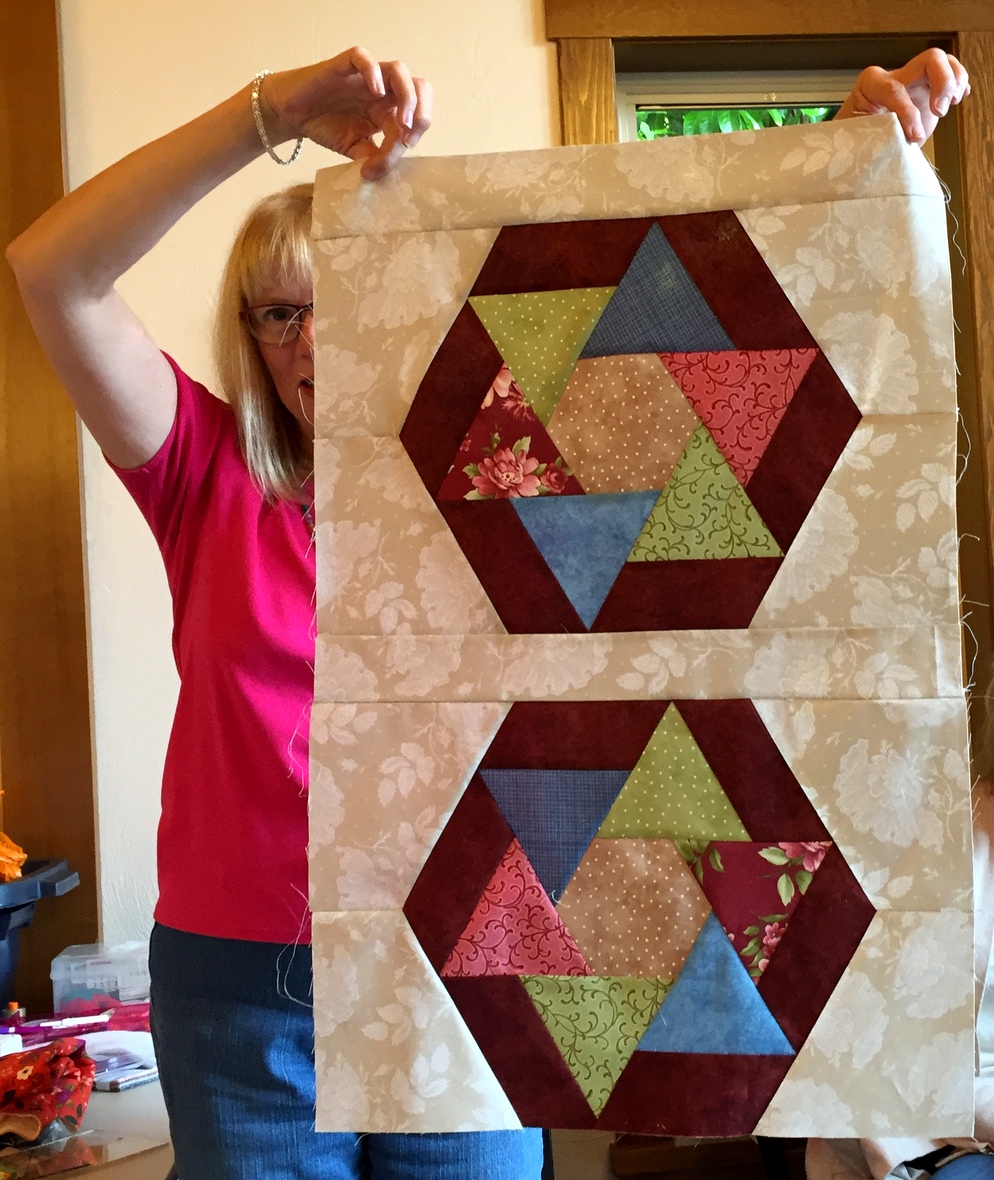
Carol D. made kaleido-spinner blocks (my name for the Spinners block made with identically-cut triangles that surround the center hexagon) using a lovely stylized floral fabric:

Spinners Carol Dyer
Did you notice Carol’s Spinners blocks are on point? She is making a runner for a narrow table; her runner will be 13½” wide. If she had turned her blocks horizontally, the runner would measure 15½” wide.

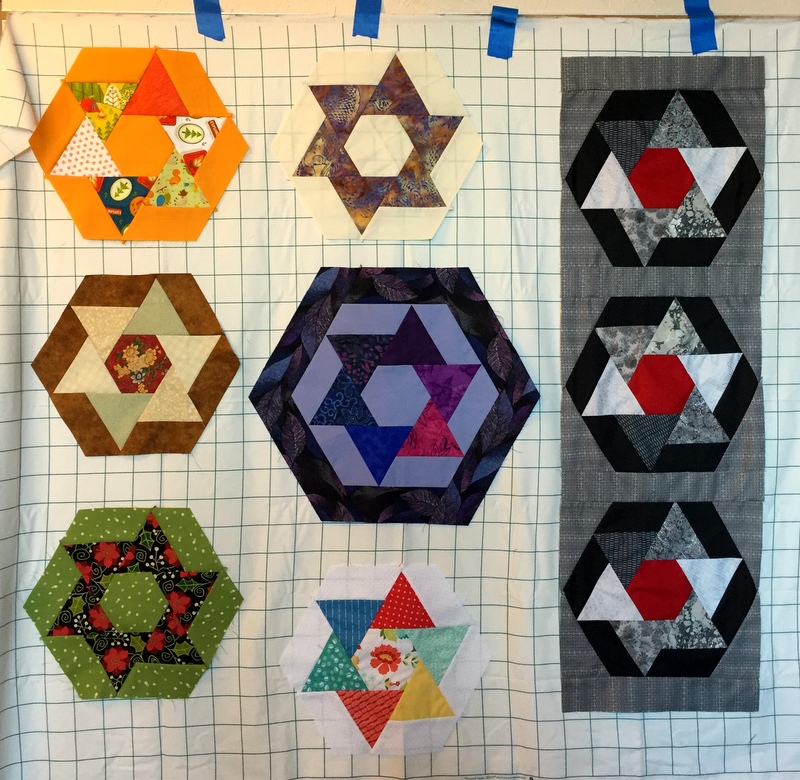
Pam S.’s runner features playful prints spinning around solid gold:

Spinners Pam Snyder

I can’t help it; those fabrics make me smile.

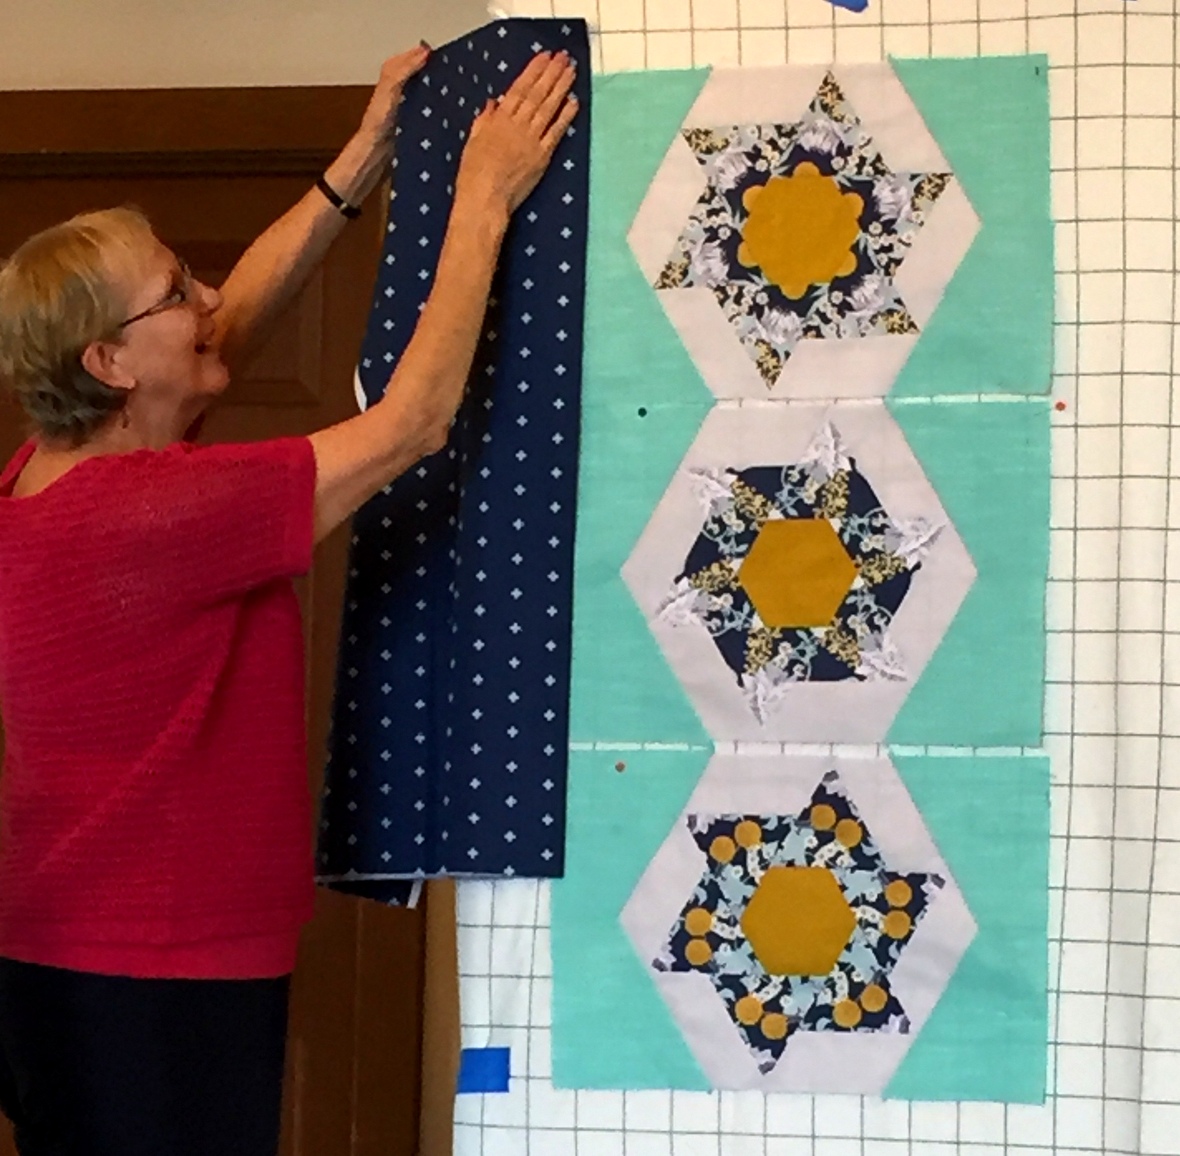
Evelyn also made kaleido-spinner blocks. She’s making a quilt and is showing us the fabric she chose for the border. It’s going to look terrific next to the subtly textured aqua batik that surrounds the spinning triangles:

Spinners Evelyn Bonney
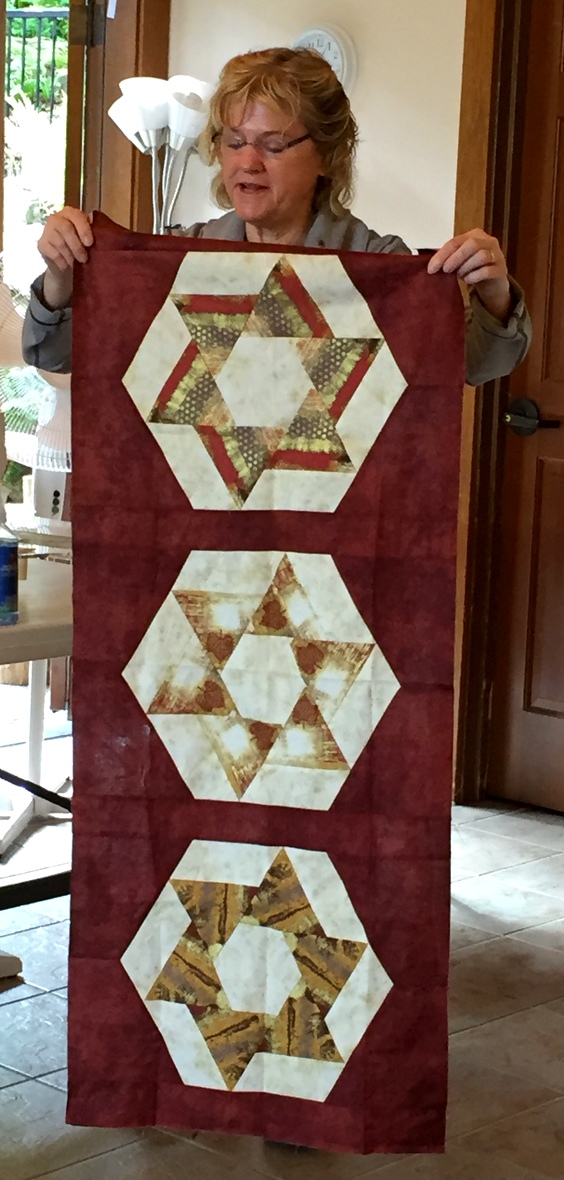
I can think of only one word to describe Tamara’s Spinners runner: elegant. Take a look:

Spinners Tamara Brockett
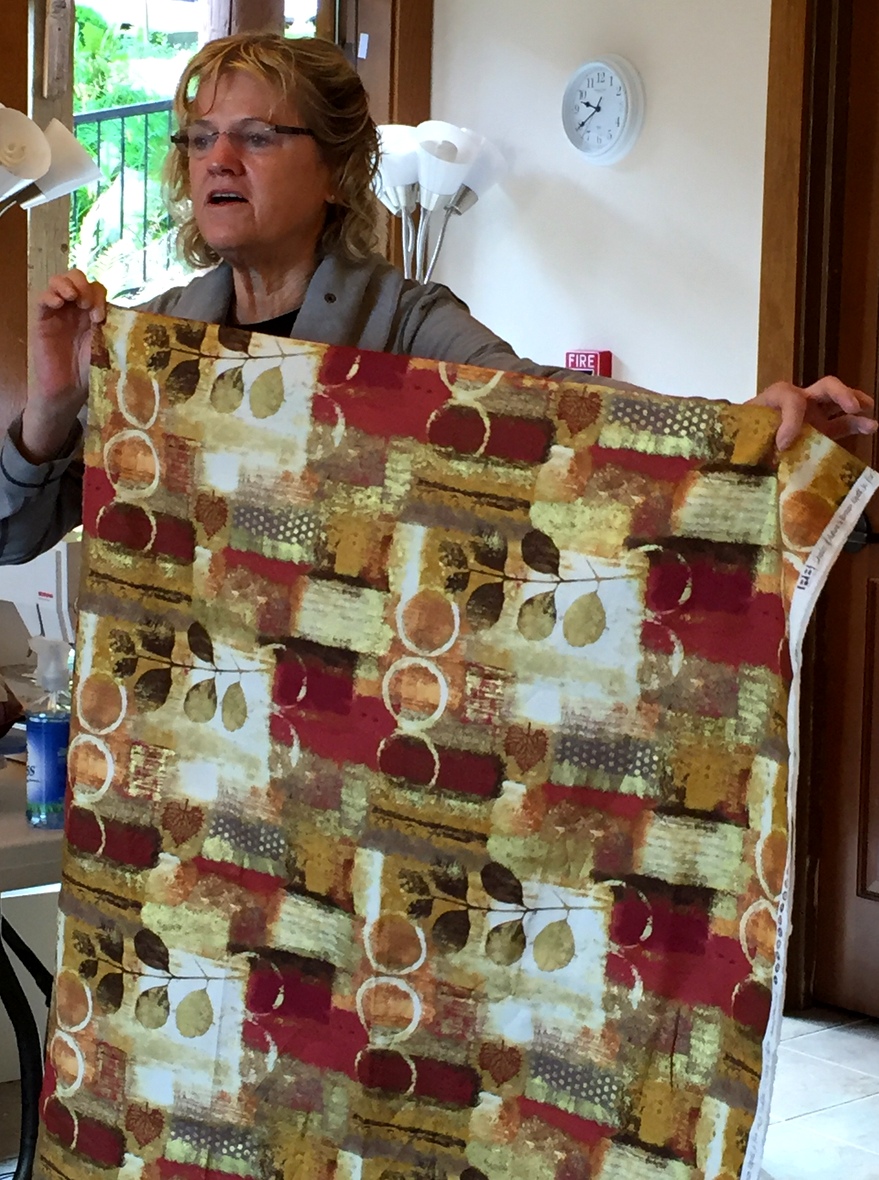
The touches of metallic in the triangles and light background fabric, contrasting with that rich burgundy, contribute to the rich effect. Tamara fussy cut her triangles from a fabric I wouldn’t have thought of for a kaleido-spinner quilt:

Spinners Tamara Brockett with focus fabric

Tamara will incorporate that fabric on the back of her runner.

Sharon fussy cut flowers for the center of her blocks from a beautiful fabric that looks like a watercolor painting. Here’s one of those blocks . . .

Spinners Sharon Justus
. . . and another:

Spinners Sharon Justus block 2
She’s using a different colored batik in each of the triangles.

Debbie H. chose fabrics for her runner that match the décor of her dining room:

Spinners Debbie

That creamy jacquard background fabric sets off her Spinners blocks so well. And her Y-seams are perfect!

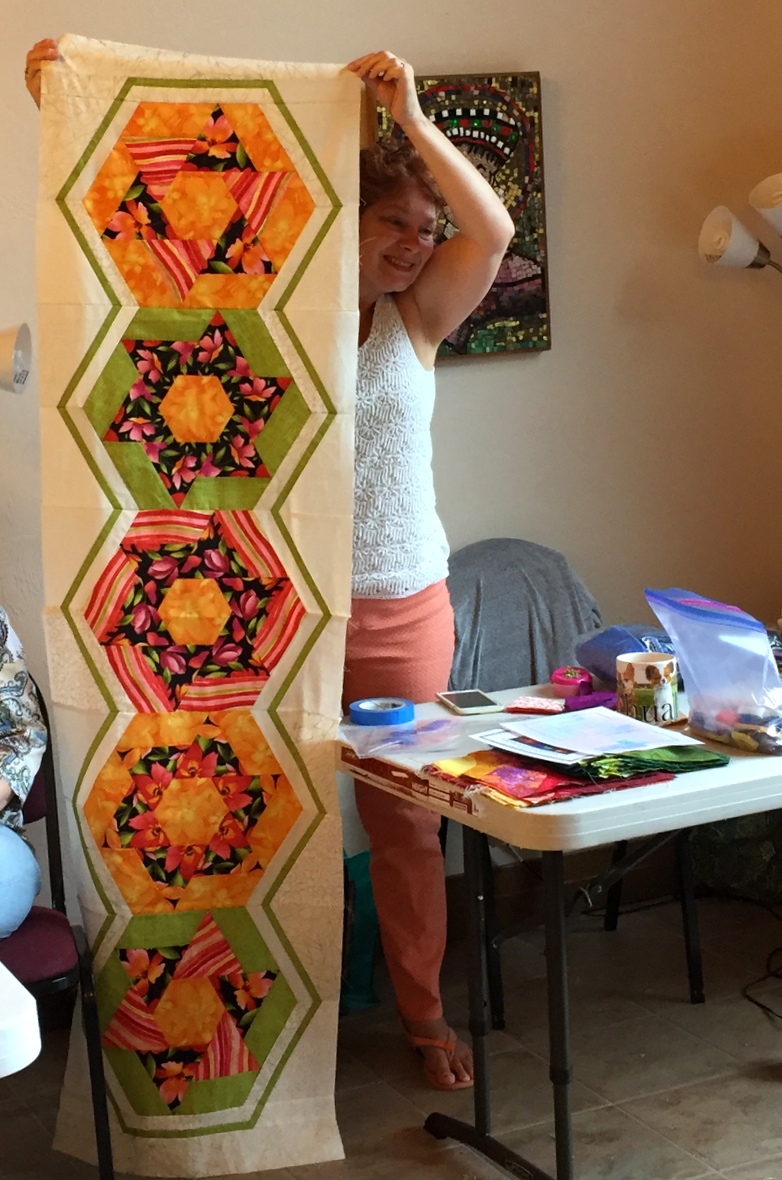
Debbie S. pieced a king-size bed runner using lively tropical fabrics. She also made kaleido-spinner blocks:

Spinners Debbie ScroggyDebbie put her own spin on the design by incorporating two fabrics in the top and bottom blocks (that stripe!), omitting the sashing strips, and adding an accent strip around the blocks. Debbie is a professional longarm quilter (AllQuilted LLC). I will be very interested to see how she quilts this vibrant runner.
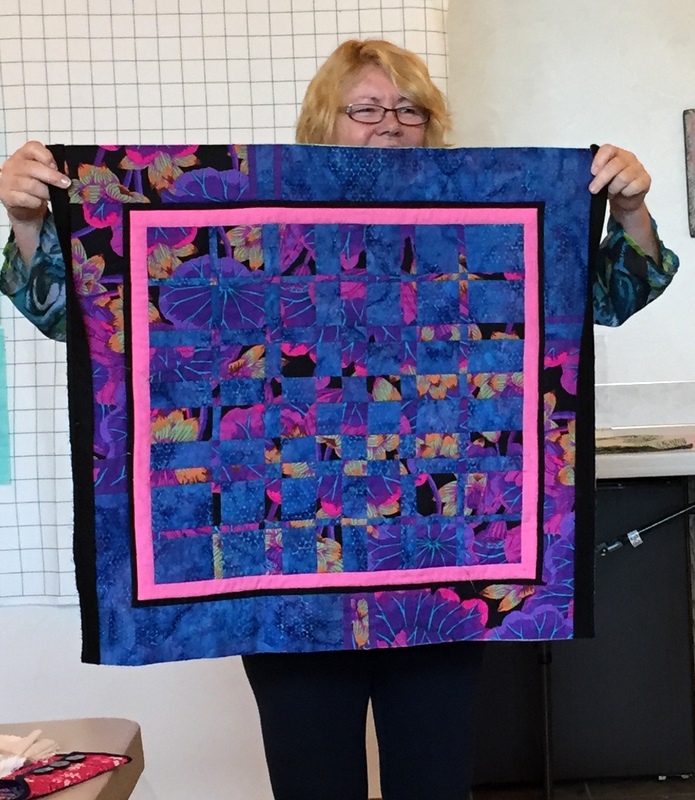
While the retreat featured the Spinners pattern, the participants were free to work on whatever they wanted.  Helen was finishing the binding on two spectacular small projects . . .

Helen with Convergence

Helen's project
. . . and she was also working on her version of Shadowbox (pattern by Mountainpeek Creations):

Helen's quilt

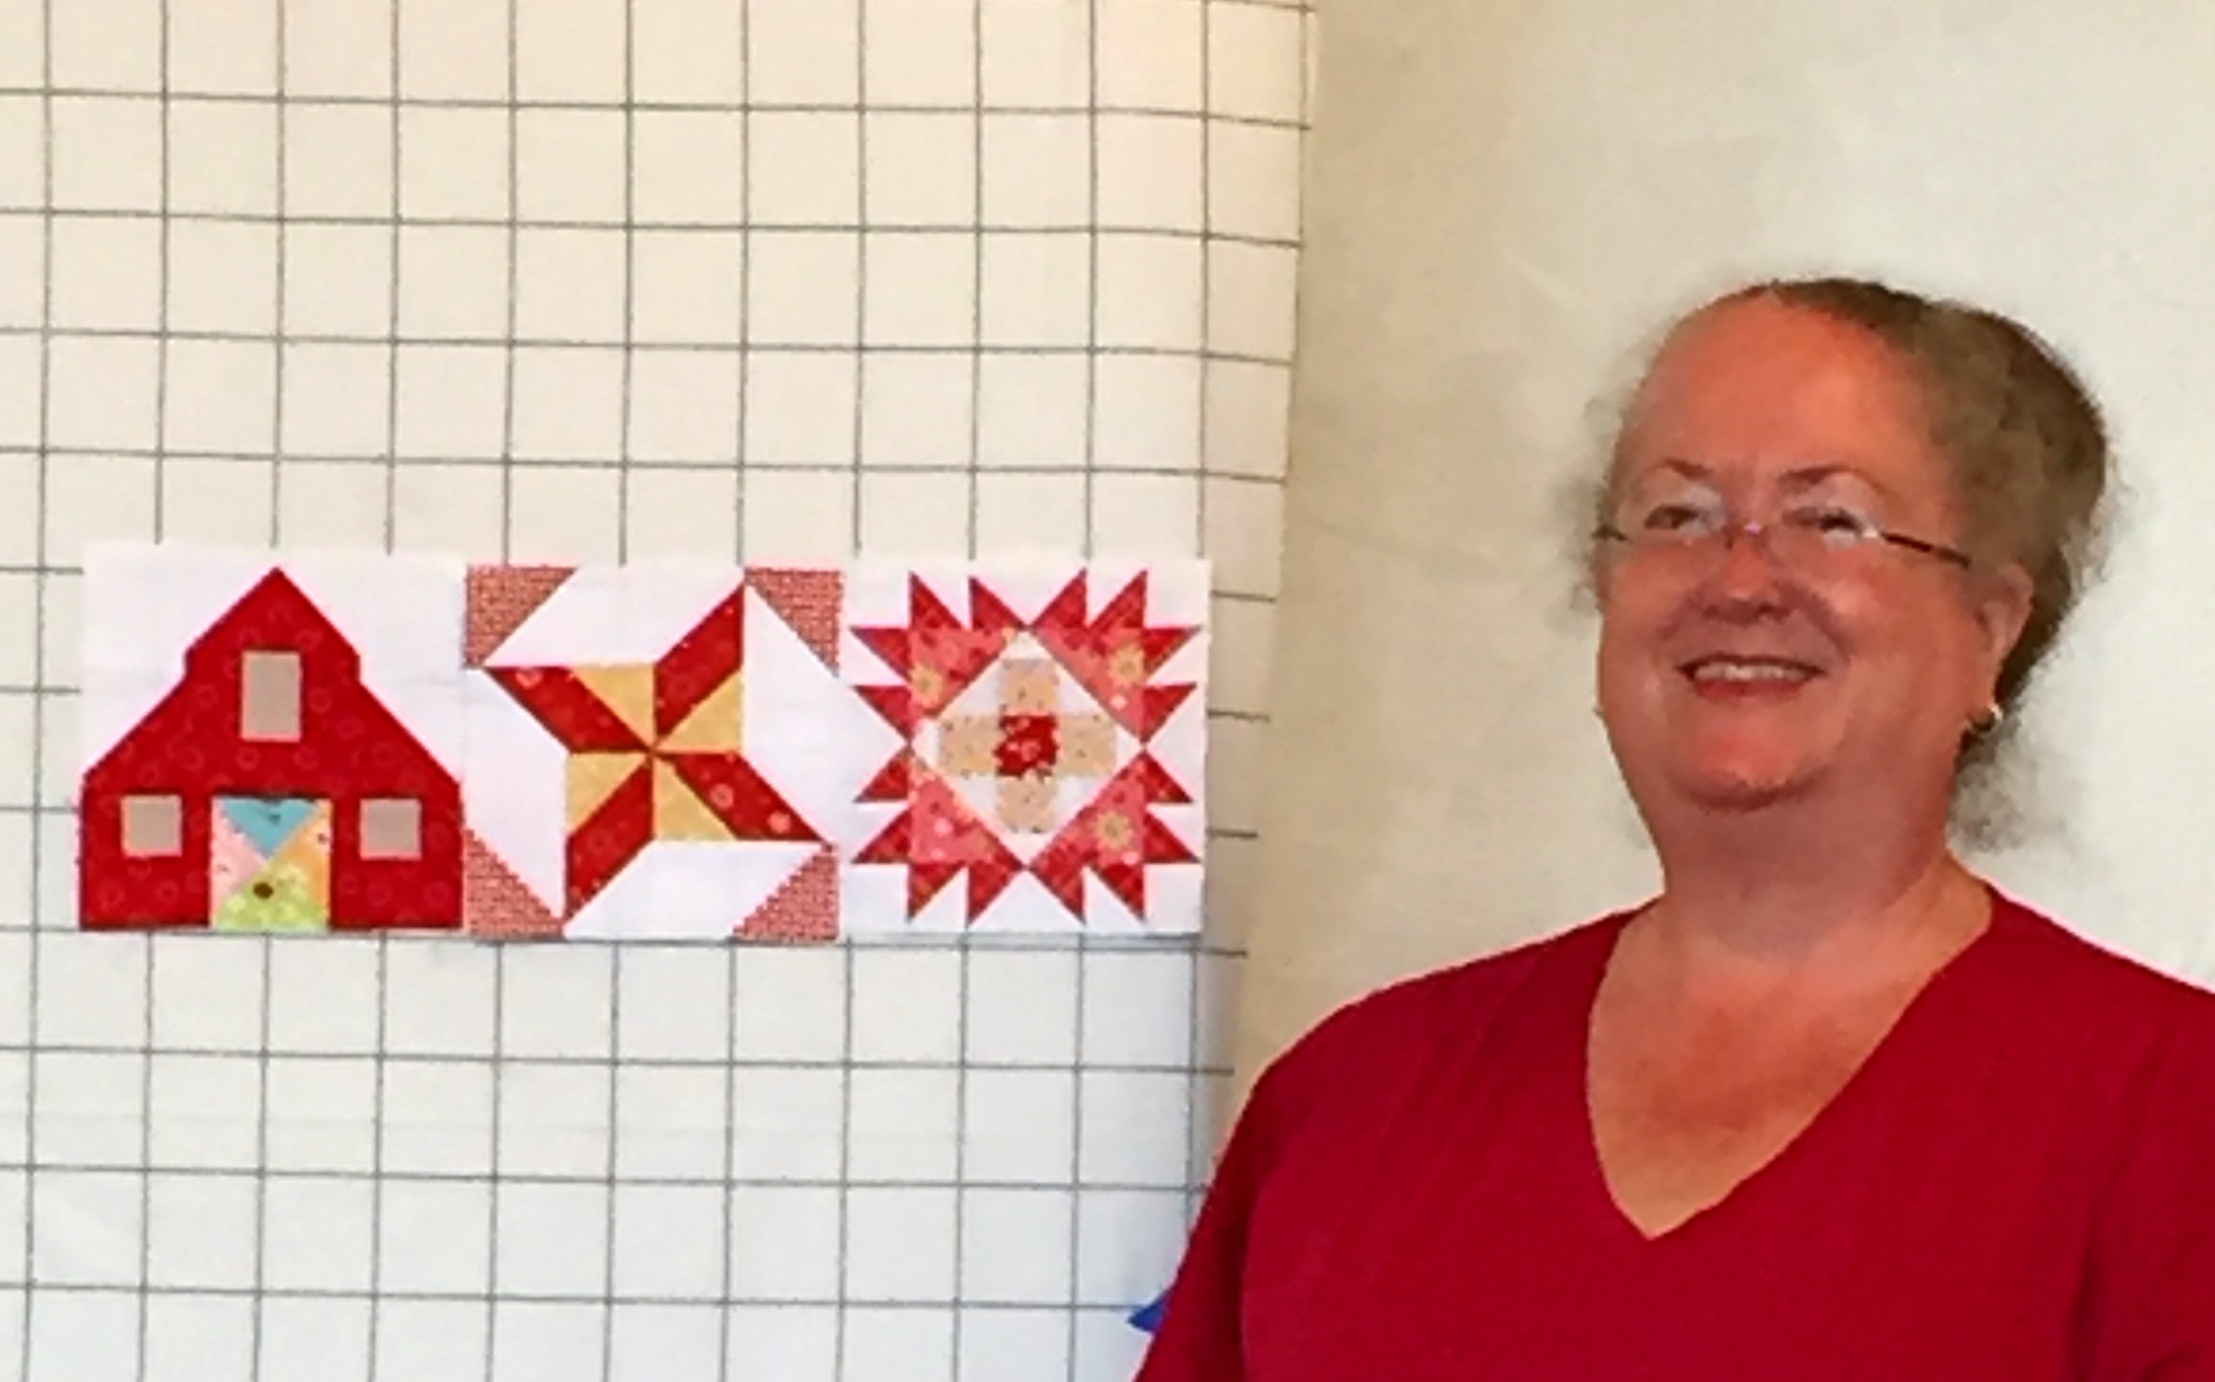
Colleen worked on her 6″ Farm Girl Vintage blocks, designed by Lori Holt of Bee in My Bonnet:

Colleen with Farmgirl Vintage
That block on the far right has over 50 pieces in it. I can only imagine how many pieces the finished quilt will contain.

Thank you, Geri, for organizing a fabulous retreat filled with laughter, games, good food, and some very productive and creative sewing. Thank you, participants; you made teaching a pleasure. I hope to see you all again when we convene at the Pine Needle in October to show off our finished creations.


Posted in bed runners, hexagons, kaleido-spinner, table topper, update, wall hanging | 13 Comments

A New Coat for my Rotary Cutter

I’m heading off shortly to Hood Canal in Washington State for a quilt retreat organized by the Pine Needle, the quilt shop where I teach. On one evening I’m going to show my students how to make a rotary cutter coat based on my free pattern (tutorial here).

As I was gathering my materials yesterday, I realized I didn’t have a rotary cutter coat of my own. All the ones I have made were given away.

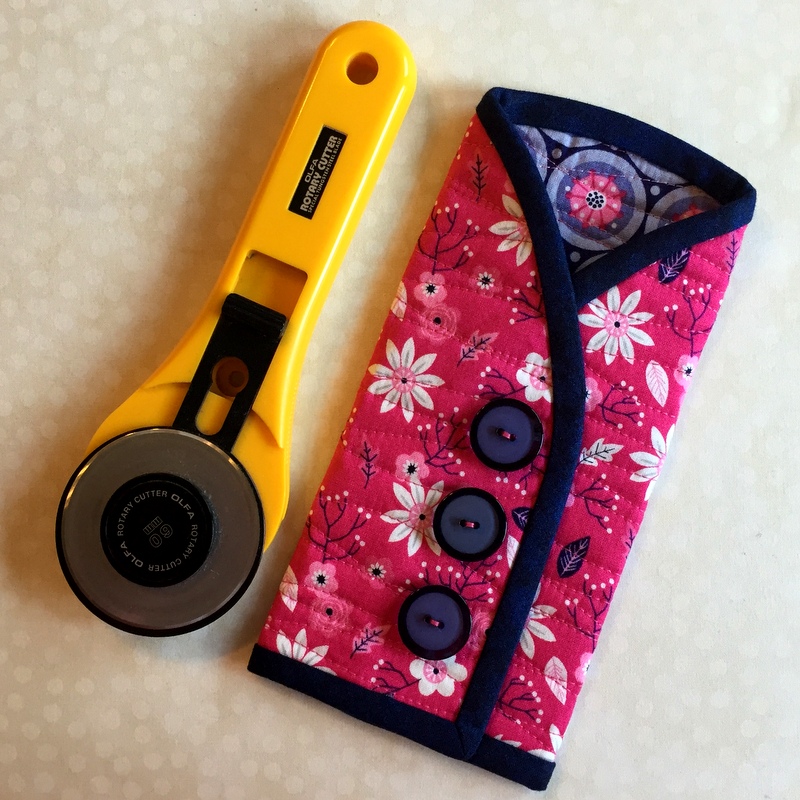
I fixed that in short order. Here is my (new) rotary cutter coat:

rotary cutter cut

The fabric? Two prints from the Paradise line designed by Alisse Courter for Camelot Cottons. I bought a lot of this line when it came out last year. You may recognize it, because it goes with the Junior Billie Bag I made a few months ago. These are the front and back panels of my bag:

Jr Billie Bag front and back

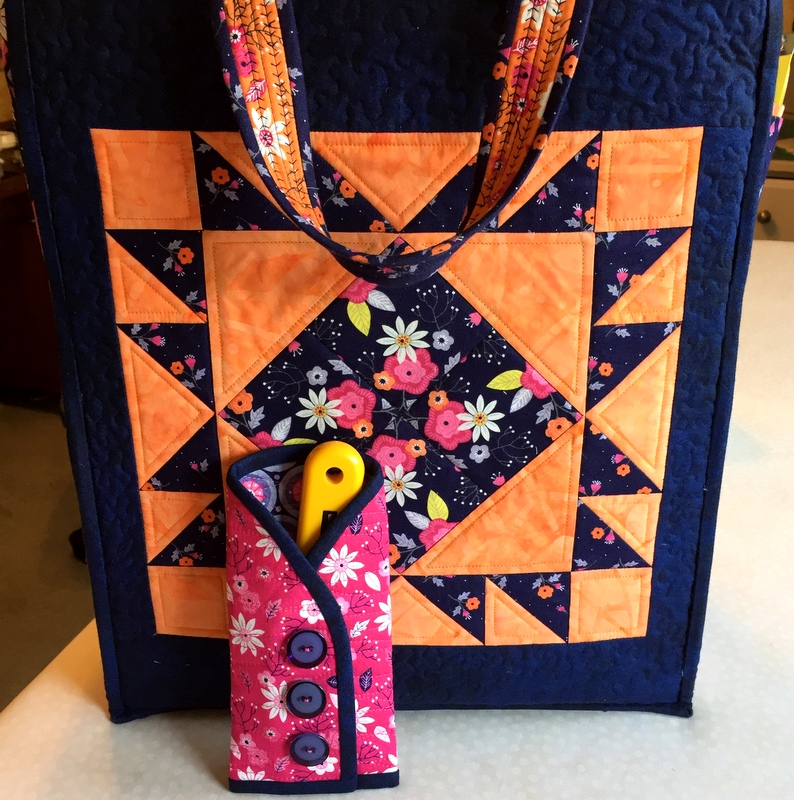
Now my Billie Bag is packed for the retreat, including my new rotary cutter coat:

billie bag and cutter coat
I’m good to go!


Posted in Billie Bag, Junior Billie Bag, rotary cutter case, update | 5 Comments

Friday Finish: WanderLust

Well, that was fast.

Just yesterday I showed you pictures of WanderLust, the king-size bed runner I picked up on Wednesday from longarm quilter Coleen Barnhardt of the Quilted Thistle. The bed runner needed to be bound and labeled — and that’s been done.

As good as my quilt looked after Coleen worked her free motion quilting magic on it, it looks even better now that it’s bound:

WanderLust complete

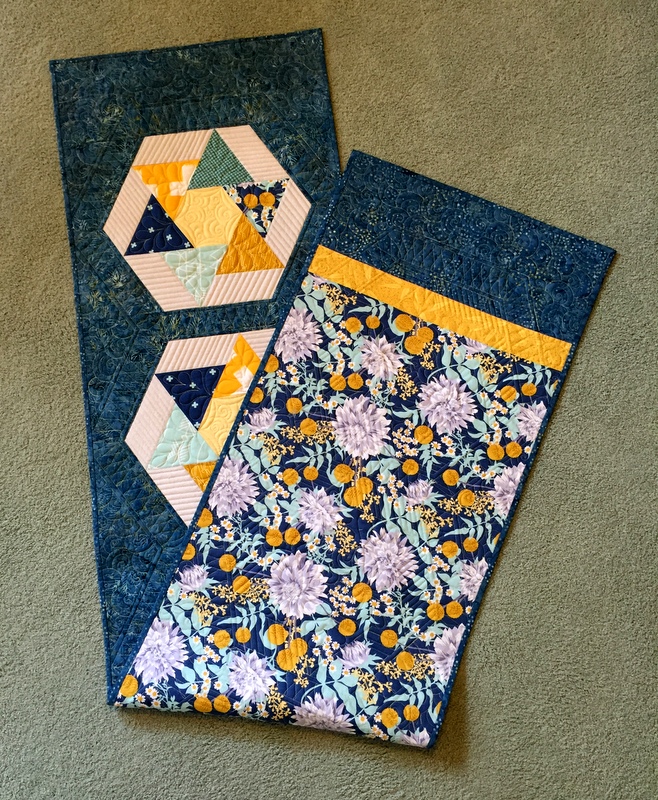
WanderLust back and front

Are you surprised I got it bound so quickly? It would have taken me hours to stitch down the binding by hand. Confession: I took the easy way out and fused the binding in place in a matter of minutes with Steam-a-Seam-2, a double-stick fusible web.

I use Steam-a-Seam-2 occasionally on wall hangings and other small pieces that won’t get washed. It should be just fine for this bed runner that will be laundered but not as often as, say, a baby quilt. (Actually, a fusible web should never wash out or come undone if applied properly. I used it on this quilt because I was in a hurry to get it done; my preference is for a binding stitched down by hand.)

The label is a bit unconventional. In fact, it’s not a label at all. I mentioned yesterday that this quilt is reversible so I didn’t want to attach a label as I normally do. Here’s what I did instead:

label

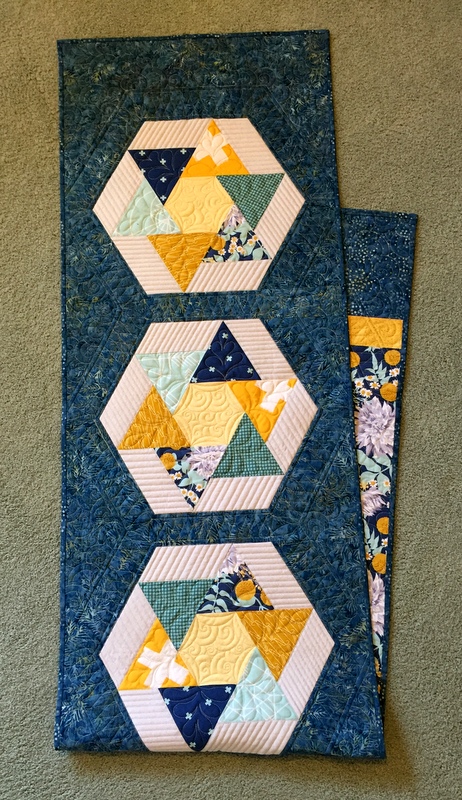
Can you see where I wrote “WANDERLUST, DAWN WHITE, 2016 PORTLAND OR” in permanent ink? It’s hard to see (my plan) but it’s there. I like to include information on my labels about the patterns and designers but I skipped it in this case. Let this post be a permanent record that WanderLust was based on the pattern Spinners by Heather Mulder Peterson. Spinners is one of several delightful designs in her book On the Run Again (Anka’s Treasures, 2014).

My new cat Coco must really like this quilt. She photobombed it:

Coco photobomb


Posted in bed runners, cats, free motion quilting, quilt labels, update | 6 Comments