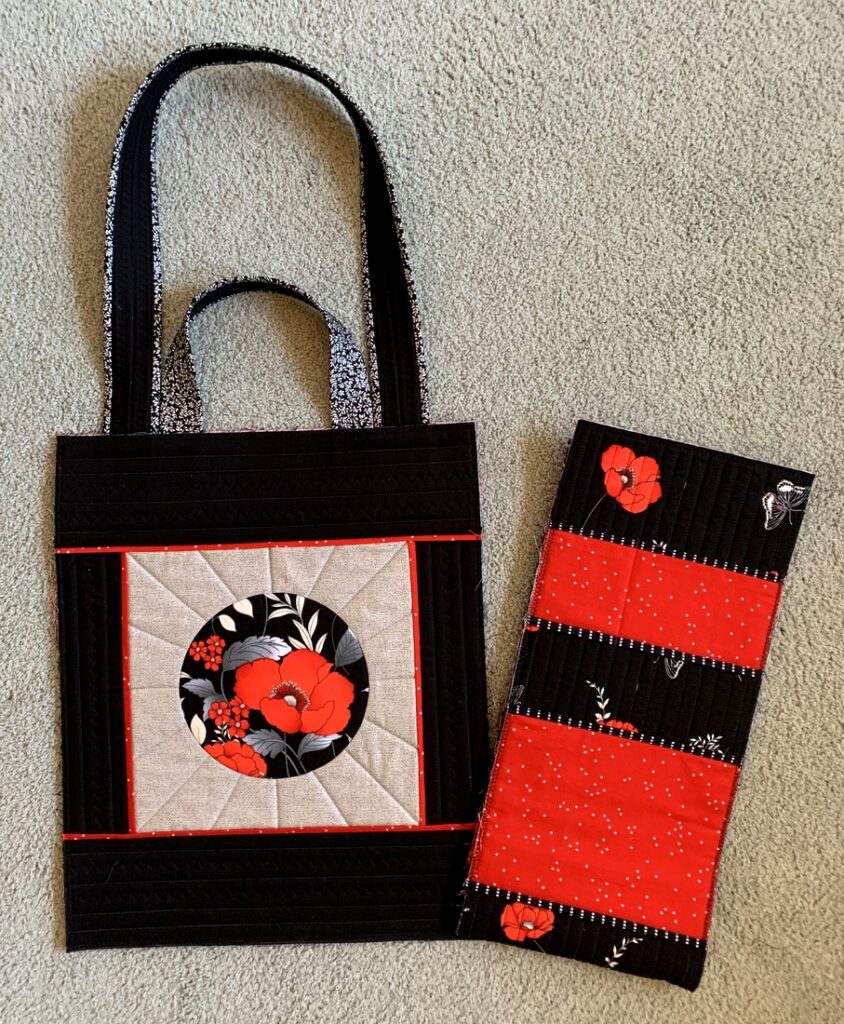
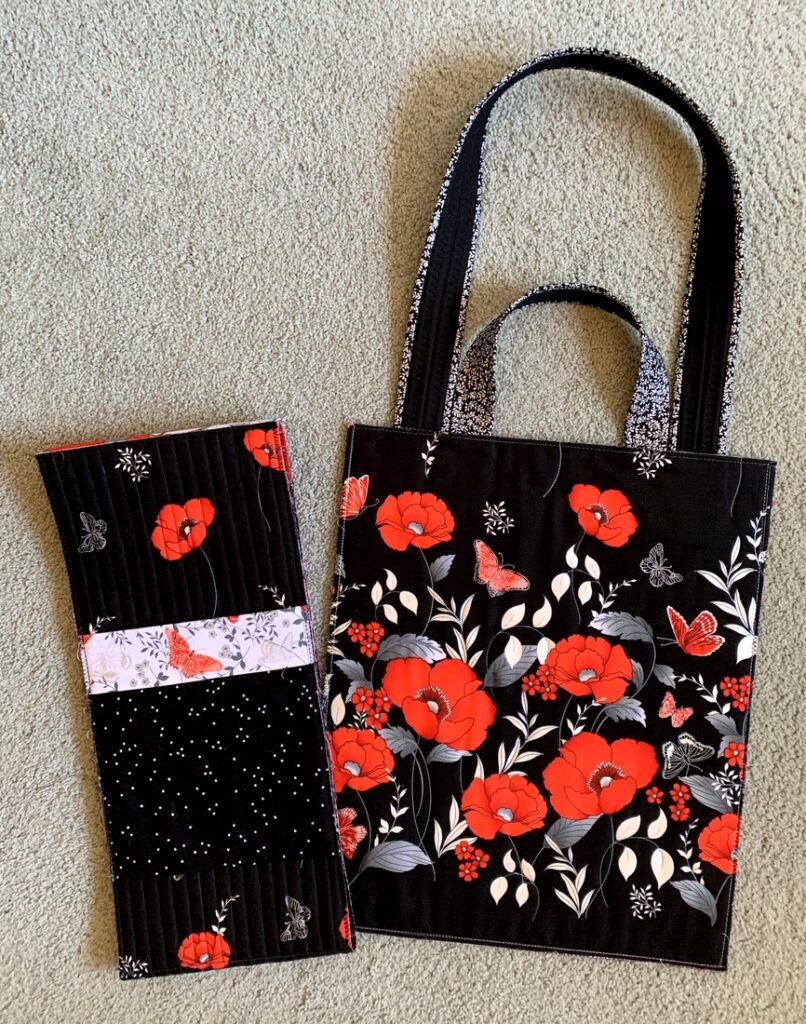
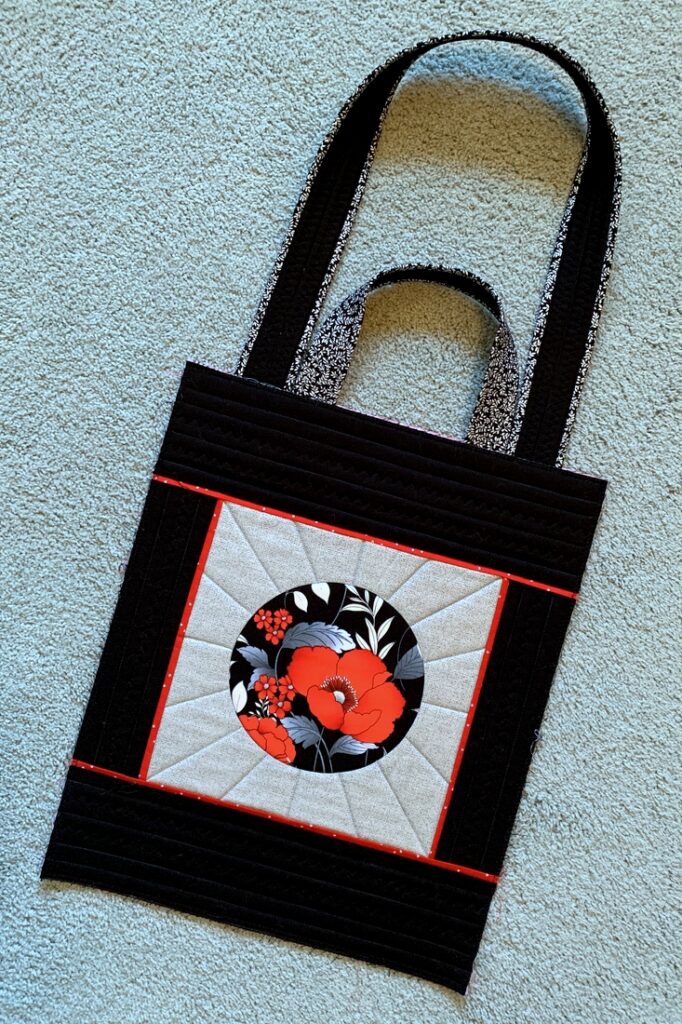
Officially finished and ready to load! Here ’tis, my eleventh Junior Billie Bag (JBB):
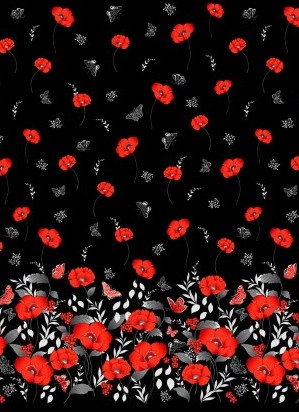
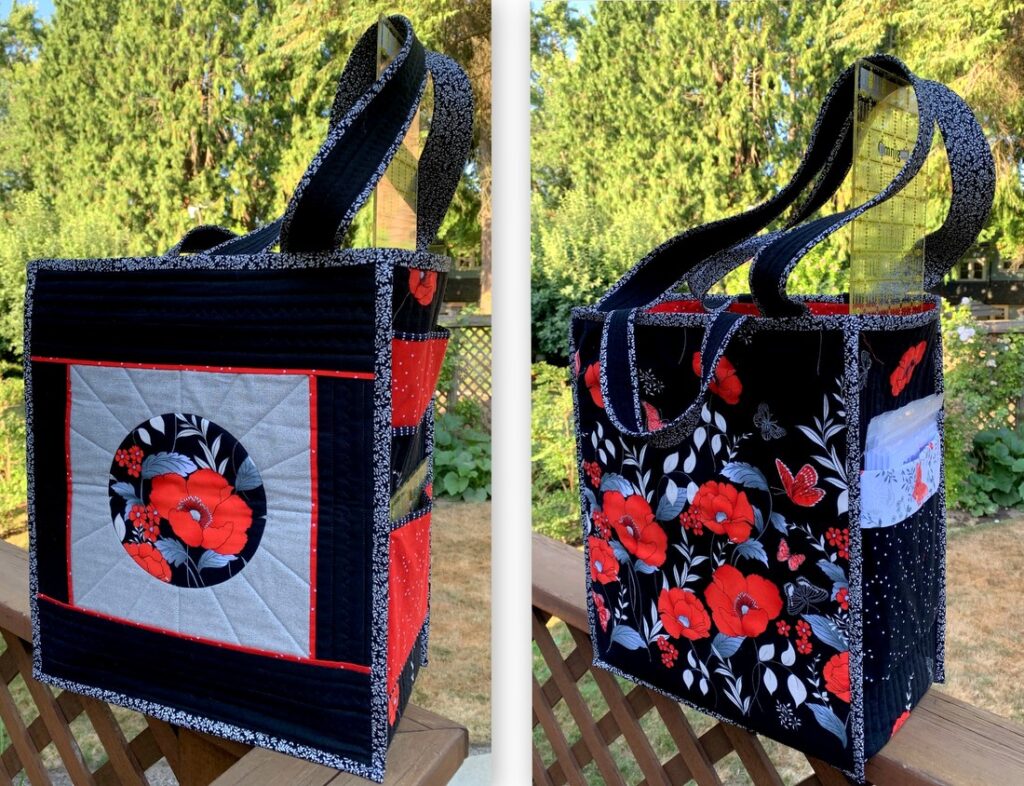 The block in the left photo above features an inset circle. Rather than make a different block for the other side (right photo), I used an uncut piece of the focus fabric because I wanted to showcase that gorgeous poppy border print. I really like how nicely the binding fabric — a metallic silver and black leaf print — sets off the grey, red, and black fabrics as well as the poppy print.
The bag is 14″ wide, 17″ tall, and 7″ deep. The depth of the bag is sufficient to hold a 6″ x 24″ acrylic ruler, which is only one of the terrific features of Billie’s design.
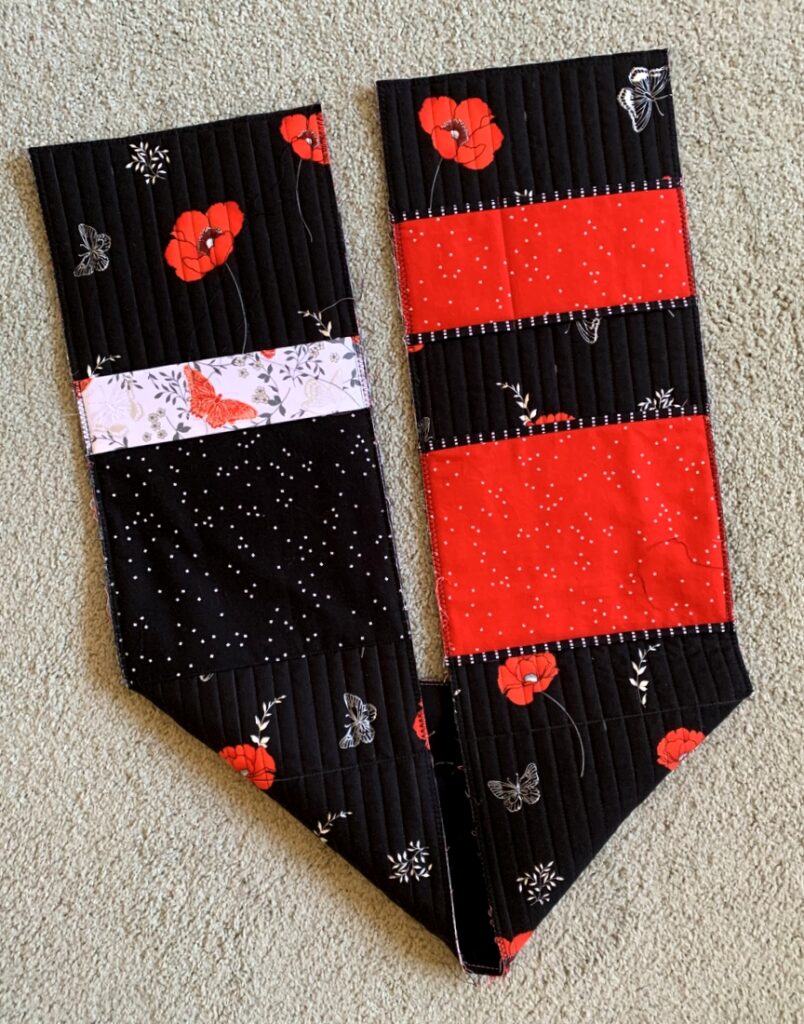
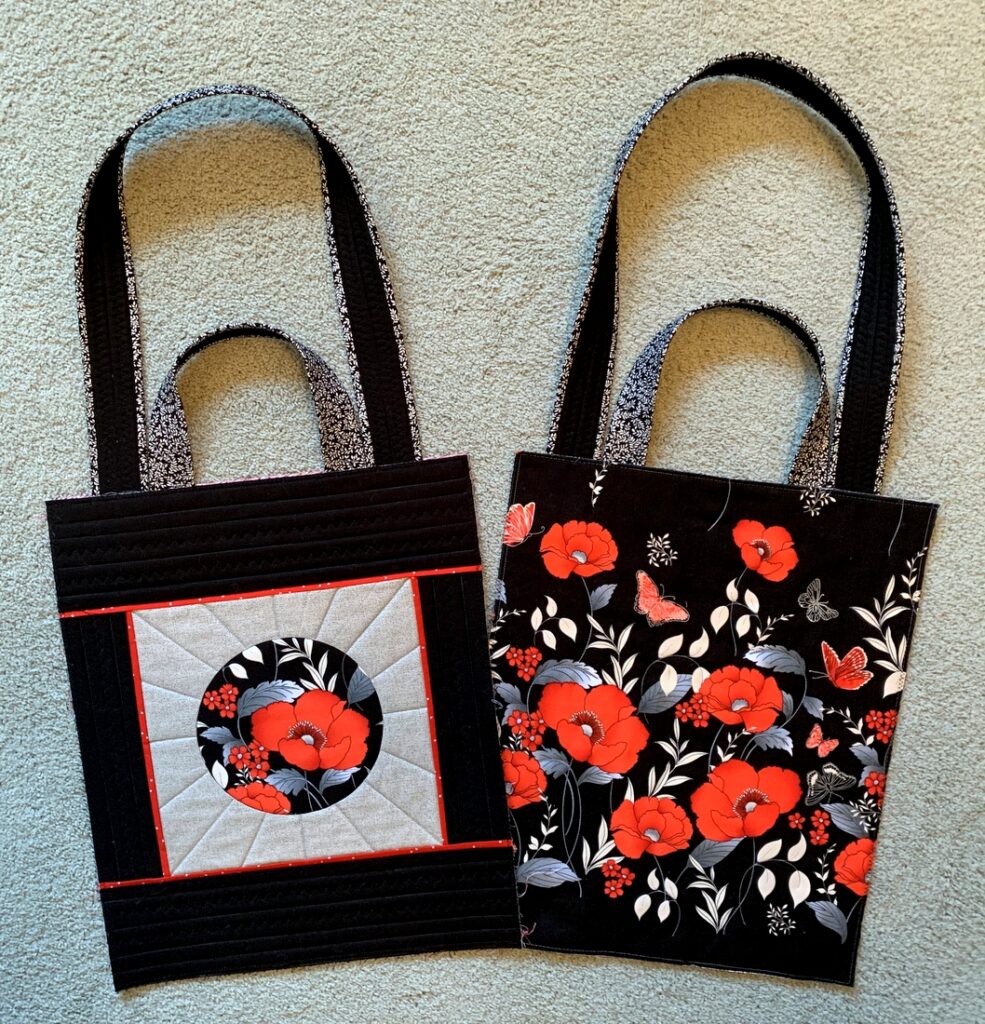
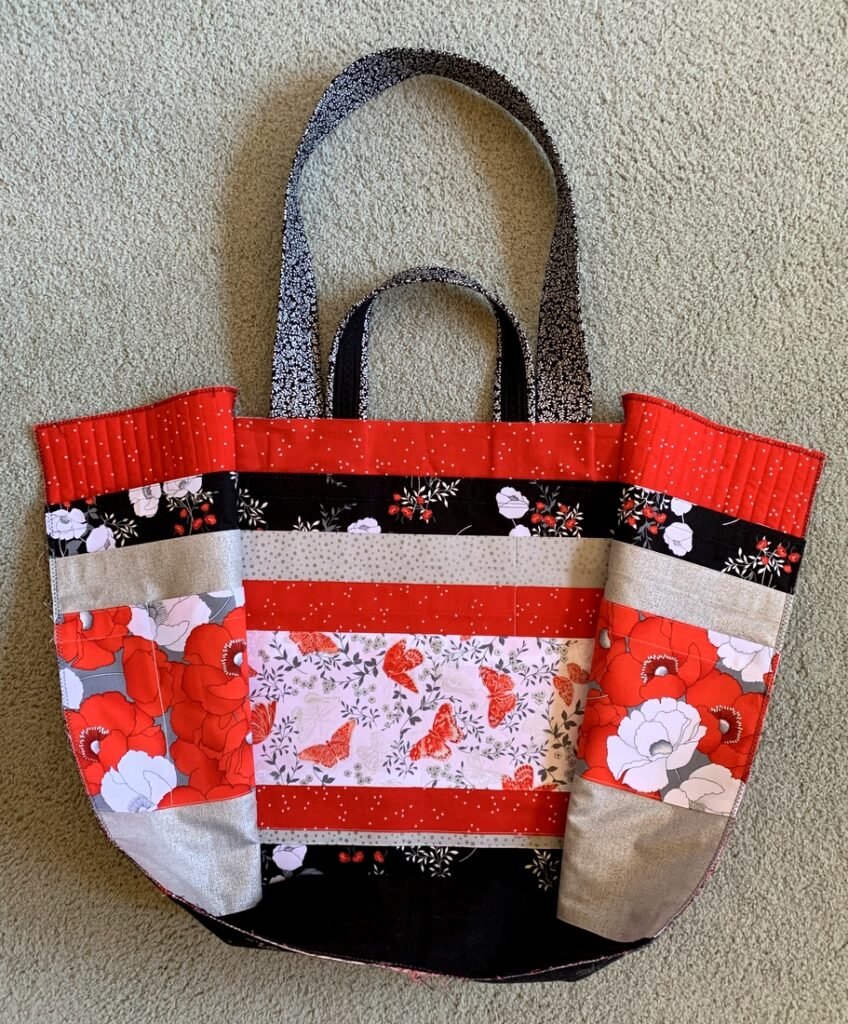
It’s always rather difficult to get good photos of the JBB with both sets of straps in plain sight. Here you see both sides flattened out, with the short and long handles in view:
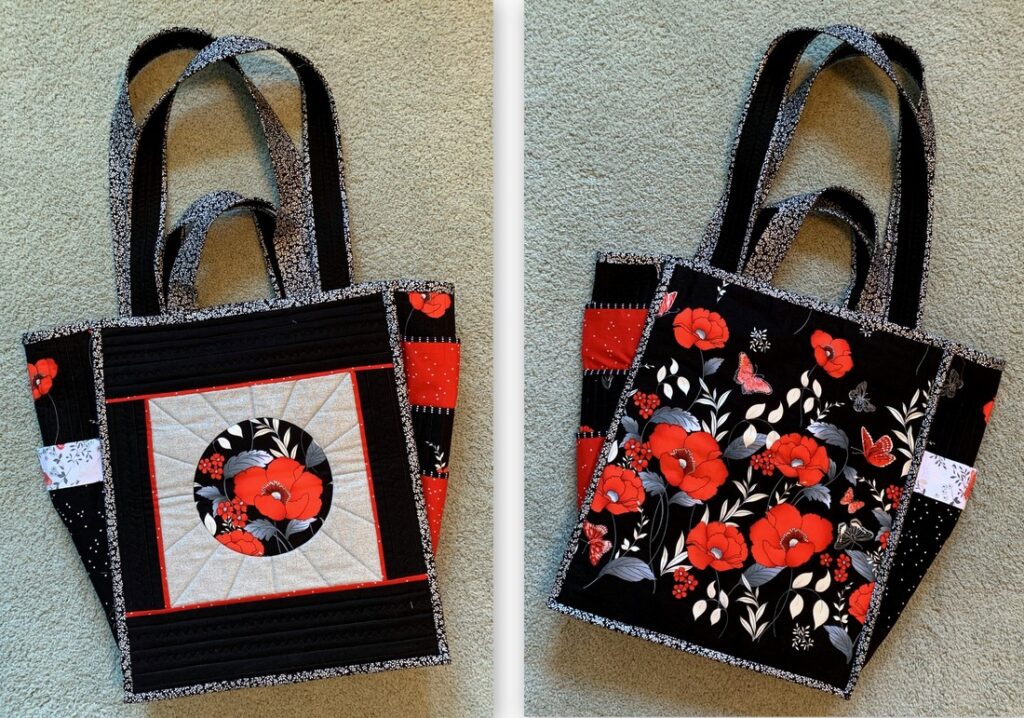 Why two sets of handles? It’s so handy being able to choose when to carry the bag as a satchel using the short straps or when to carry it over your shoulder using the long straps.
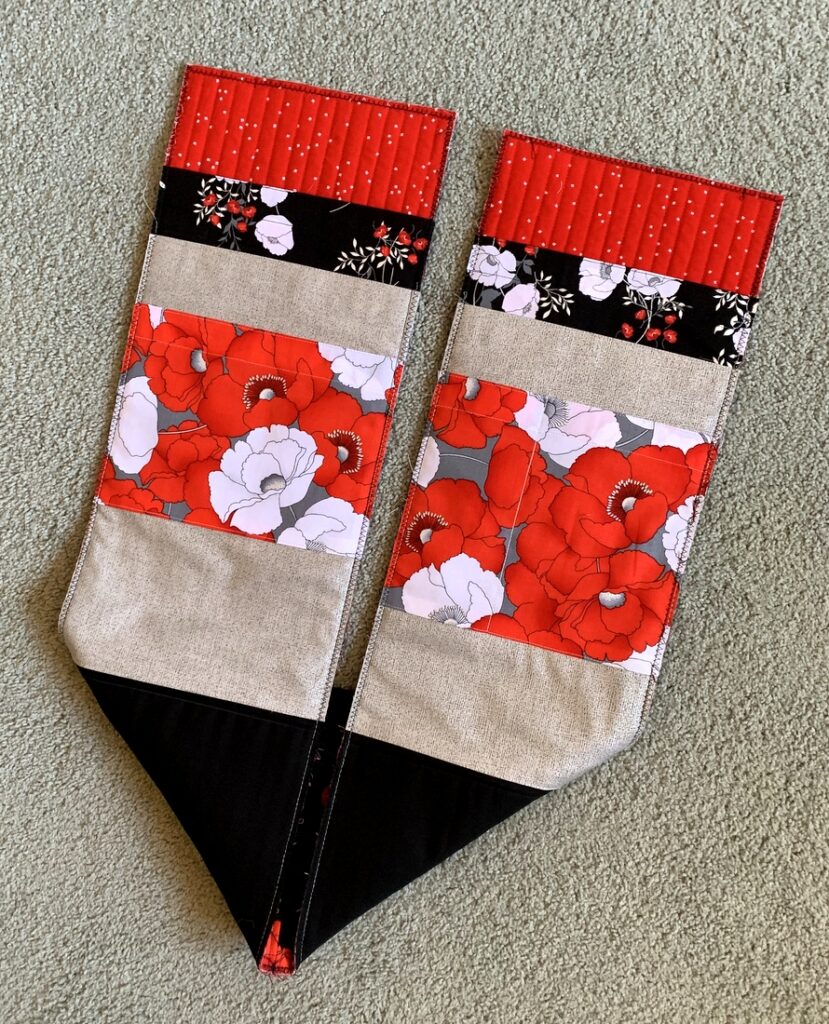
It’s also difficult to get a good look at the pockets inside a Junior Billie Bag:
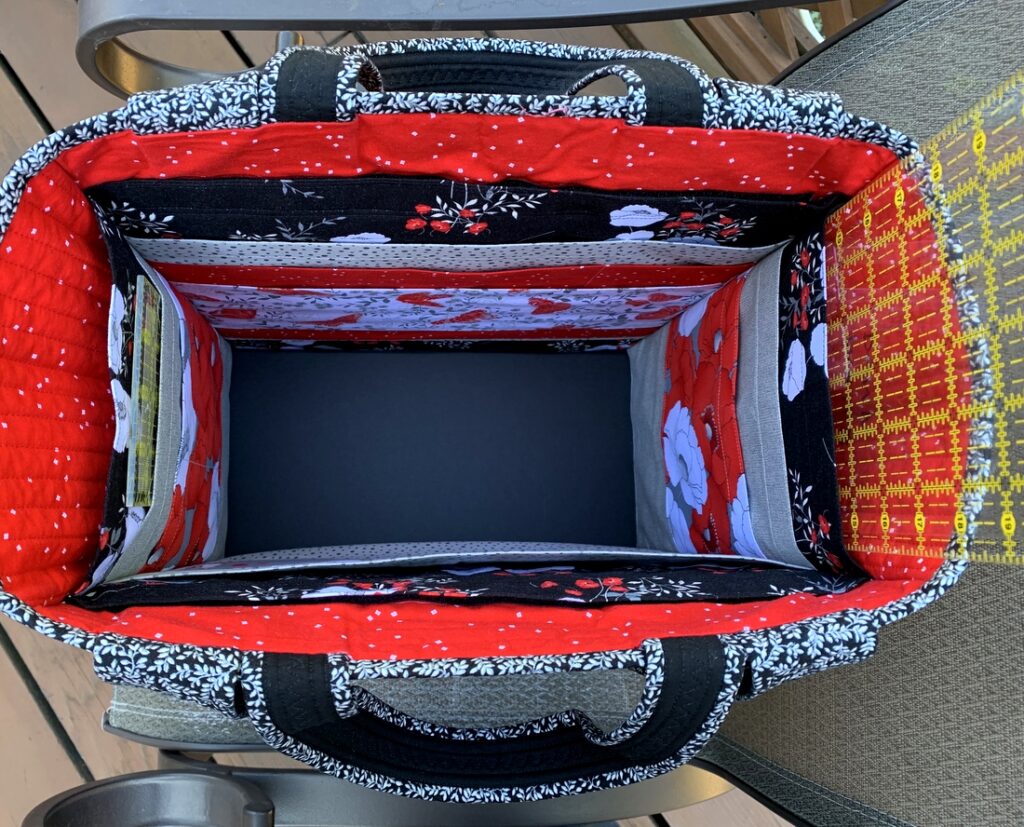 Here’s a photo of the interior (from a previous post) taken before the fourth side was added:
 If you’re new to my blog, you may be wondering why on earth I’ve made so many Junior Billie Bags. The short answer is that I’ve been teaching this scaled down version of Billie Mahorney’s original design since 2015, and every time I teach the class, I make a bag because I’ve found that the best way for me to demonstrate construction techniques is to build a bag alongside my students.
Because of the pandemic, quilt classes came to a halt early in 2020. The last JBB I made was in 2019. When I started working on this one I realized how rusty I had gotten. As I tell my students, “This is a challenging bag to make but so worth the effort!”
You can see all of my Junior Billie Bags on the Gallery page of firstlightdesigns.com or by clicking here.

