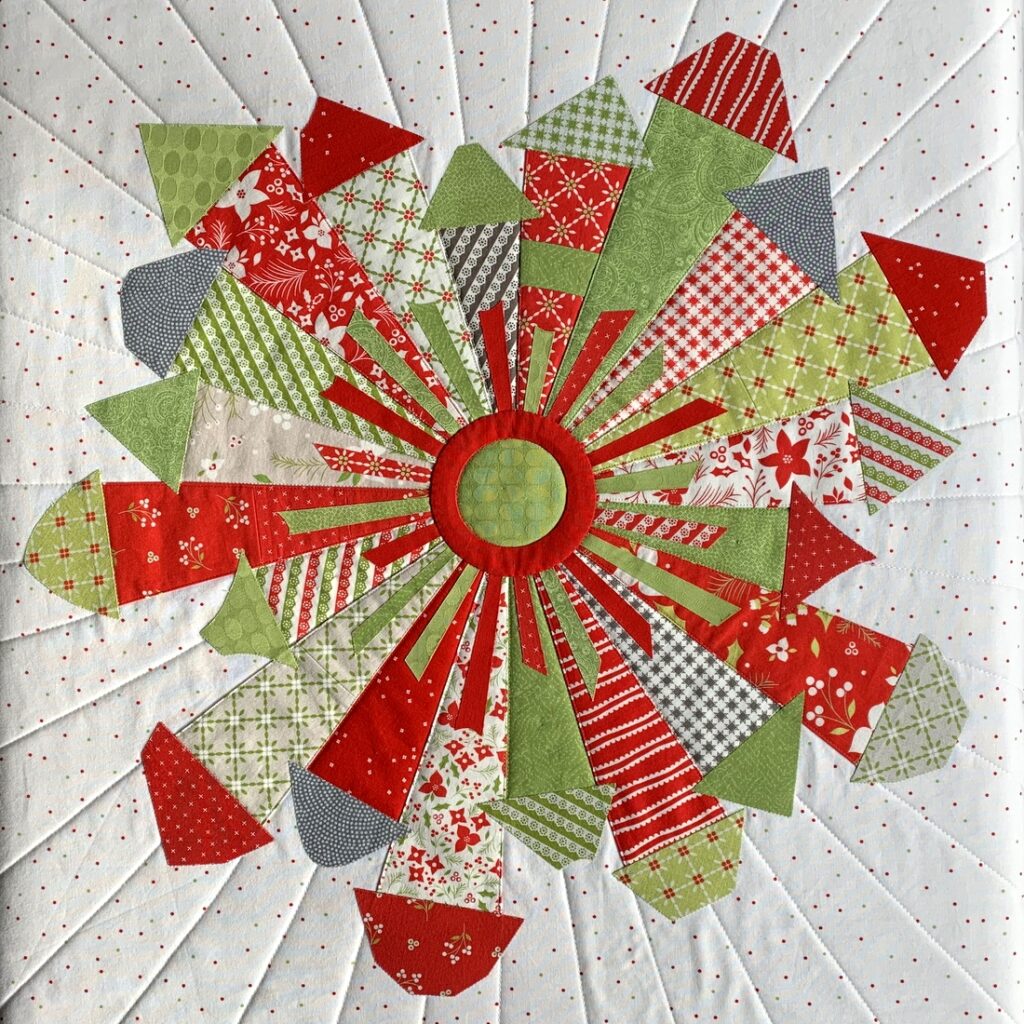
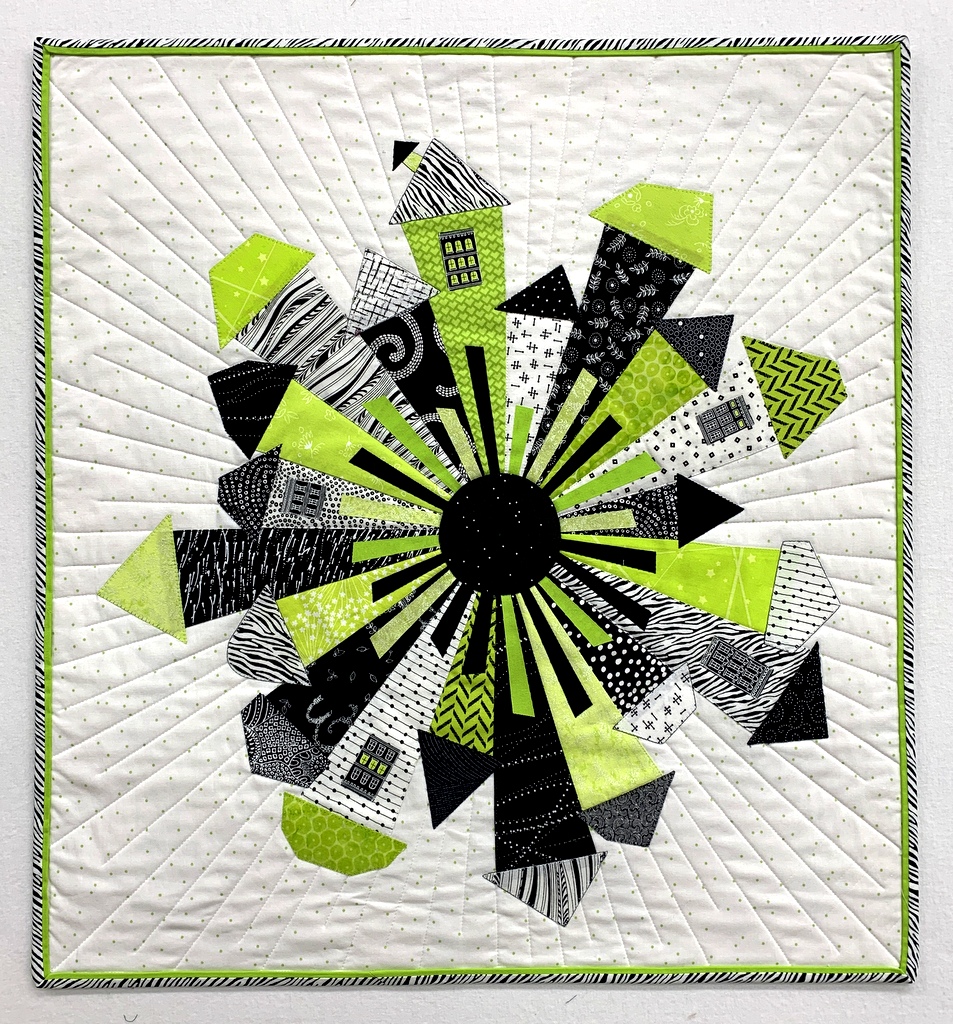
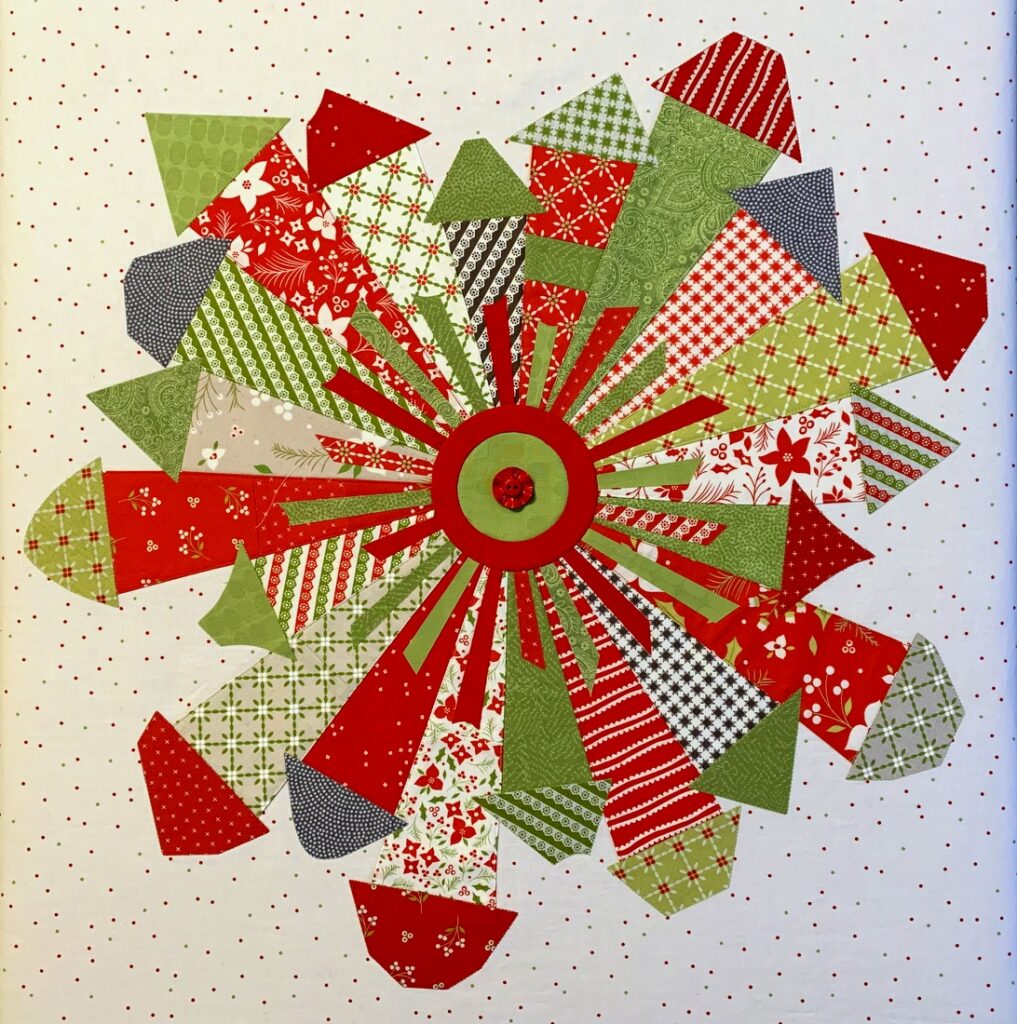
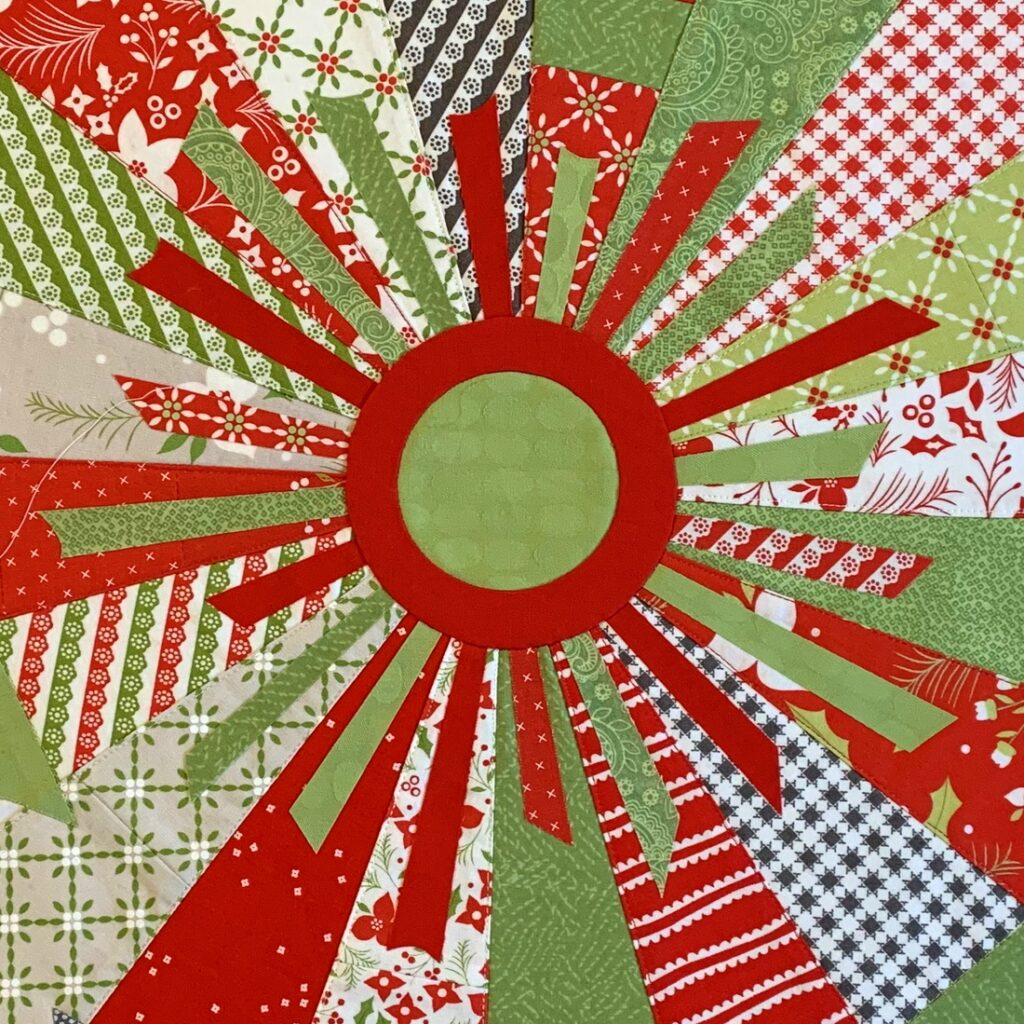
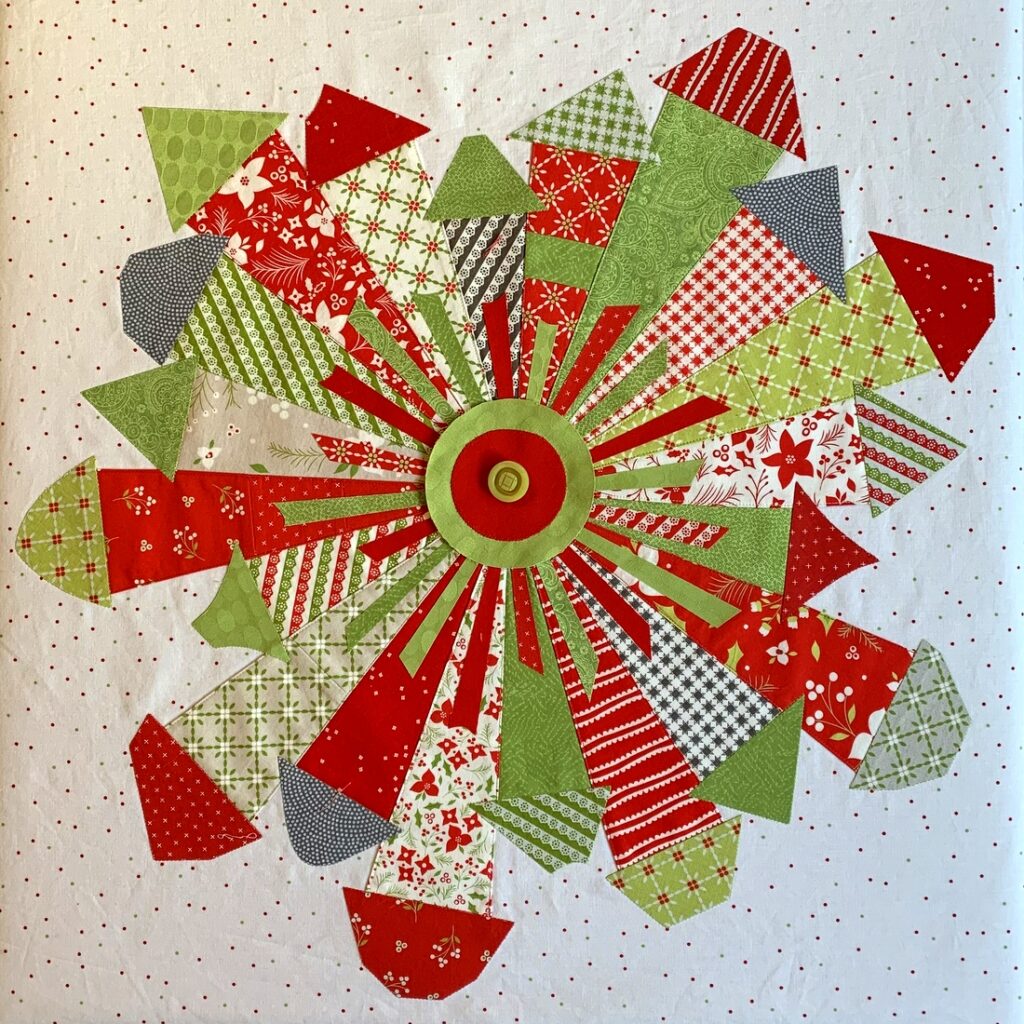
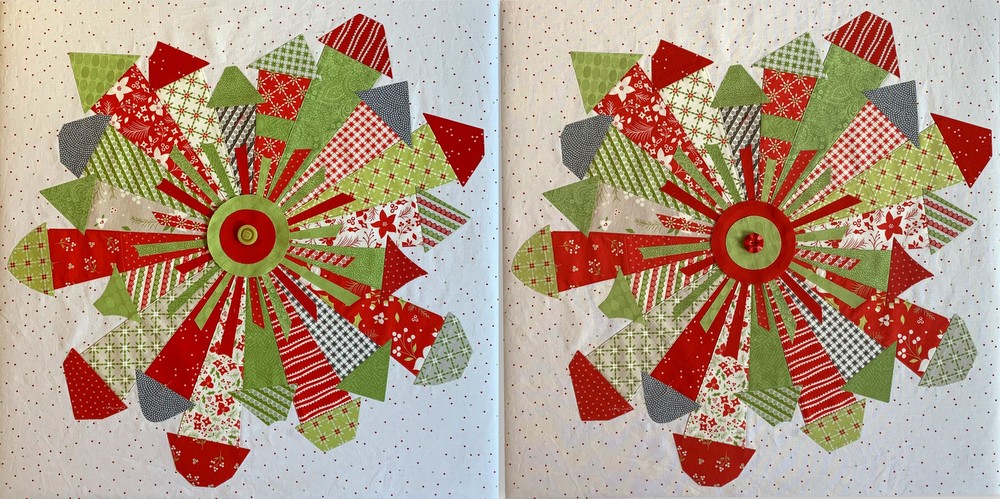
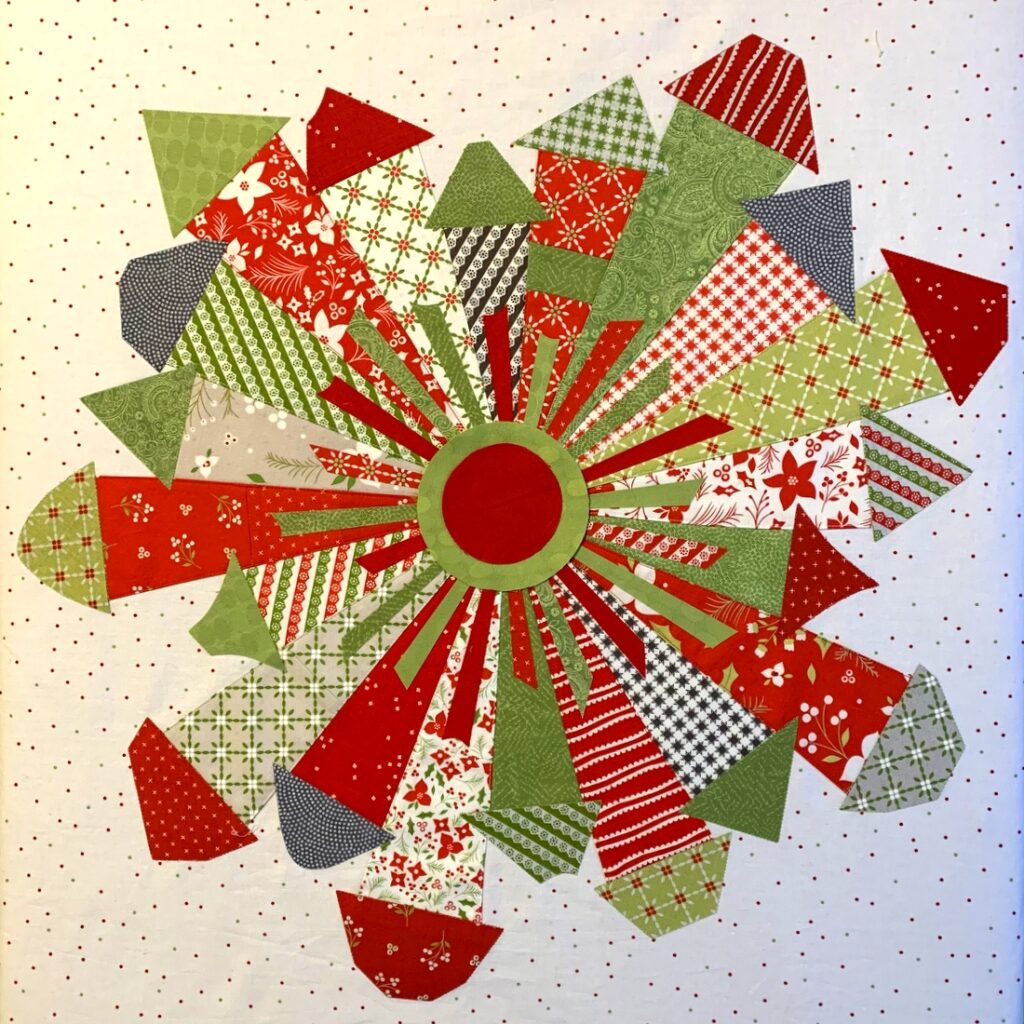
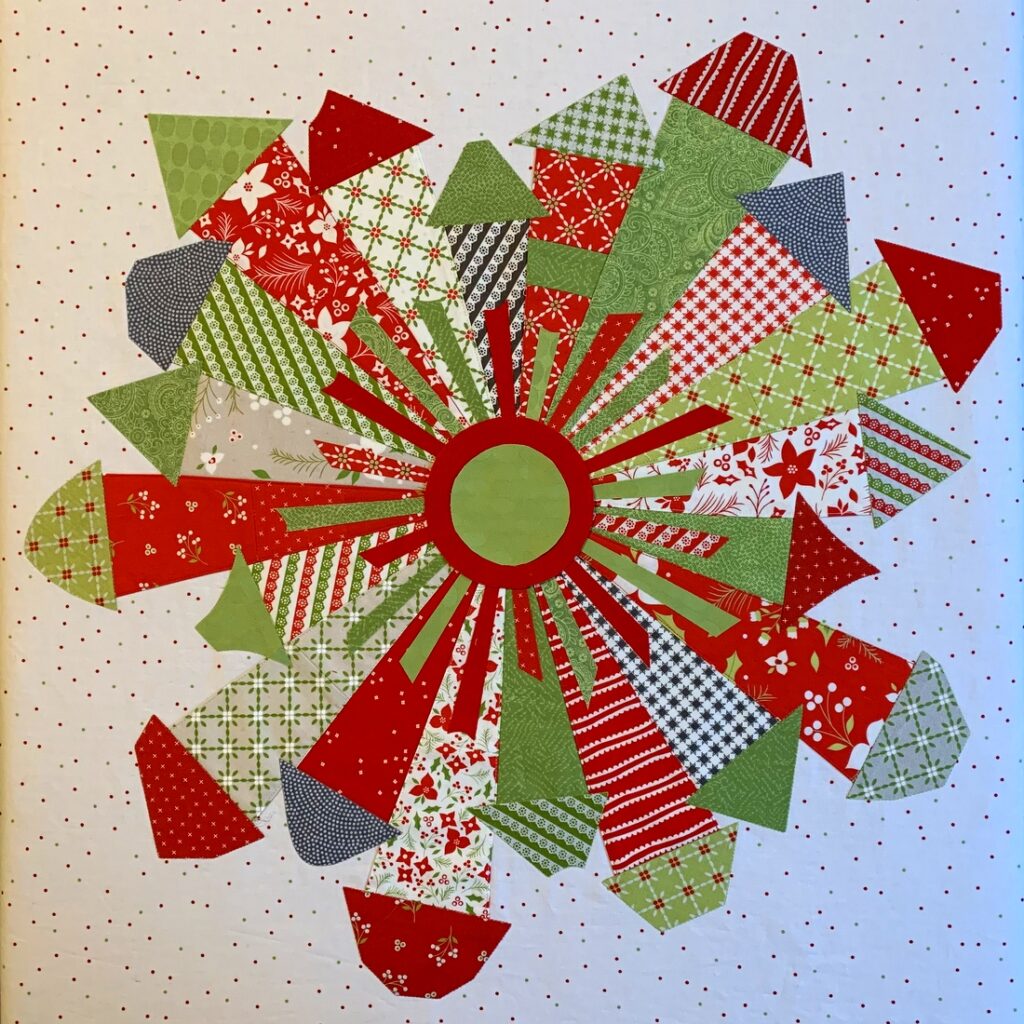
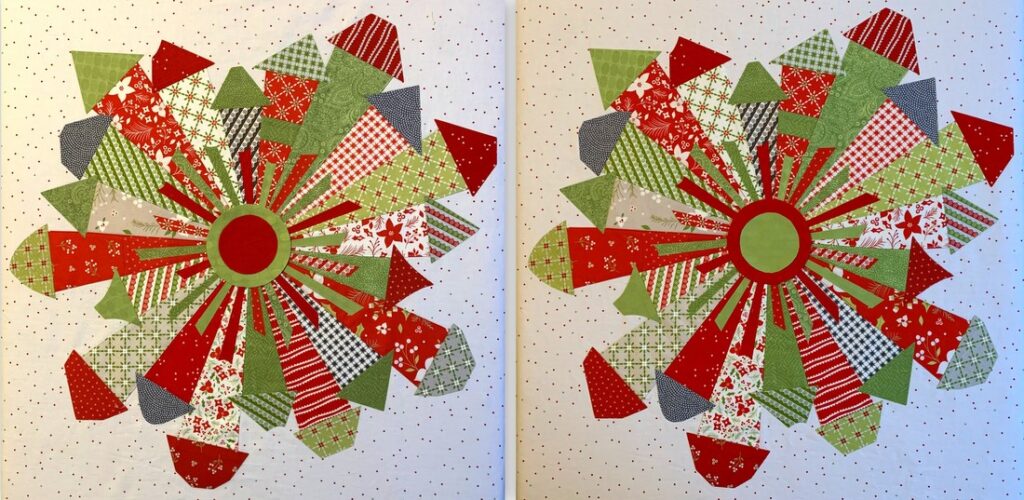
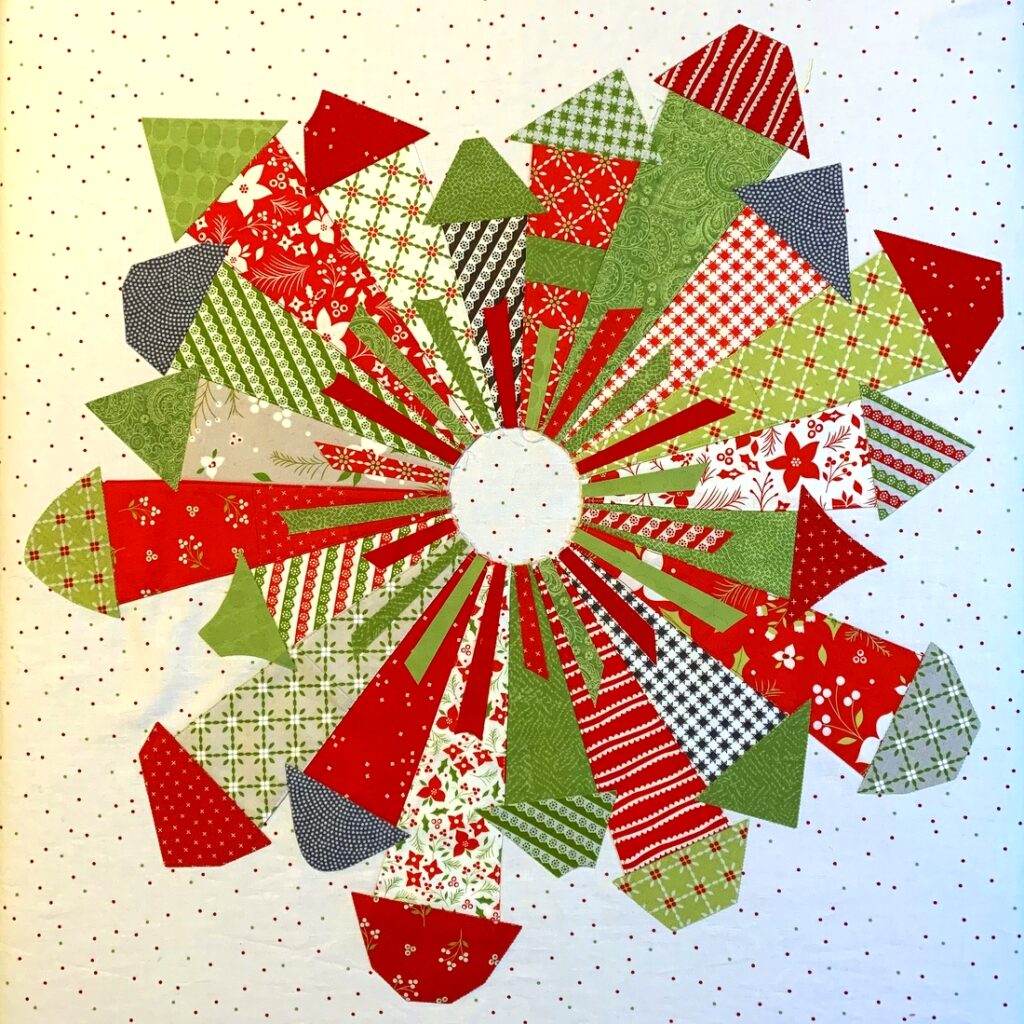
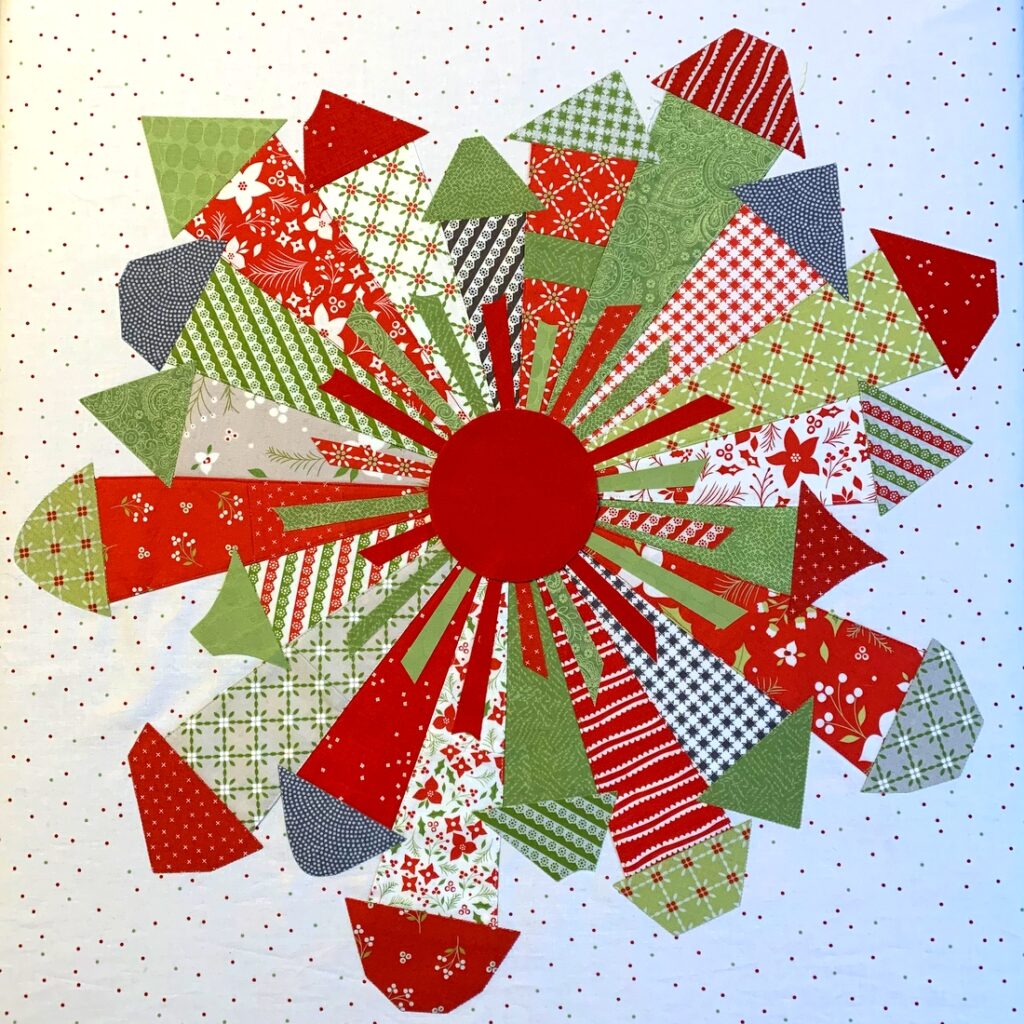
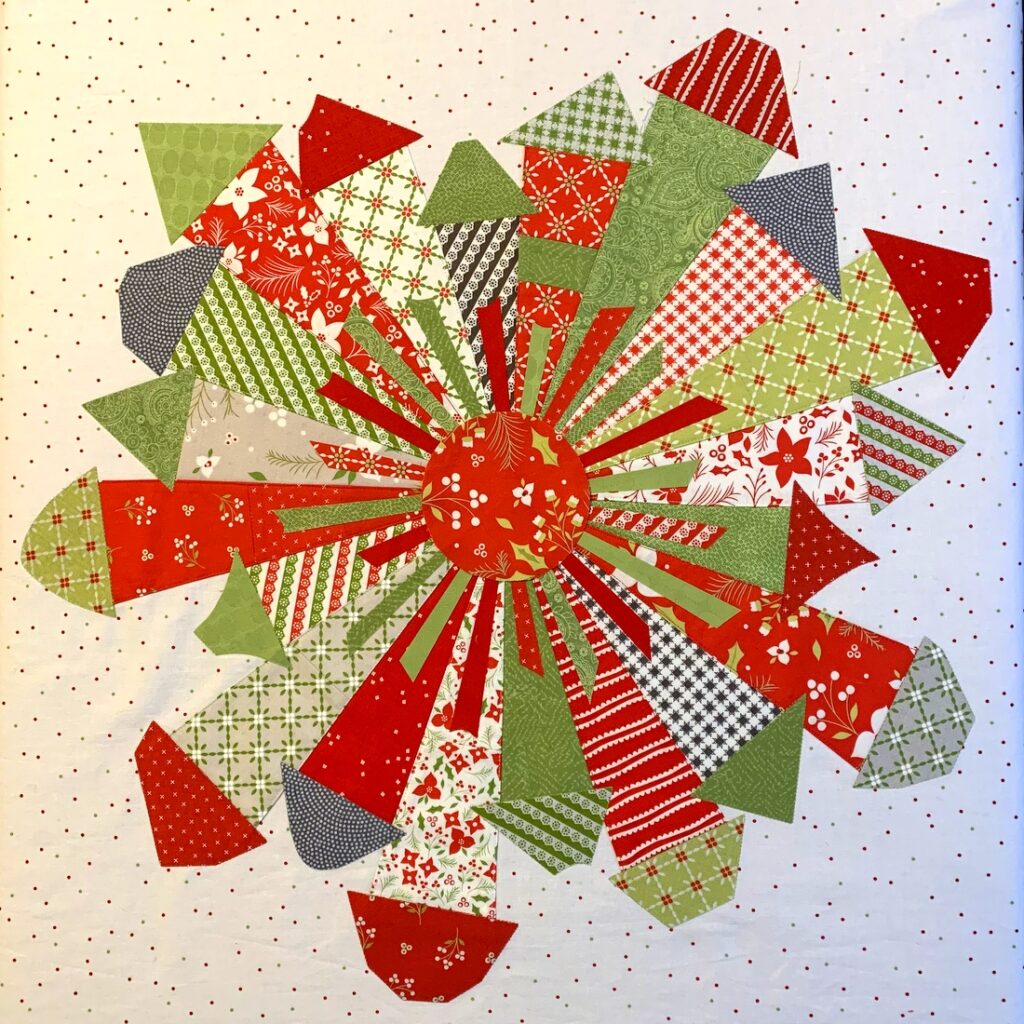
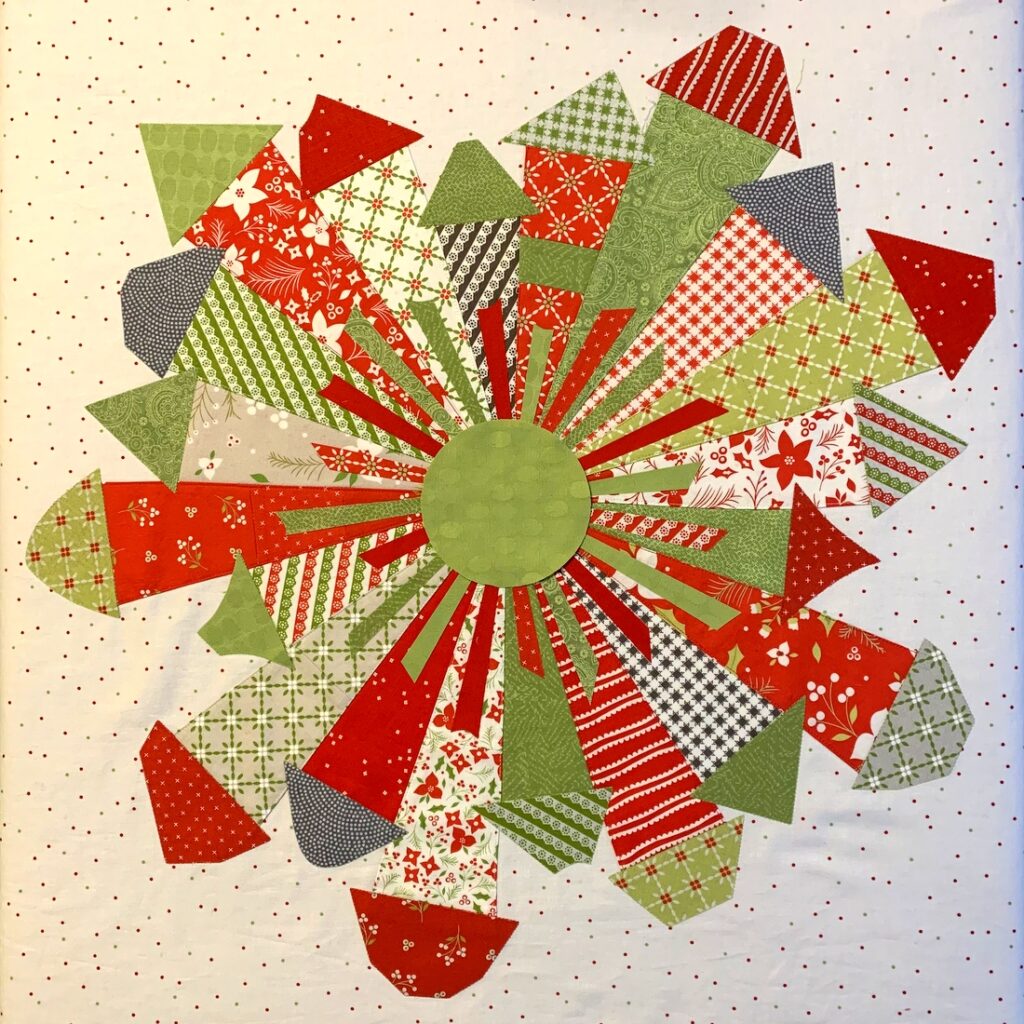
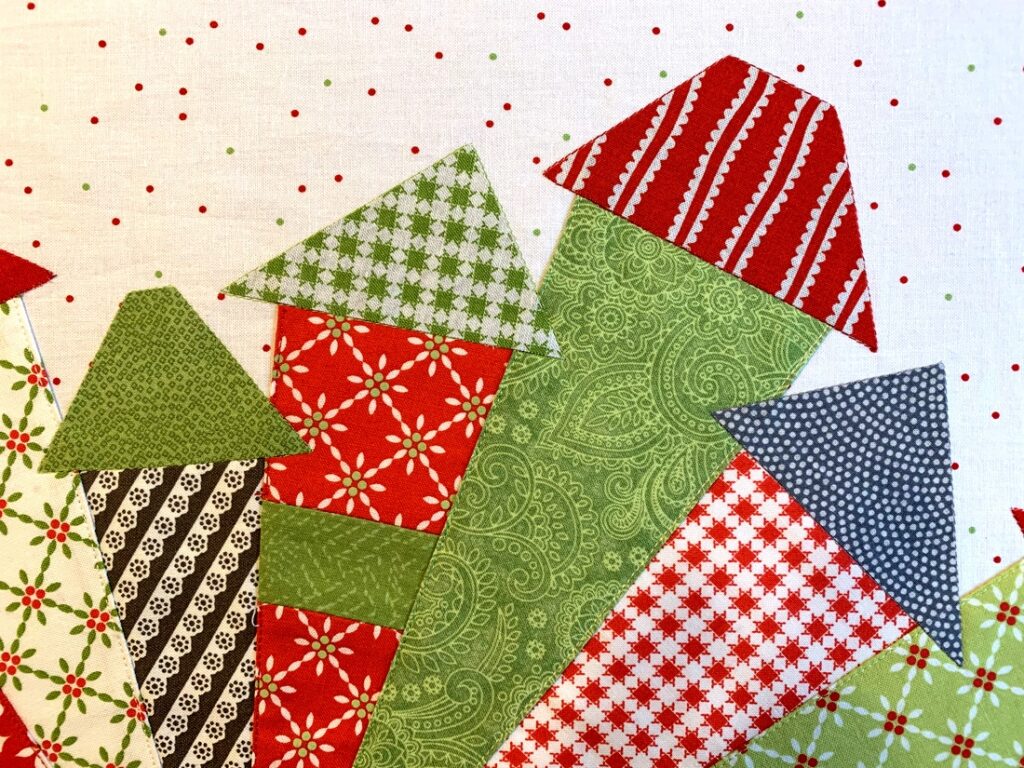
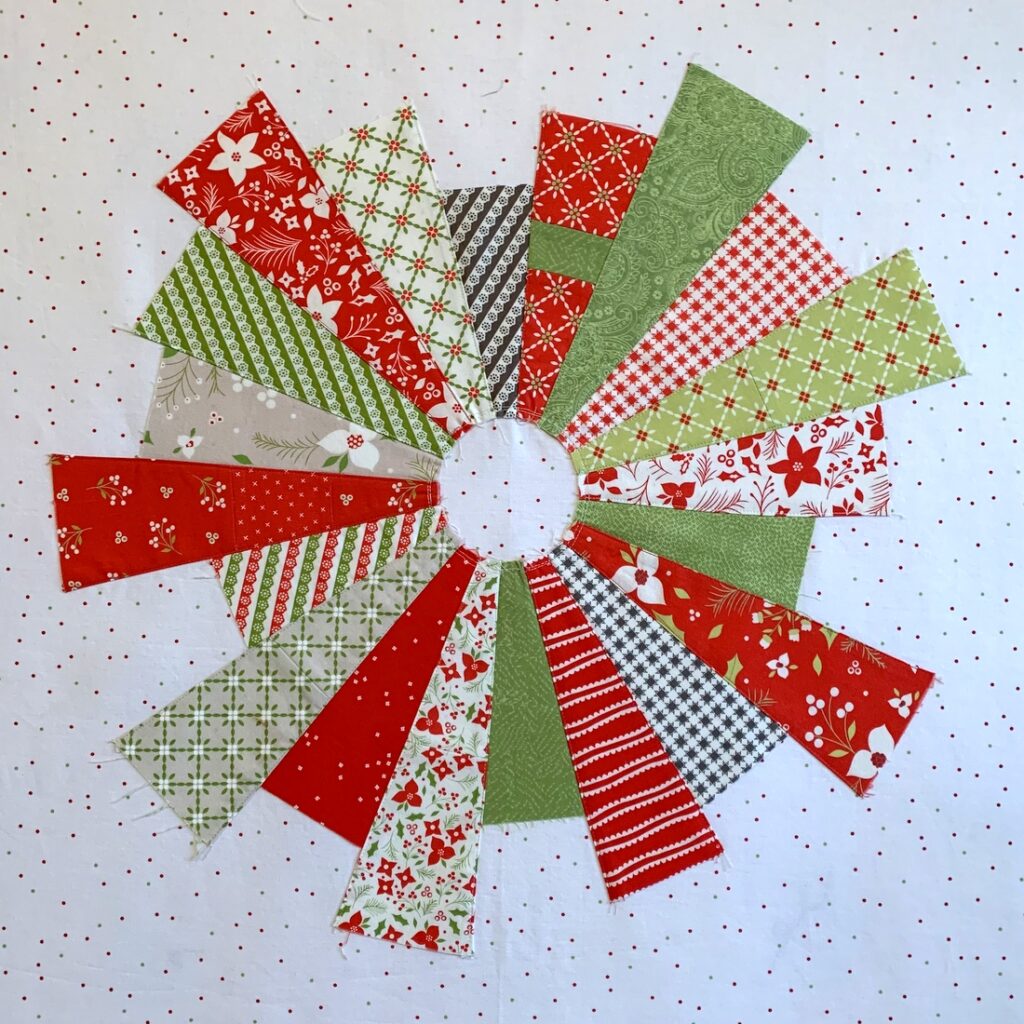
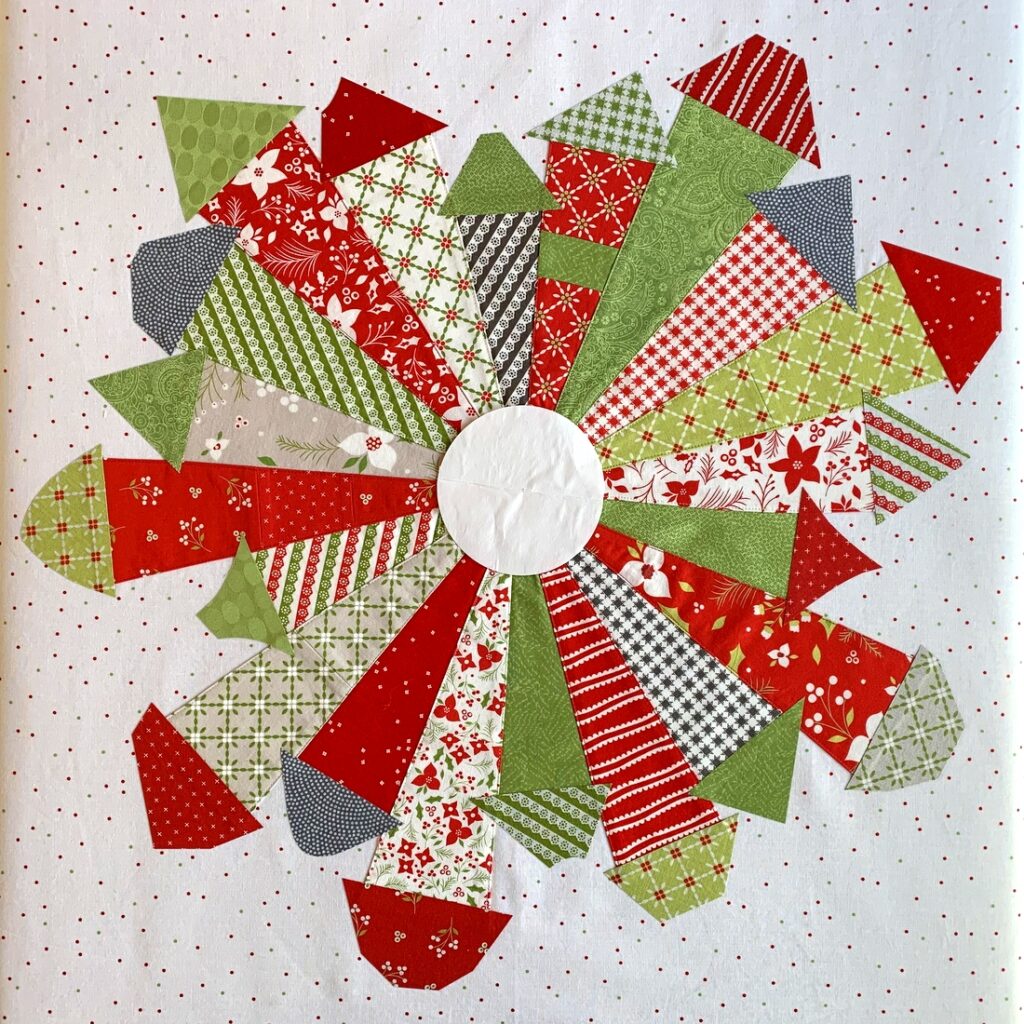
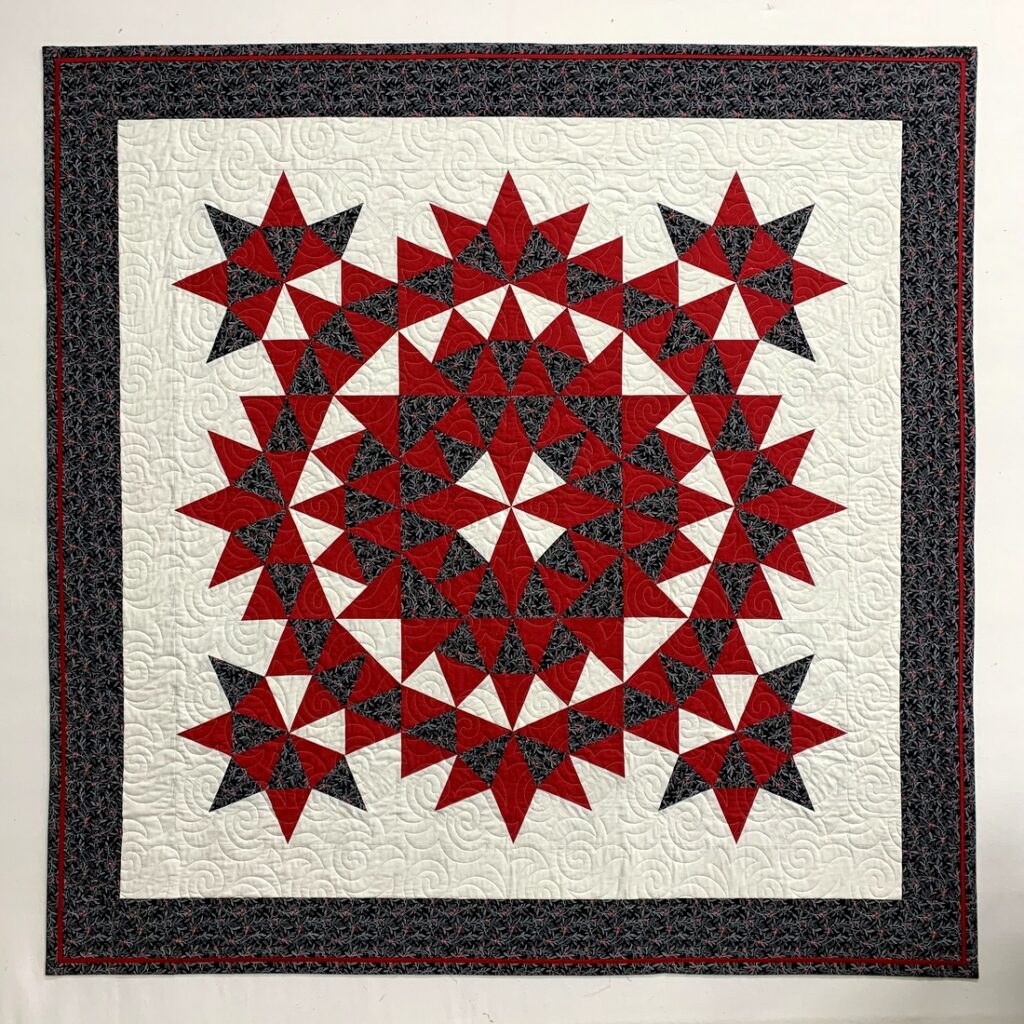
What a difference a day makes! Yesterday my Dresden Neighborhood mini quilt was square. Today it’s round:
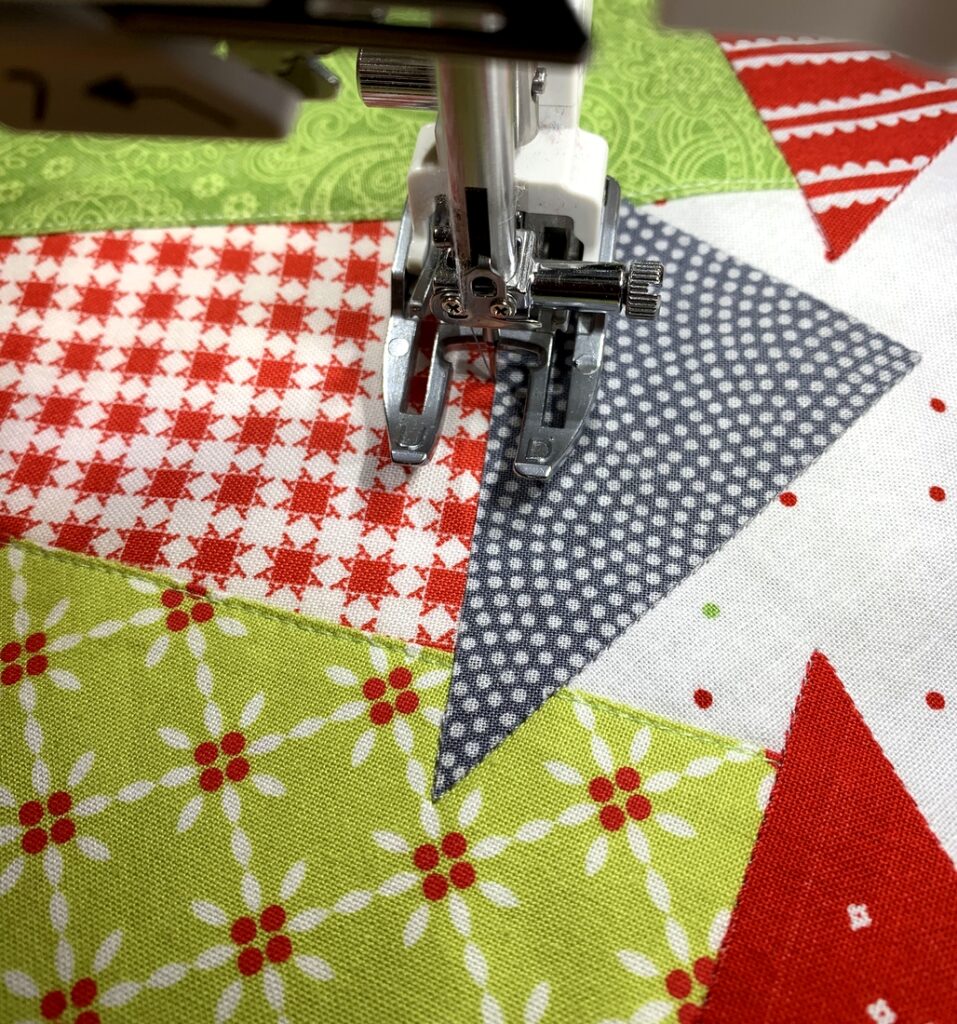
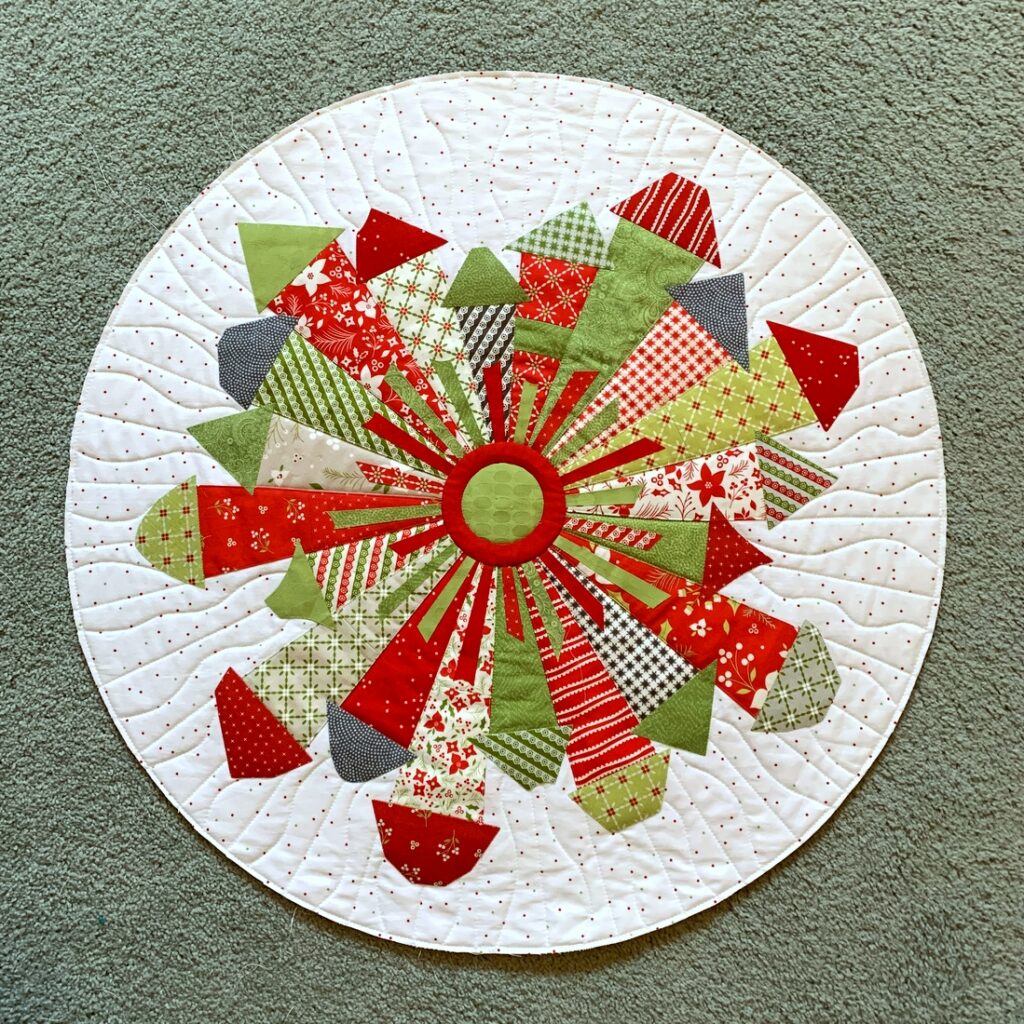 And did you notice there’s more quilting in the background? I decided it needed some squiggly lines to offset all of those straight ones. Better, yes? It adds just a touch more whimsy.
I decided to start with a 28″ circle, knowing I might want to downsize it a bit. No 28″ compasses lying around the house, of course, so I knew I’d have to create my own compass using the time-honored technique of a length of string tied to a pencil. Because of the size of my project, I figured working with a quarter circle would be the way to go, and I wanted to use freezer paper because it can be ironed onto fabric and lifted off later, leaving no residue.
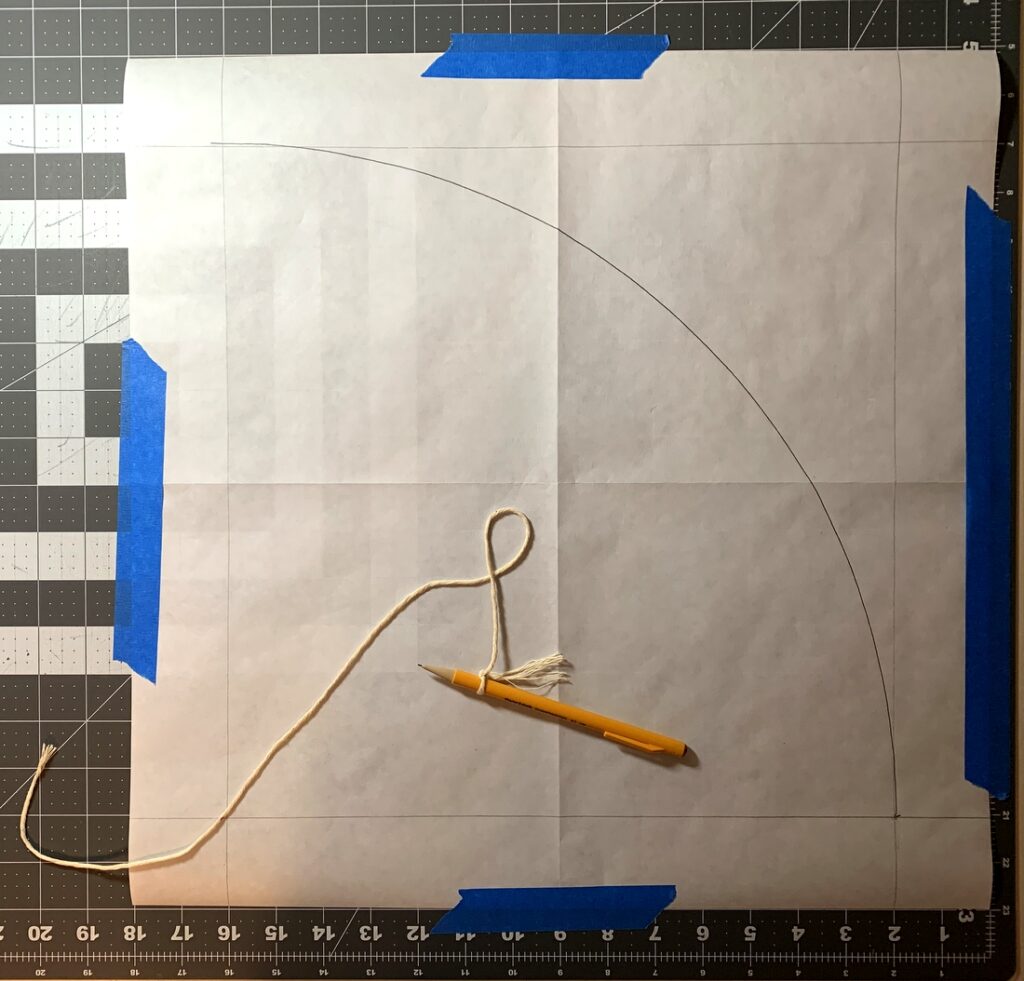
To begin I drew a 14″ square onto a piece of freezer paper. Then I taped the edges to my cutting mat so the paper wouldn’t shift when the curve was drawn. I measured and marked the spot on the string 14″ from the point of the pencil and held the string in place in the lower left corner as I drew the curve from upper left to lower right:
Working from the back side of my quilted piece, I marked the very center with a tailor’s tack, ironed my trimmed pattern piece in place. . .
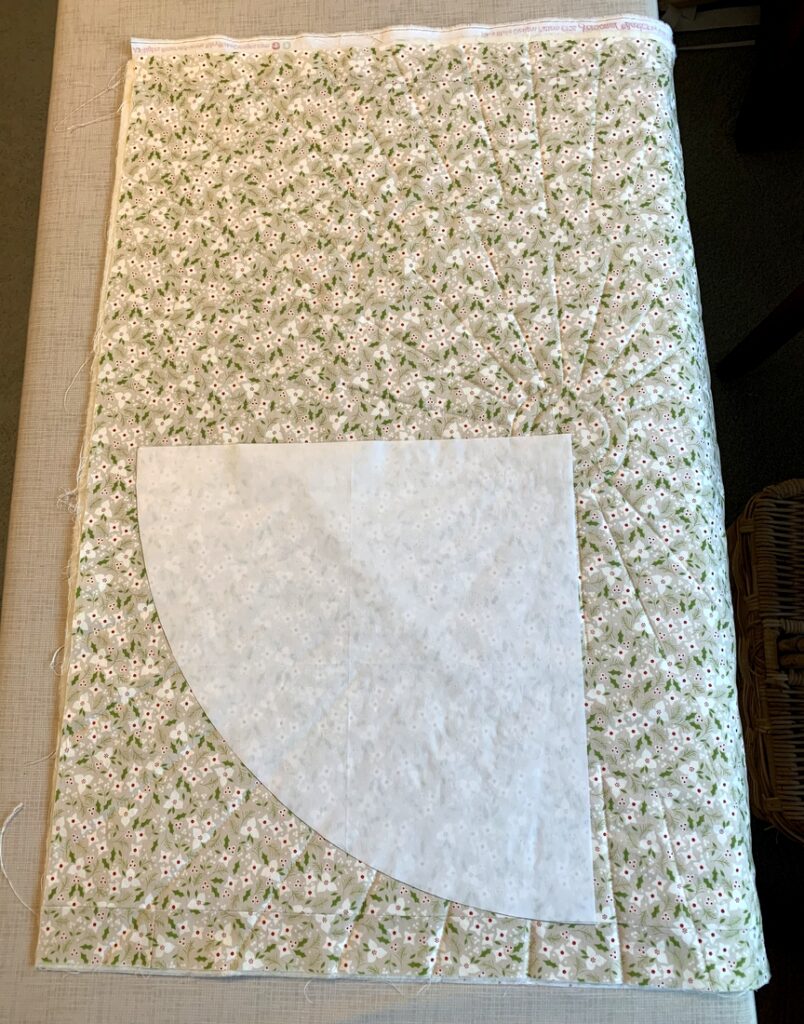 . . . and stitched along the curved edge. Then I lifted the pattern off the quilted piece, repositioned it in the next quadrant, pressed it in place, and stitched along the curve. Ditto with the third and fourth sections.
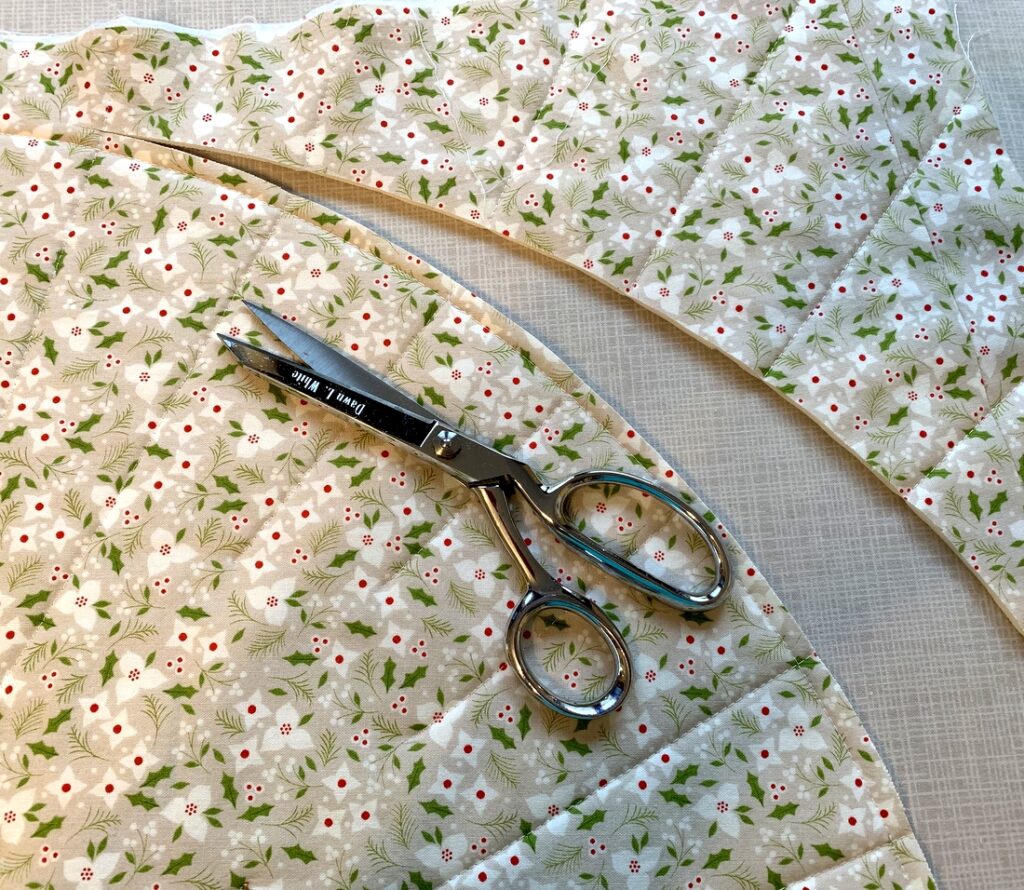
It worked like a charm! All I had to do then was trim outside the stitching line:
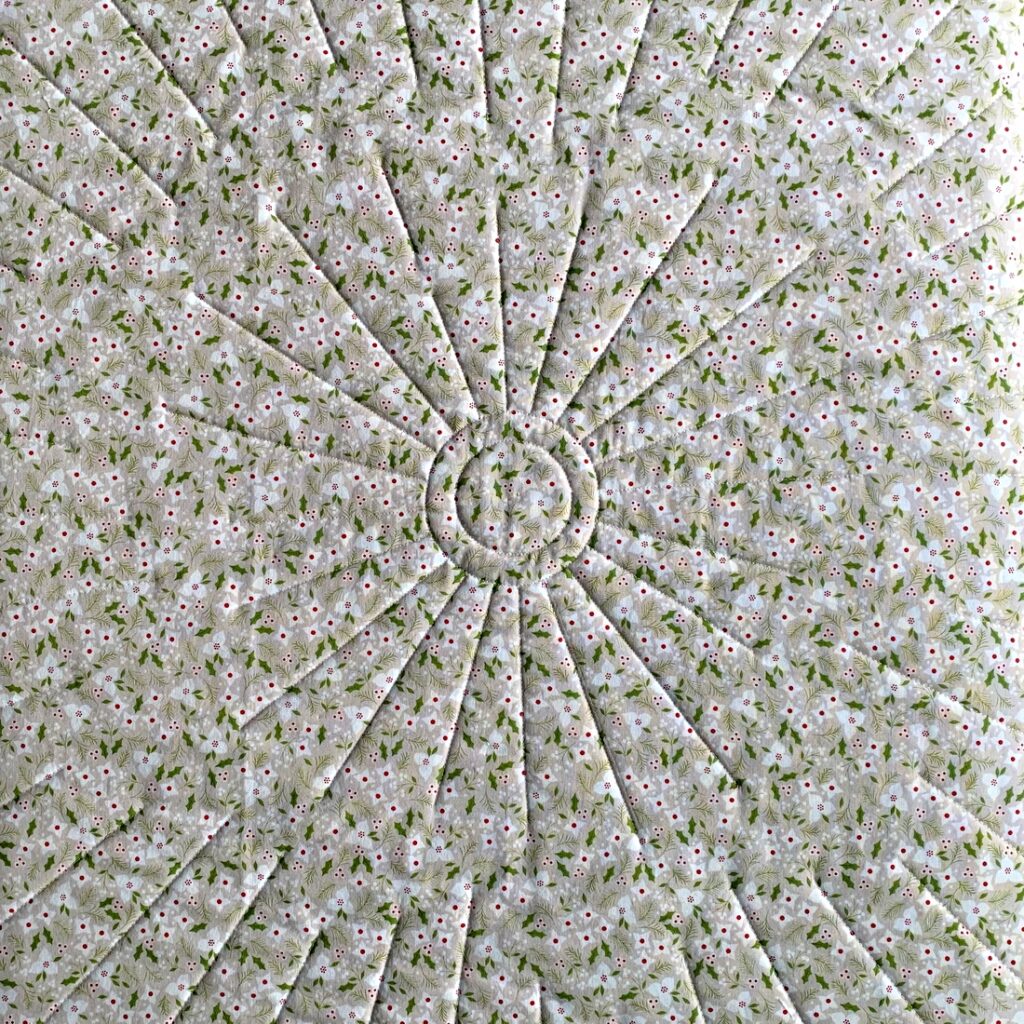
This is what it looked like from the right side:
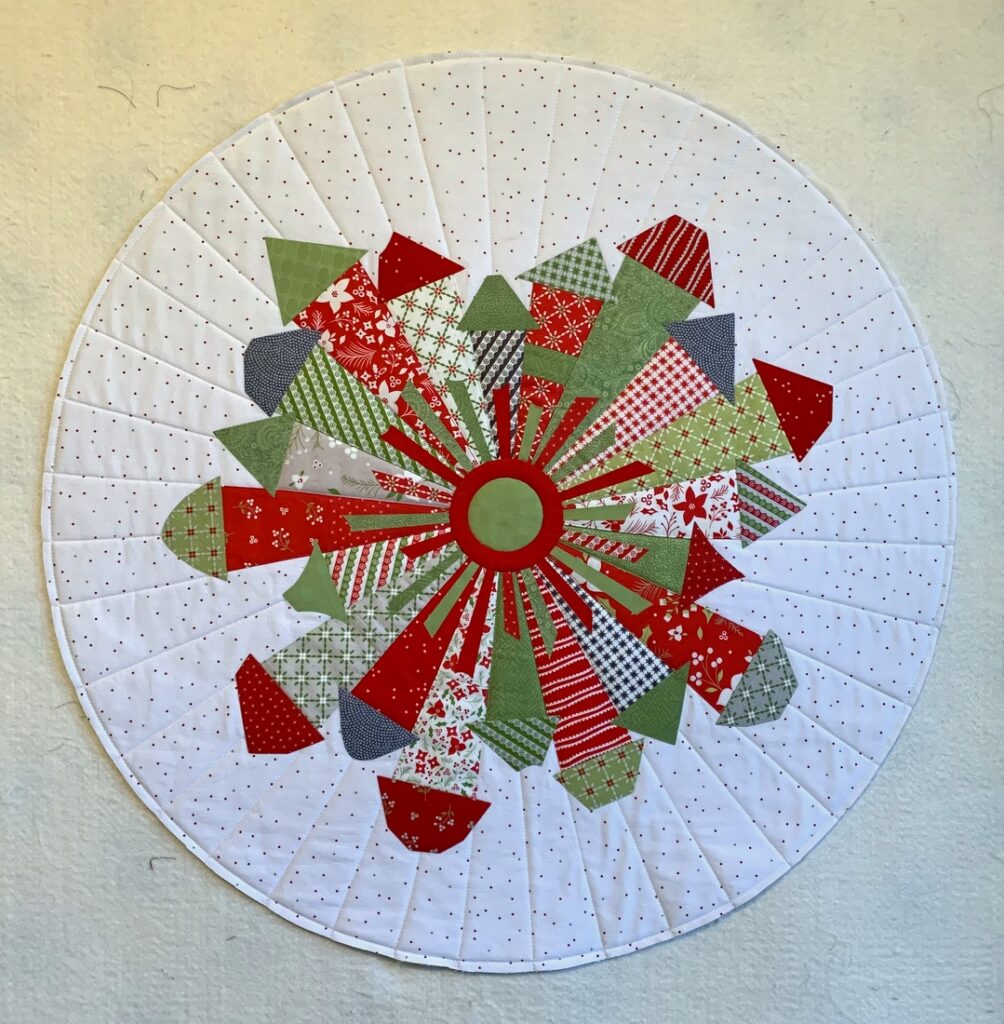
I could tell right away the circle needed to be smaller so I made a new quarter circle pattern for a 25″ diameter circle and repeated the steps outlined above. After quilting 40 (!) squiggly lines the quilt was trimmed again, the result being the photo you see at the top of the post.
I’ll be back soon with a bound quilt. But first I need to bury all those threads on the back from the additional quilted lines.

